
Before you start
You need permission to run the Windows installer. Only a network administrator should select the advanced installation options.
Minimum requirements
T-Pro has successfully tested the following operating systems. Other configurations may work but need testing.
| Server | Version |
|---|---|
| Microsoft Windows Server | 2008 / 2012 / 2016 |
| Client | Version |
|---|---|
| Microsoft Windows Home / Pro | 10+ |
Standard client installation
Download the T-Pro Device Controller Installer for Microsoft Windows. Choose the link for your region:
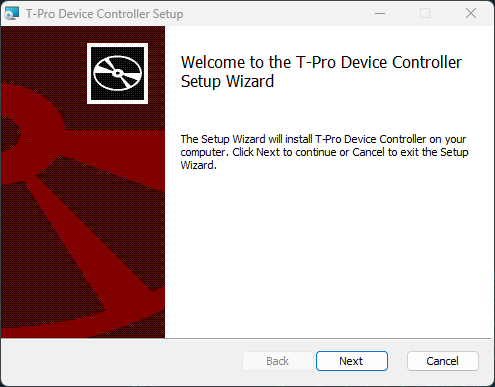
Find the downloaded file and open it. Grant the installer permission to run, then click Next on the welcome screen.
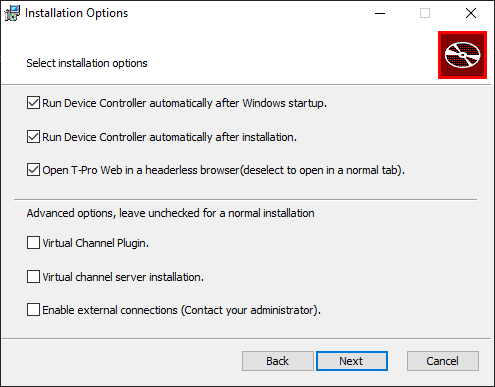
Choose your installation options, then click Next.
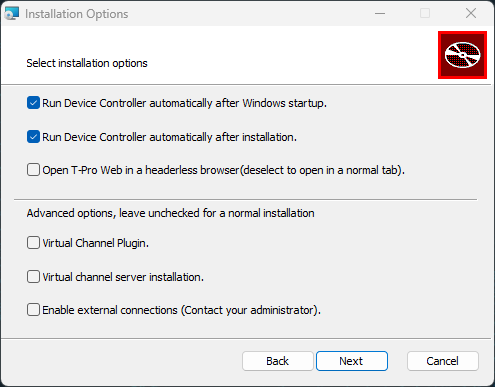
We recommend the default options:
- Run Device Controller automatically after Windows startup. Device Controller starts each time the user logs in to Windows.
- Run Device Controller automatically after installation. Device Controller starts immediately after installation. It opens in the system tray only.
- Open T-Pro Web in a headerless browser(deselect to open in a normal tab). Leave this unticked to open T-Pro in a separate browser tab. Tick it to open T-Pro in a separate window without the usual browser controls. This gives T-Pro more screen space.
Only a network administrator should select the advanced options. These cover client and server installations using Device Connect in Remote Desktop setups. See the Advanced Installation and Troubleshooting Guide.
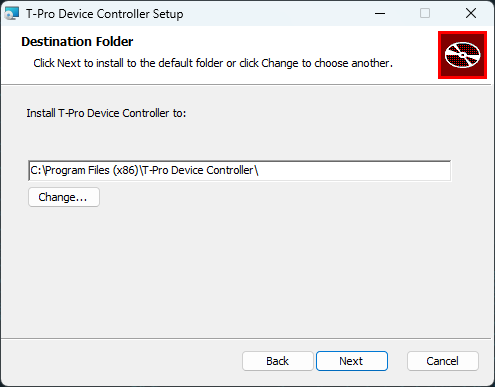
Choose the installation folder, then click Next. We recommend keeping the default folder.
Click Install to start the installation.
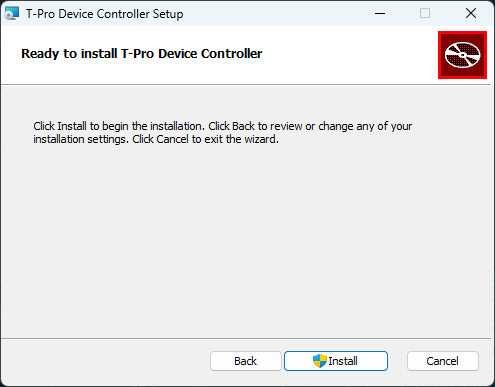
When Windows asks “Do you want to allow this app to make changes to your device?”, click Yes.
Click Finish to close the Setup Wizard.
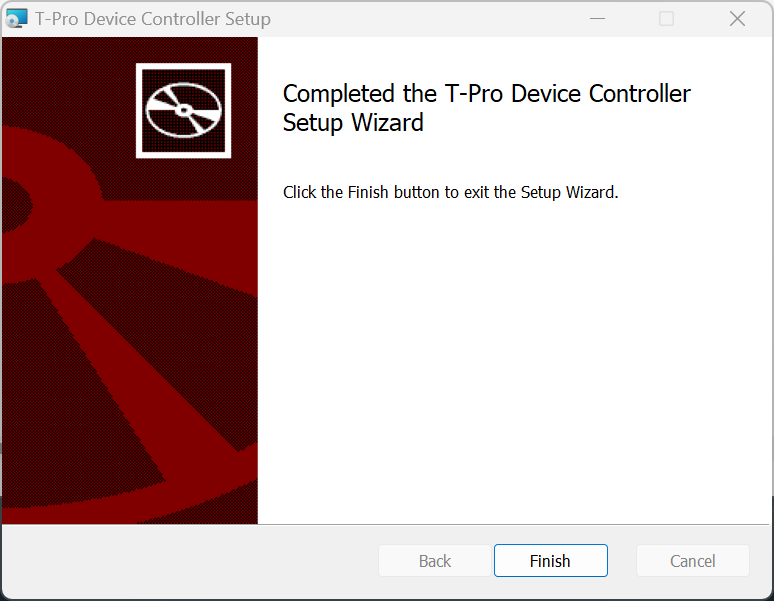
=> Installation is complete. The installer places either a T-Pro Web or a T-Pro Web Recorder icon on the desktop.
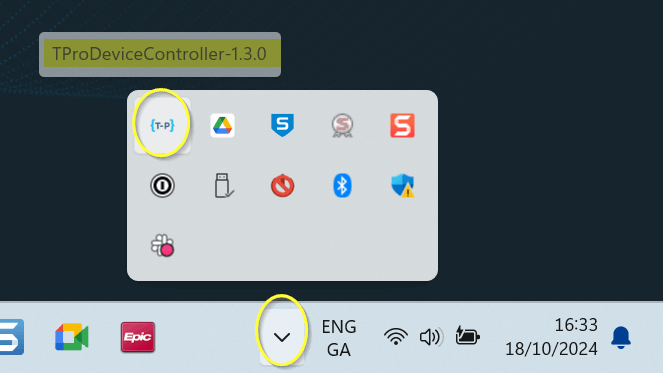
To check that Device Controller is running and see its version, open the system tray. Hover over the Device Controller icon.
Virtual channel installations
The virtual channel passes Device Controller commands from the local Windows client to the remote server through an RDP connection.
On the remote machine, select Virtual channel server installation. in the installer.
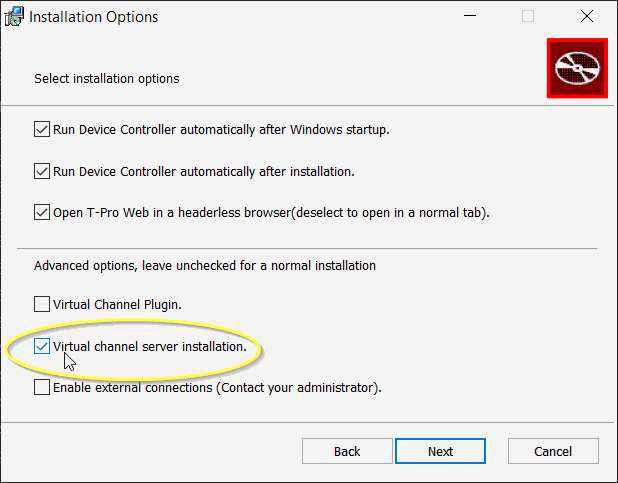
=> The installer adds
TProVCServer.exeto the installation folder. Device Controller can start this server when the application starts.On the local machine, select Virtual Channel Plugin. in the installer.
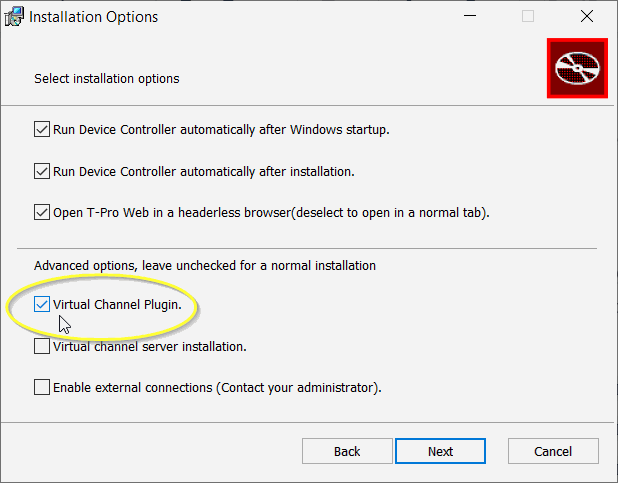
=> The installer adds
TProVC-Plugin-x86.dllorTProVC-Plugin-x64.dll, depending on Windows bitness, to the installation folder. It also registers the DLL files in the system.The installer adds these registry values under
HKEY_LOCAL_MACHINE:SOFTWARE\Microsoft\Terminal Server Client\Default\AddIns\TProVC-Plugin\NameSOFTWARE\Microsoft\Terminal Server Client\Default\AddIns\TProVC-Plugin\ipSOFTWARE\Microsoft\Terminal Server Client\Default\AddIns\TProVC-Plugin\enabled
For recorder use with this feature, set the user's AD Username and AD Session Username in Edit account.
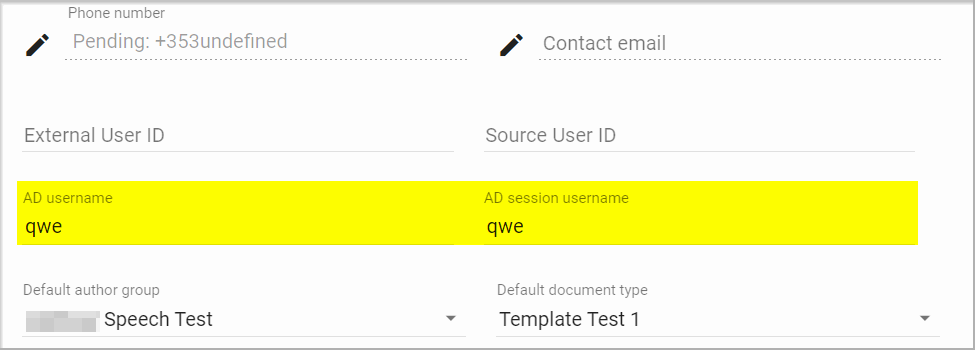
This setup is optional from version
1.3.0.6. The values can be random. Device Controller tracks Windows sessions regardless of the AD information supplied.Connect to the remote server through RDP, with Device Controller running on both the local machine and the server.
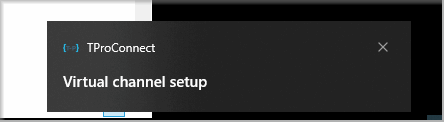
=> The plugin and server connect automatically. Windows shows a Virtual channel setup notification when the connection is established.
Command-line installation
Use the MSI installation parameters to control whether the installer shows its interface or writes a log.
Parameter What it does /quietRuns the installation without an interface. With no additional parameters, installation uses the default configuration. /log [filename]Writes installation log output to the supplied file name. Choose any option parameters you need. The default configuration has the first three options enabled and all advanced options disabled.
Installation option Default Parameter Run Device Controller automatically after Windows startup. Enabled RUNATWINDOWSSTARTUP=0disables it. Omit the parameter or set it to1to enable it.Run Device Controller automatically after installation. Enabled RUNAFTERINSTALL=0disables it. Omit the parameter or set it to1to enable it.Open T-Pro Web in a headerless browser(deselect to open in a normal tab). Enabled HEADLESS=0disables it. Omit the parameter or set it to1to enable it.Virtual Channel Plugin. Disabled VIRTUALCHANNELPLUGIN=1enables it. Omit the parameter or set it to0to disable it.Virtual channel server installation. Disabled VIRTUALCHANNELSERVERINSTALL=1enables it. Omit the parameter or set it to0to disable it.Enable external connections (Contact your administrator). Disabled ENABLEEXTERNALCONNECTIONS=1enables it. Omit the parameter or set it to0to disable it.
NOTE:
- The standard installation screenshot shows the headless browser option unticked. The command-line default configuration has it enabled.
Can't match the checkboxes to your command-line options?
If an option defaults to
1, setting it to0may leave its checkbox ticked. The installer still follows the parameter value. WiX checkboxes appear ticked when any value is supplied.For example, with
RUNAFTERINSTALL=0, Run Device Controller automatically after installation. still appears ticked. Device Controller will not start after installation.
If you have any more queries, please do not hesitate to contact our Helpdesk or support@tpro.io.
© 2020 - 2026