
Before you start
You need your T-Pro author credentials. Open the Desktop Recorder in your browser or install the app on your computer.
You can watch the training video or follow the steps below.
Open the Desktop Recorder
Log in to T-Pro with your author credentials.
First, open recorder.tpro.io to use the Desktop Recorder as a web application.
To use the installed app, download TPro-DesktopRecorder.msi. Complete the installer setup, then open the app using its desktop icon.
=> The main window opens with your tasks listed.
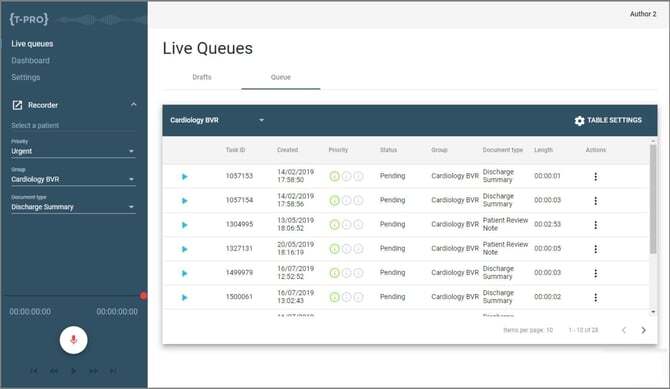
Record your dictation
The recorder works in the same way as the recorder in the T-Pro Dictate mobile app.
To use the floating recorder, click the icon beside Recorder.
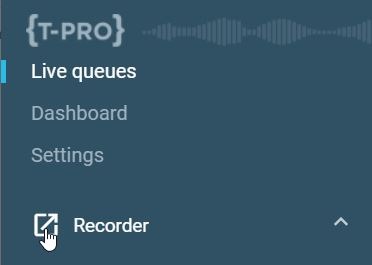
=> The recorder detaches from the app and stays on top of your other open applications.
Click Select a patient.
=> The Patient information window opens. You can enter the patient's ID and name manually.
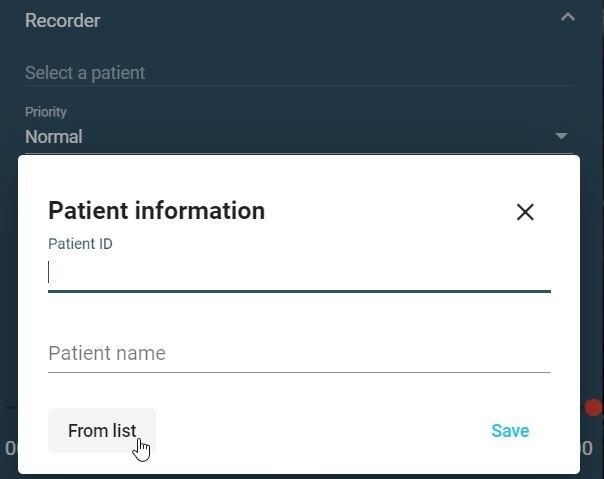
To choose a patient from a list instead, click From list.
Enter the patient's details in Search to find them in the list.
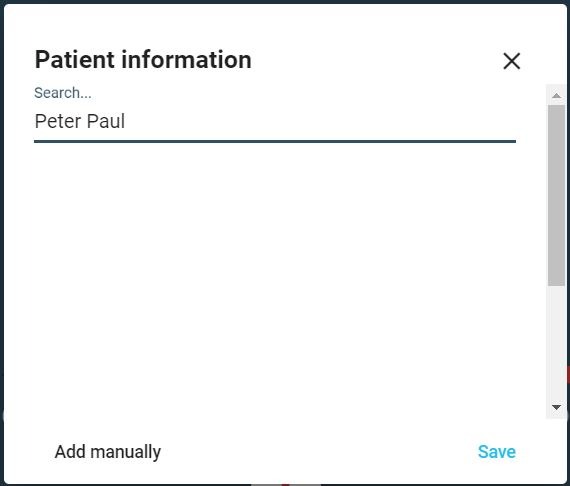
Click Save to save the patient information.
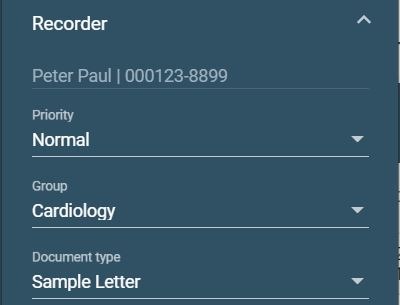
Set the Priority, Group and Document type for your dictation.
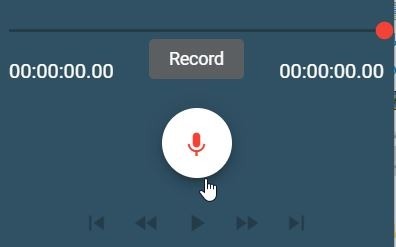
Click the microphone icon to start recording.
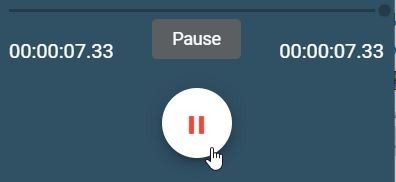
Click the pause icon whenever you need to pause your dictation. Click the microphone icon to resume.
You can pause and resume at any time during your dictation.
To keep your recording as a draft, click the save icon labelled Save draft.
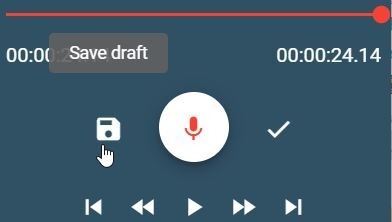
To finalise your recording instead, click the tick labelled Finalise.
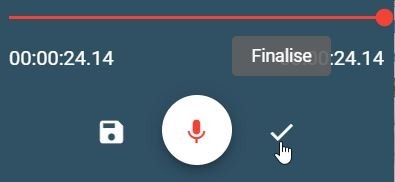
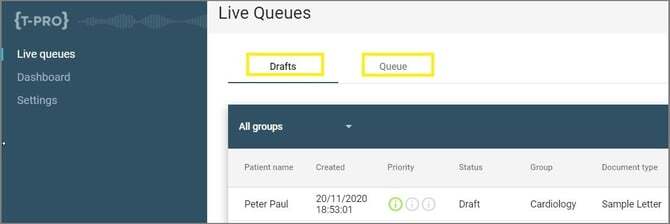
=> A saved draft moves to Drafts in Live Queues. A finalised task moves to Queue.
NOTE:
- In Settings, turn on Show validation before finalise to receive a confirmation prompt before the task moves to the next work step.
- Turn on Enable feedback sounds when recording to hear a beep each time you start or stop recording.
Set your recording defaults
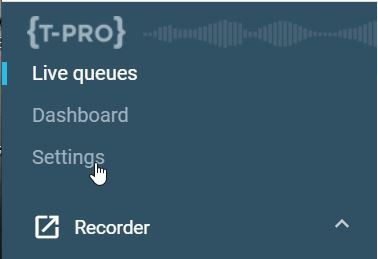
Click Settings in the left-hand menu.
=> You can view and change the defaults for your dictation tasks.
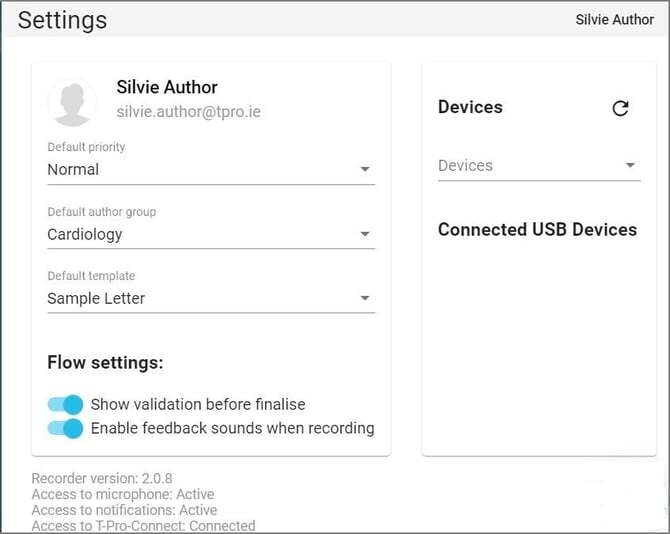
Choose your Default priority, Default author group and Default template. These choices become the defaults for new tasks.
Under Flow settings, choose whether to show validation before finalising and play recording feedback sounds. Both settings are switched on in the picture above. Their default is disabled.
If you use an external recording device, such as a Philips SpeechMike, select the correct device on the right.
Return to Live Queues or Dashboard.
=> Your settings changes are saved automatically when you return to either section.
Monitor your tasks
Click Dashboard to monitor the progress of your tasks.
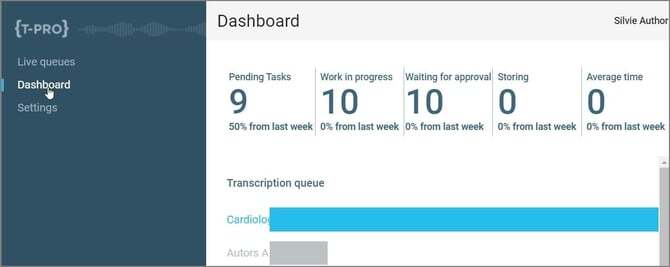
The dashboard also shows how your workload compares with last week's work.
If you have any more queries, please do not hesitate to contact our Helpdesk or support@tpro.io.
© 2020 - 2026