
Before you start
You need an author account and a microphone. Allow microphone access if your browser asks.
Log in to T-Pro with your author credentials.
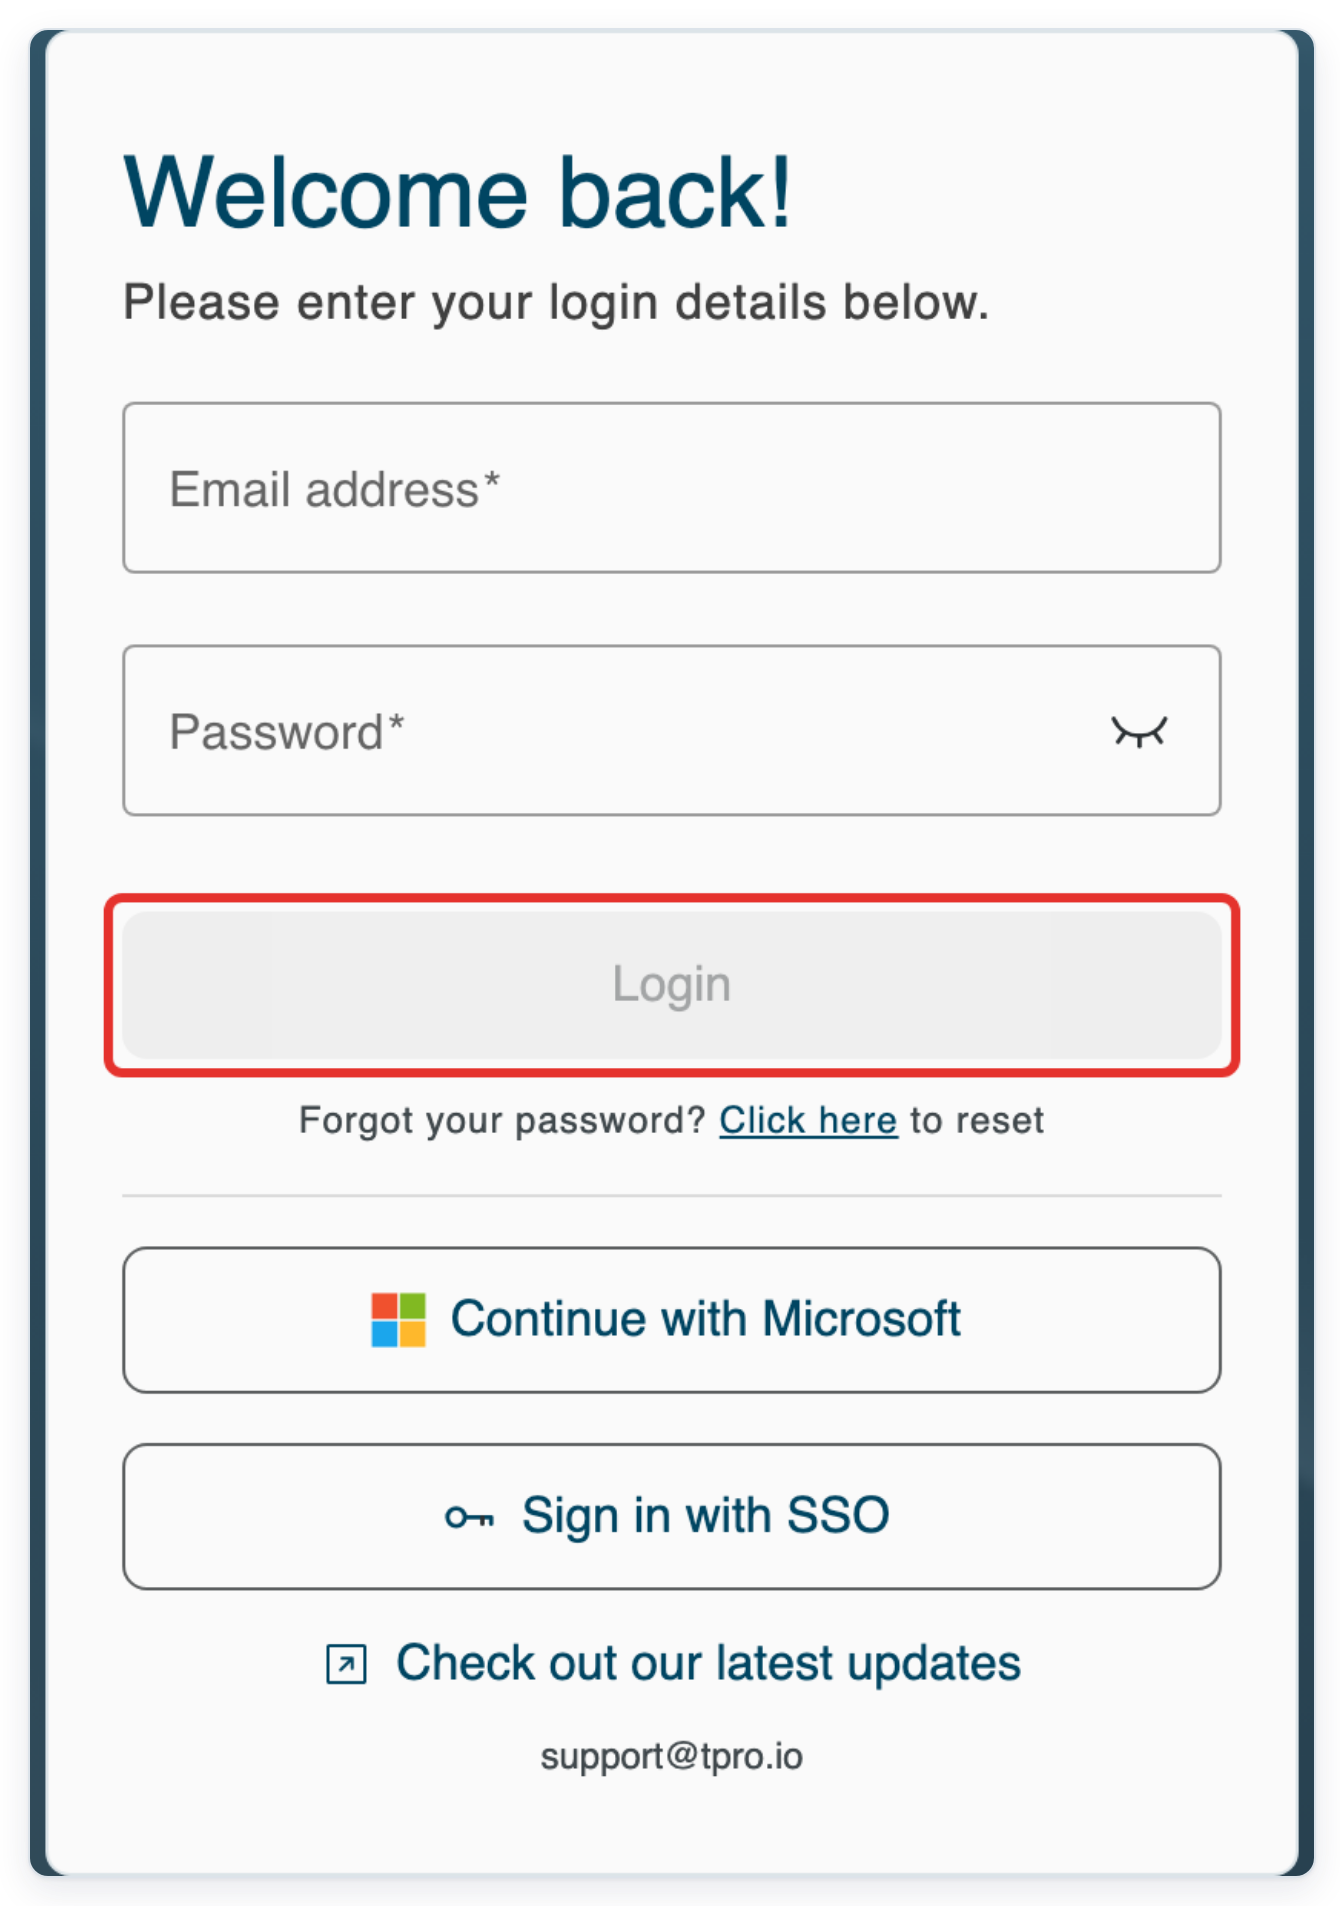
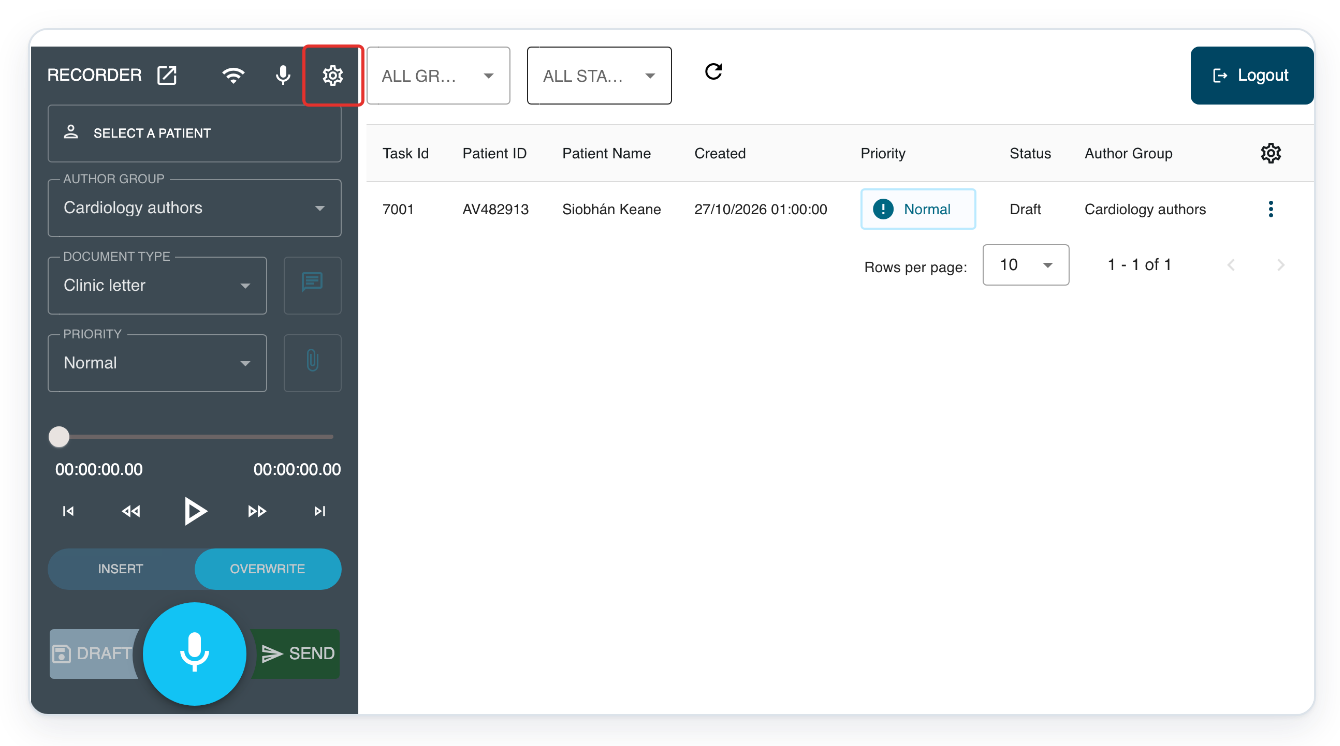
If Web Recorder doesn't open after you log in, click Recorder in the main navigation.

Click the Settings cog at the top of the recorder. Recorder Settings opens.
Hover over the connection icon to check your connection, or the microphone icon to see your selected microphone.
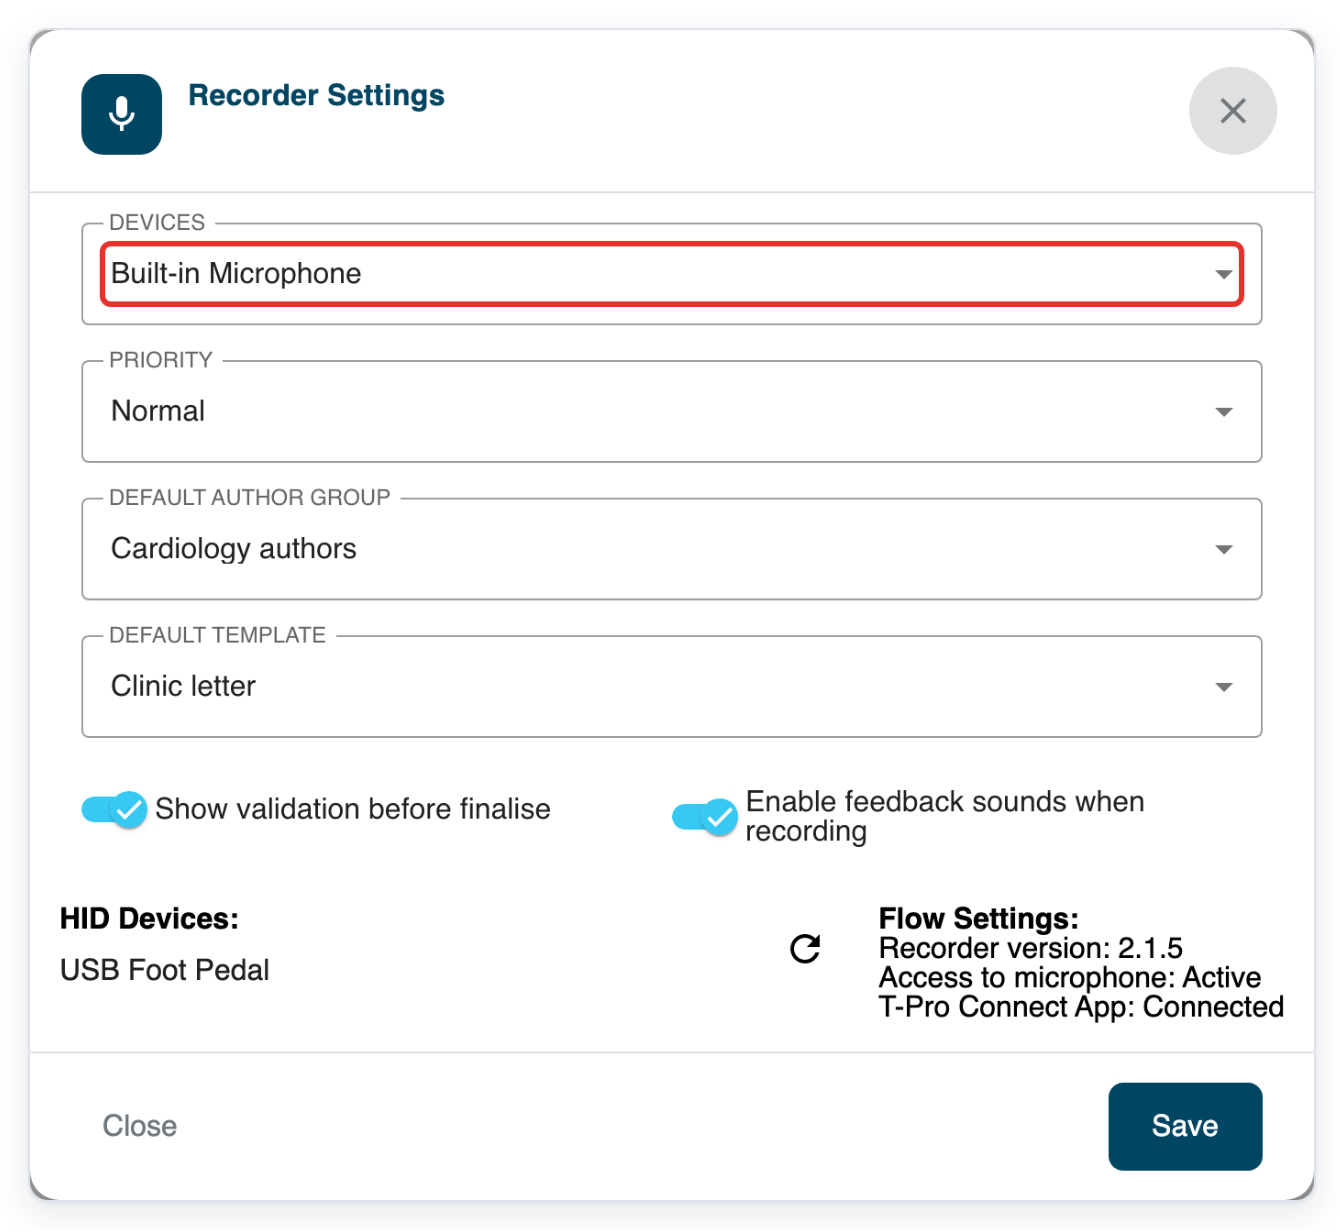
Open Devices to see the available microphones.
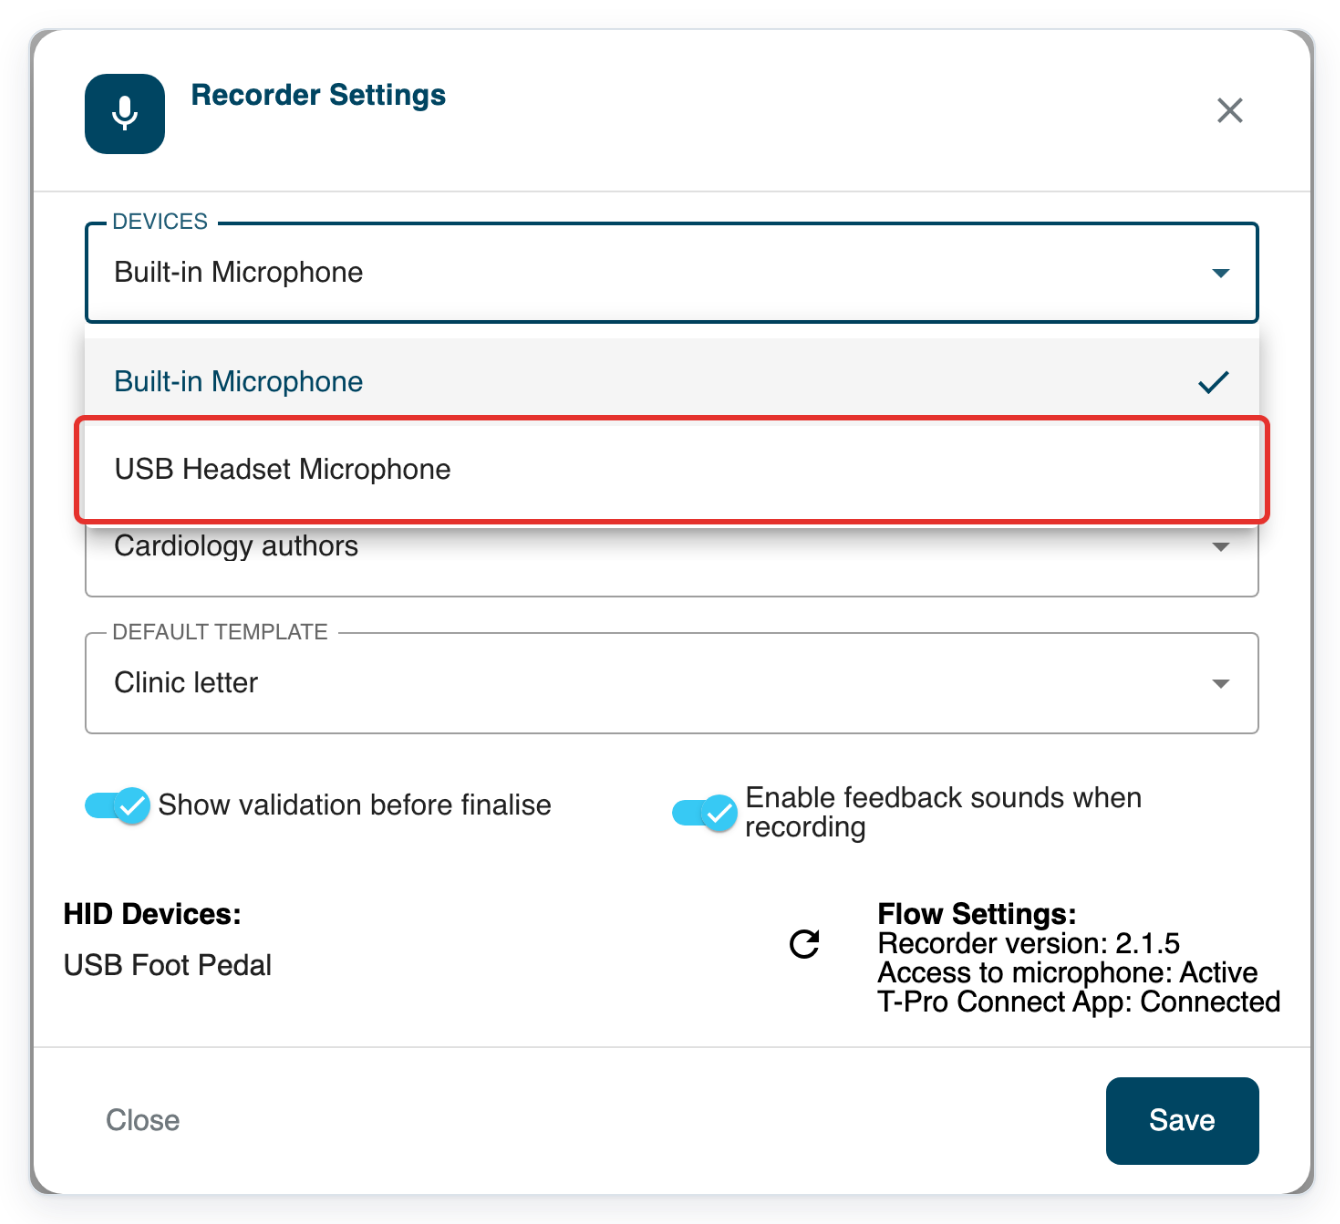
You can choose an external microphone or your computer's built-in microphone.
Choose the microphone you want to use, such as USB Headset Microphone.
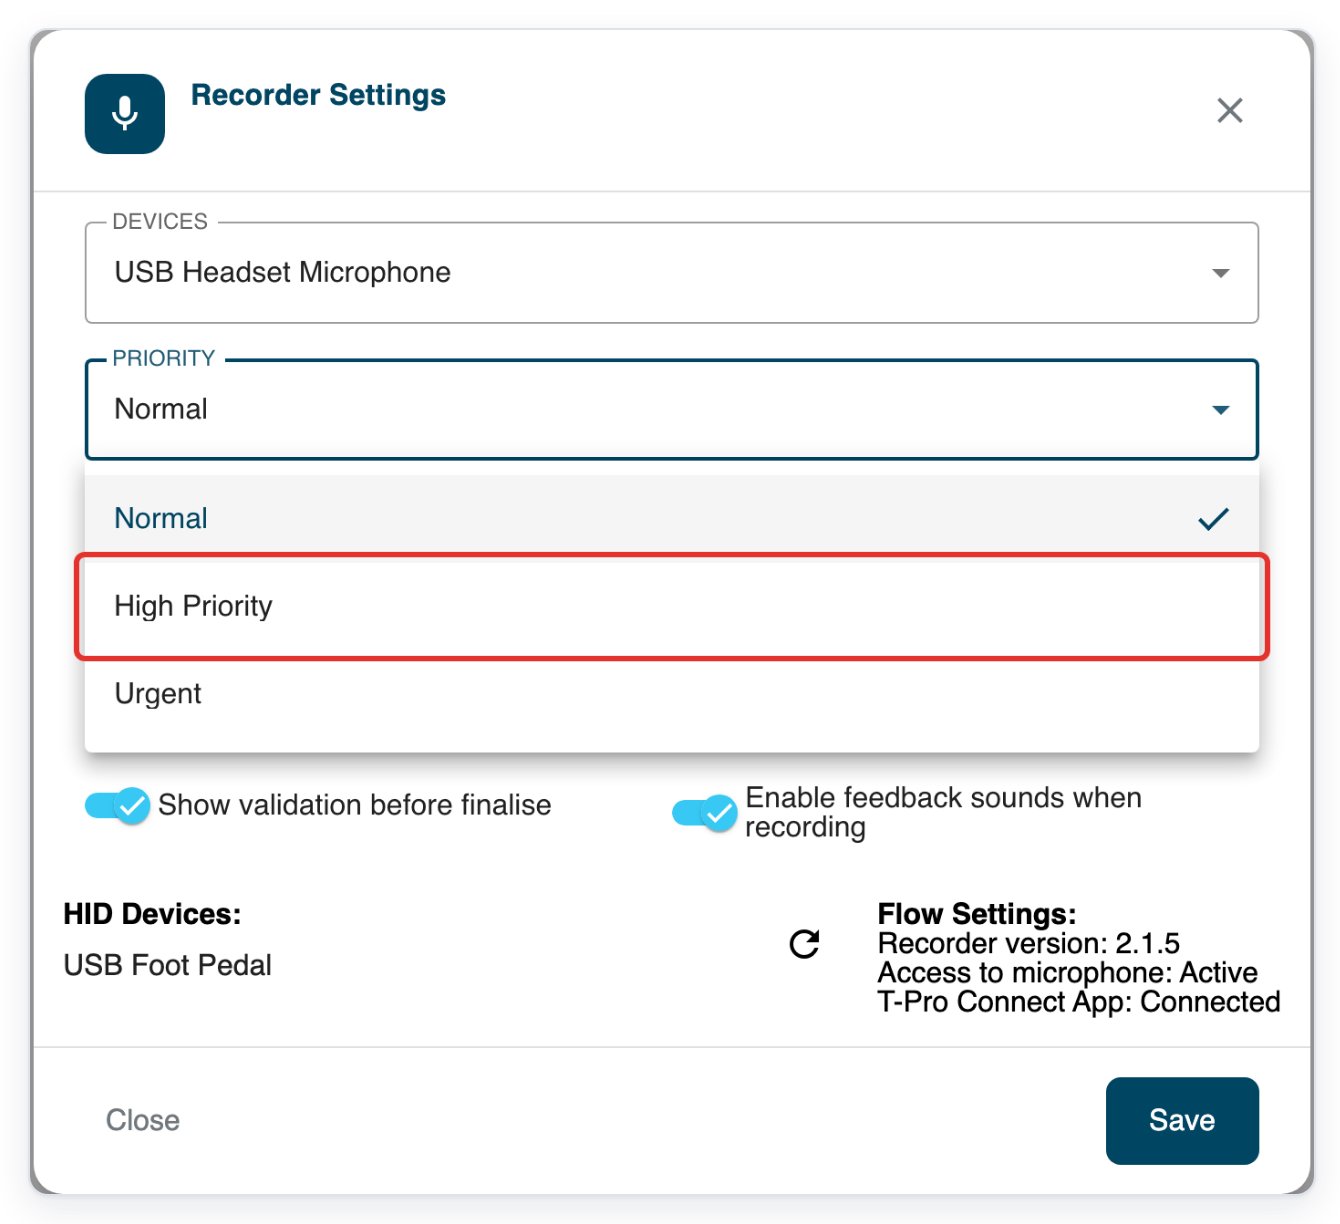
Open Priority to see the default priority options.
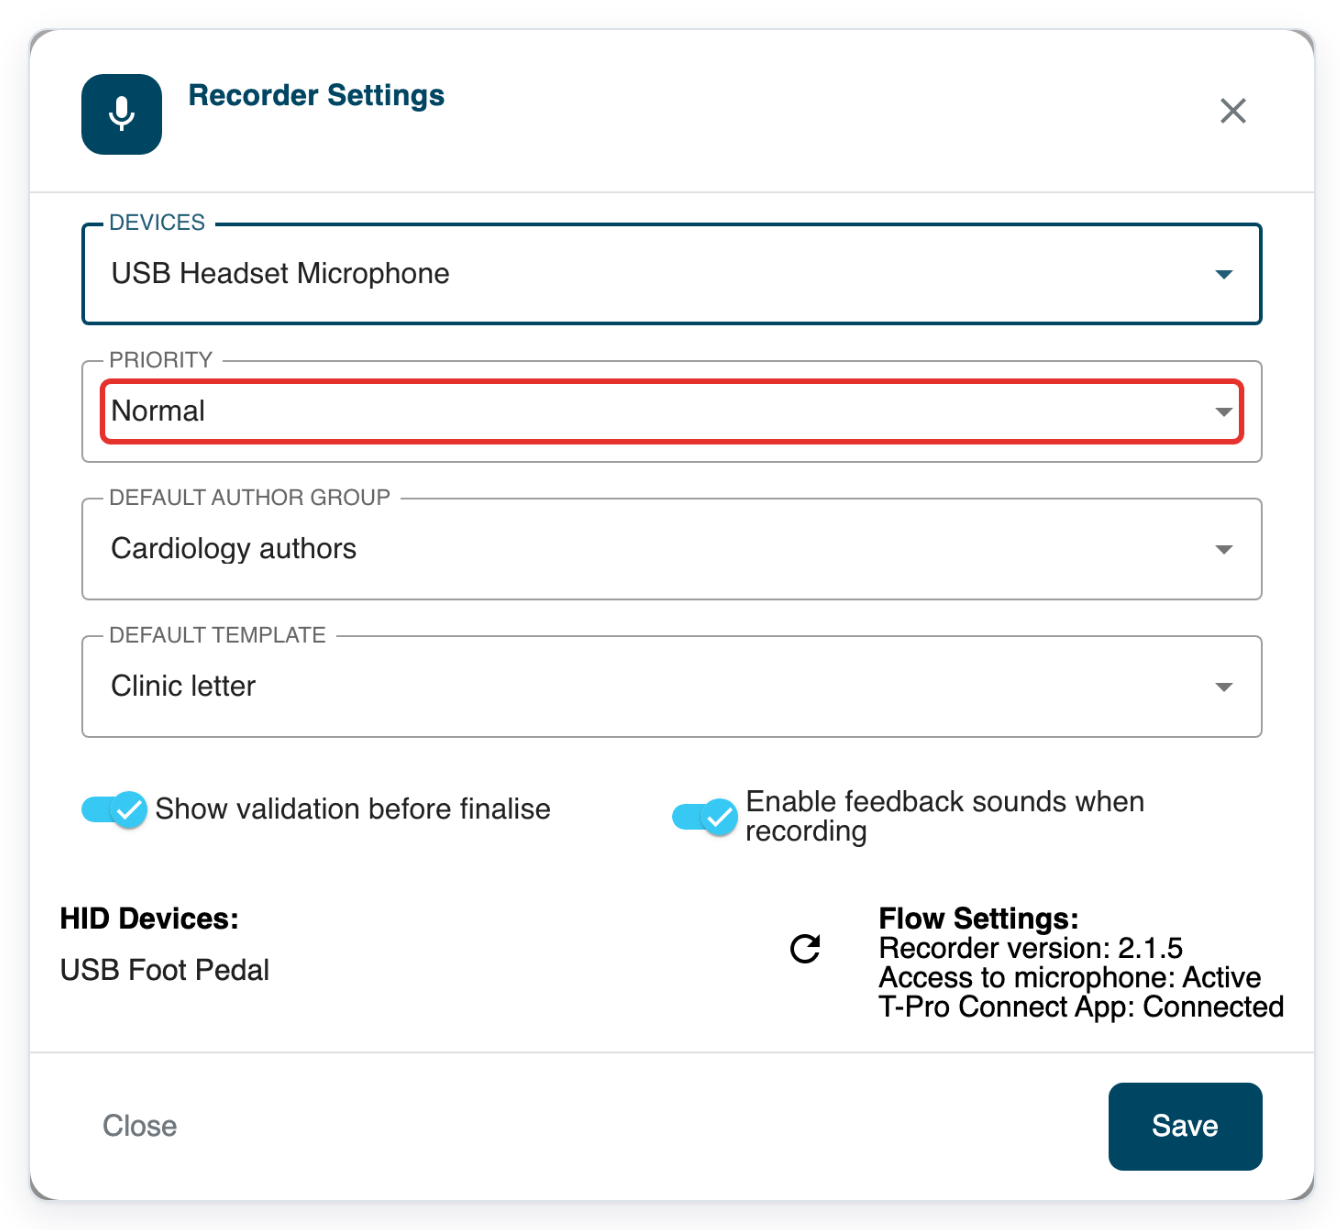
Choose the priority you usually need, such as High Priority.
The other choices are Normal and Urgent. Your choice sets the default priority for new recordings.
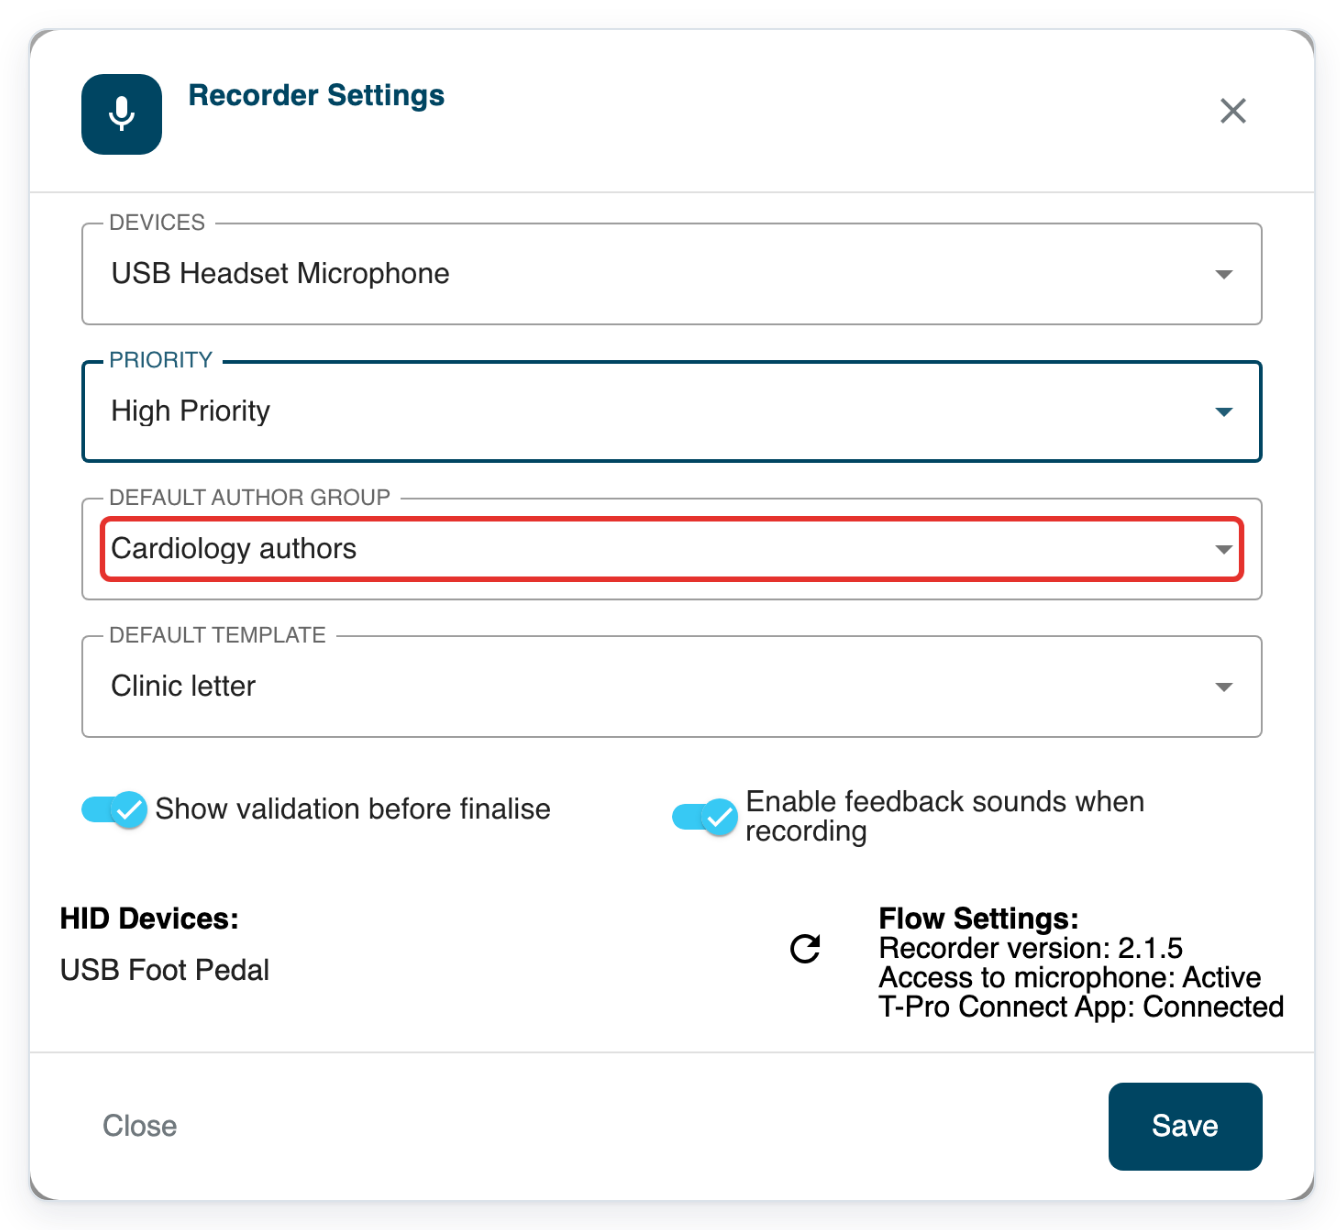
Open Default Author Group to see your author groups.
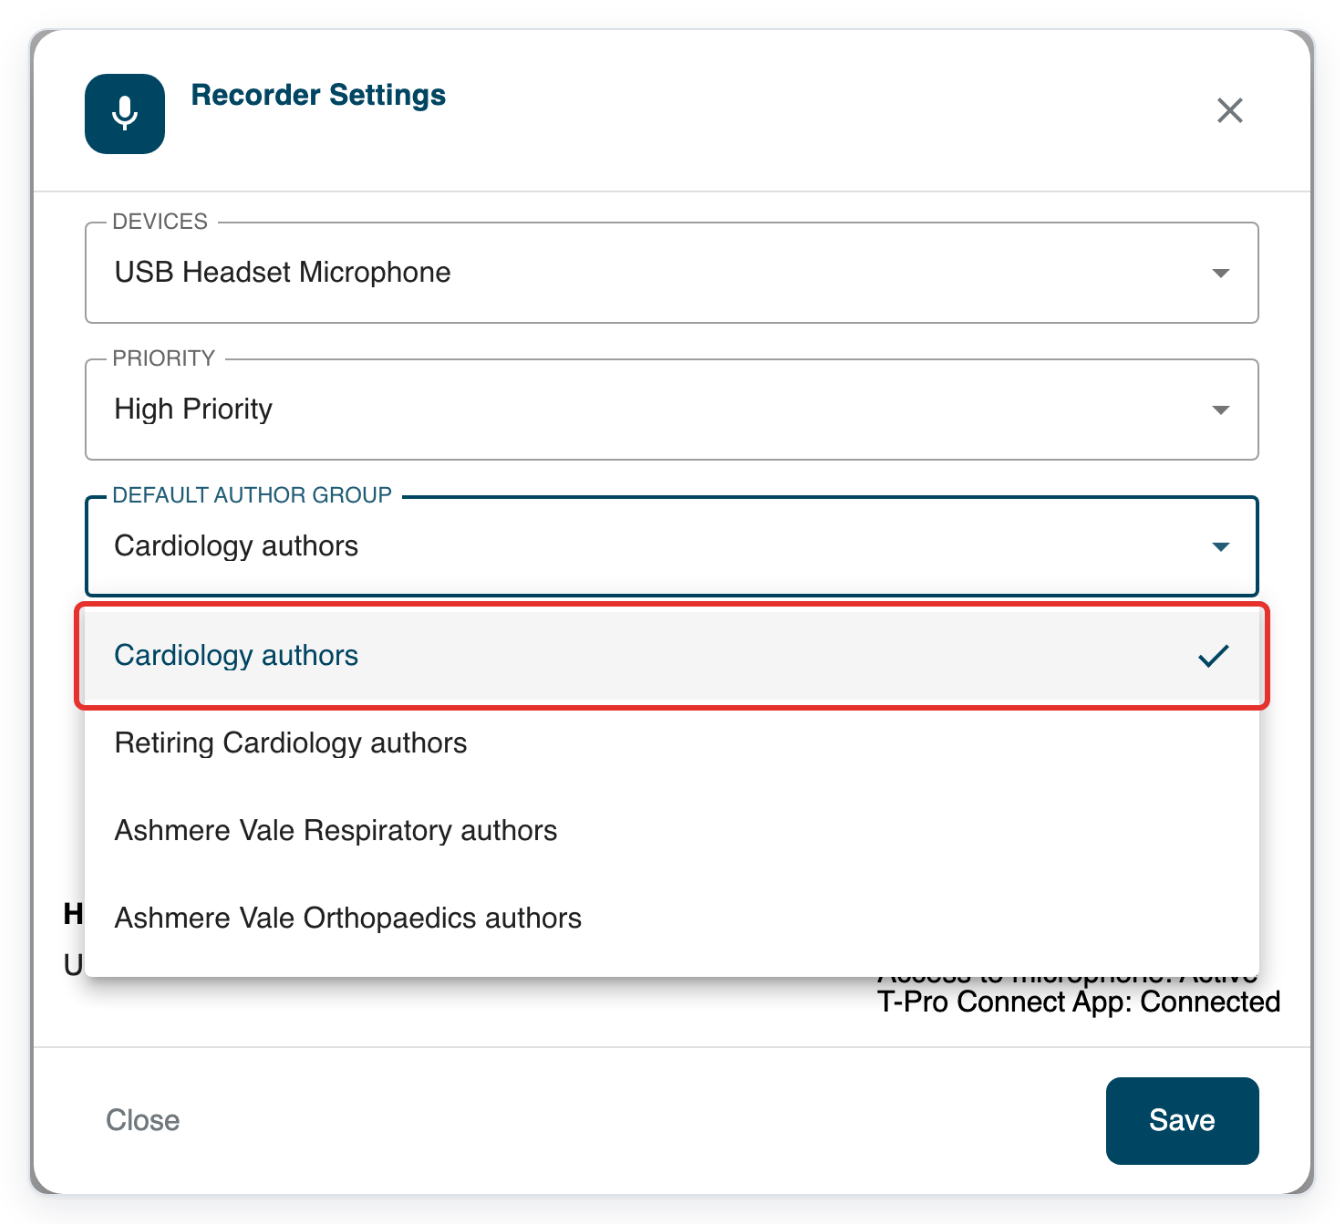
Choose the group you usually dictate for.
Select your group. This example uses Cardiology authors.
The templates in the next list depend on your group.
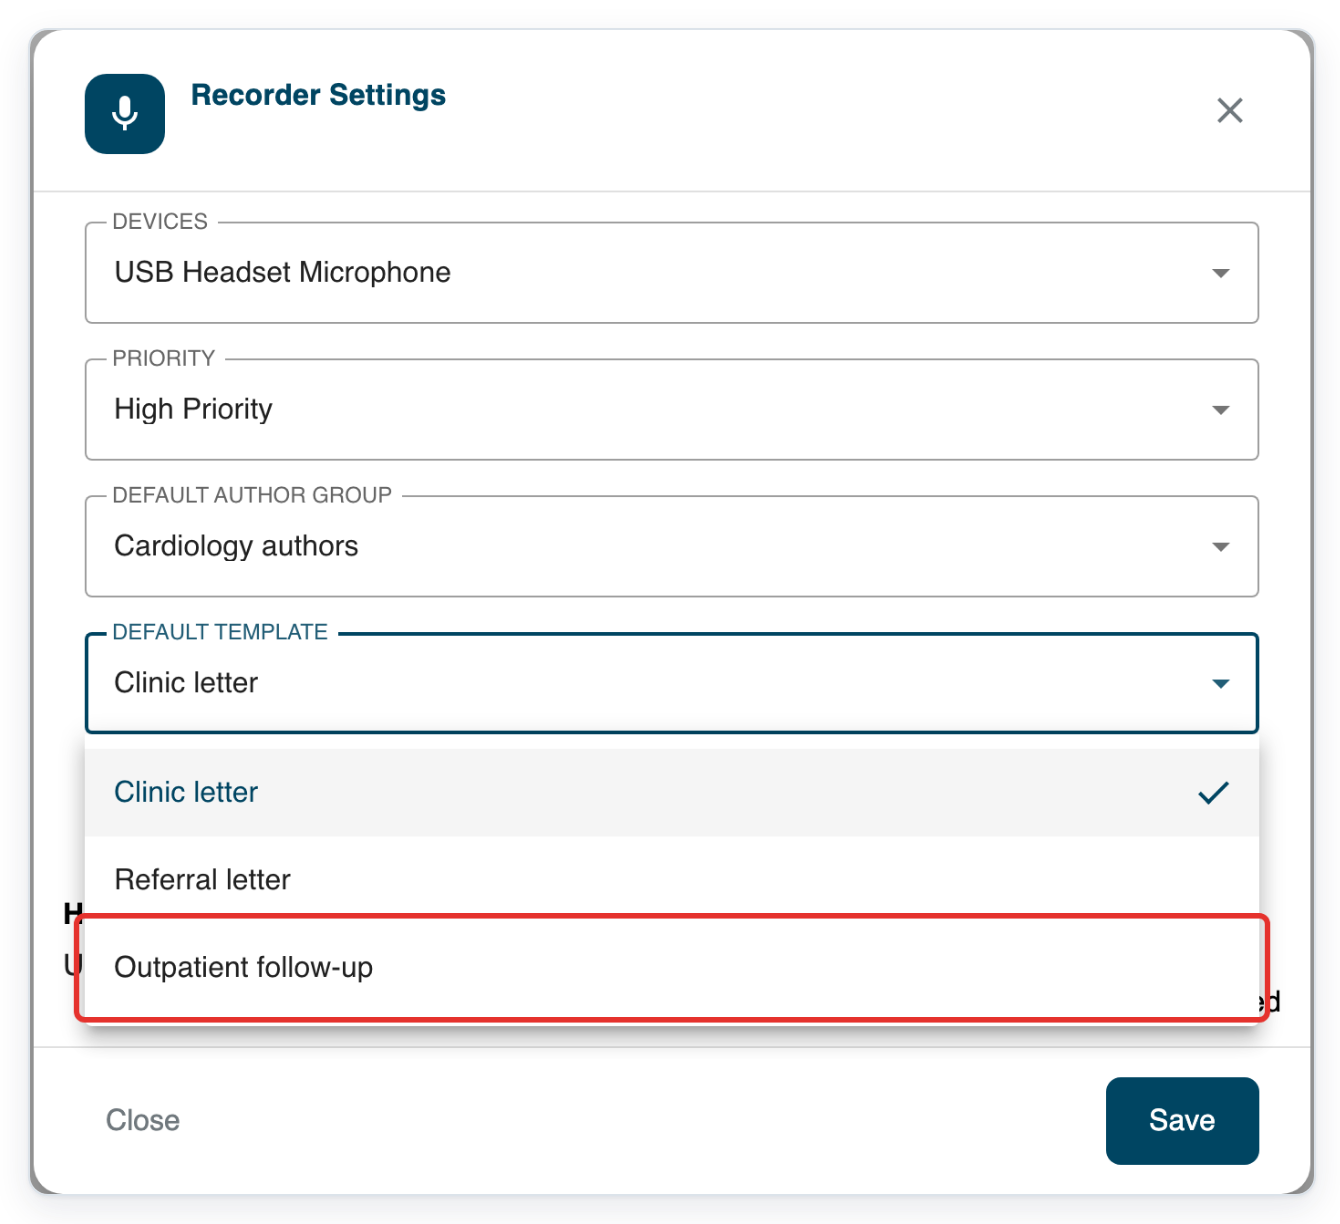
Open Default Template to see the templates for your selected author group.
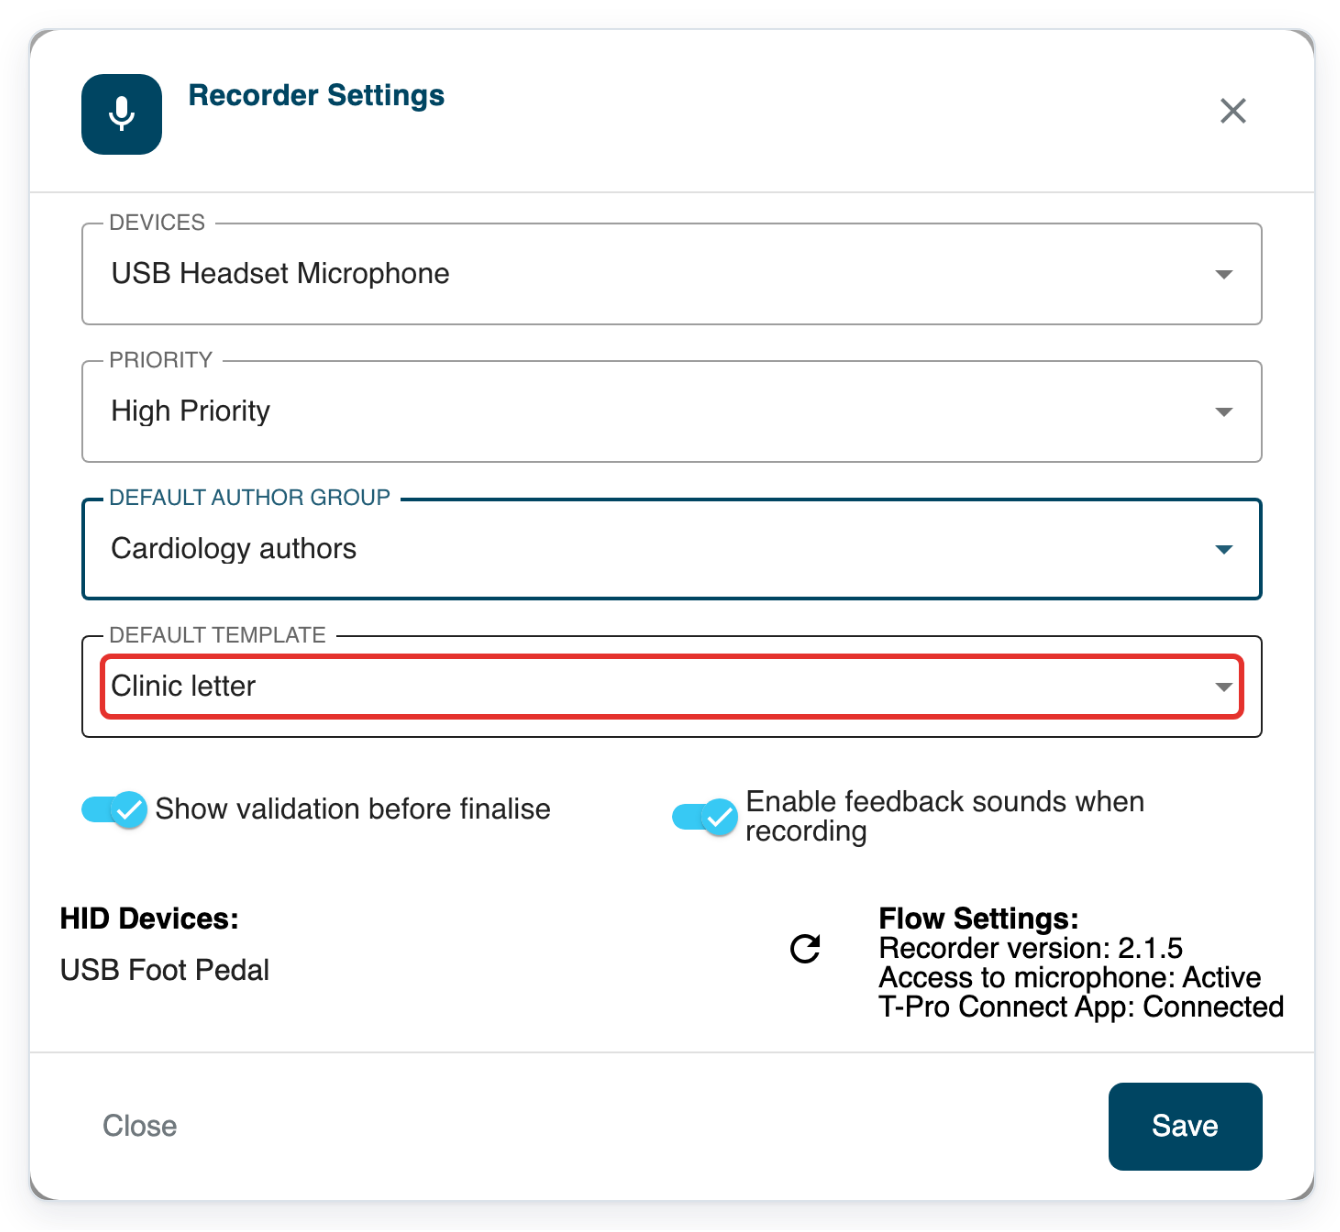
Choose your usual template, such as Outpatient follow-up.
New recordings use this document type by default.
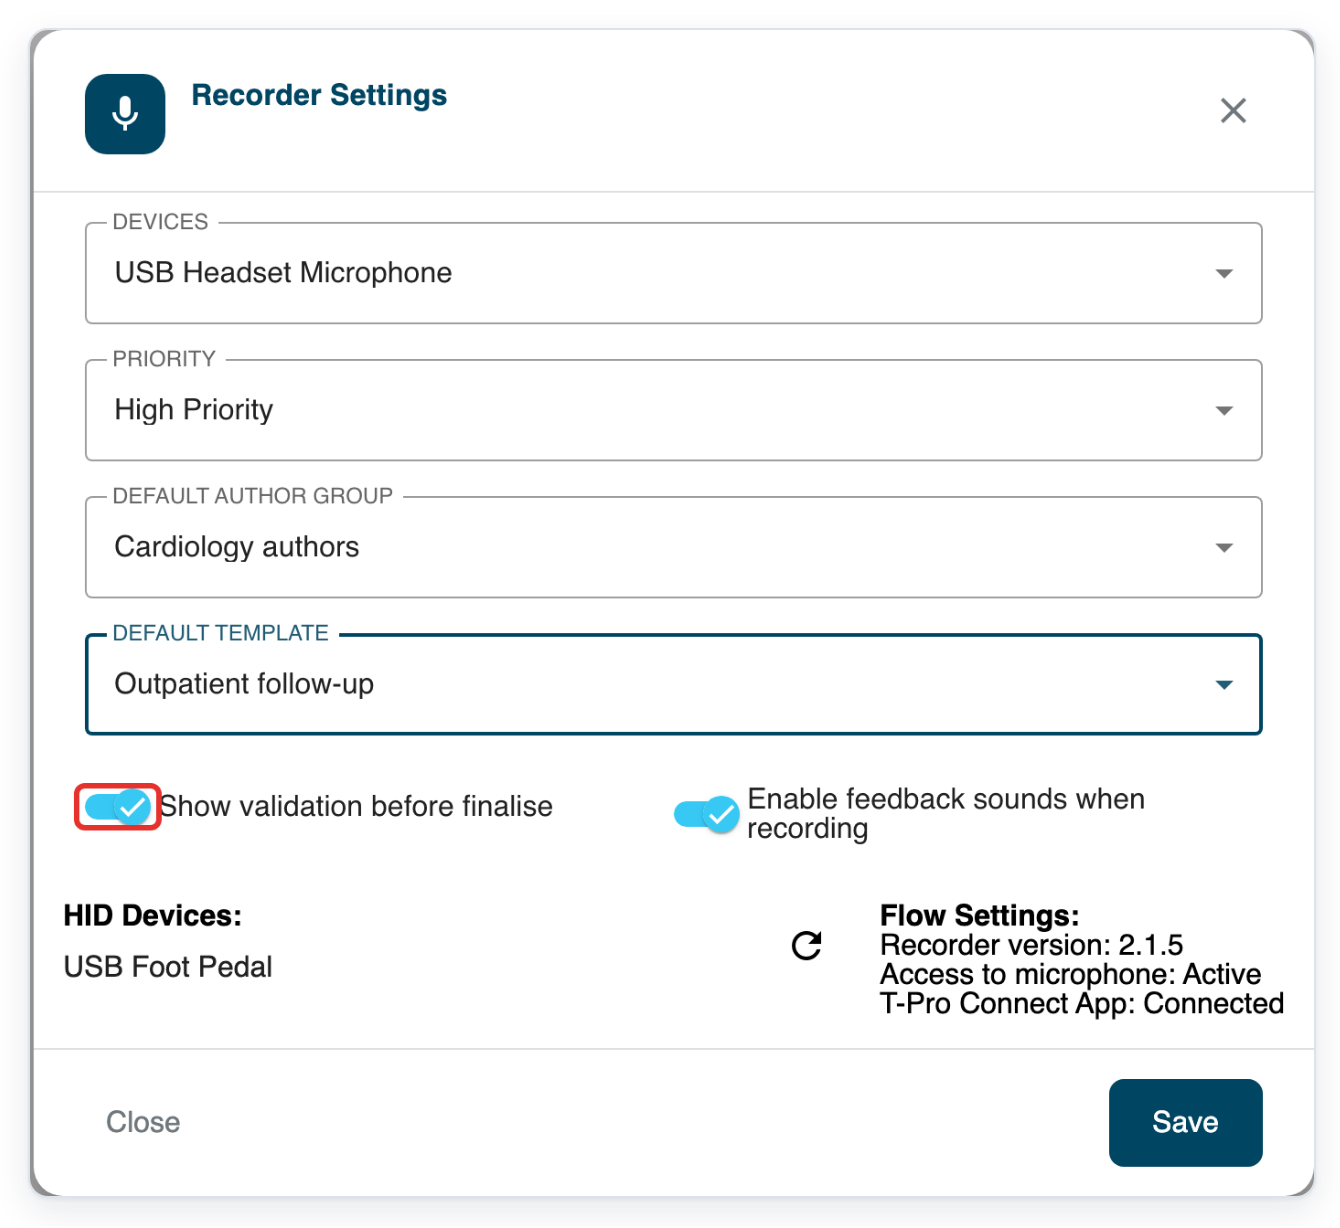
Keep Show validation before finalise on for a confirmation before you send a task.
With this turned off, Send finalises the task straight away.
Keep Enable feedback sounds when recording turned on to hear a beep when you start or stop recording.
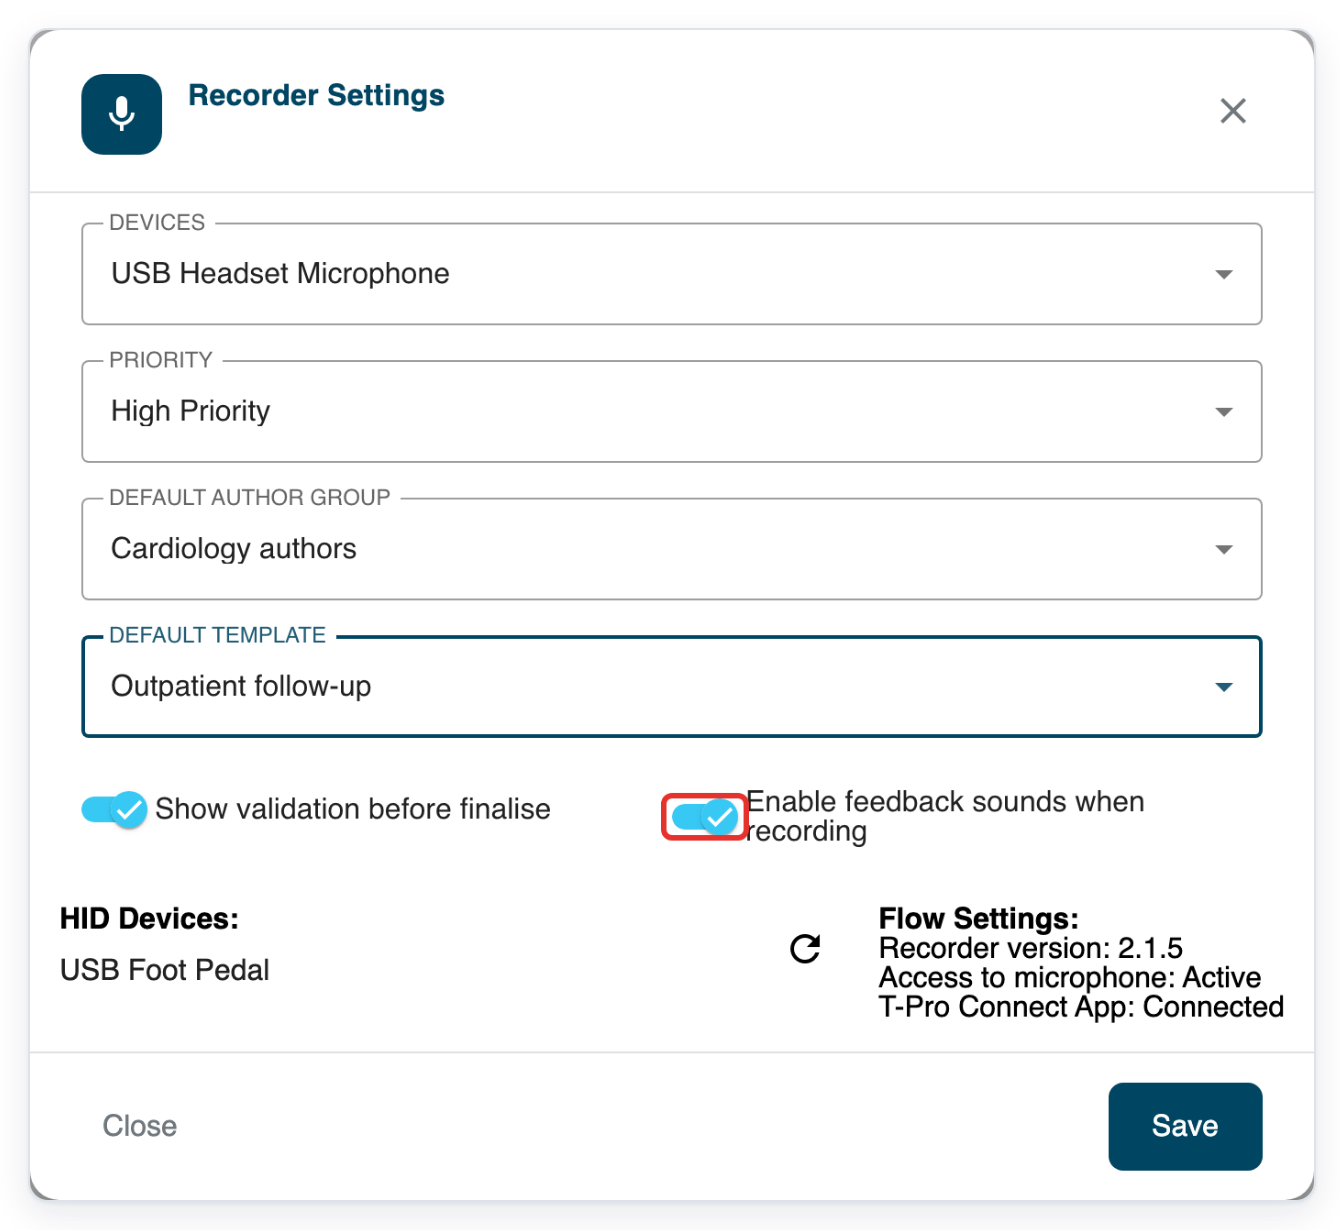
=> Your selected microphone, priority, author group and template appear together. Send confirmation and recording sounds are on. HID Devices: and Flow Settings: appear below.
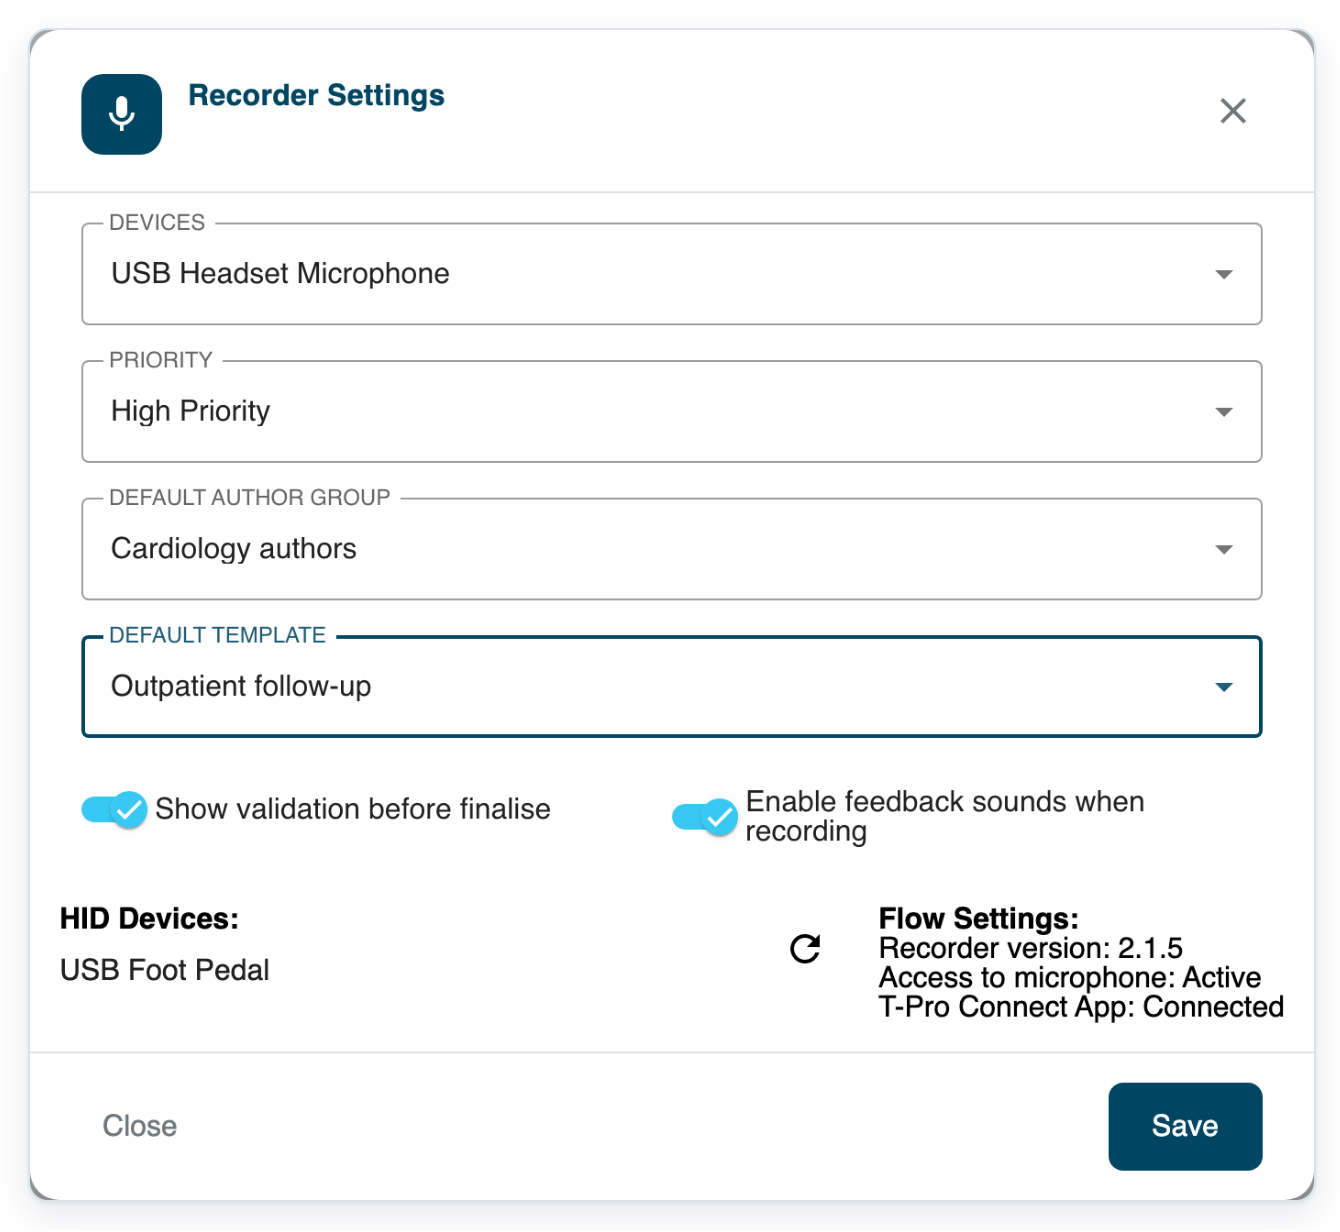
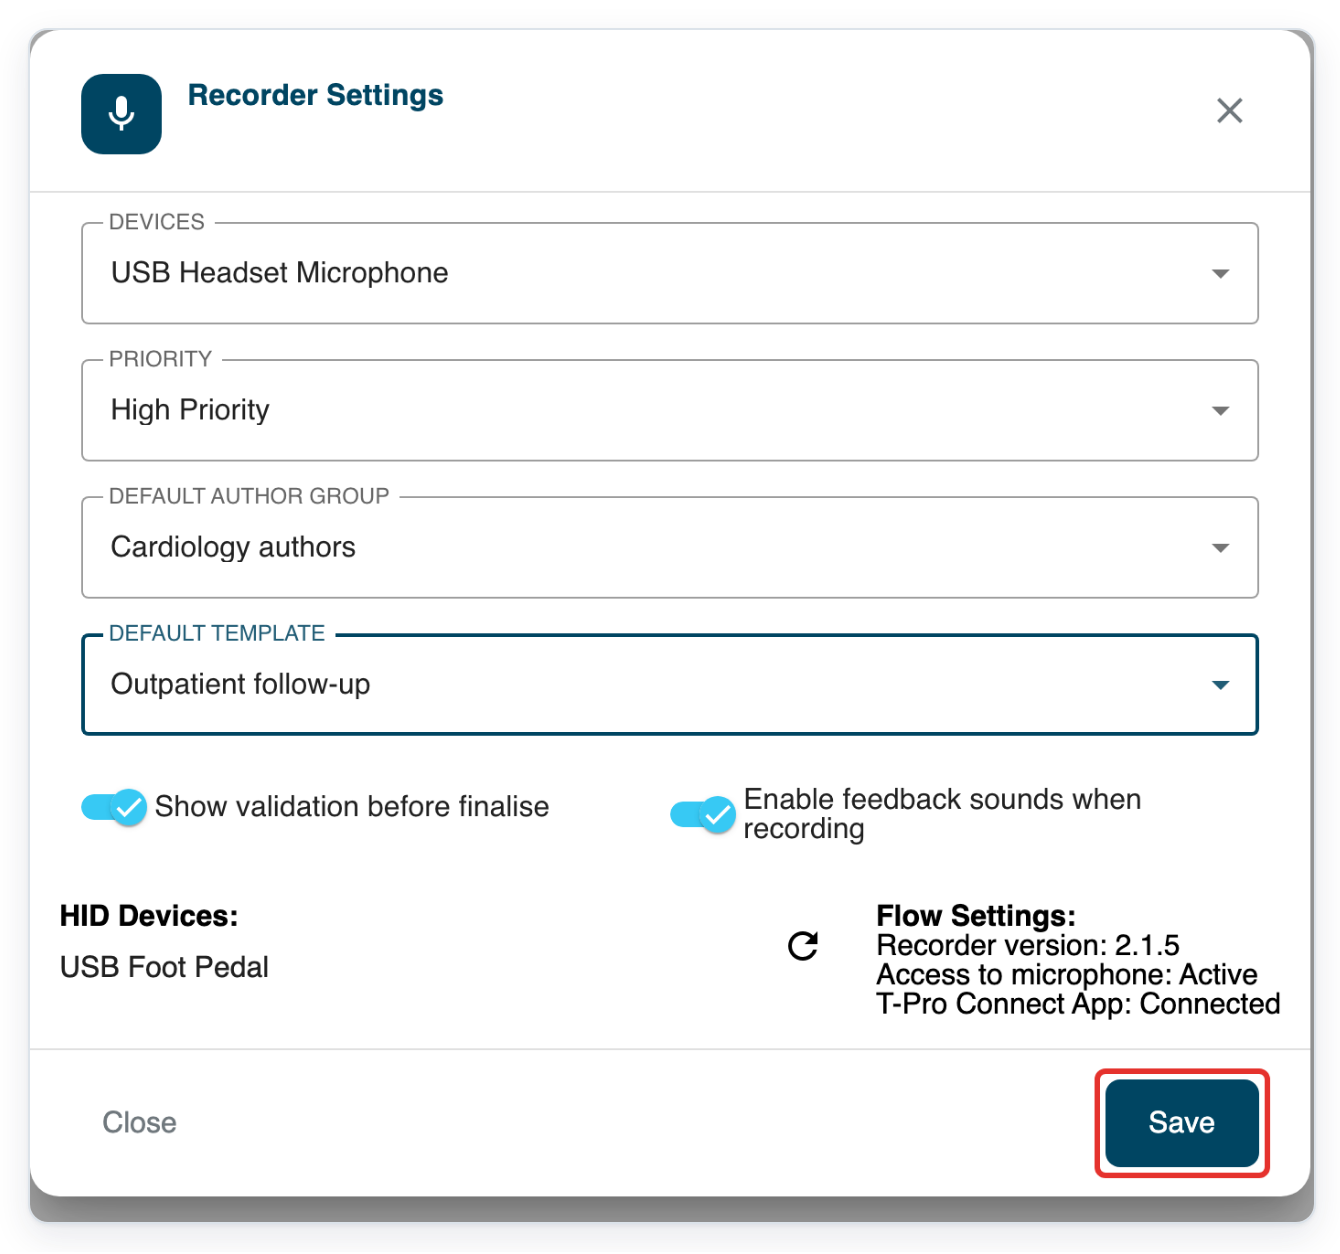
Click Save to save your settings and return to Web Recorder.
Before recording, check the author group, document type and priority in the recorder. Adjust them there if needed.
NOTE:
- In the recorder, you can change Author Group, DOCUMENT TYPE and Priority for each recording.
- Your microphone choice is saved in this browser. Check Devices when you use a different browser or computer.
- HID Devices: lists recognised recording devices, such as a foot pedal. Flow Settings: shows the recorder version, microphone access and T-Pro Connect status.
Tip: Change Default Author Group and Default Template before recording a batch for a different group. Click Save, then check the selections in the recorder.
Can't change your Web Recorder settings?
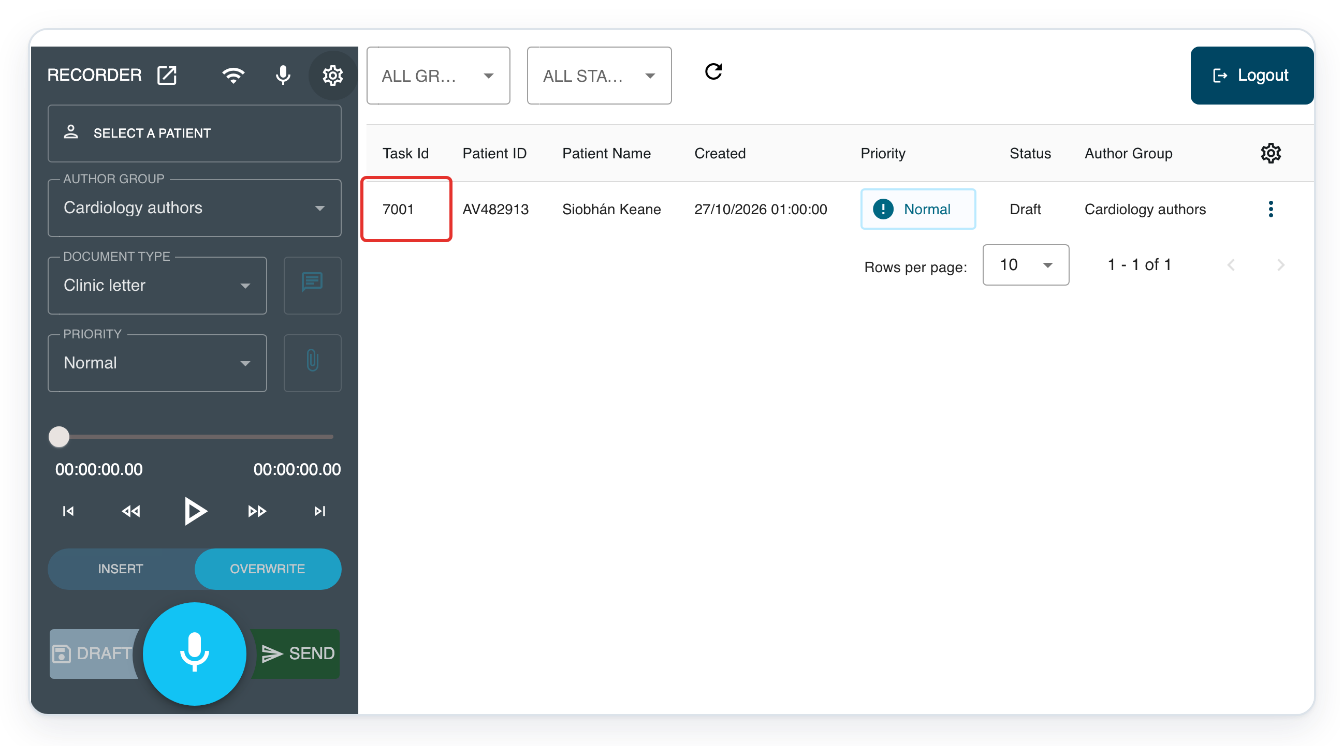
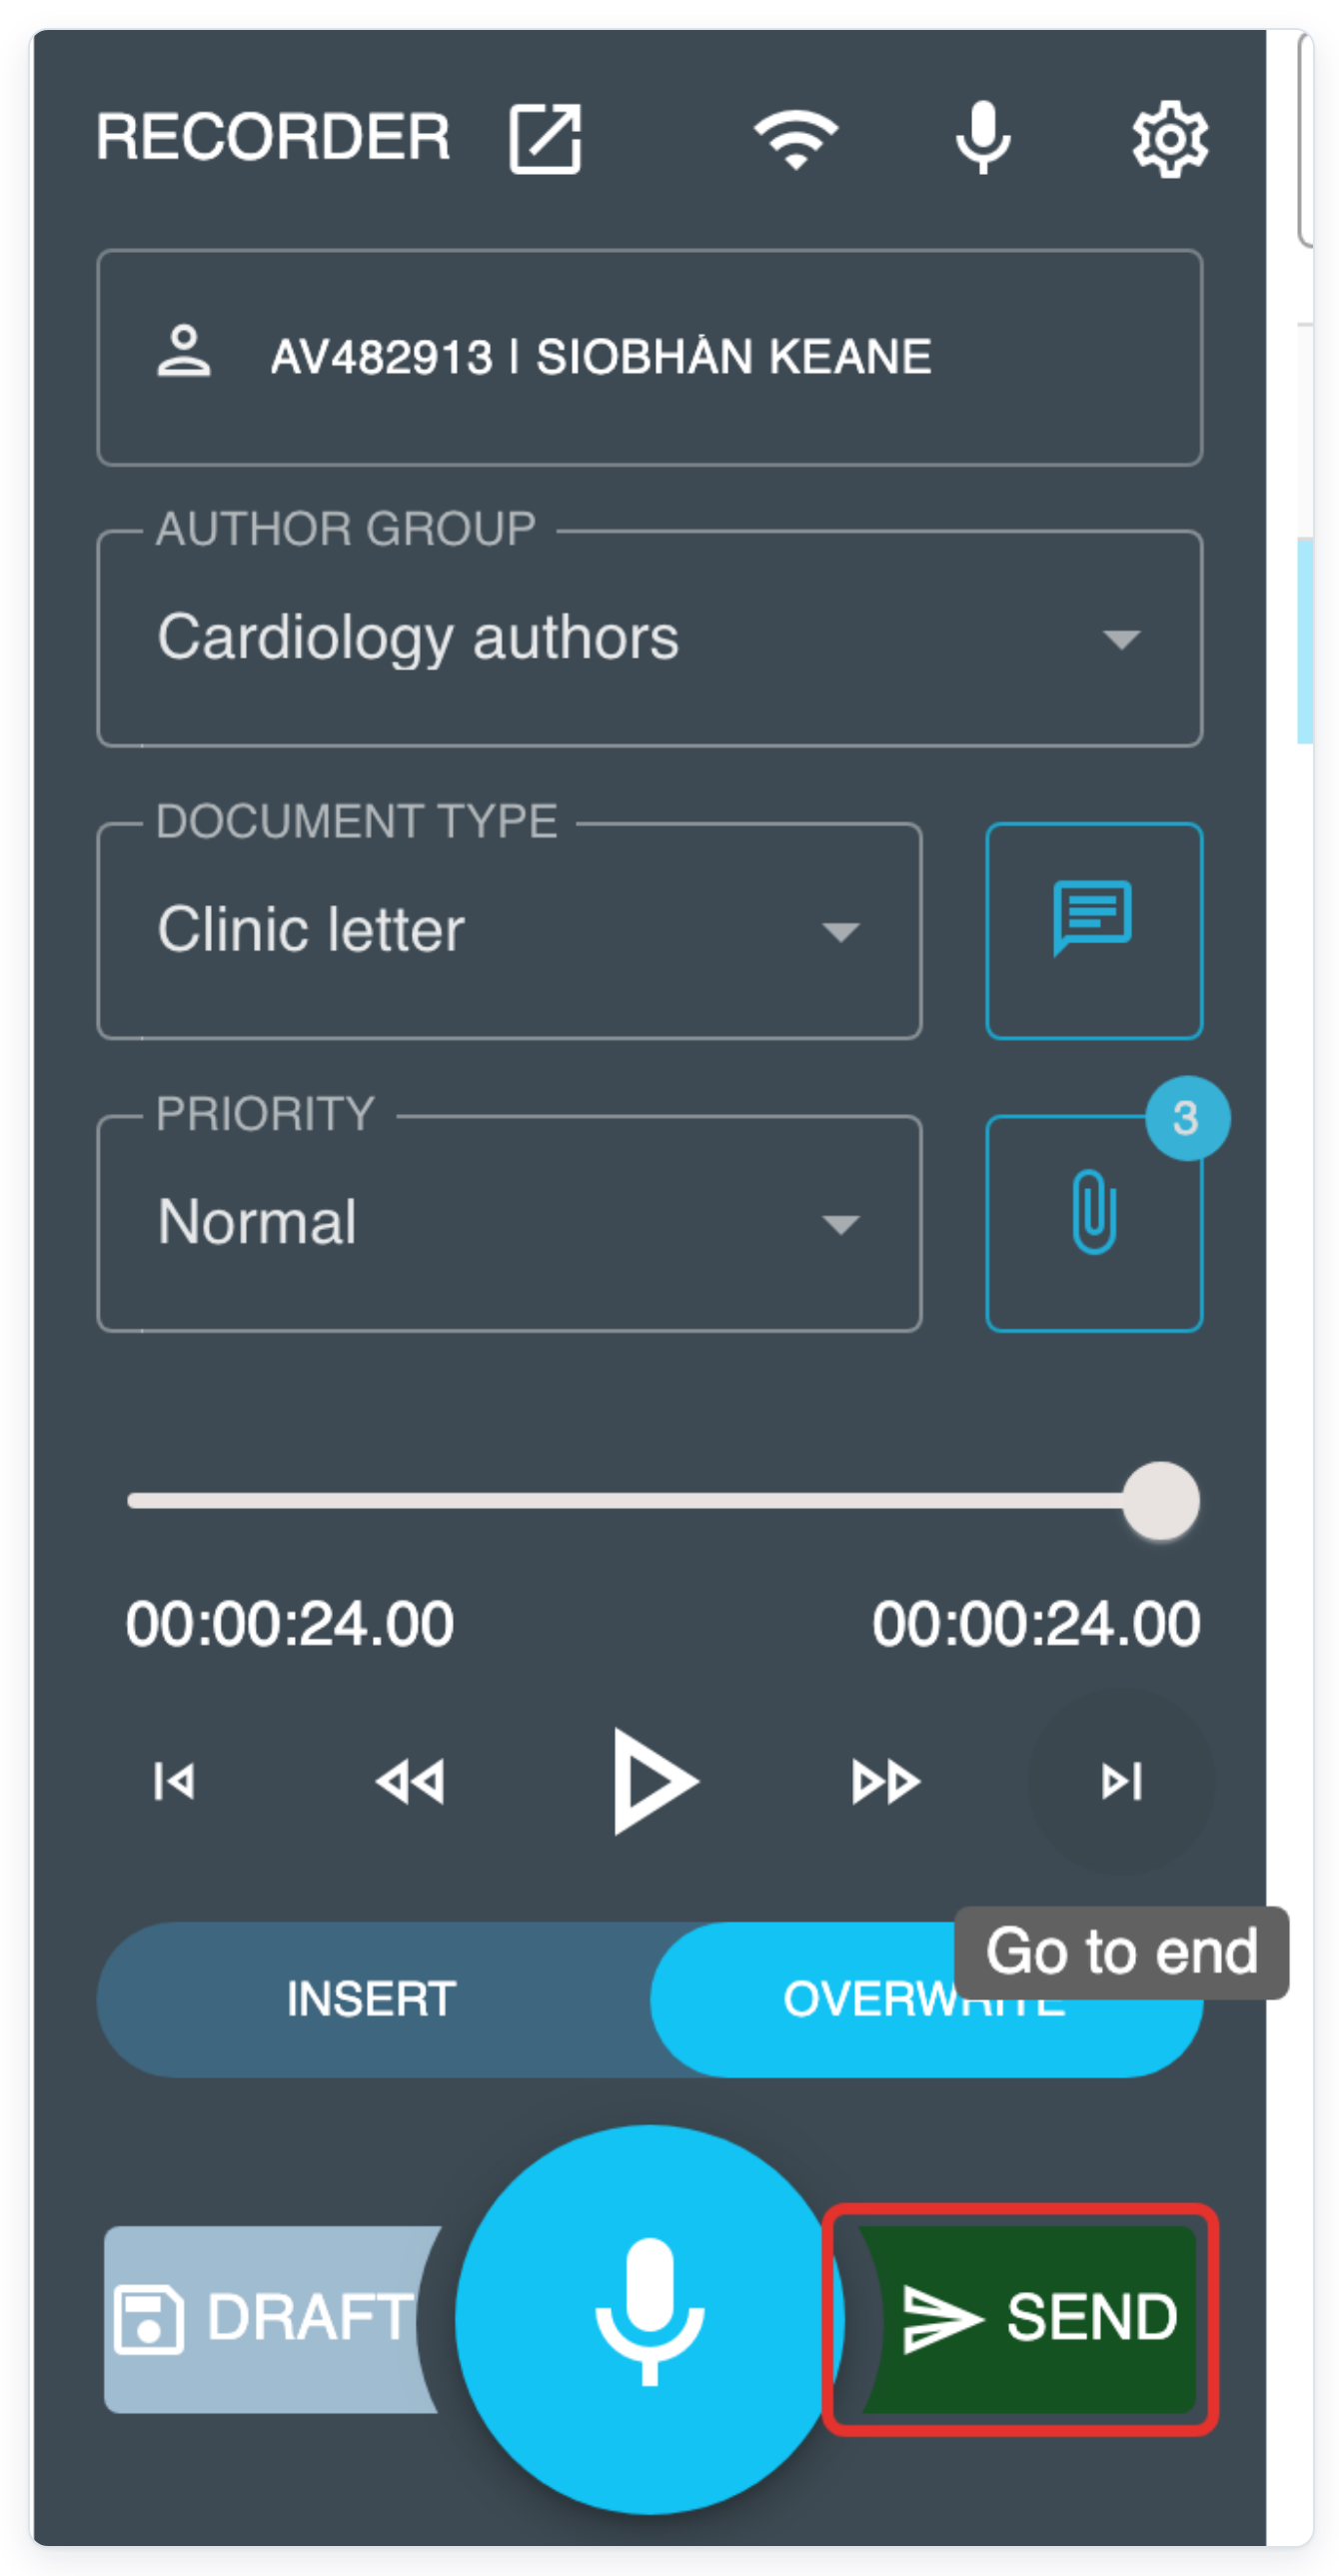
No confirmation before sending? Make sure Show validation before finalise is on, then click Save. To check the confirmation, open a Draft task with saved audio, such as task 7001 shown here.
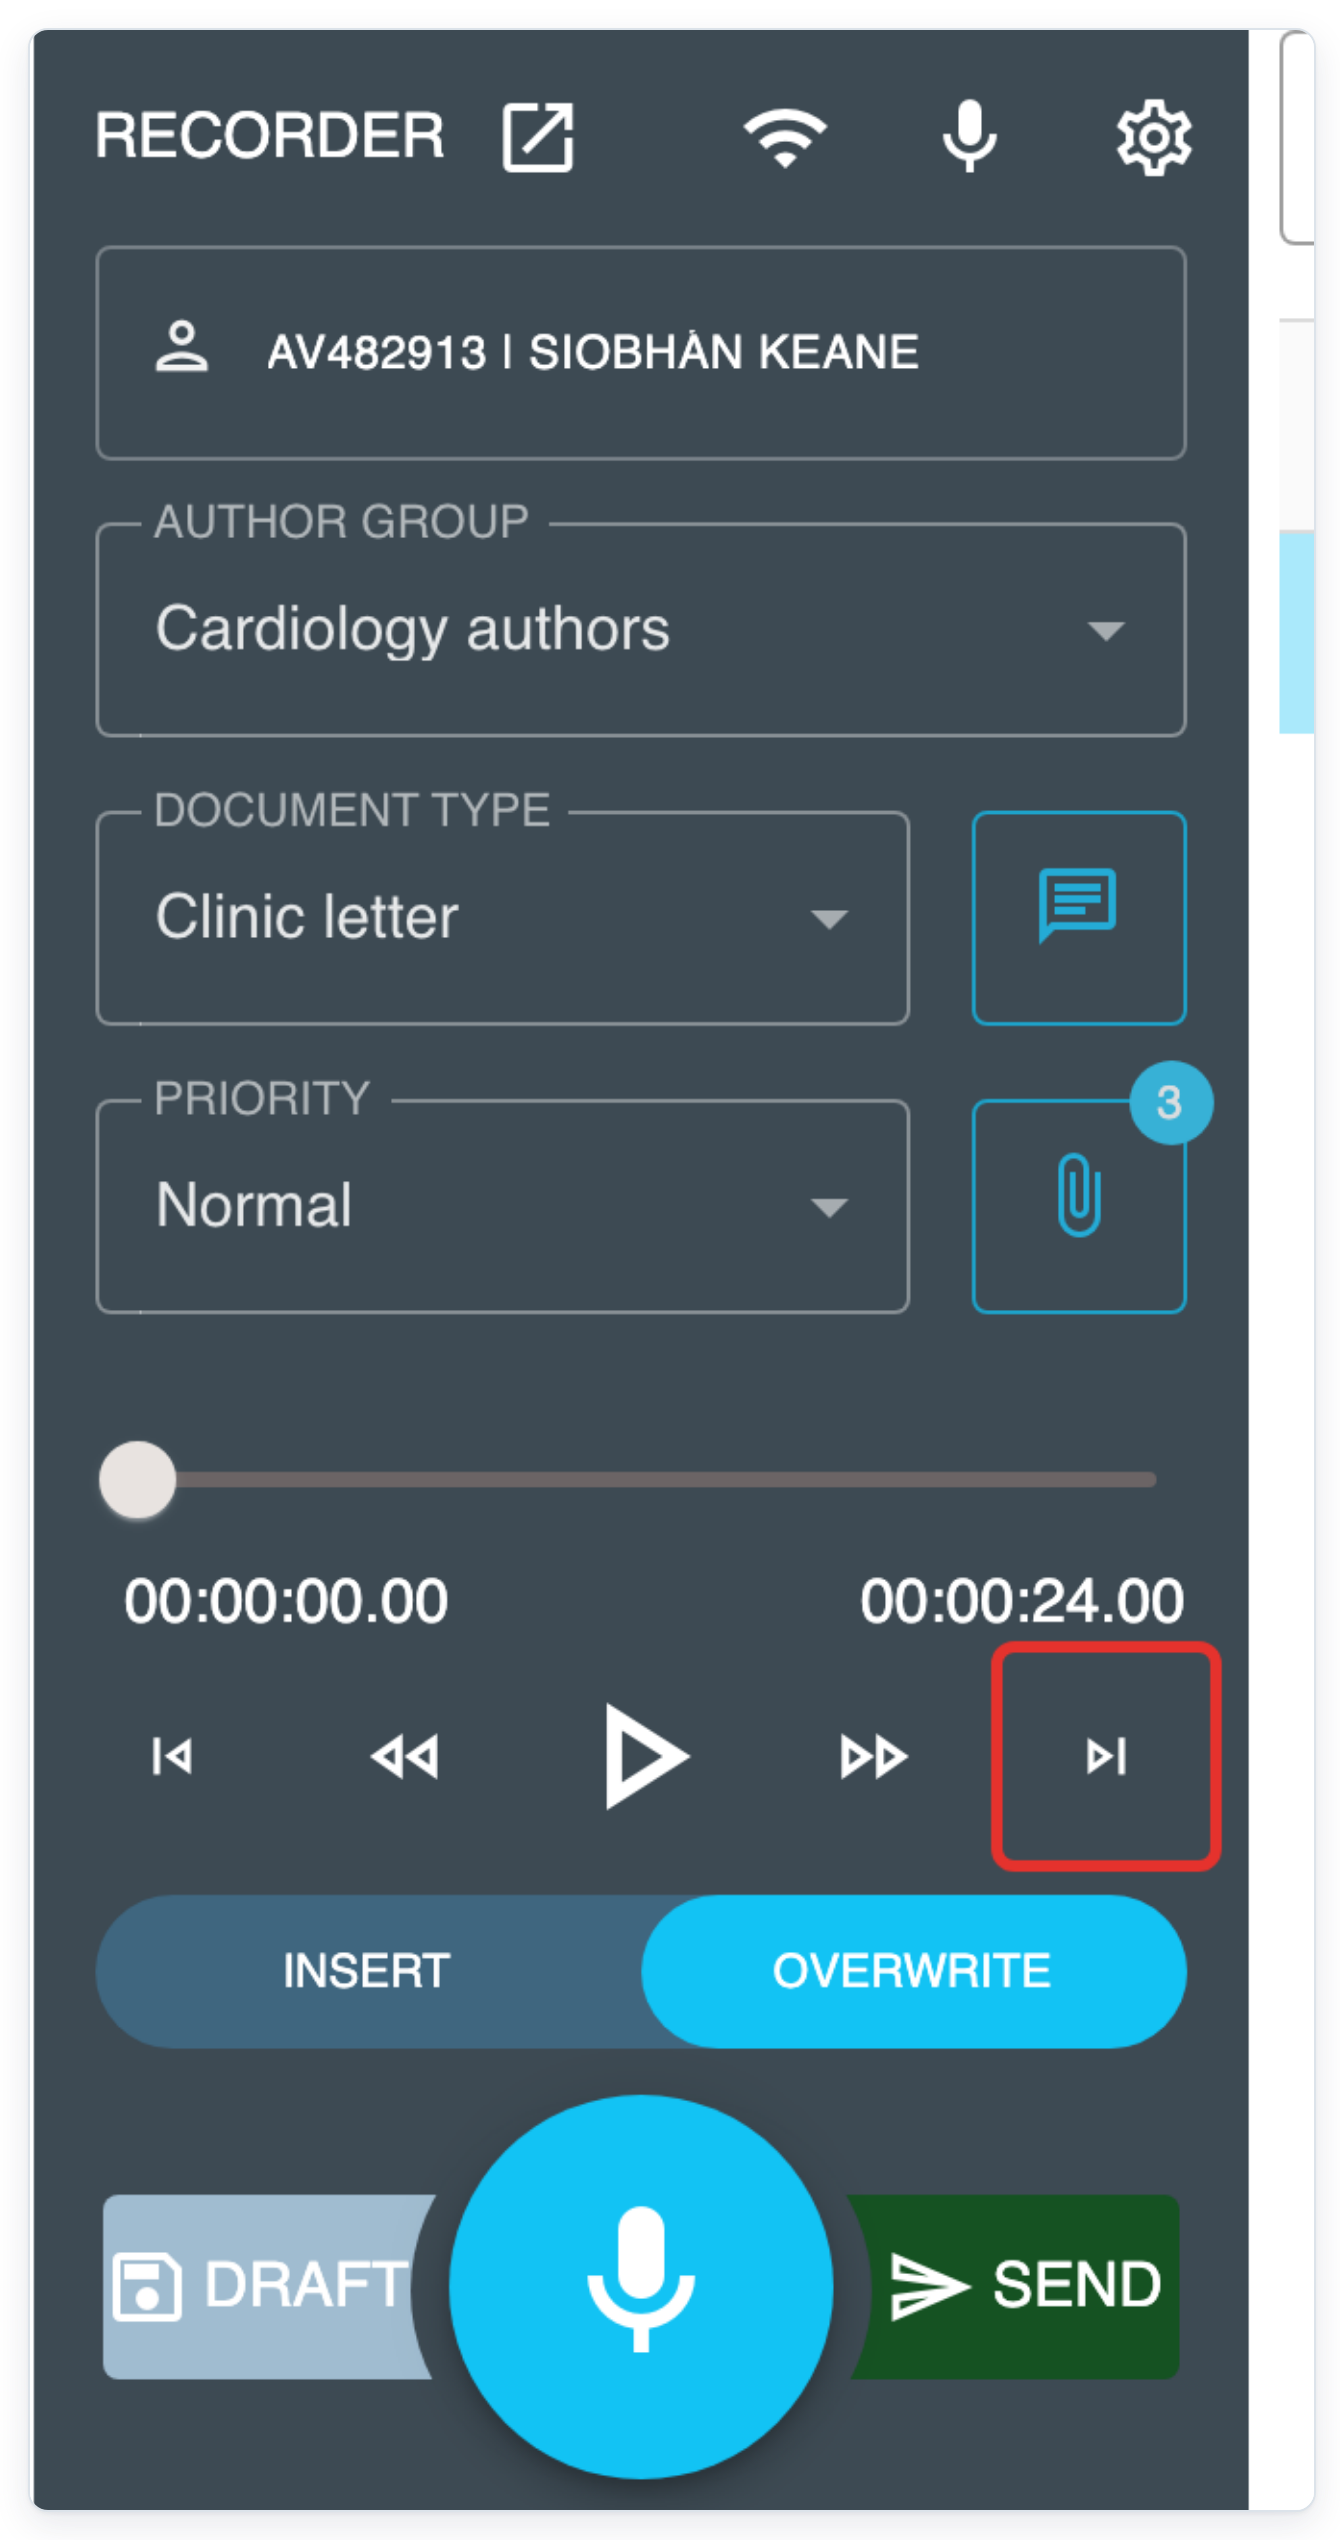
Pause recording and playback, then click Go to end. The time on the right shows the recording's full length.
Click Send to open the confirmation.
=> Are you sure you want to send? appears. Choose Yes to finalise the task, or No to return without sending.
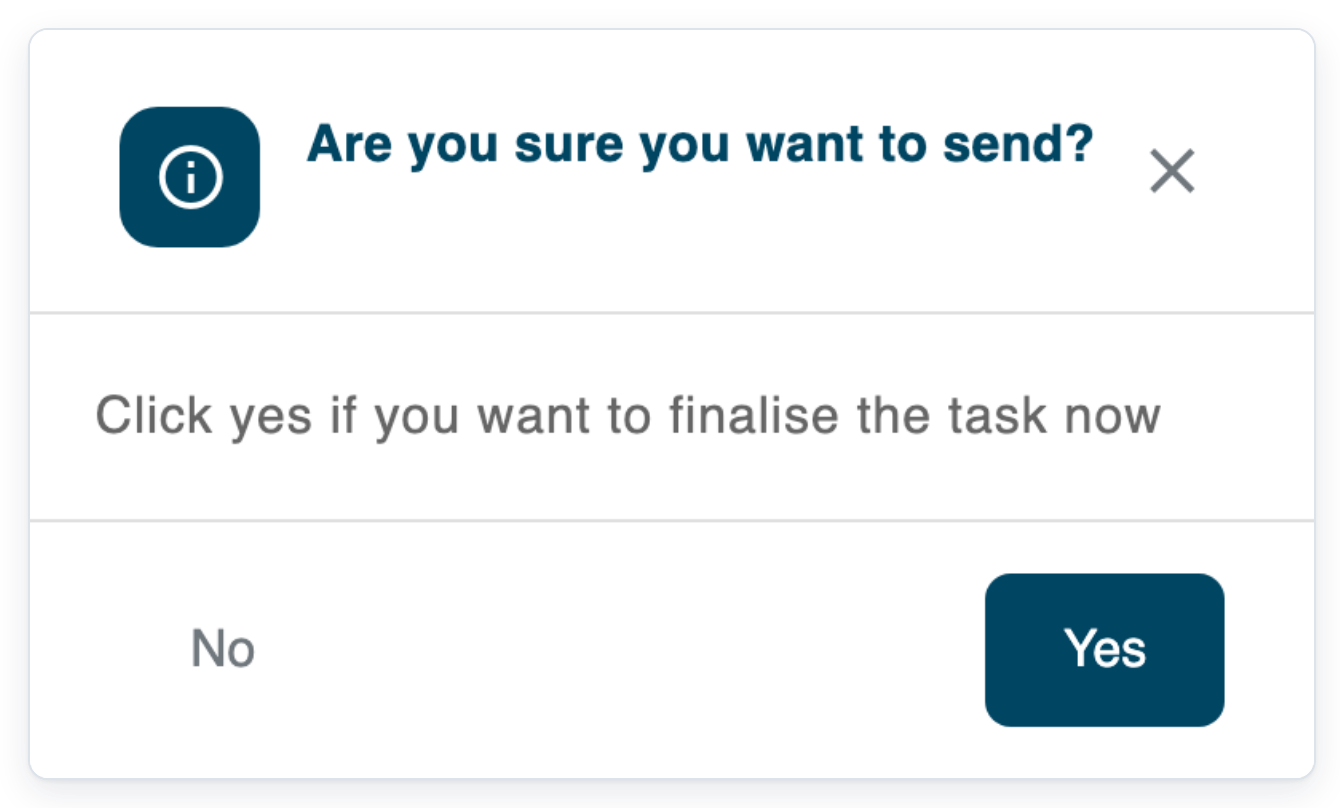
For this check, click No to keep your draft.
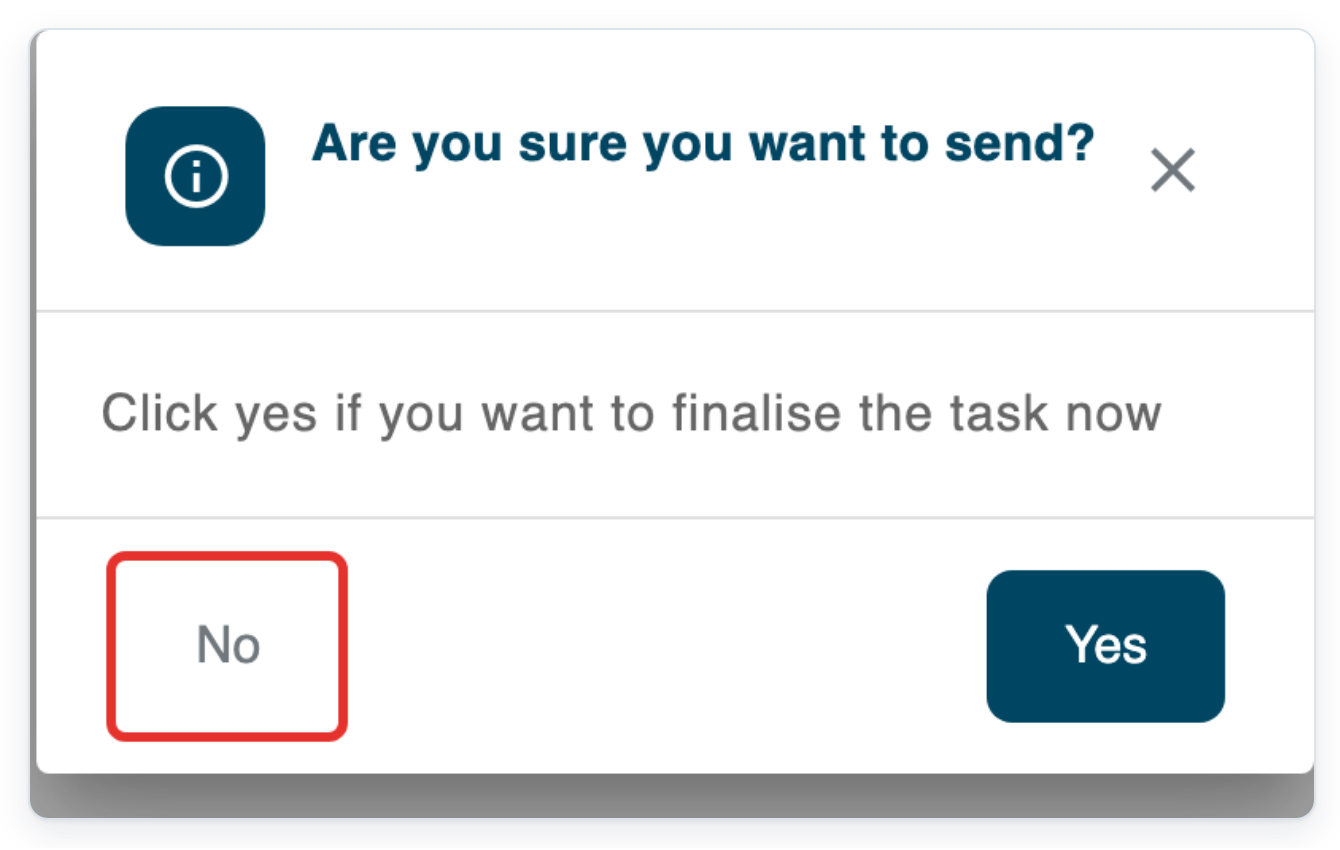
You return to the draft and can continue working on it.
Microphone missing from Devices? In Recorder Settings, click the circular refresh icon beside HID Devices:. Then reopen Devices to check the list.
Template missing? Check Default Author Group first. Select the group you need, then reopen Default Template to see its templates.
Related articles
- Record a dictation with Web Recorder
- Change a task's priority
- Set an author's default group and template
If you have any more queries, please do not hesitate to contact our Helpdesk or support@tpro.io.
© 2020 - 2026