
Before you start
You need an author account, a microphone and an internet connection. Allow your browser to use the microphone.
Log in to T-Pro with your author credentials.
Enter your Email address and Password, then click Login.
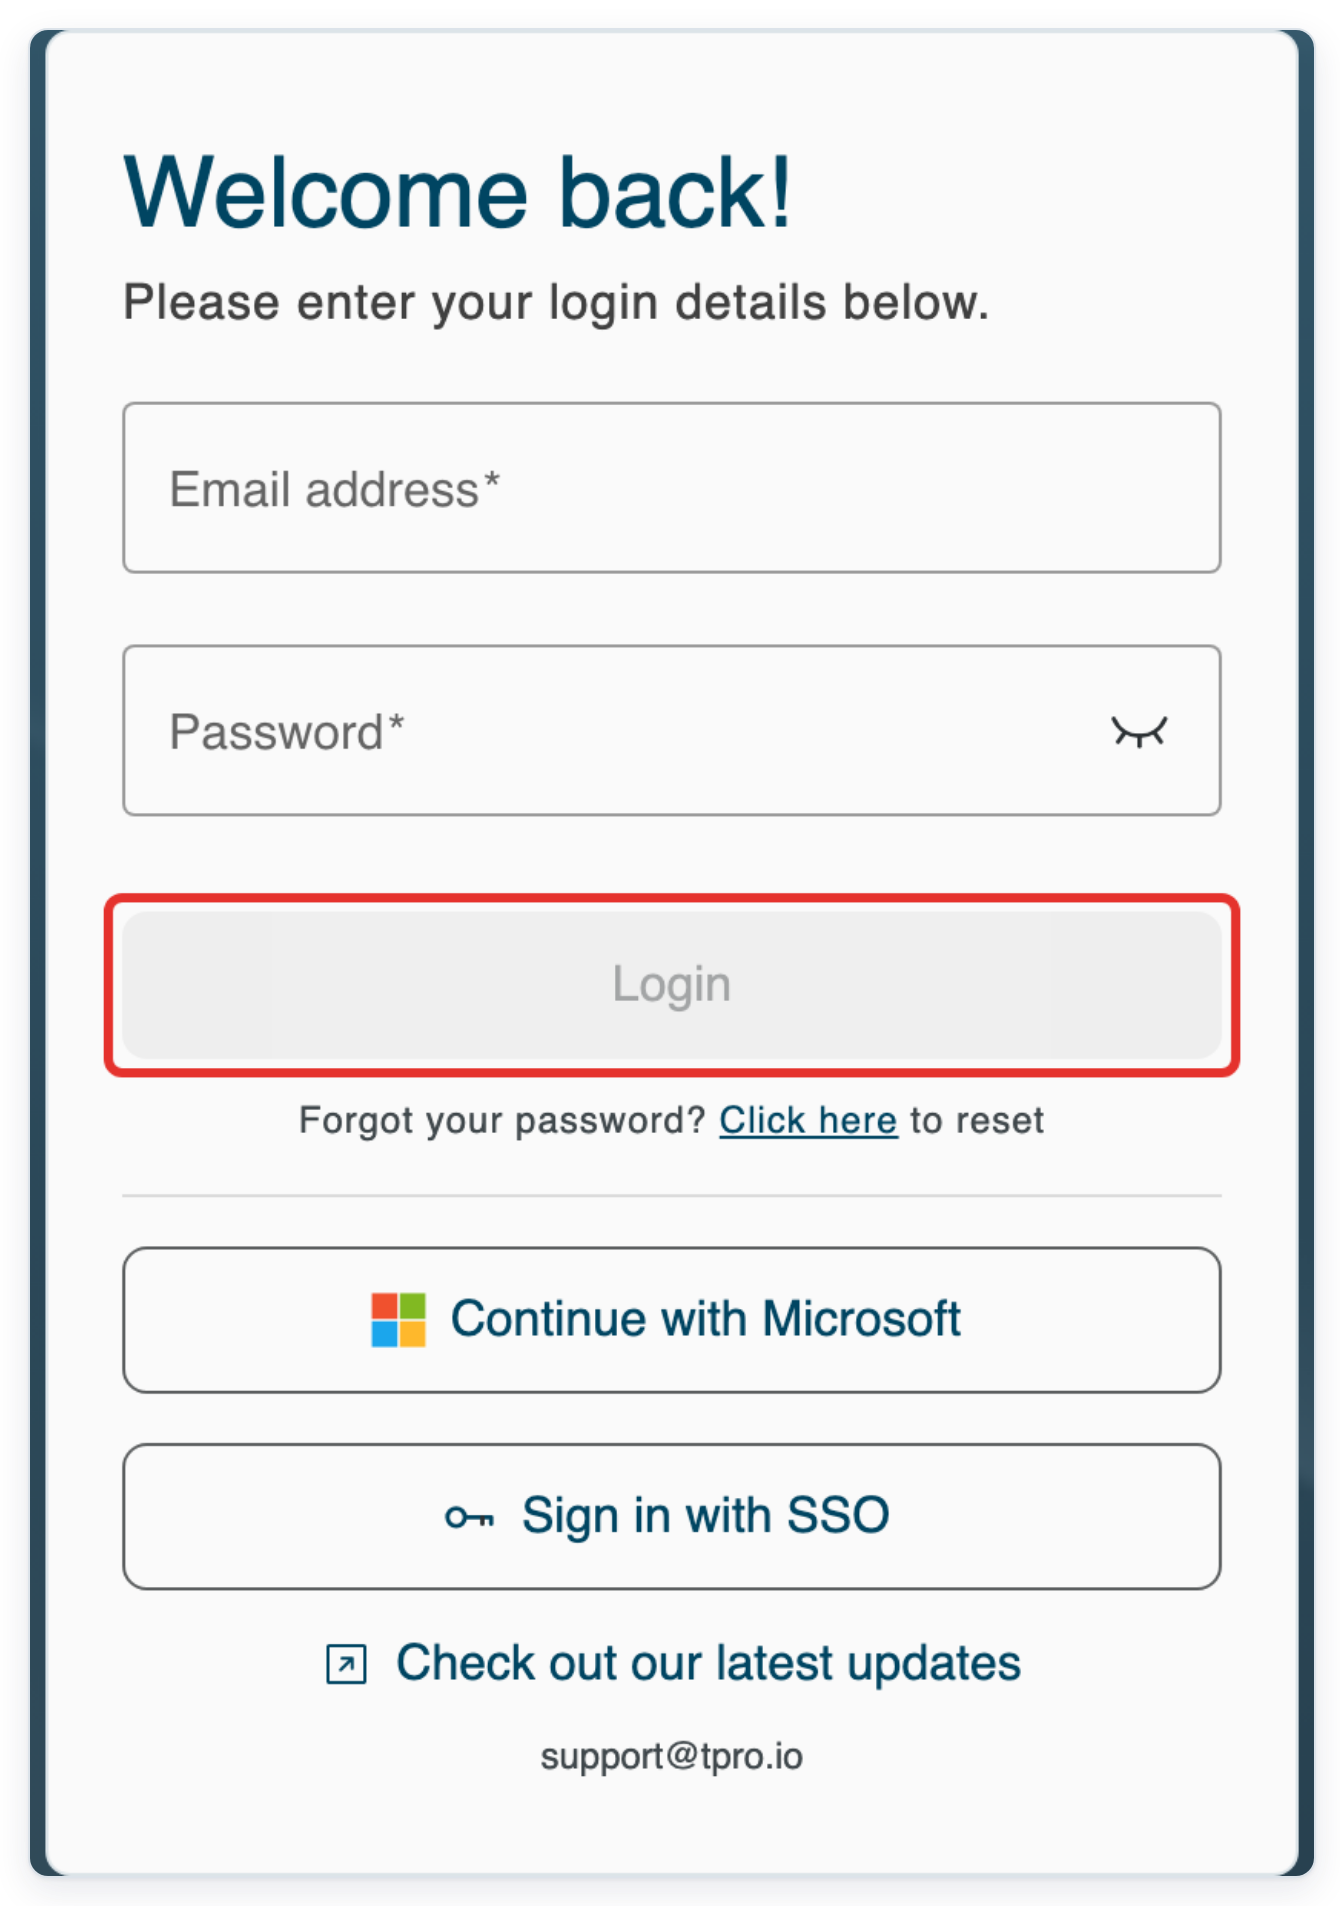
Set up your author account
Click Email address to sign in with your first-time author account.
Follow these setup steps if this is your first sign-in. If your account is already set up, go to “Record and send a dictation” below.
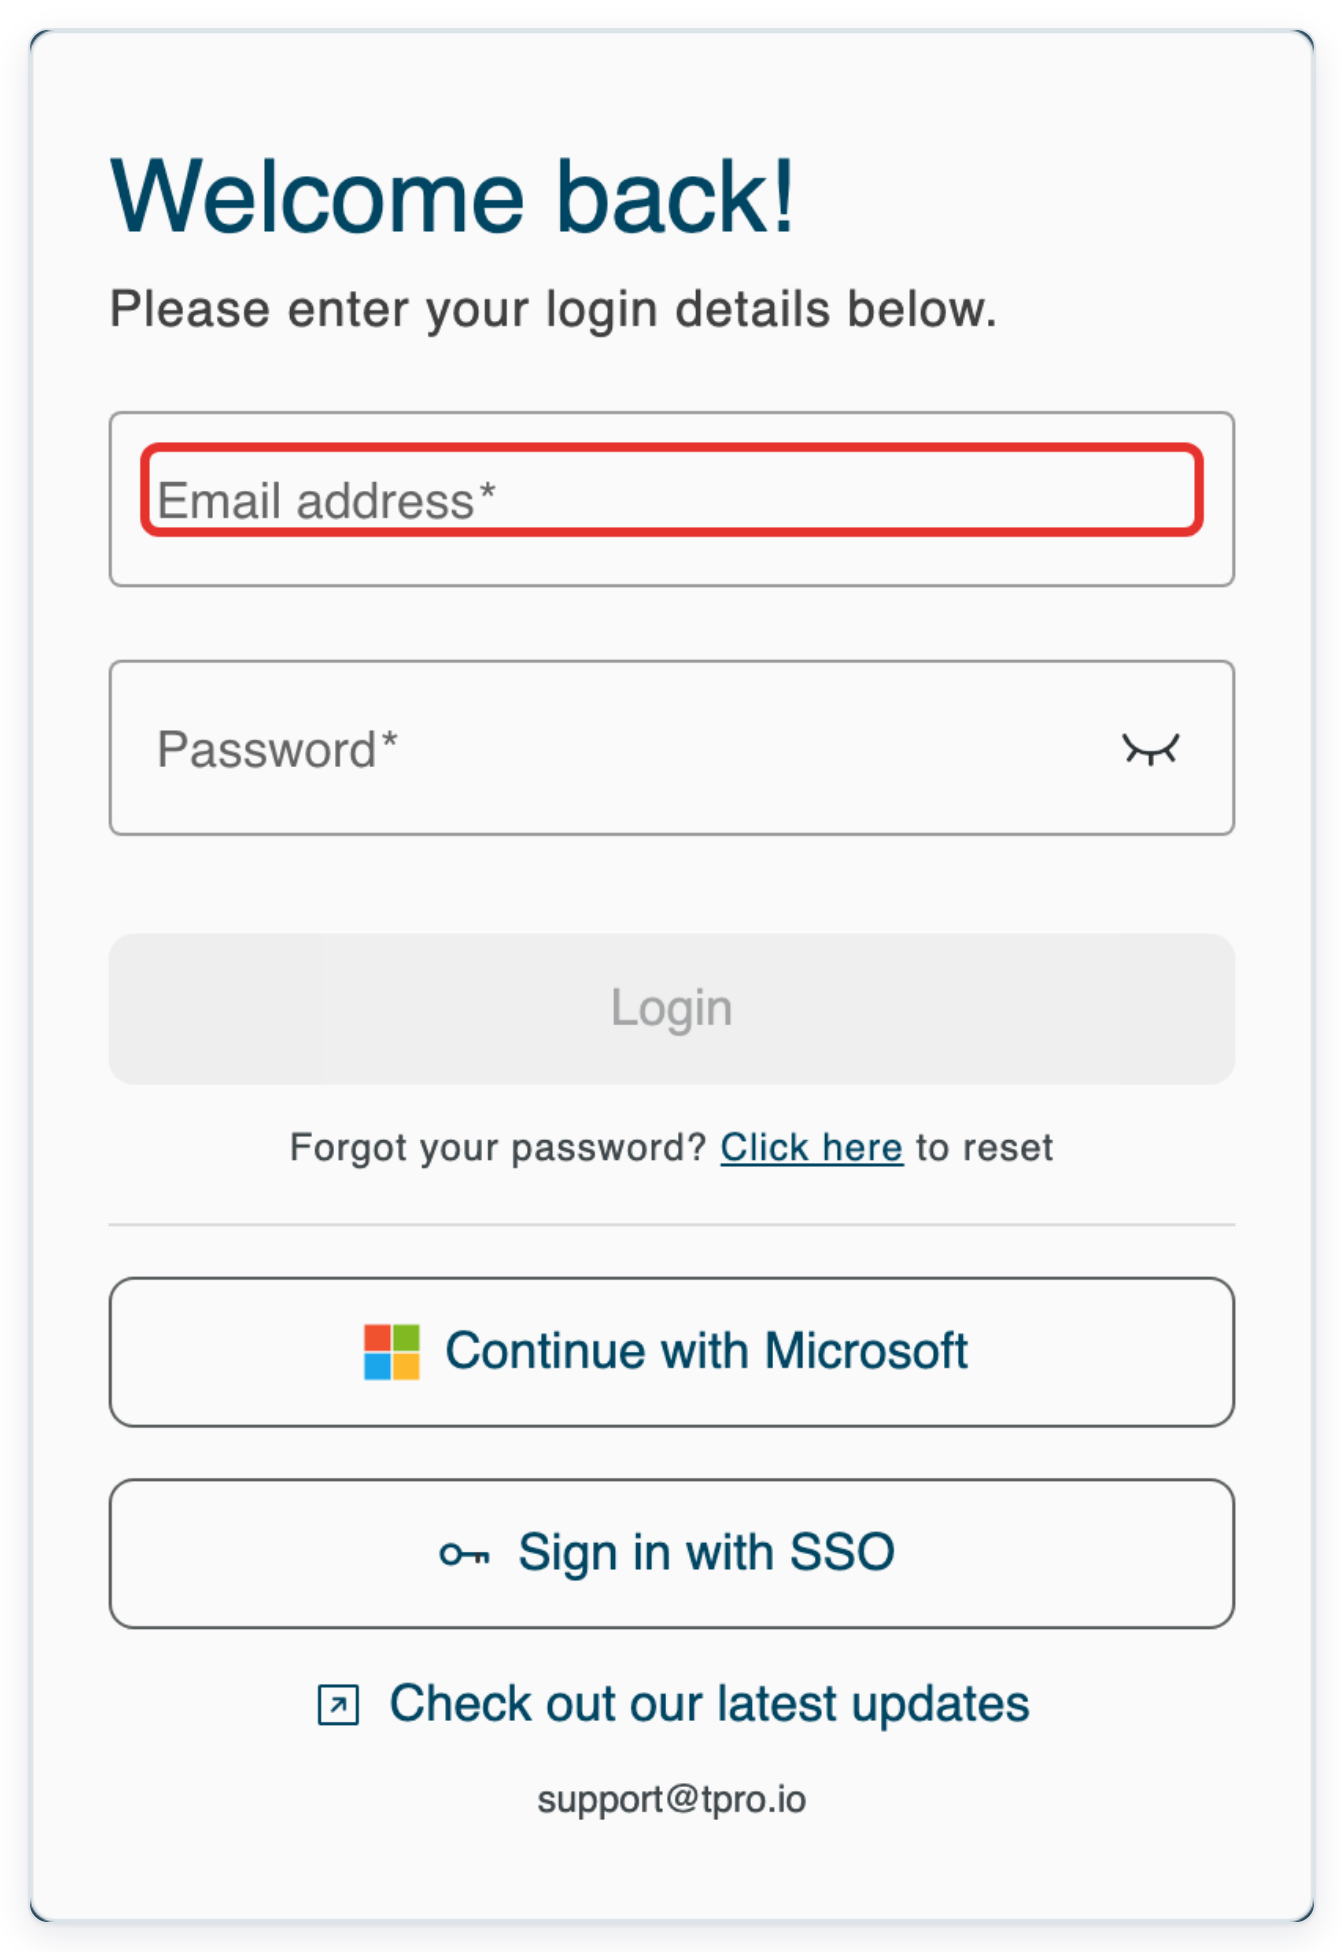
Enter your author account email address.
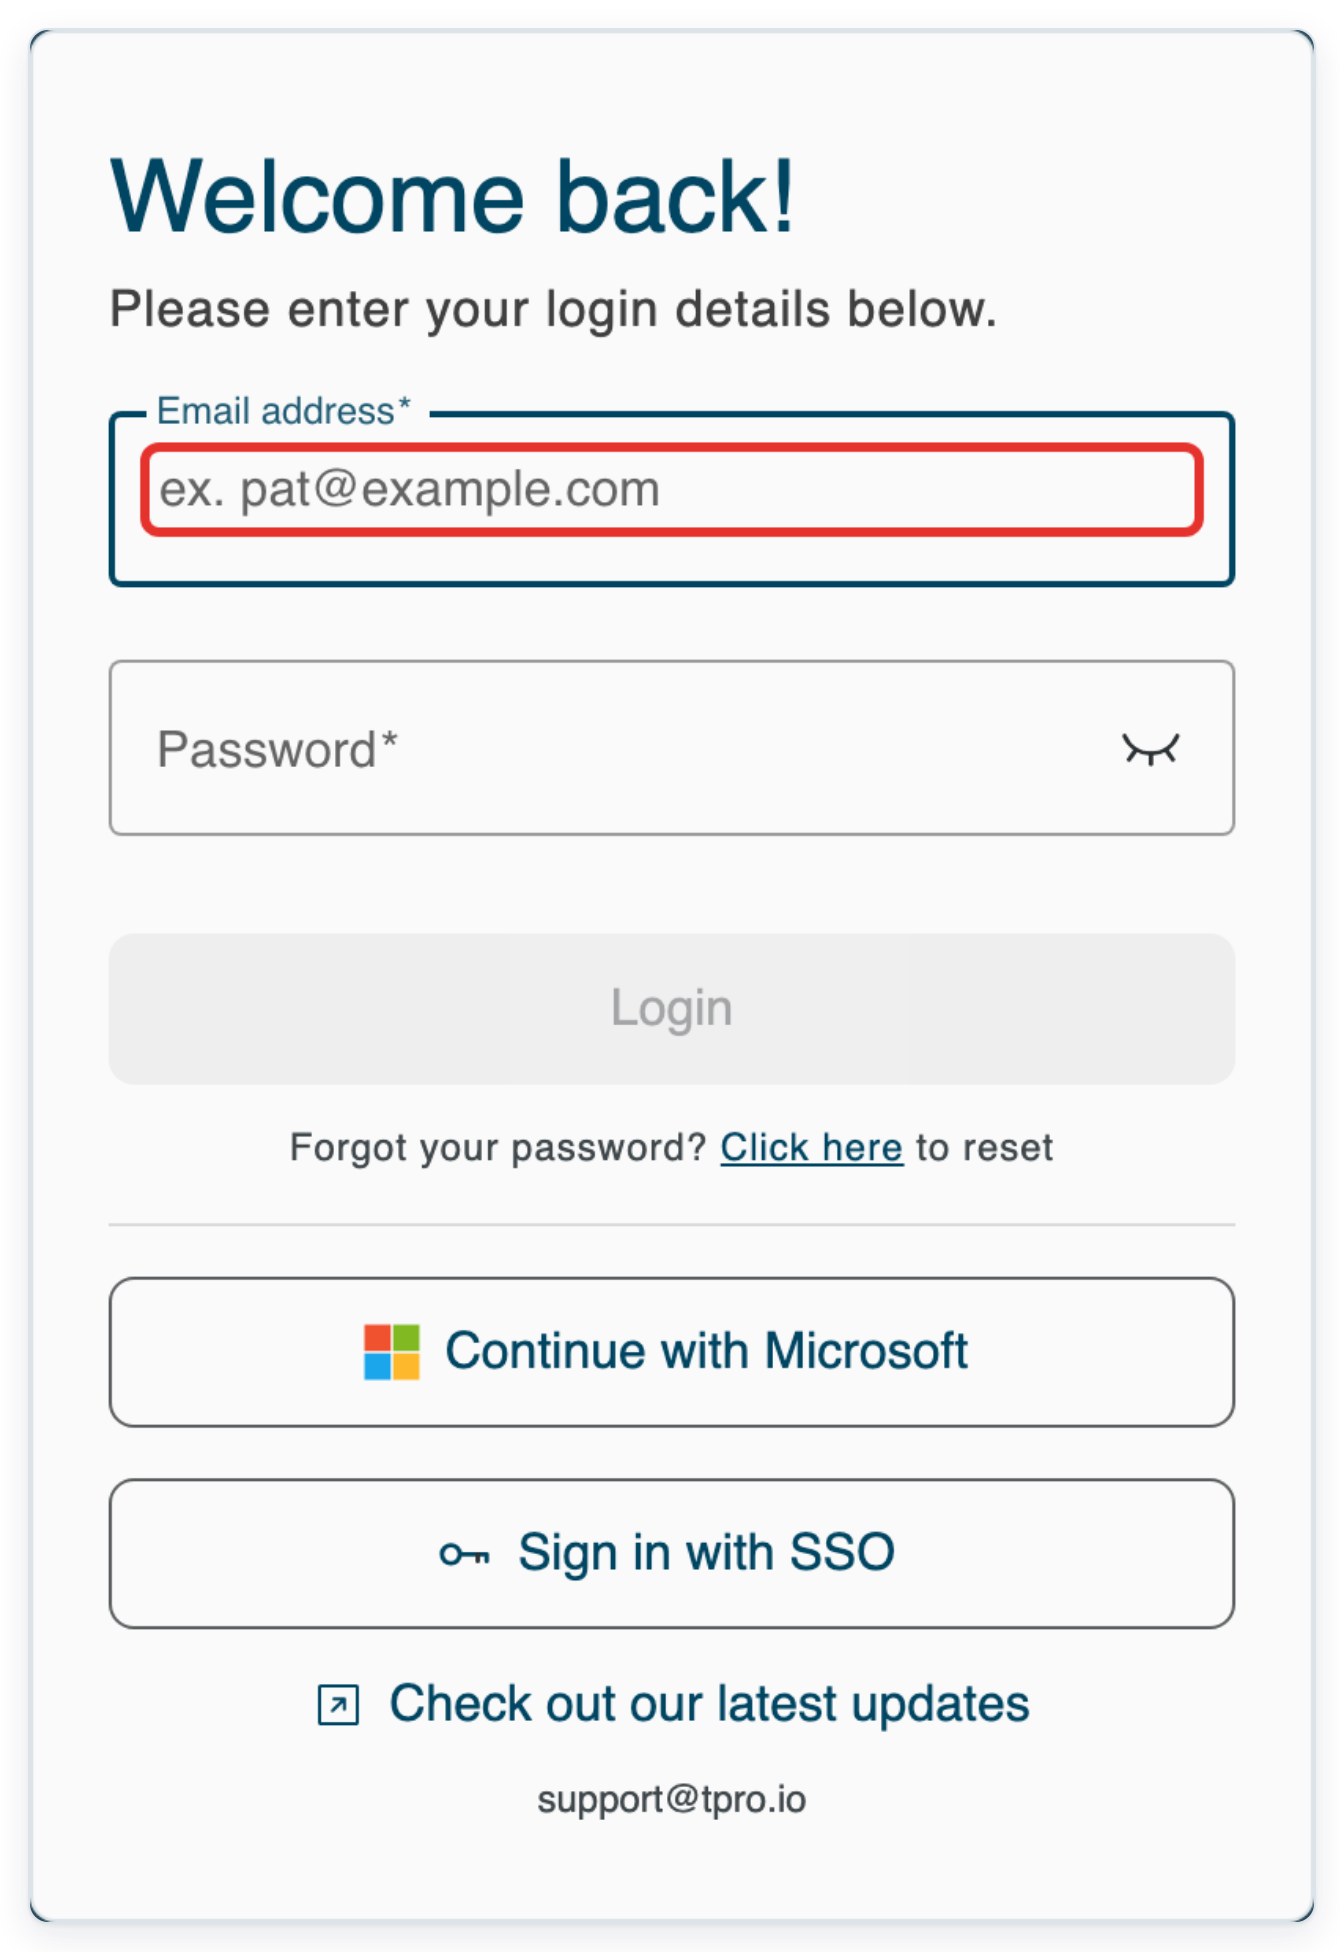
Enter the temporary password supplied for your account in Password.
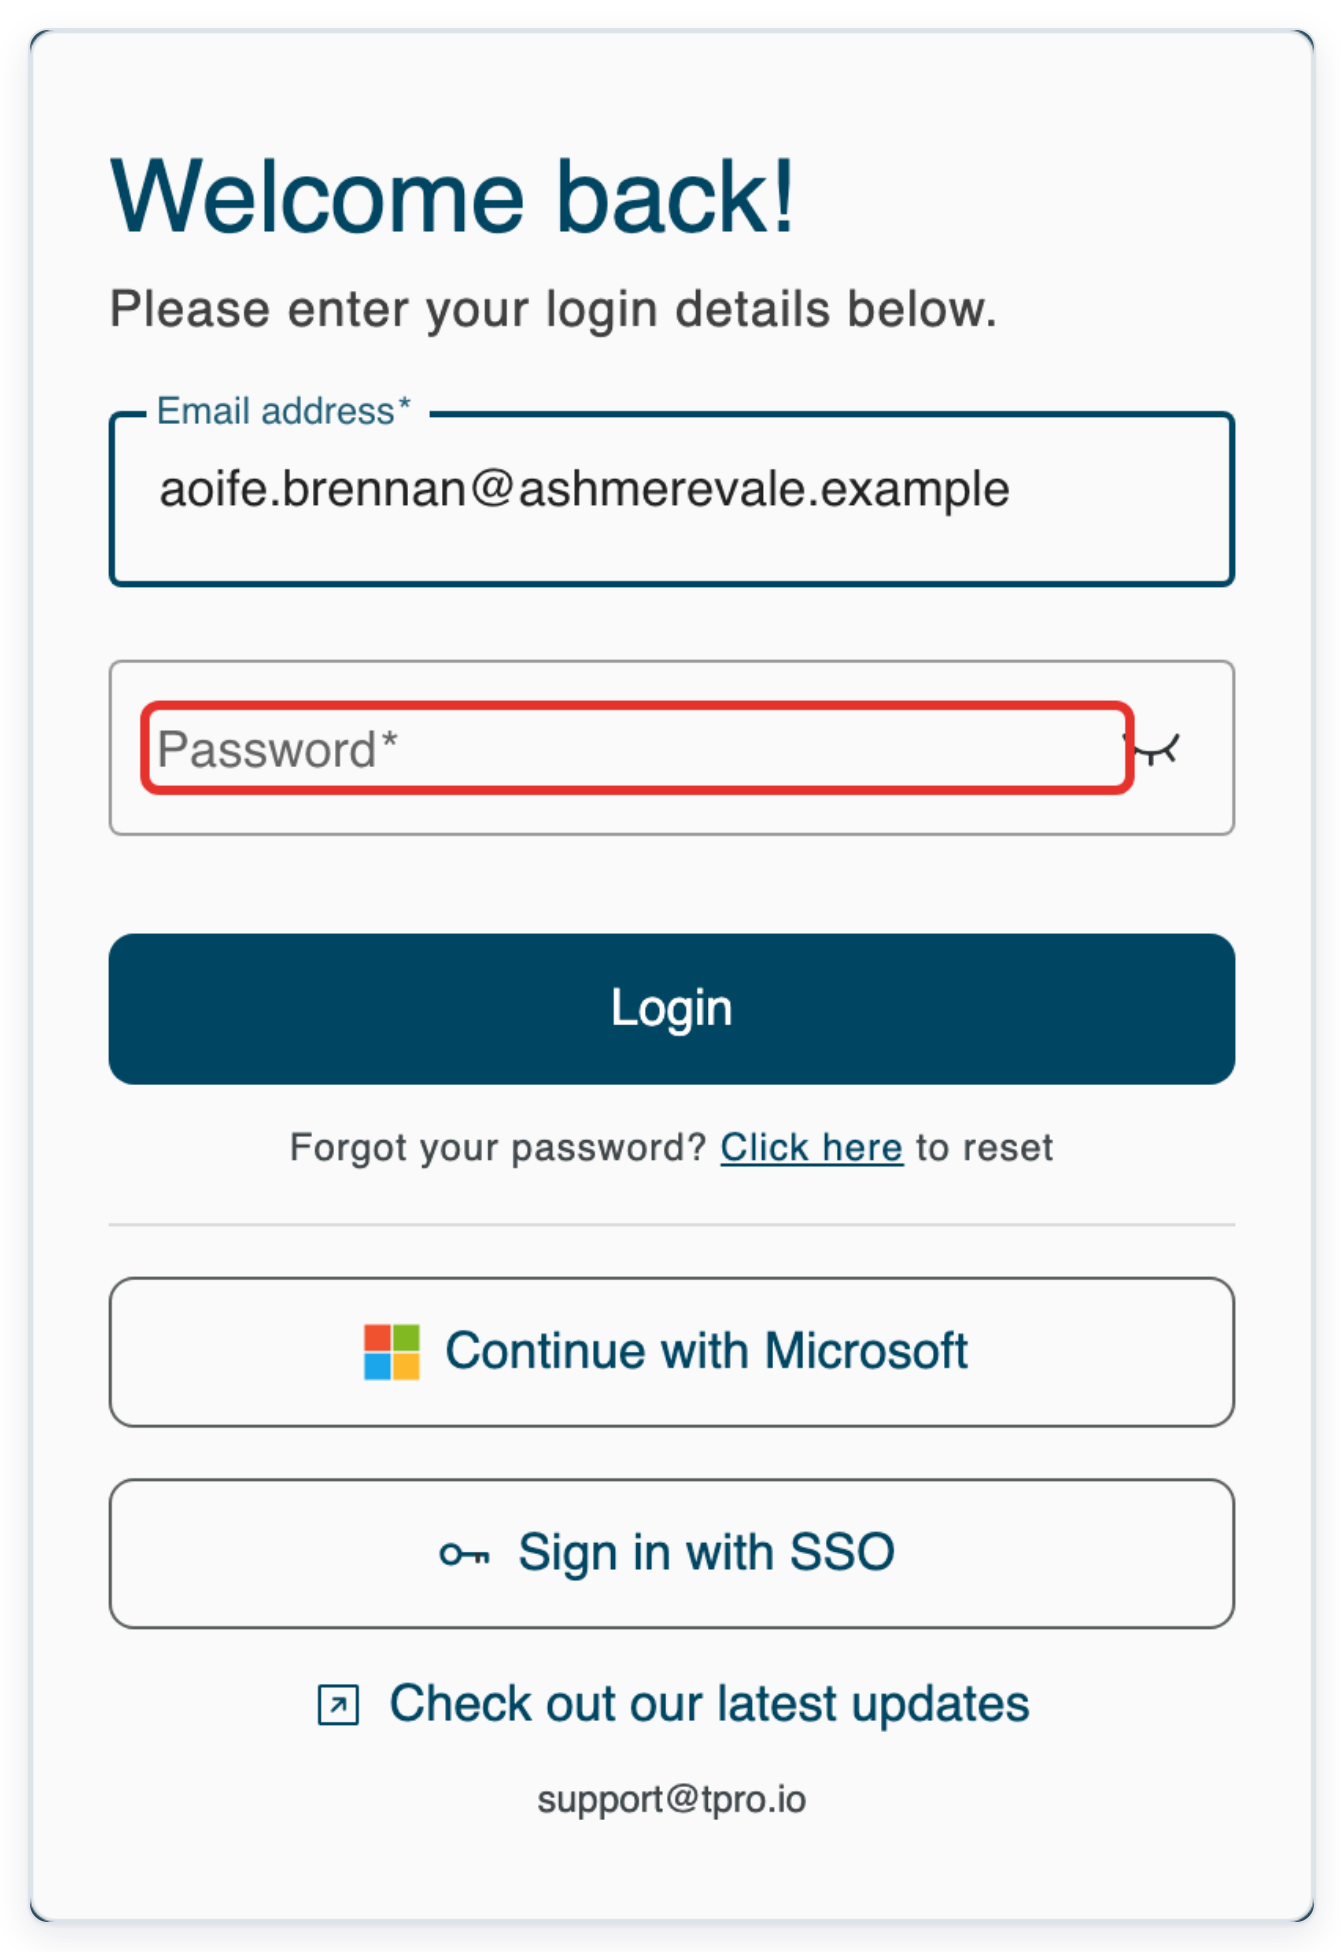
Click Login. The first-time account setup opens with the EULA.
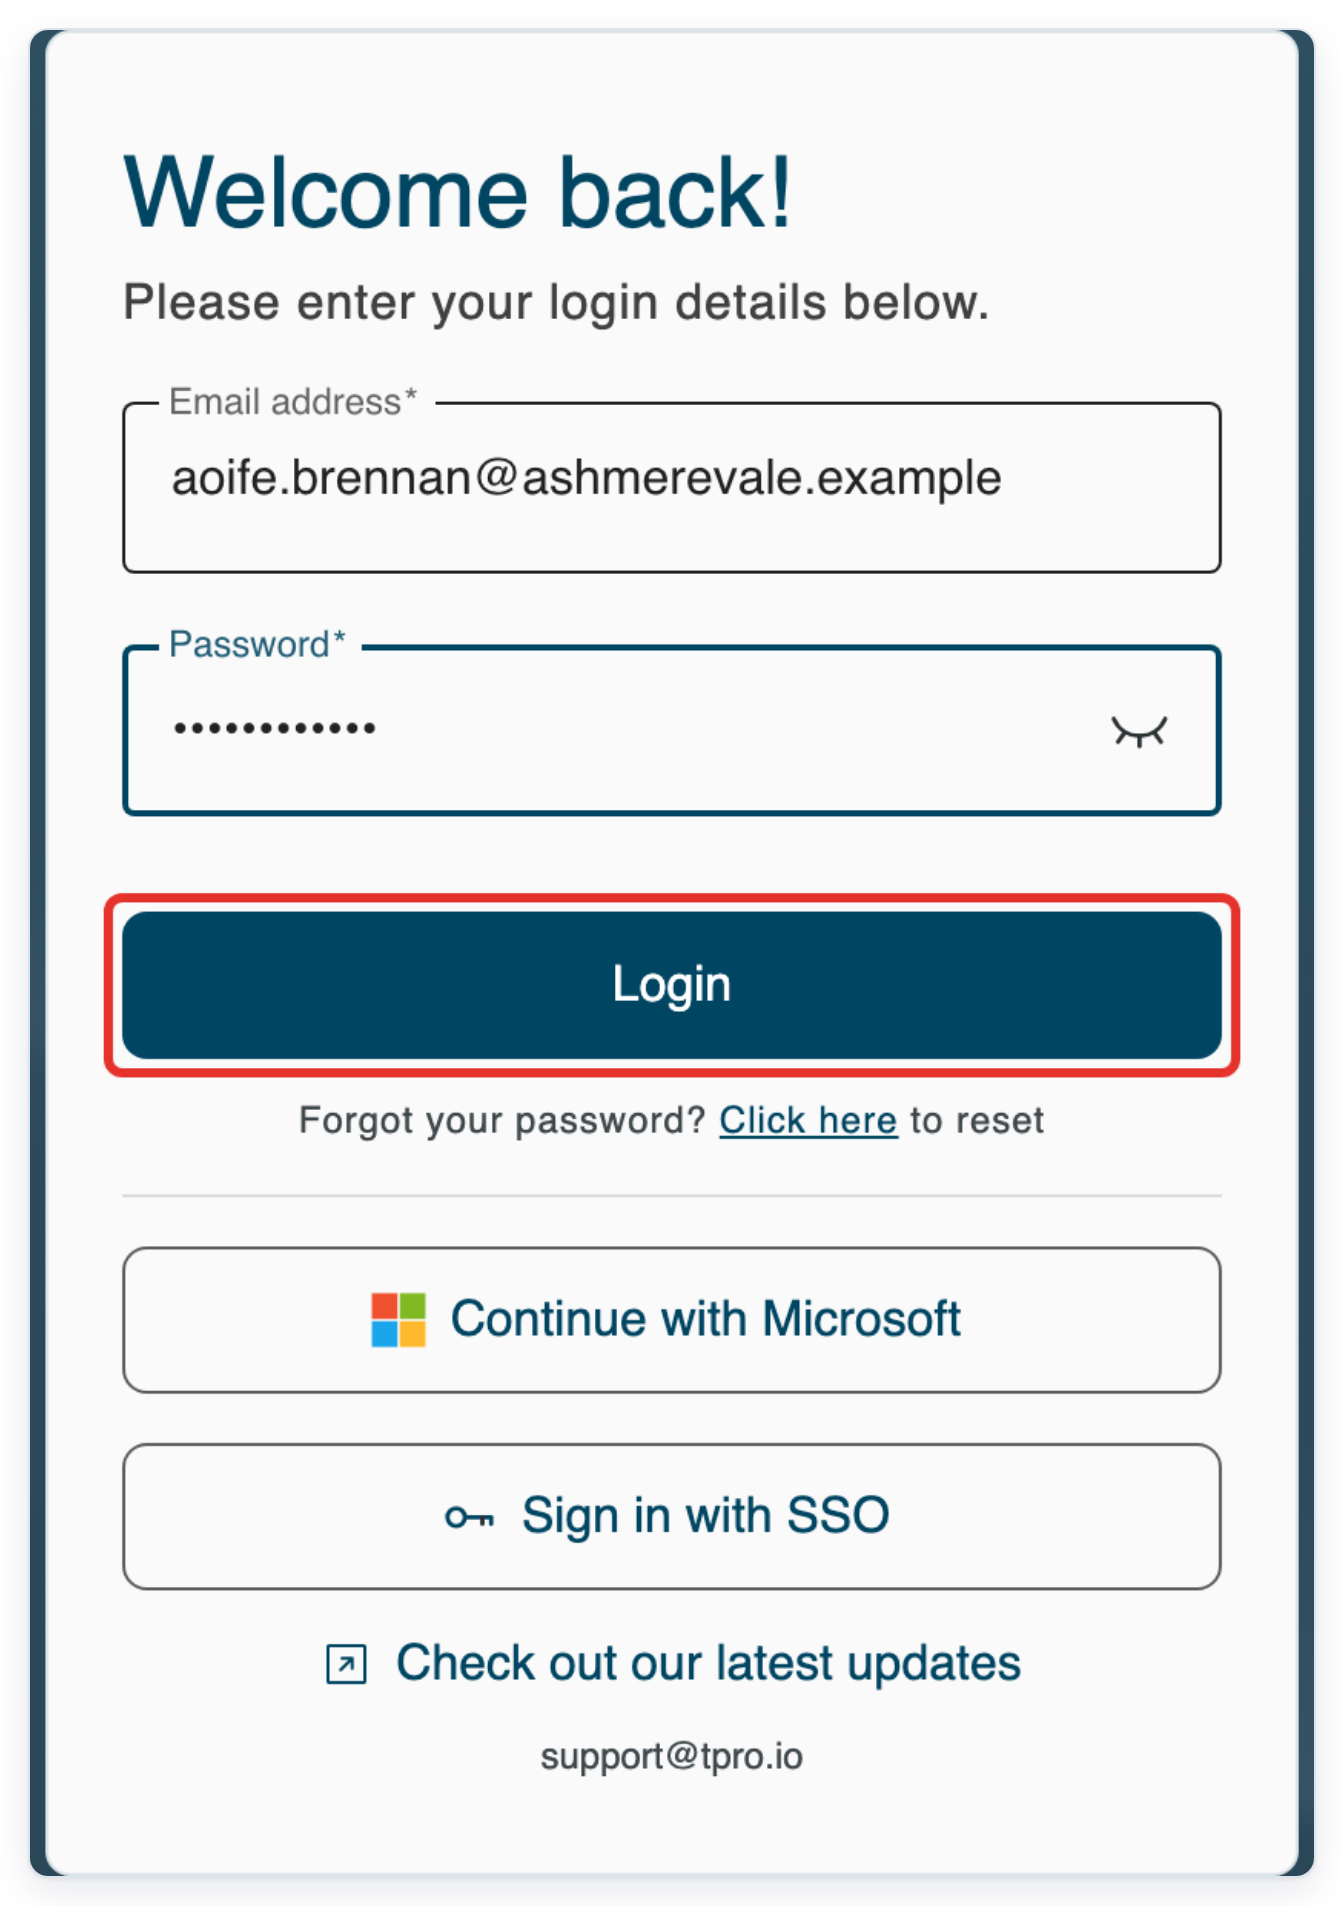
Read the EULA, then click Accept to continue. Continue Account Setup asks you to reset your password.
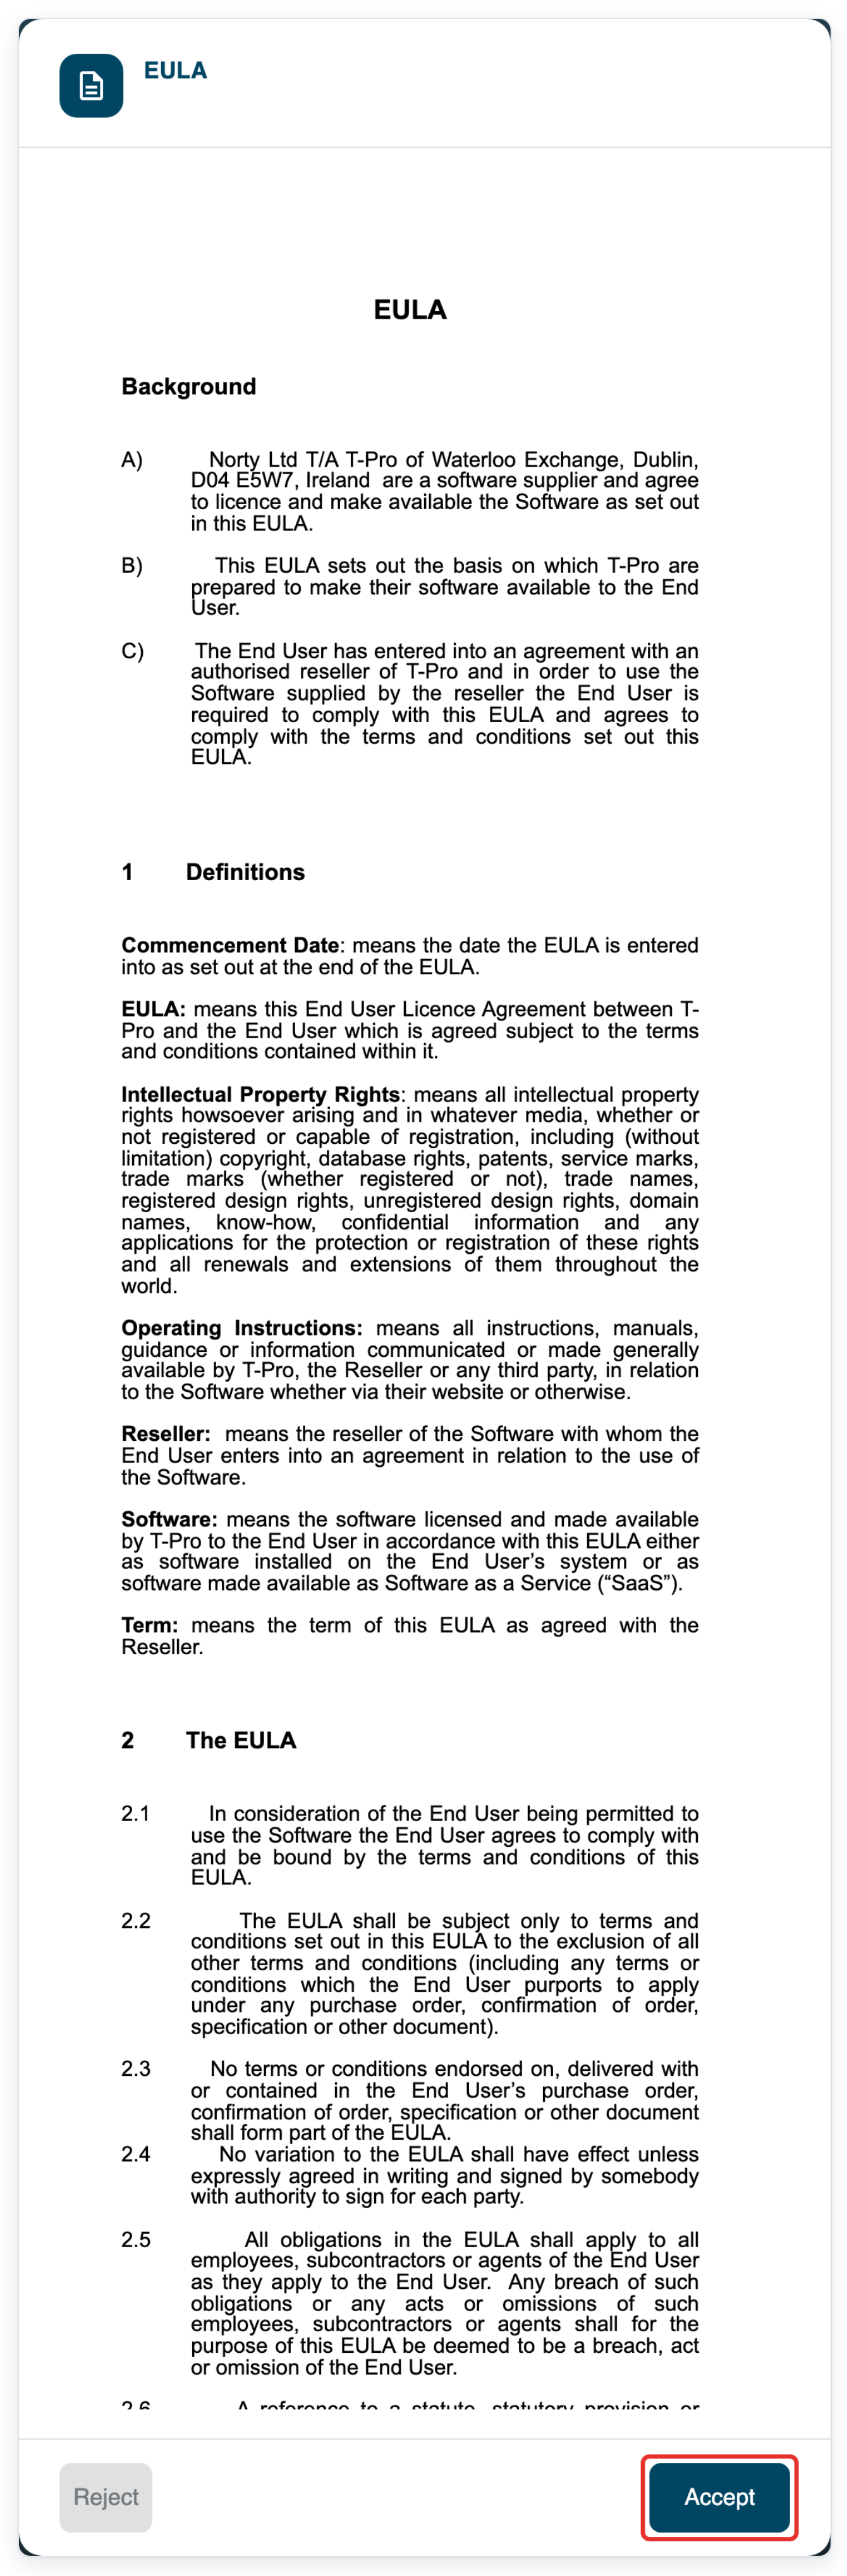
Enter your temporary password in Current password.
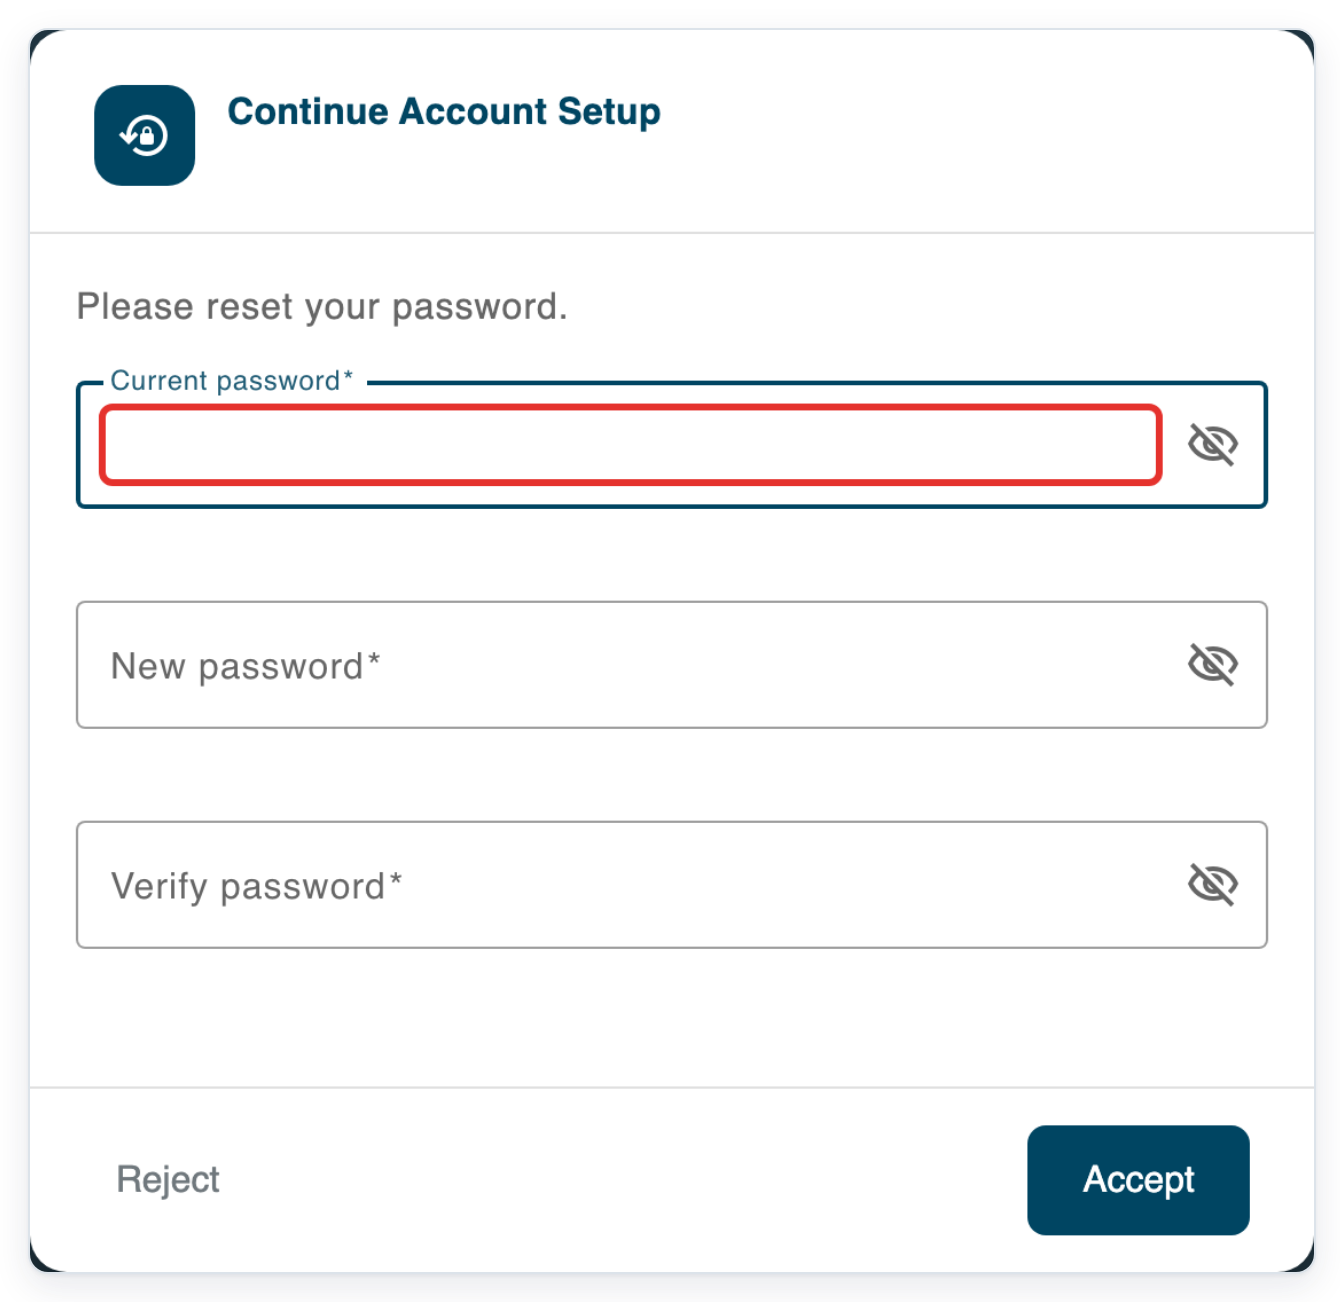
Enter your new password in New password.
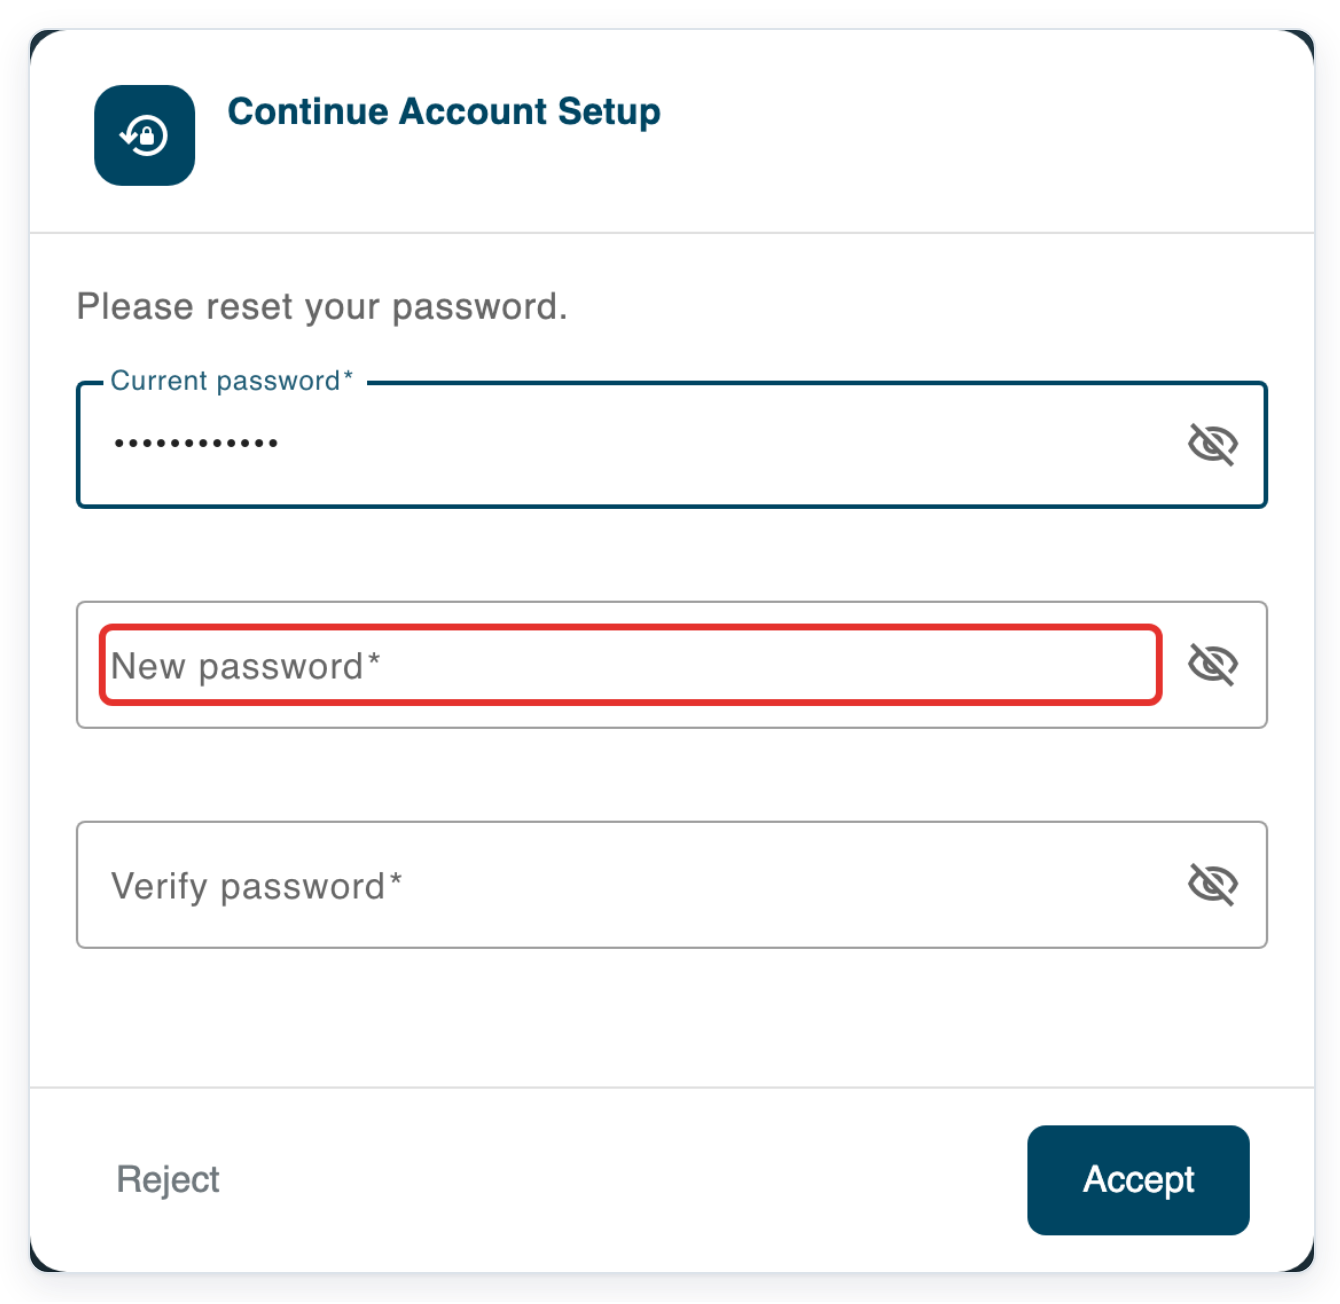
Enter the same new password in Verify password.
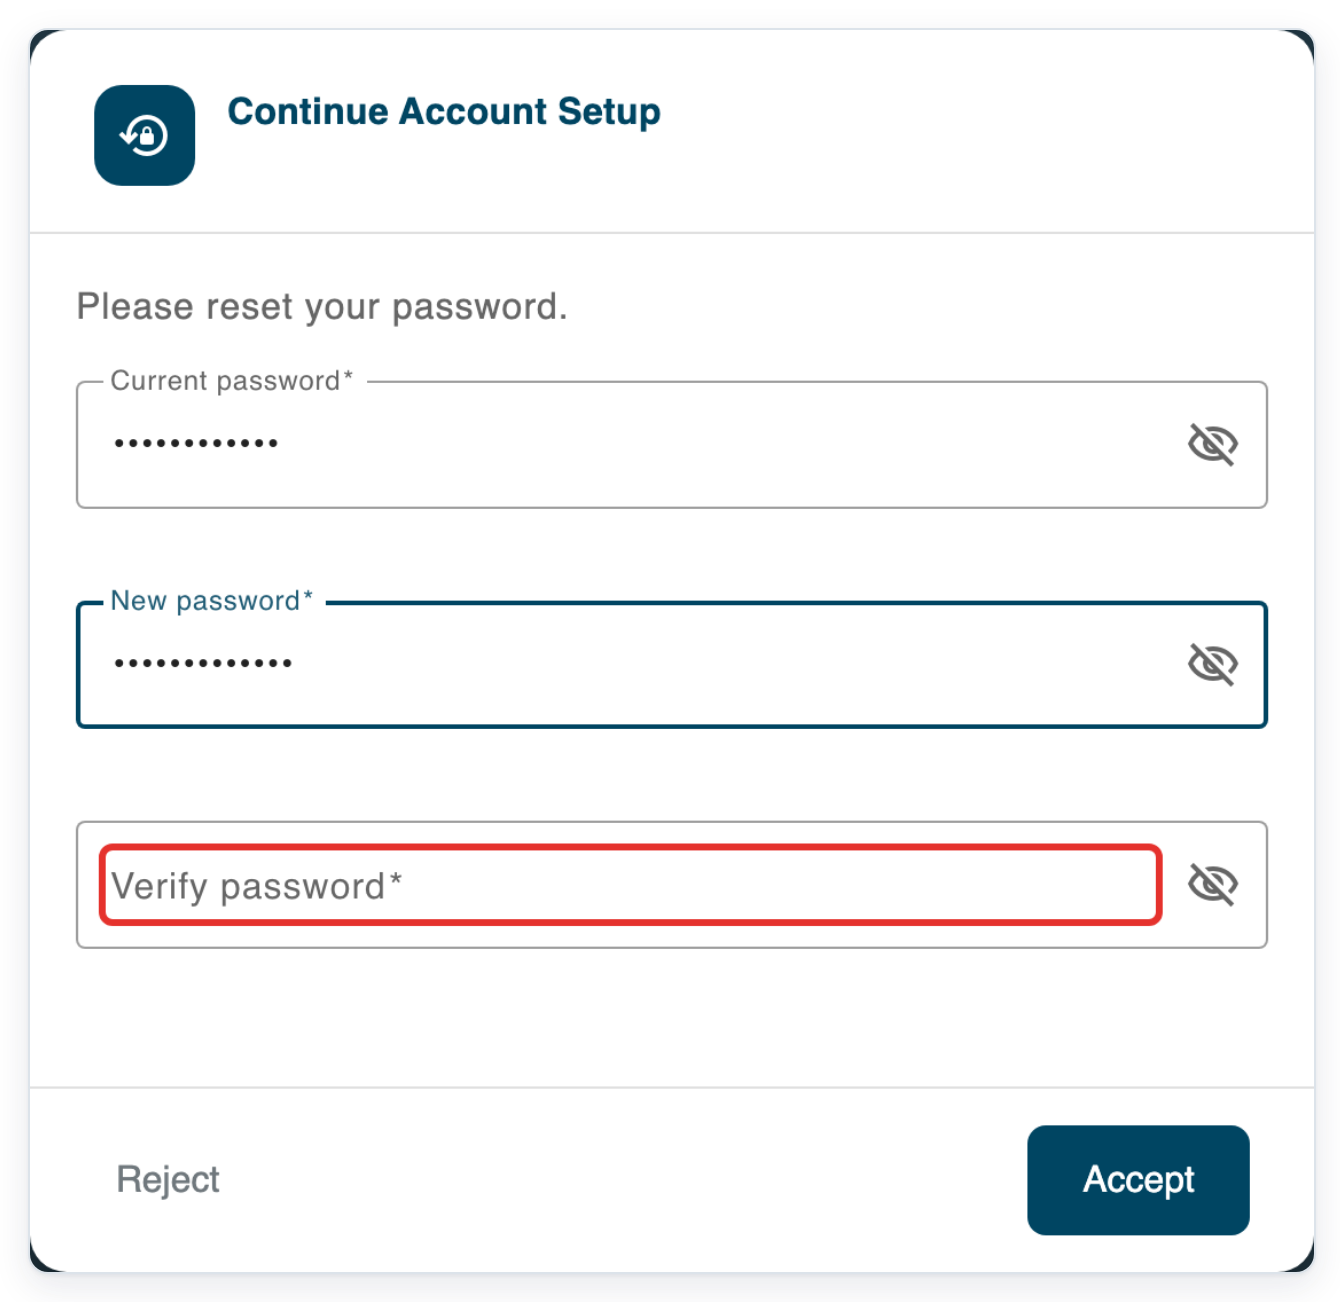
Click Accept to save your new password. Phone Notifications opens next.
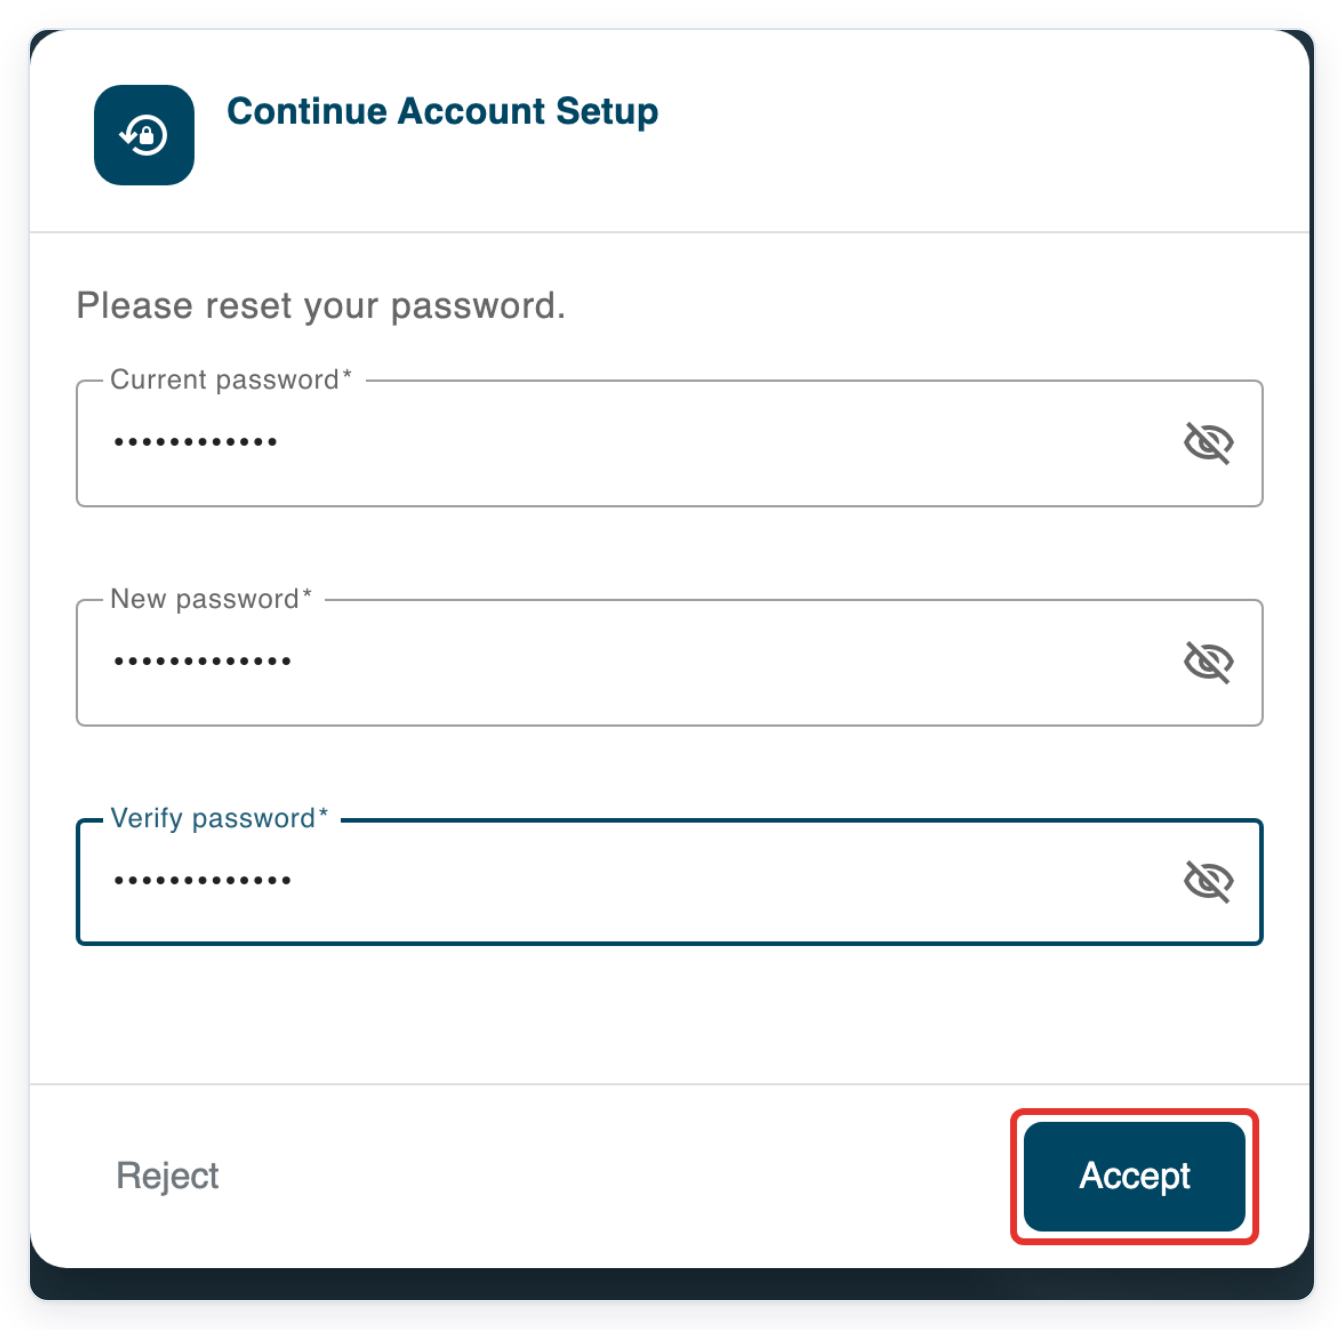
Click Set up later to leave phone setup for later. Email Notifications opens.
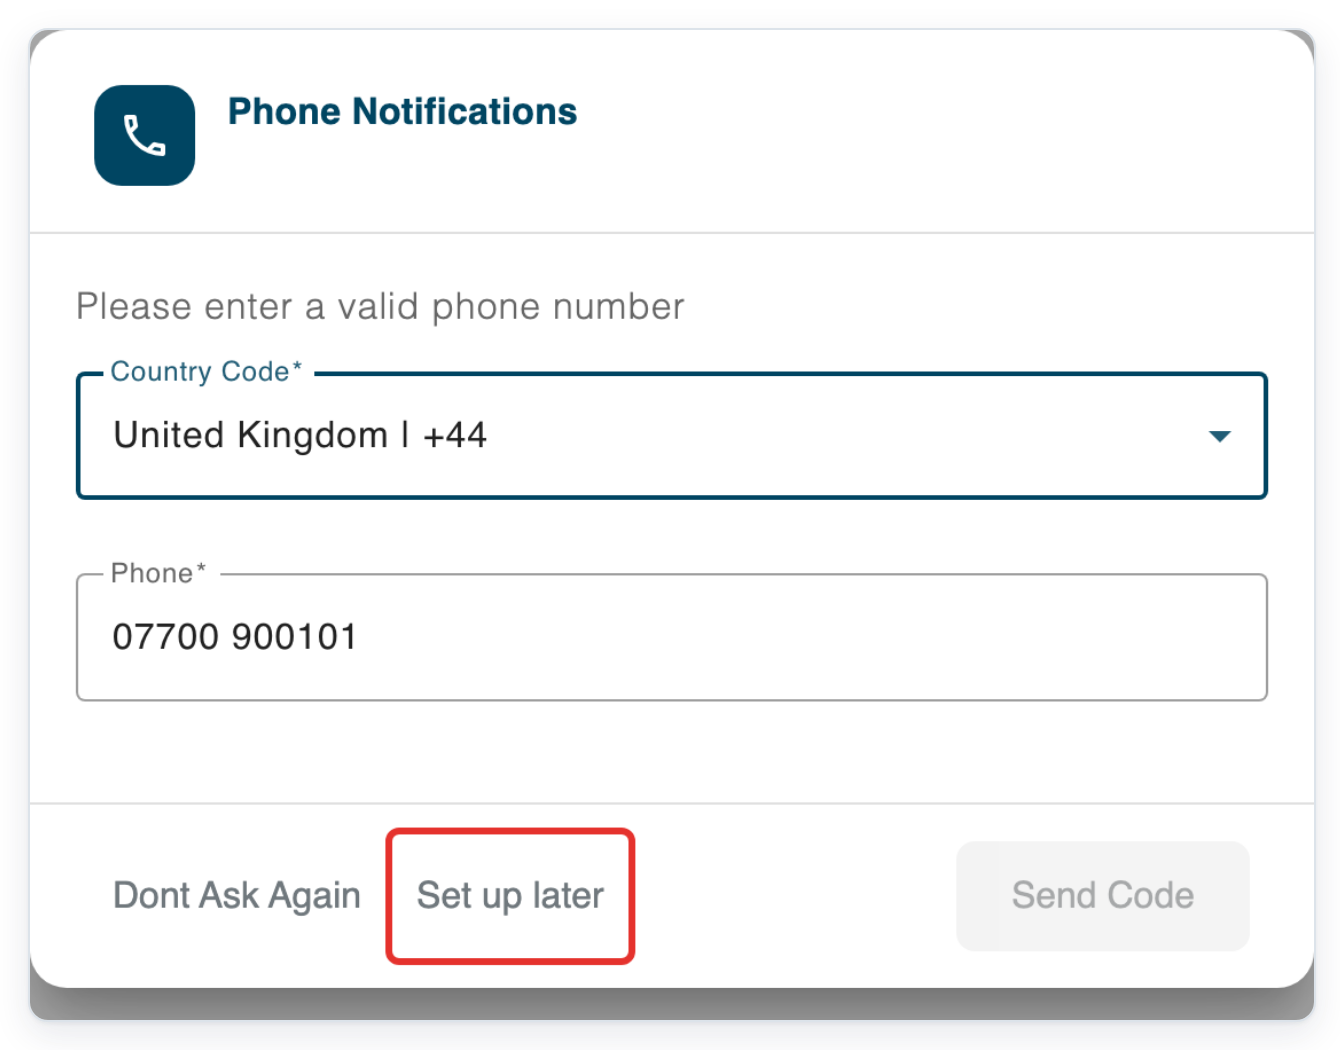
Click Set up later in Email Notifications. The setup dialog closes.
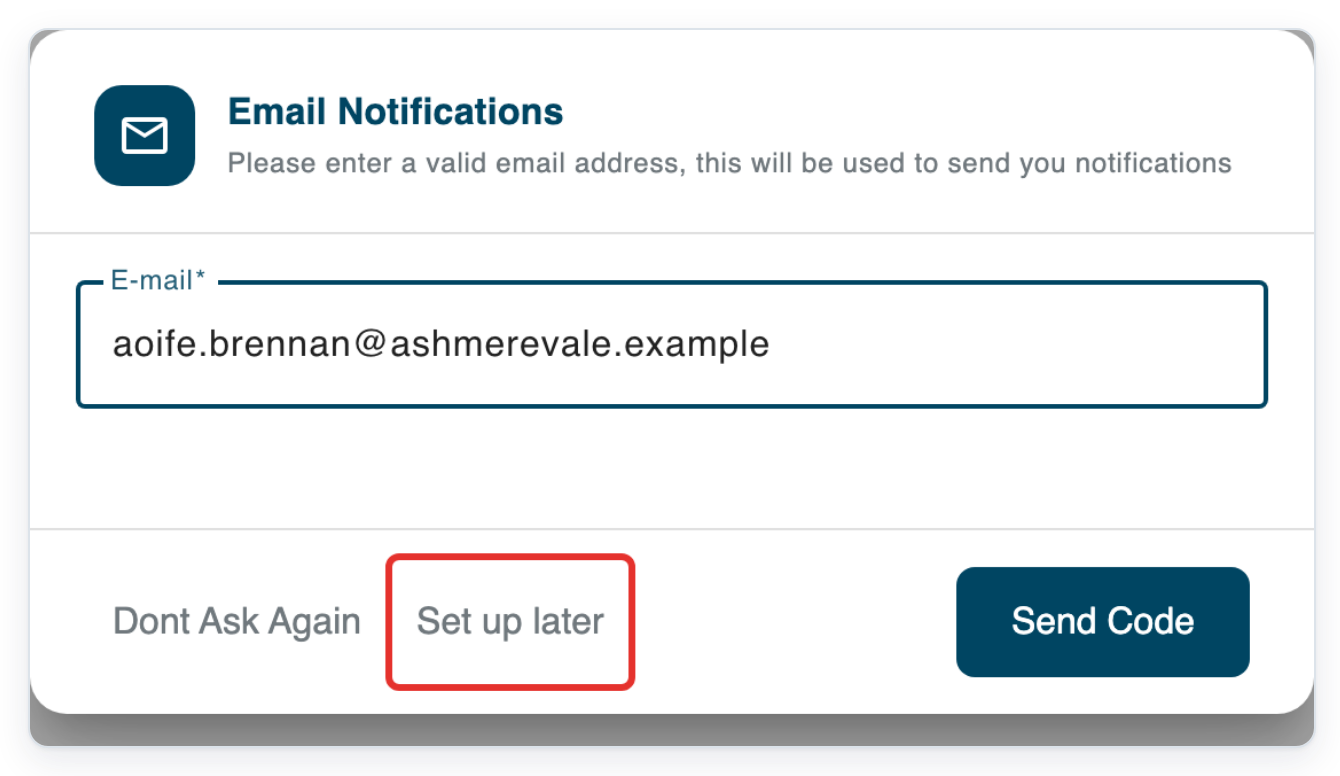
Click Recorder in the top menu to open Web Recorder.

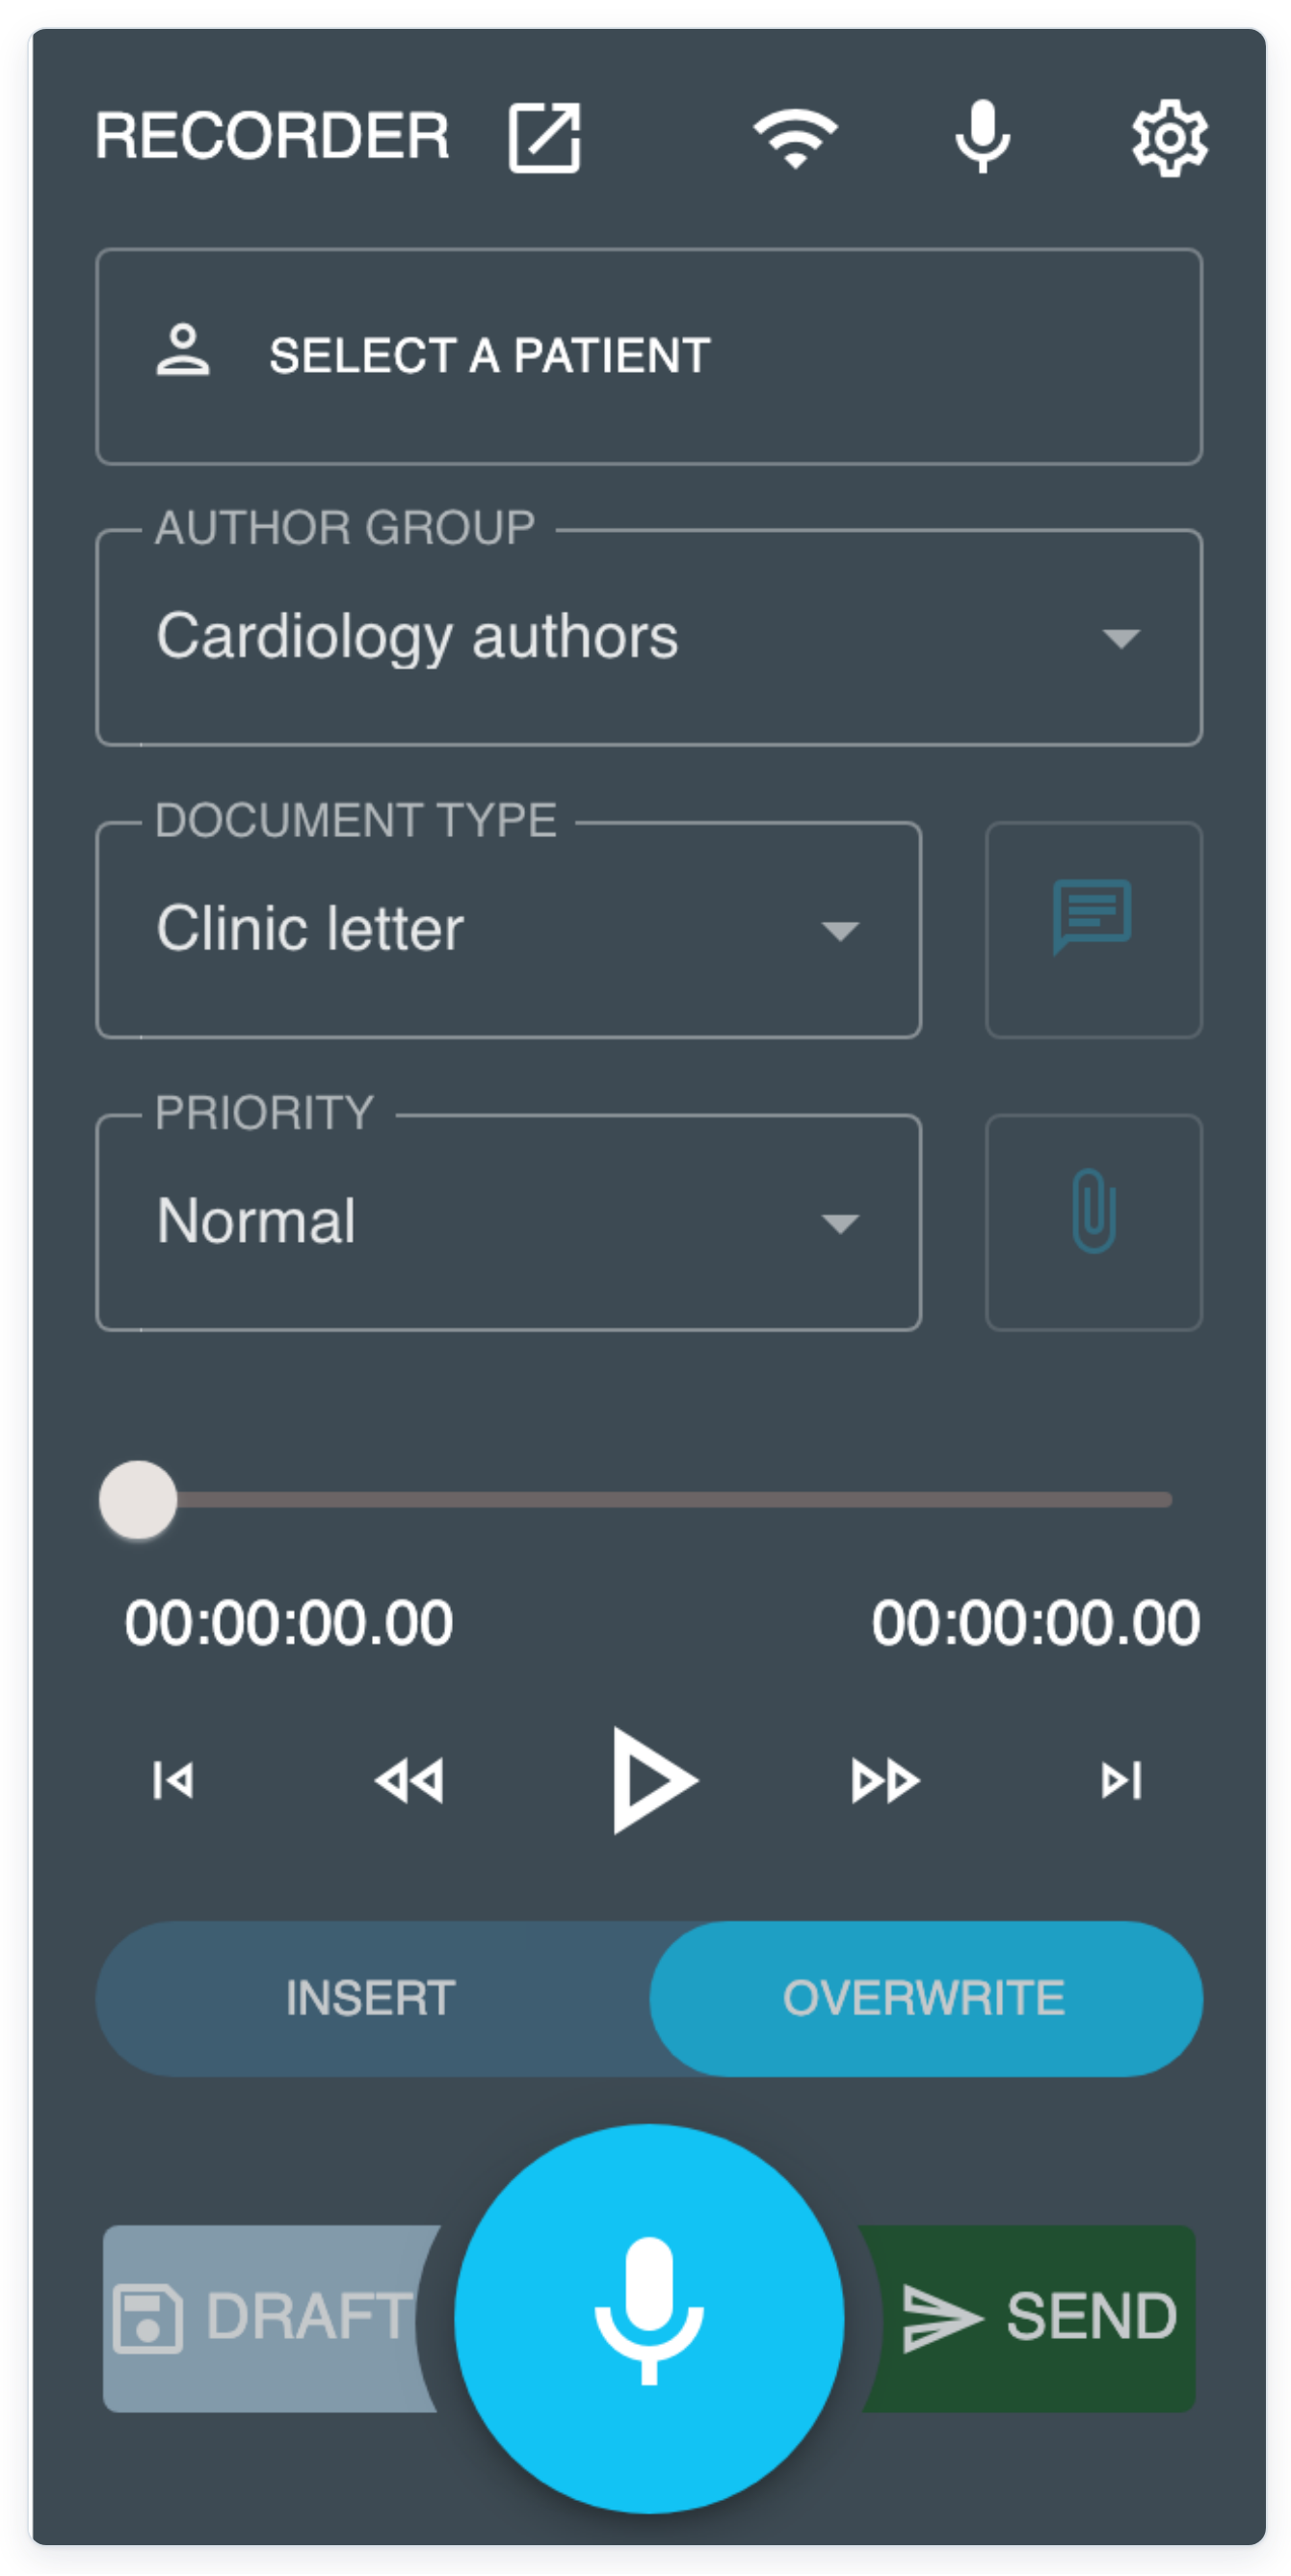
=> Web Recorder is ready, with patient selection and task details above the recording controls.
Record and send a dictation
In Web Recorder, click Select a Patient to open Patient Information.
If you see another page after signing in, click Recorder in the top menu.
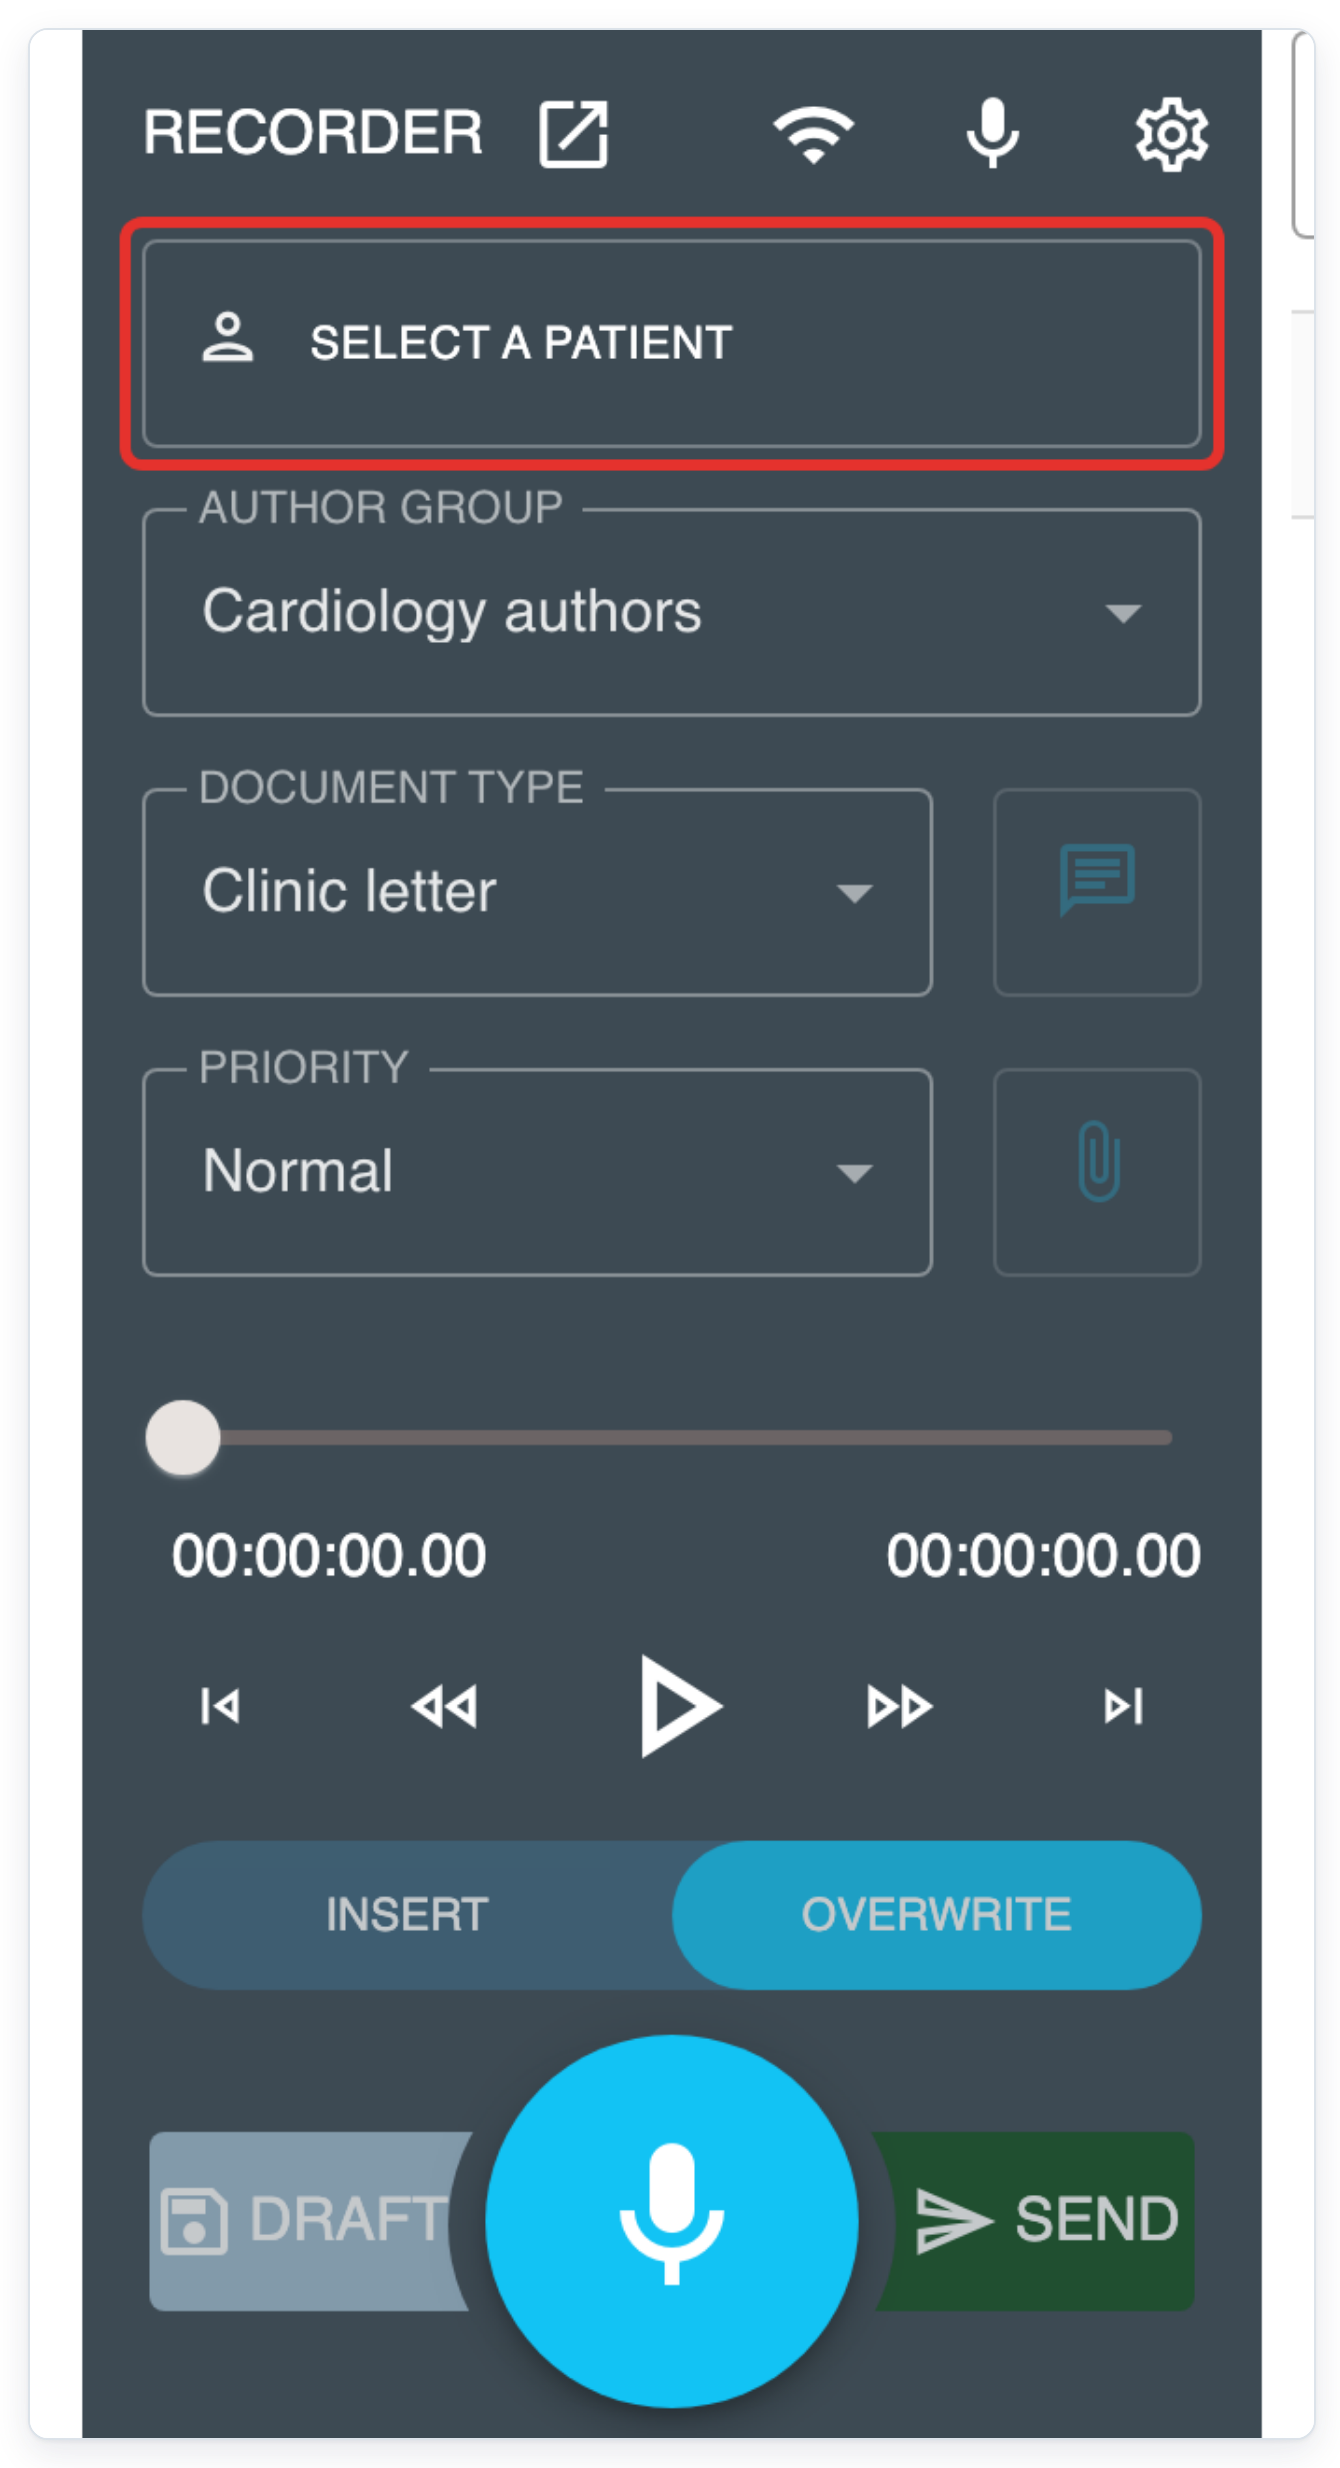
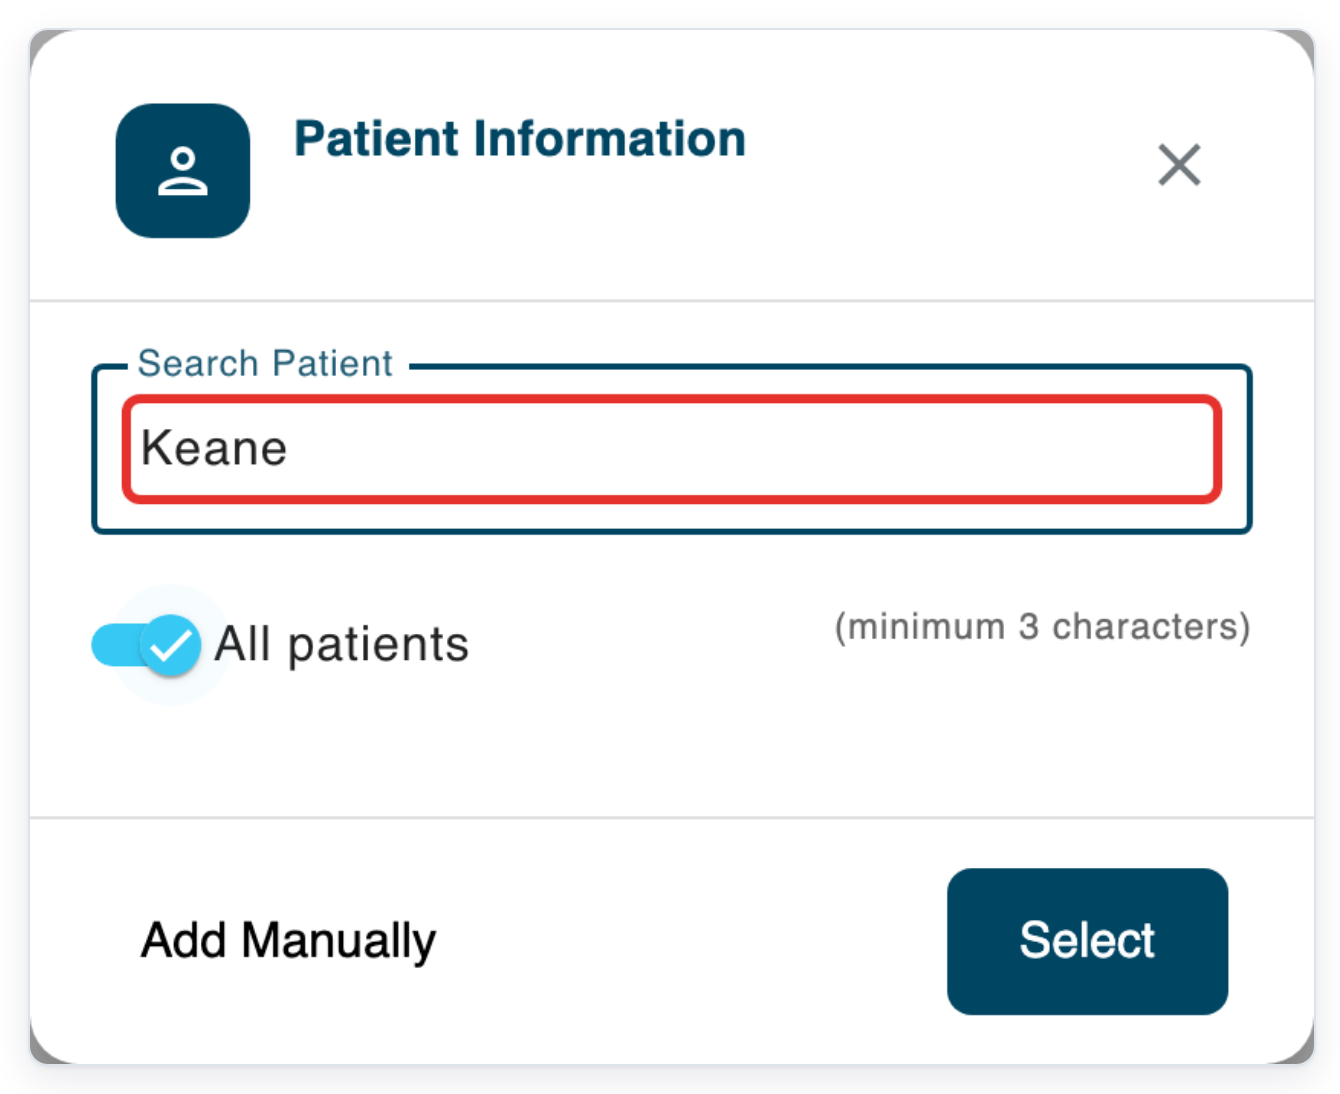
Turn on All patients to search across the patient lists.
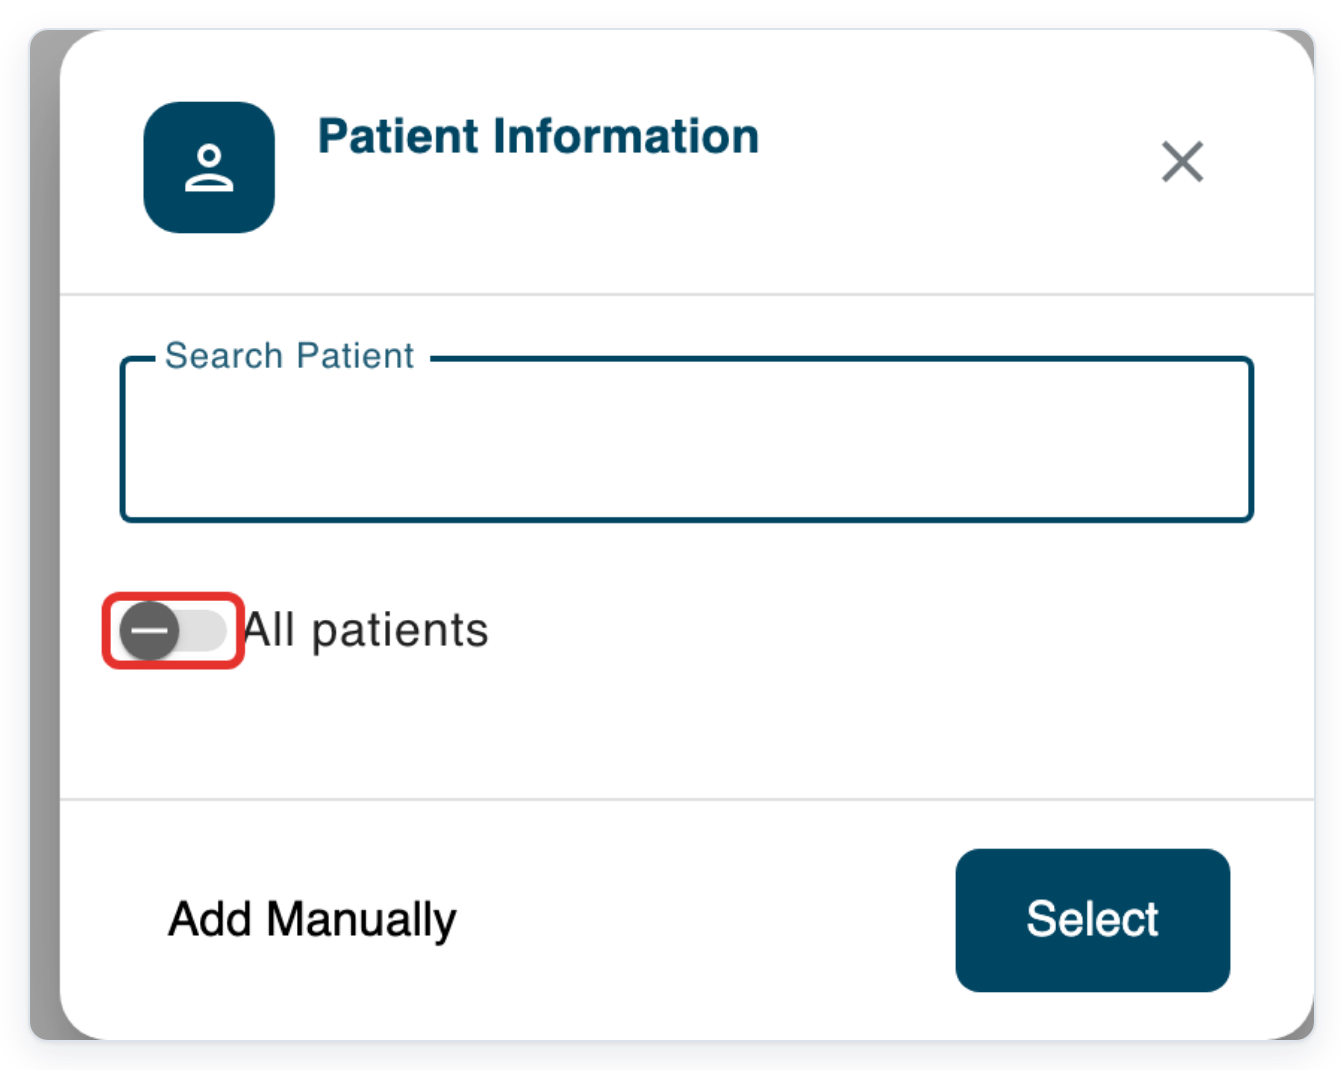
For this example, enter Keane in Search Patient.
Use your patient's name or ID. Enter at least three characters when All patients is on.
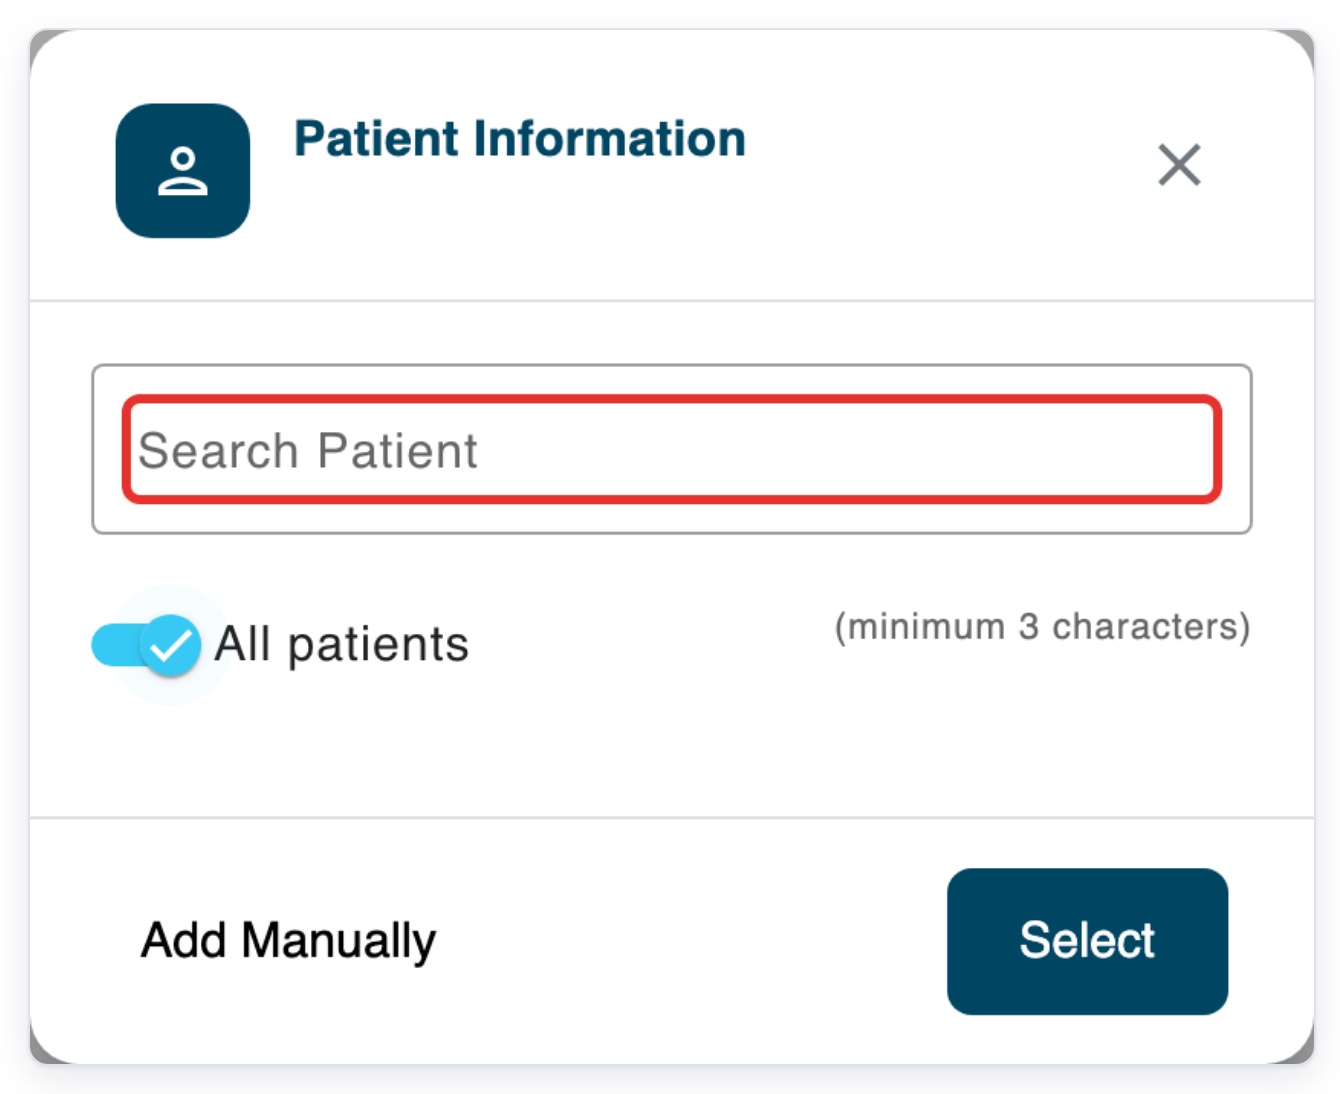
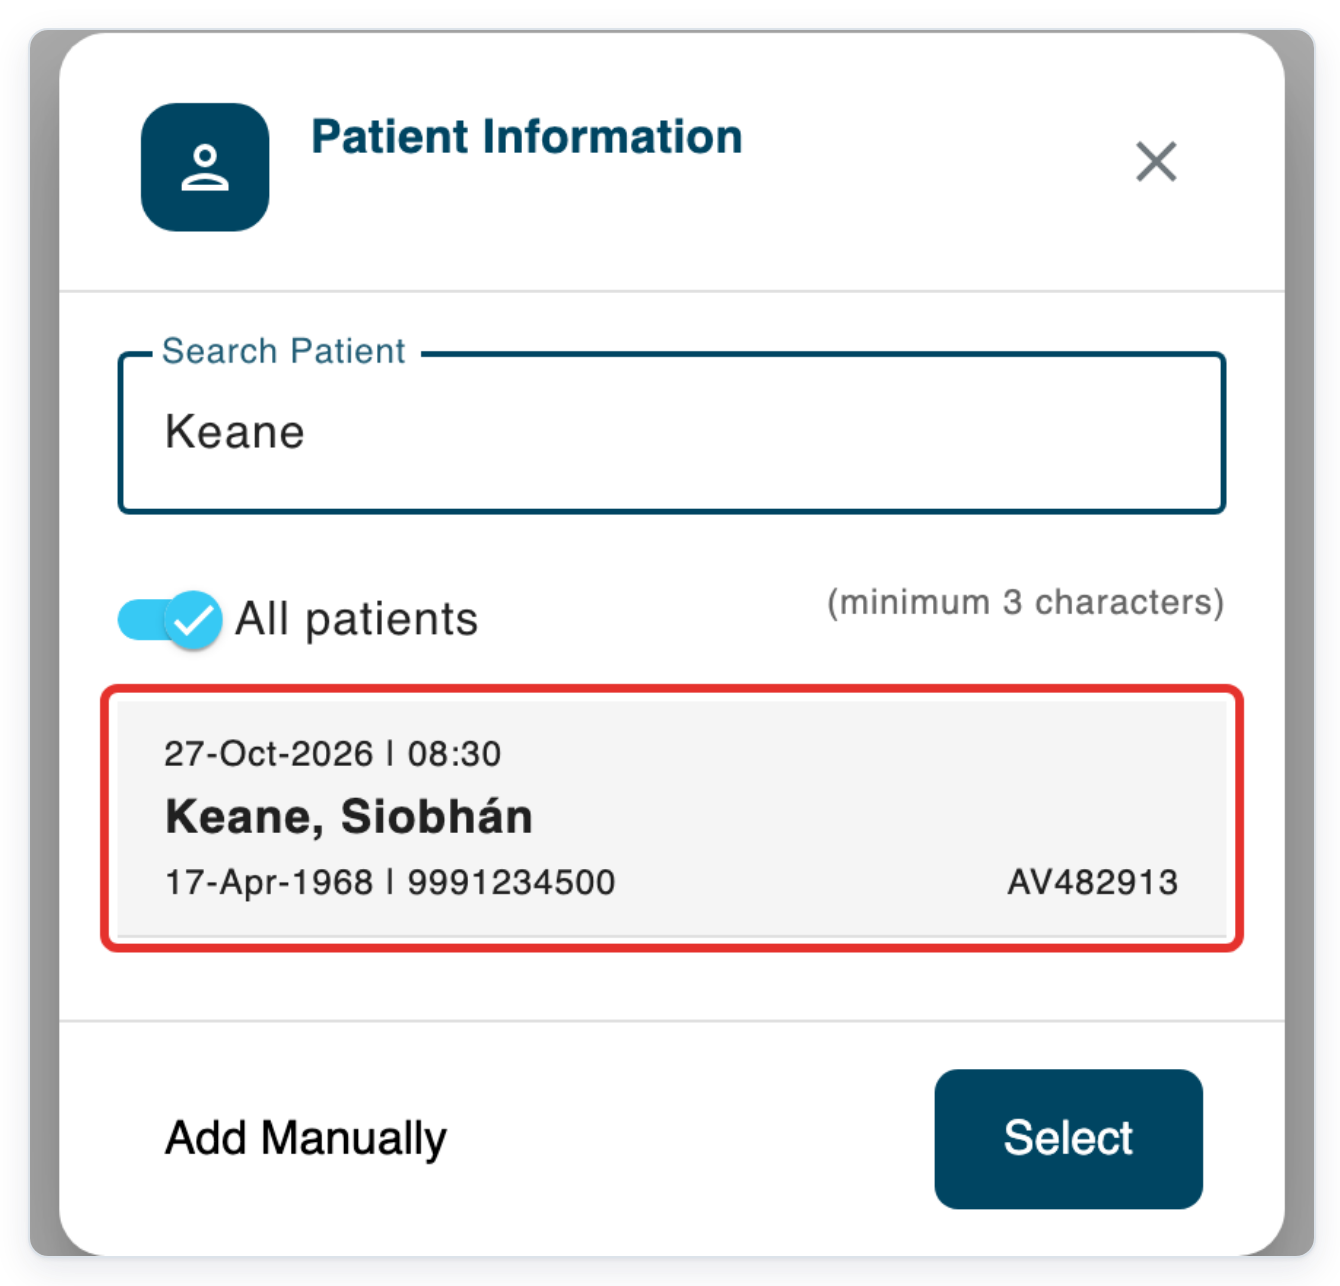
With the cursor in Search Patient, press the End key and wait for the results. This example finds Keane, Siobhán, patient ID AV482913.
Click your patient in the results: Keane, Siobhán (AV482913) in this example.
Check the name, date of birth and patient ID before choosing the entry.
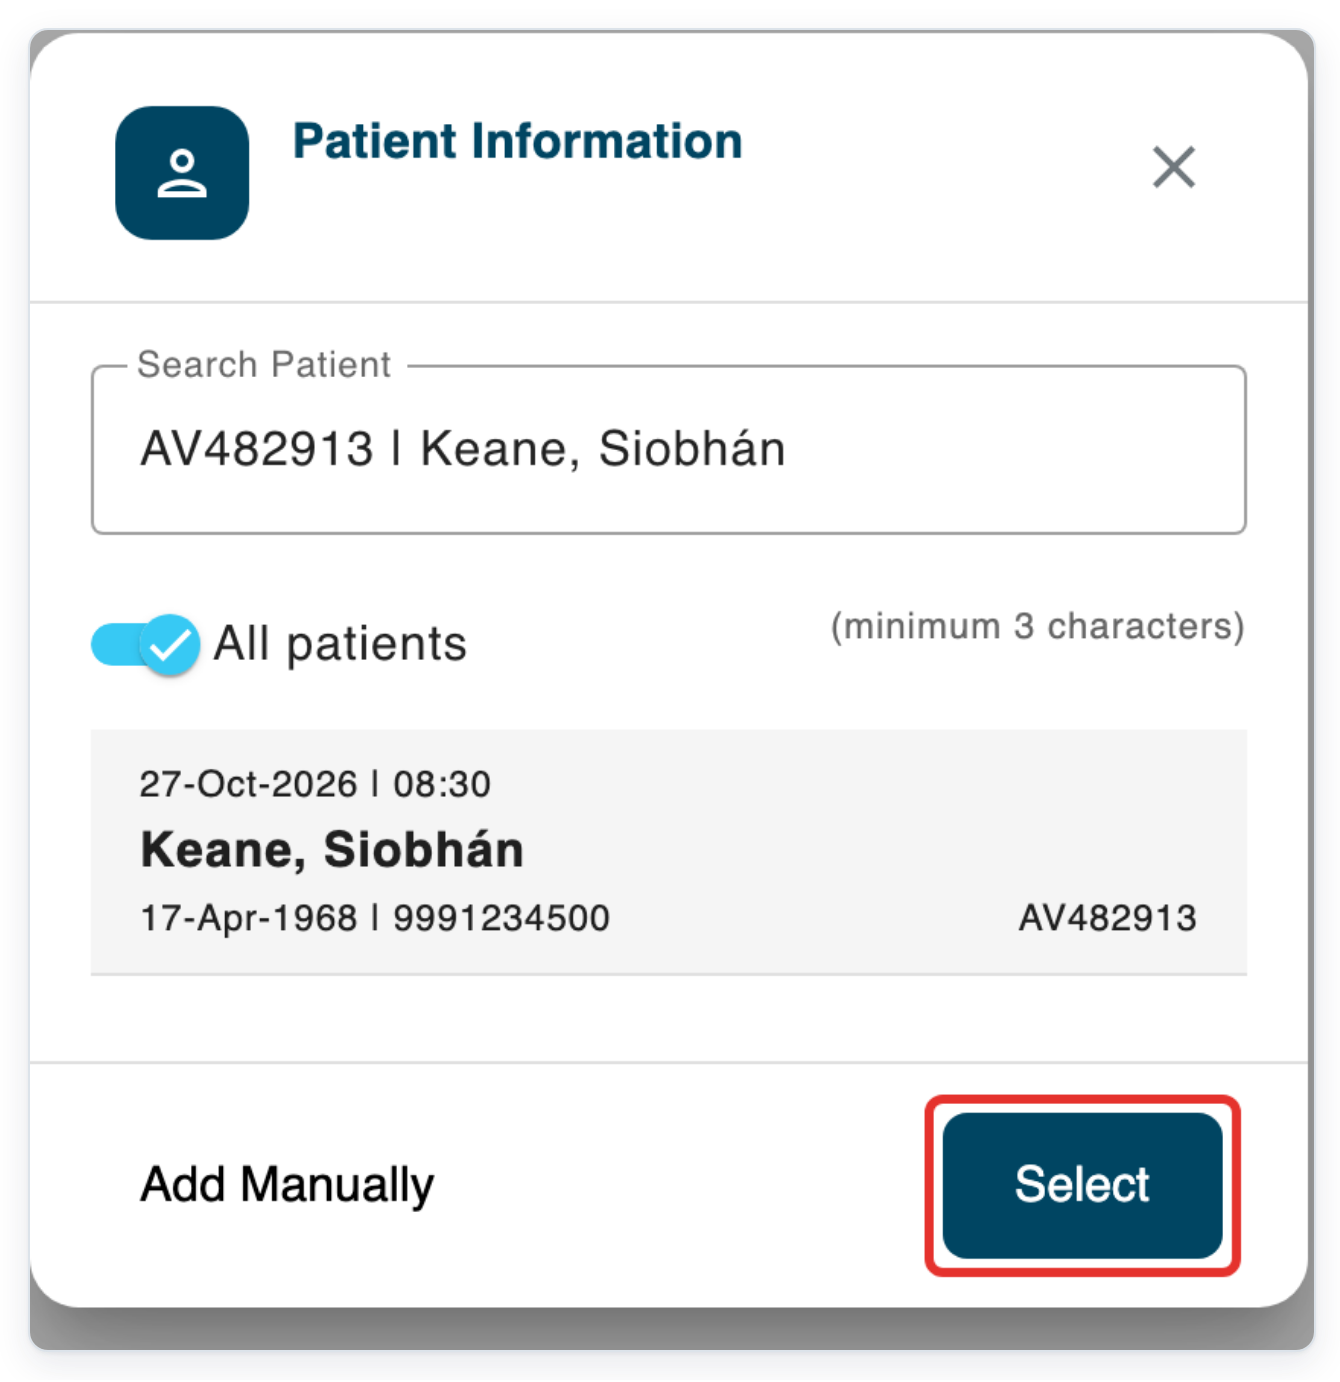
Click Select to return to the recorder. Check the patient, author group, document type and priority.
This example uses Cardiology authors, Clinic letter and Normal priority. Use the drop-down lists to change the task details before recording.
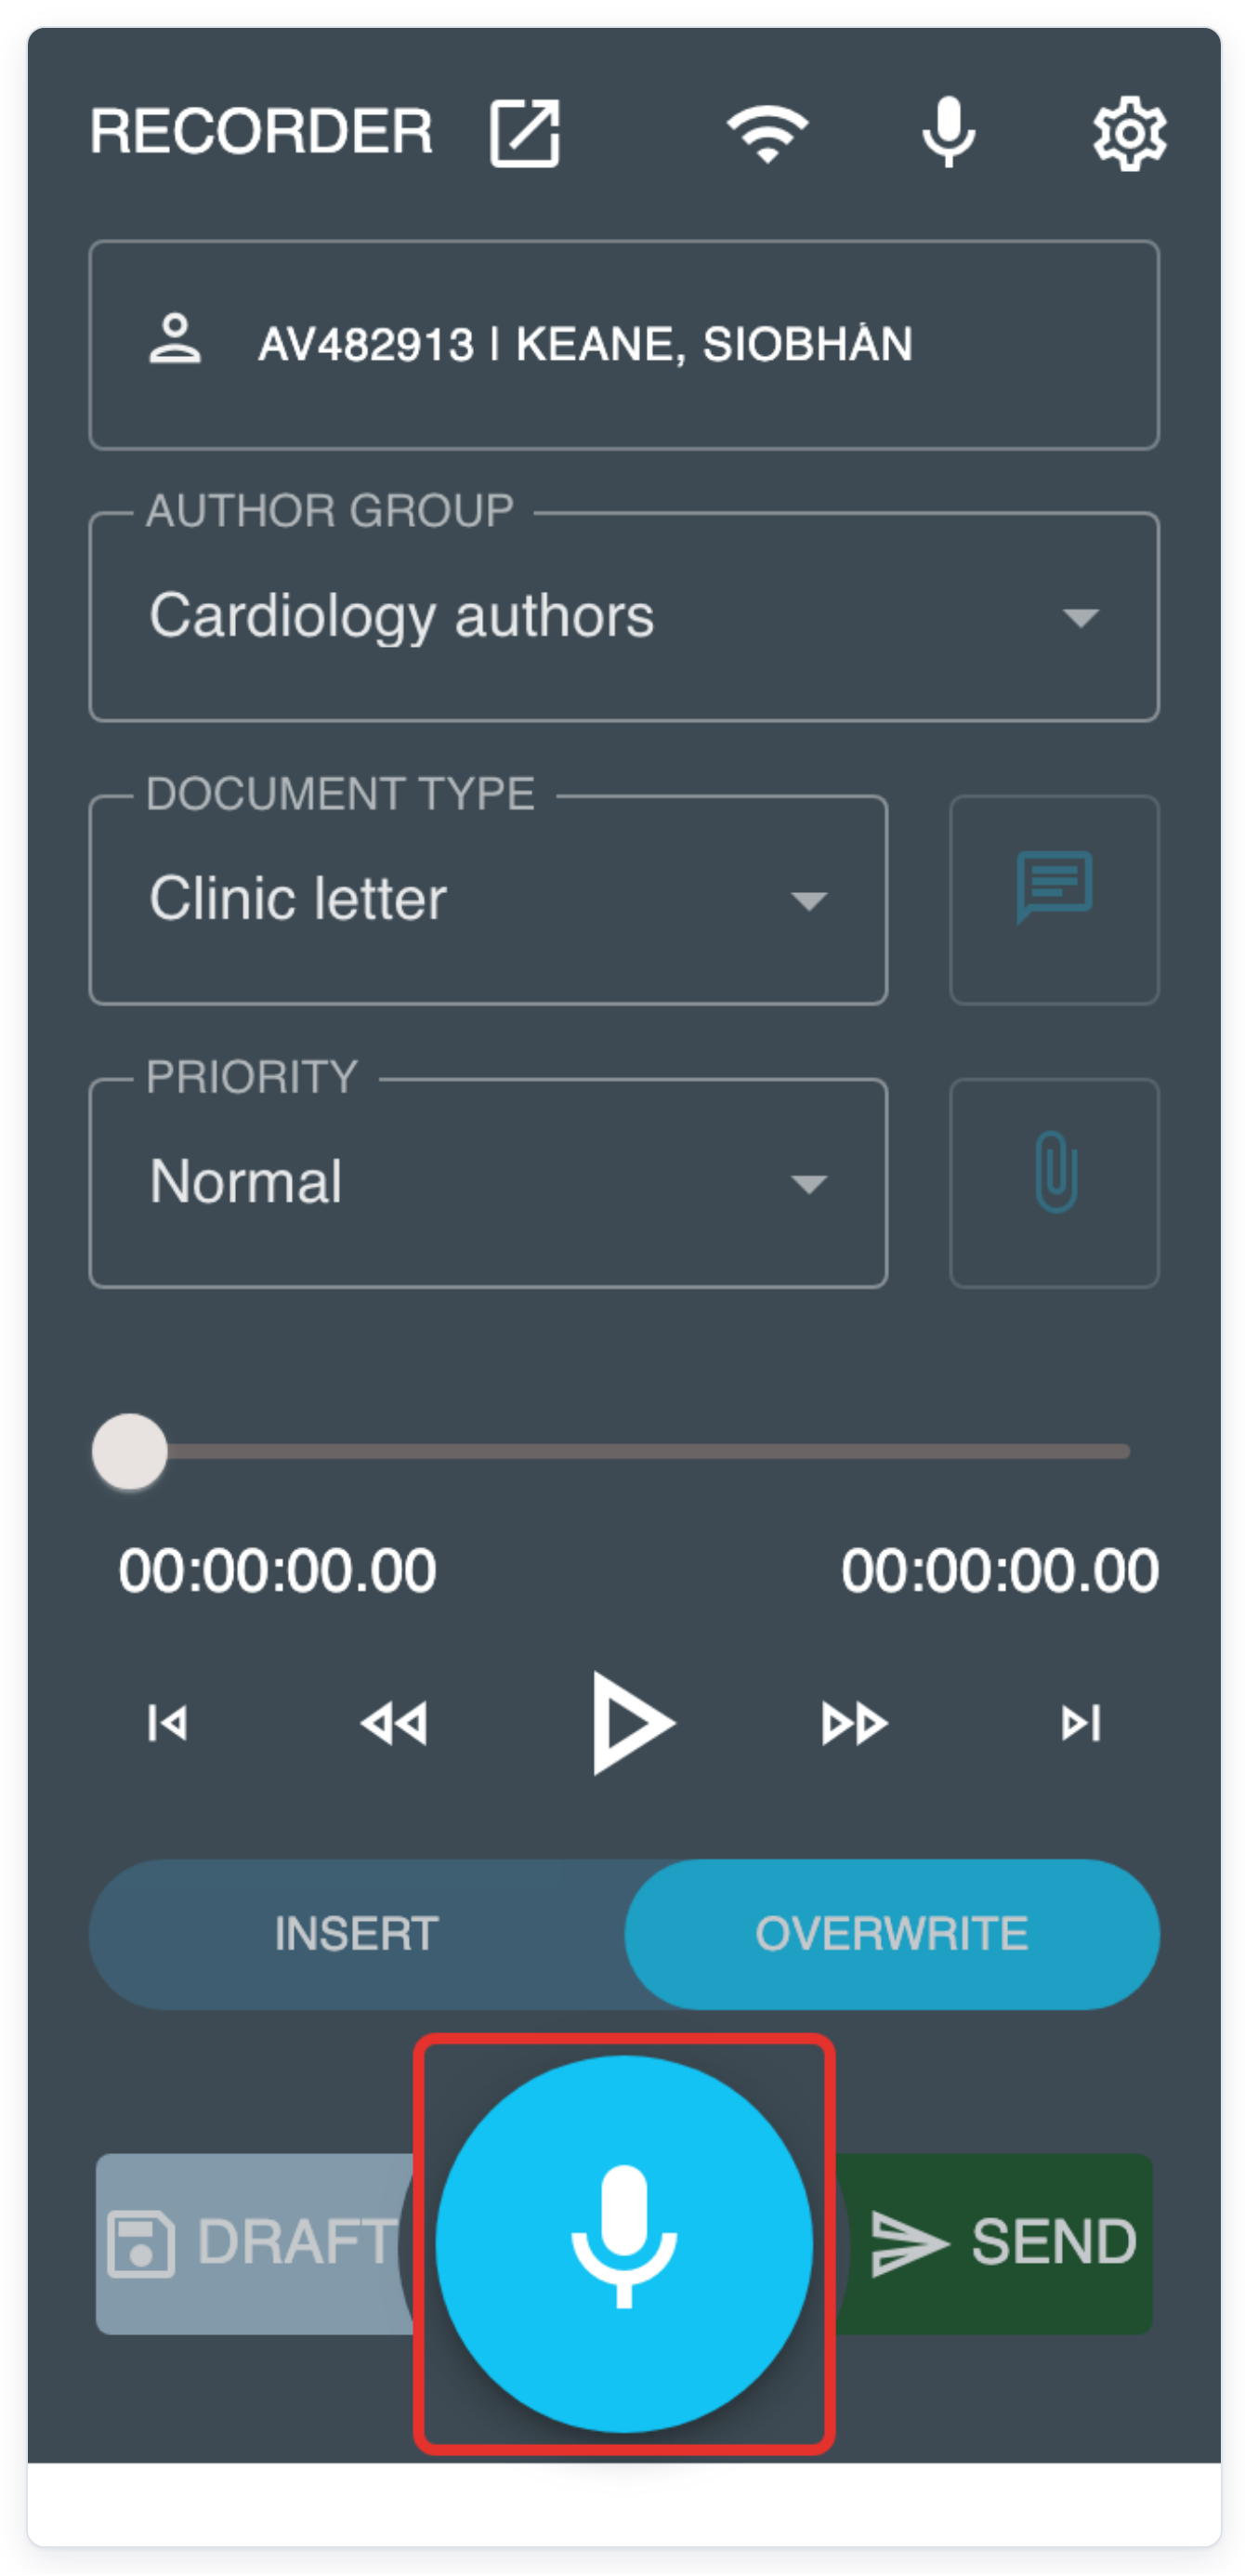
Click the large microphone button to create a task and start dictating.
When you finish speaking, click Pause. You can then play or save your recording.
Click the microphone again to continue dictating.
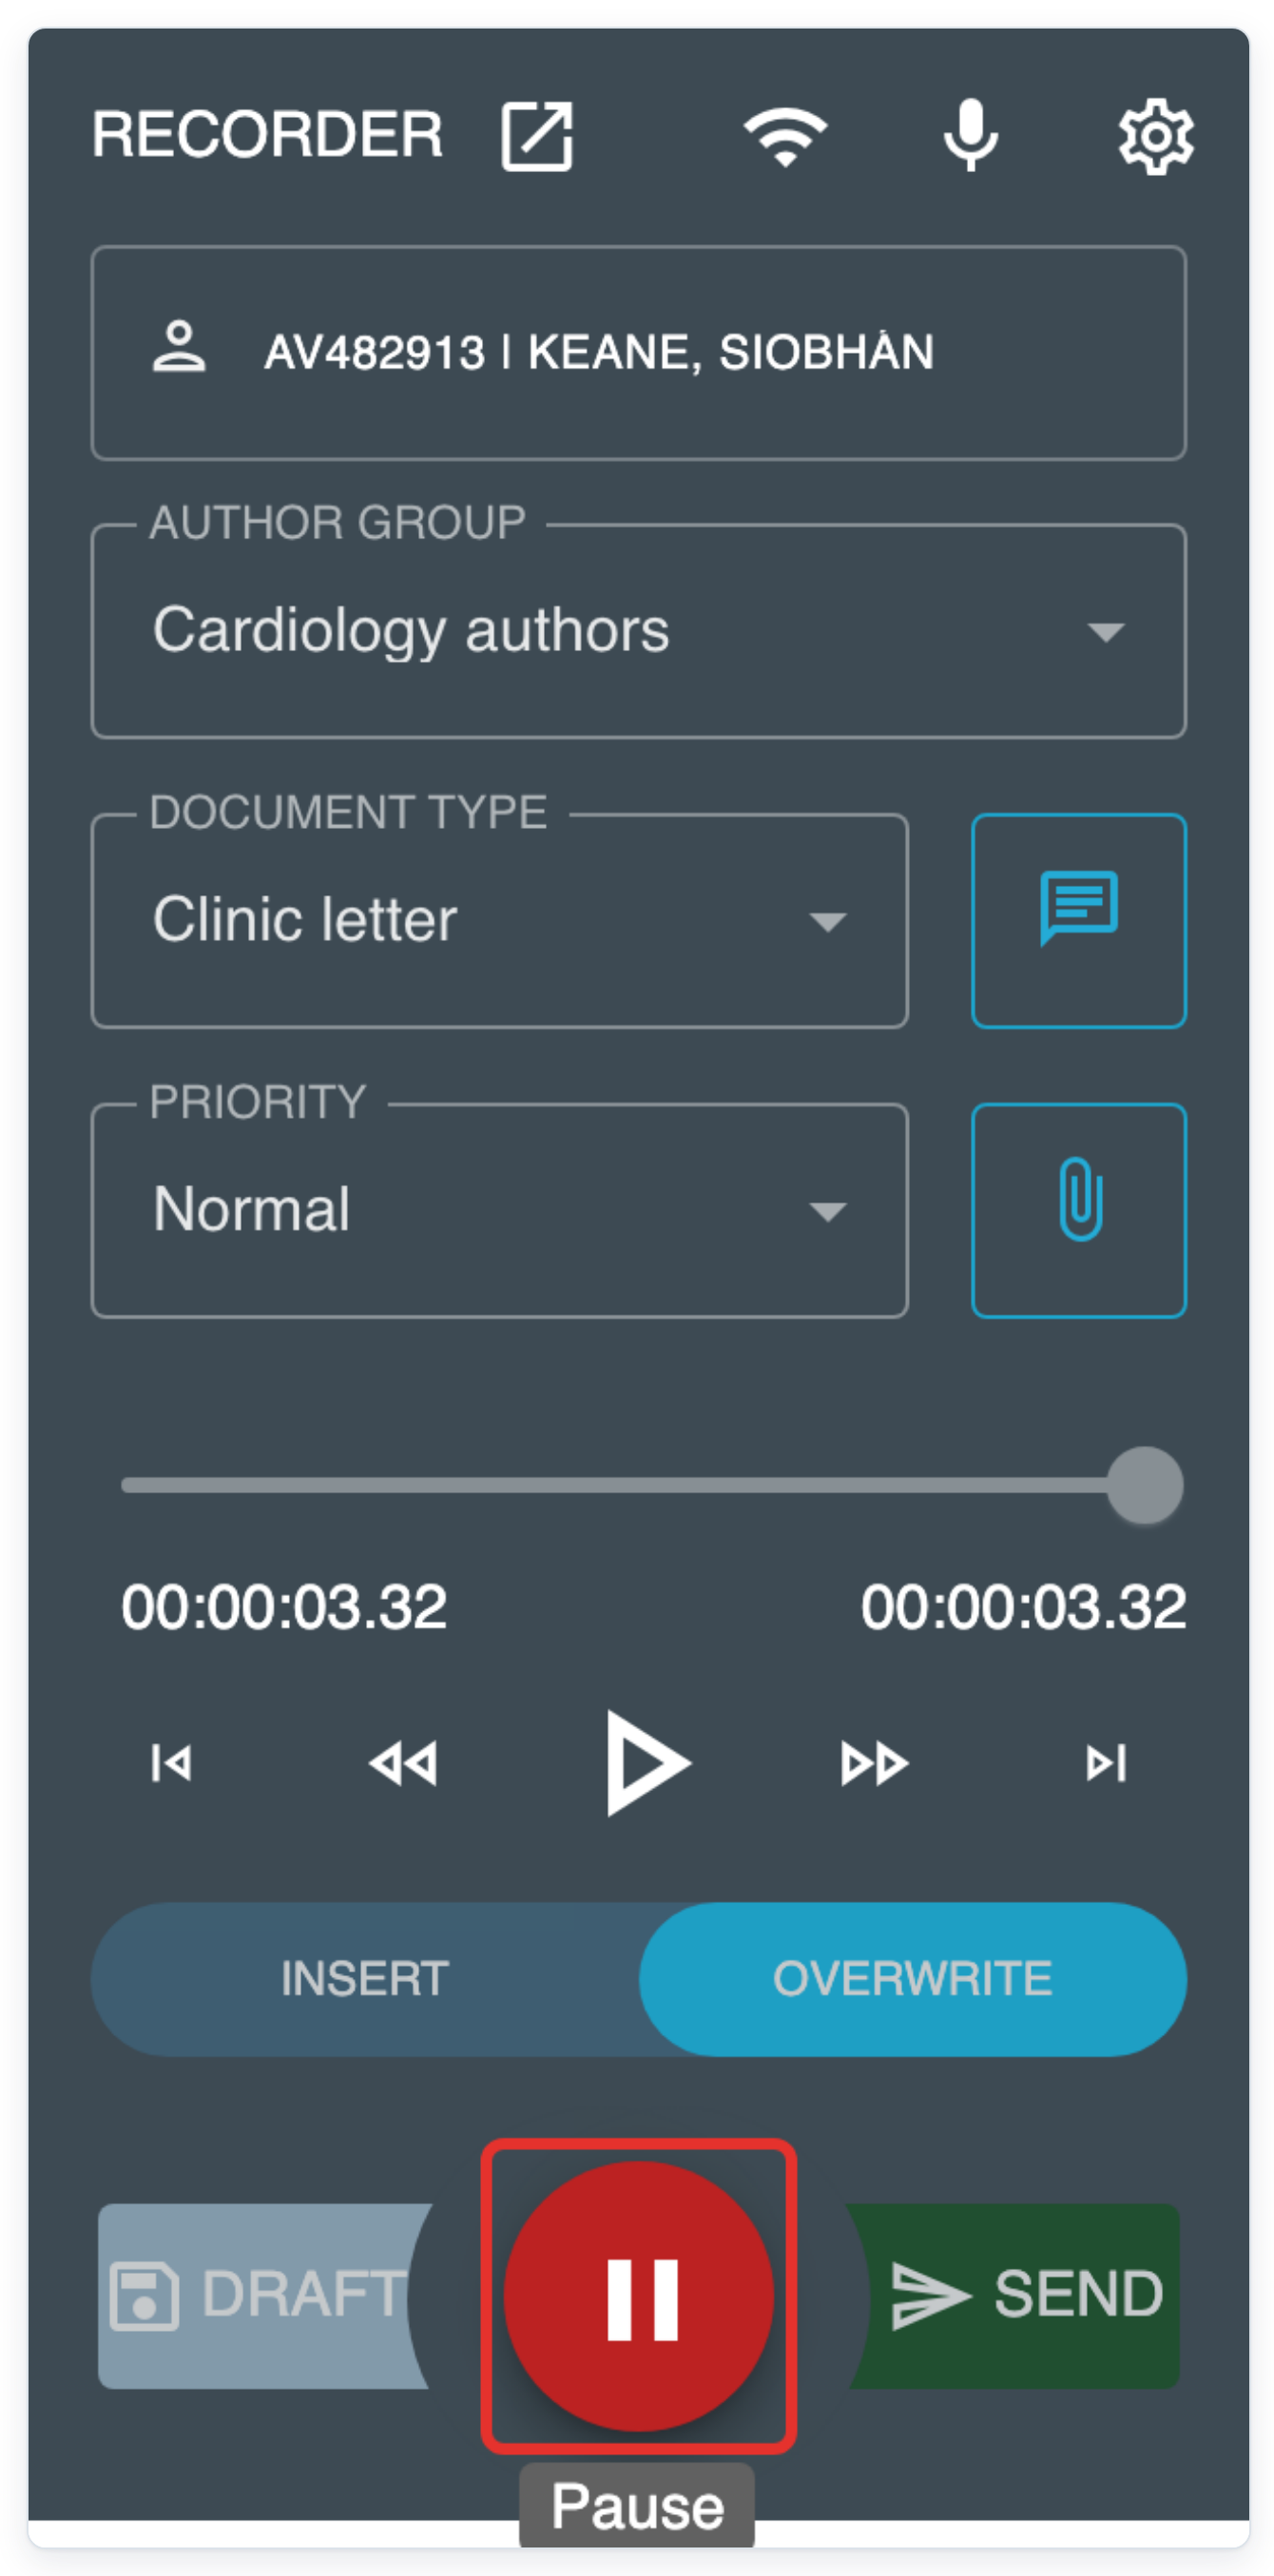
Click Play to listen to your recording. If the slider is at the end, playback starts from the beginning.
To listen from another point, pause playback and move the slider there.
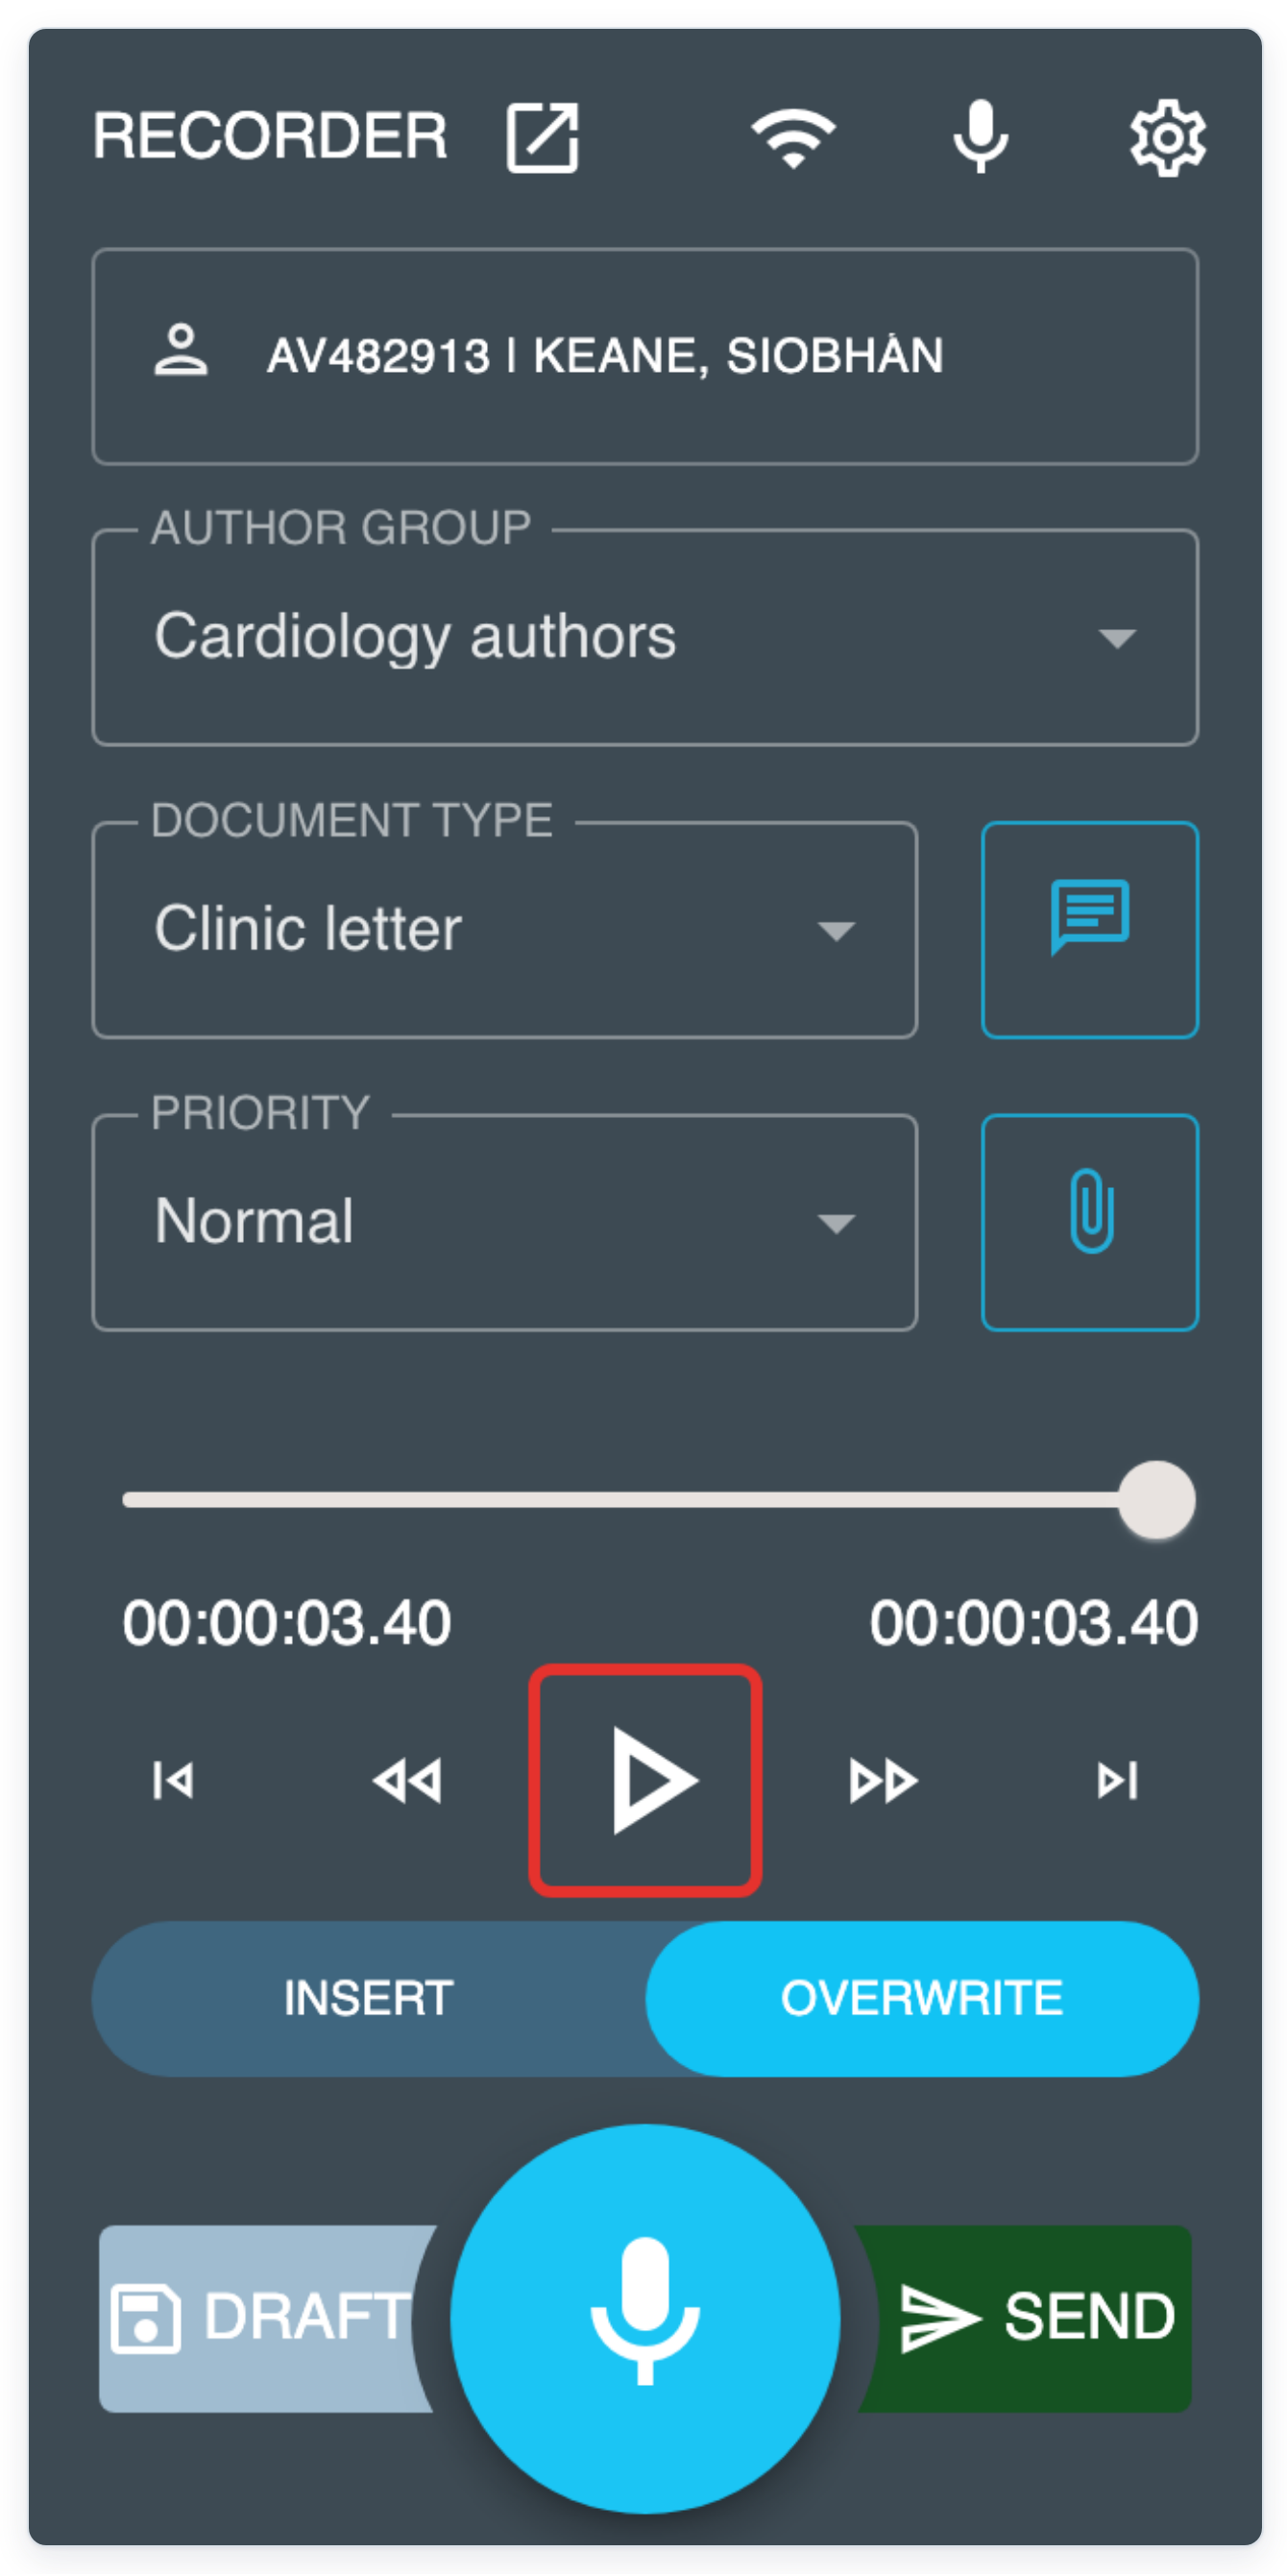
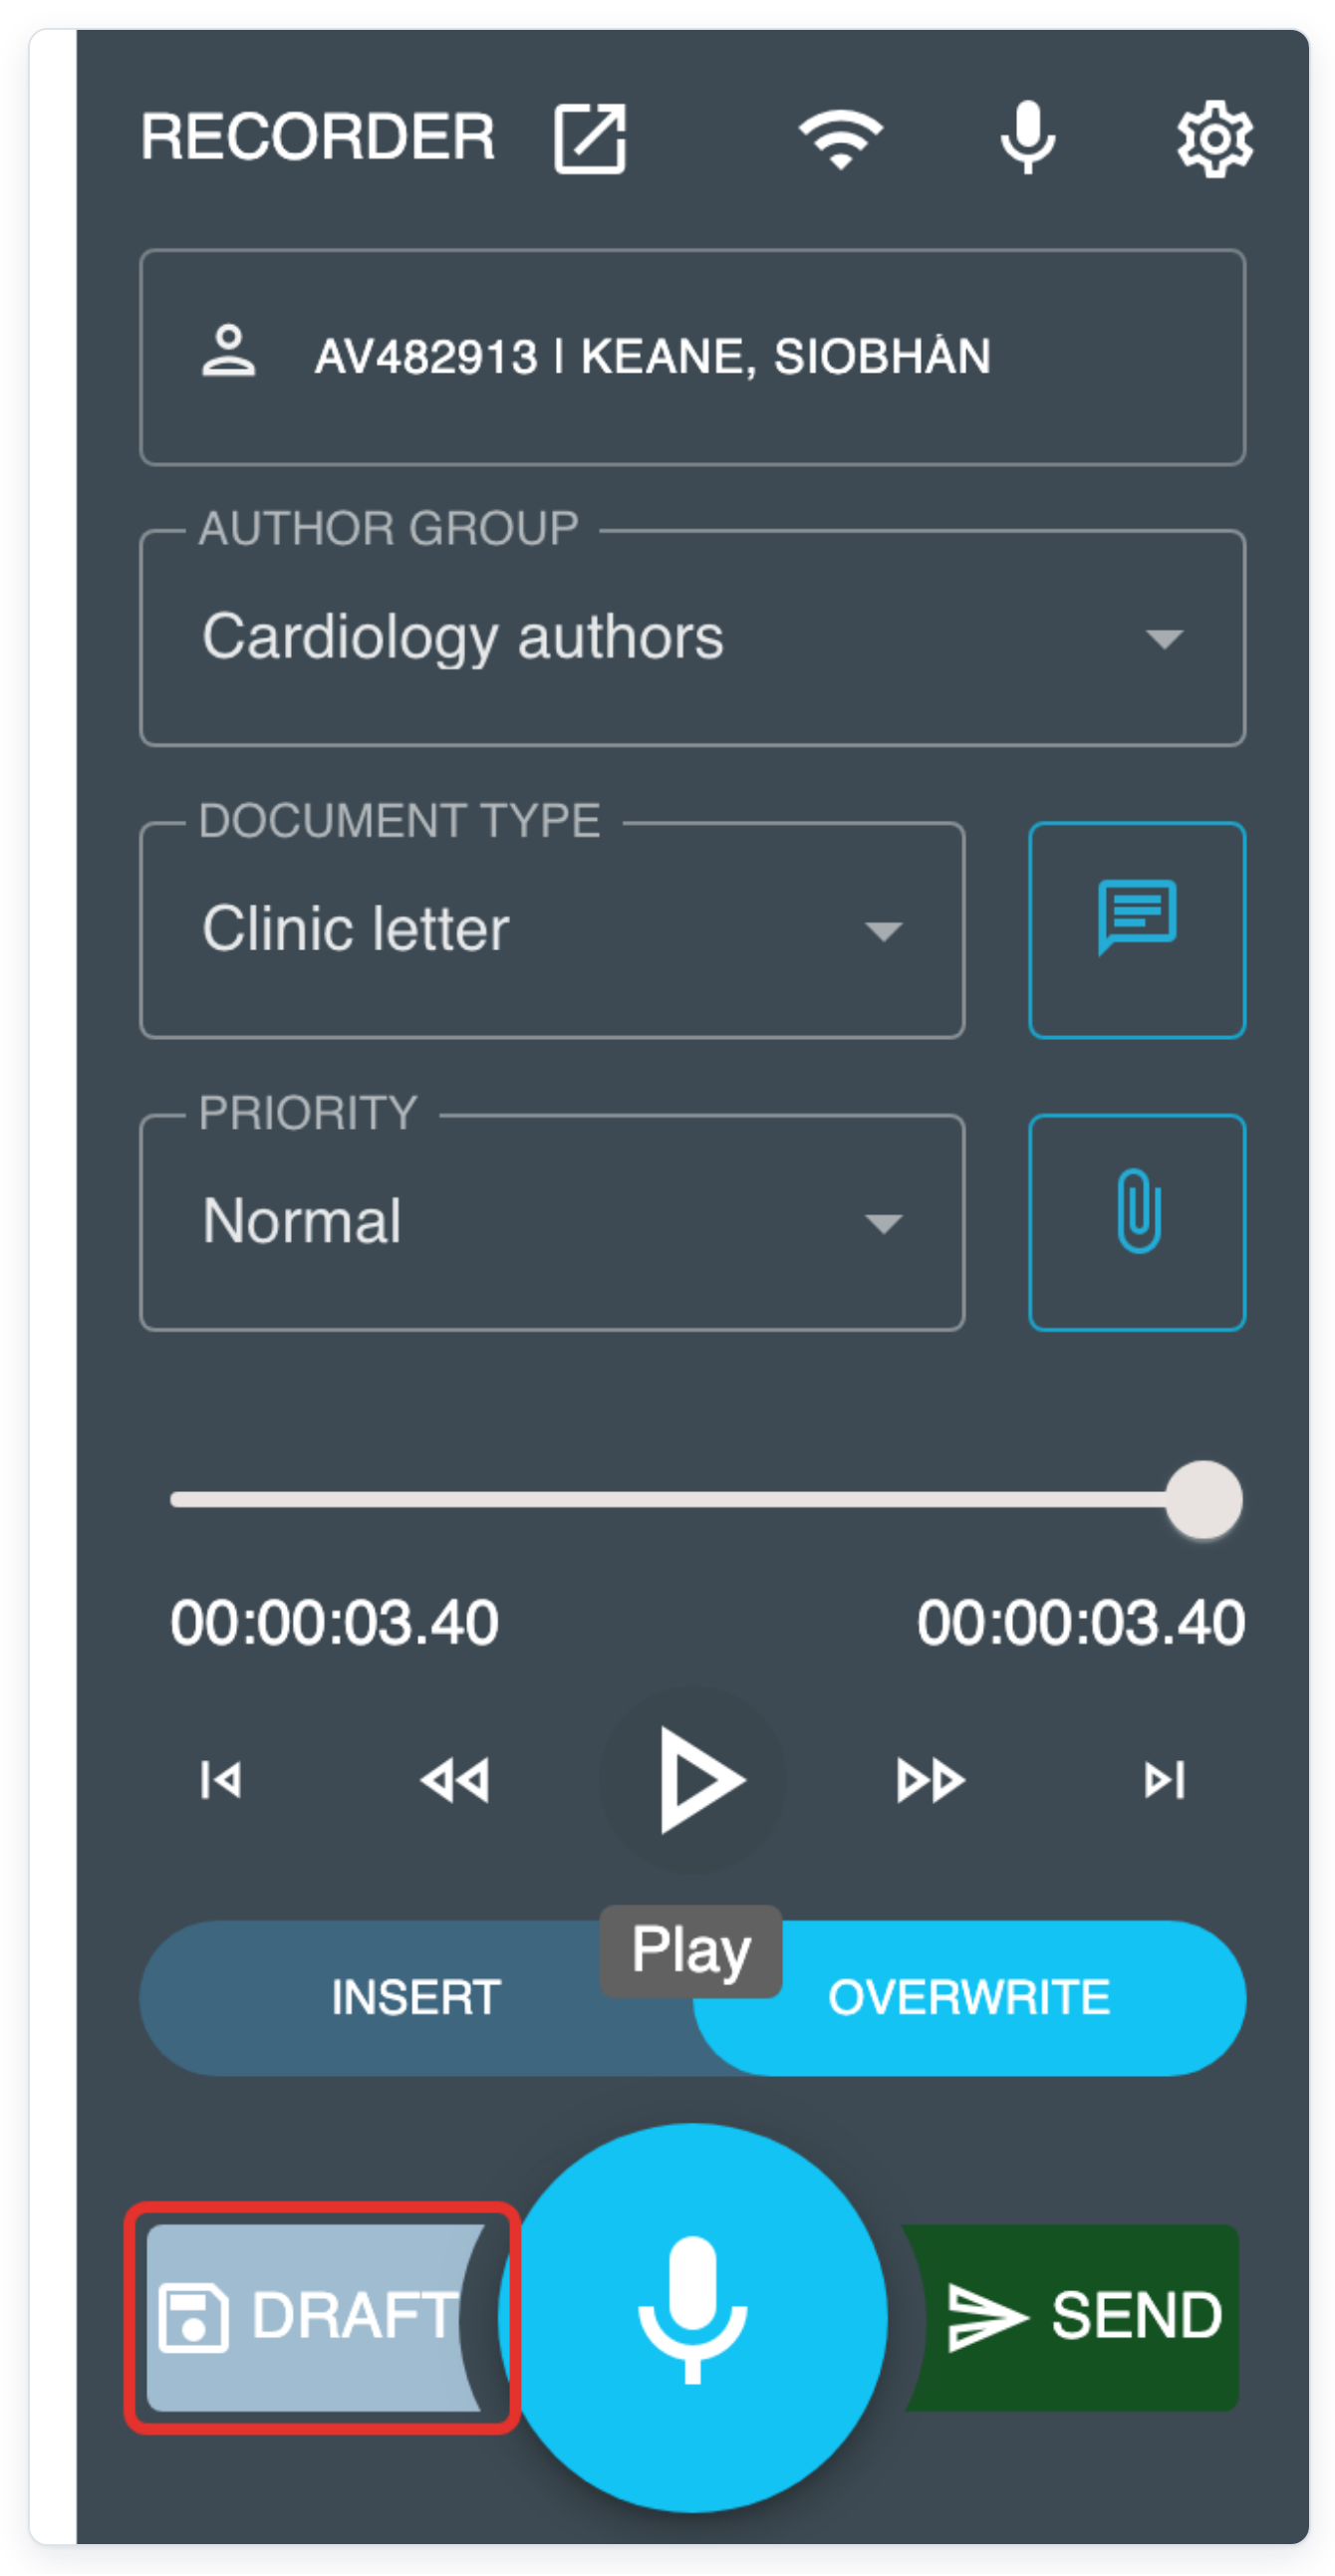
When playback finishes, click DRAFT to save the recording as a draft. The recorder is ready for another dictation.
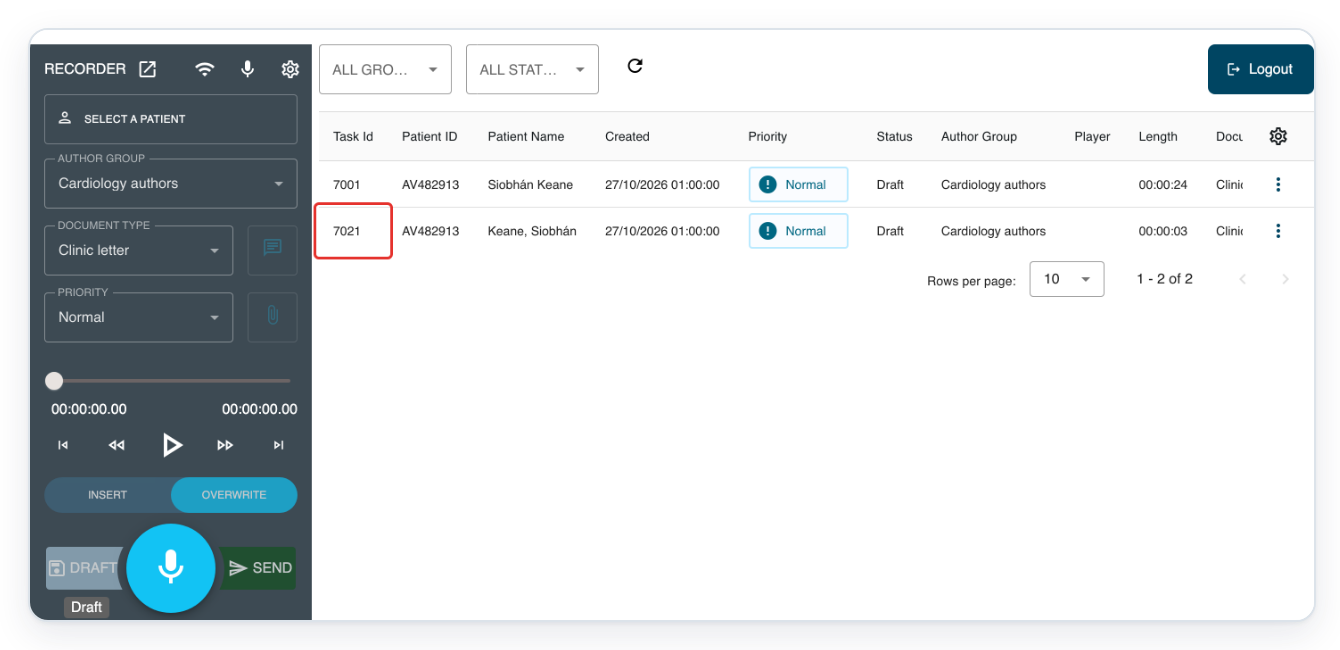
The task remains in the list with Draft status.
Click the saved draft's task ID to reopen it in the recorder. In this example, the ID is 7021.
Your patient and task details appear with the recording.
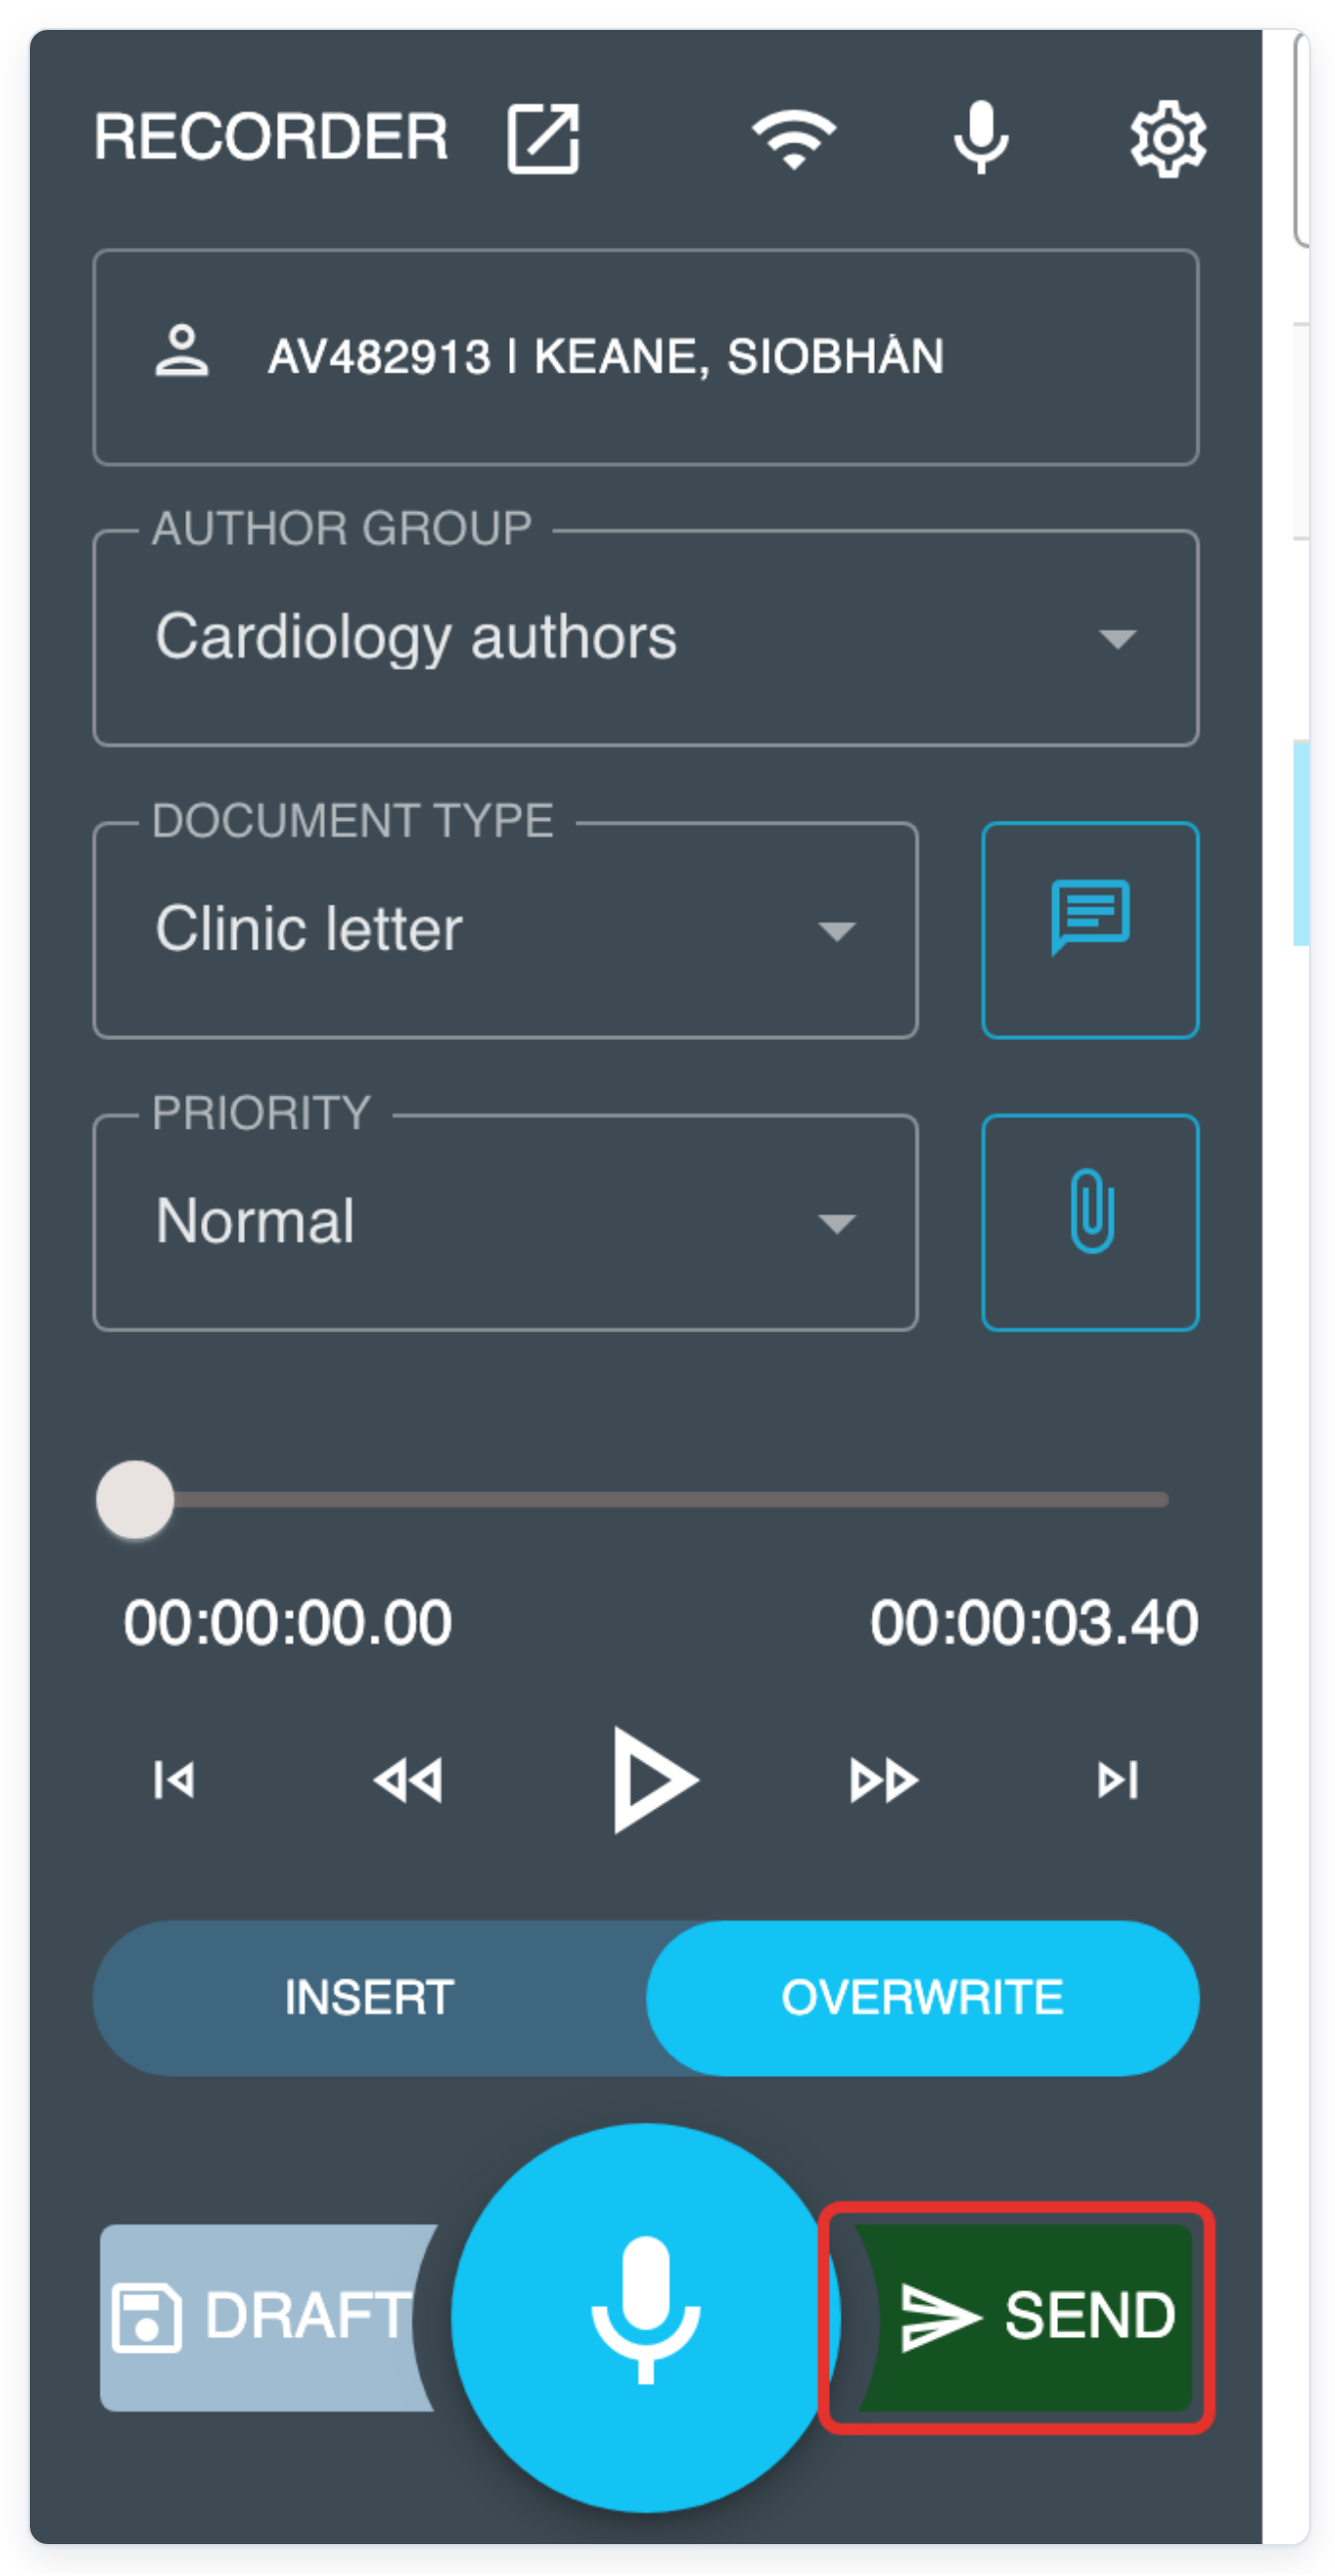
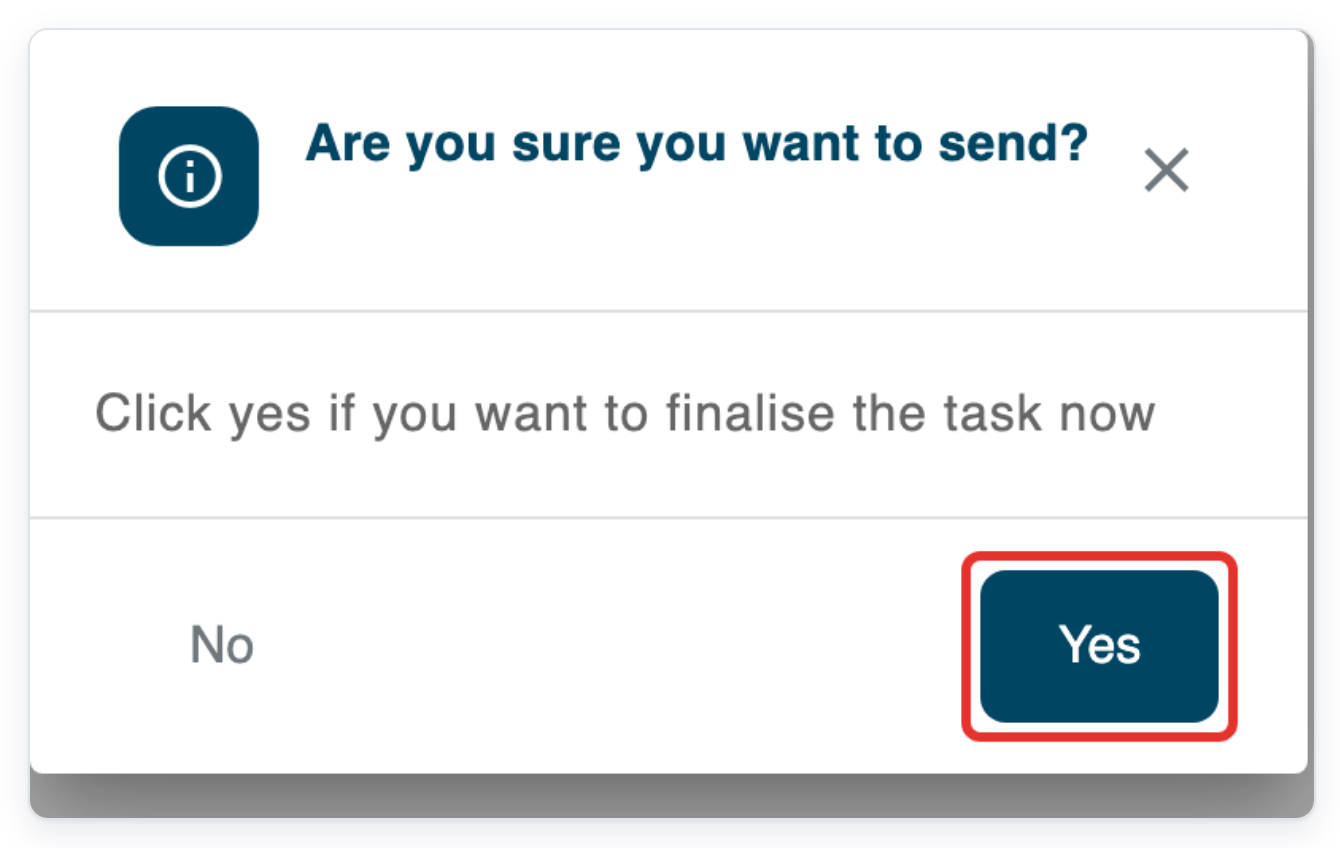
Click SEND when your recording is ready. A message asks you to confirm that you want to send it.
You'll see this message if send confirmation is switched on in your recorder settings.
Click Yes to send the recording for processing. The recorder clears, ready for another dictation.
Change your Web Recorder settings
If Web Recorder does not open after login, click Recorder in the top menu.

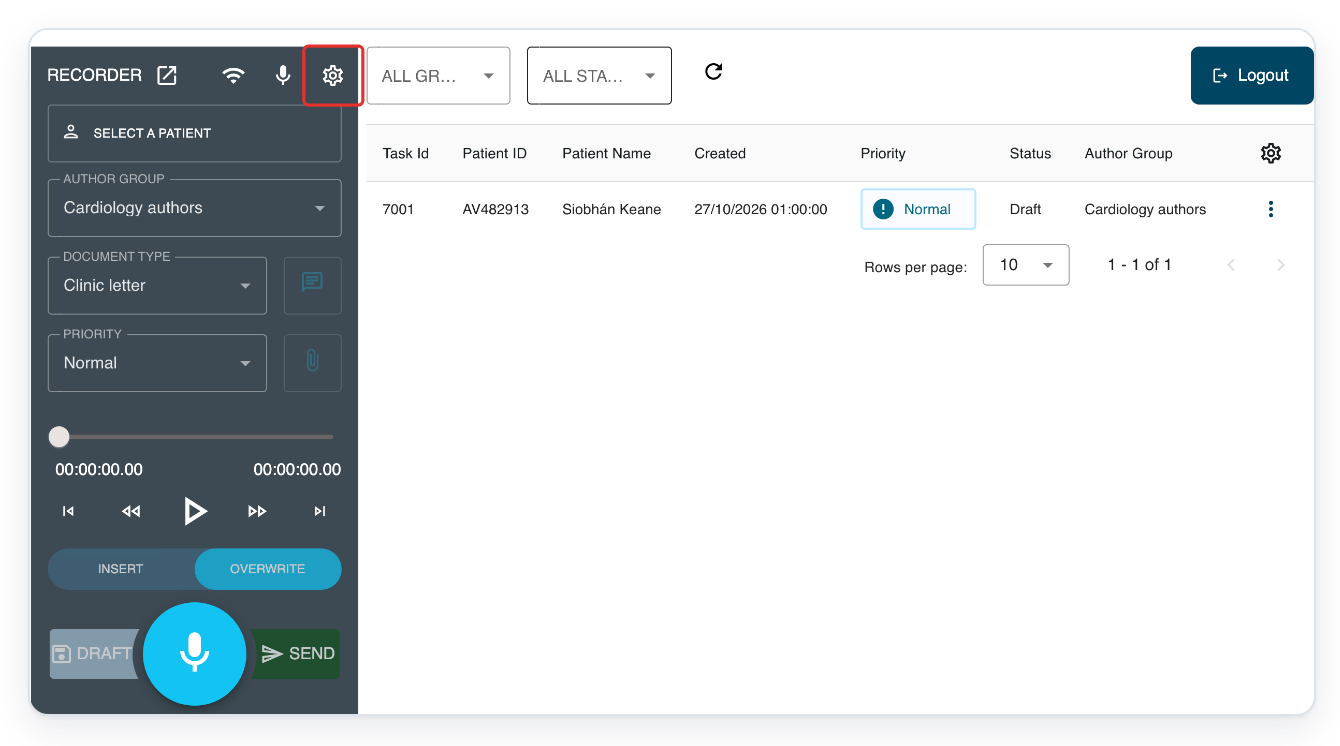
Click the cog at the top of the recorder to open Recorder Settings.
Open Devices to see the available microphones.
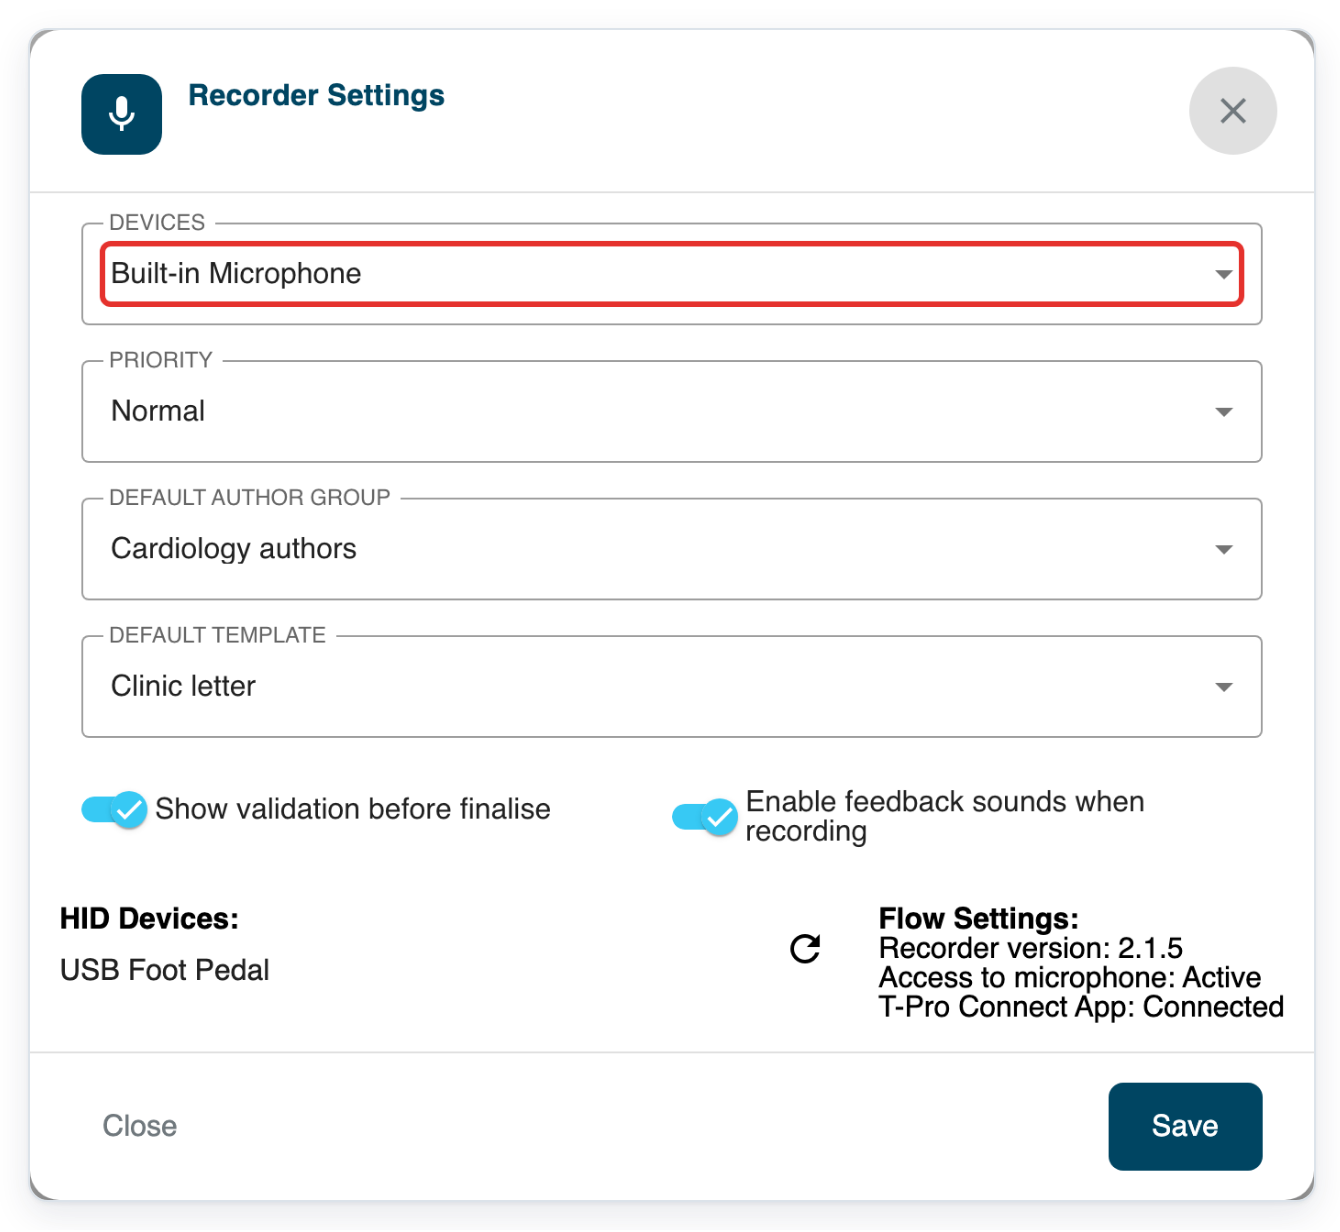
Choose your microphone. This example uses USB Headset Microphone.
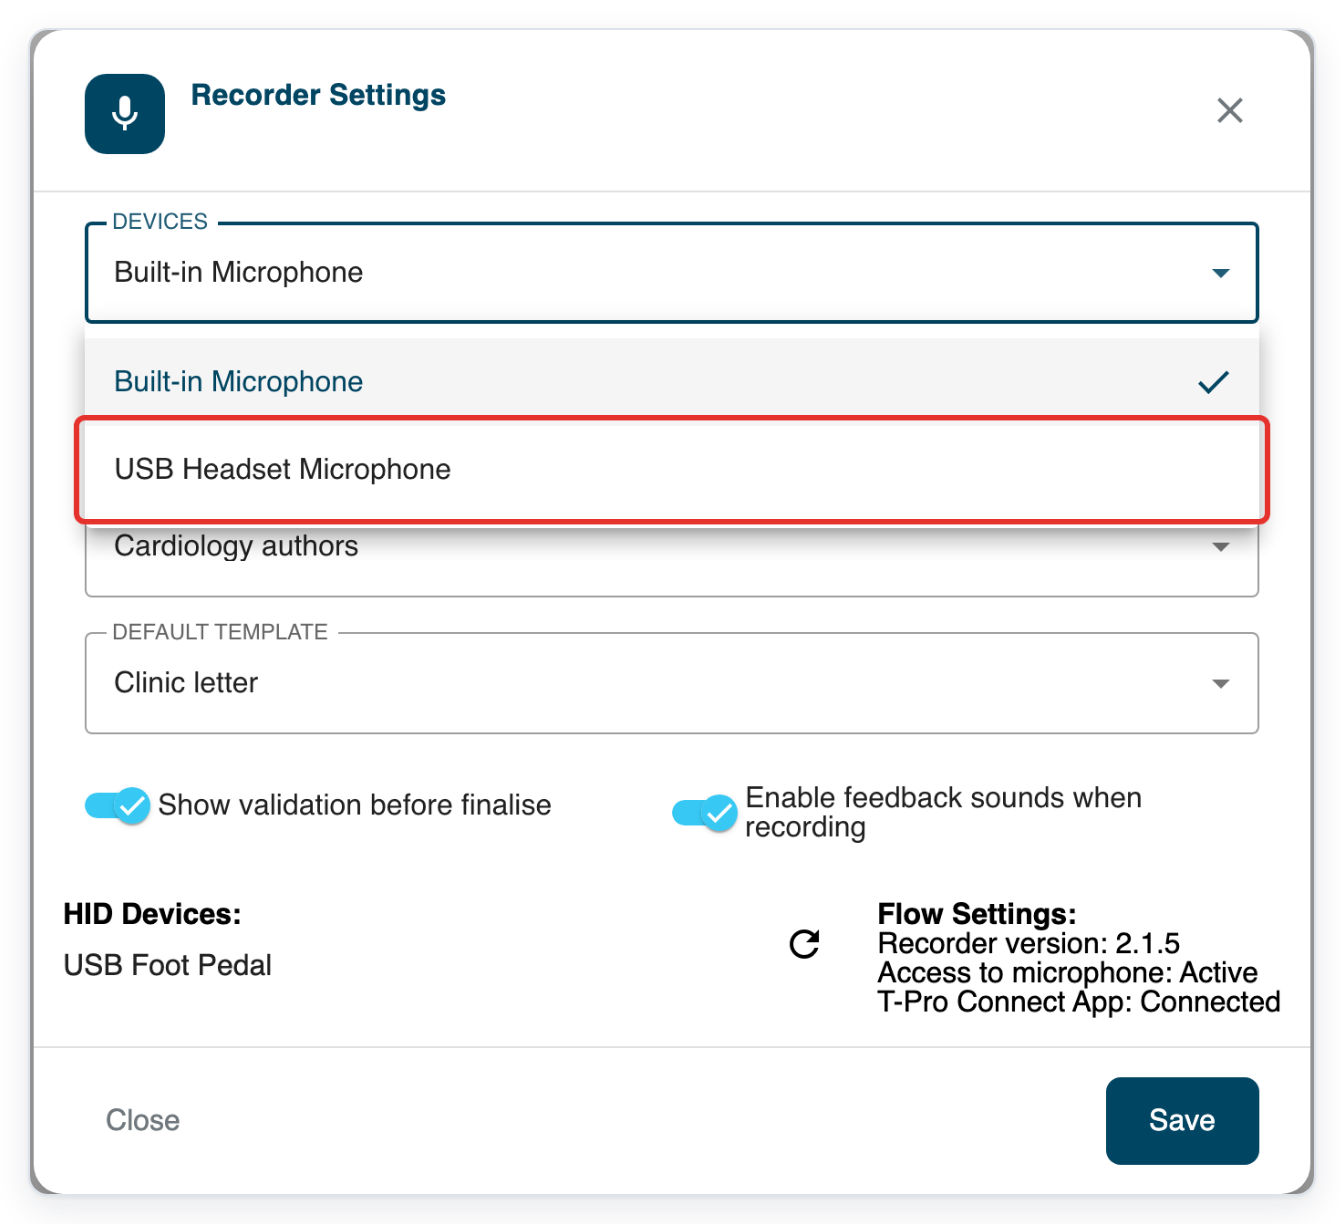
Open Priority to see the choices.
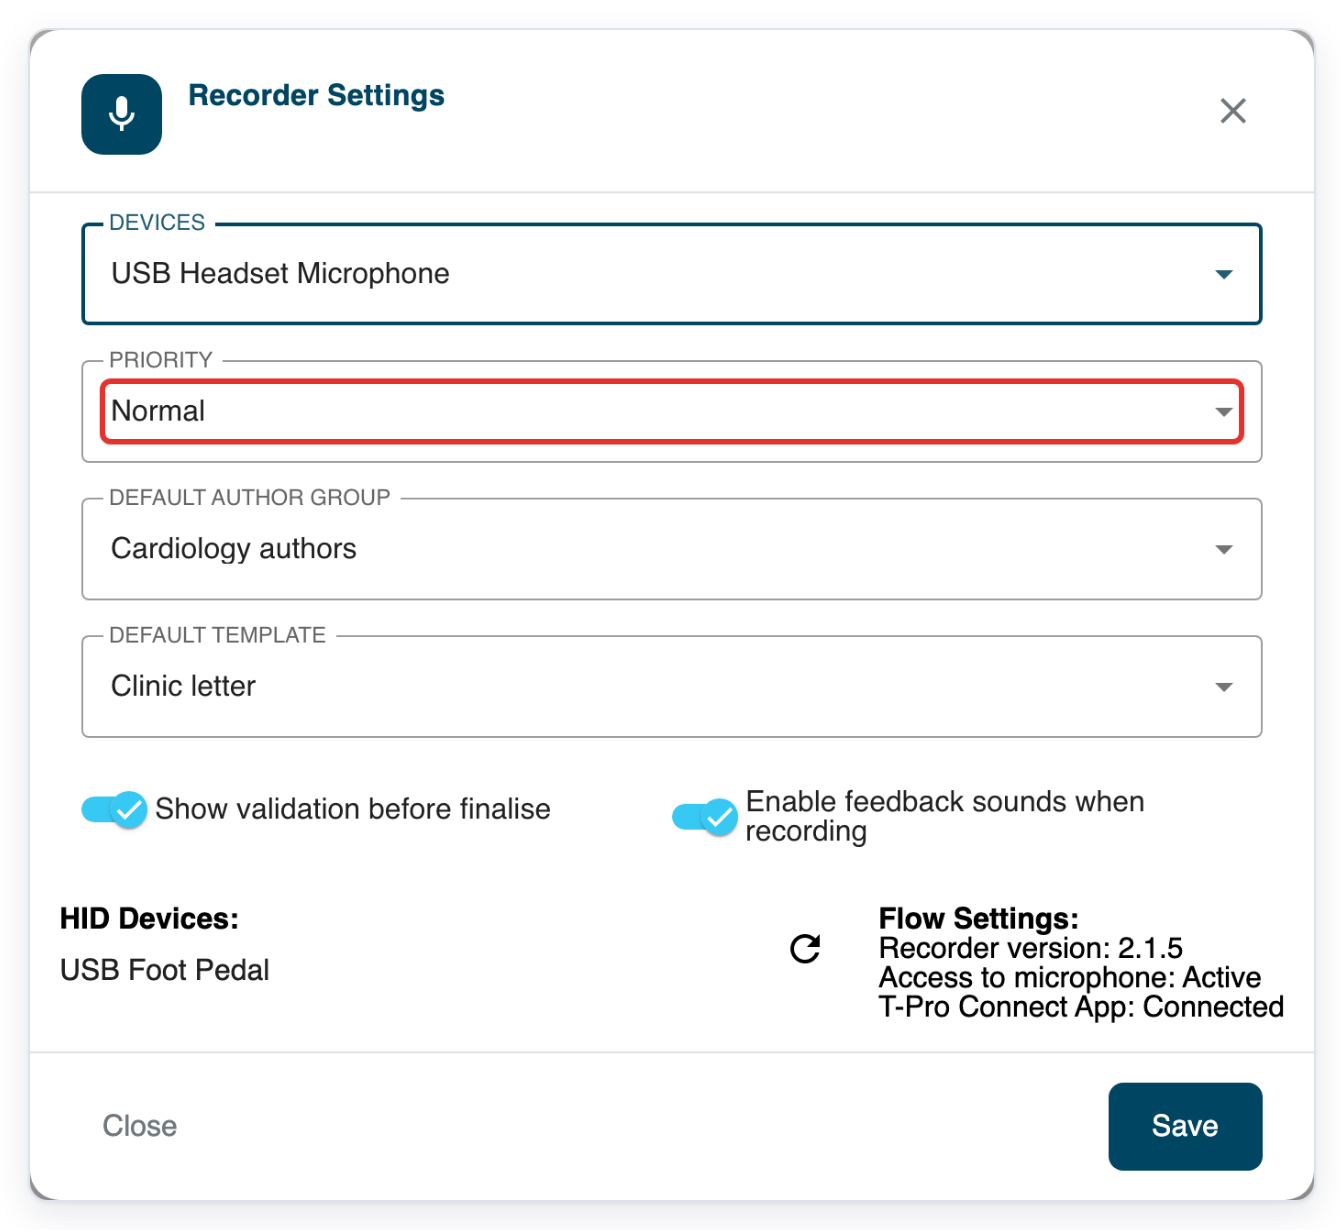
Choose your default priority. This example uses High Priority.
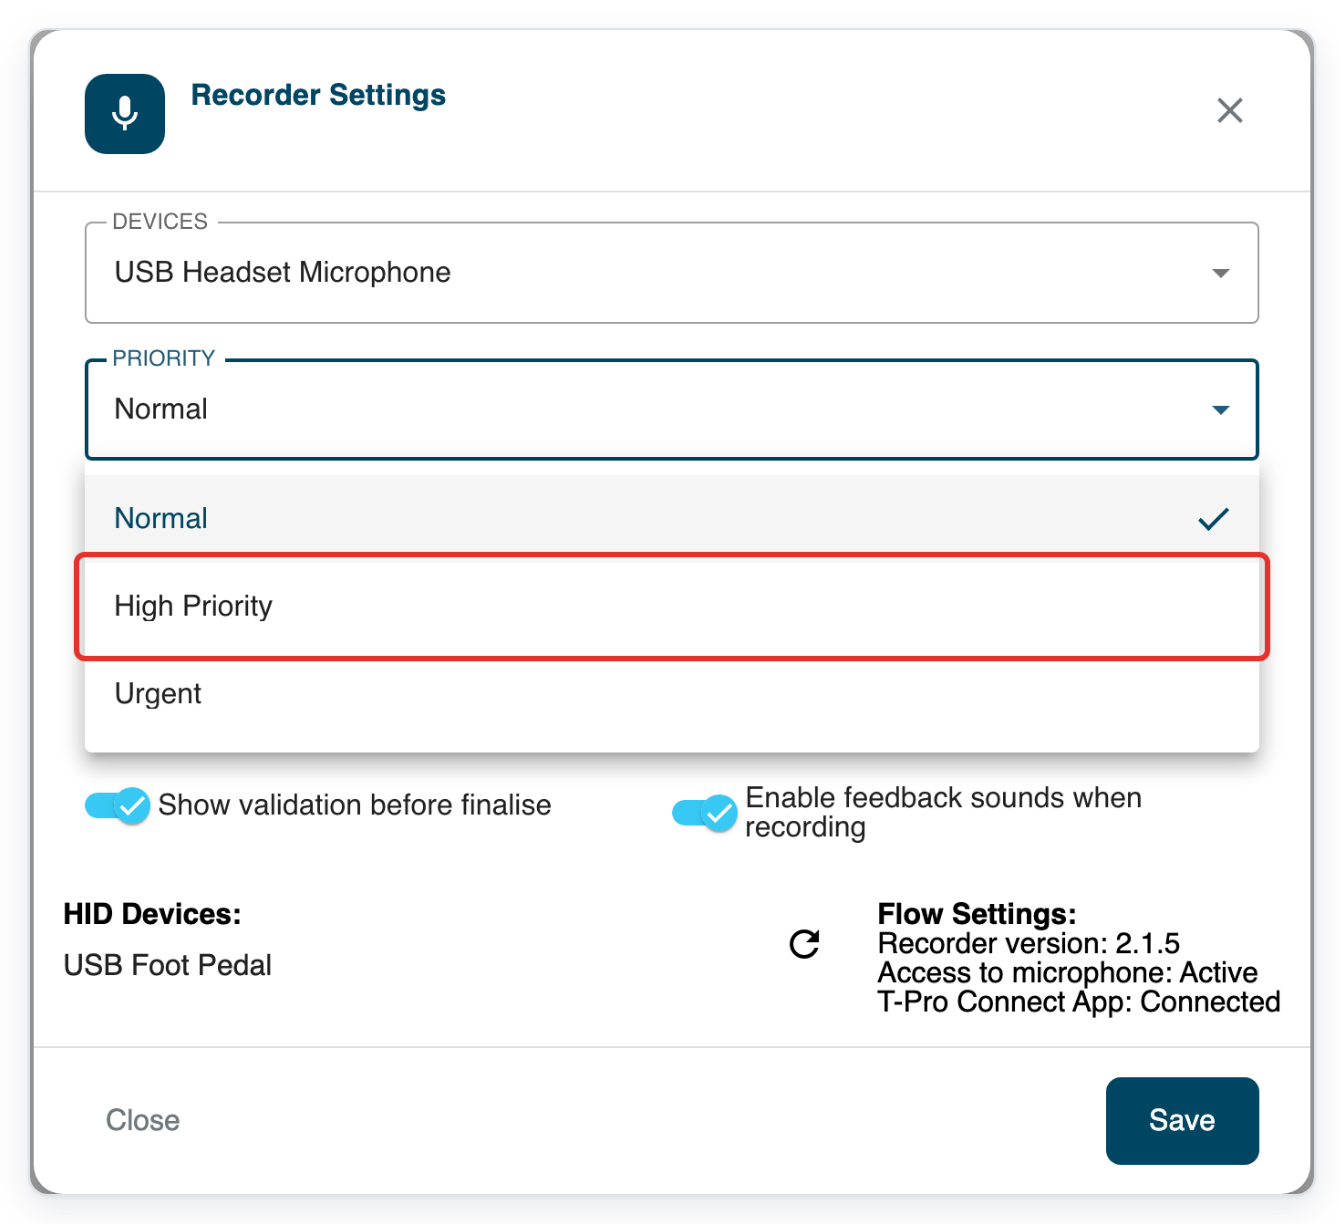
Open Default Author Group to see your groups.
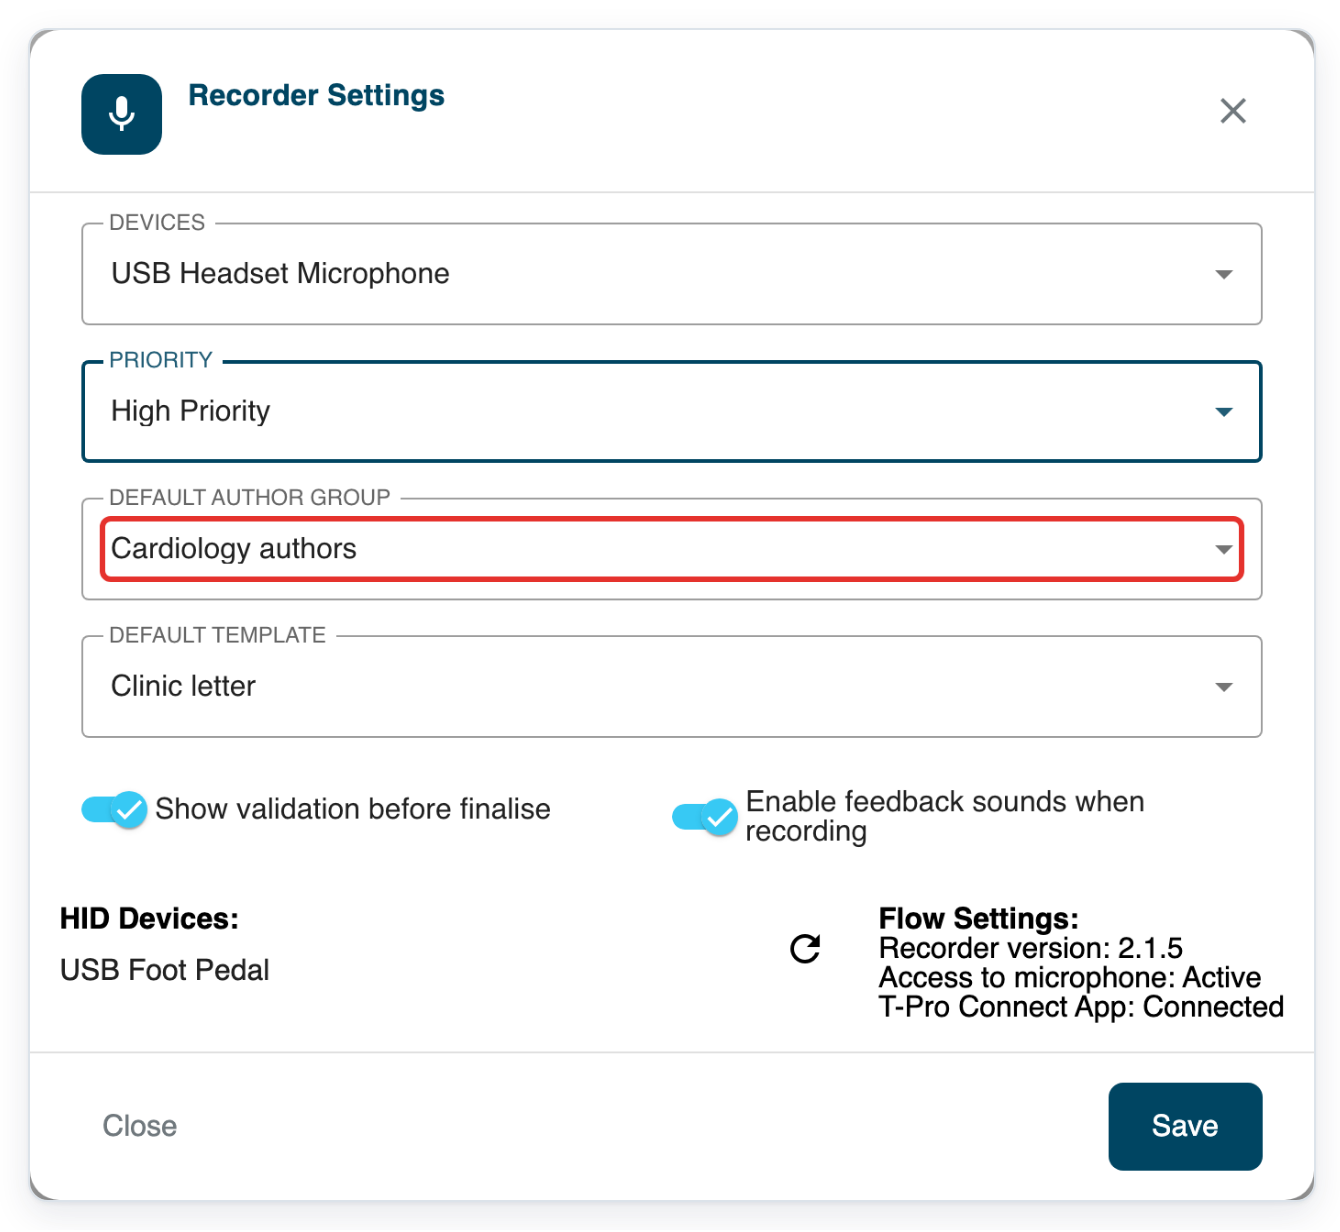
Choose your default author group. This example uses Cardiology authors.
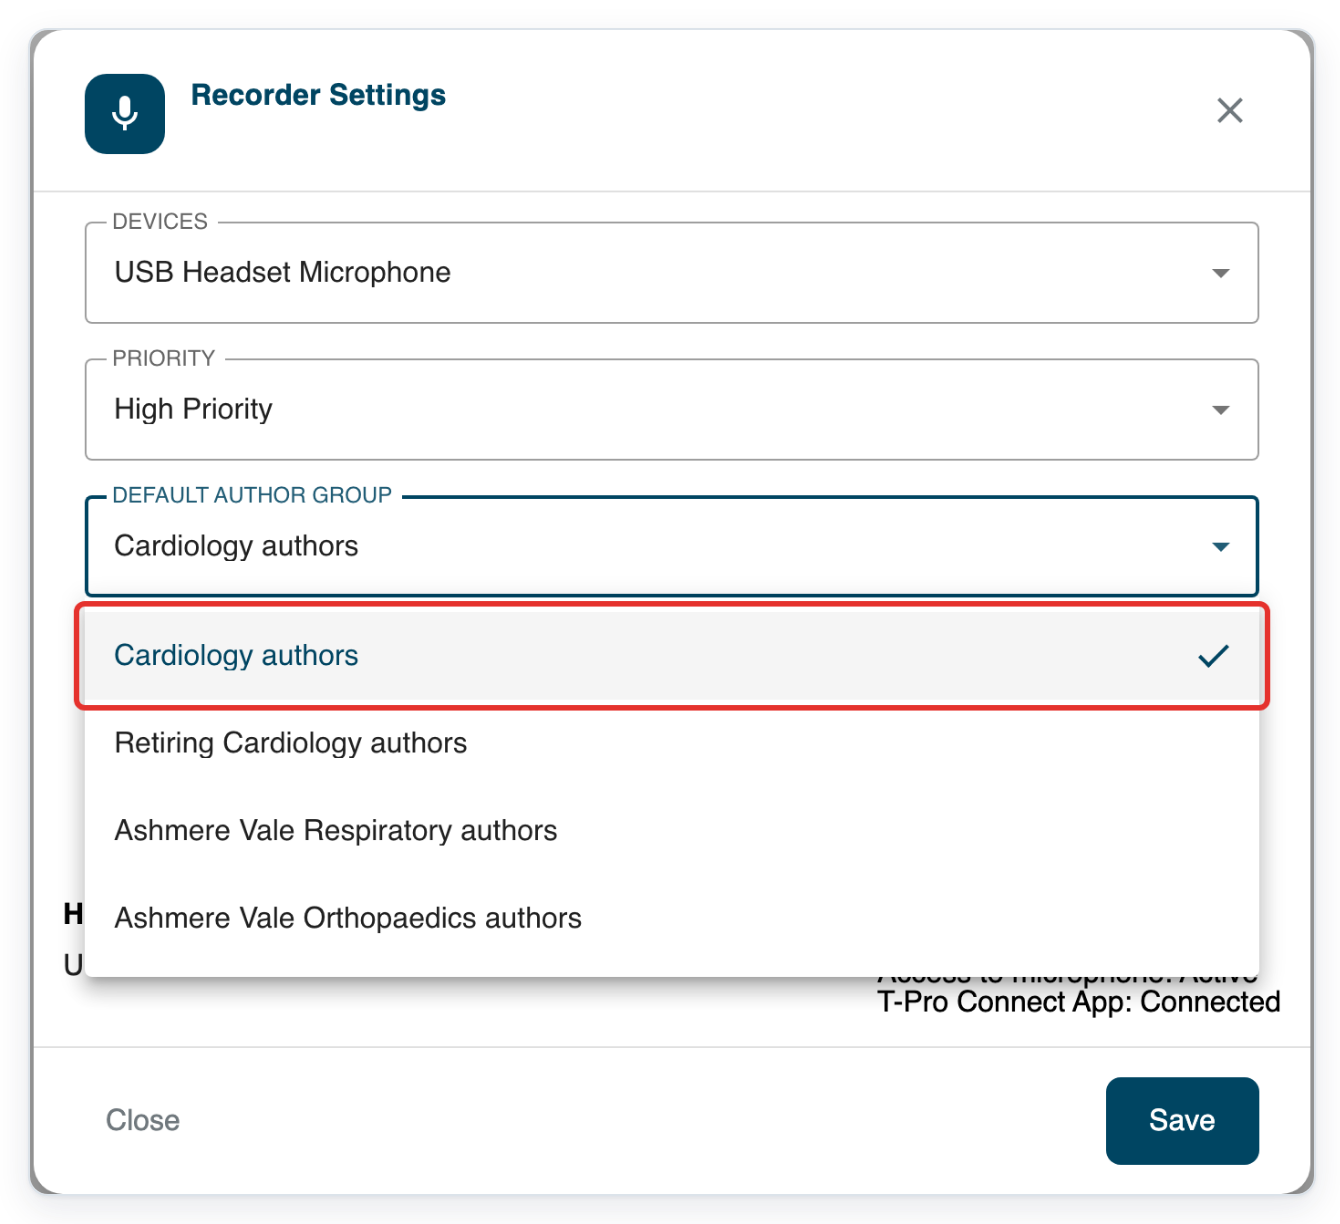
Open Default Template to see the document types for your chosen group.
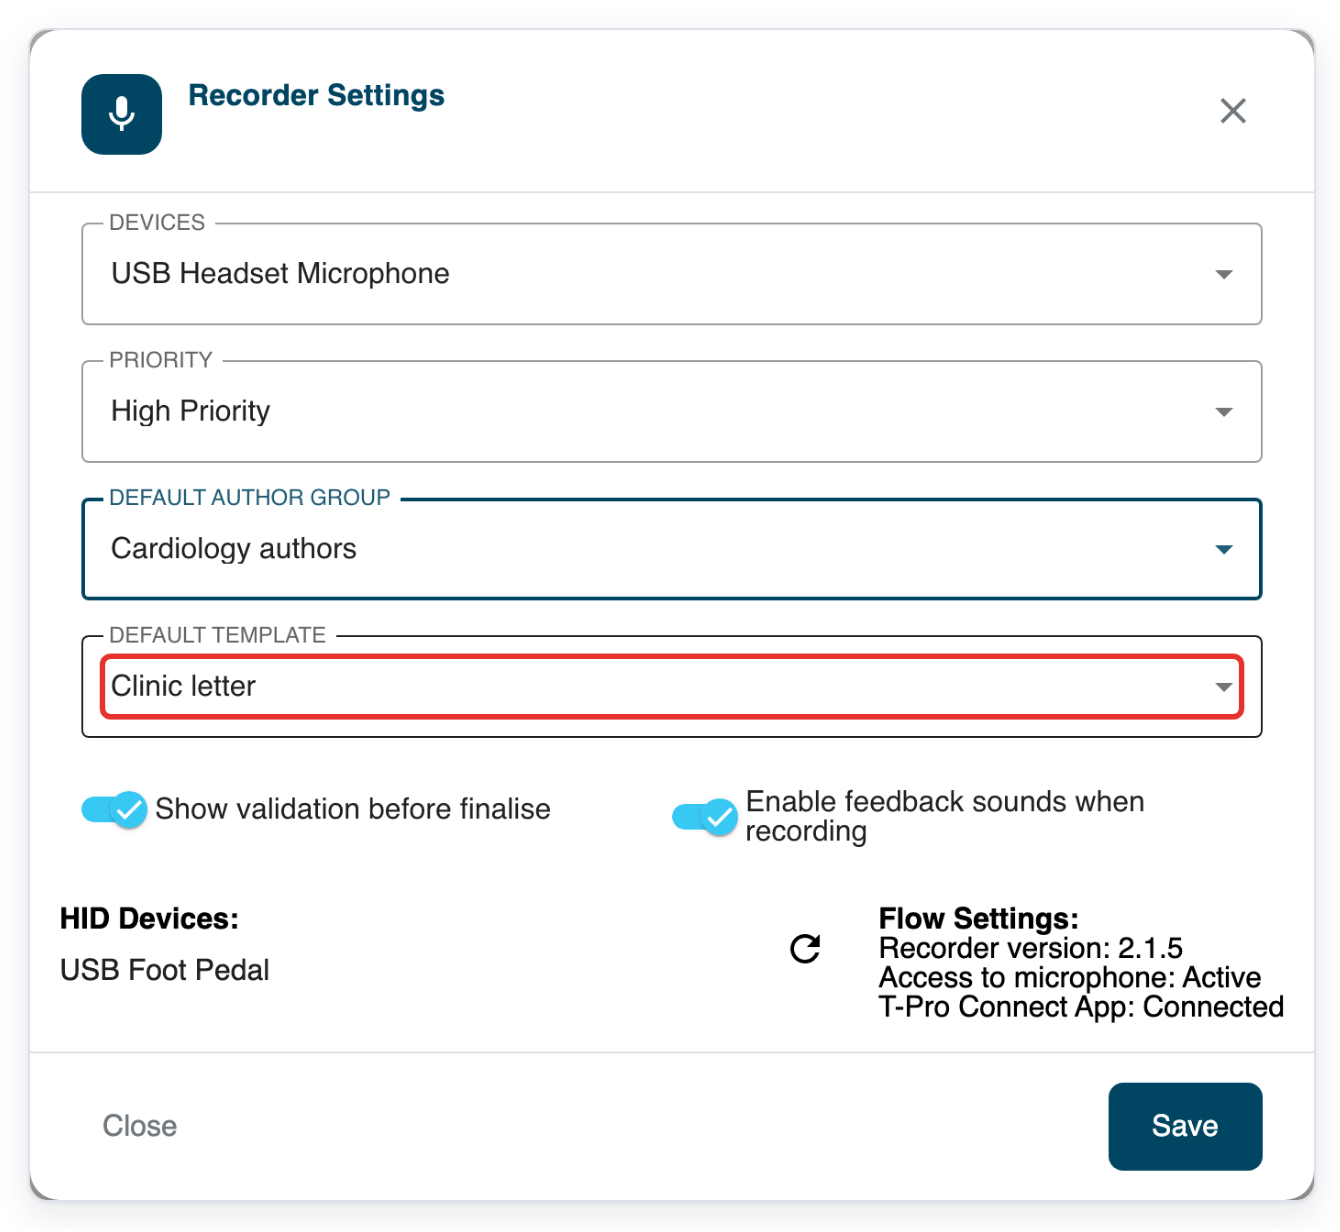
Choose your default document type. This example uses Outpatient follow-up.
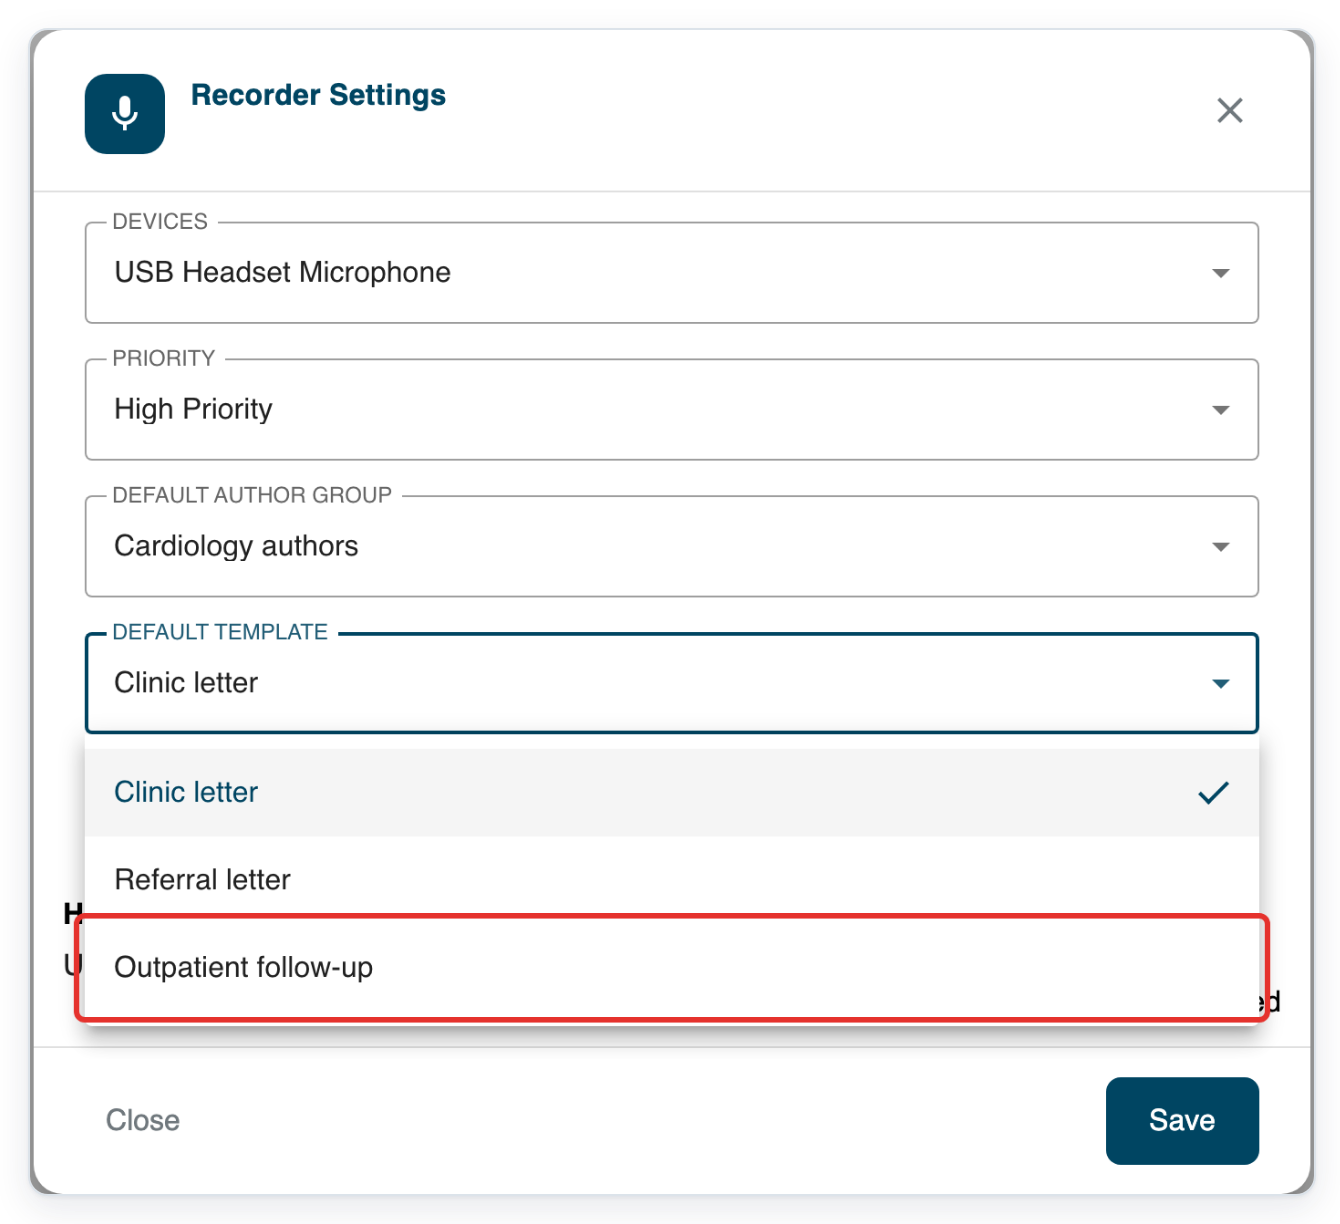
Keep Show validation before finalise turned on to see a confirmation before sending a task.
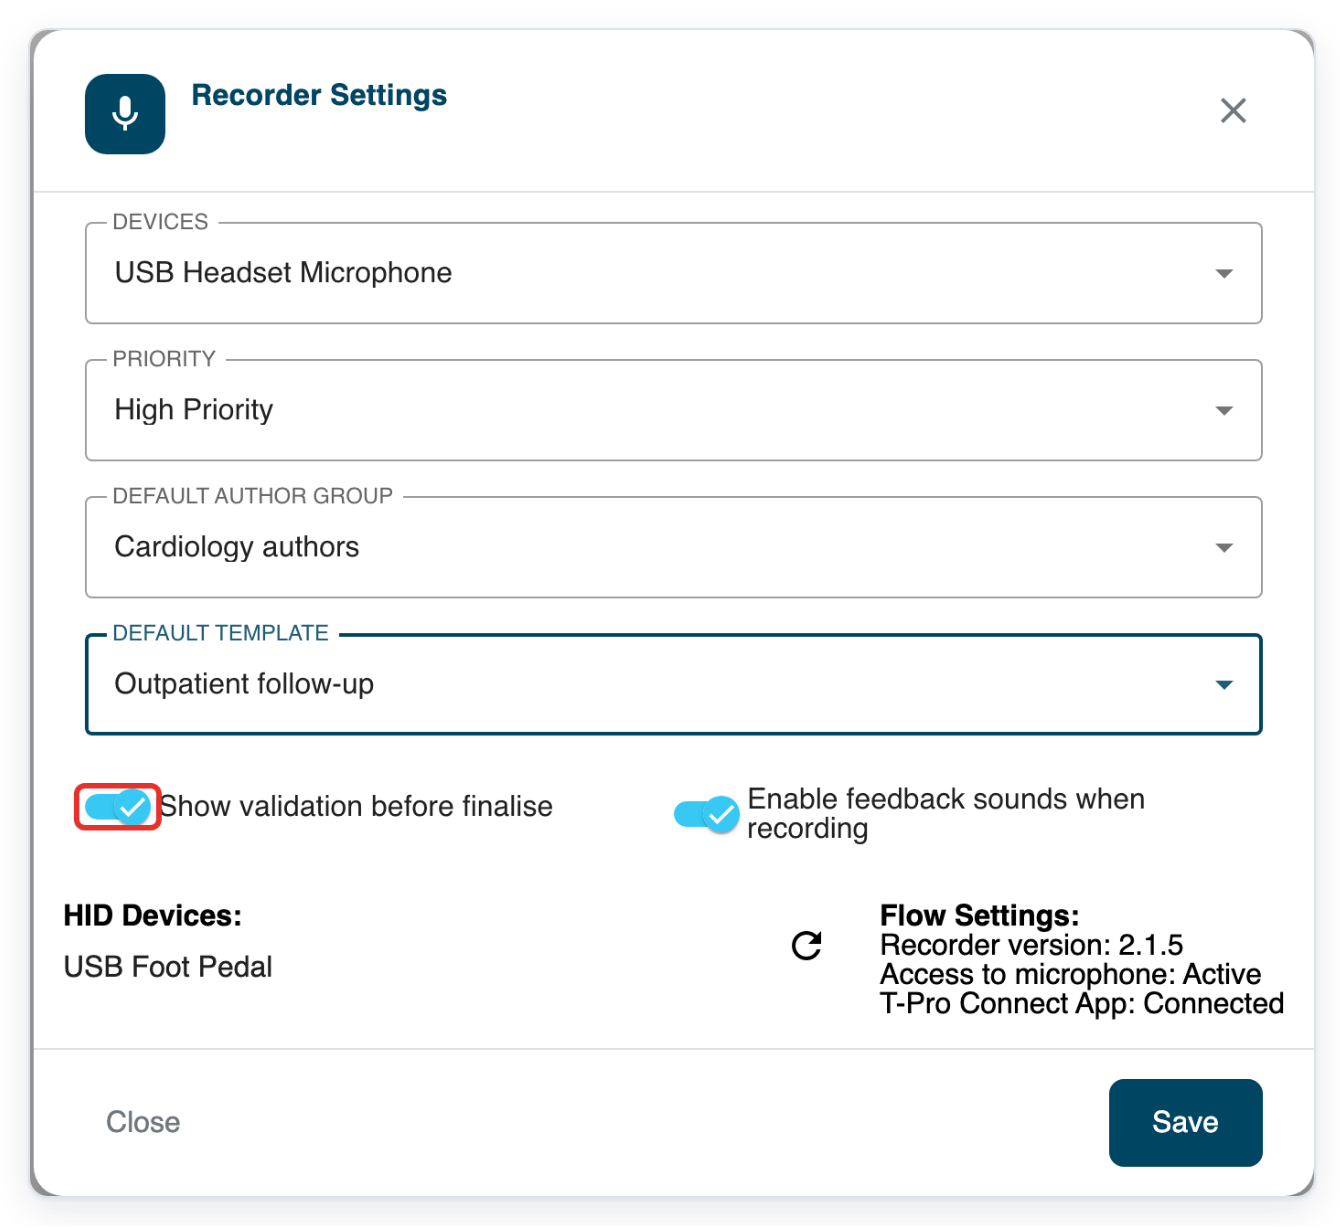
Keep Enable feedback sounds when recording turned on to hear a sound when recording starts and stops.
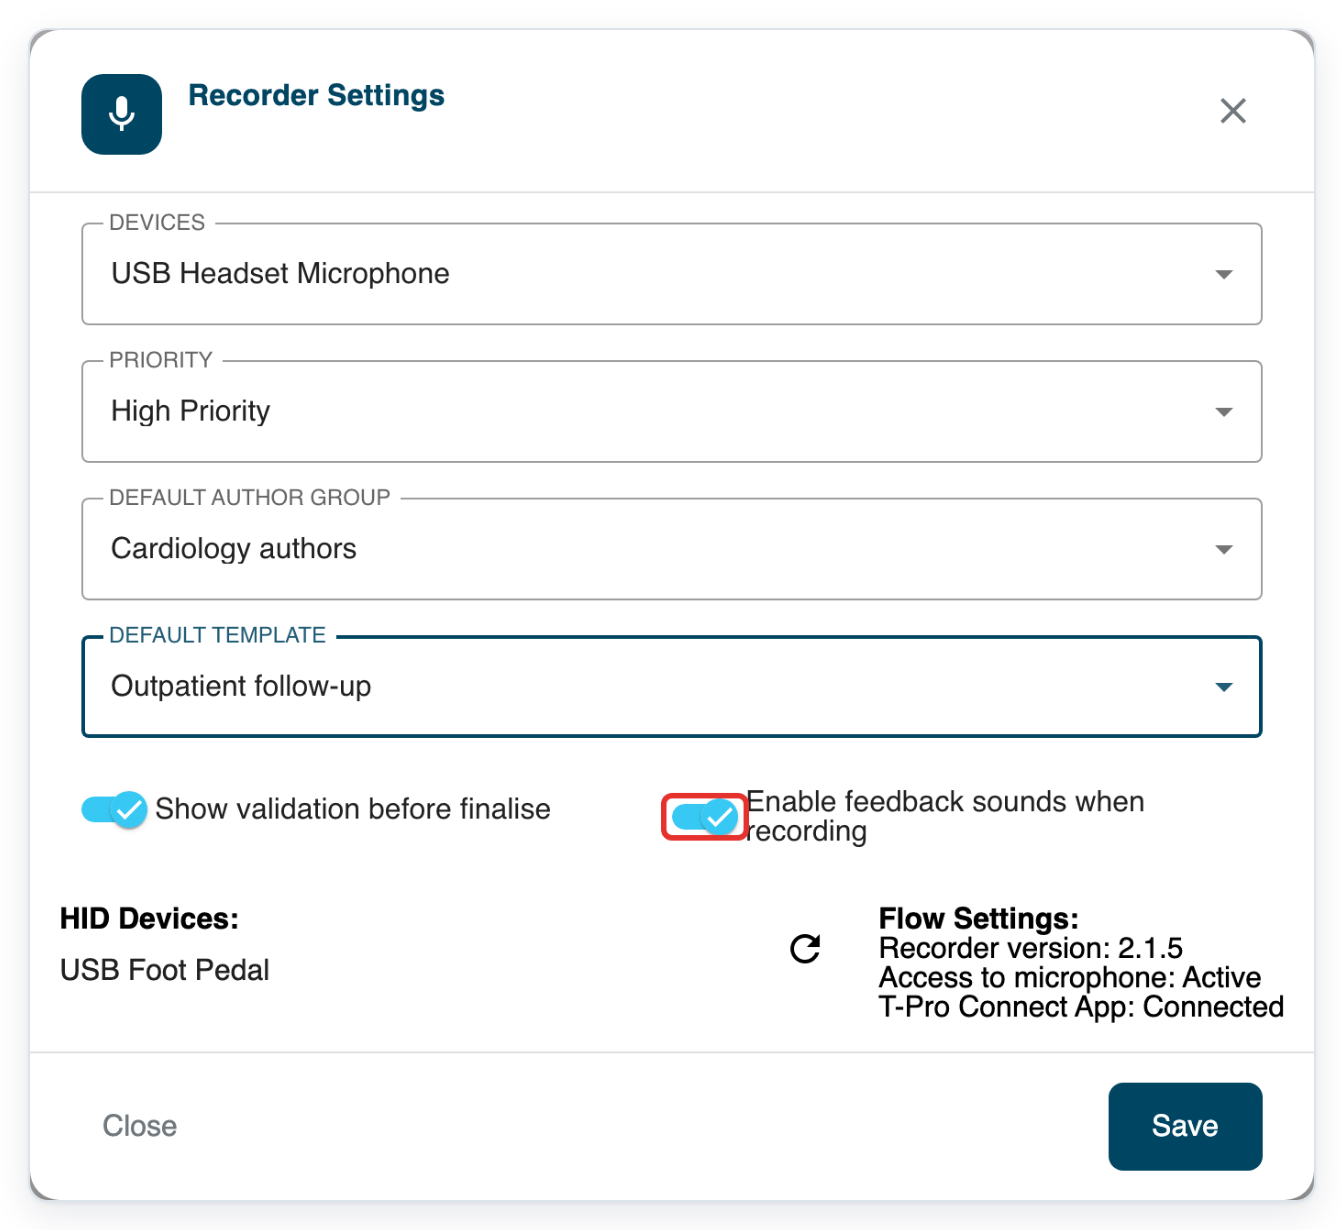
=> Your choices are shown together. Check the microphone, priority, author group and template, with confirmation and feedback sounds turned on.
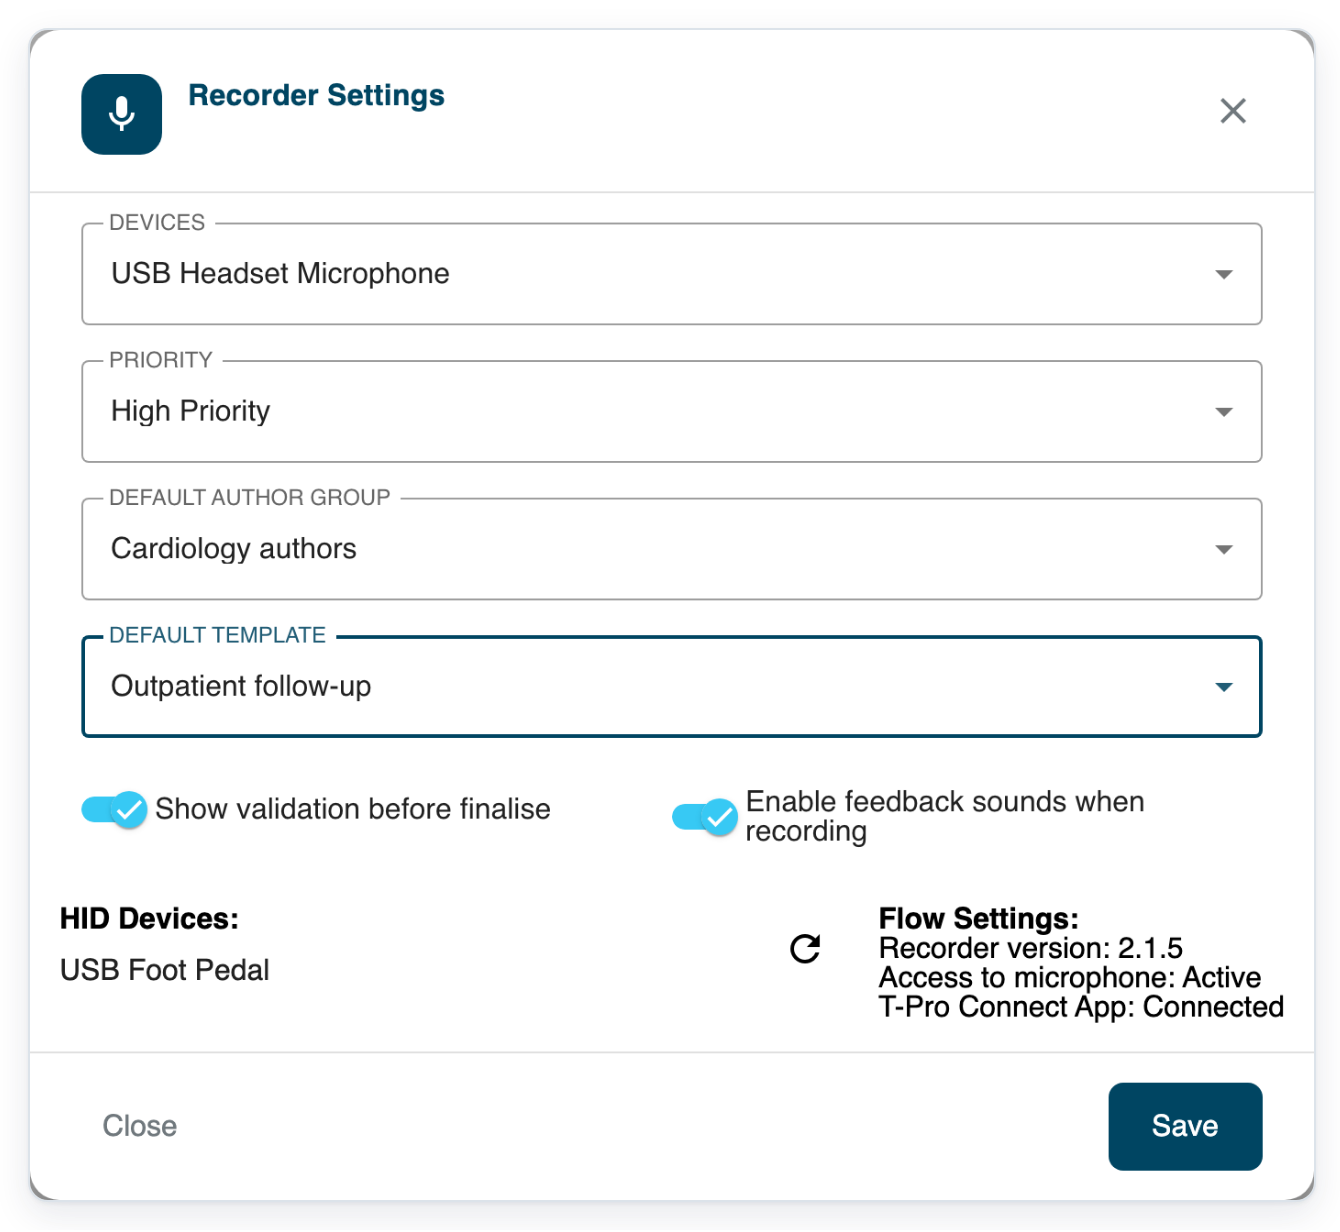
Click Save to save your settings and return to Web Recorder.
NOTE:
- Web Recorder starts with your saved author group, document type and priority. Check the document type again after changing the group.
- Click the cog at the top of the recorder to open Recorder Settings. Change your defaults, microphone, send confirmation or recording feedback sounds, then save.
- After creating a task, use the speech bubble to add notes or the paperclip to add attachments. You can also add them through the task's three-dot menu.
- Use All Groups and All Status above the task list to filter it. Click the cog above the list to choose which columns appear.
- Follow your tasks in Live Tasks. Drafts appear in Author in Progress. Documents ready for your approval appear in Waiting for Approval.
Insert or overwrite?
Pause recording and playback. Move the slider to where you want to make a change, then choose a mode. Click the microphone to record the change.
| Mode | What it does |
|---|---|
| INSERT | Adds new audio at the position you choose on the slider. |
| OVERWRITE | Replaces existing audio from the position you choose on the slider. |
Other places you can record
- In Live Tasks, click the microphone button at the bottom right to open the recorder. To continue a Web Recorder draft, open Author in Progress. Keep the recorder open and click the draft.
- To use a floating recorder, pause recording and playback, then click the arrow icon beside Recorder. The recording controls open in a separate window. The task list stays in the original window.
Tip: To add more dictation at the end, pause recording and playback. Click the far-right playback button to go to the end, then click the microphone.
Can't record or send?
- If you can't find a patient, turn on All patients and search with at least three characters. Or click Add Manually, enter the patient's details, then click Select.
- If your microphone is unavailable, allow microphone access in your browser. Click the cog at the top of the recorder. Choose your microphone in Recorder Settings and save.
- If DRAFT or SEND is unavailable, pause recording and playback. Check your internet connection. You need at least one second of audio to send a recording.
- To change a sent recording, open its three-dot menu and choose the option to return it to draft. You can do this for New or Pending tasks. If the task has already been assigned, ask a manager for help.
- To remove an unwanted draft, open its three-dot menu, choose the delete option and confirm.
Related articles
- Sign in for the first time
- Change your Web Recorder settings
- Work from Live Tasks
- Add, download and delete attachments
- Notes and task history
If you have any more queries, please do not hesitate to contact our Helpdesk or support@tpro.io.
© 2020 - 2026