
Before you start
You need access to the task. You'll also need permission to view its history.
Log in to T-Pro with your administrator, manager or master credentials.
For notes only, authors, transcribers, editors, reviewers and storers can use their own credentials and follow steps 2 to 10.
Click All Tasks in the main menu to open the task list.

=> The task list opens. In this example, the highlighted row is task 7001 for Siobhán Keane.

Click the task's row to open it in a new tab.
In this example, click task 7001 for Siobhán Keane.

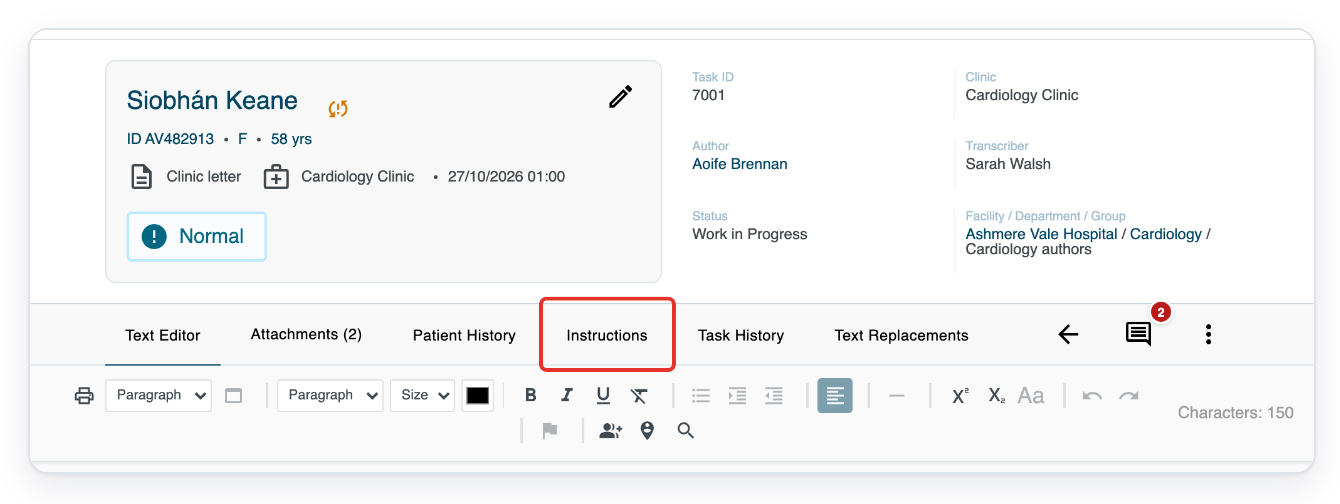
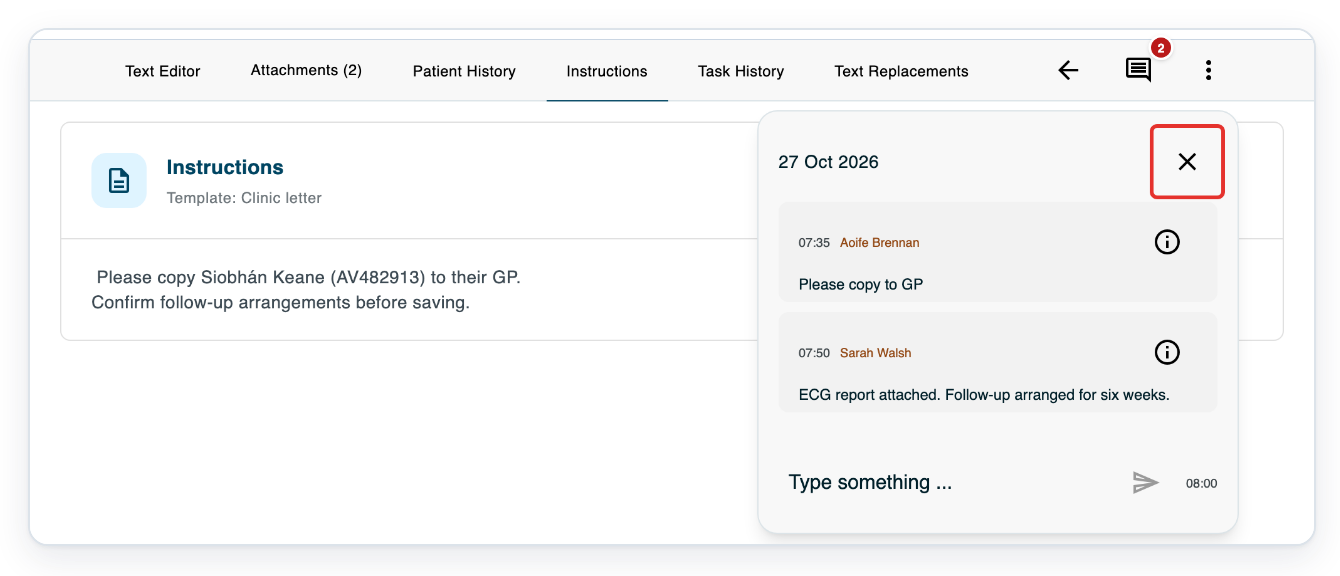
Open the task. If you see Instructions, click it and read the template's instructions before adding your note.
This tab appears when the template has instructions.
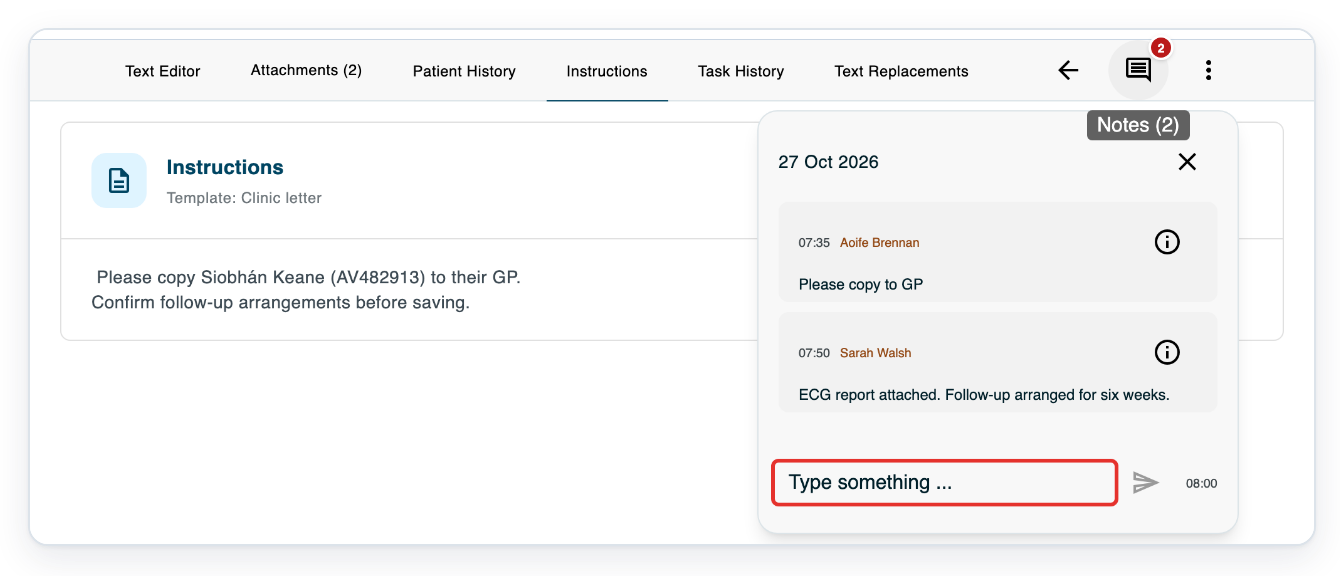
Click the notes icon beside the tabs to read the task's notes.
In this example, the badge shows two notes. The panel shows each note, who wrote it and when.

Click Type something ... and type your note.
For example: “GP copy checked. The letter is ready for clinical review.”
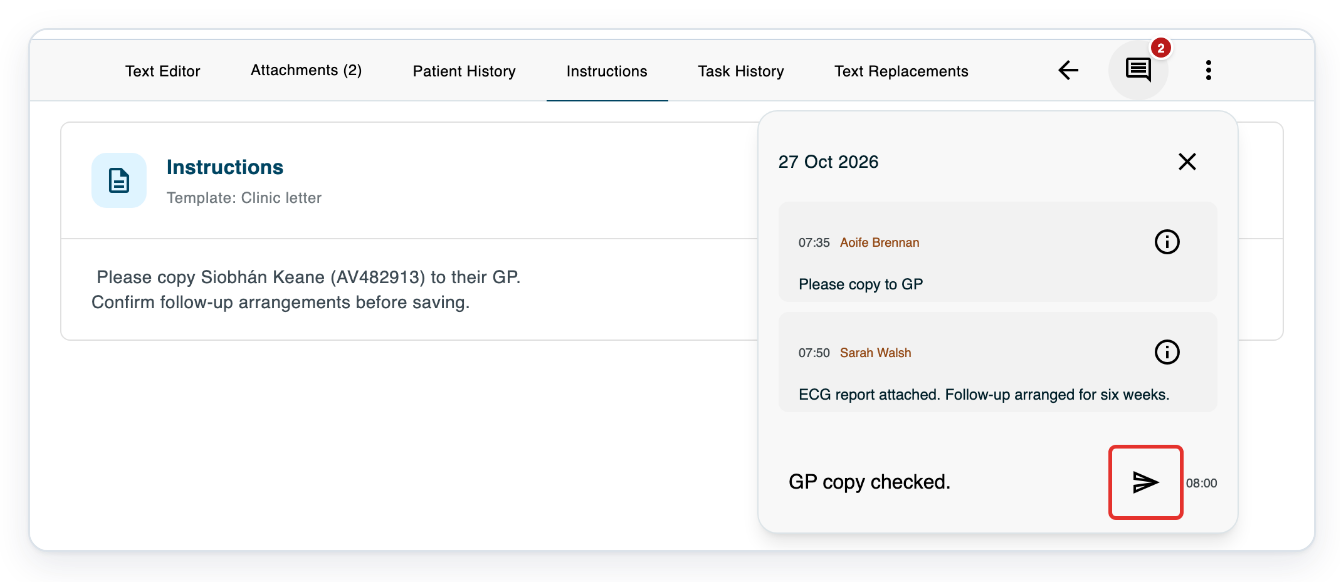
Click the Send icon to add your note to the task.
After you send your note, the text field clears so you can write another.
=> Your note appears with your name and the time you added it. The badge now shows three notes.
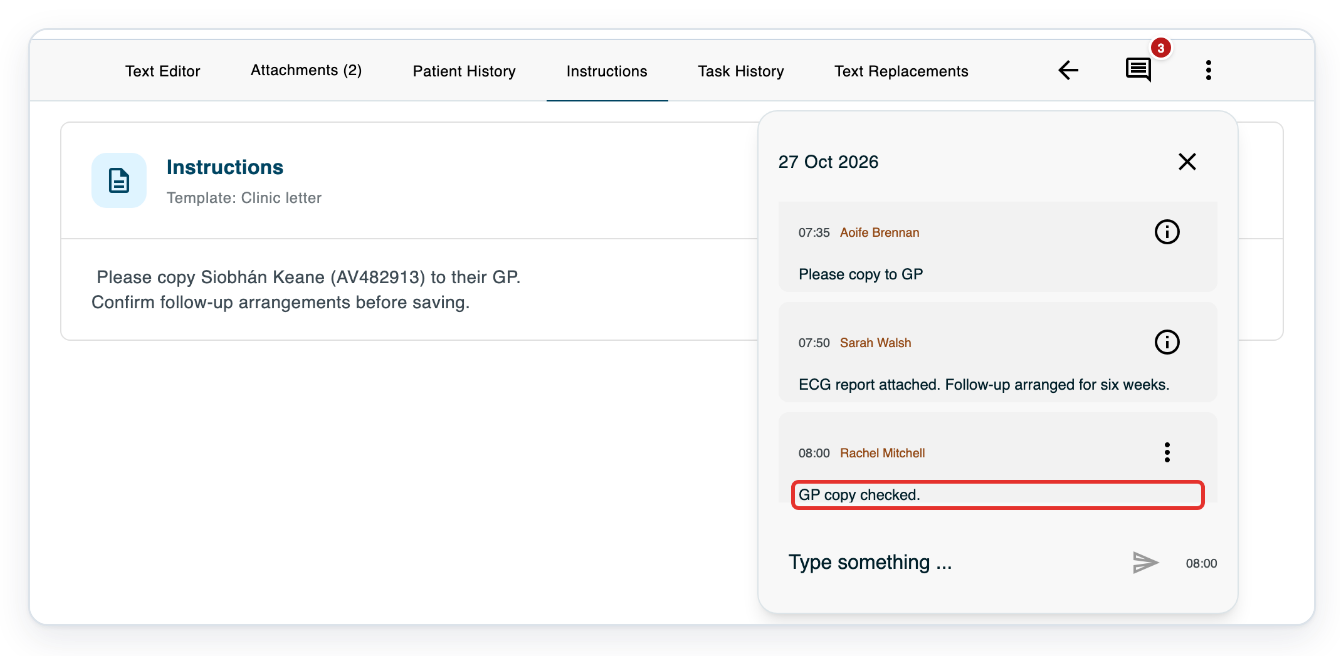
On your note, click More options (the three dots) to open the menu.
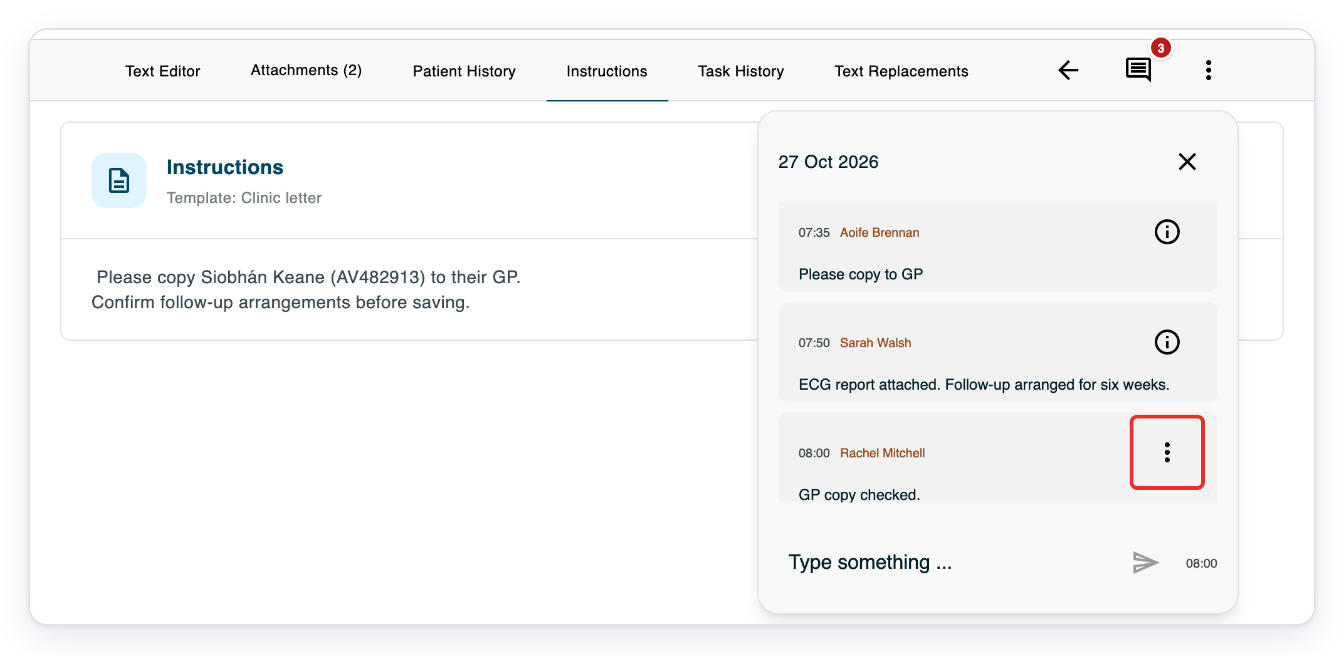
Click DELETE to remove your note.
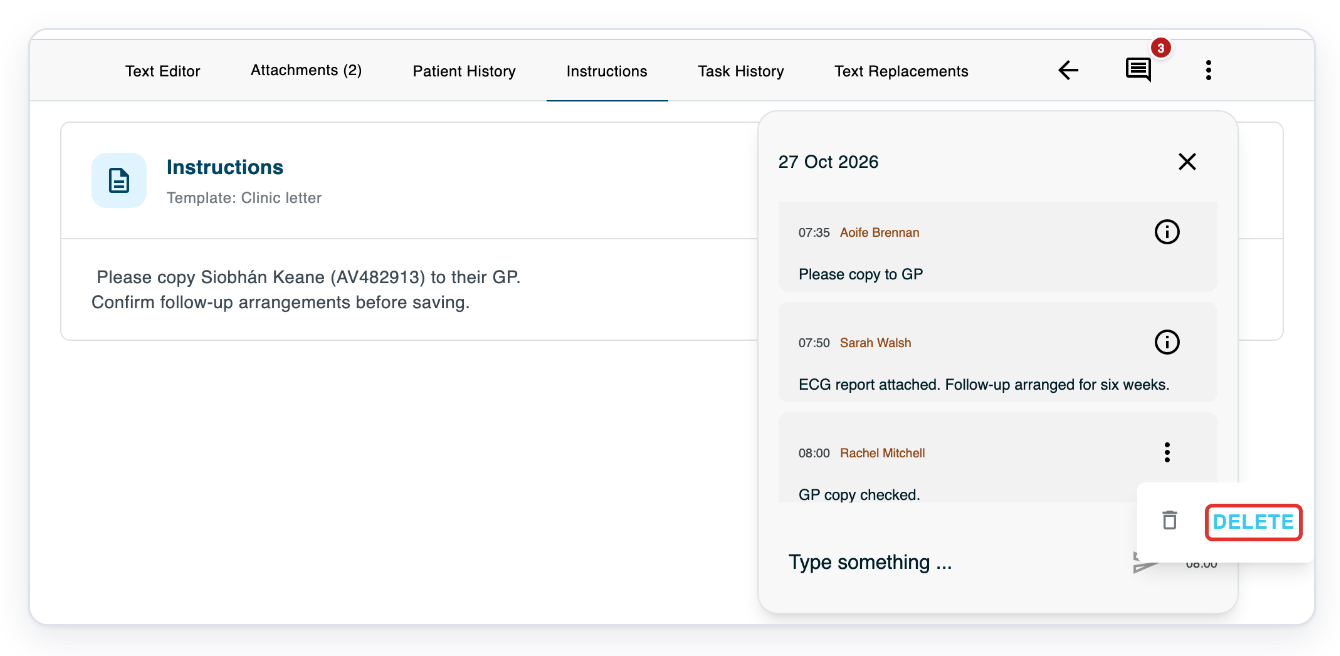
=> Your note disappears. The two original notes remain, and the badge returns to two.
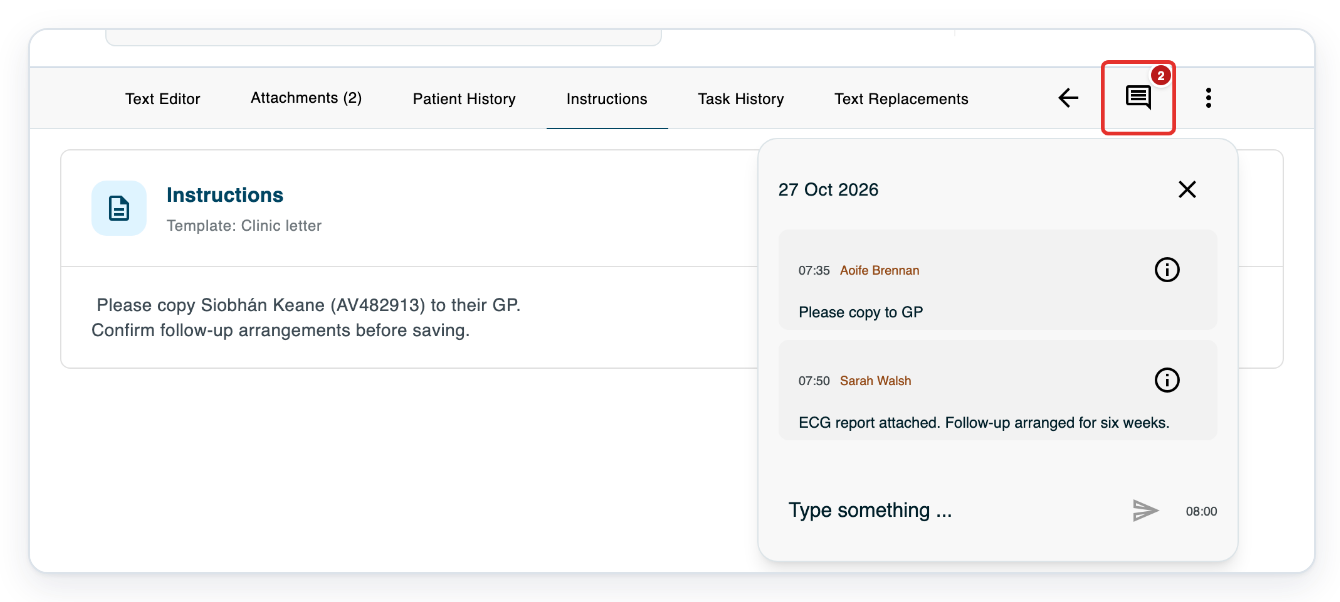
Click the cross at the top right of the notes panel to close it.
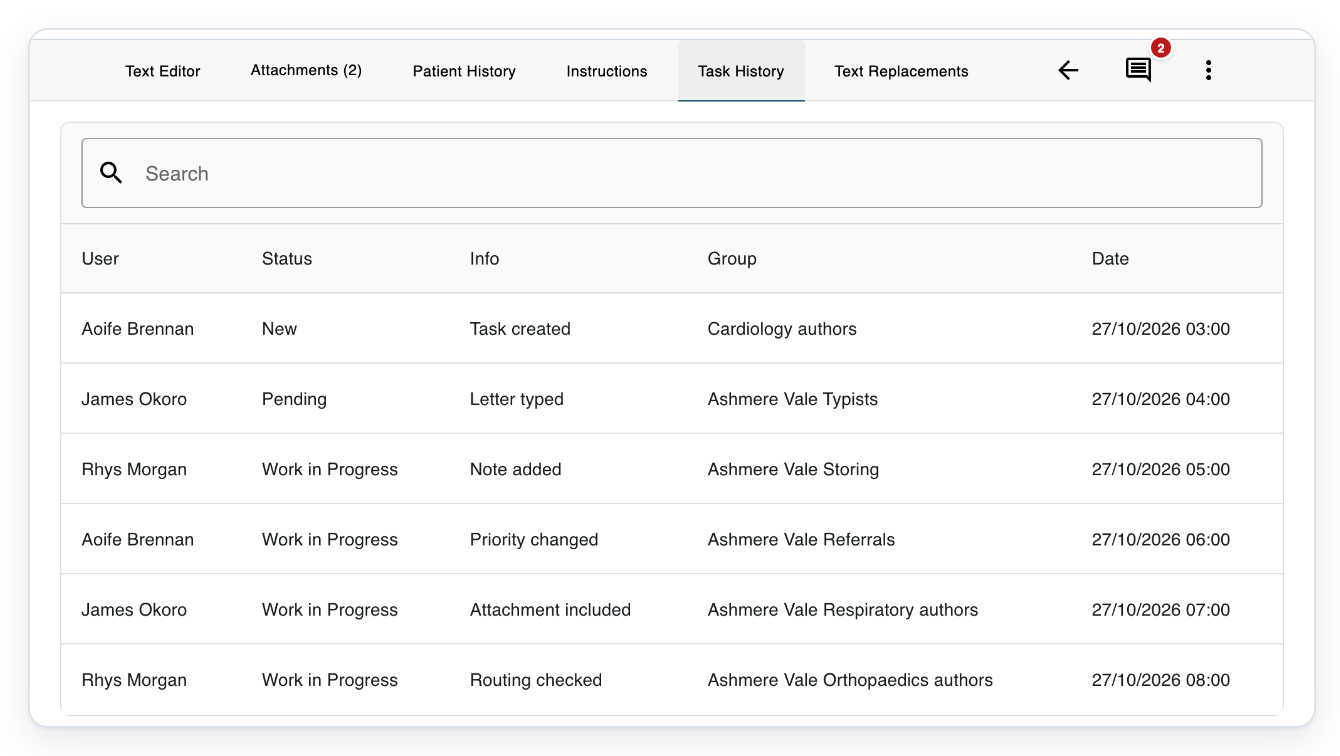
Click Task History to see what has happened to the task.

=> Task History shows a table with User, Status, Info, Group and Date columns. Search is above the table.
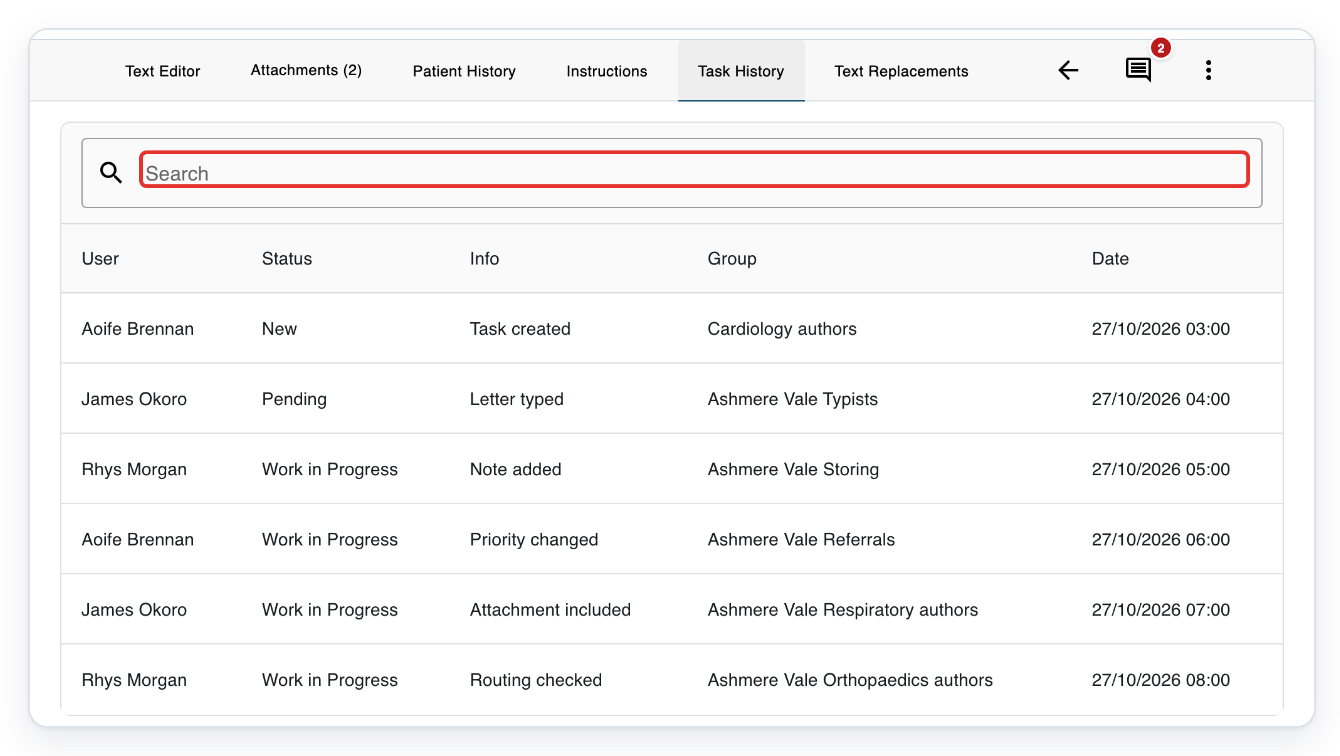
Enter Letter typed in Search to find the typing event.
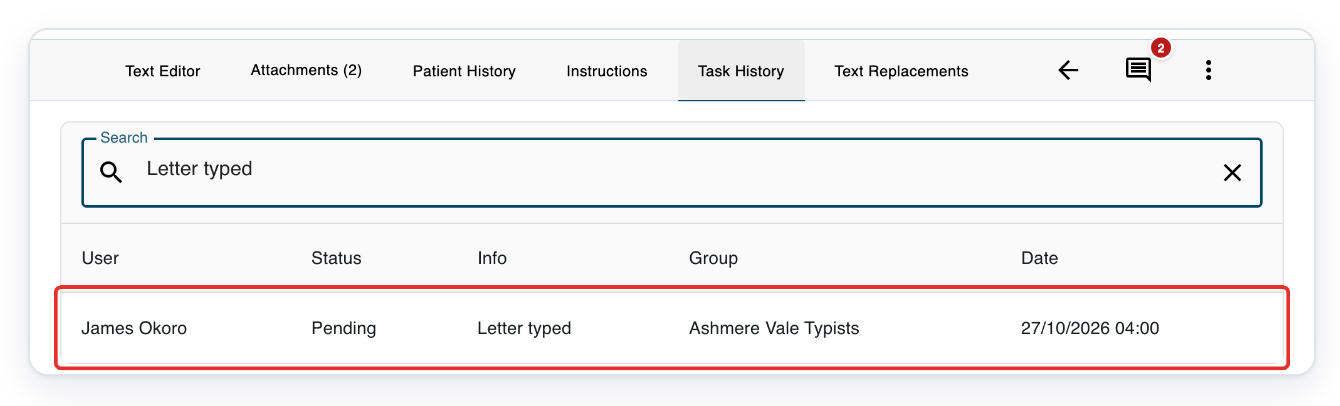
The table filters as you type. You can search for part of the event description, such as “typed”.
=> The table shows the matching Letter typed event, with the user, status, group and date.
NOTE:
- The badge on the notes icon counts the task's notes. It updates when you add or delete a note.
- Anyone with access to the task can read and add notes.
- Adding a note records a “Note created” event in Task History. Deleting one records a “Note deleted” event.
- Task History lists events oldest first.
- Authors, transcribers, editors, reviewers and storers with task access can also open it from All Tasks. Follow the notes steps to read, add and delete your own notes.
- The history steps are for administrators, managers and masters with task access. Authors, transcribers, editors, reviewers and storers can use notes, but cannot open Task History.
What Task History shows
Each row shows one event. Read across the columns to see who did what and when.
| Column | What it shows |
|---|---|
| User | The name recorded for the event. |
| Status | The task's status at the time of the event. |
| Info | What happened to the task. |
| Group | The group recorded for the event, if available. |
| Date | The date and time the event was recorded. |
Other places you can read and add notes
- All Tasks: open the task's three-dot menu and choose Add Note. Read the existing notes or write your own. Click Send to add your note.
- Live Tasks or a department's Tasks list: open the task's three-dot menu. Choose Add Note to read or add notes.
Tip: Search Task History by a colleague's name or a group name to find matching events.
Can't use notes or task history?
If you can't send a note, check that it contains text, not just spaces. Use no more than 1,000 characters.
To remove someone else's note, ask them to delete it. More options appears only on your own notes in the open task.
If the Task History tab is missing, ask a colleague to check the history for you. They need access to the task and permission to view its history.
Ask an administrator, manager or master with access to the task.
If your search finds no matching events, click the cross in Search to clear it. Search by a colleague's name, event description or group, rather than a date.
Related articles
- Work from Live Tasks
- Search for tasks in All Tasks
- Task statuses in V2
- Add, download and delete attachments
If you have any more queries, please do not hesitate to contact our Helpdesk or support@tpro.io.
© 2020 - 2026