
Before you start
You need master or administrator access to the organisation. Use a CSV file made from T-Pro's template.
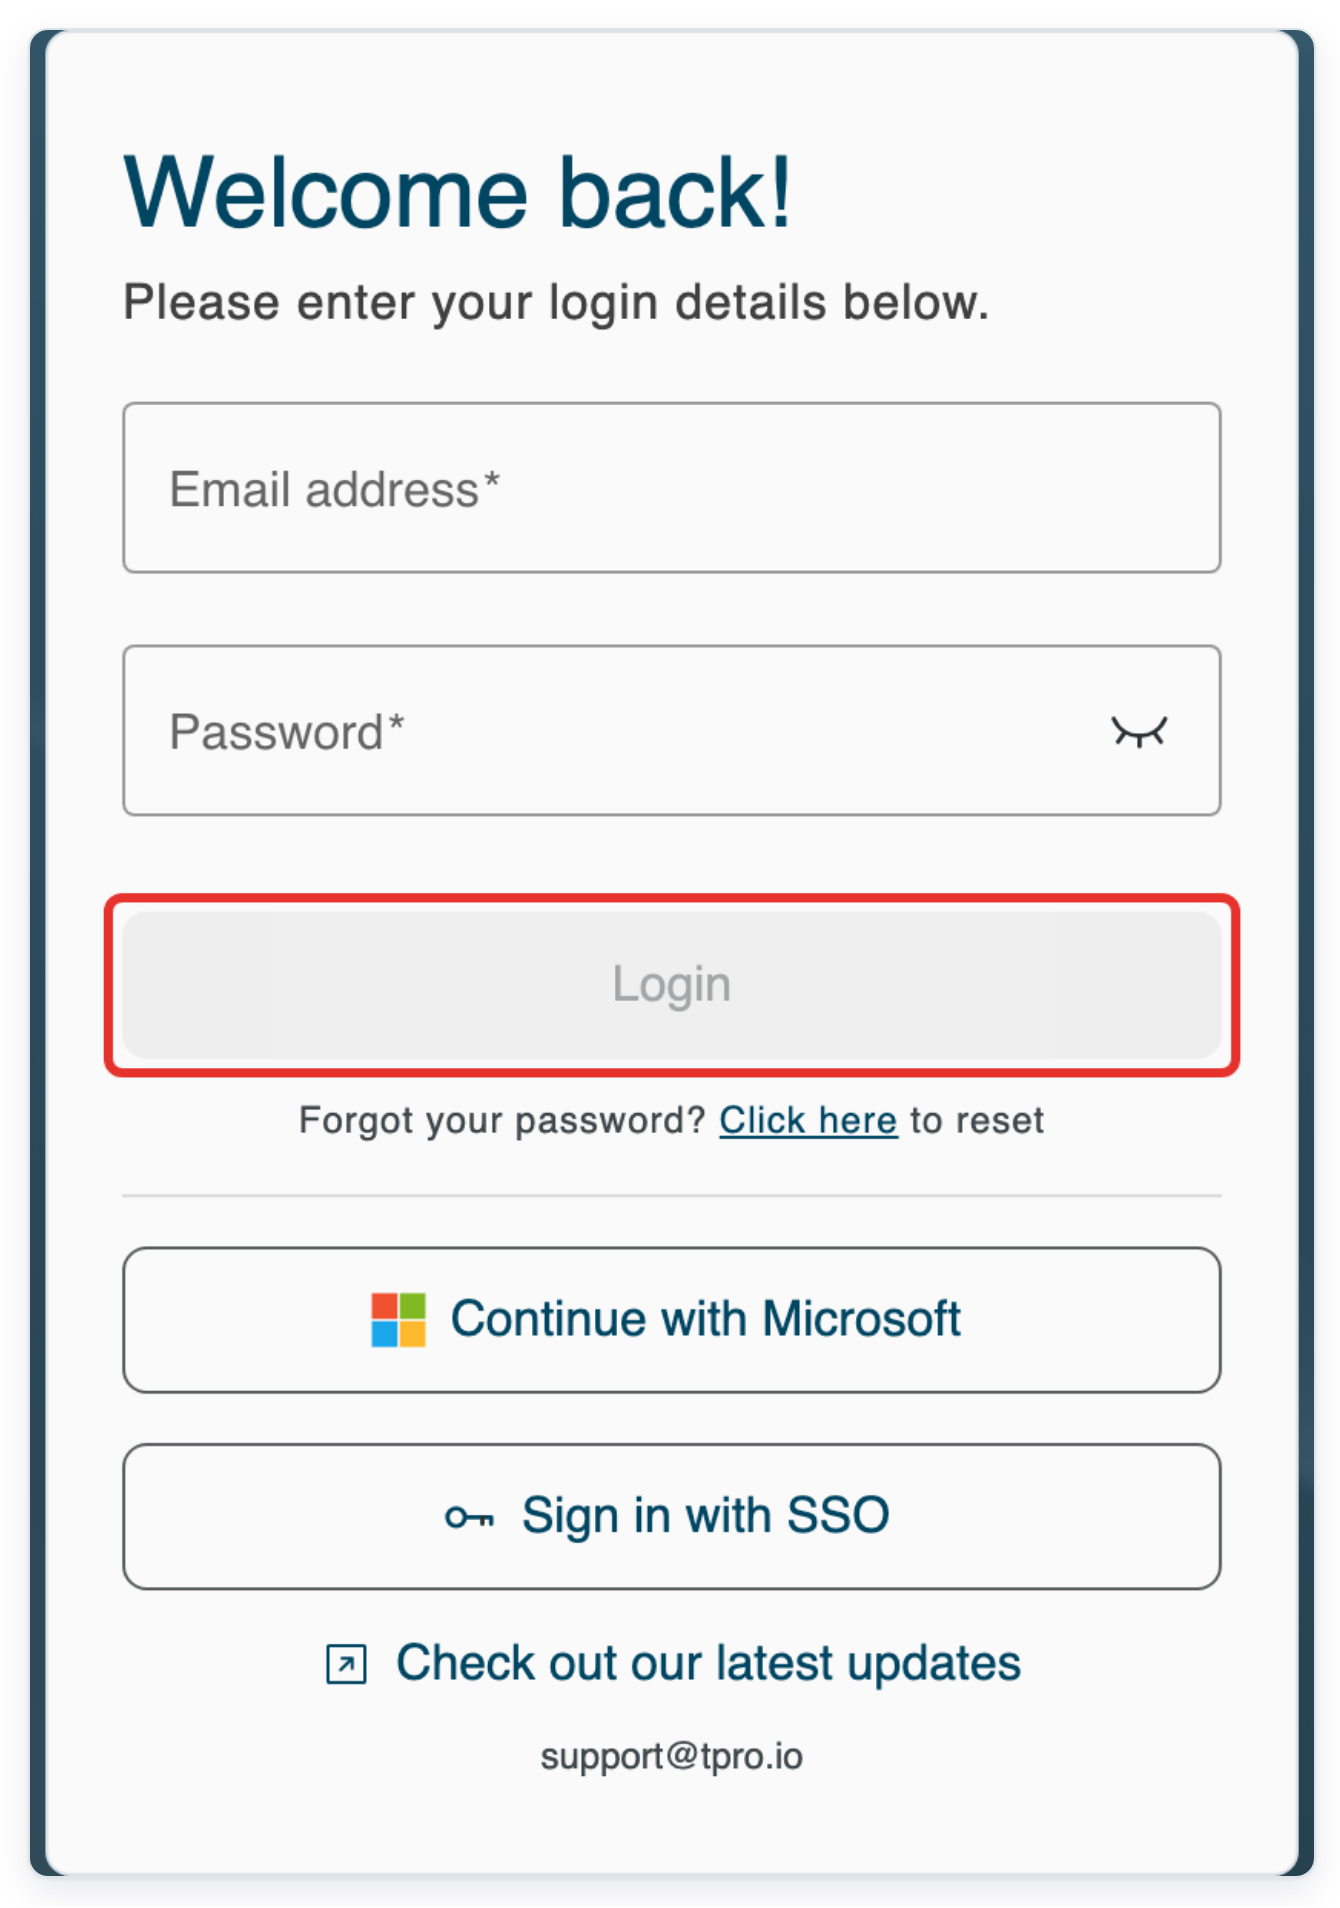
Log in to T-Pro with your master or administrator credentials.
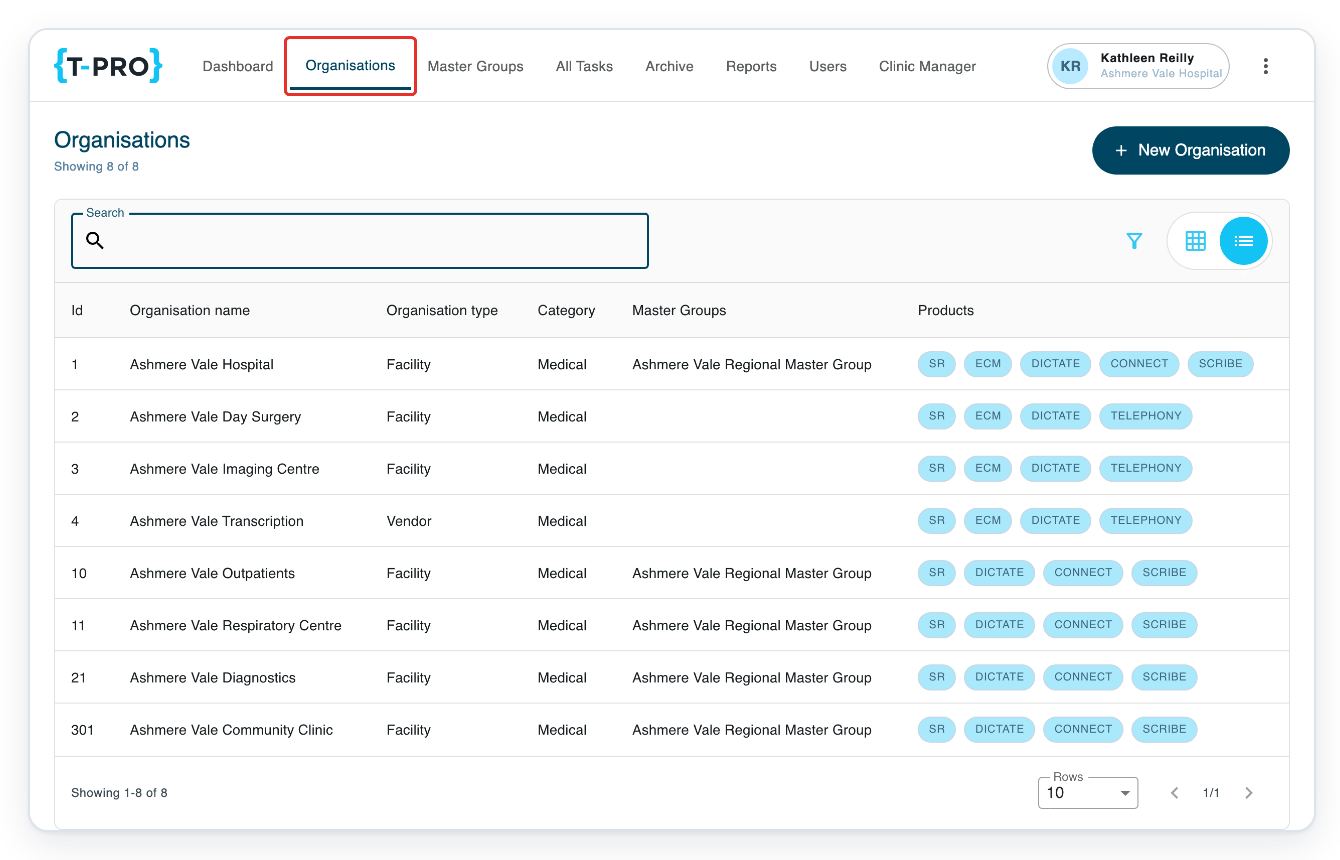
Click Organisations to open the organisation list.
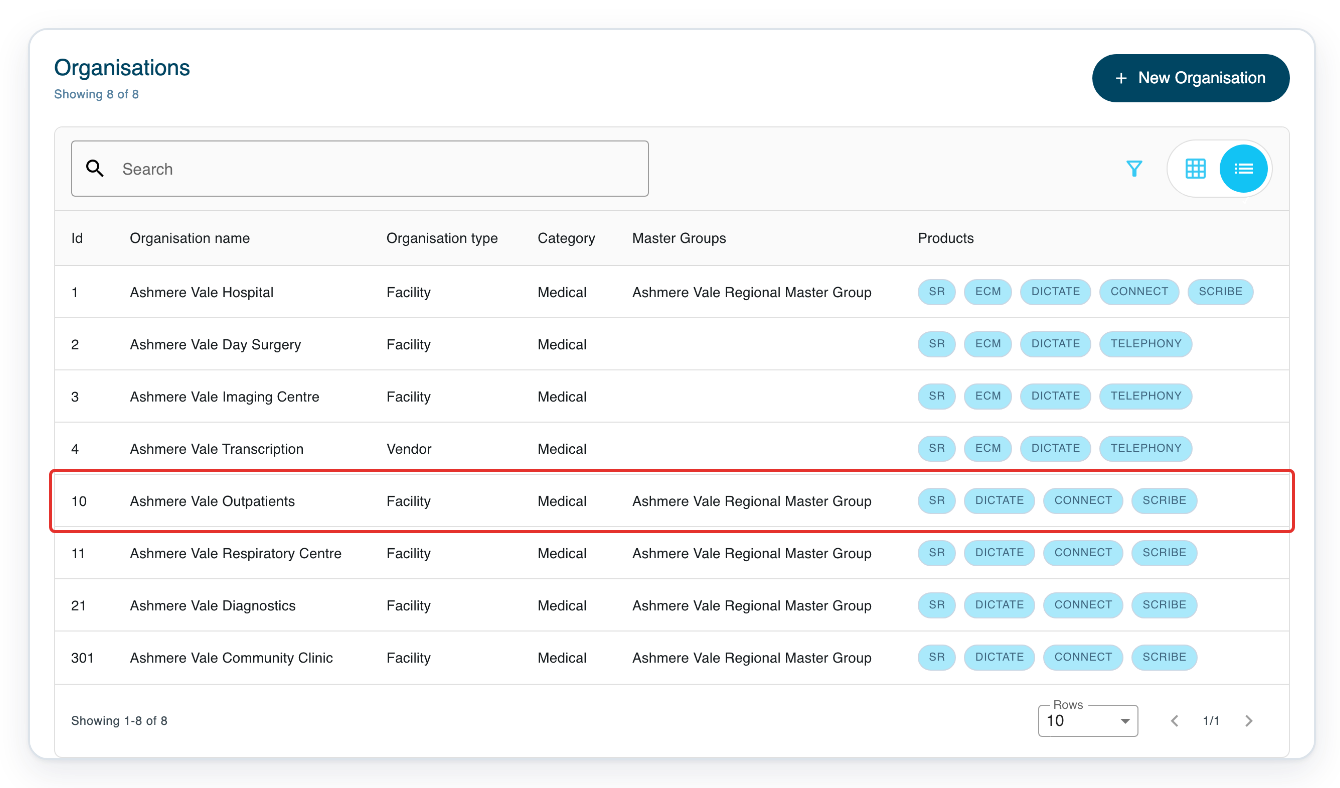
Click the row for the organisation you want to add users to. In this example, choose Ashmere Vale Outpatients.
To find your organisation, type its name in Search and press Enter.
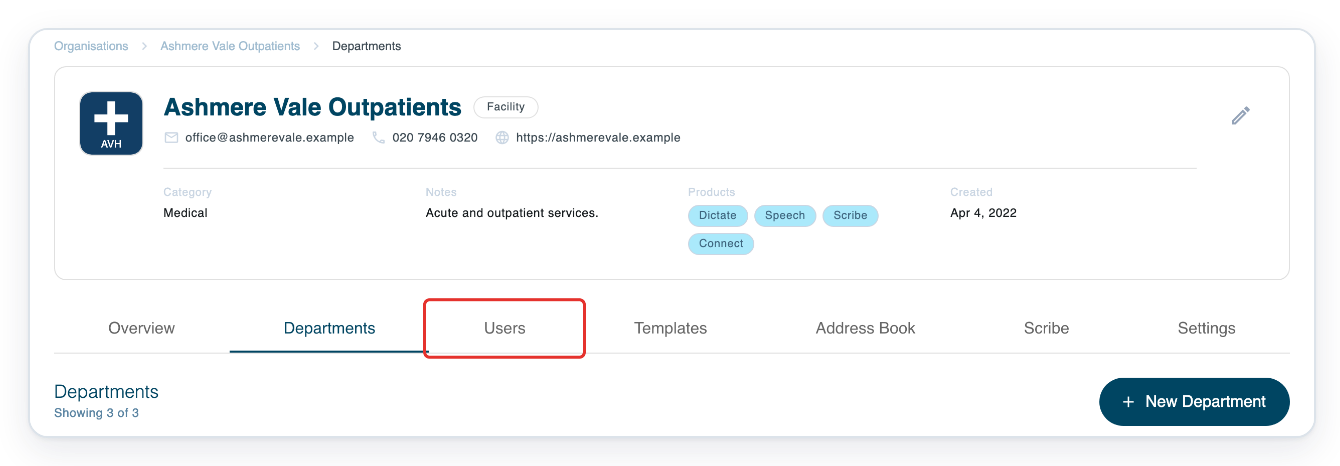
Click the organisation's Users tab to see its current users.
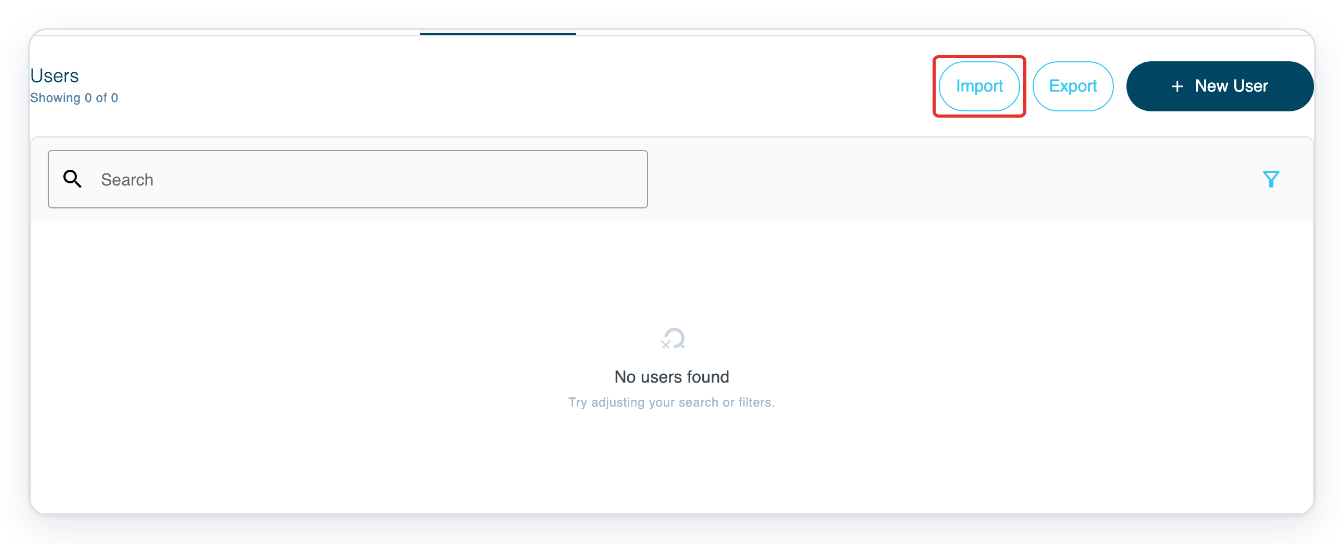
Click Import to open Import users.
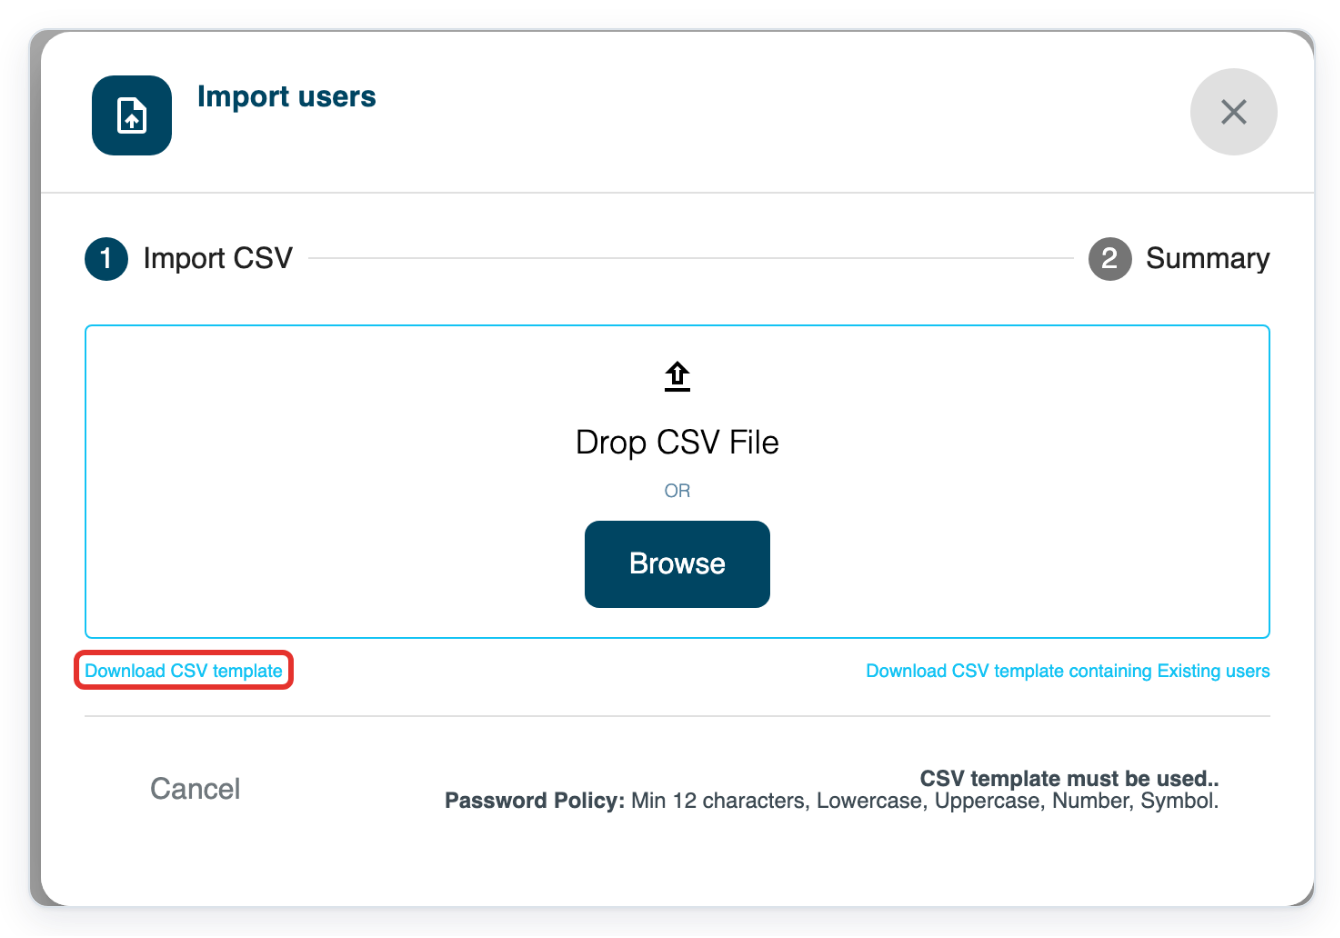
Click Download CSV template to download the file for new users.
Open the downloaded template and replace the example rows with your users' details. Use one row per user. Check the column guide below, then save the completed file as CSV.
Follow the password policy at the bottom of the window. In this example, passwords need at least 12 characters. Include lowercase and uppercase letters, a number and a symbol.
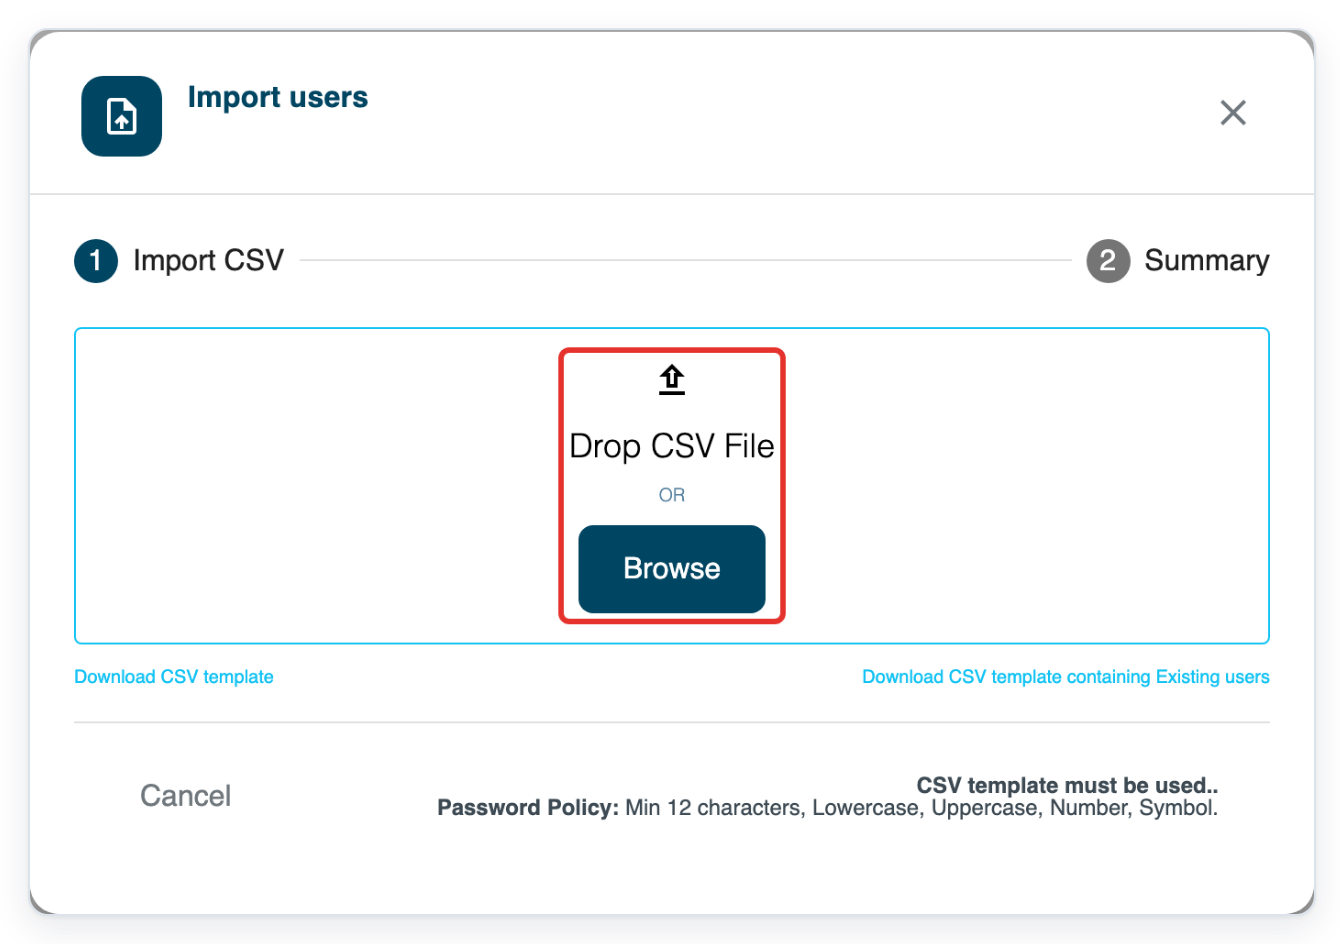
Click Browse and select your completed CSV file.
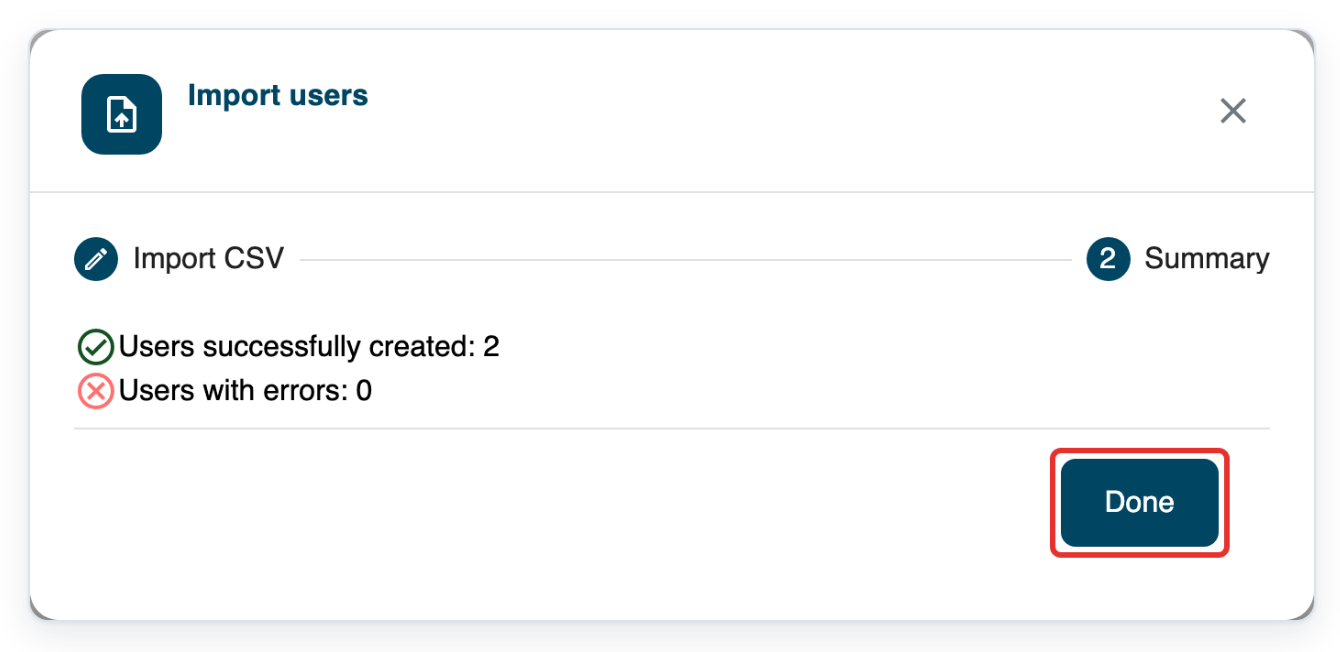
Selecting the file starts the import. Wait for Summary to open.
=> In this example, Summary shows Users successfully created: 2 and Users with errors: 0.
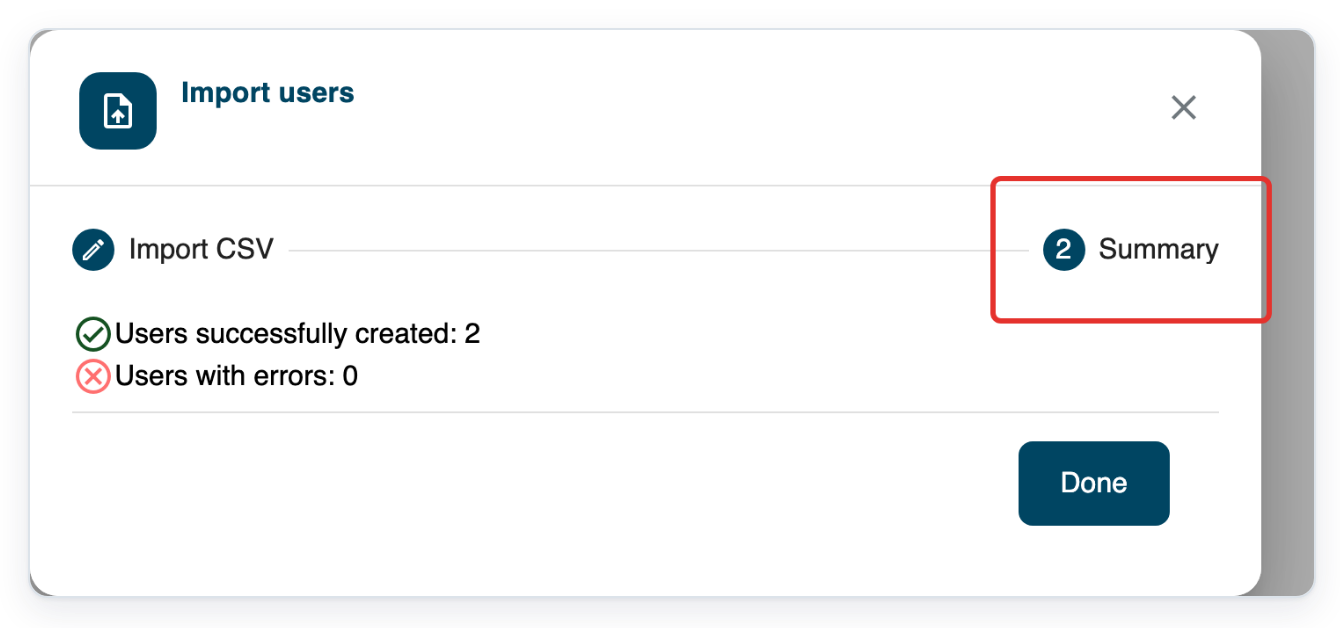
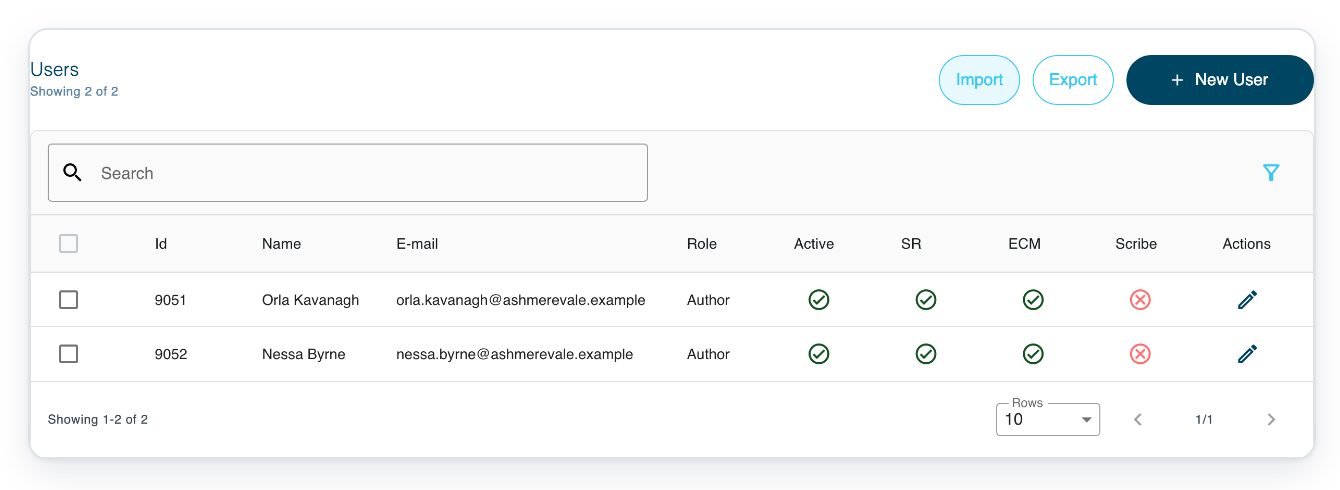
Click Done to close the summary and refresh the Users list.
=> Orla Kavanagh and Nessa Byrne now appear in the organisation's Users list.
NOTE:
- Keep all CSV headers as downloaded, in the same order. Keep columns even if you leave their cells blank.
- Complete all required columns: First Name, Last Name, Email, Password, Role and Landing page.
- Imported accounts are active and their passwords are temporary.
- After the import, you can add more profile details and assign users to groups.
CSV columns for new users
The table below explains each CSV column. Enter the Role and Landing page values exactly as listed.
| CSV column | Required? | What to enter |
|---|---|---|
| Prefix | No | A title, such as Mr. |
| First Name | Yes | The user's first name, 2 to 100 characters. |
| Middle Name | No | The user's middle name, if used. |
| Last Name | Yes | The user's last name, 2 to 100 characters. |
| Initials | No | Up to three characters. Leave blank for T-Pro to create initials from the first and last names. |
| Yes | A valid email address that is not already used for a T-Pro account. | |
| Password | Yes | A temporary password that meets the policy shown in the import window. |
| Role | Yes | Enter author, manager, transcriber, editor, reviewer, processor or storer in lowercase. |
| Phone | No | A number with 2 to 15 digits. You can start with +, but the first digit must not be 0. |
| Job Title | No | The user's job title, up to 100 characters. |
| Speech Enabled | No | Enter true to turn on speech recognition for an author. Leave blank or enter false to turn it off. |
| eCM Enabled | No | Enter true to turn on eClinic Manager (eCM). Leave blank or enter false to turn it off. |
| External user name | No | The external user name, if used by your organisation. Otherwise leave blank. |
| External session name | No | The external session name, if used by your organisation. Otherwise leave blank. |
| External user id | No | The external user identifier, if used by your organisation. Otherwise leave blank. |
| Source user id | No | The source user identifier, if used by your organisation. Otherwise leave blank. |
| Landing page | Yes | Enter dashboard, liveTasks, allTasks, clinicManager or recorder. |
Other places you can import users
- Select an author or transcriber group within a department. Open Users and click Import. Use the template you download there to create users directly in the group.
Can't import users from a file?
- If Import is missing, check that you have master or administrator access to the organisation. Then open its Users tab.
- If T-Pro shows “The selected file is empty”, add your users' details to the downloaded template. Save it as CSV and try again.
- If T-Pro shows “The selected file has a header mismatch”, check the headers against the downloaded template. Restore their original wording and order. Remove extra columns, including the Error column from any error CSV you downloaded.
- If some rows fail, check Line, Value and Reason in Summary, then download the error CSV. Use a fresh template to correct and import only the failed rows. Accounts created successfully are already saved.
- If T-Pro shows “Duplicated email on CSV”, keep each user's email address only once in the file.
- If T-Pro shows “User already exist in the system”, check for an existing account before trying again. The account may be in another organisation. Contact our Helpdesk if you need help.
Related articles
If you have any more queries, please do not hesitate to contact our Helpdesk or support@tpro.io.
© 2020 - 2026