
Before you start
You need an admin account and an existing template in the facility you want to update.
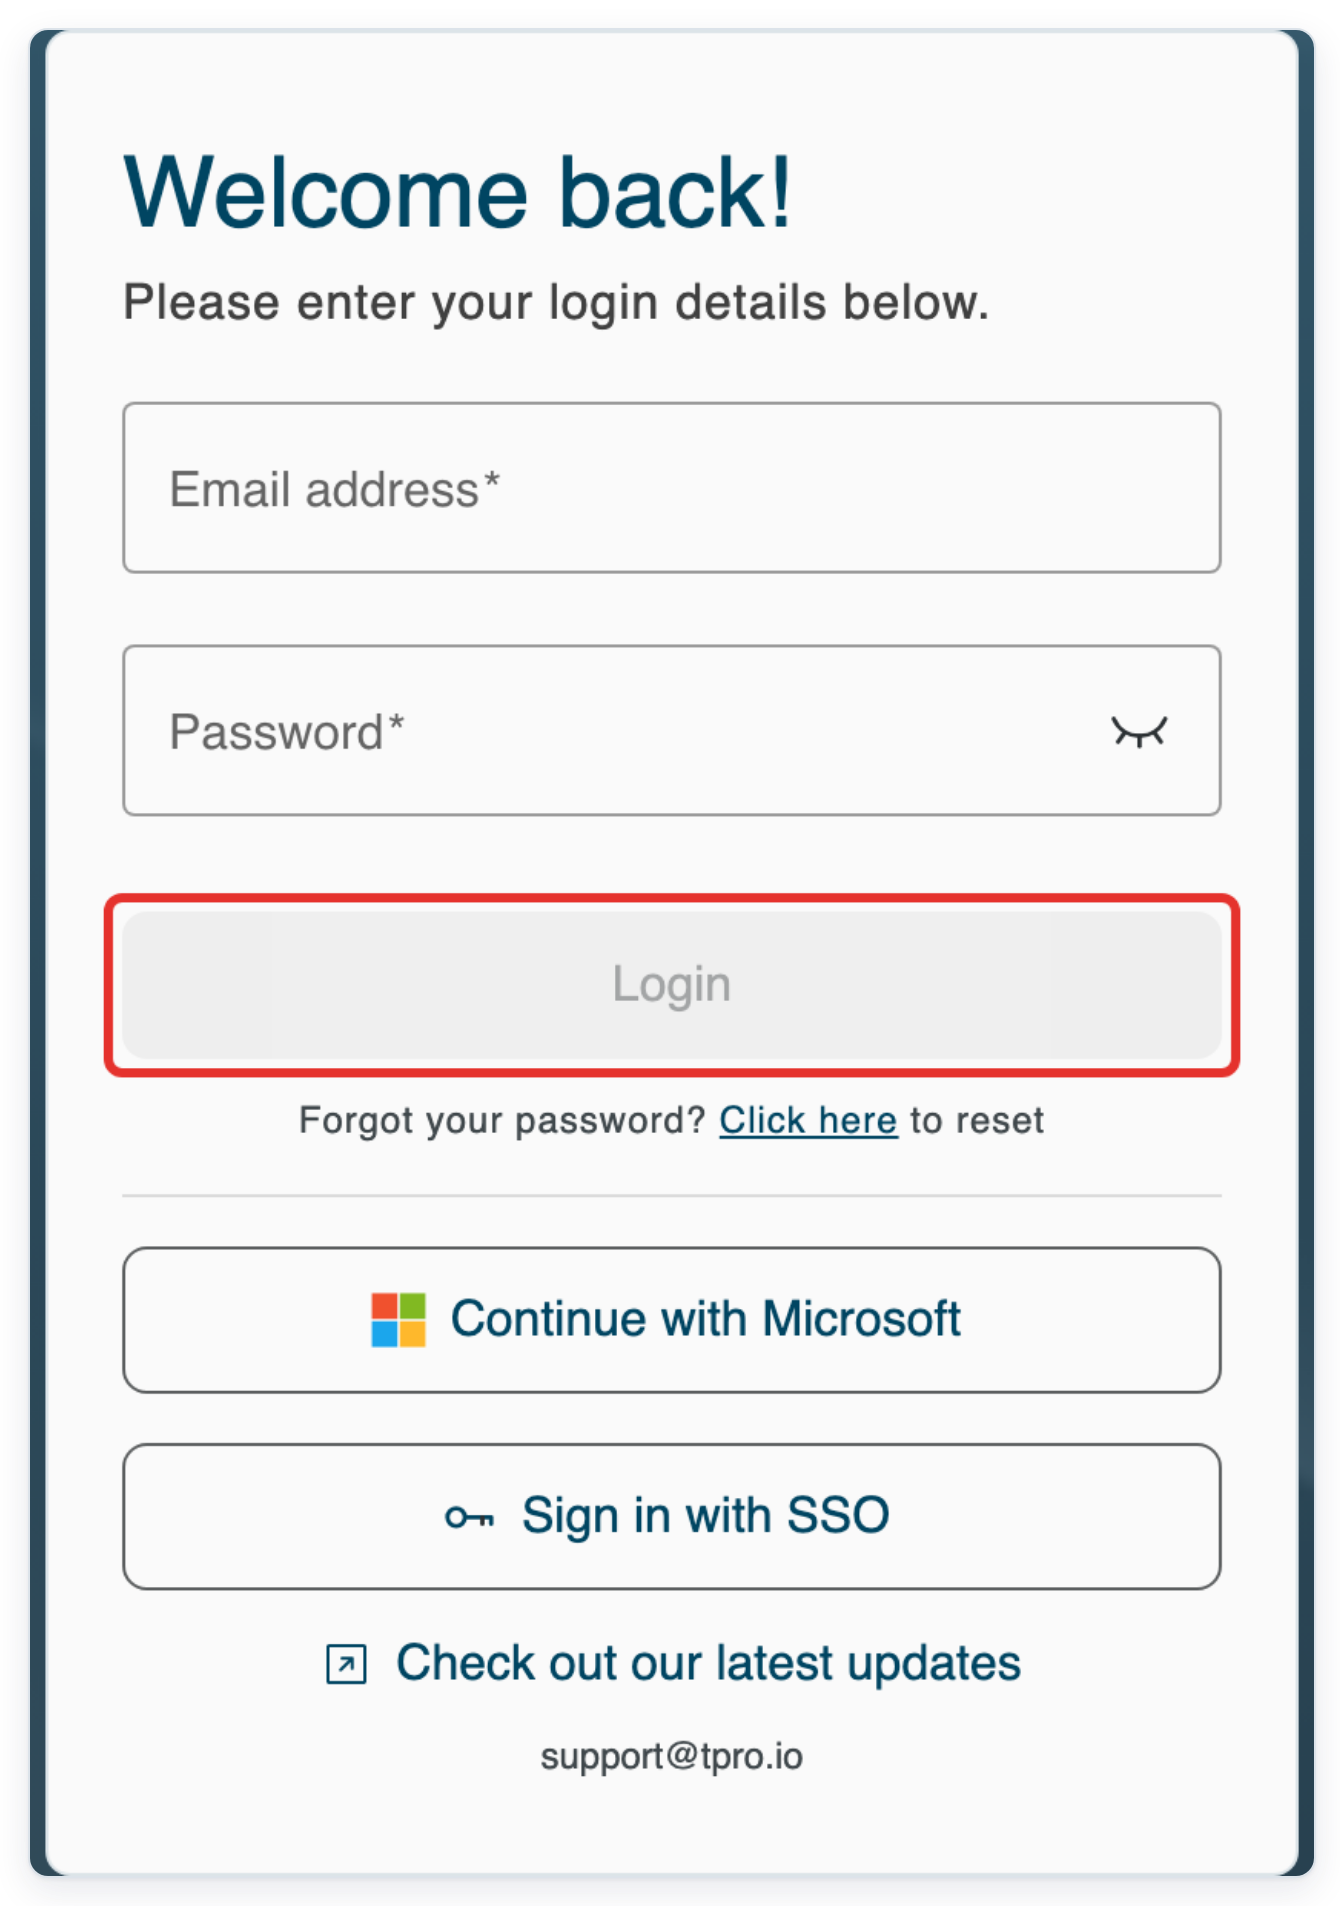
Log in to T-Pro with your admin credentials.
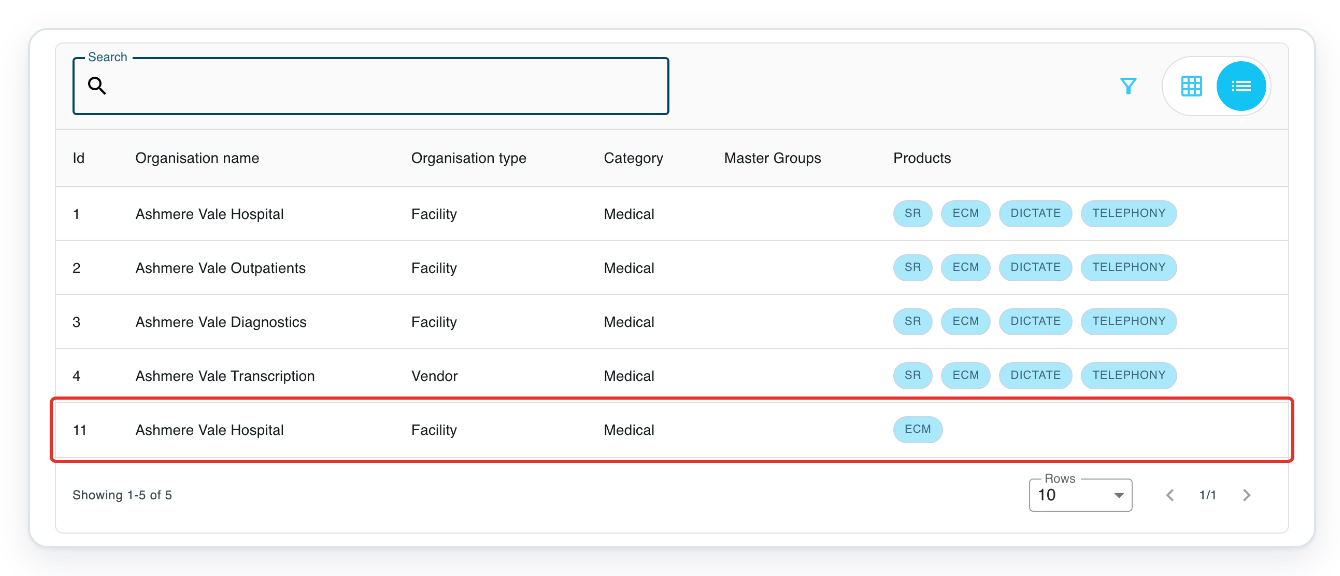
Click Organisations to open the organisation list.

Click the row for the facility you want to update.
In this example, select Ashmere Vale Hospital with Id 11. Check the Id if two organisations have the same name.
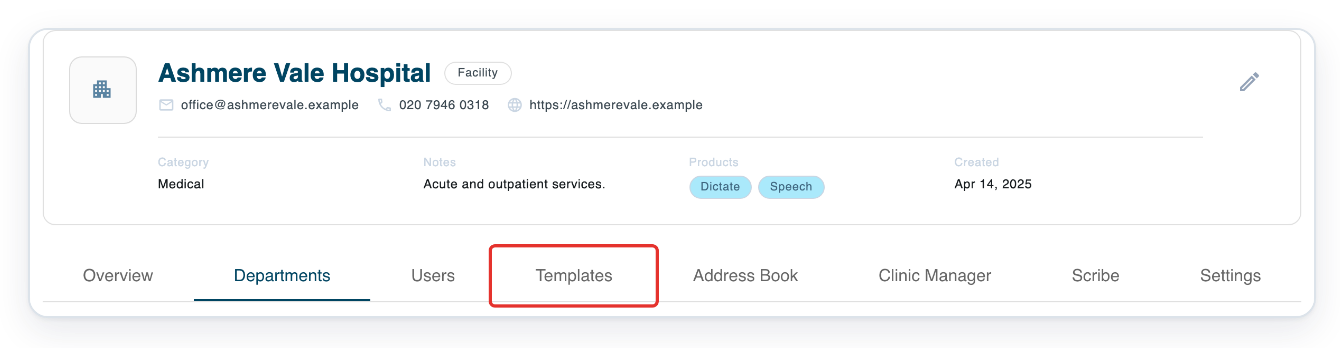
On the facility page, click Templates to open its template list.
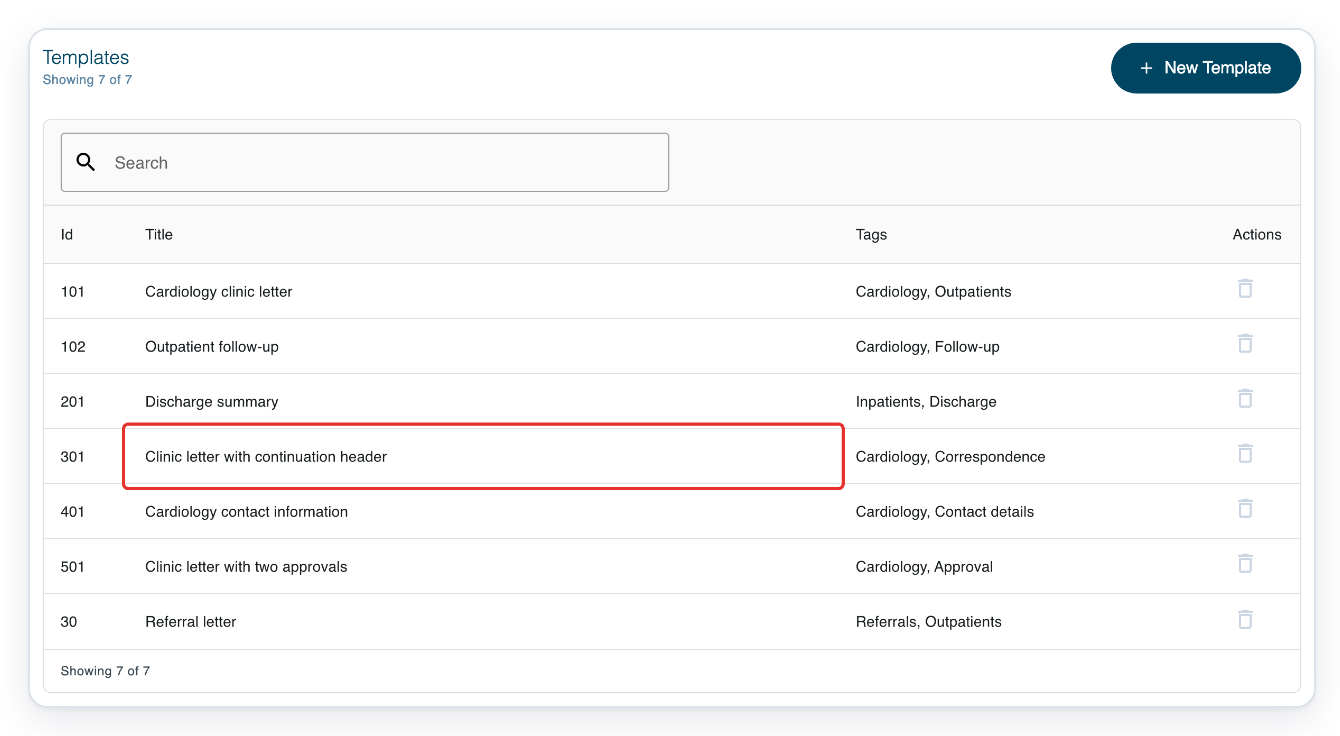
Open the template you want to change, such as Clinic letter with continuation header. The Builder and Tester tabs appear.
Use Search above the list to find your template by title.
If Access Required appears on app.tpro.io, see “Can't change headers or add a page break?” below.
Click the up arrow beside Save to hide the template settings and make room for Builder.
Click the down arrow to show the settings again.

In Builder, click the hospital name in the header to activate the editor.
The header sits above the letter’s main content. Here, it contains the hospital name, clinic and contact details.
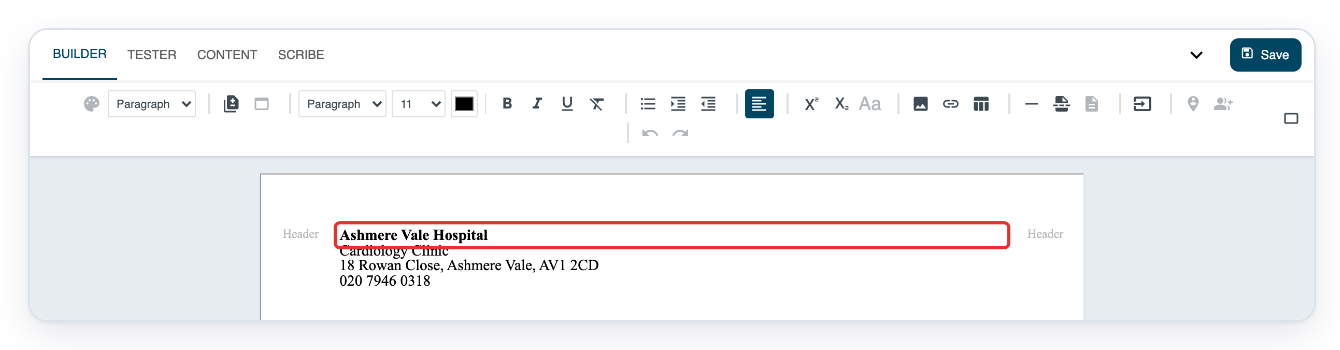
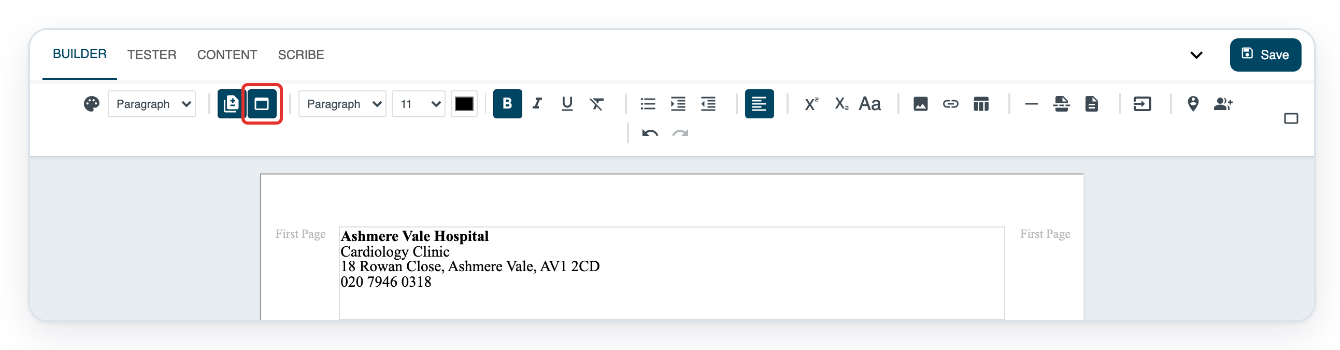
Click Enable secondary header and footer to give the first page and later pages separate headers.
Separate headers are switched off in this example. If the button is already highlighted, leave it on.
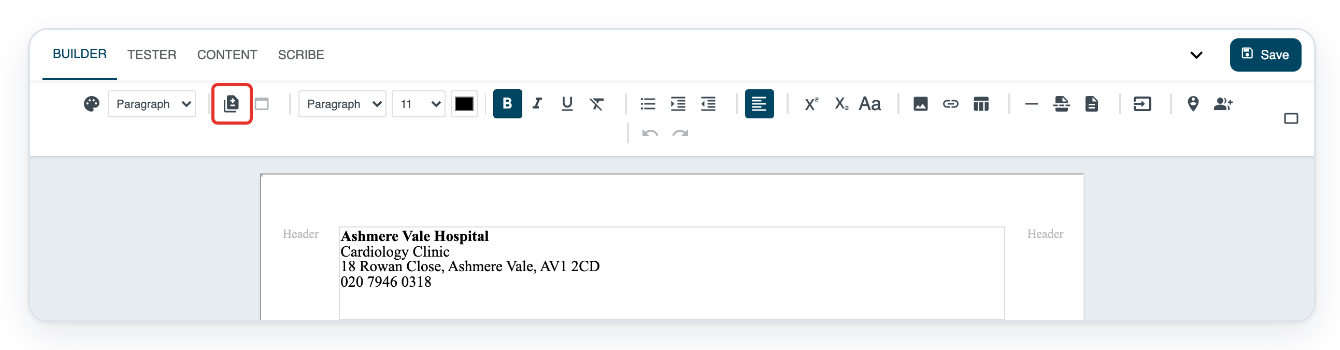
Click the hospital name in the first-page header before switching header views.
Keep the full hospital and contact details here if you want them on the first page.
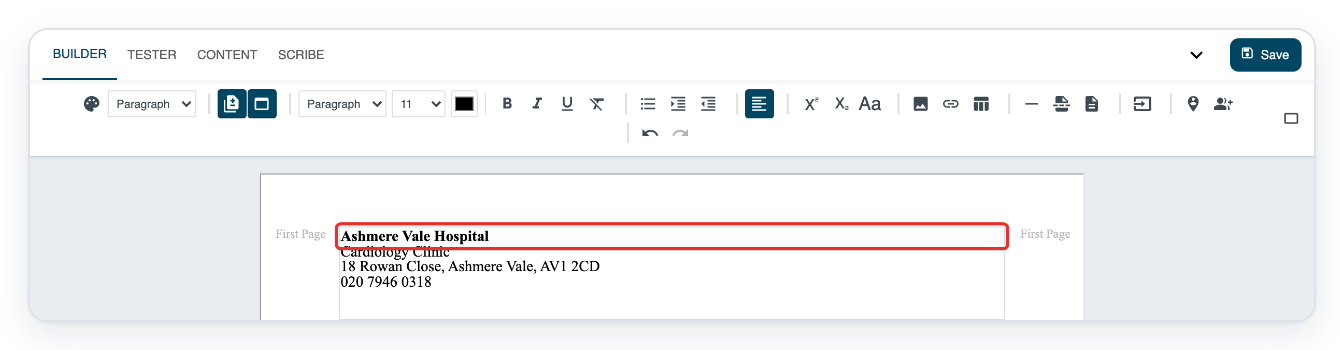
=> The Enable secondary header and footer button is highlighted, and Builder shows the first-page header.
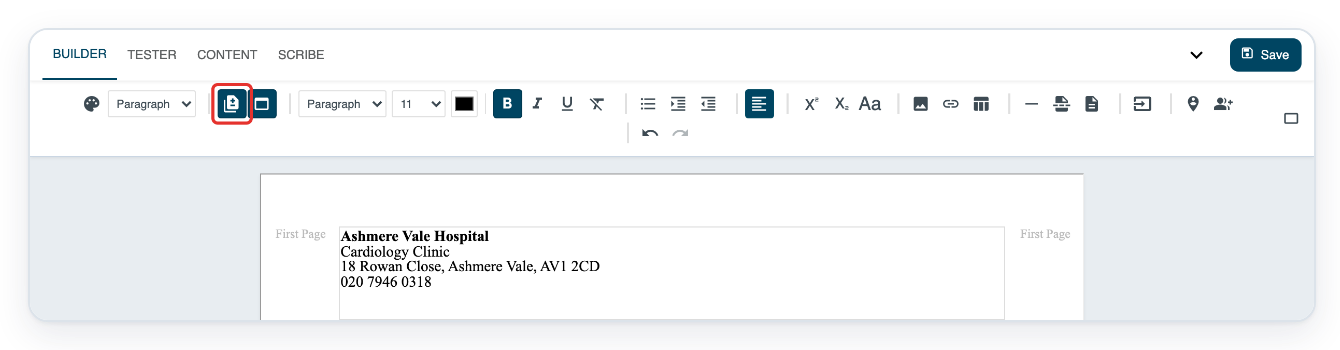
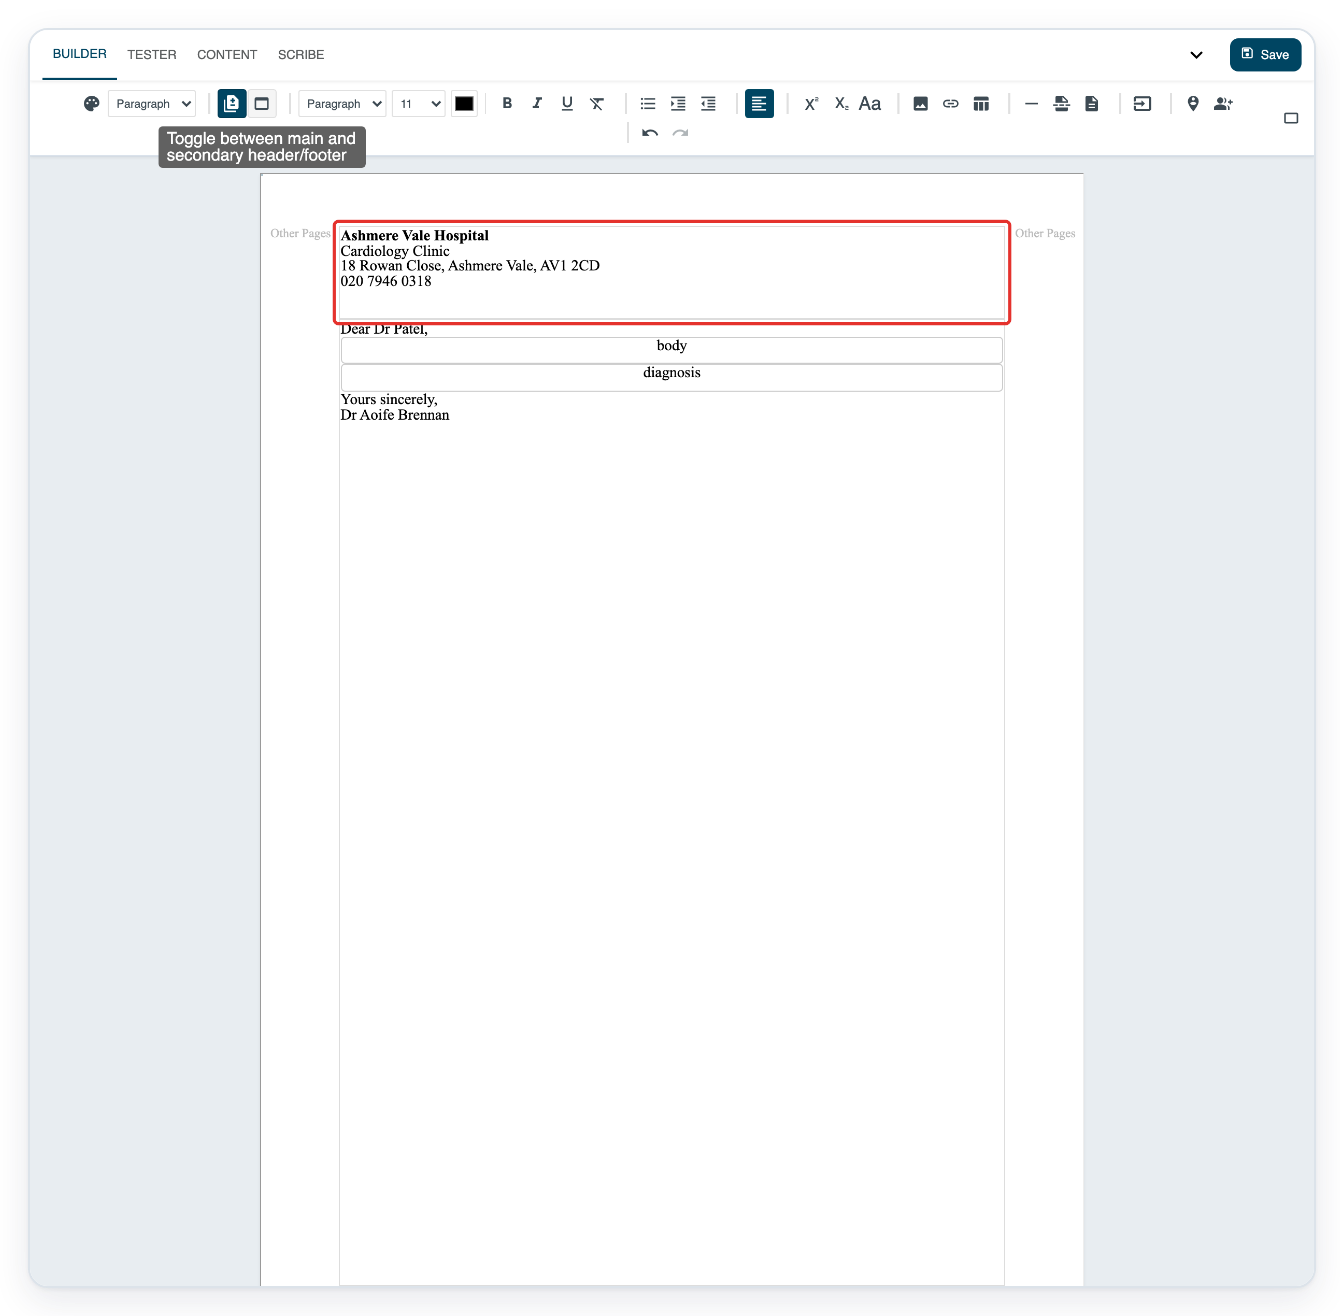
Click Toggle between main and secondary header/footer to edit the header for later pages.
The header area now reads Other Pages. Click the button again to return to the first-page header.
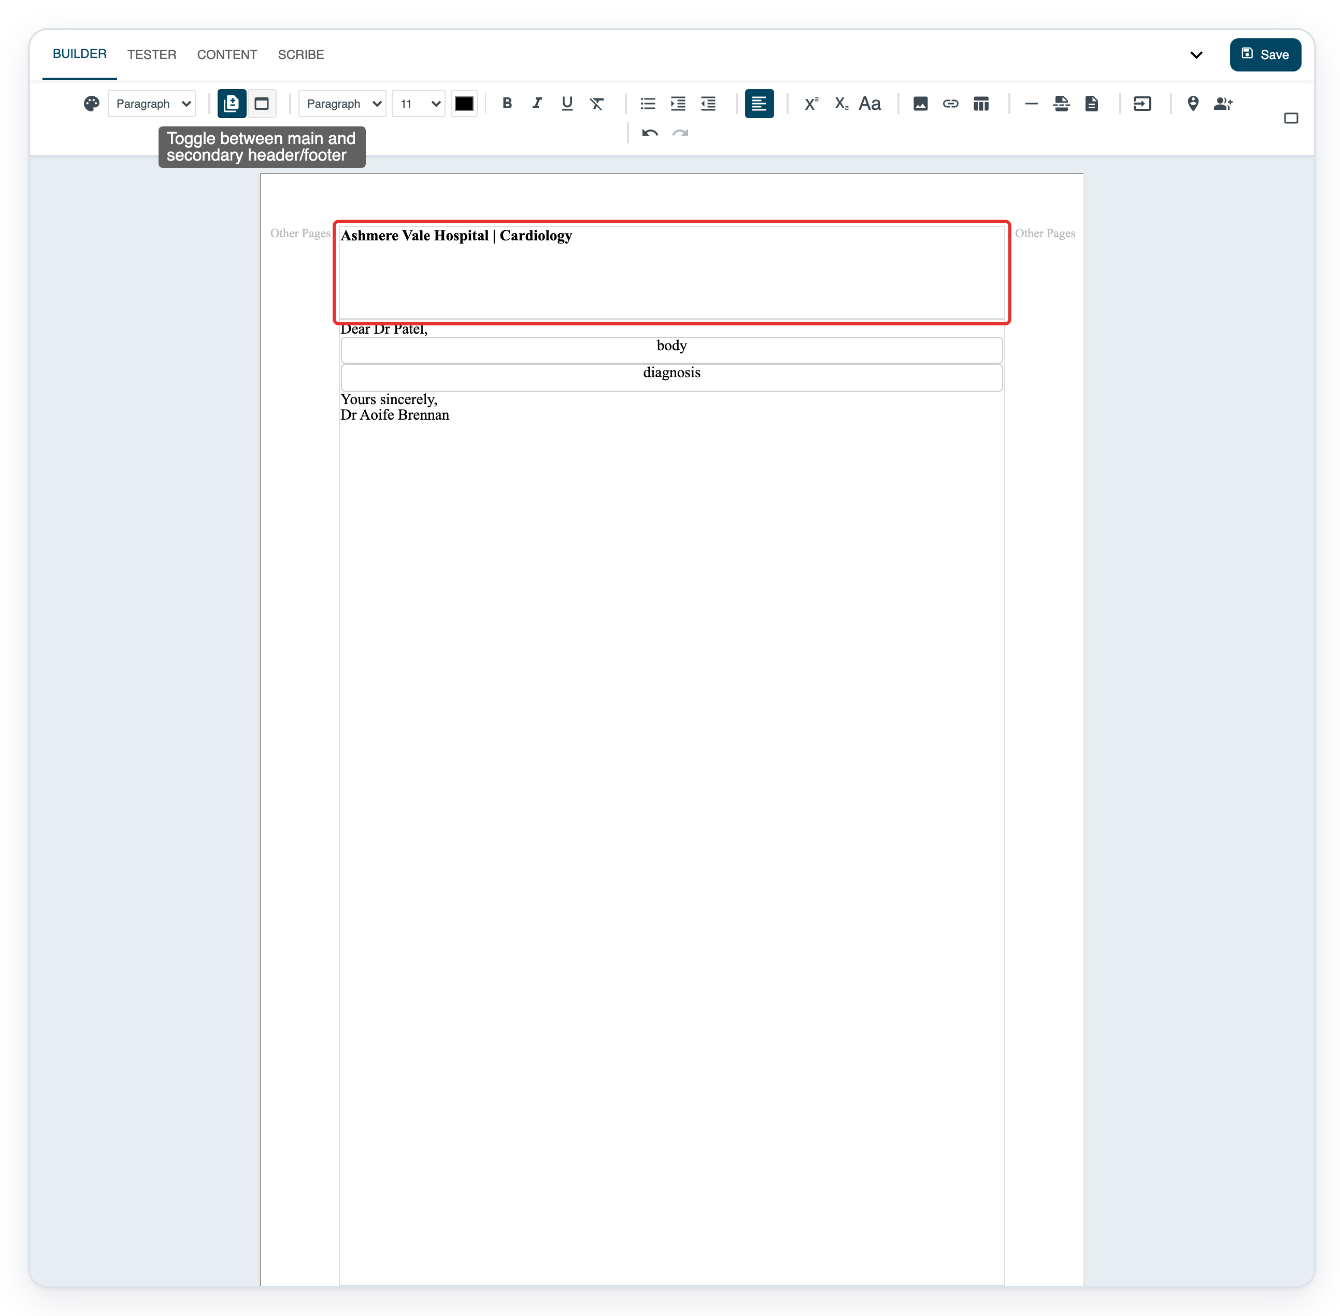
Replace the later-page header with the text you want, such as Ashmere Vale Hospital | Cardiology.
Select the existing header text, then type your replacement. You can use a shorter header on later pages.
=> The later-page header now shows the hospital and clinic name.
Click Tester to preview the letter and add a page break.

Click the empty paragraph between the two body paragraphs to choose where the new page starts.
Place the cursor in the formatted body field where you want the next page to start.
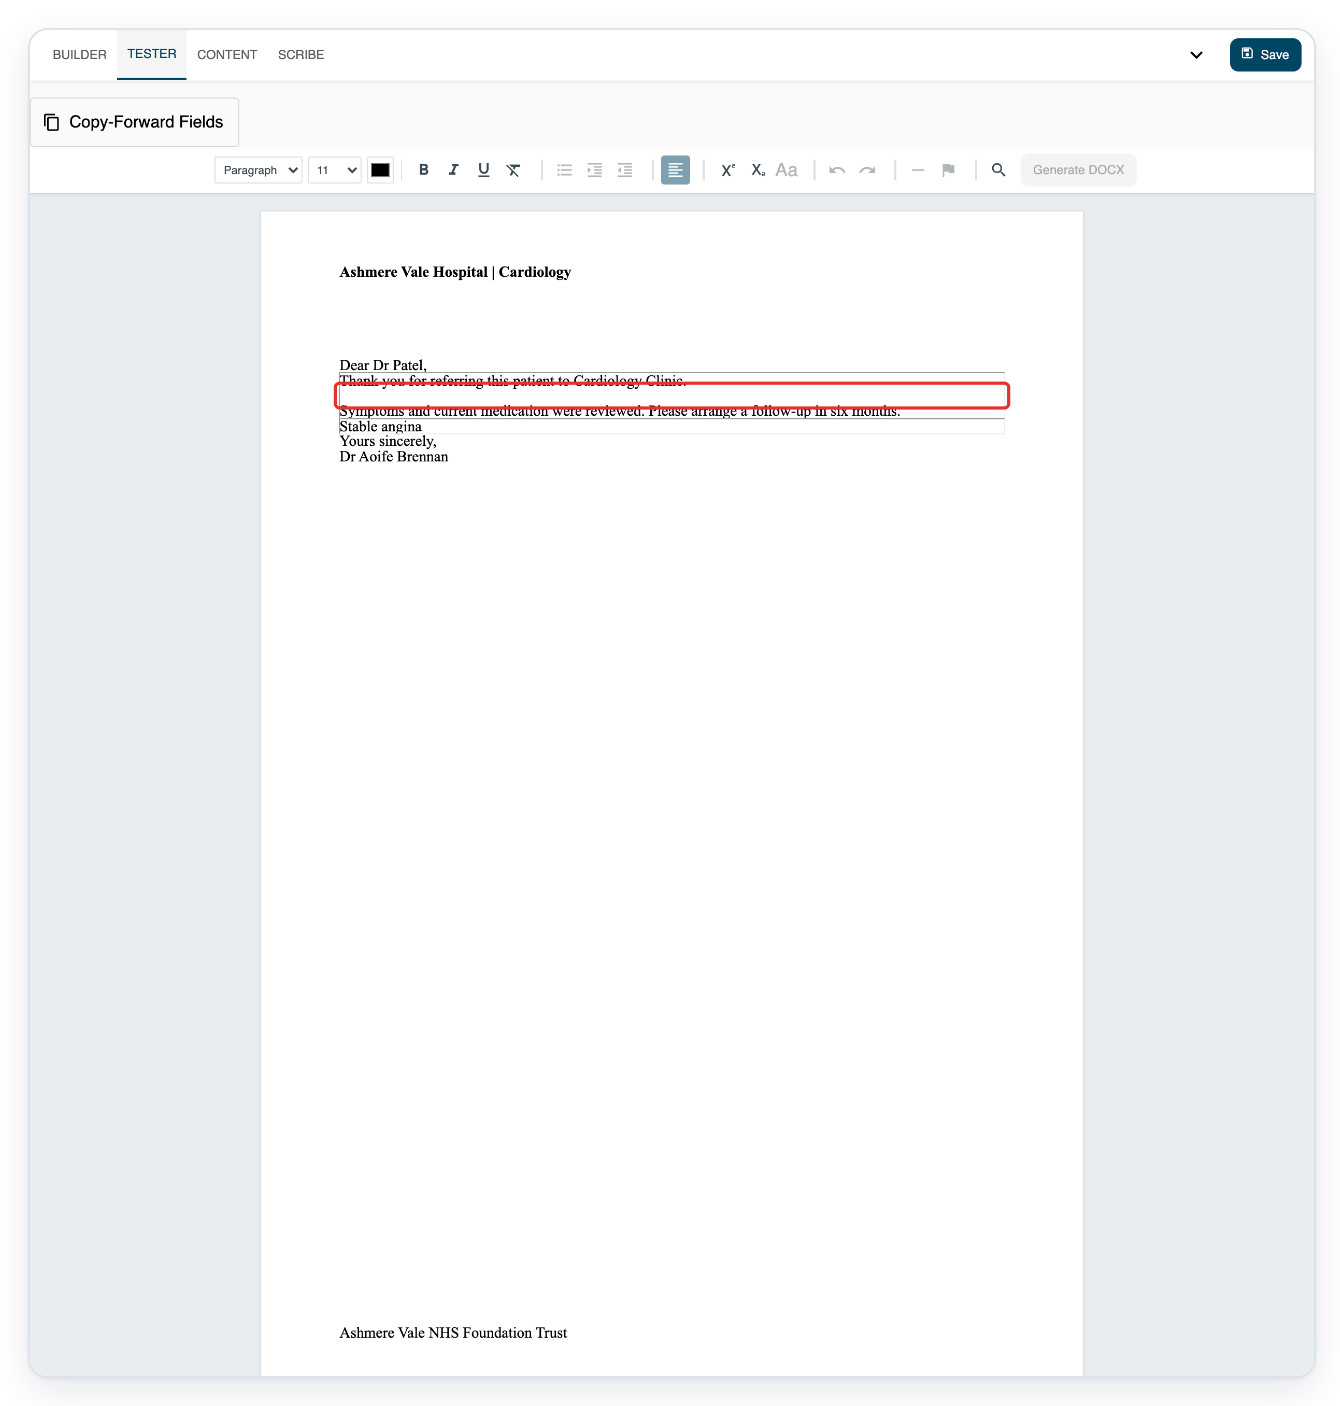
Press Ctrl+Enter to insert a page break at the cursor.
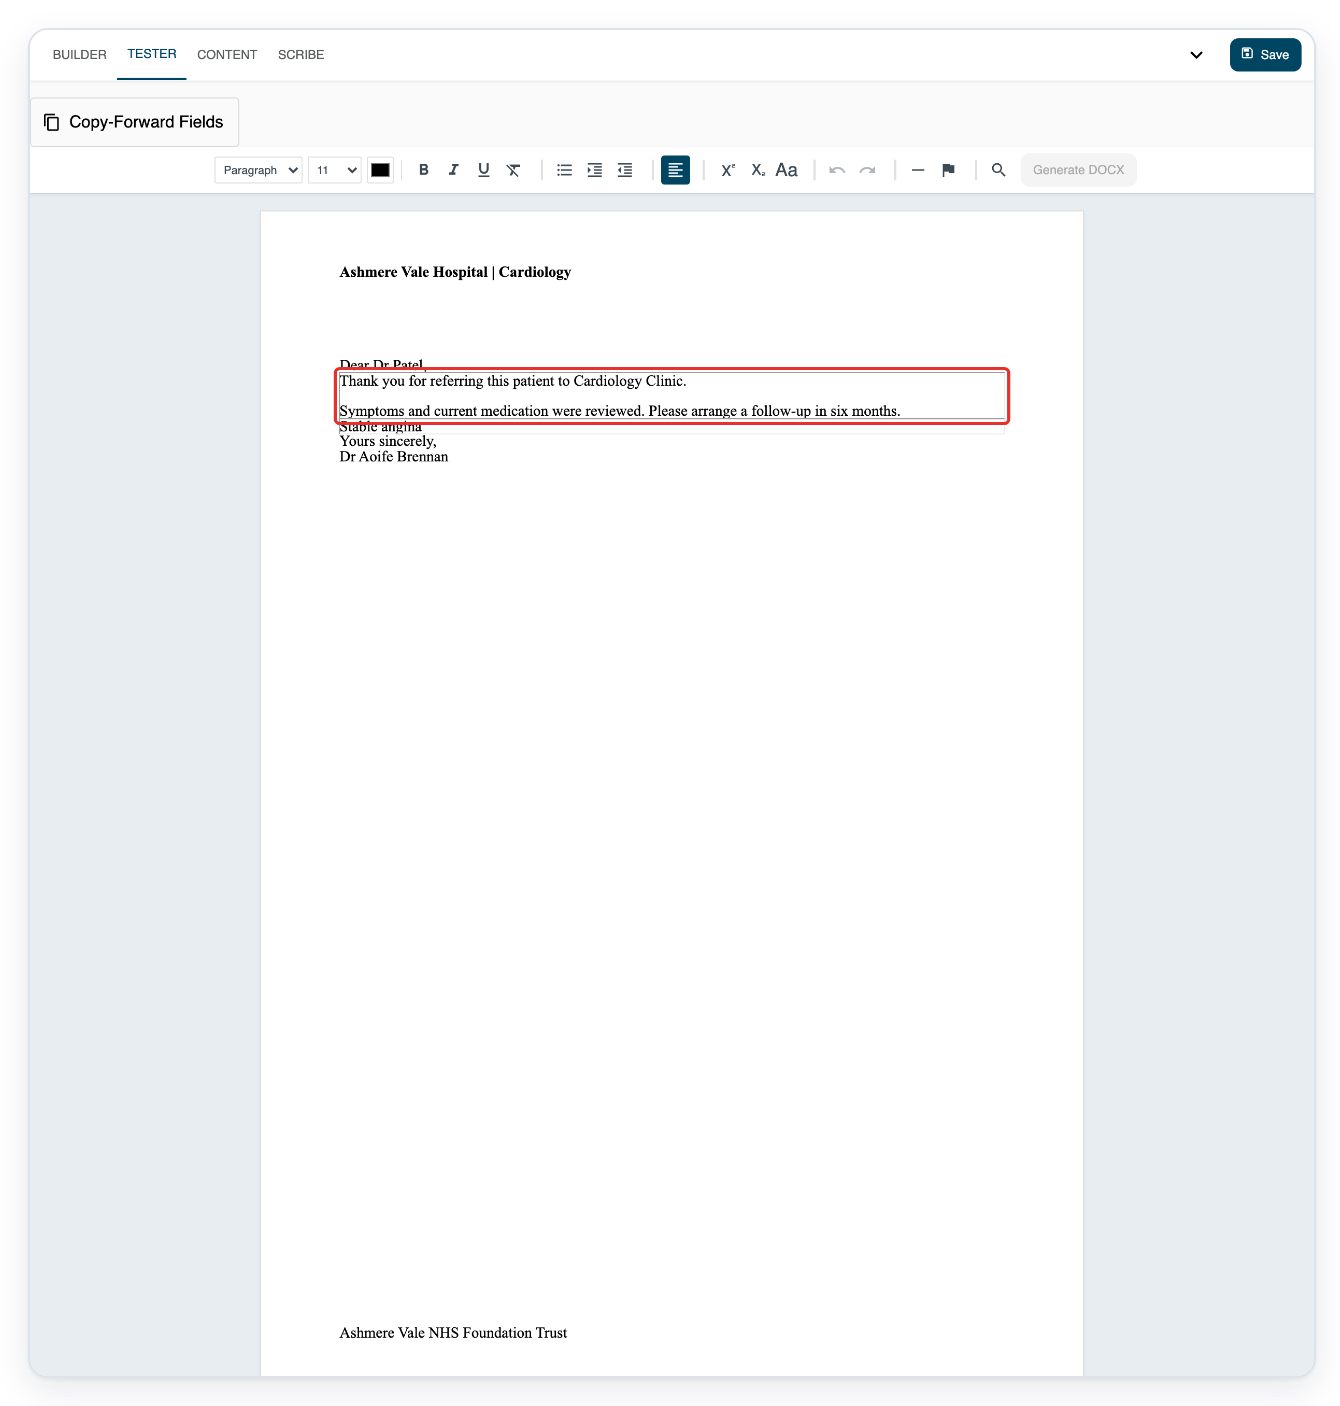
=> Tester shows a page-break marker between the two body paragraphs.
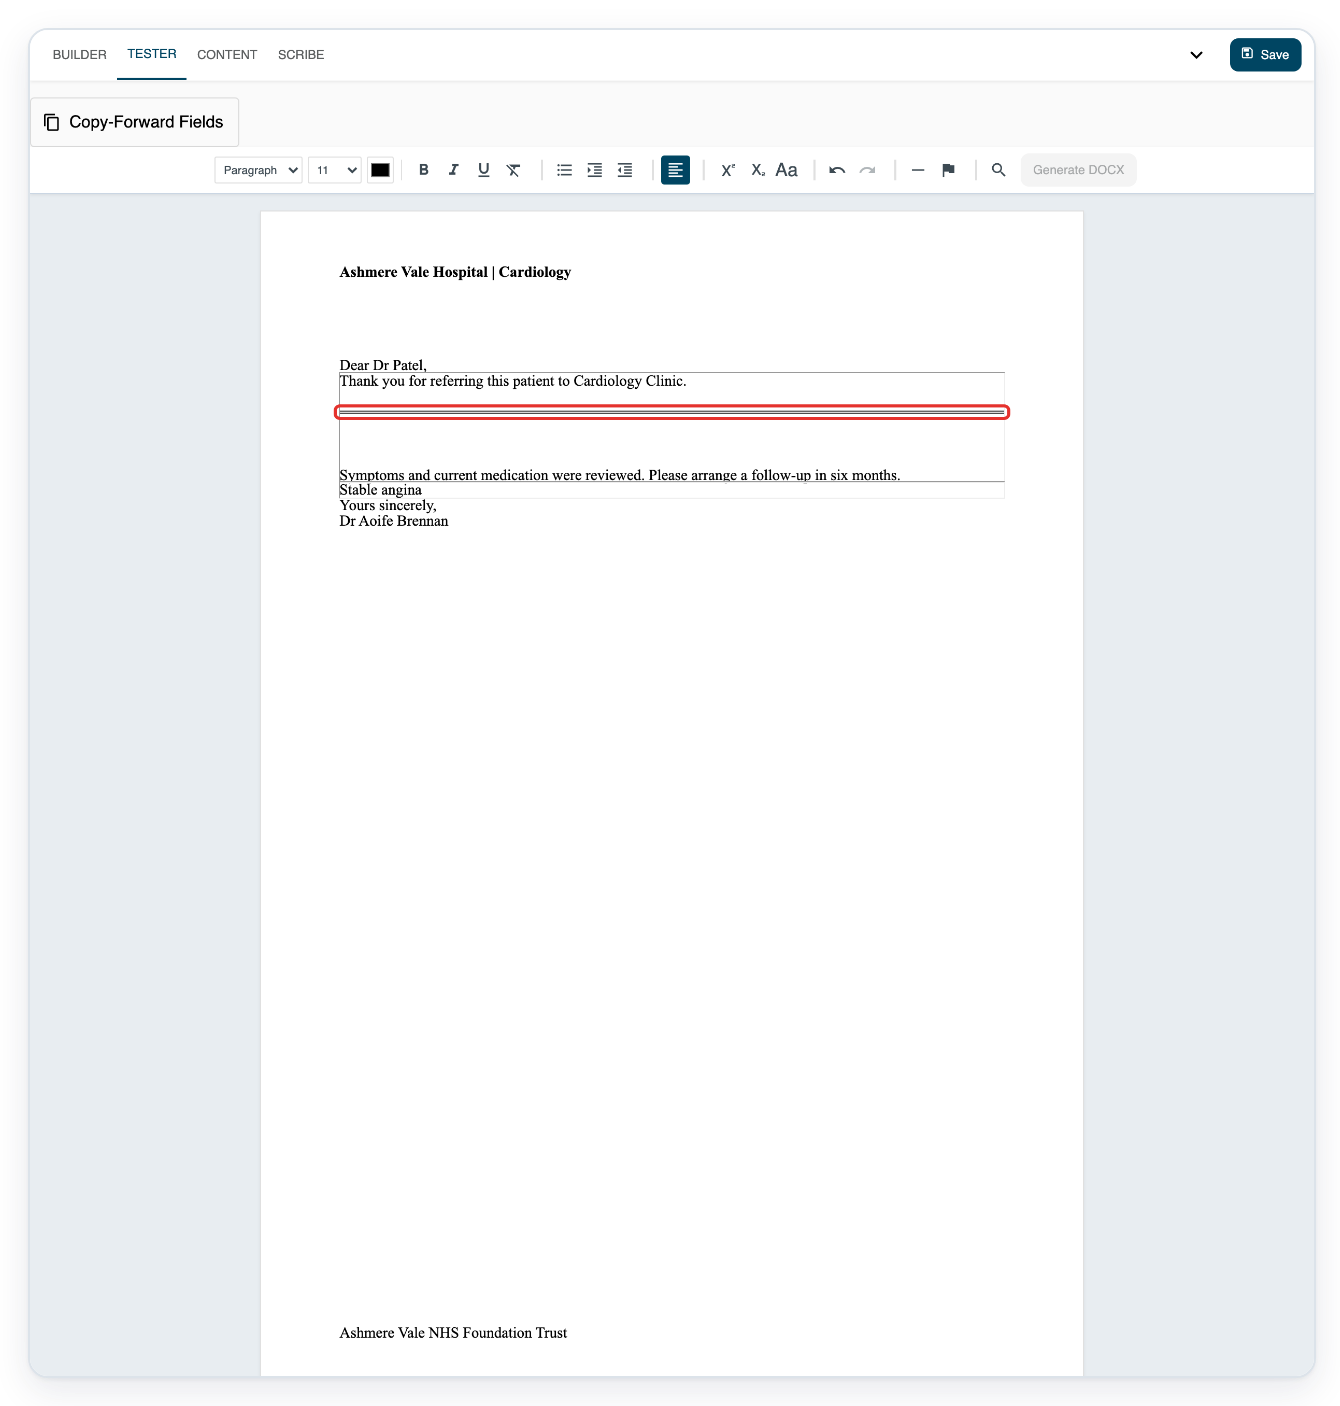
Click Save to save your changes and return to the facility’s Templates list.

NOTE:
- When separate headers are switched on, fill in the first-page and later-page headers so neither is blank.
- This setting also applies to footers.
Which header appears on each page?
Use the labels beside the header area to check which header you're editing.
| Header setup | Where it appears |
|---|---|
| Separate headers switched off | The same header appears on every page. |
| First Page | The first page, when separate headers are switched on. |
| Other Pages | The second page onwards, when separate headers are switched on. |
Tip: In Tester, the Insert page break (Ctrl+Enter) toolbar button also inserts a page break at the cursor.
Can't change headers or add a page break?
If Access Required appears before Builder opens on app.tpro.io, enter the feature access password in Password. Then click Continue. Access stays unlocked for this browser session.
If you can't switch headers, click inside the header in Builder to activate the editor. If separate headers are off, switch them on. Leave Enable secondary header and footer on if it's already highlighted.
If the page-break button is missing or unavailable, open Tester. Place the cursor in the formatted body field where you want the next page to start.
Related articles
If you have any more queries, please do not hesitate to contact our Helpdesk or support@tpro.io.
© 2020 - 2026