
Before you start
Your author account and organisation must have eClinic Manager enabled. Have names and contact details ready for the patient and anyone else you're inviting.
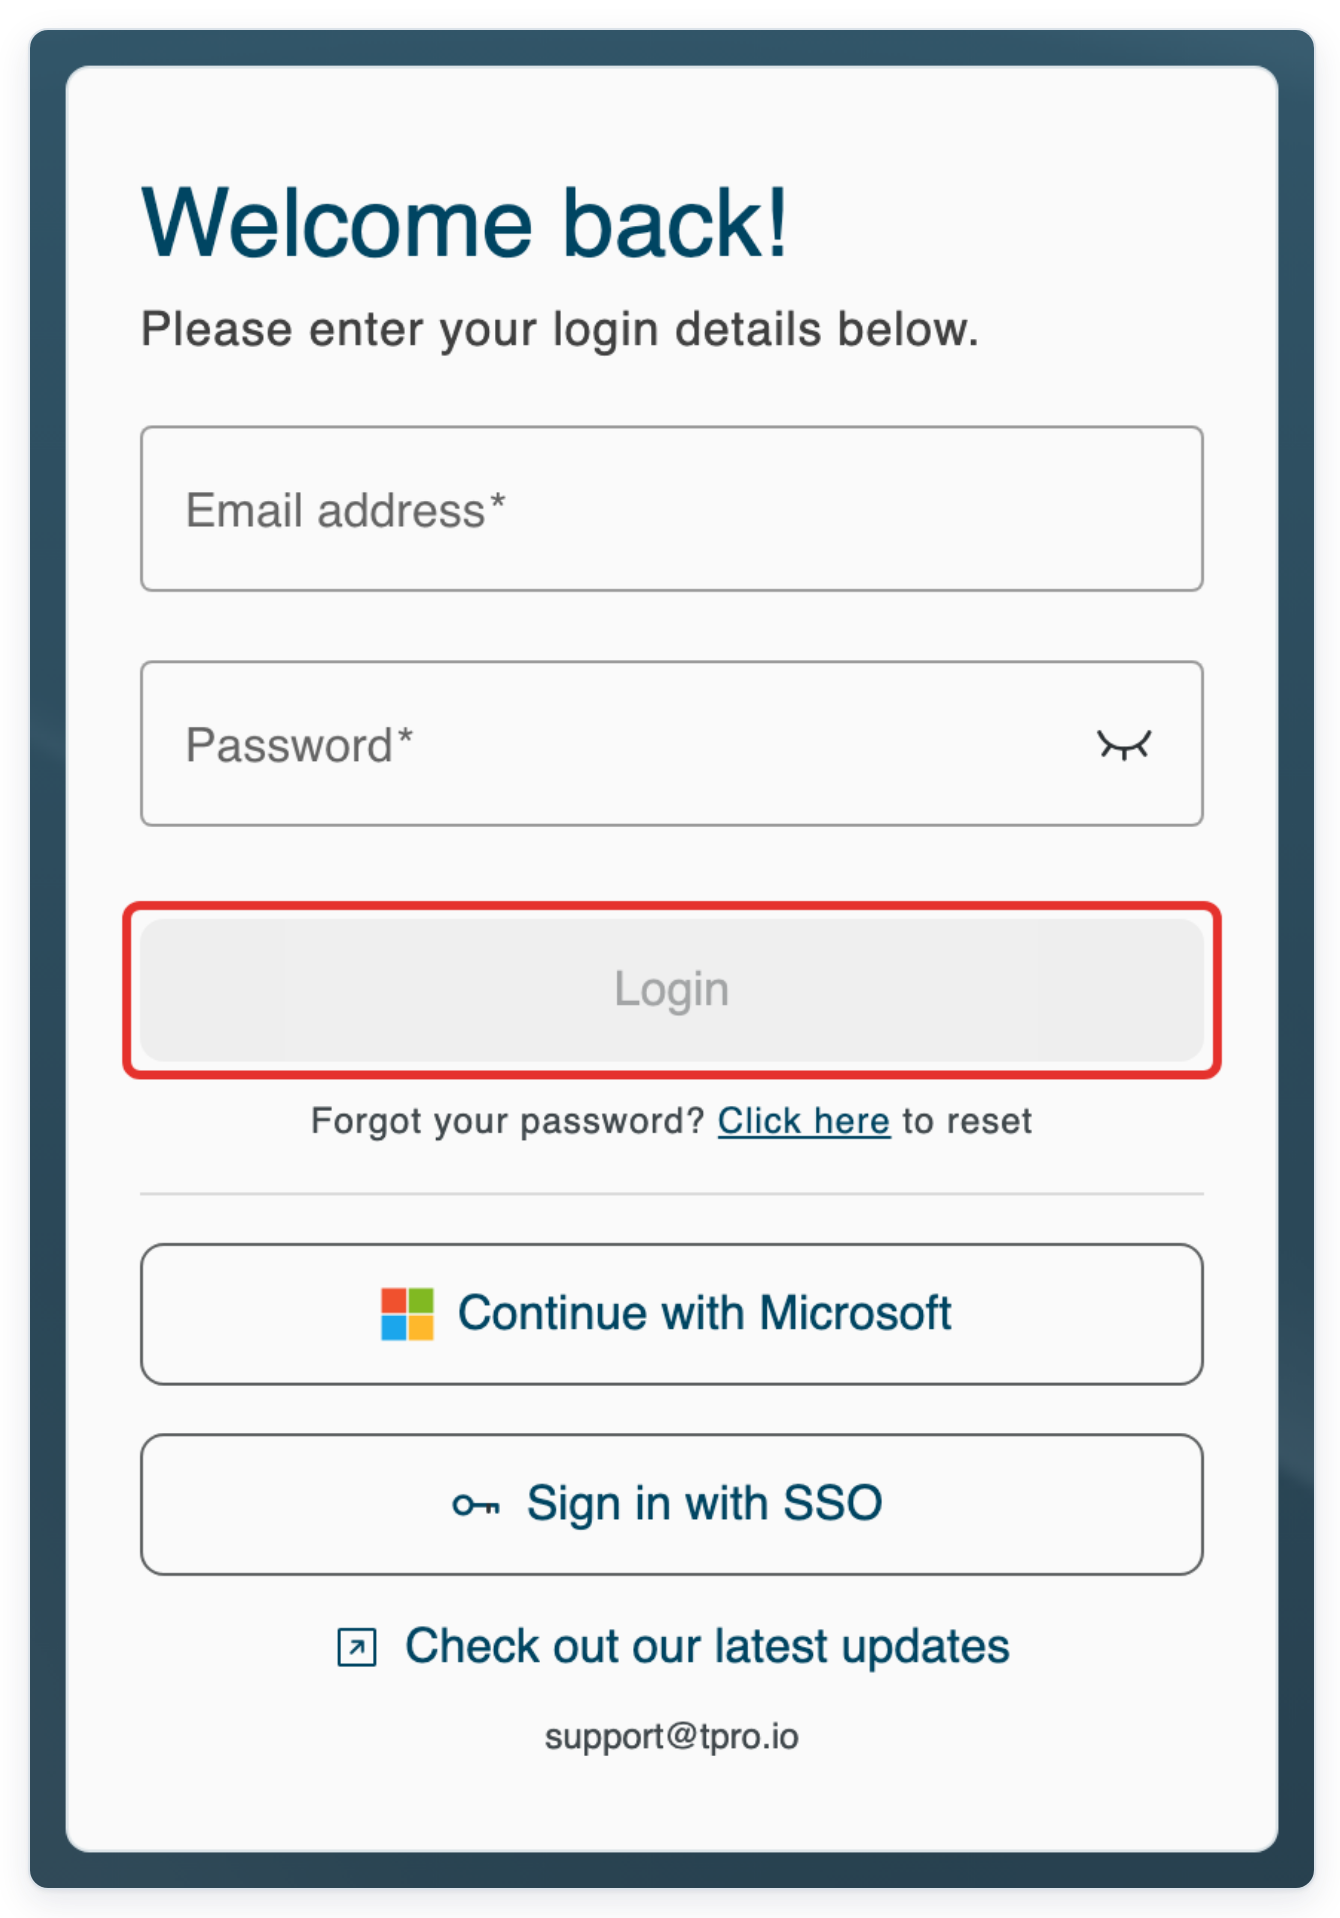
Log in to T-Pro with your author credentials.
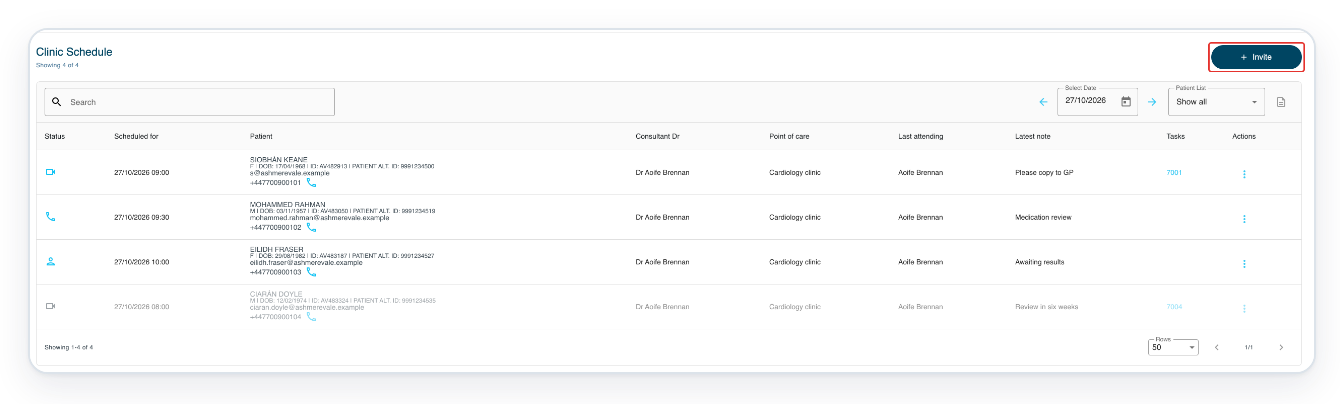
Invite people from Clinic Schedule
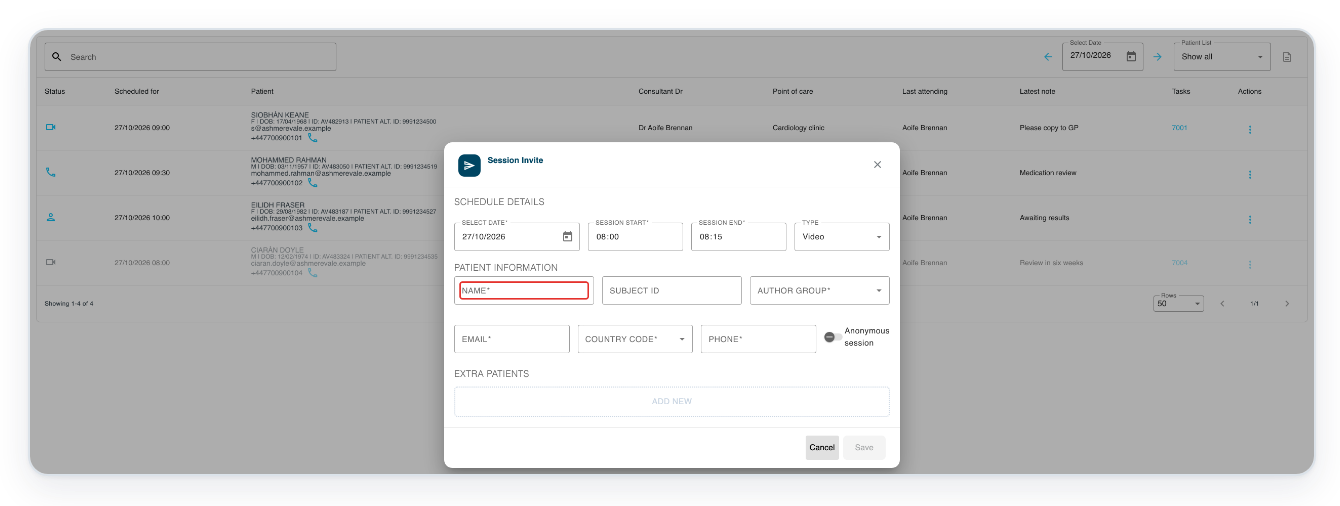
Open Clinic Manager, then click Invite in Clinic Schedule. The Session Invite form opens.
Check the appointment date and the start and end times. Keep Video selected under Type for a group video appointment.
Enter the patient's name in Name. The example uses Siobhán Keane.
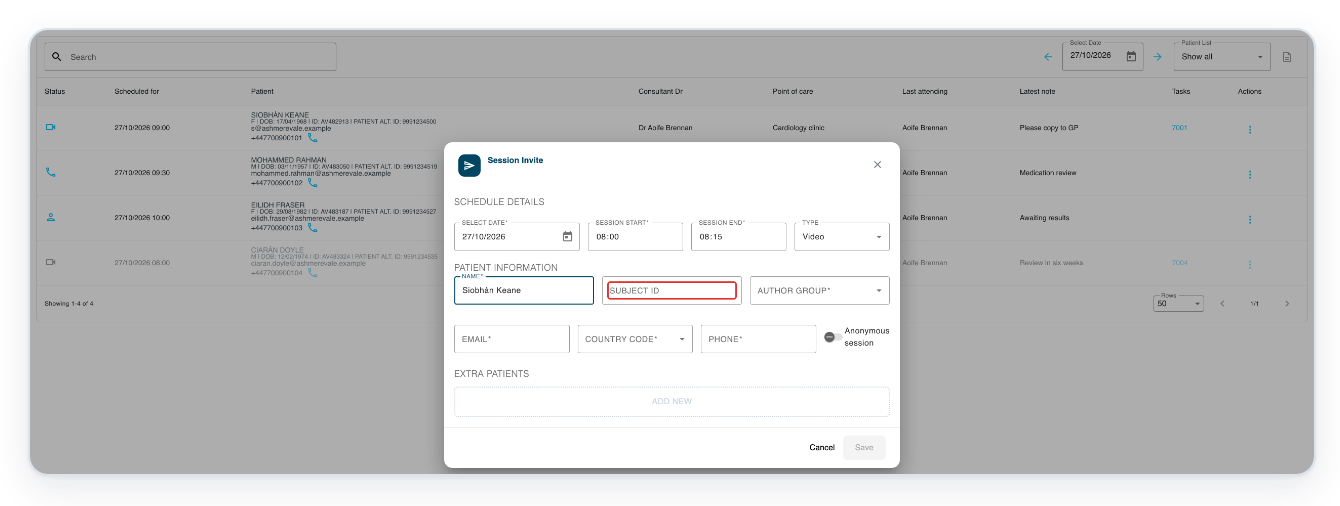
Enter the patient's identifier in Subject ID, for example AV482913.
This field is optional.
Select Author Group, then press Enter to open the list.
The list shows your author groups.
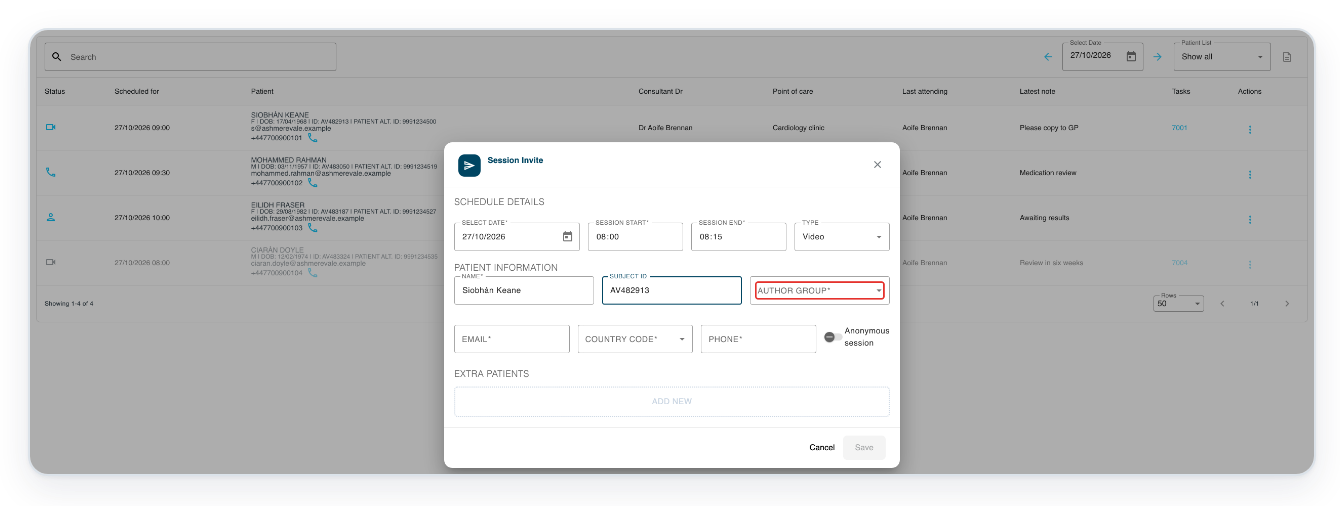
Choose your author group. Here, it's Cardiology - Cardiology authors.
Each choice shows the department name followed by the group name.
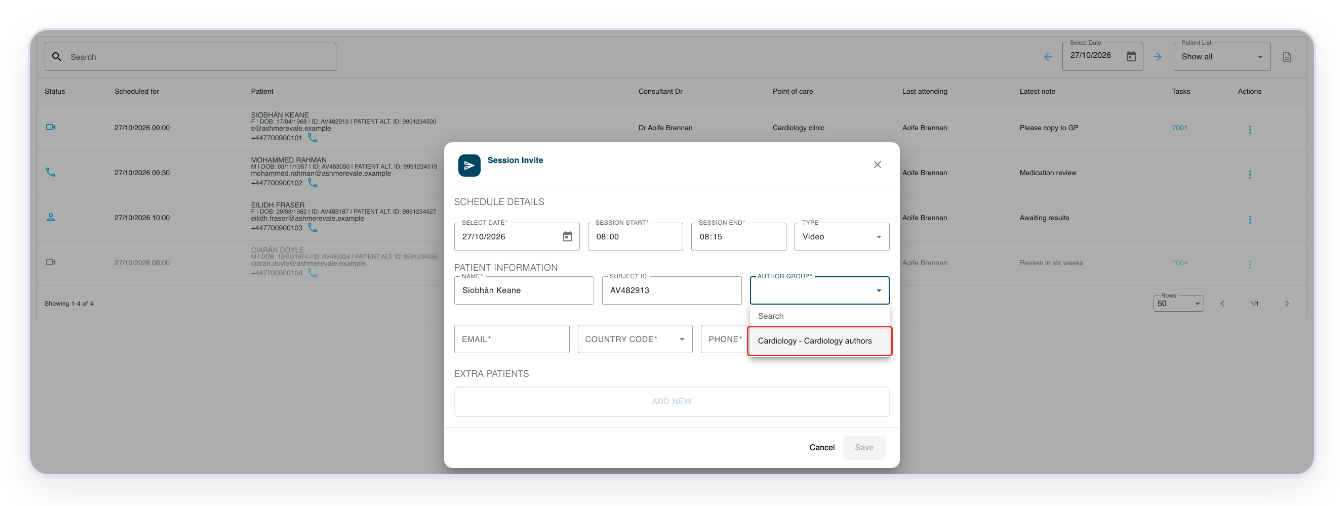
Enter the patient's email address in Email, for example sk@av.example.
Your organisation's settings control which contact details you need to enter. You may also need to fill in Country Code and Phone.
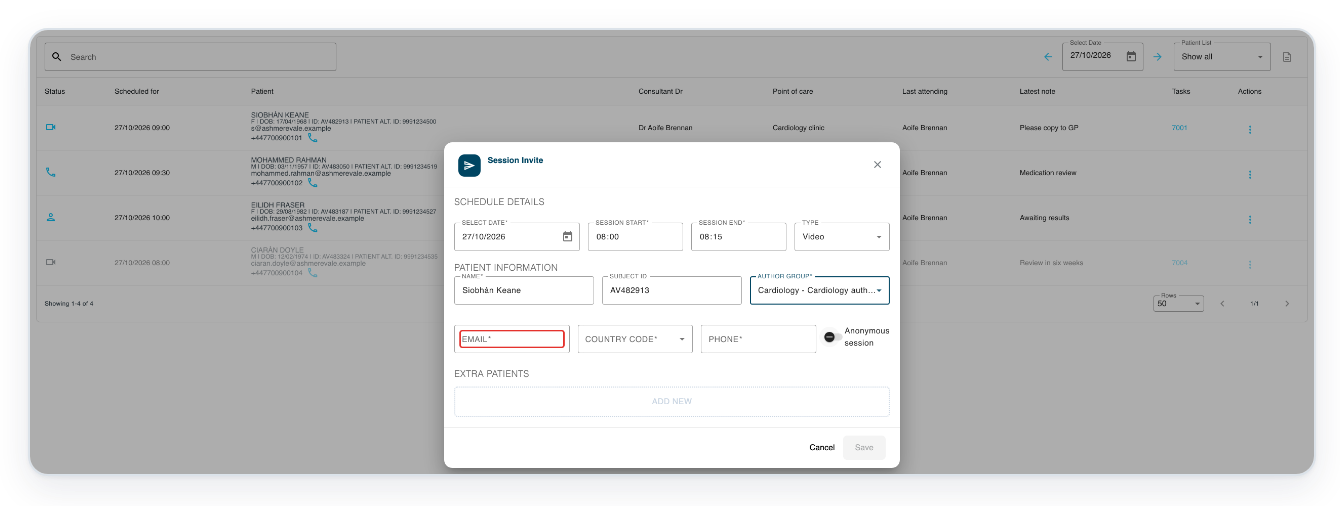
Click Add New under Extra Patients to enter the extra person's details.
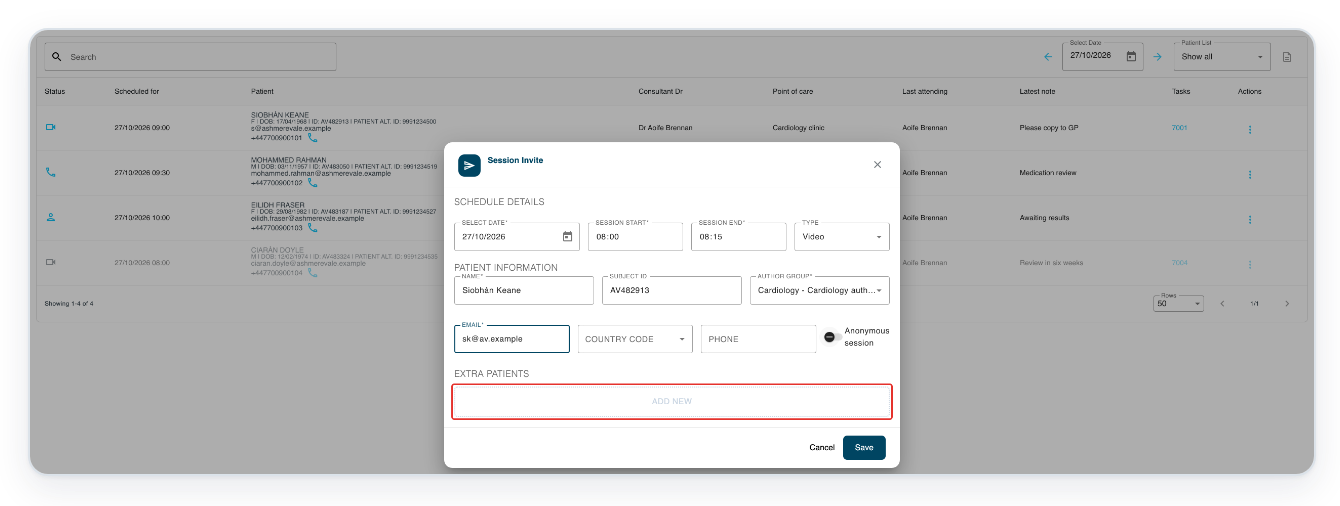
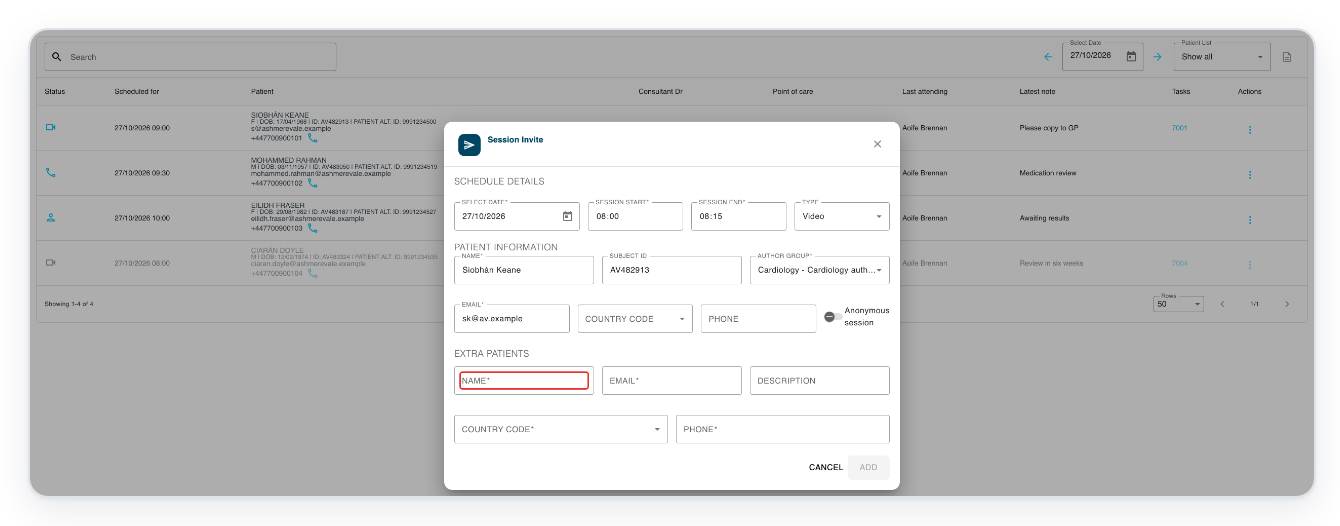
Enter the extra person's name in Name. The example uses Niamh Gallagher.
Use the fields under Extra Patients for this person.
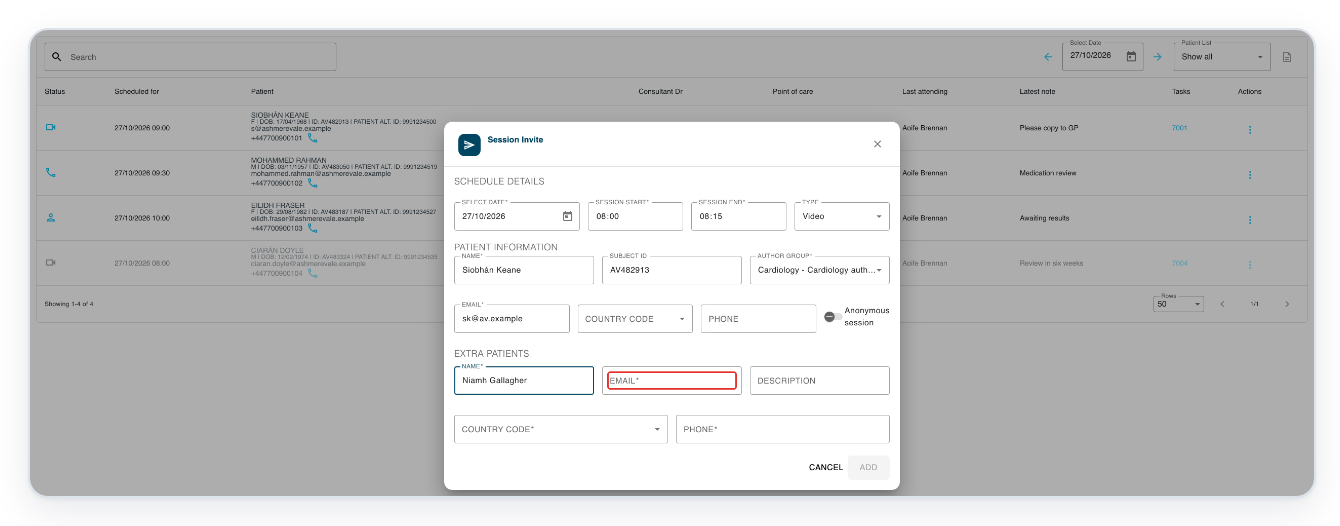
Enter the extra person's email address in Email, for example niamh@av.example.
Fill in Country Code and Phone too if your organisation requires them.
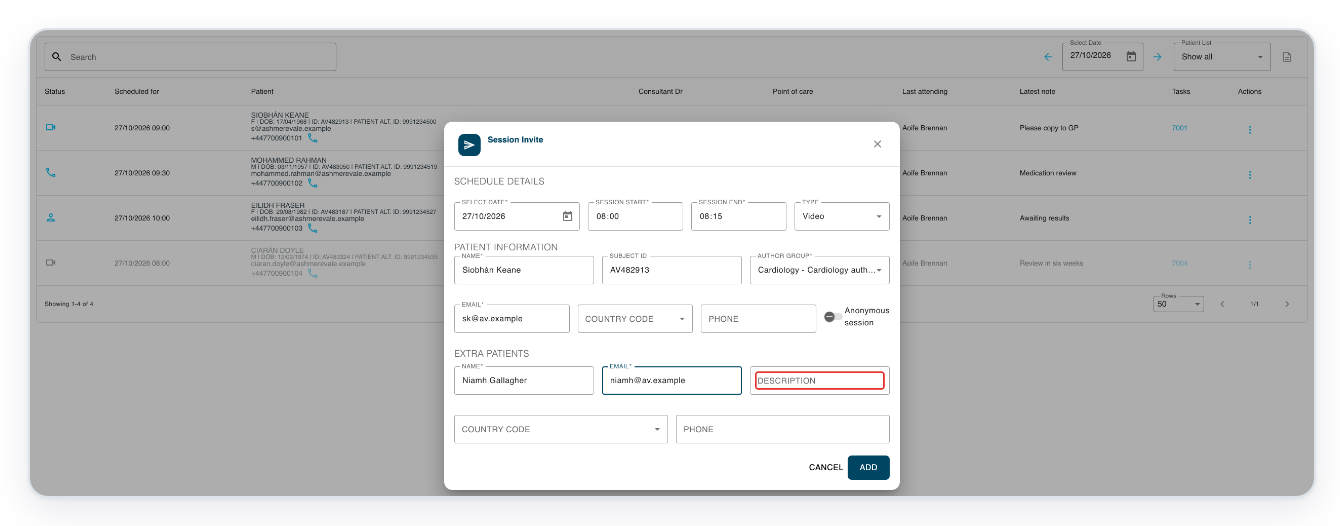
Enter a short description in Description, for example Patient support person.
You can leave this blank, or use it to explain who the person is.
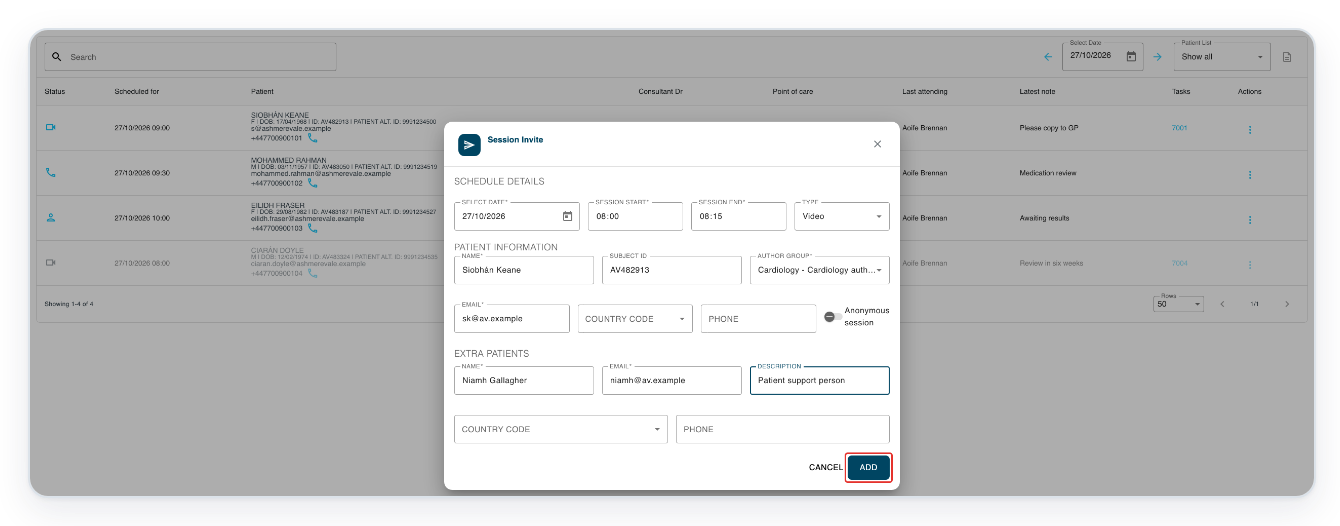
Click Add to add the person to the Extra Patients list.
Their name, description and contact details appear in the list.
=> Niamh Gallagher appears under Extra Patients with the description Patient support person. Use the pencil to edit her details or the bin to remove her. Click Save to keep your appointment changes.
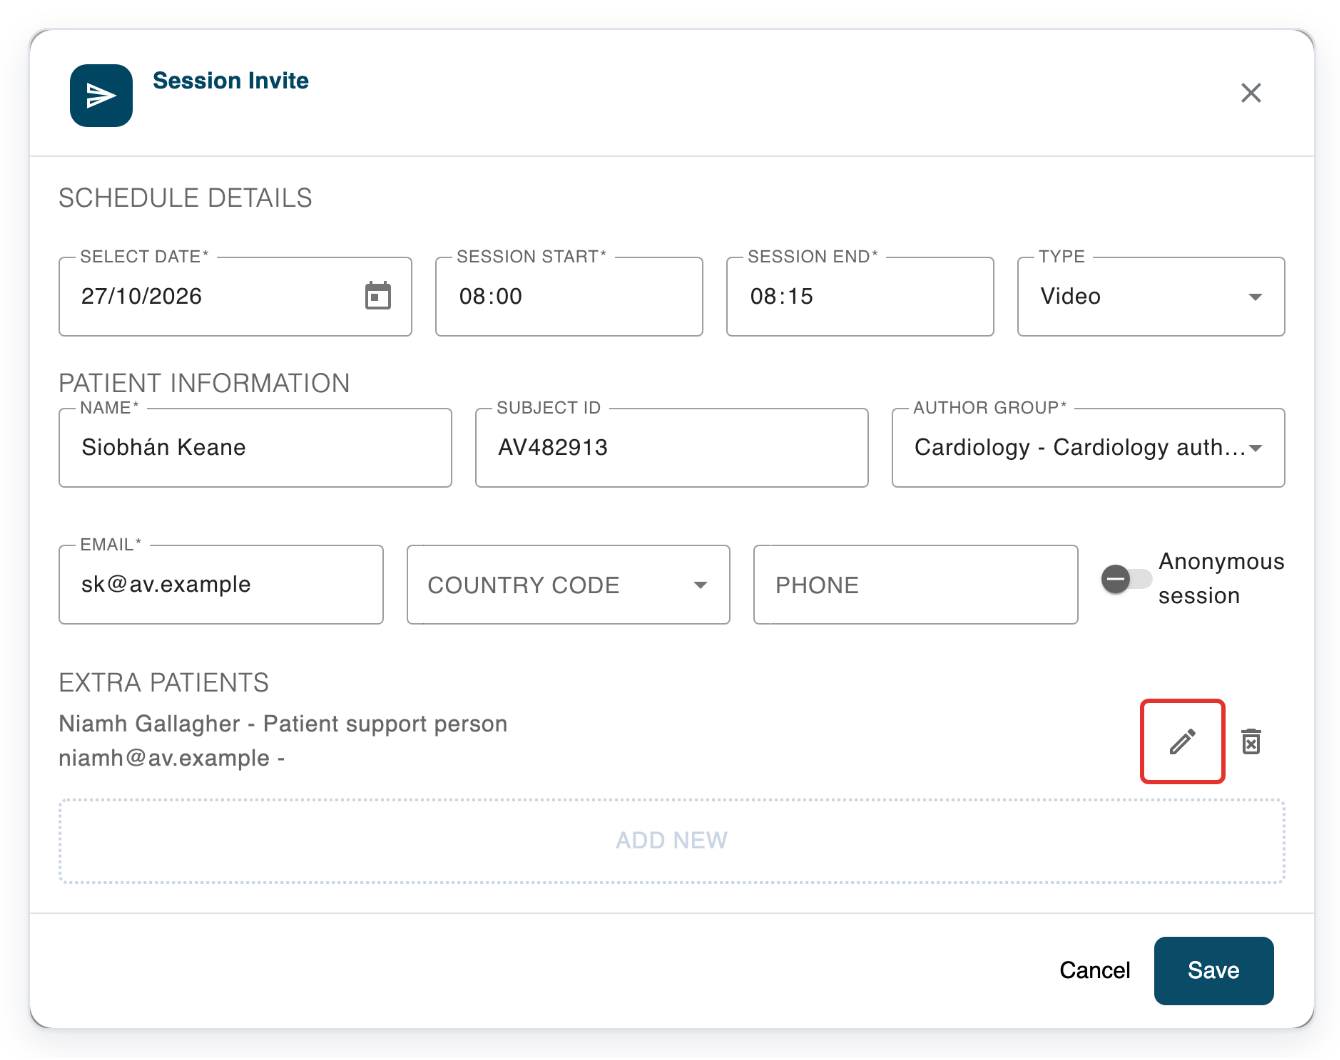
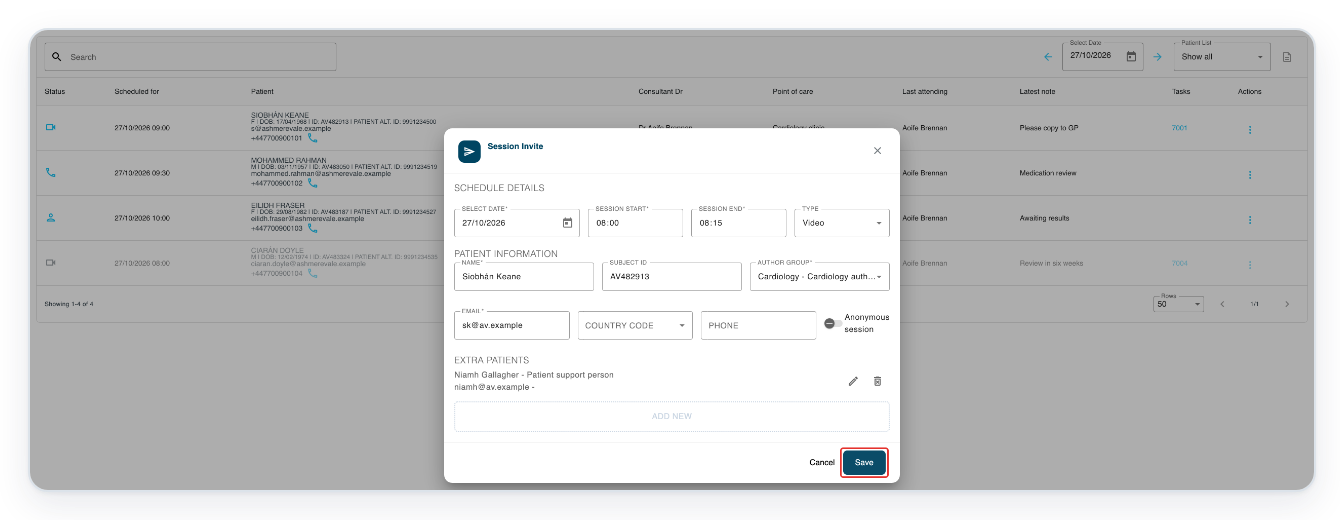
Click Save to save the appointment with the extra person.
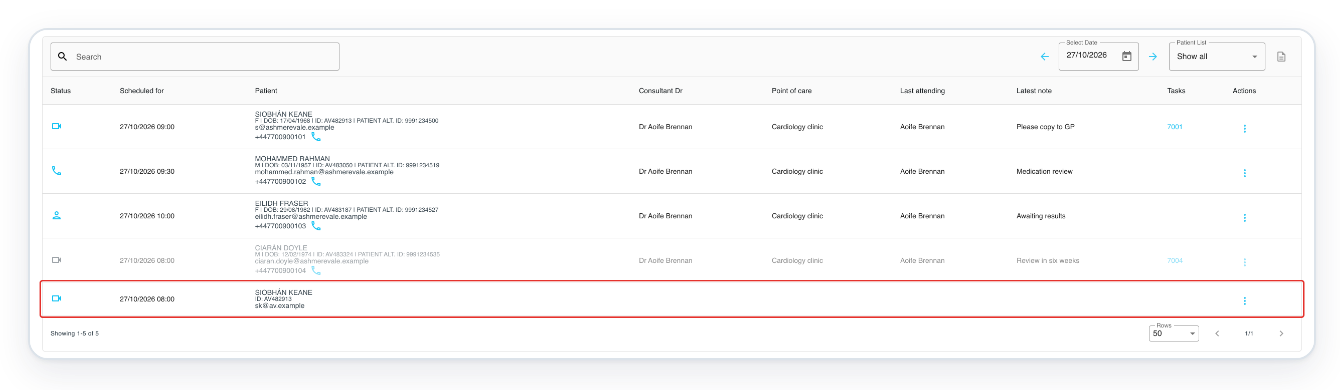
=> Clinic Schedule shows the newly saved video appointment for Siobhán Keane.
Add and remove people in the video session
In the appointment's waiting area, click the people icon to open Session information and the participant search.
To open the waiting area, click the video appointment in Clinic Schedule.
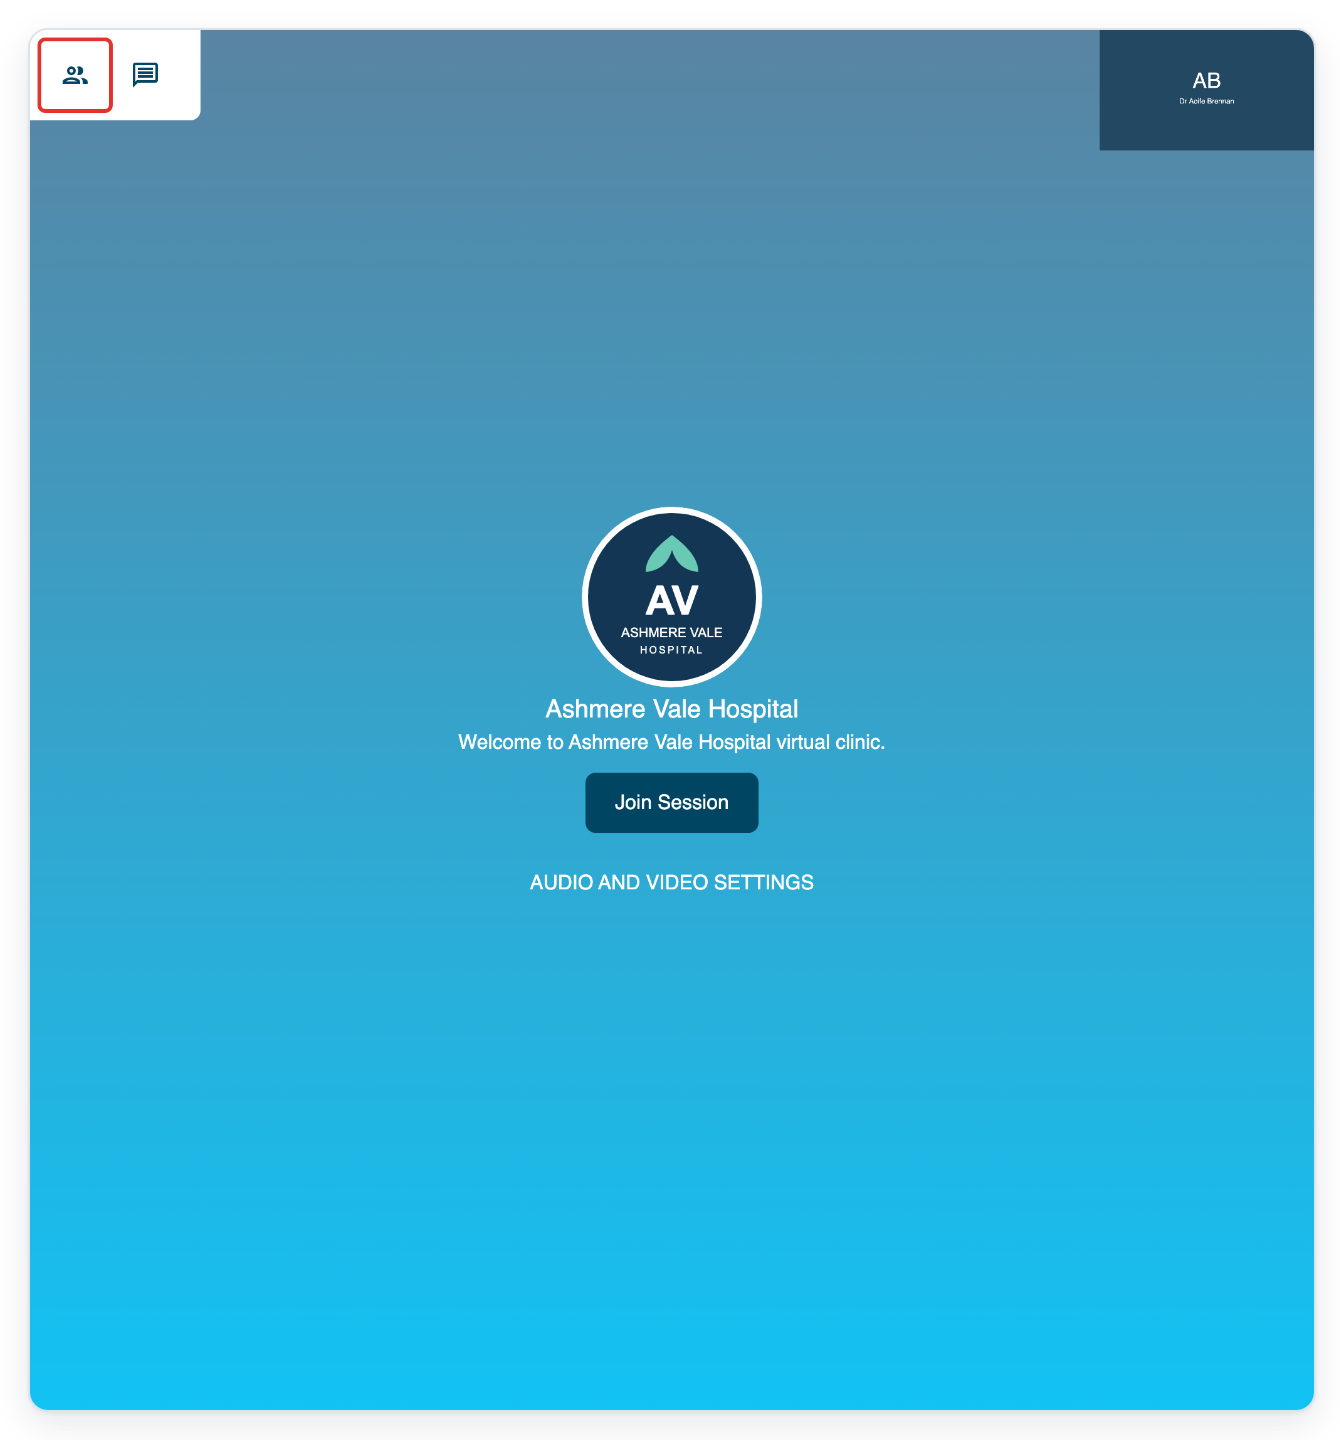
Click the add-person icon beside Search for a participant. The Add Participant form opens.
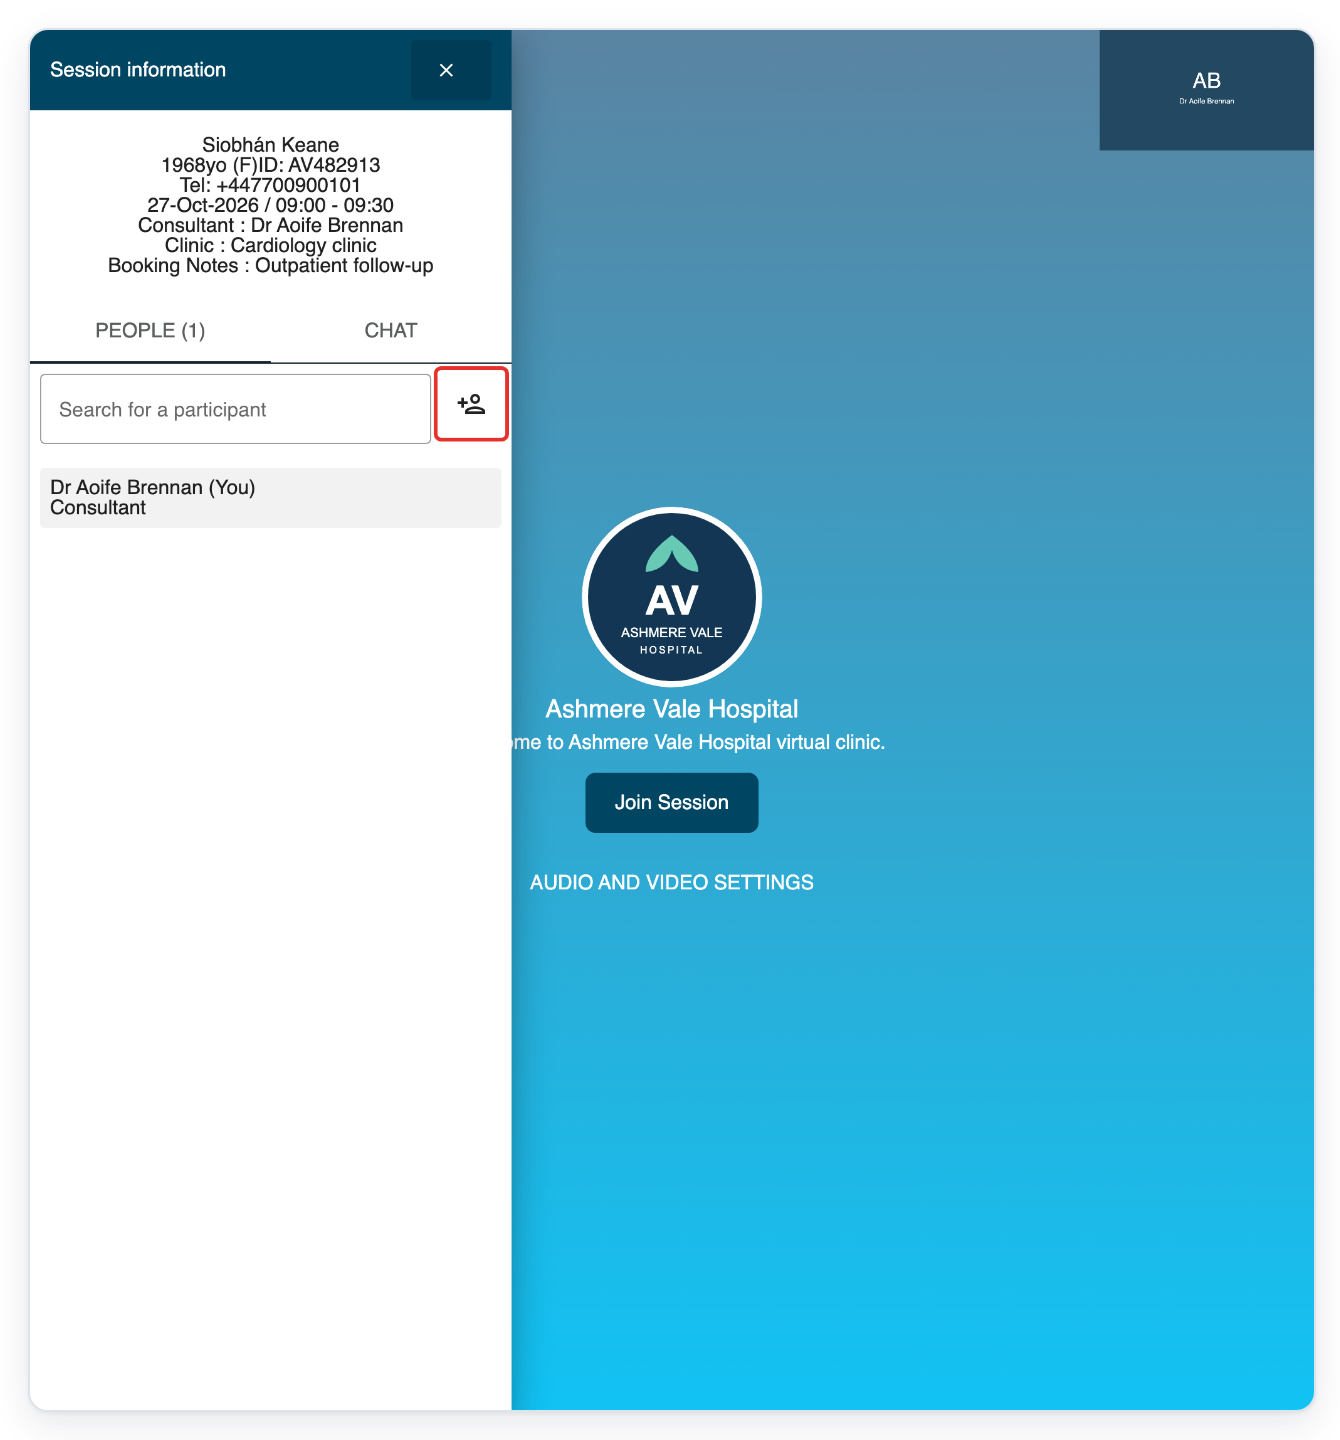
Enter the person's name in Name. The example uses Cara Doyle.
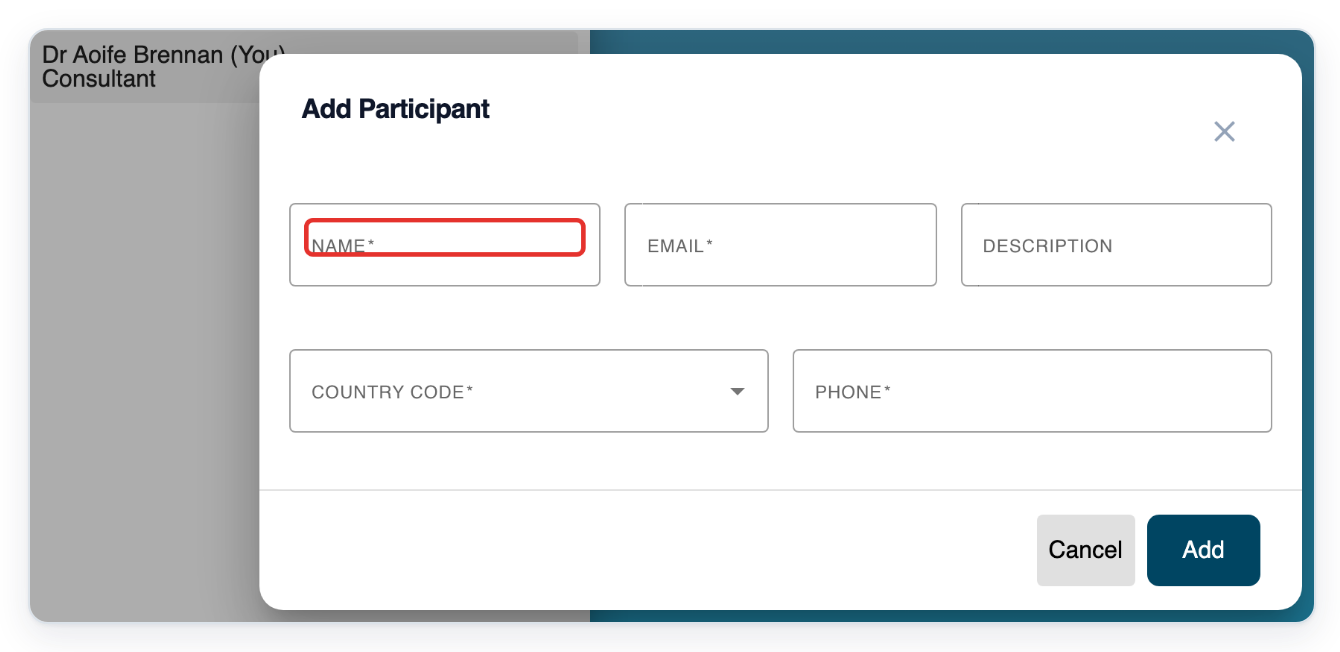
Enter the person's email address in Email, for example c@ashmerevale.example.
You can also enter a Description. Fill in Country Code and Phone if your organisation requires them.
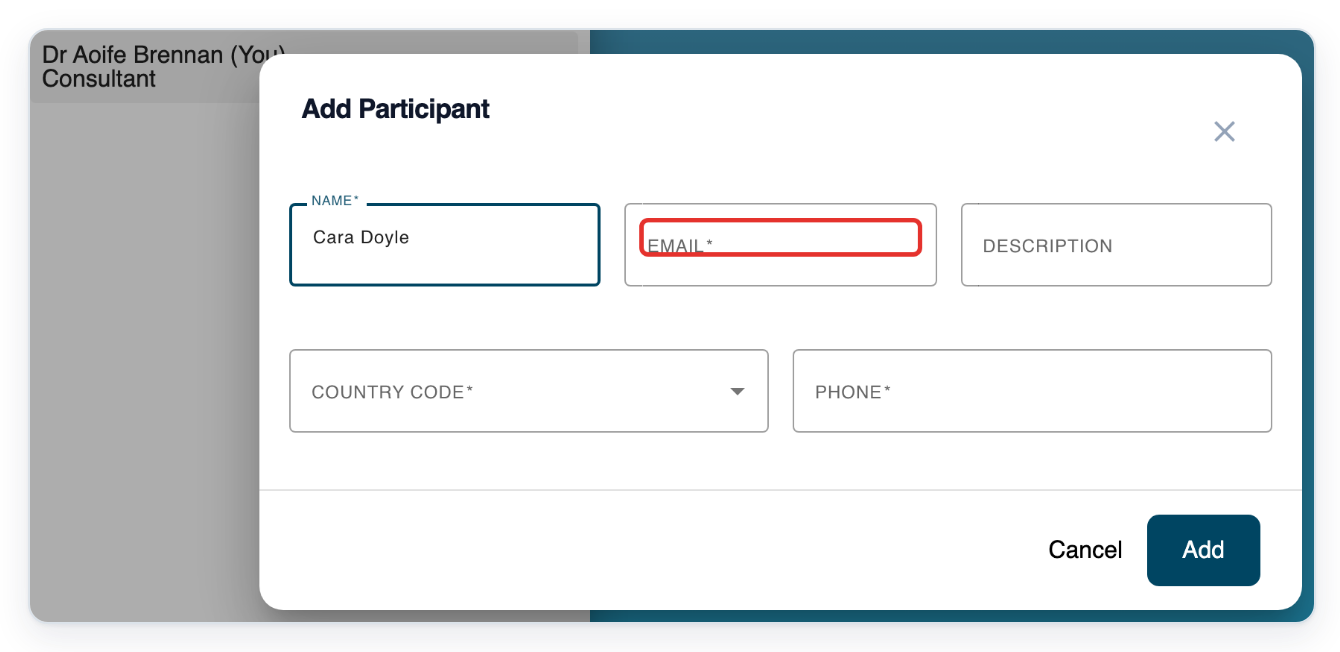
Click Add to invite the person. The form closes and Participant has been invited confirms the invitation.
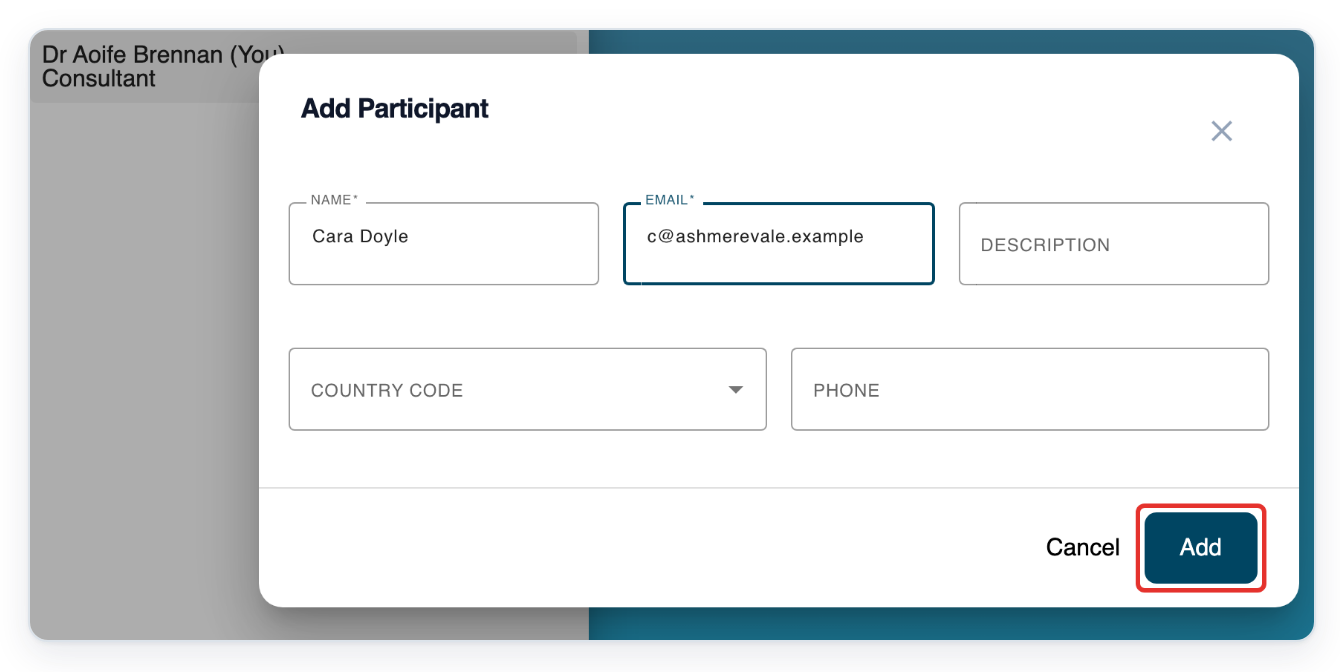
Click Join Session to connect to the call.
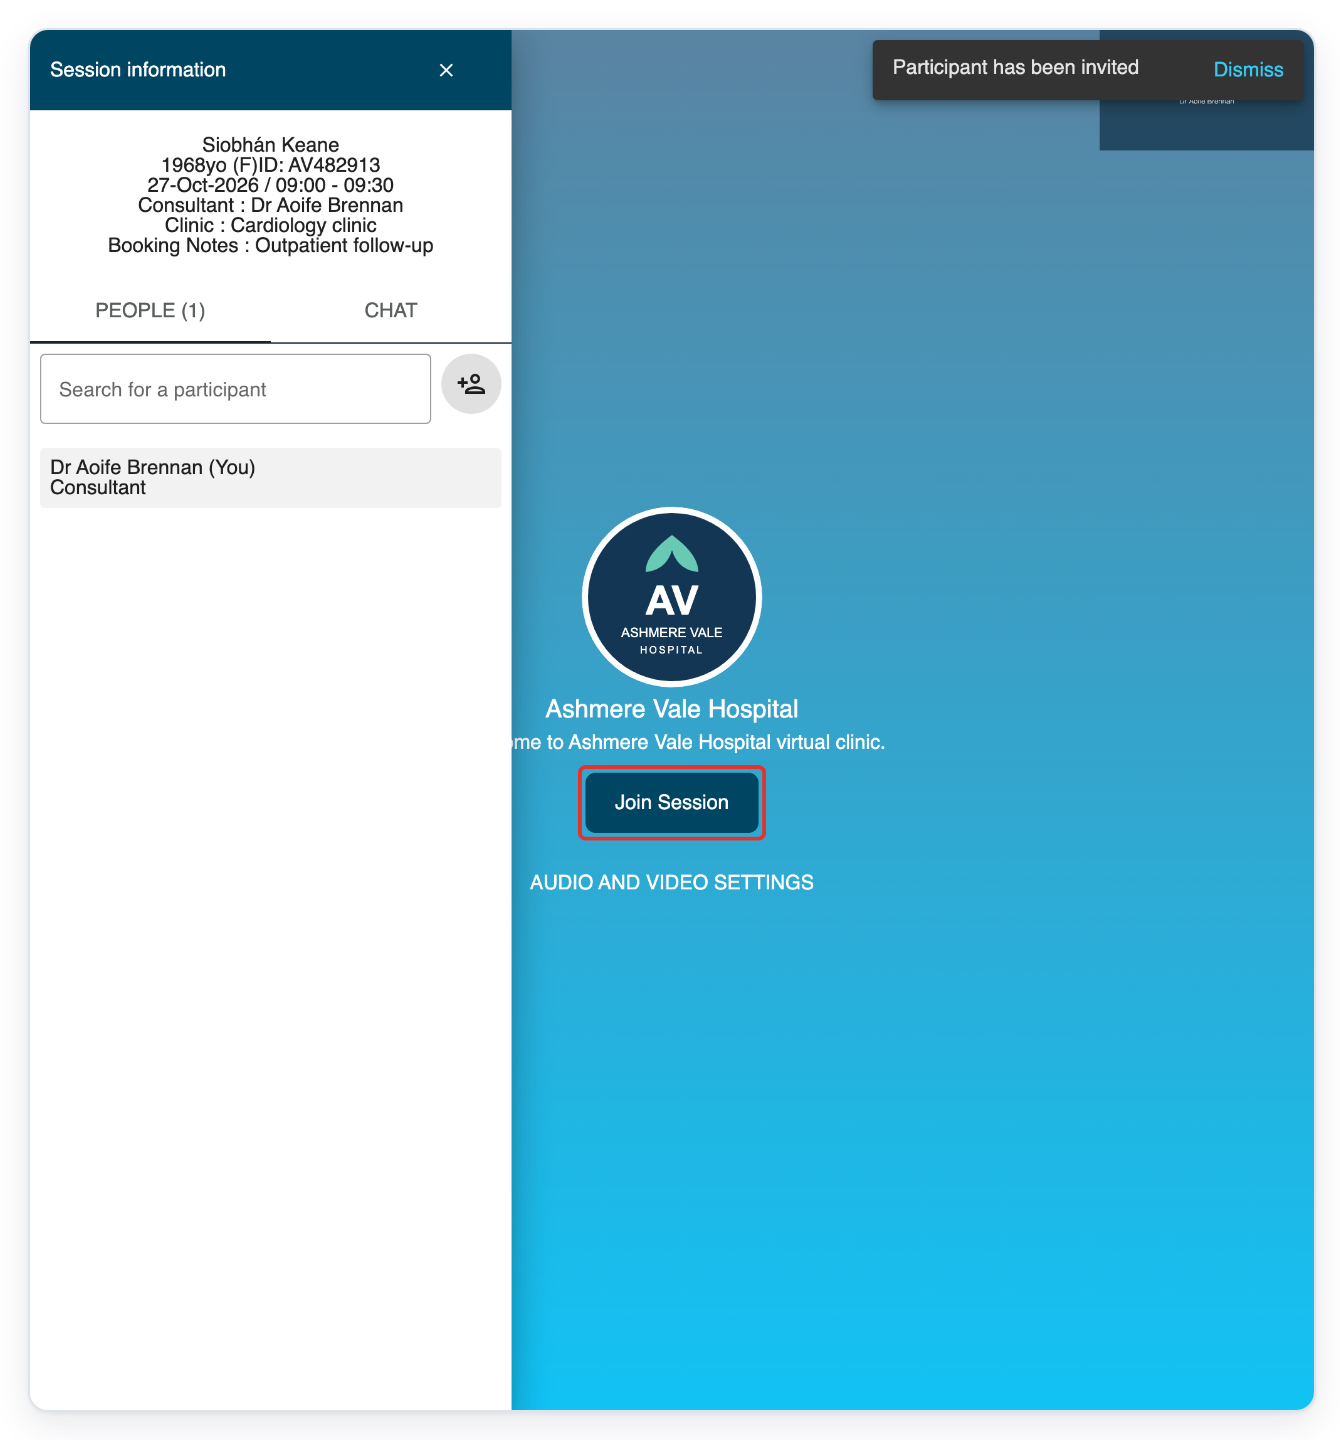
=> People waiting to join appear under Waiting for approval:. Each person has an admission button and a person-minus button.
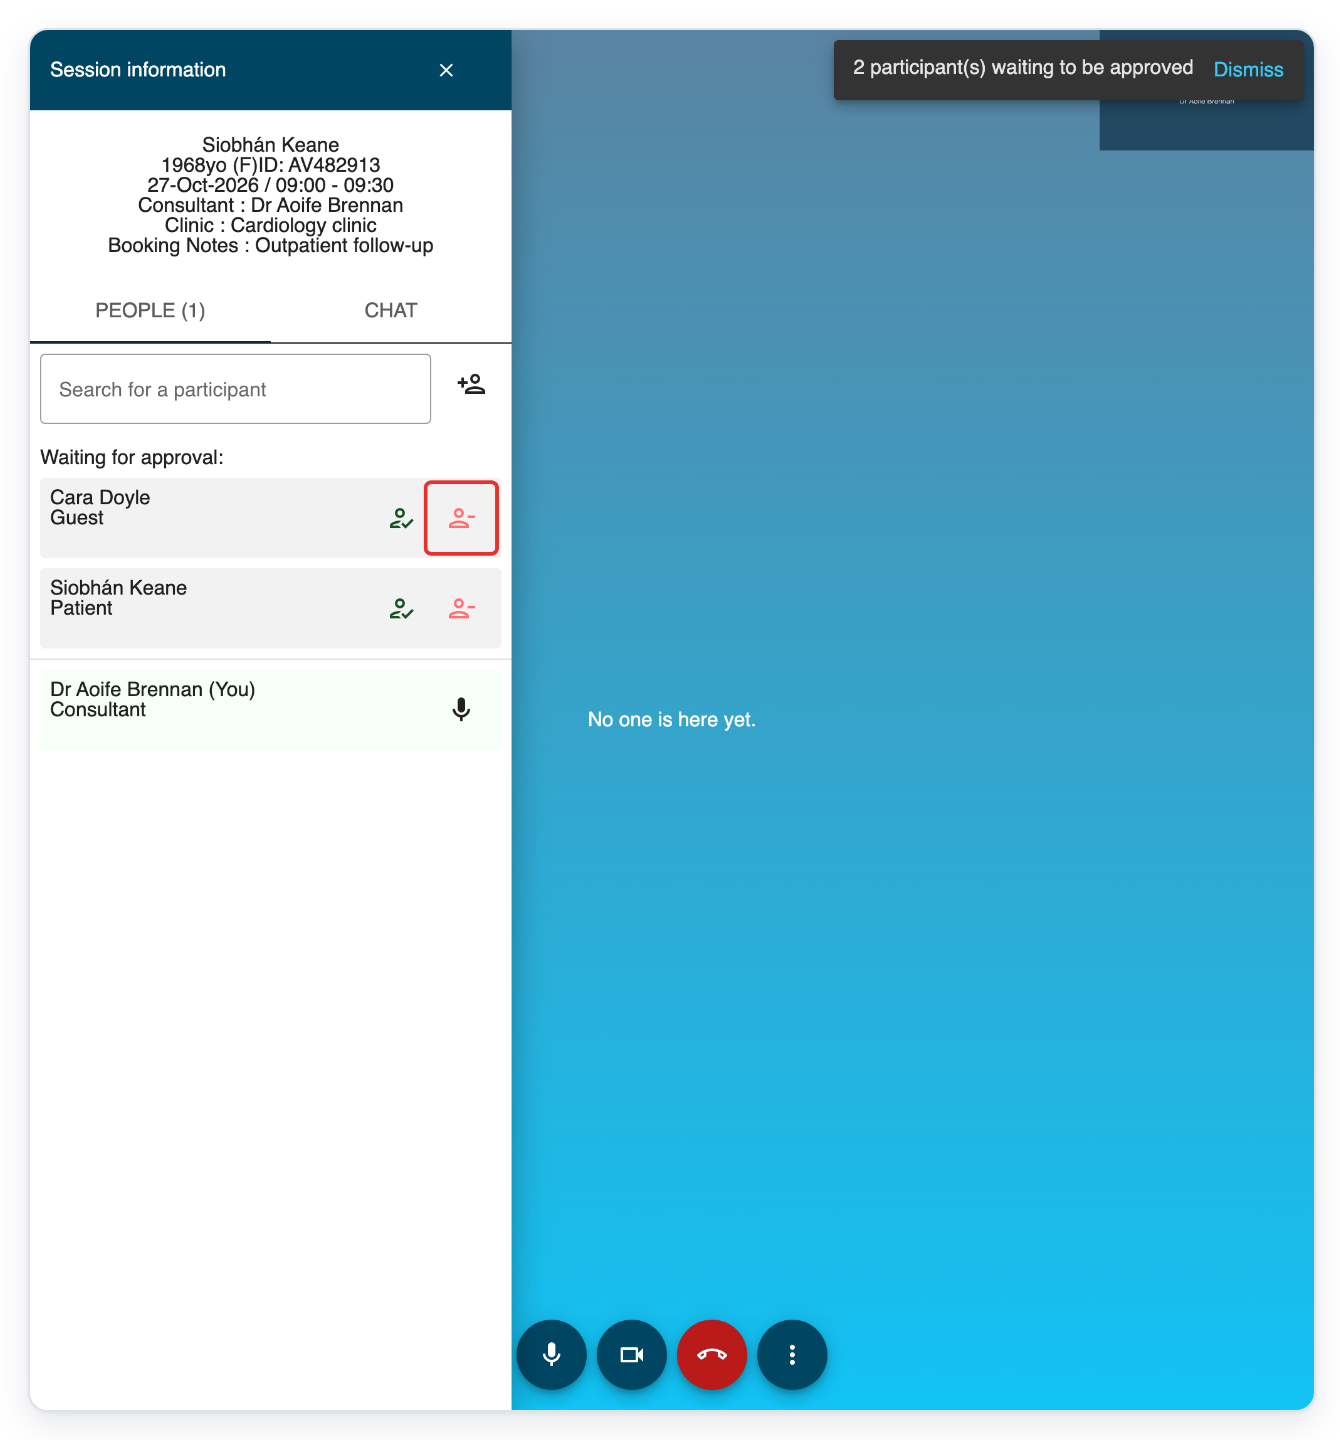
To remove someone before admitting them, click the person-minus button beside their name. The example selects Cara Doyle.
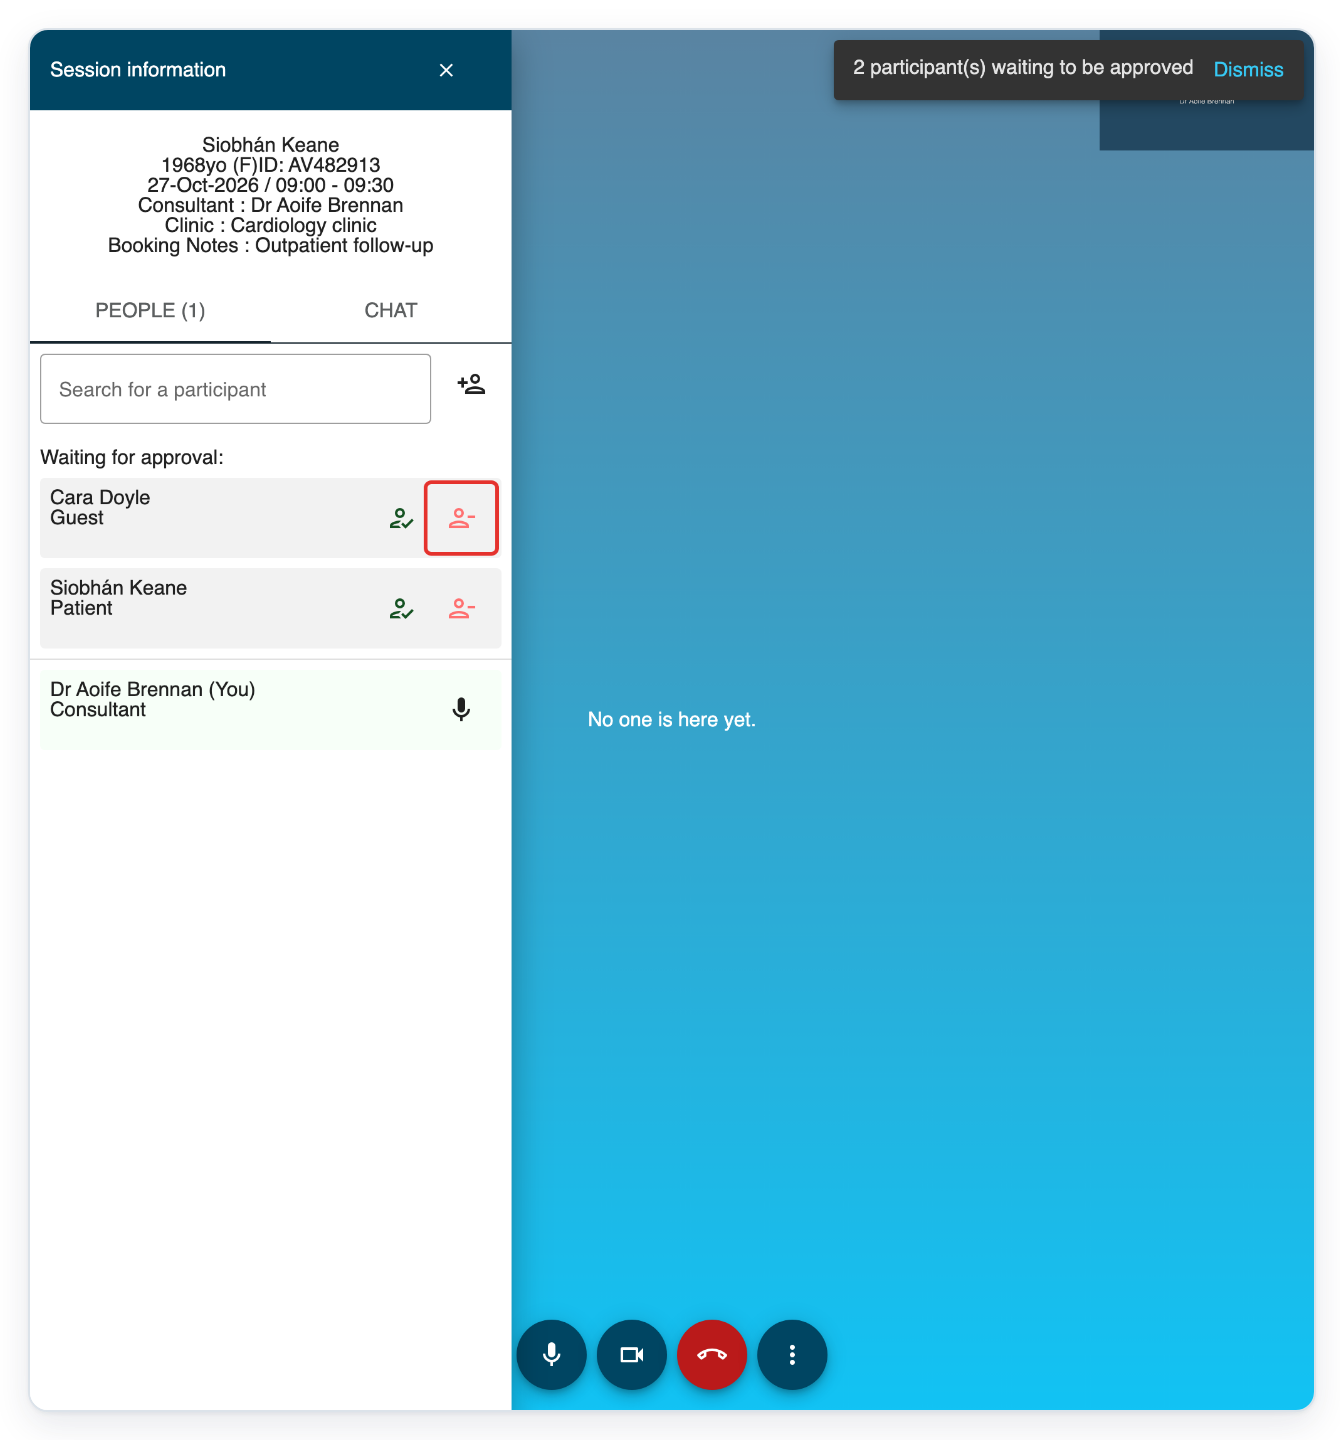
Click the admission button beside Siobhán Keane to bring her into the call.
=> Siobhán Keane appears in the call and in the People list.
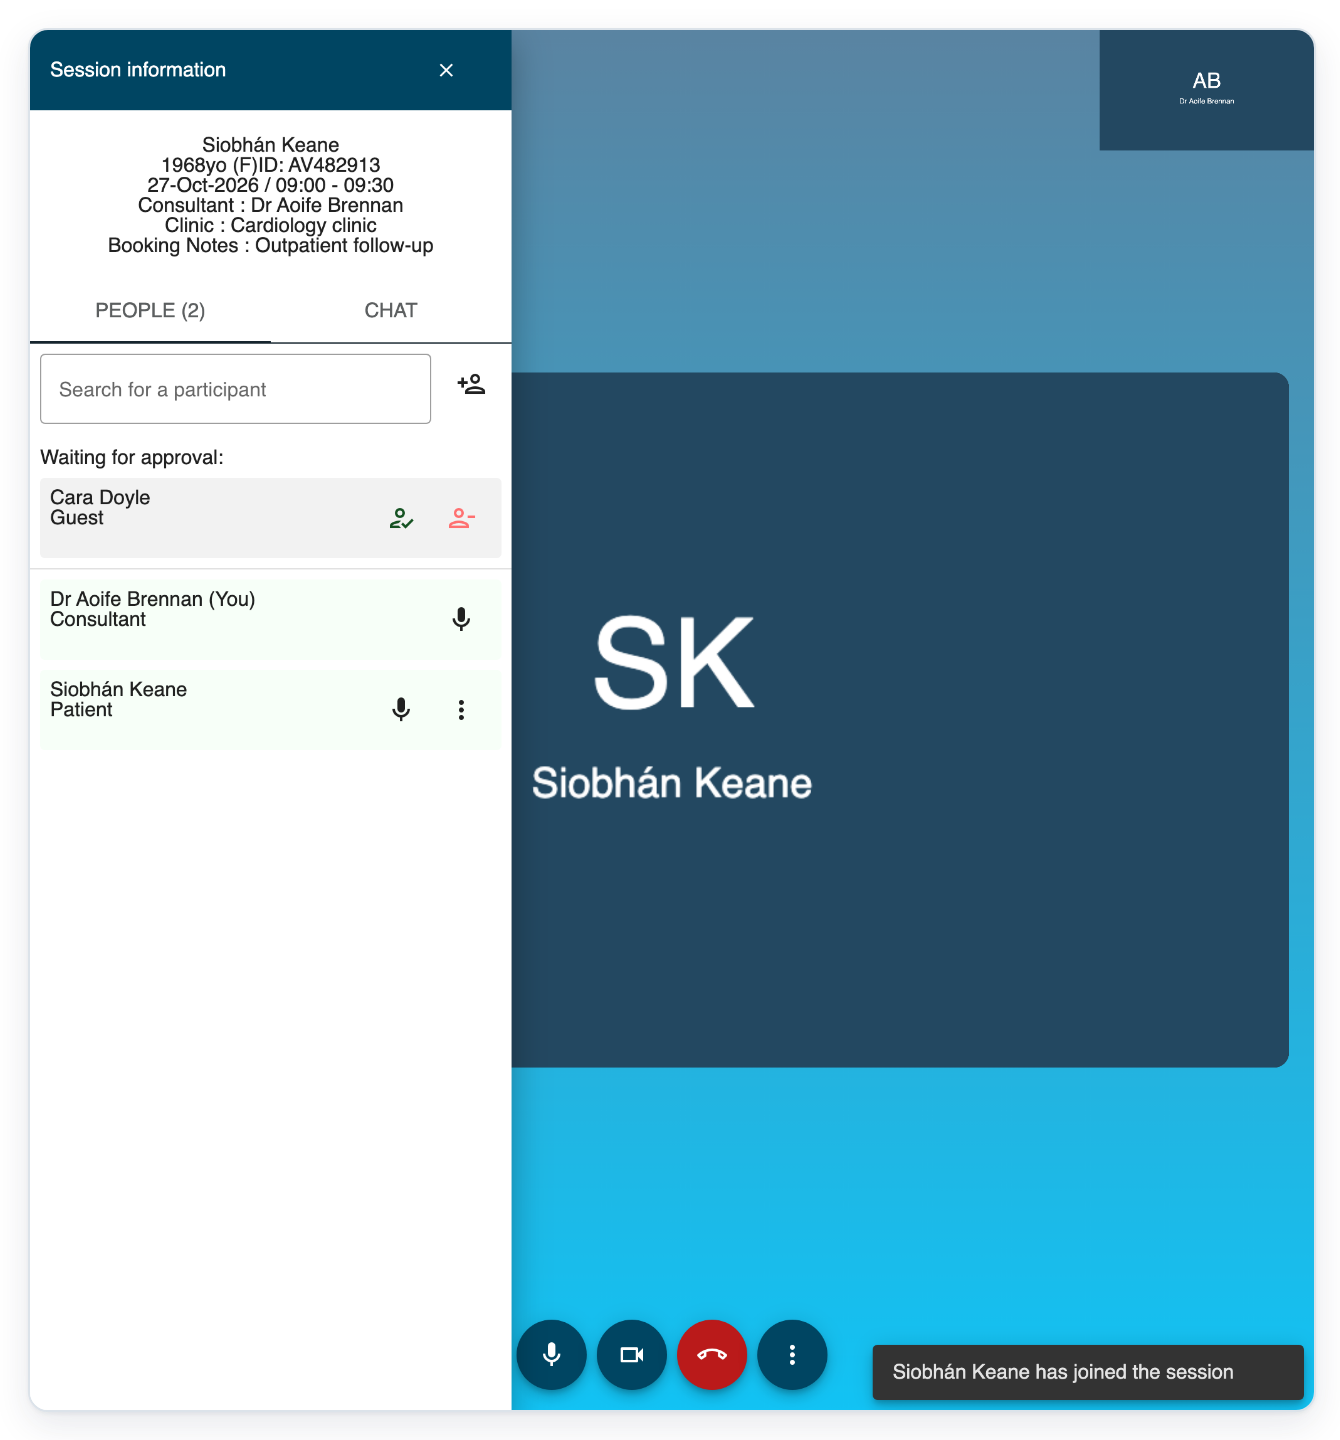
In People, click the three-dot menu beside the connected person. The example selects Siobhán Keane.
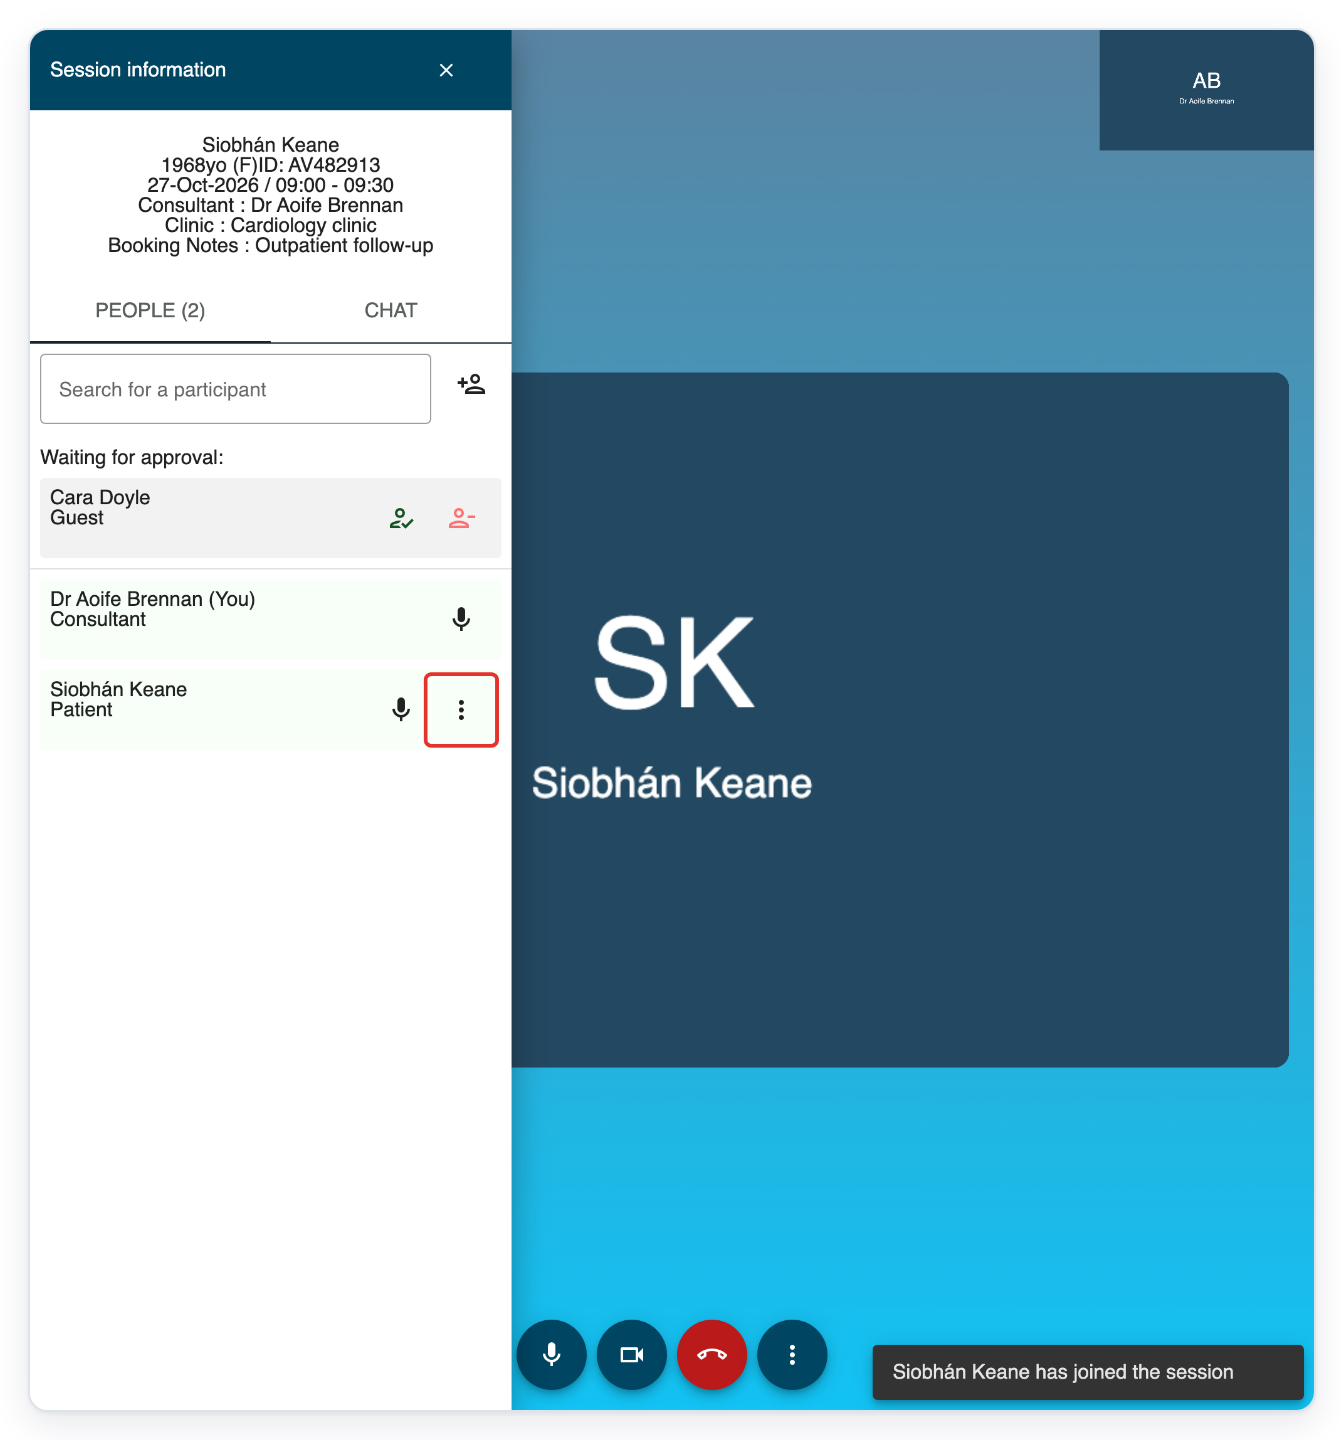
=> The menu offers Remove user.
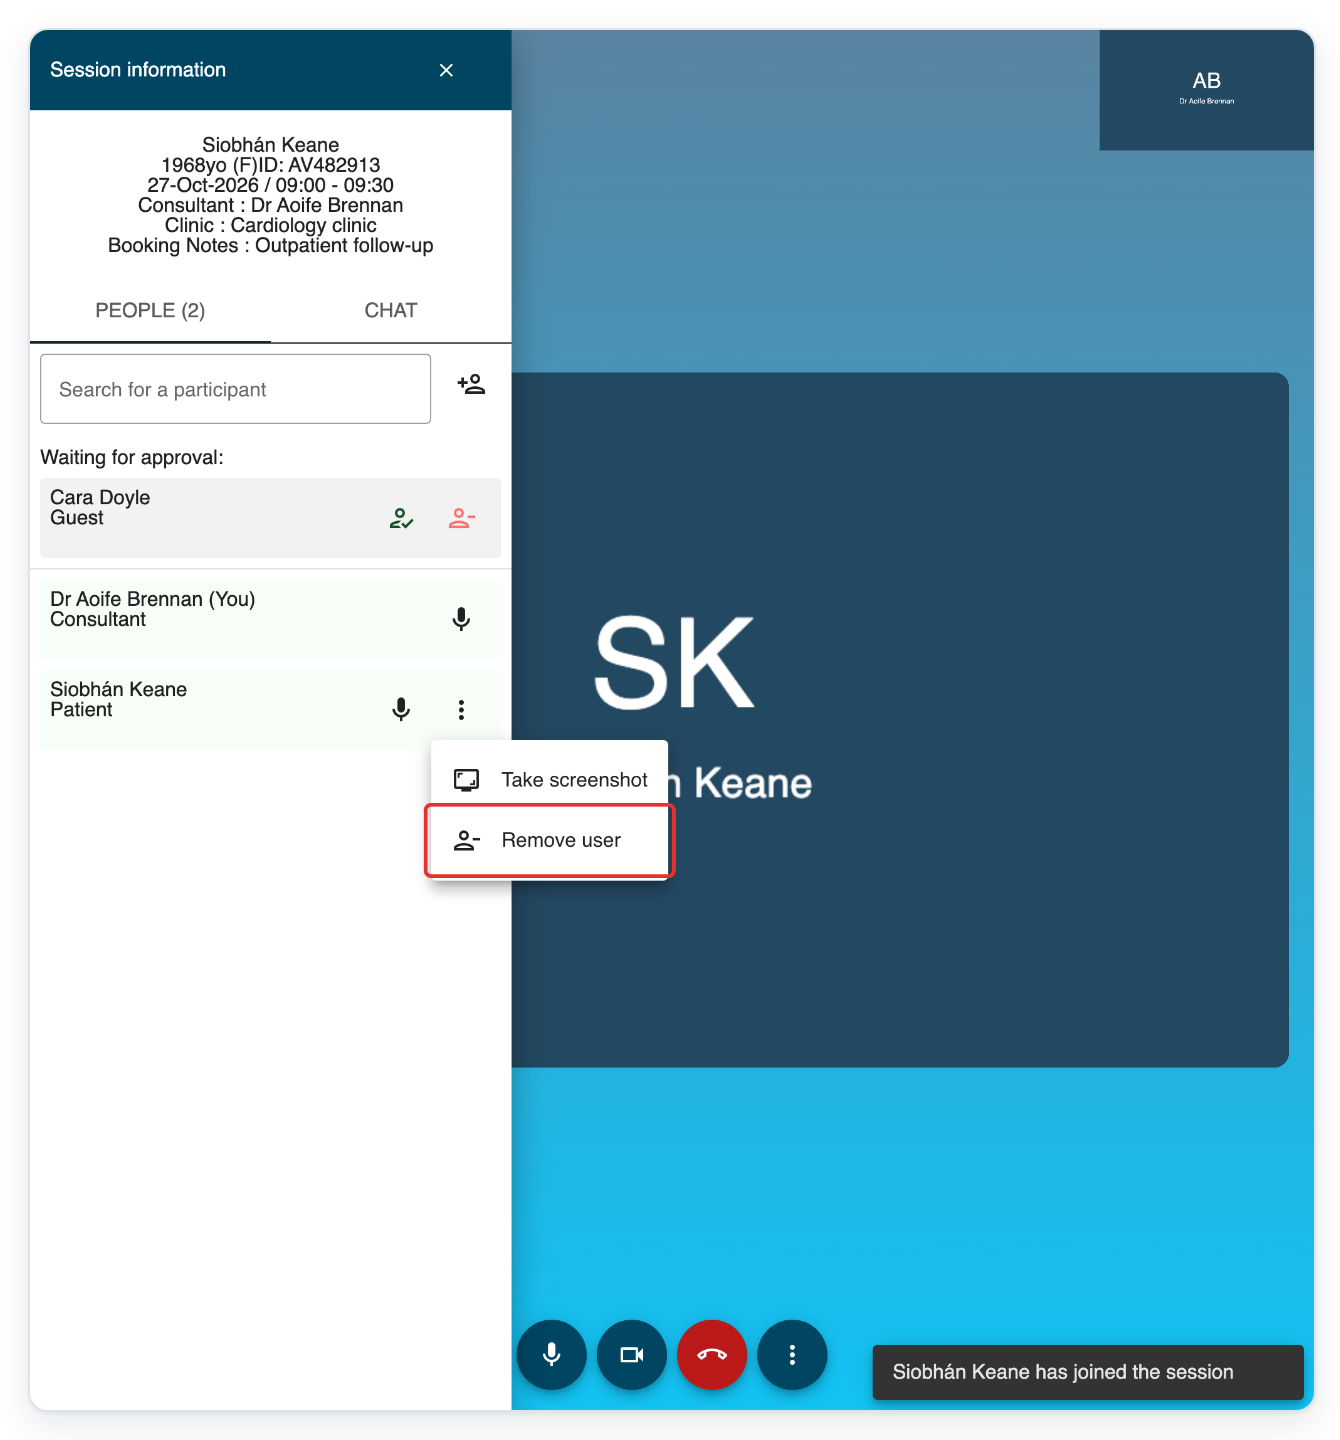
Click Remove user to disconnect the person from the call.
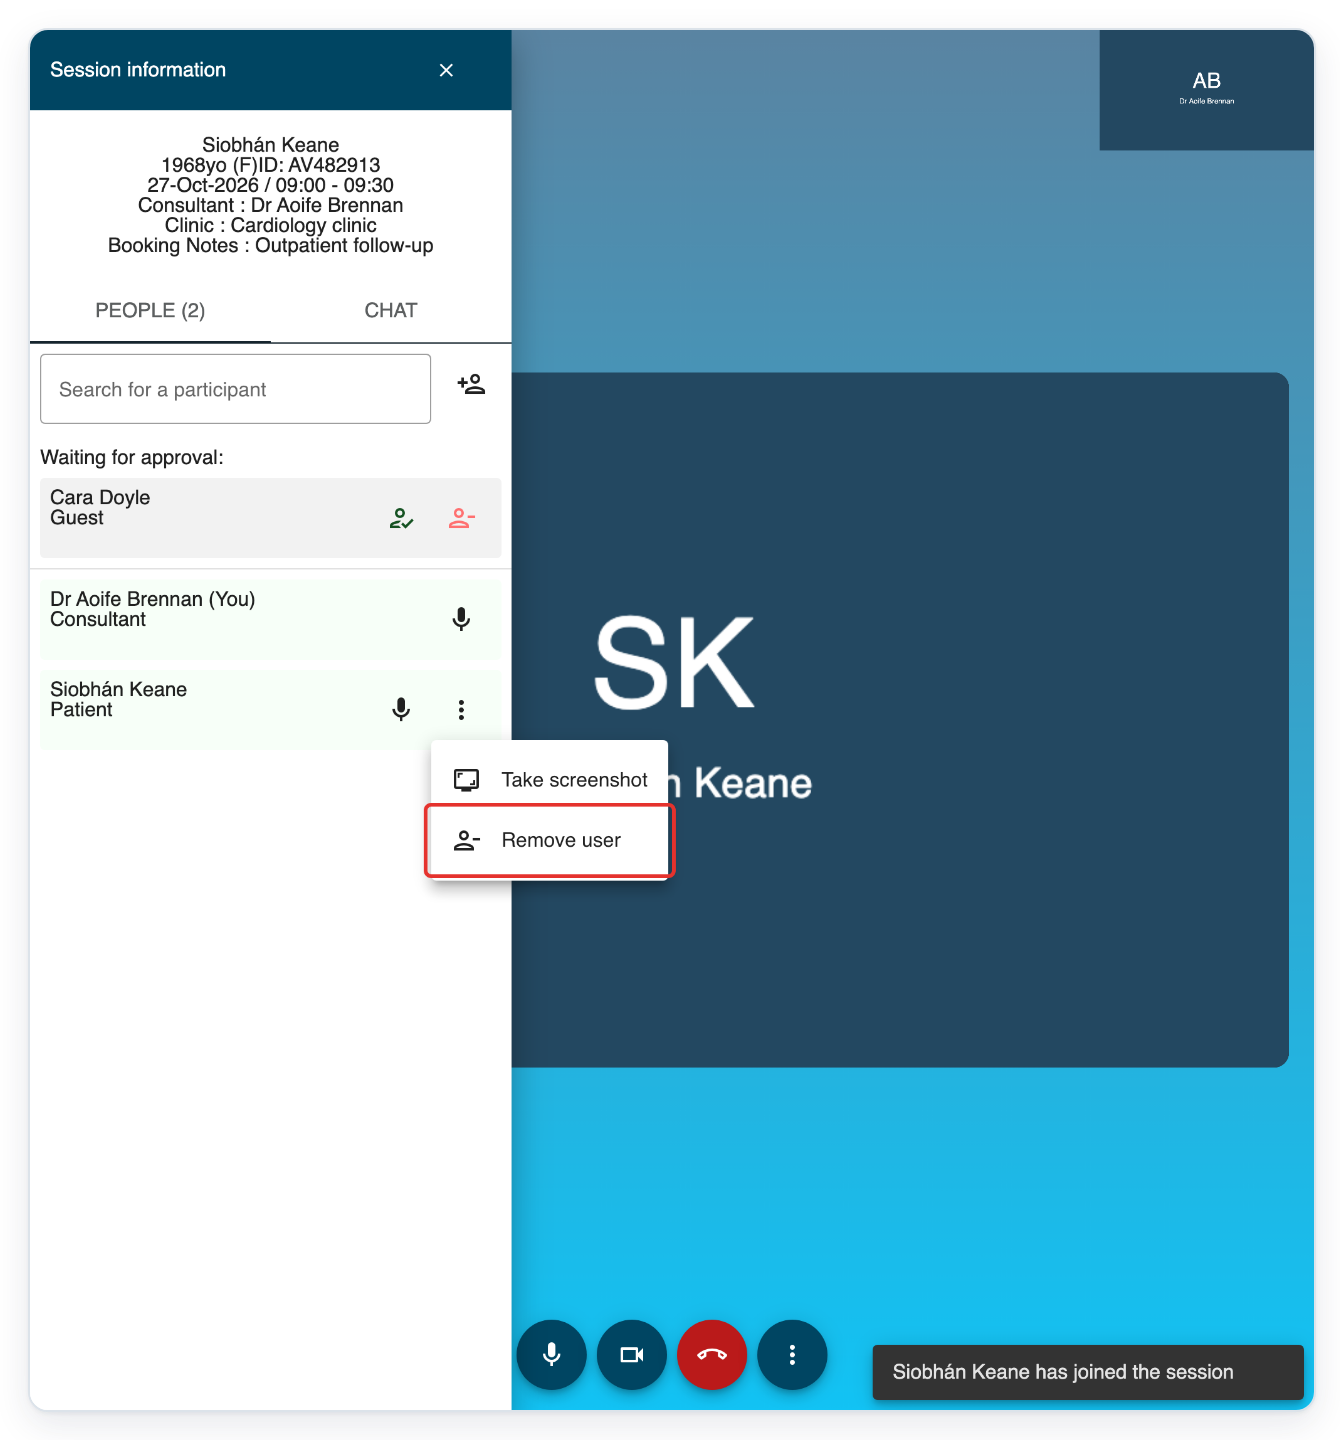
=> Siobhán Keane's tile disappears from the call. The panel shows who is waiting for approval.
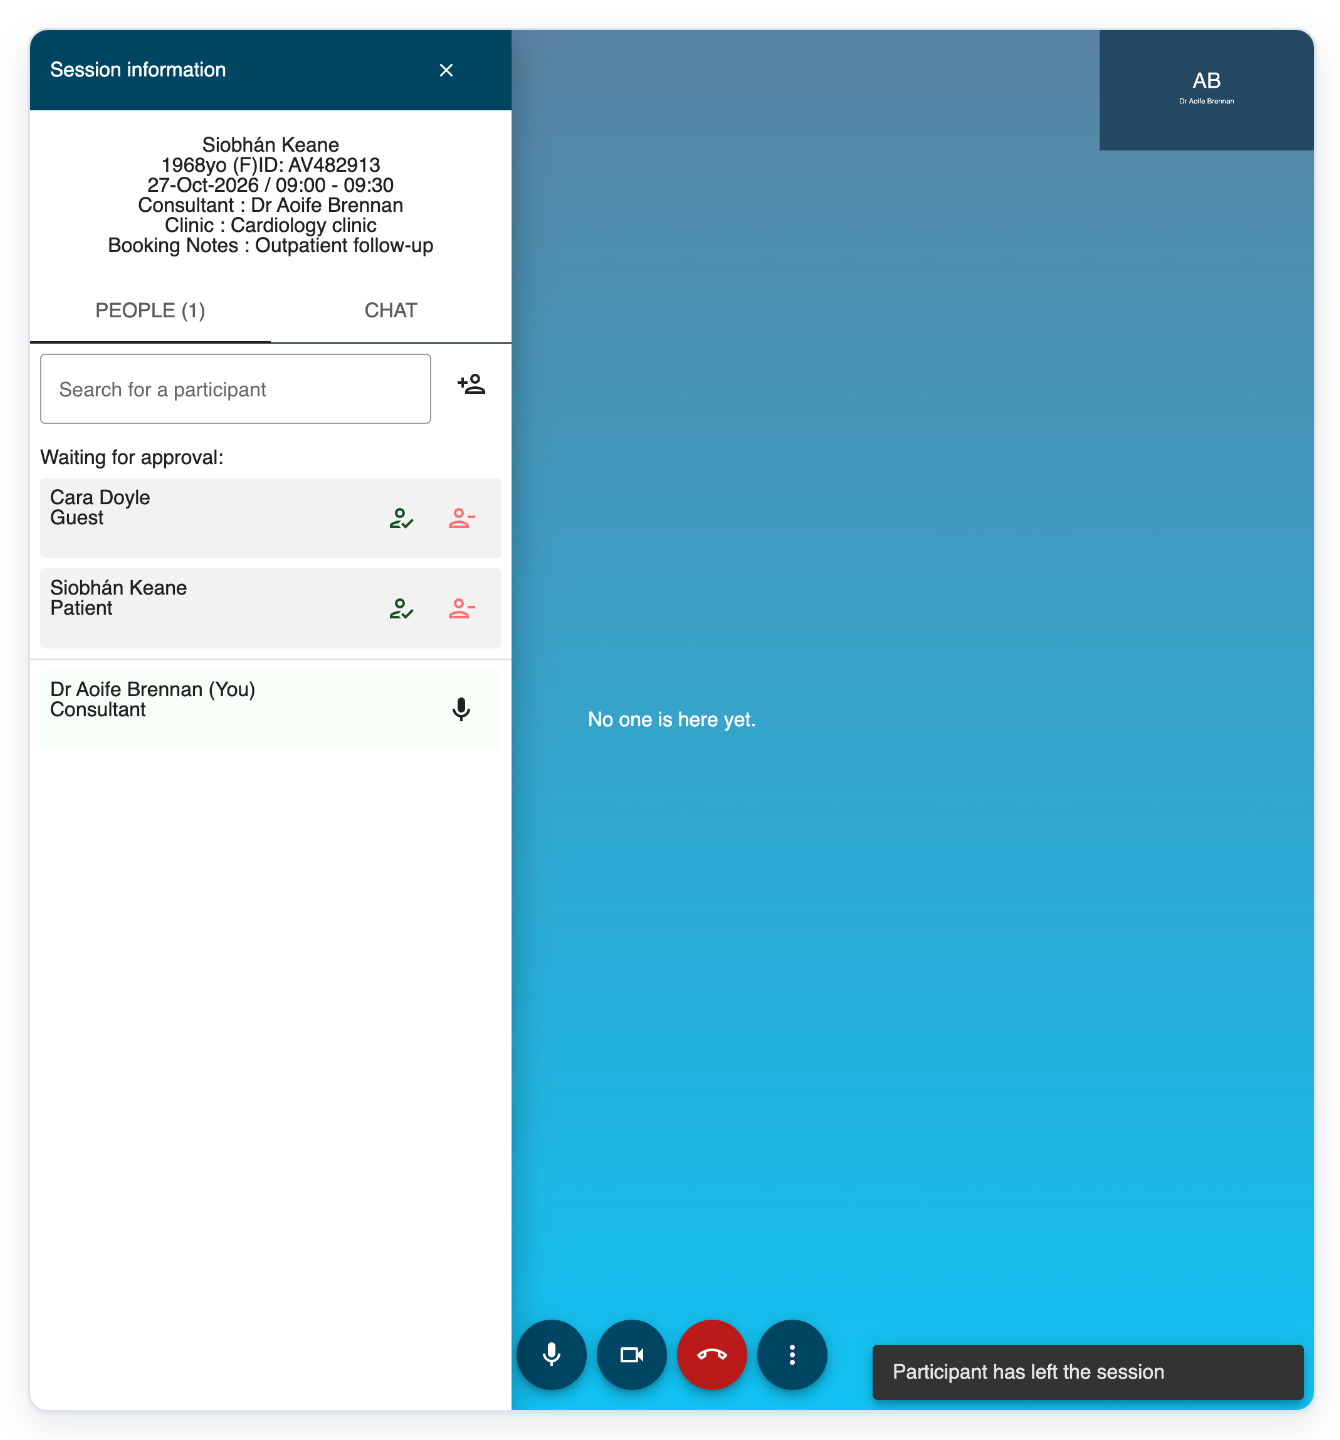
Click the Leave session button at the bottom of the call. A confirmation opens.
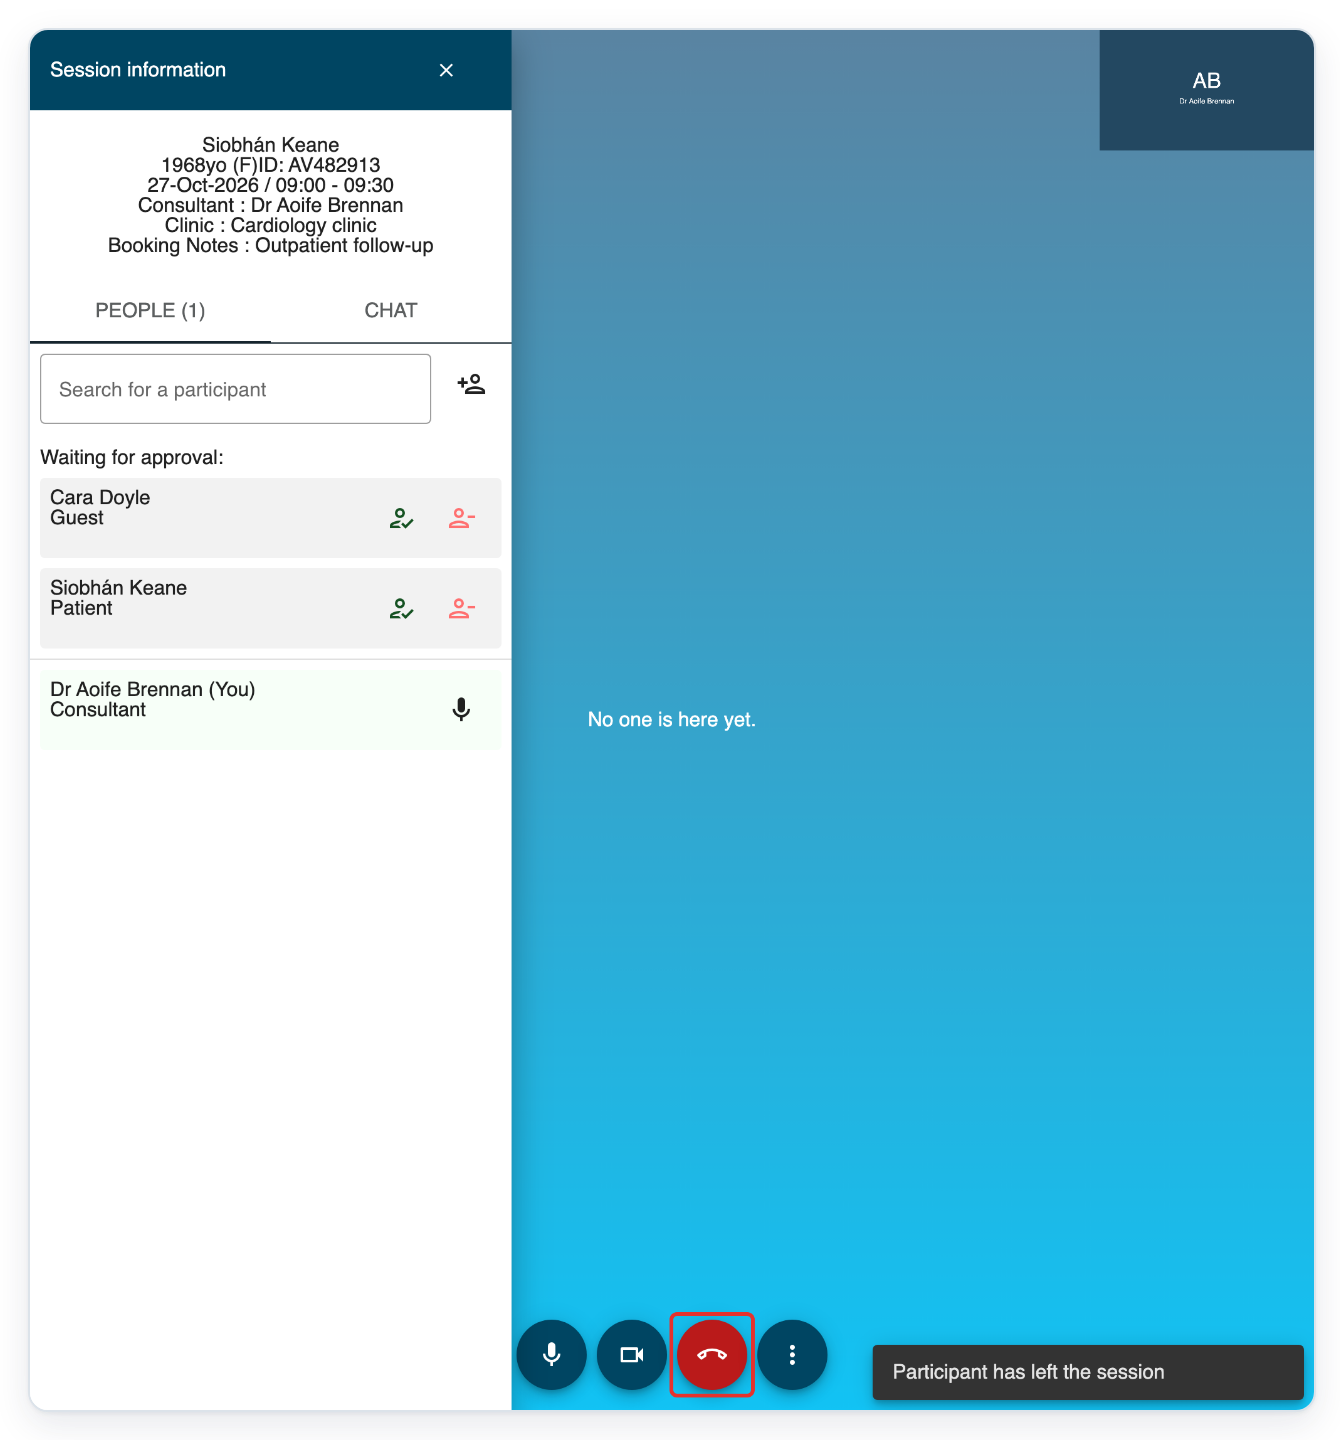
Click End Session to finish. If your organisation has outcomes set up, Session Outcome opens.
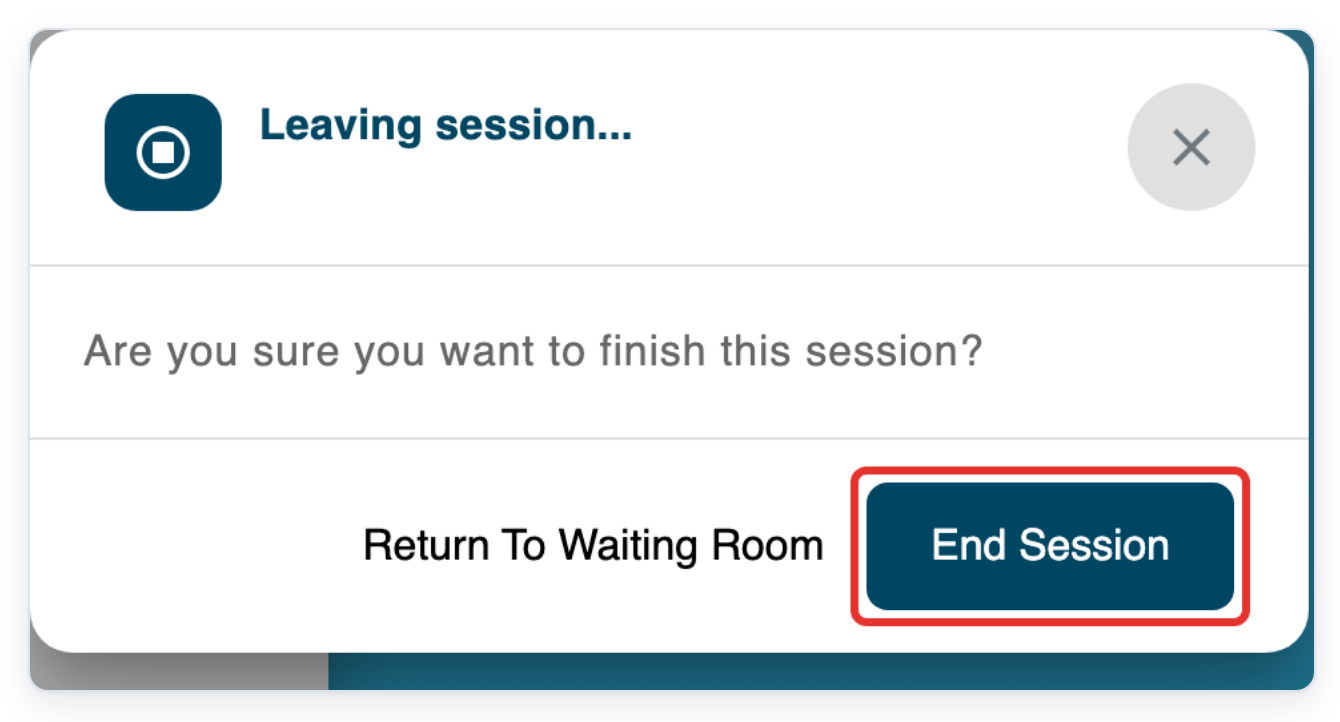
Click Skip to finish without selecting an outcome.
NOTE:
- For each extra person, click Add New, enter their details, then click Add. Click Save when you've added everyone.
- You can add up to 49 extra people in the invitation form.
- The video session opens in a new browser tab. Clinic Schedule stays open.
- Join the session, then admit the patient and anyone else waiting. Use the admission button beside each person's name.
Controls during a group video call
| Control | What you can do |
|---|---|
| Audio and video settings | Choose your camera, microphone and speaker, and check your connection before or during the call. |
| Participant list | See who's joined and who's waiting to be admitted. Search for people who've joined by name. |
| Participant microphone | As the clinician, mute or unmute another person's microphone. |
| Pinning | Keep one person's video in view instead of following the active speaker. |
| Layout | Switch between grid and speaker views on a computer when more than two people are listed. |
| Your video tile | Drag your video tile to another corner of the screen. |
| Waiting participants | Remove someone before admission using the person-minus button beside their name under Waiting for approval:. |
| Connected participants | Open the three-dot menu beside the person's name in People, then click Remove user. |
Other places you can add people
- To add people to an existing direct video appointment, open its actions menu in Clinic Schedule. Choose Edit appointment, add people under Extra Patients, then click Save. You can do this before or during the call, as long as the appointment hasn't finished.
- In the video session, use Add Participant in the people panel before joining or during the call.
Can't add people to a group video call?
- If Extra Patients is missing, choose Video under Type.
- If Add is unavailable, enter the person's name and required contact details. Correct any errors shown for their name, email, phone or description.
- If Save is missing, click Add to finish adding the extra person. To leave out this person, click Cancel to return to the appointment form.
- If Save is unavailable, fill in the required appointment fields, including Author Group. Check you've entered the contact details your organisation requires.
Related articles
- The clinic schedule
- Run a video appointment
- How patients join an online appointment
- eClinic Manager settings, rules and notifications
If you have any more queries, please do not hesitate to contact our Helpdesk or support@tpro.io.
© 2020 - 2026