
Before you start
You need an author account with eClinic Manager (eCM) enabled for you and your organisation. To use the patient QR code, the appointment needs a patient ID.
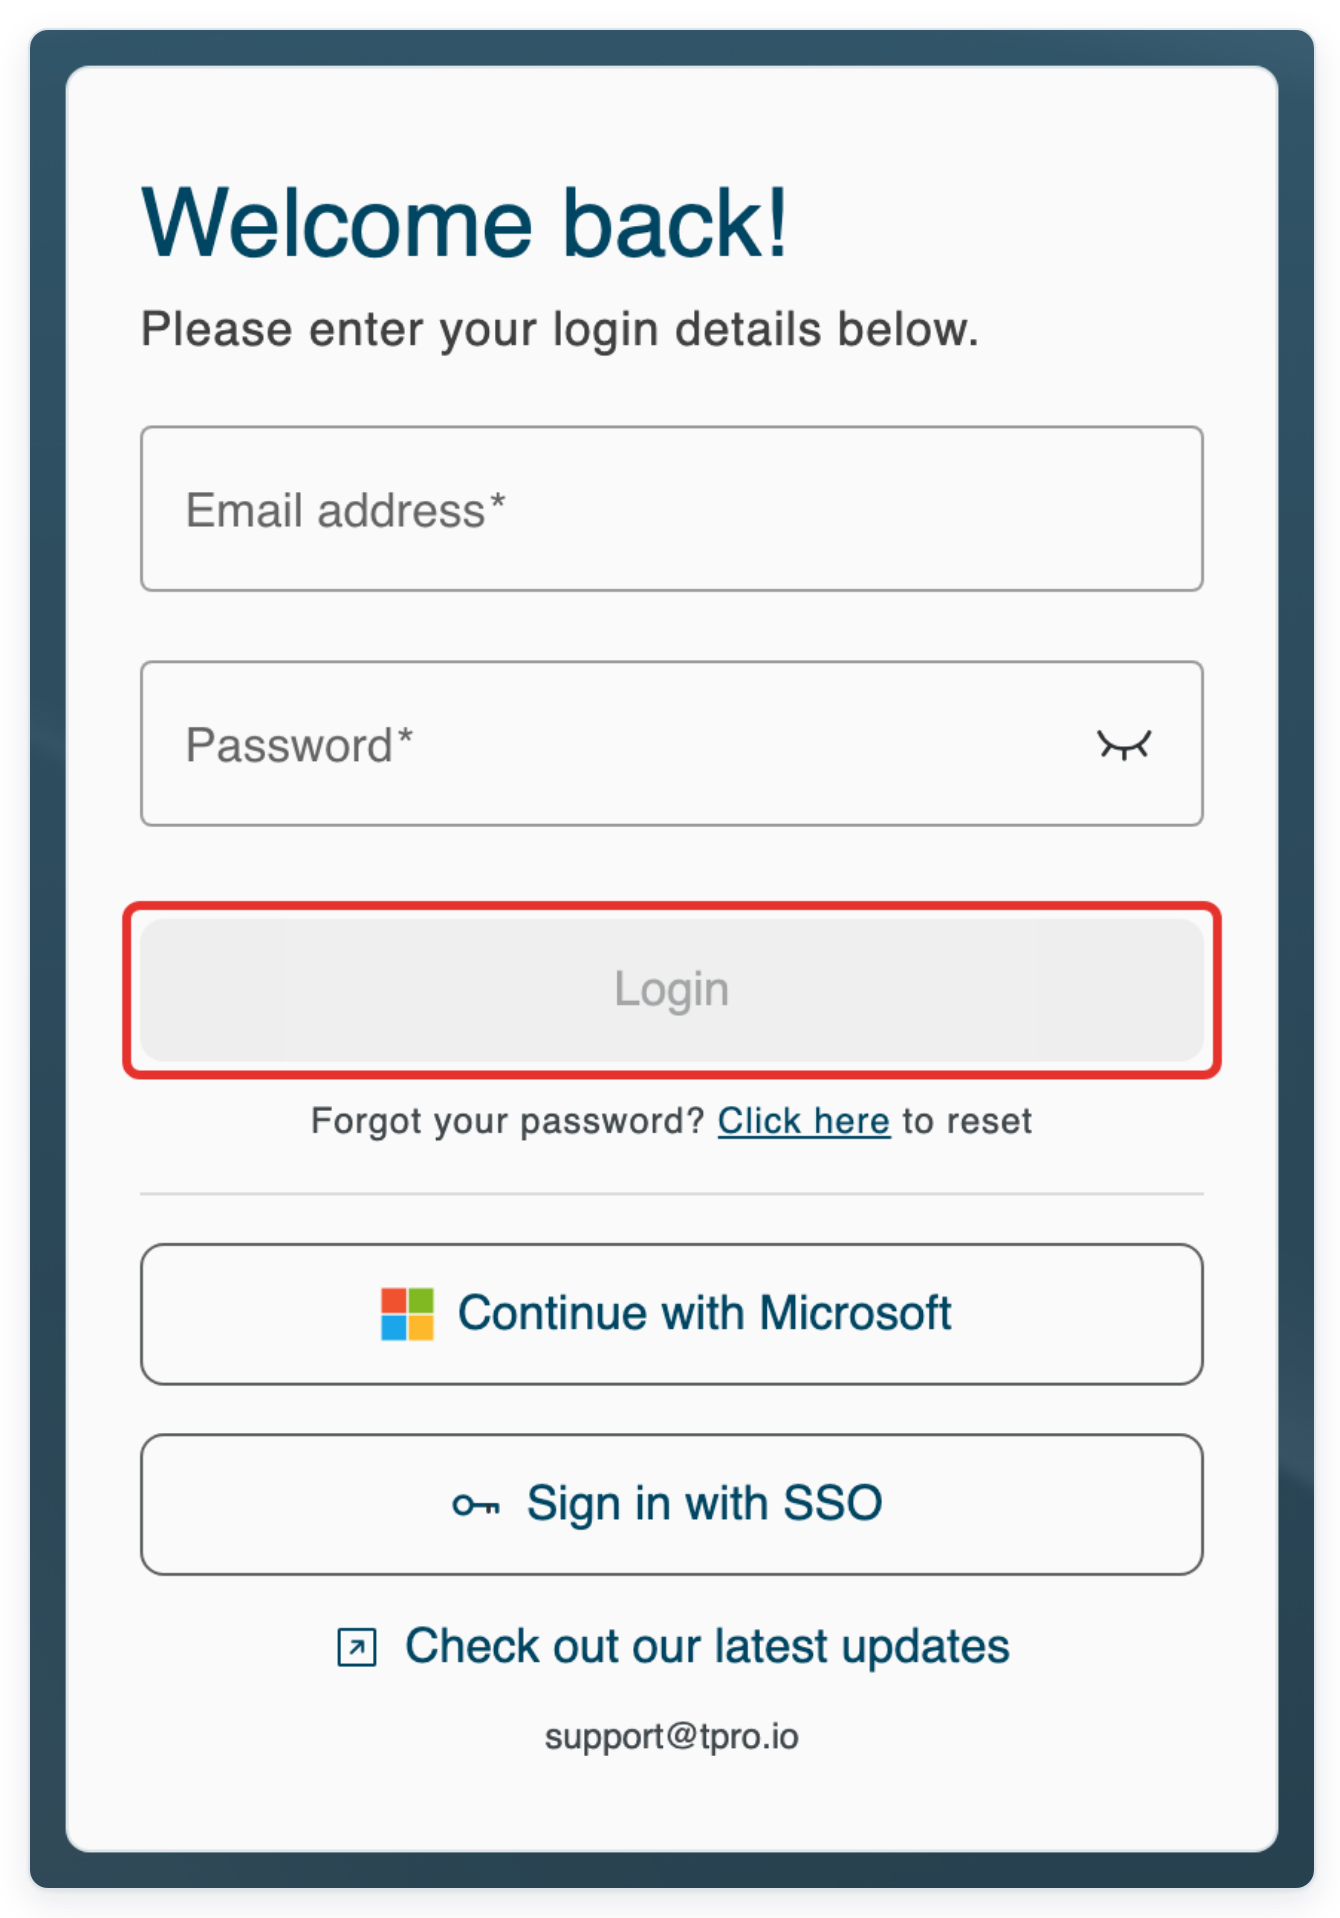
Log in to T-Pro with your author credentials.
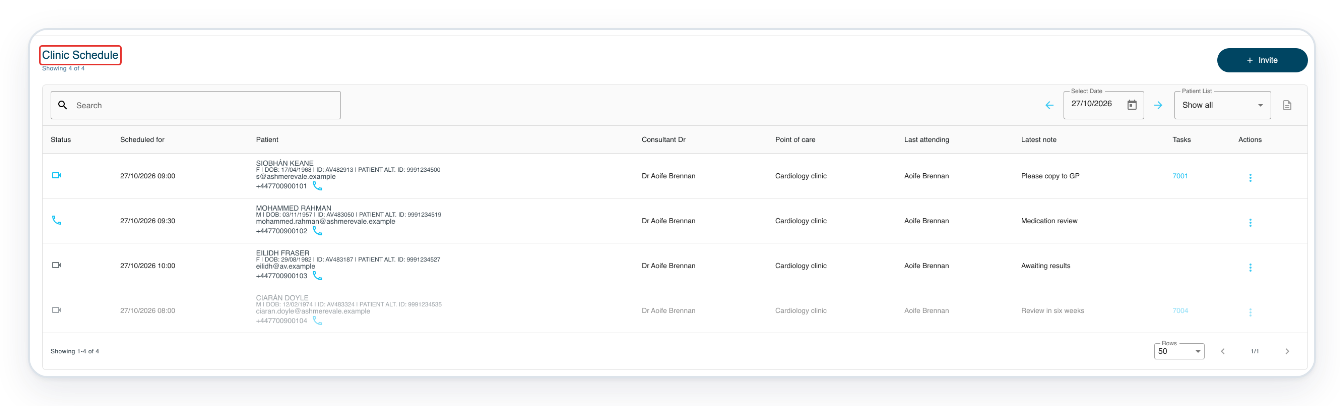
Click Clinic Manager to open Clinic Schedule.
It opens on today's date. Each row is one appointment.

=> Clinic Schedule shows Search, Select Date and Patient List above the appointment columns. These are Status, Scheduled for, Patient, Consultant Dr, Point of care and Last attending. The remaining columns are Latest note, Tasks and Actions.
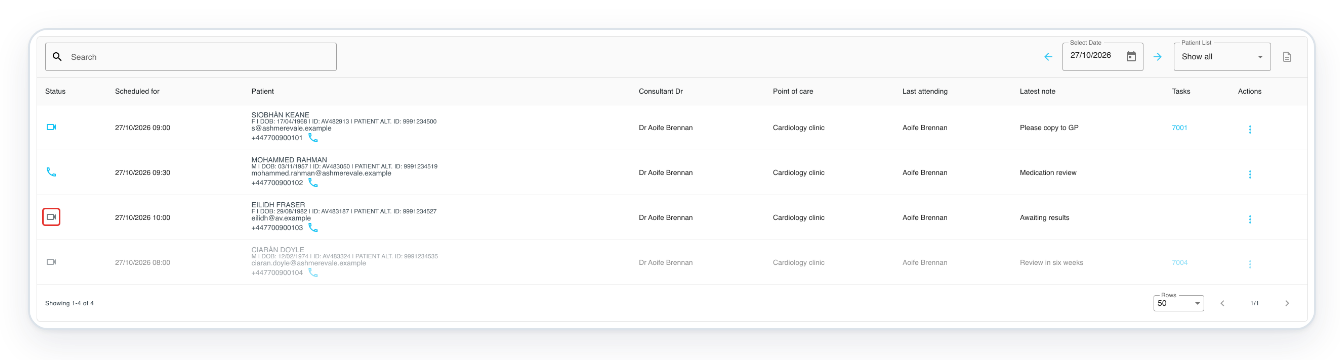
Hover over the imported appointment's Status icon to check whether an invitation exists.
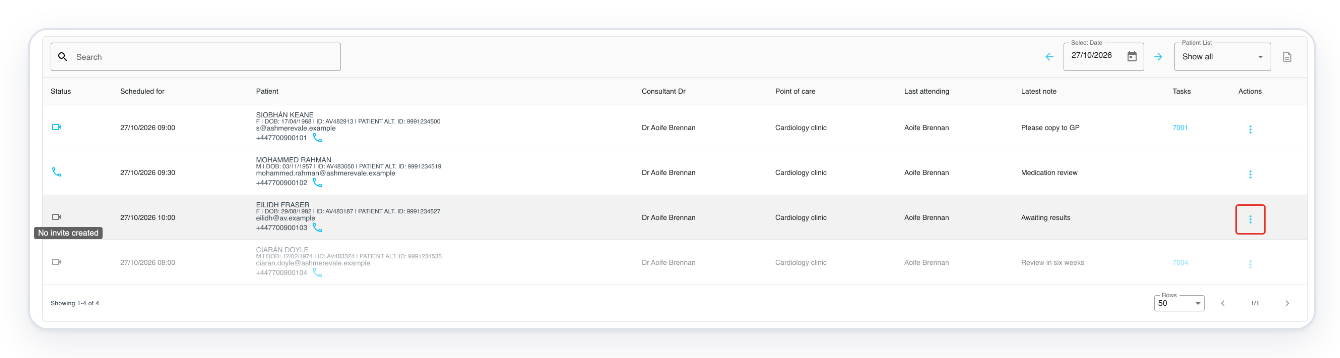
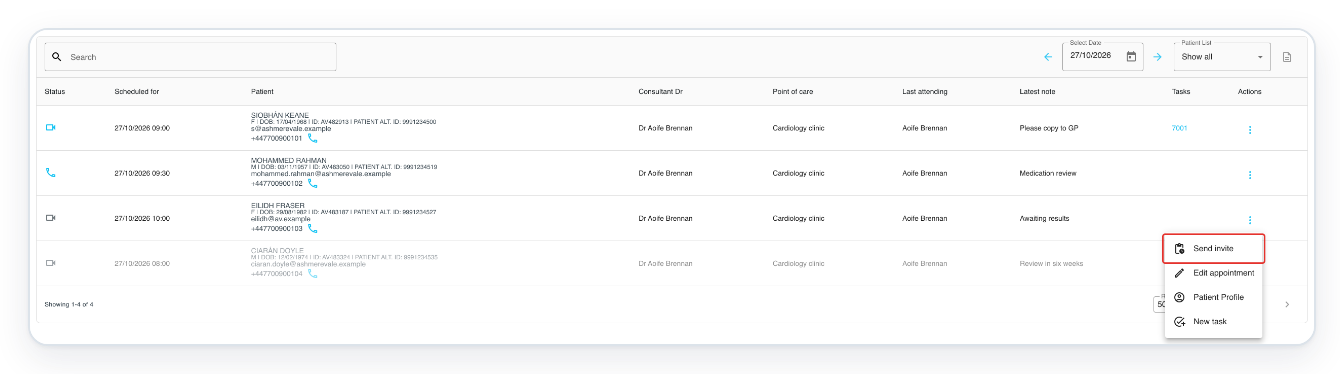
Click the three dots in Actions on Eilidh Fraser's appointment row.
The tooltip No invite created means the appointment needs an invitation.
Click Send invite to open Session Invite.
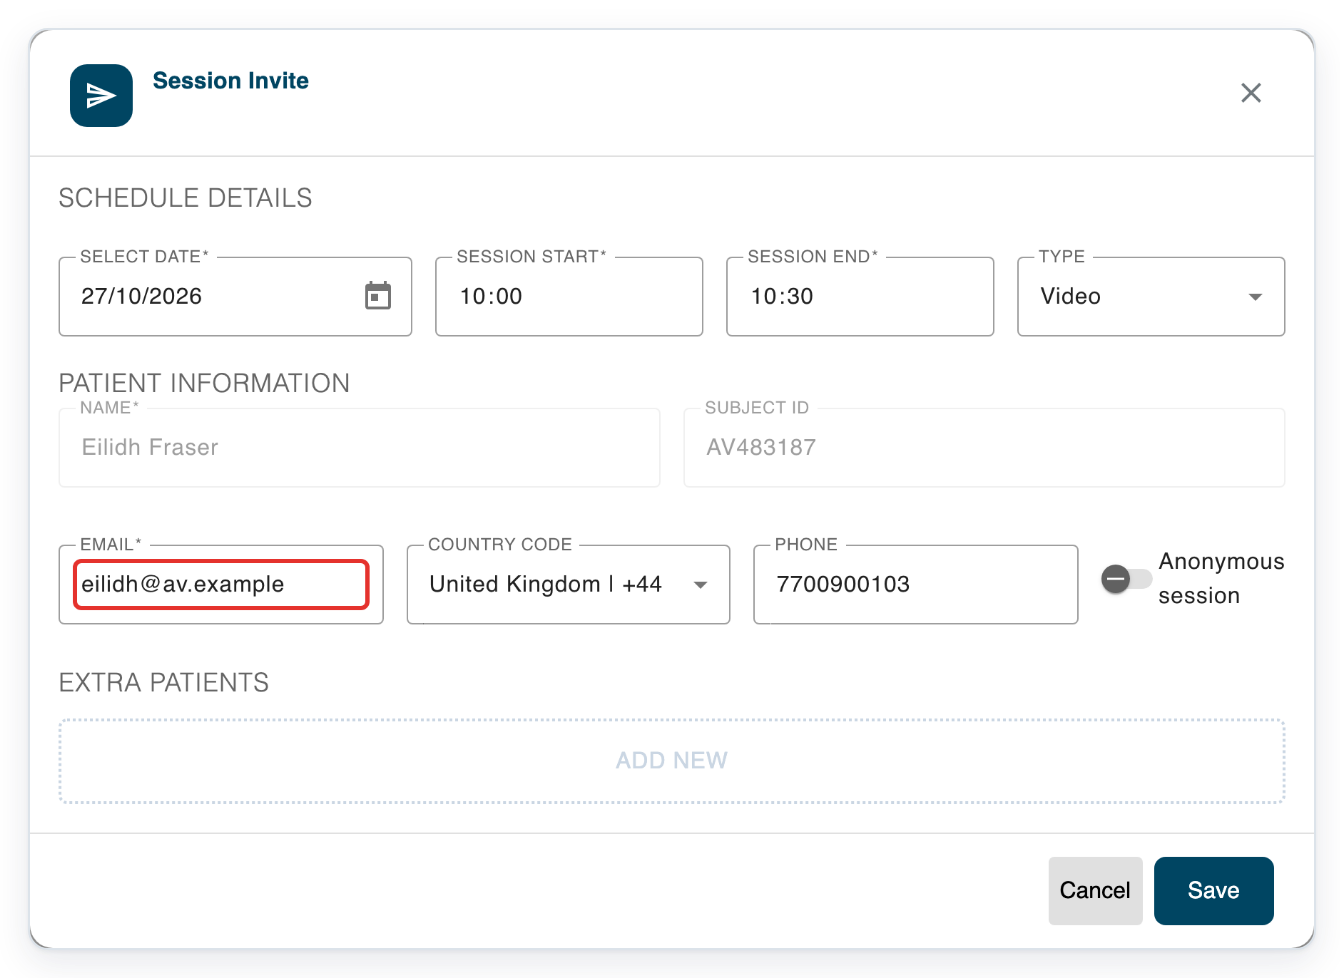
Check the appointment date, times and patient details. In this example, change Email to ef@av.example.
The existing appointment's details are filled in for you.
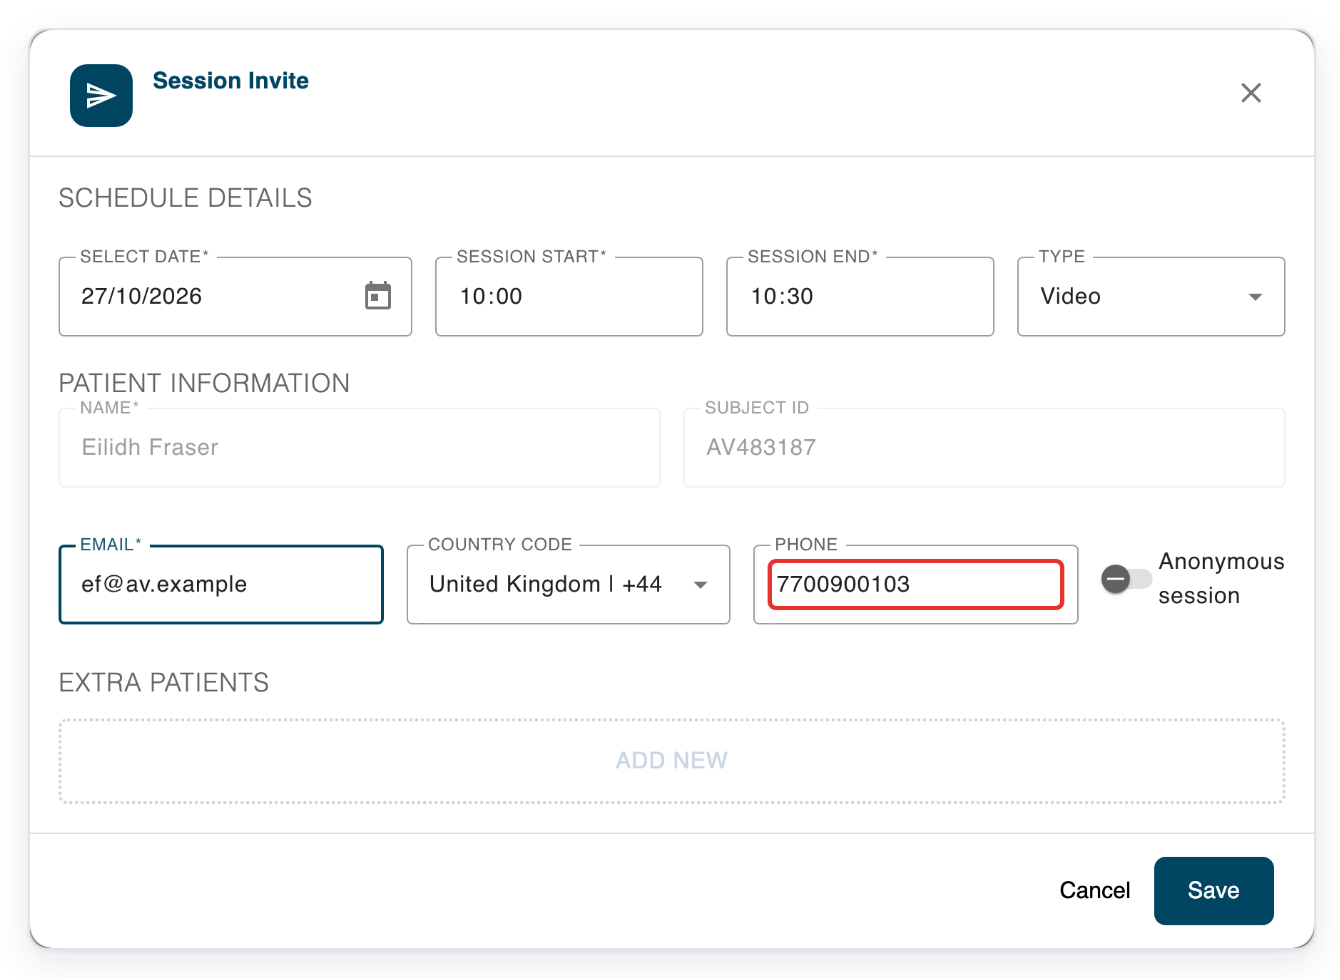
Confirm Phone as 7700900103, keeping United Kingdom | +44 as the Country Code.
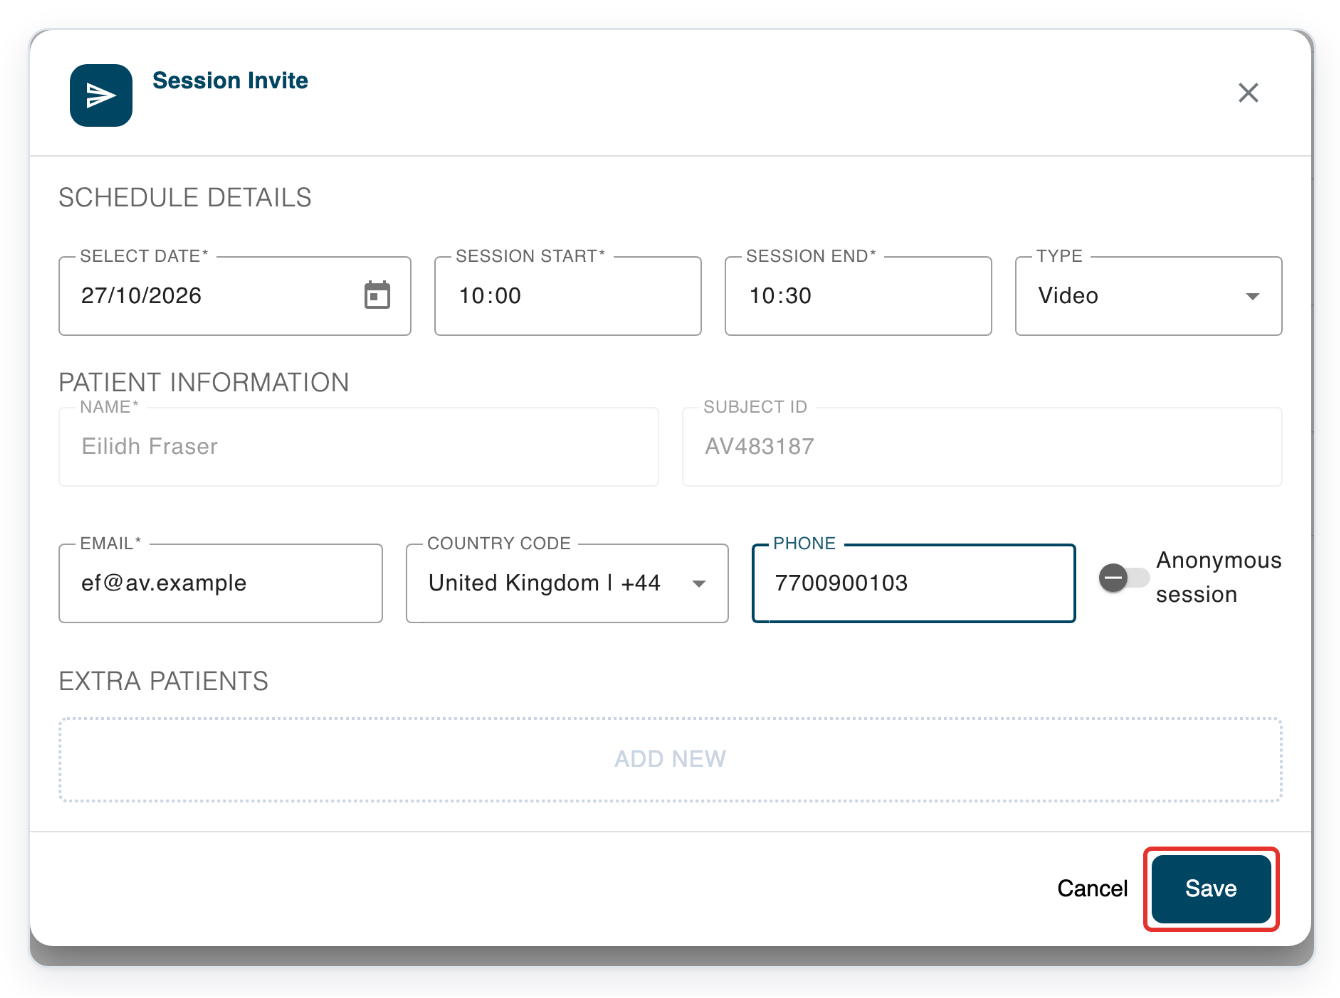
Click Save to save the invitation.
=> Eilidh Fraser's appointment now shows the saved email address, ef@av.example.
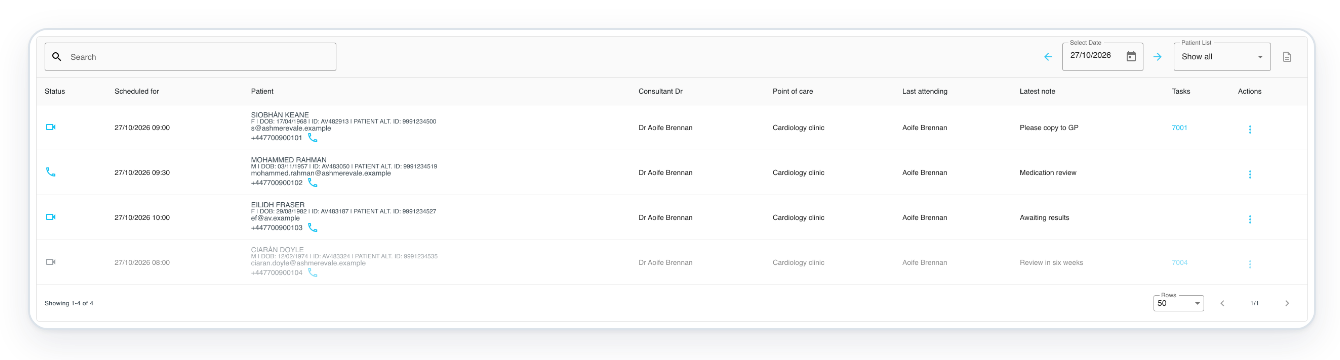
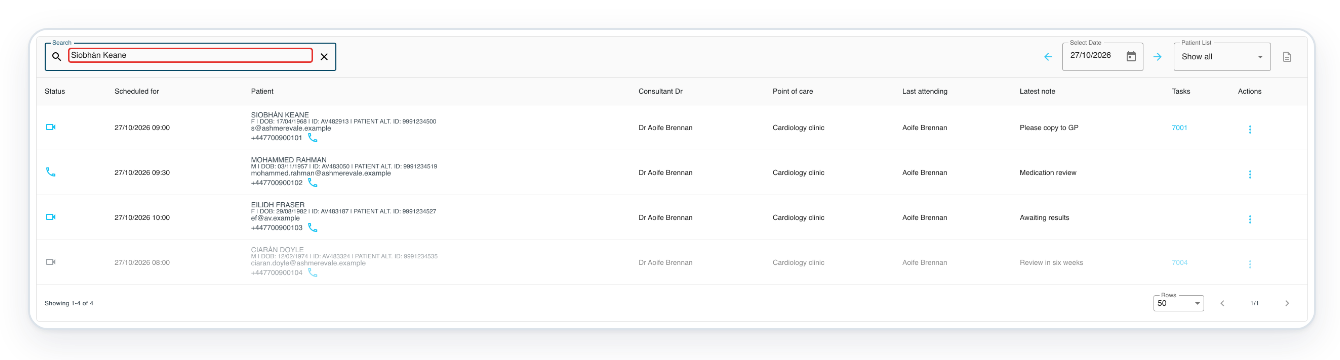
In Search, type the patient's name, for example Siobhán Keane.
You can also search by patient ID.
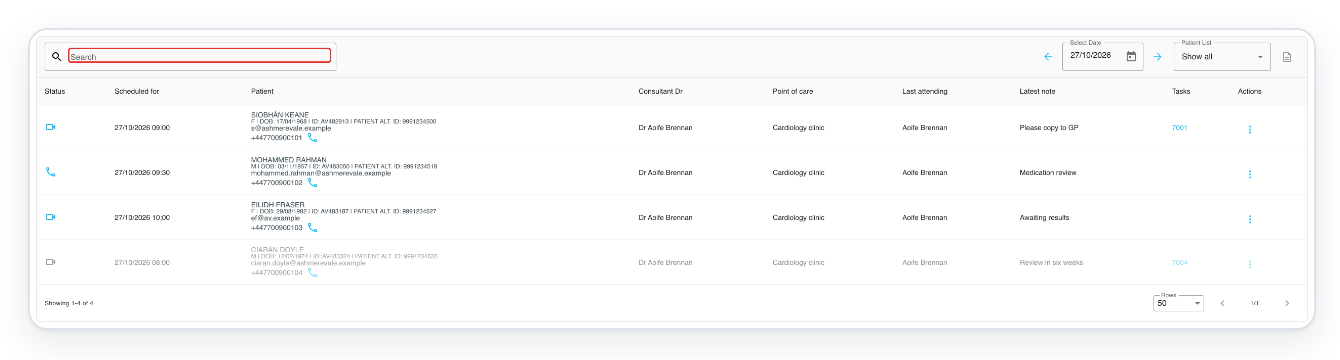
Press Enter to show matching appointments.
The results only include appointments for your selected date and patient list.
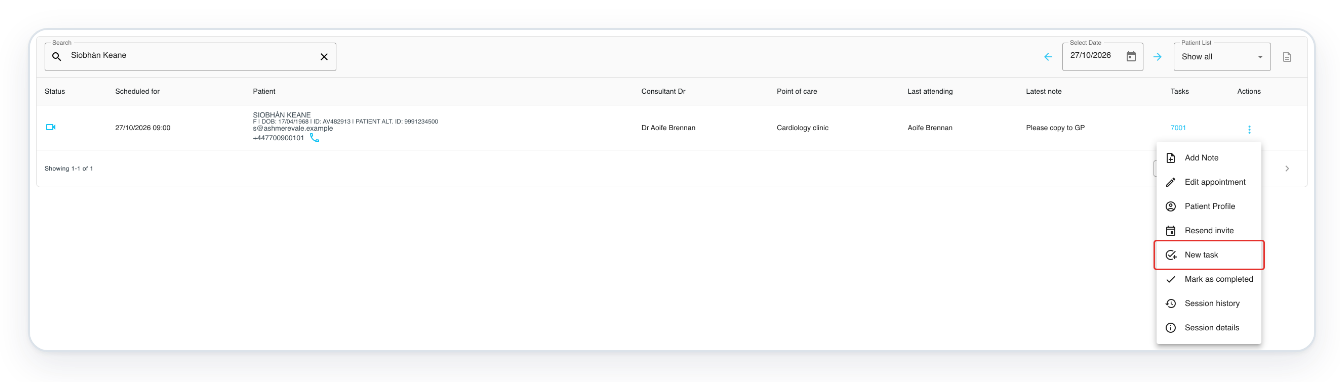
Click the three dots in Actions on Siobhán Keane's appointment row.
Check the patient name and appointment time to make sure you have the right row.

Click New task. If speech recognition is turned off for your account, Patient QR Code opens.
=> Patient QR Code shows Speech recognition not enabled. It asks you to scan the QR code with your T-Pro app to dictate for this appointment.
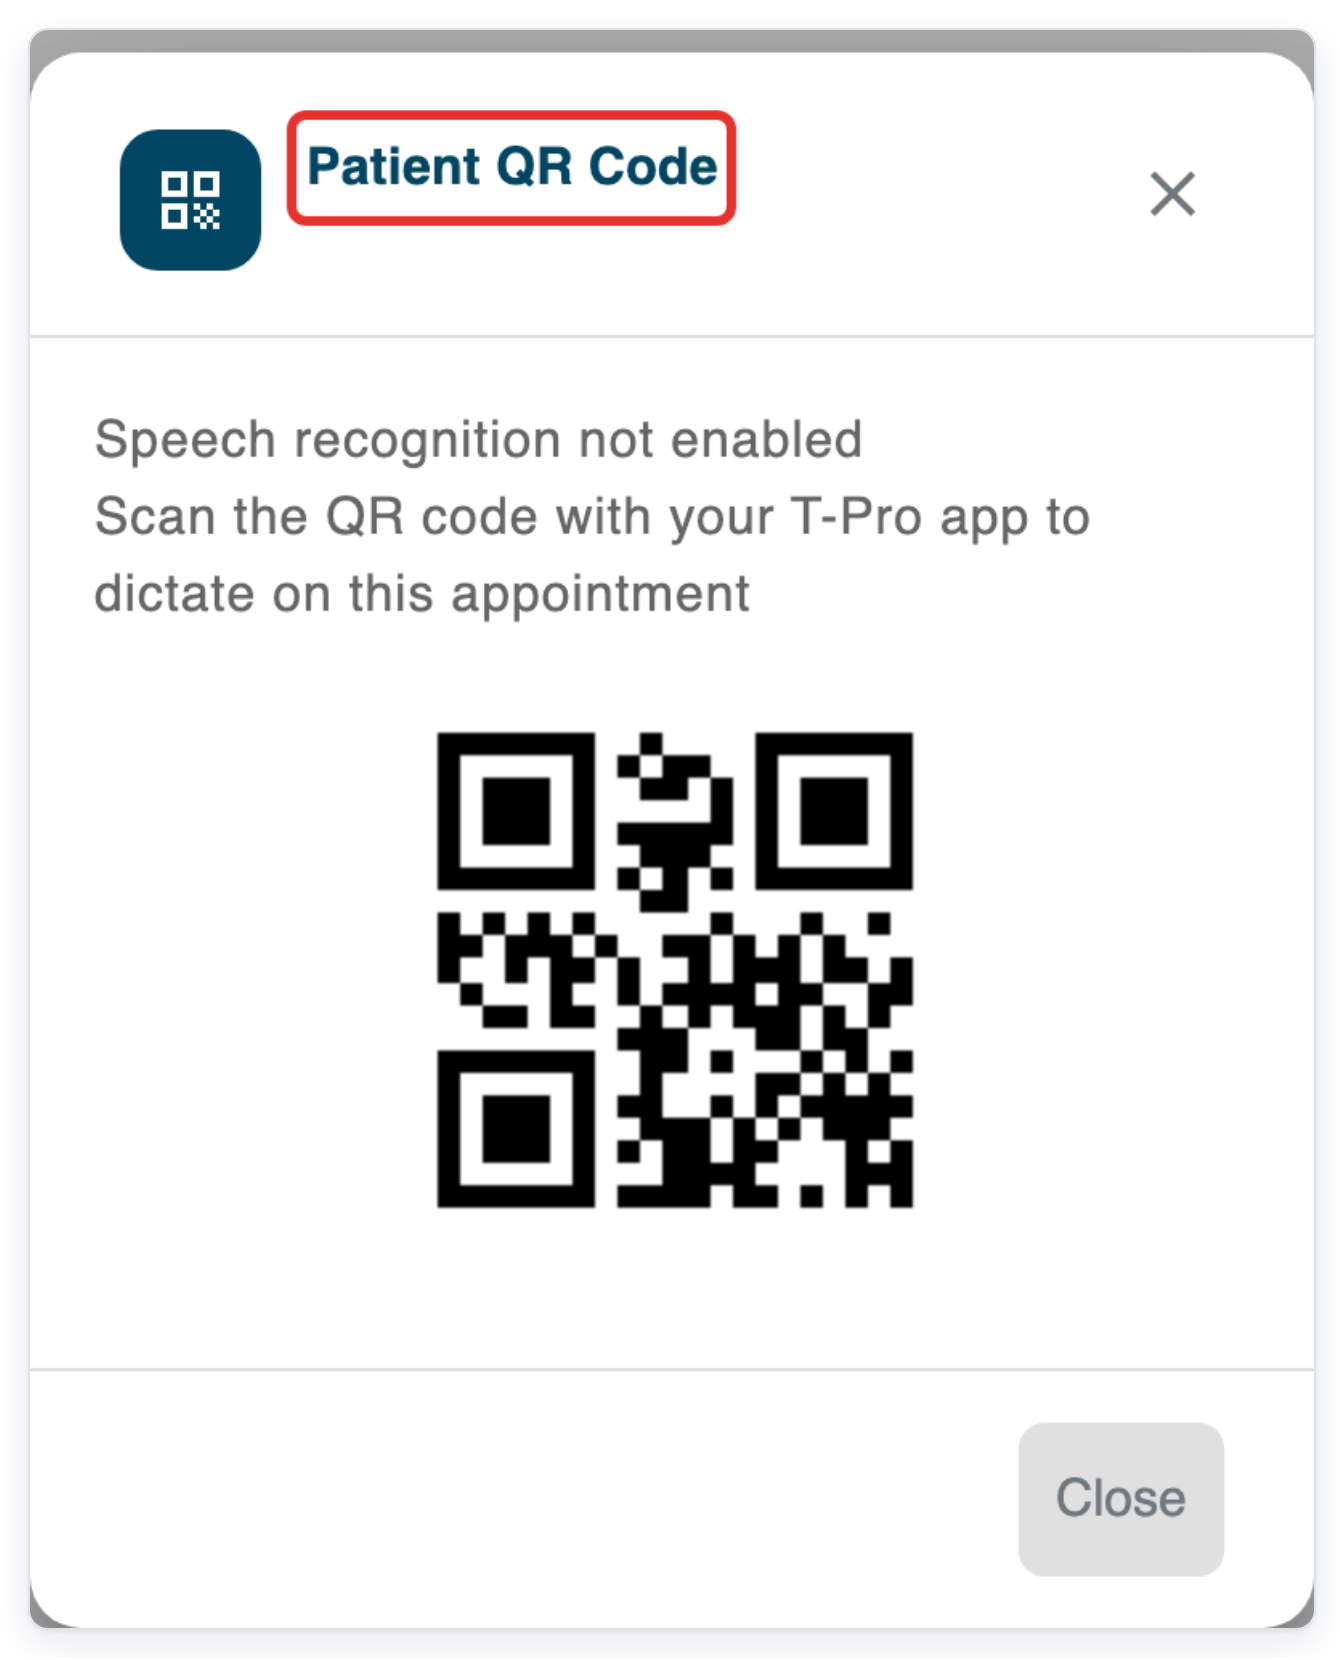
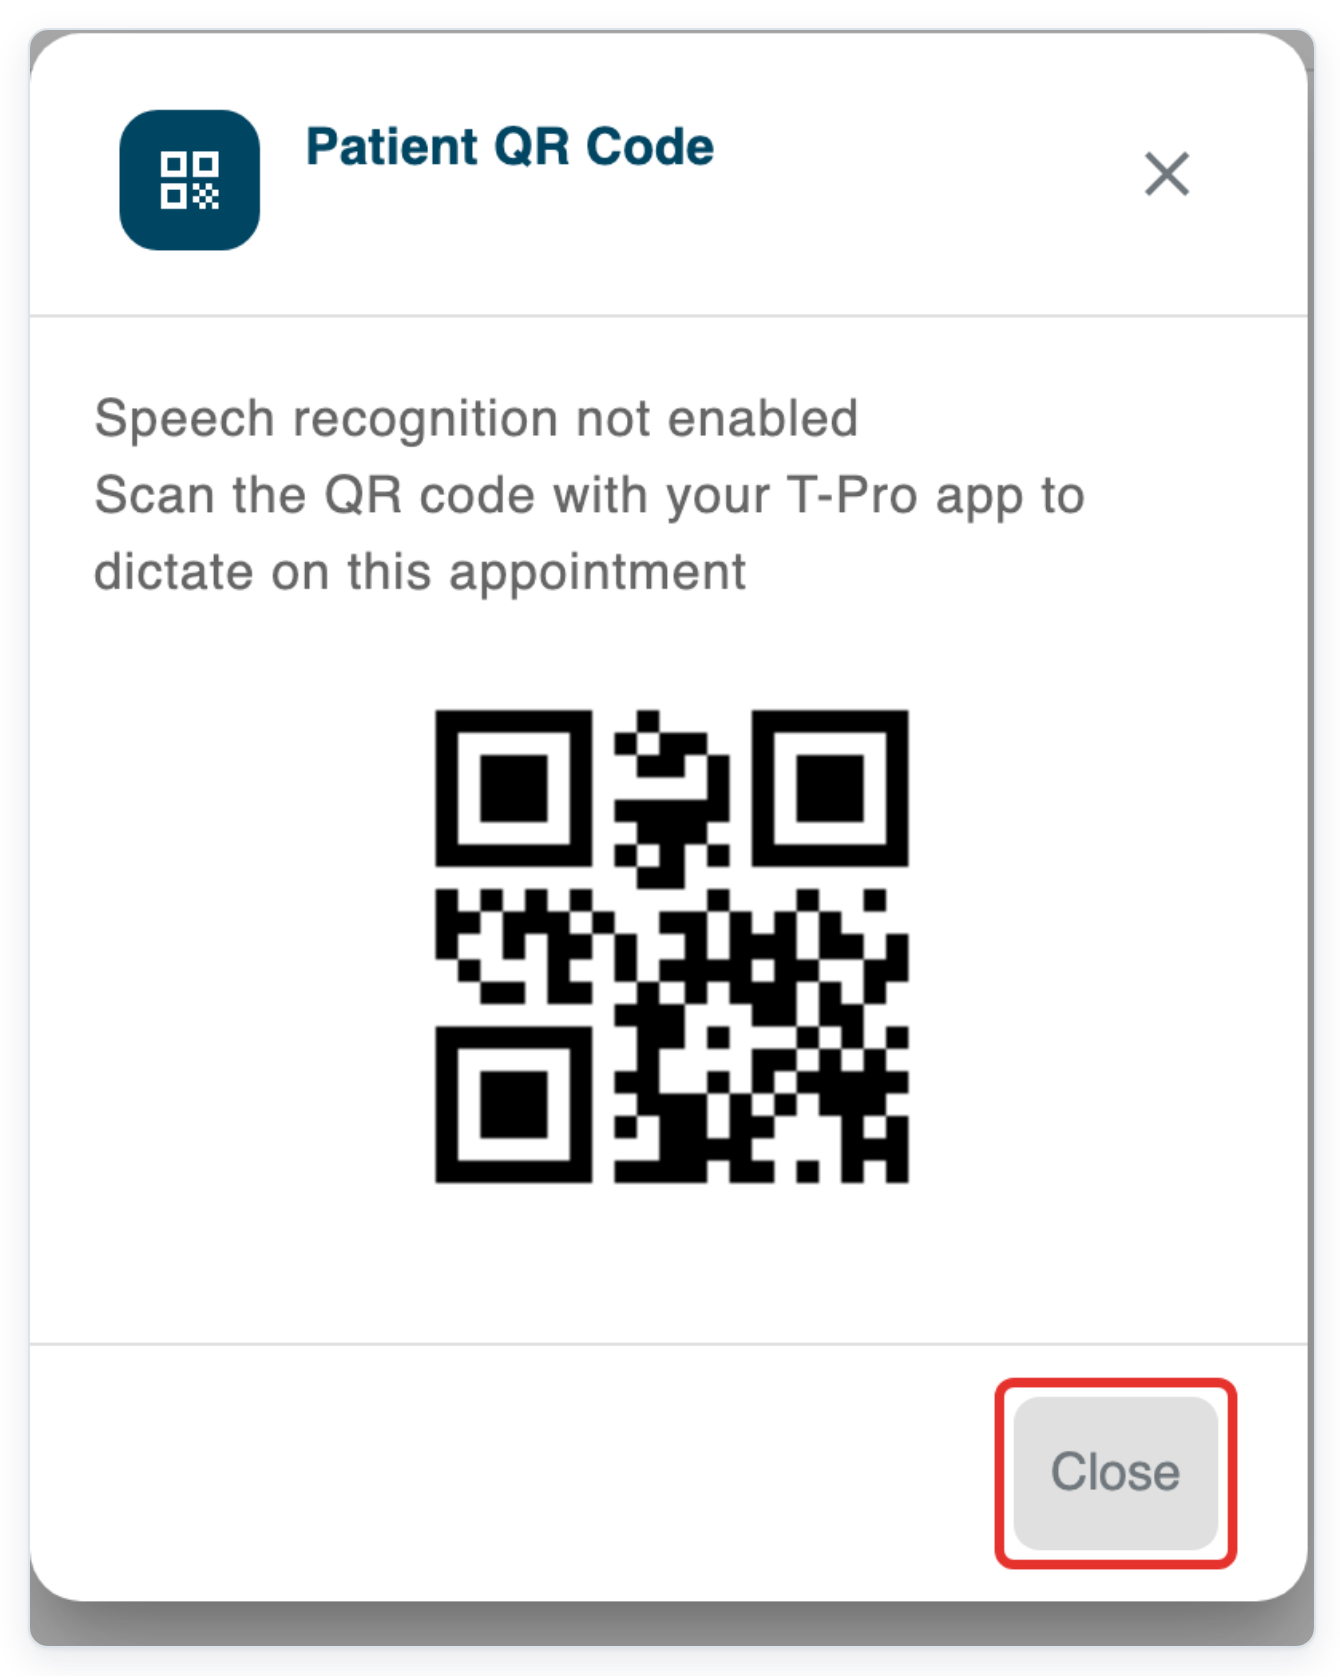
Click Close to return to the appointment.
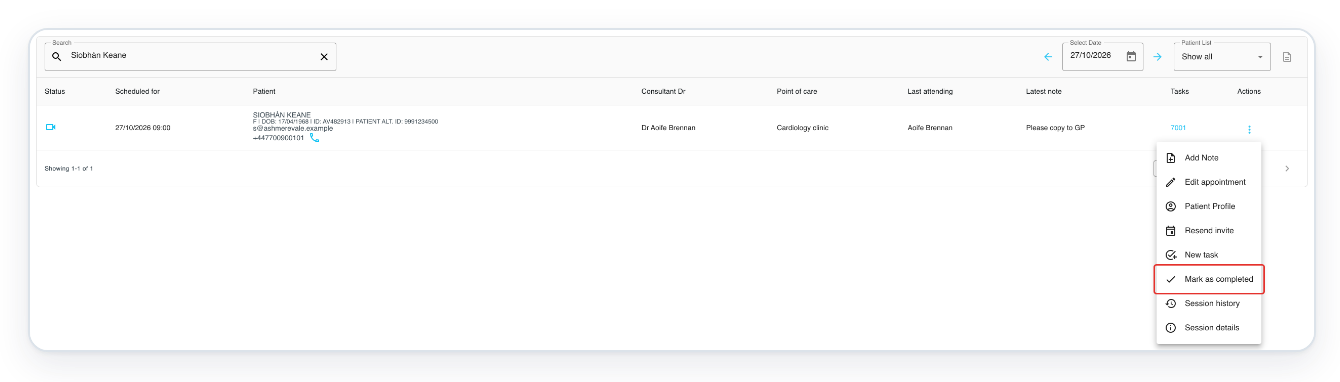
Open the appointment's Actions menu again and click Mark as completed. T-Pro asks you to confirm.
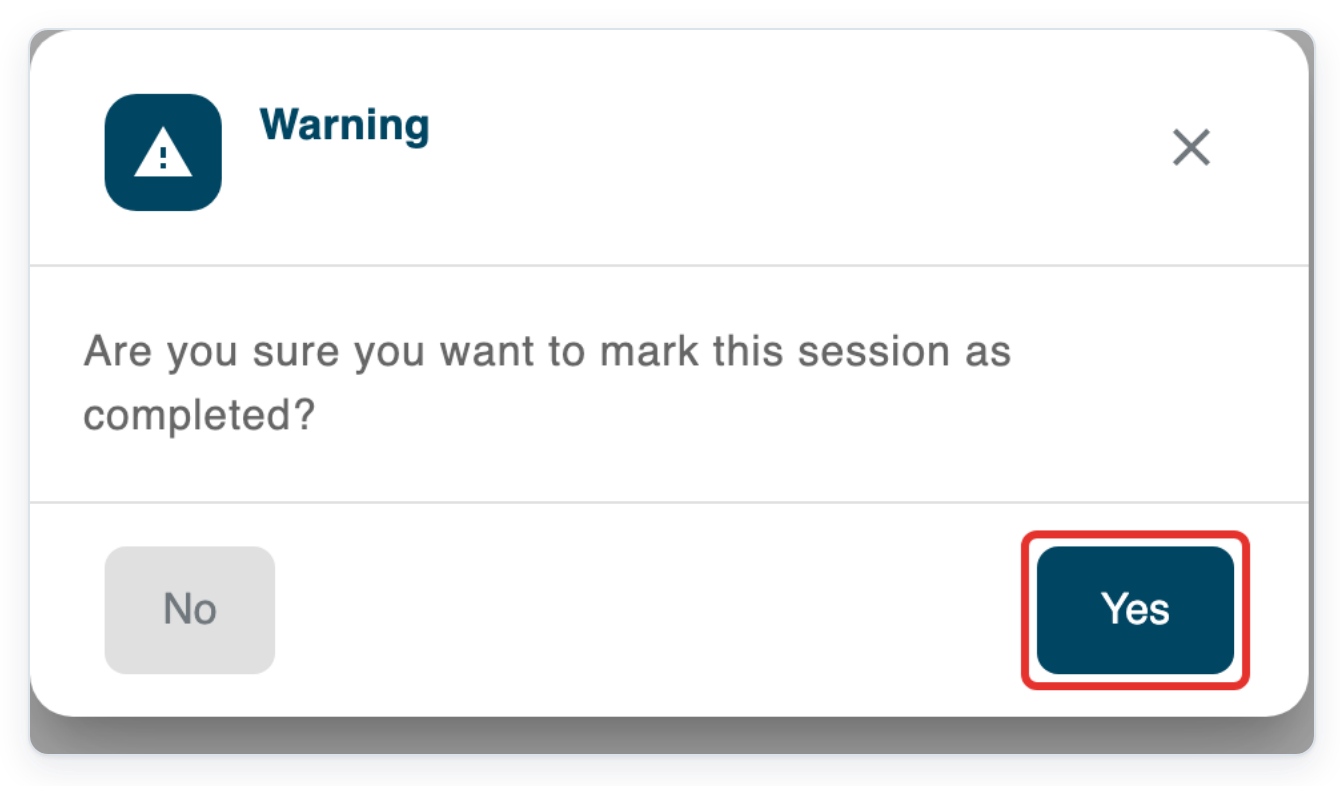
Click Yes to mark the session as completed and return to the updated schedule.
Choose No if you are not ready to complete the session.
Not sure whether the session has ended? Hover over the appointment's Status icon.

=> The completed appointment's row is dimmed. Its Status icon shows Session ended when you hover over it.

If you still need to dictate for this patient, use New task in the appointment's Actions menu.
To create a direct invitation, click Invite above Clinic Schedule.
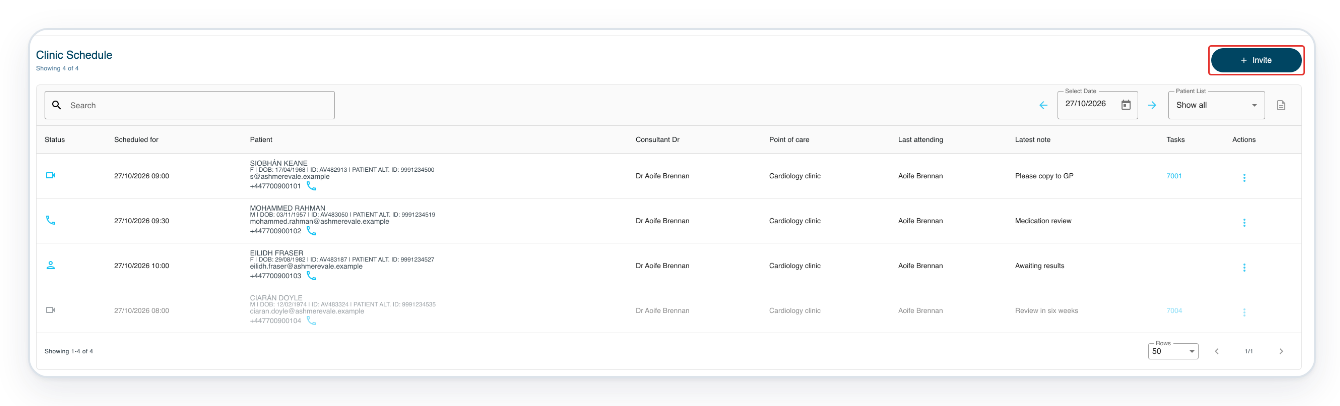
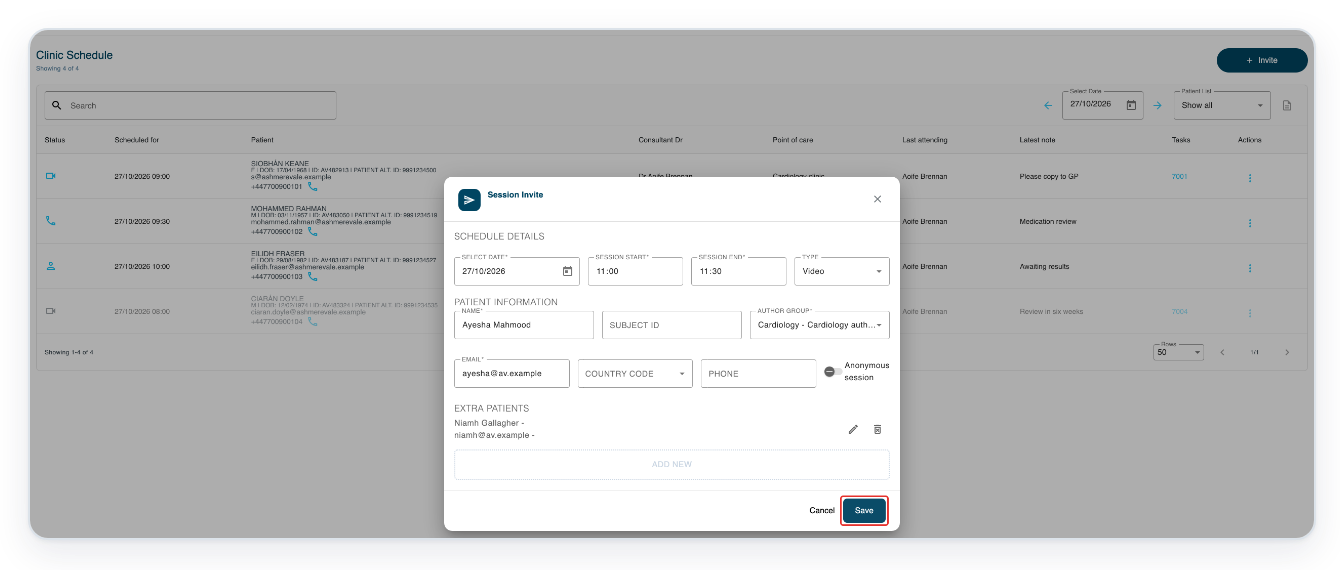
=> Session Invite opens with the schedule fields, patient details, Author Group and Extra Patients.
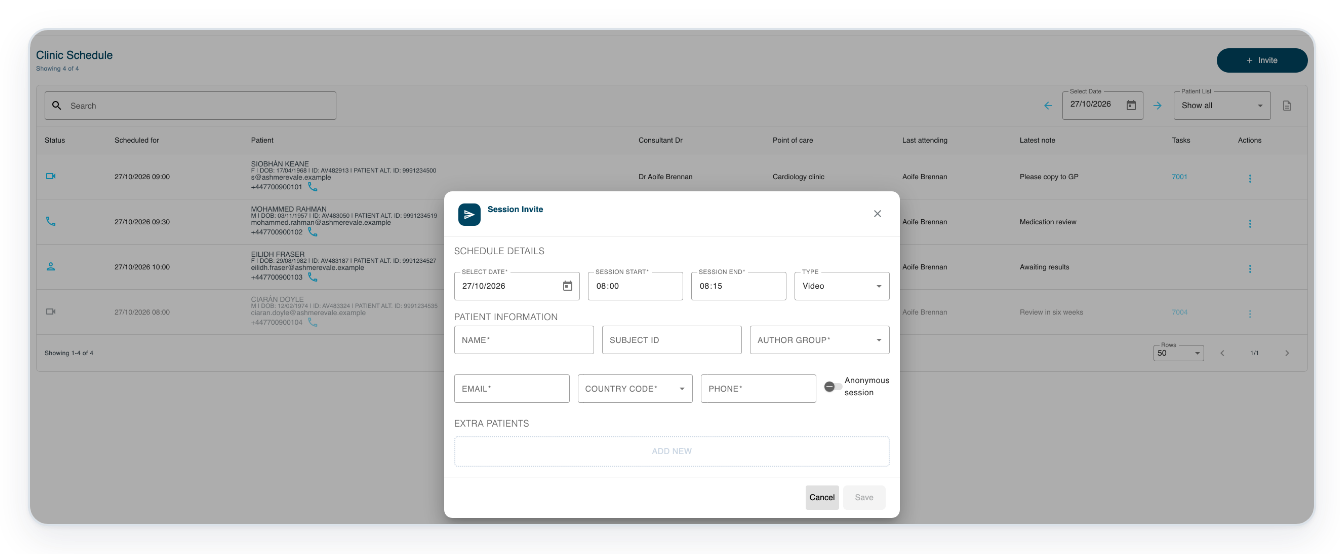
Enter the appointment date in Select Date, for example 27 October 2026.
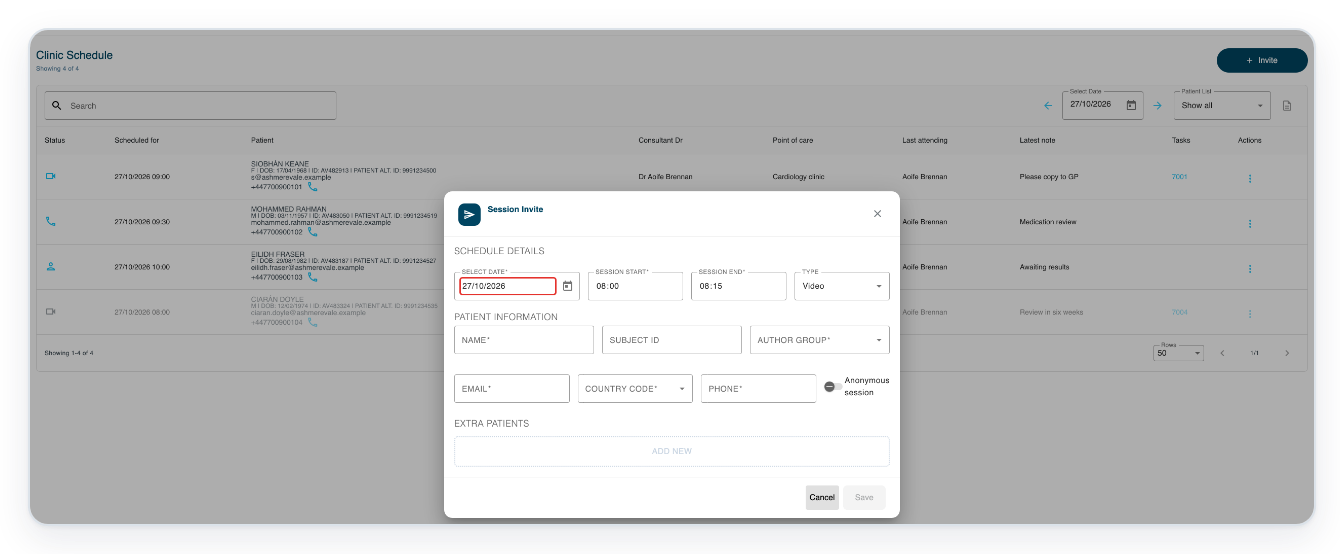
Set Session Start, for example to 11:00.
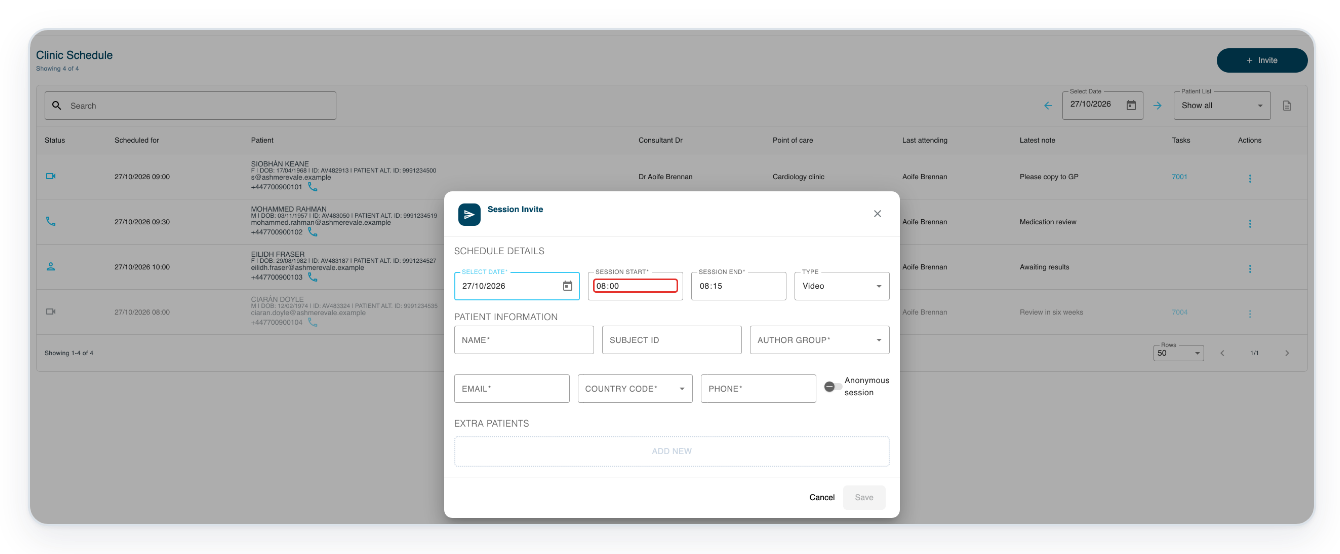
Set Session End, for example to 11:30.
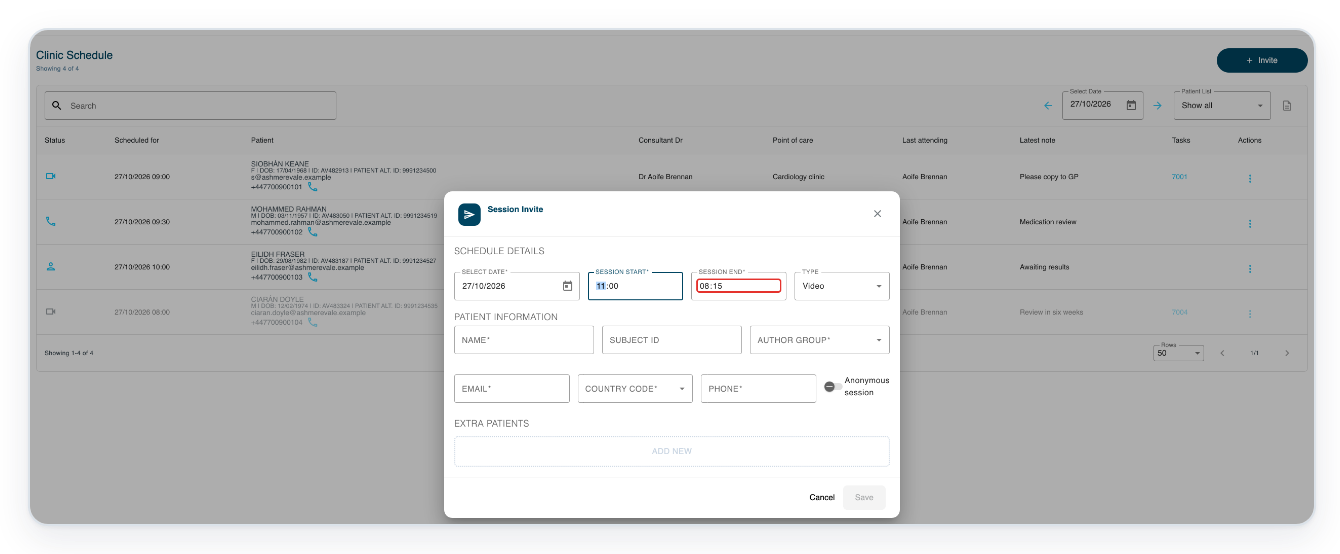
Open Type to choose the appointment format.
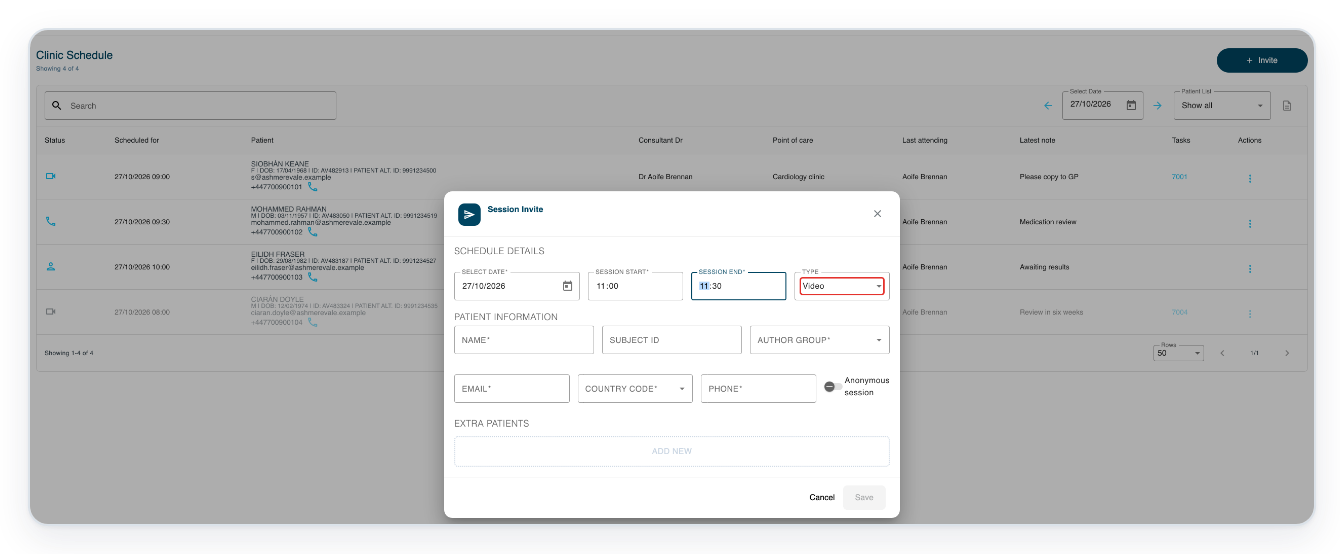
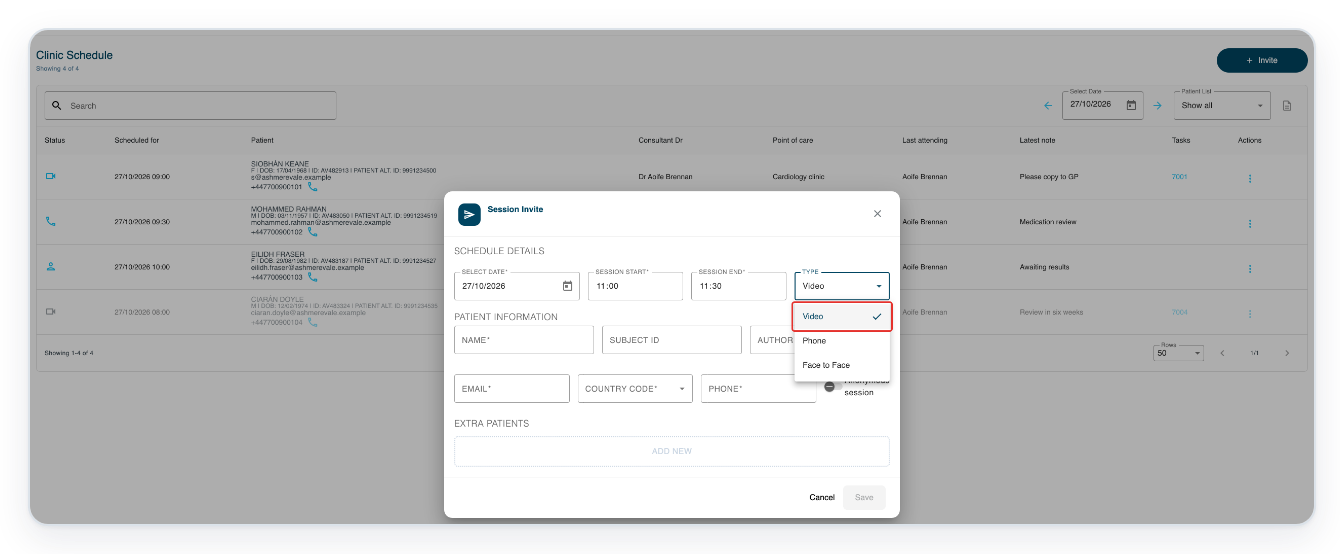
Choose Video for a video appointment.
The other choices are Phone and Face to Face.
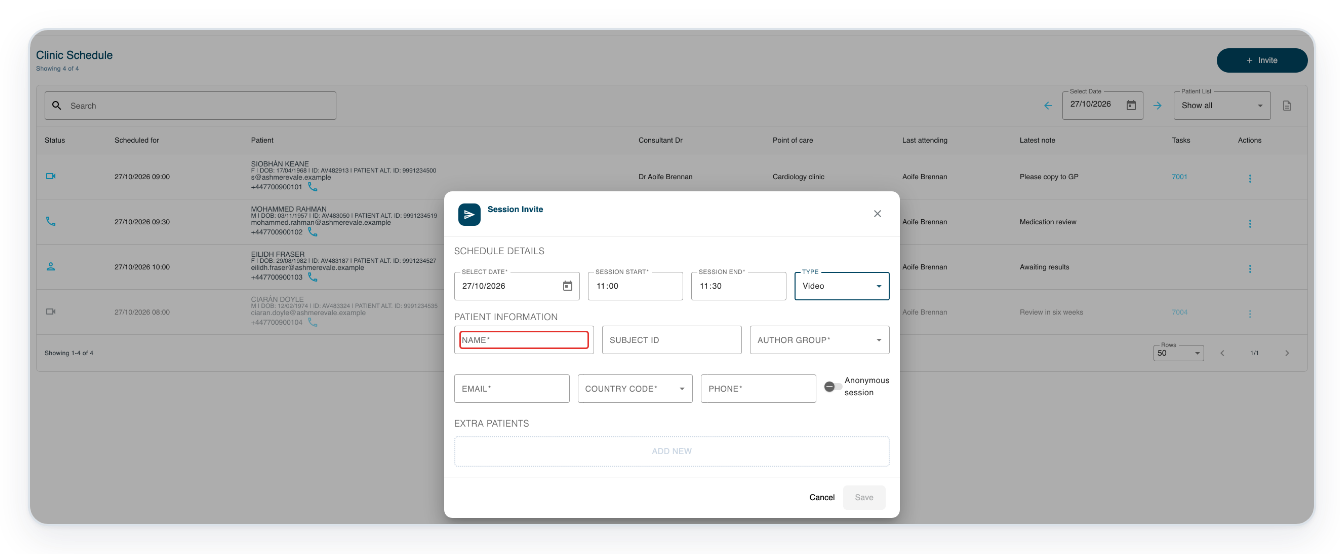
Enter the patient's Name, for example Ayesha Mahmood.
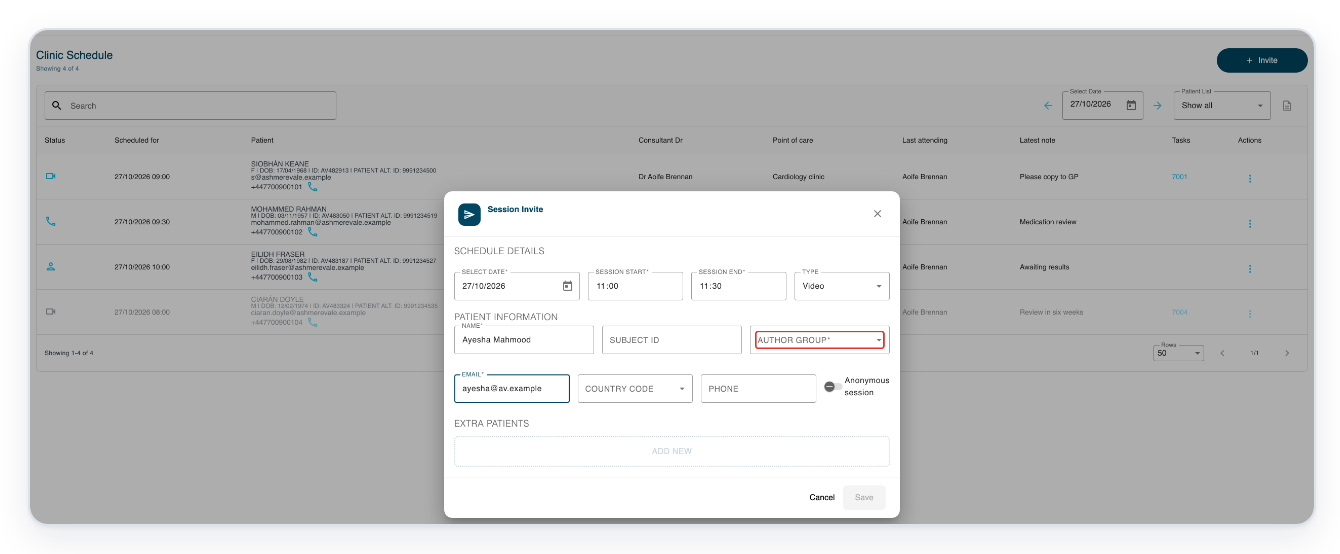
Enter the patient's Email, for example ayesha@av.example.
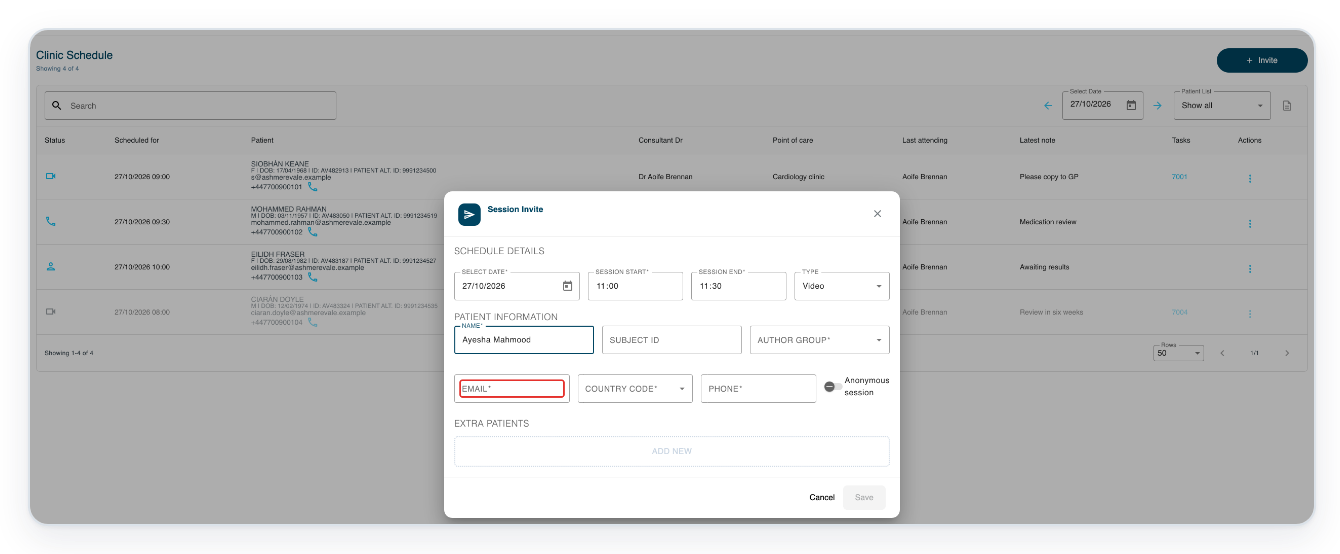
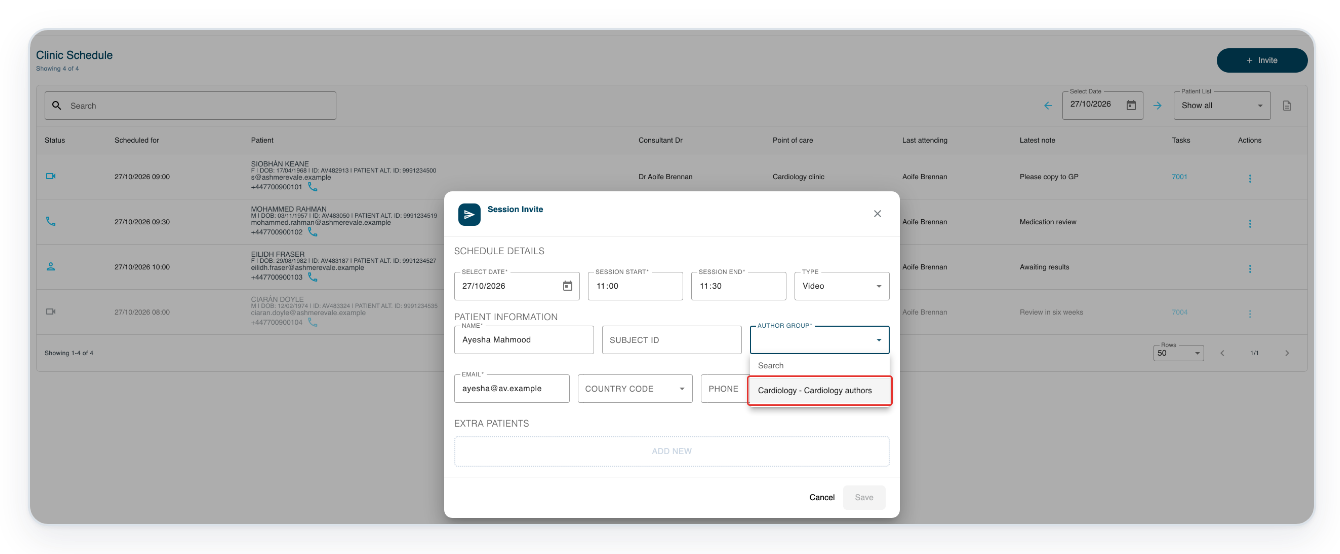
Press Enter on Author Group to open your available groups.
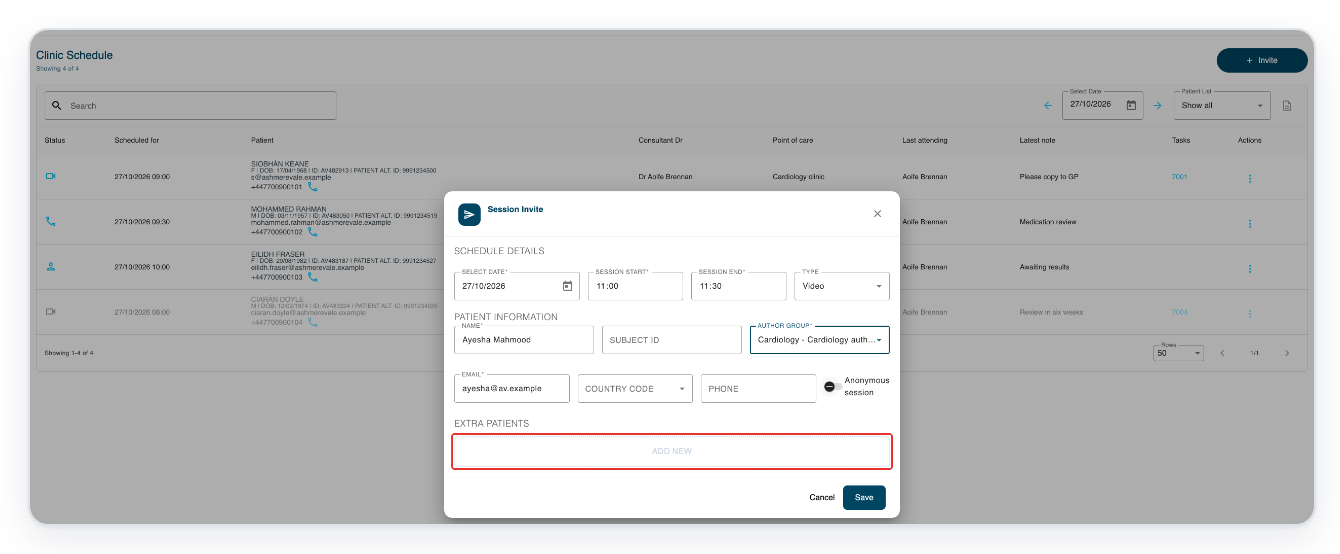
Choose your group, here Cardiology - Cardiology authors.
To invite another person, click Add New under Extra Patients.
Enter the extra participant's Name, for example Niamh Gallagher.
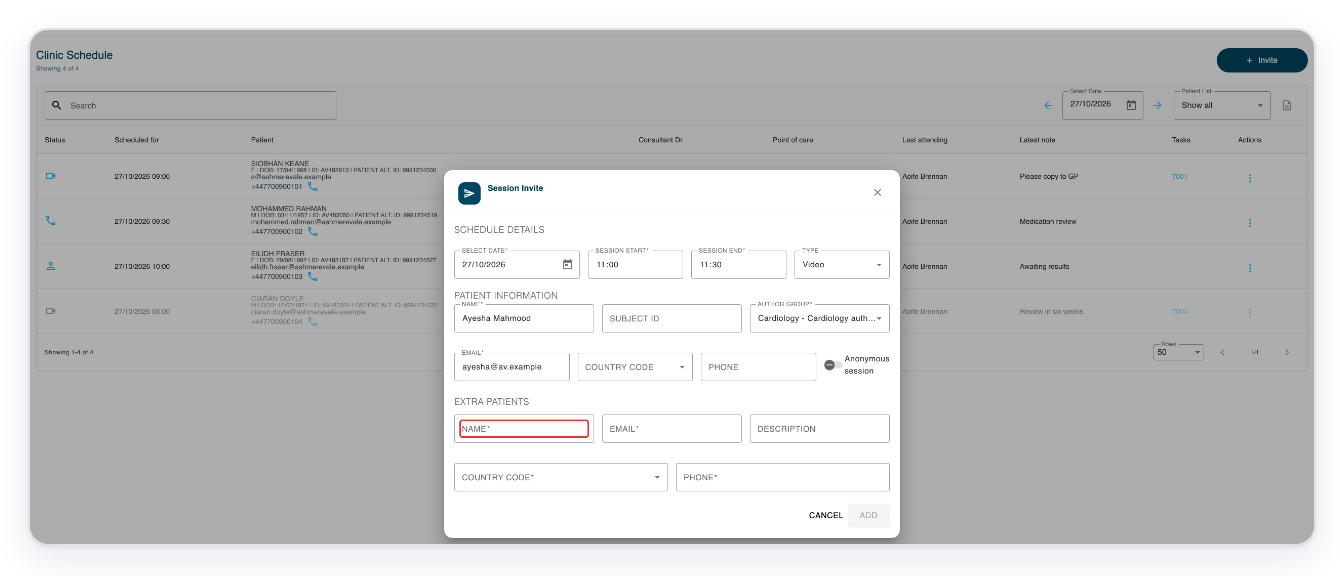
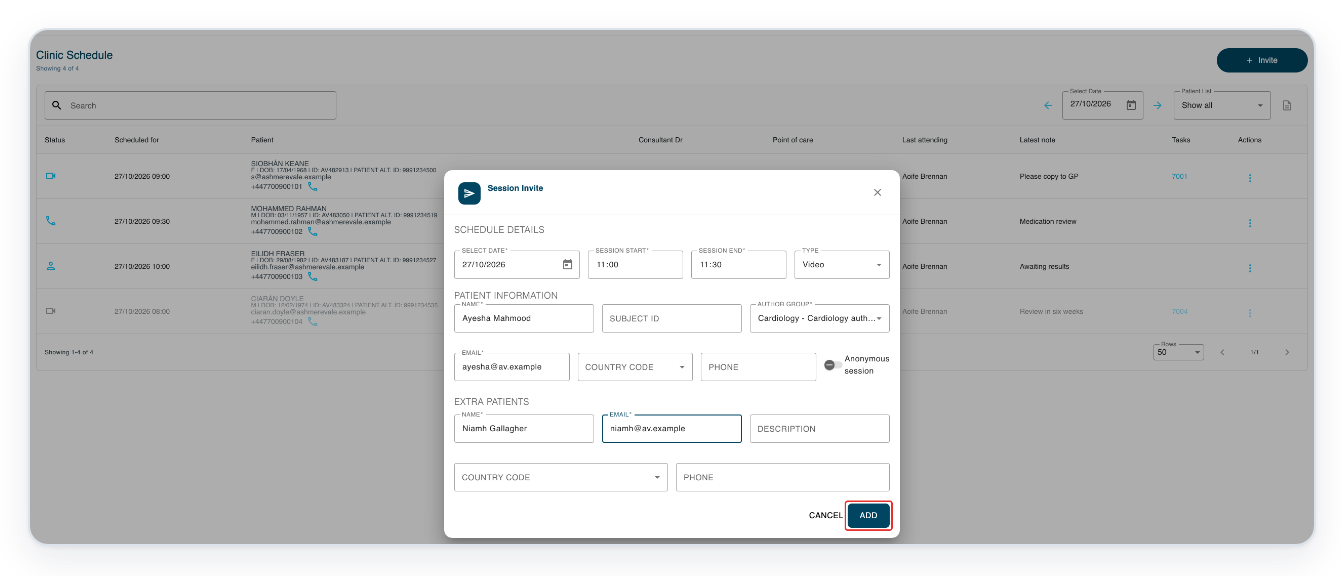
Enter their Email, for example niamh@av.example.
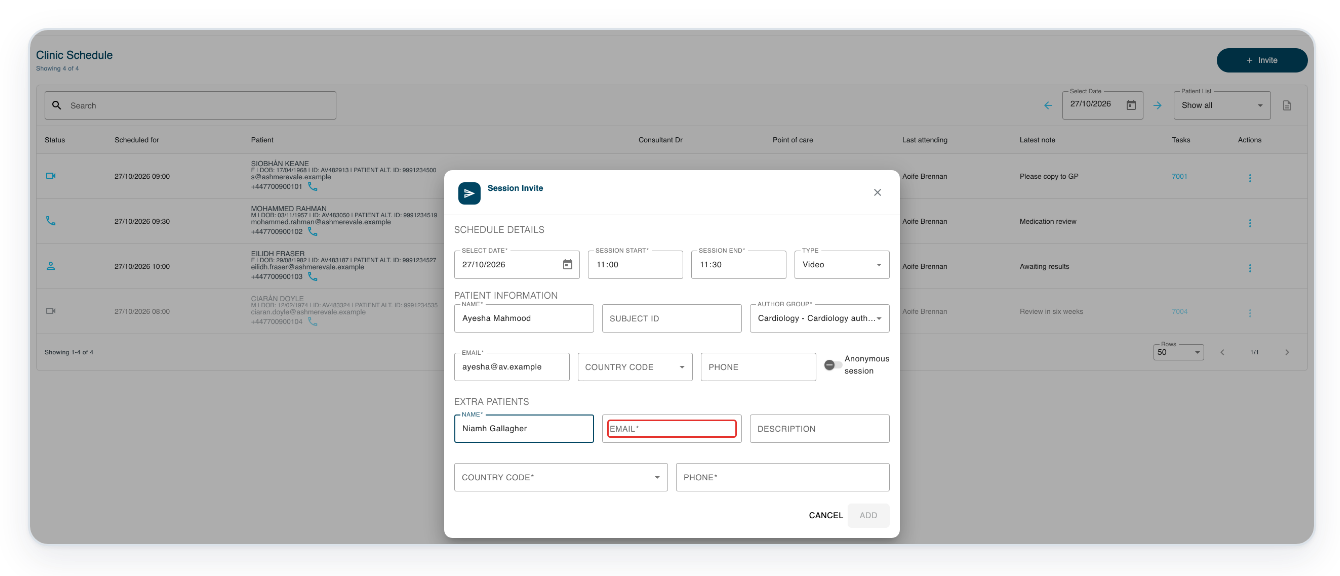
Click Add to include the participant.
=> Extra Patients now lists Niamh Gallagher and niamh@av.example.
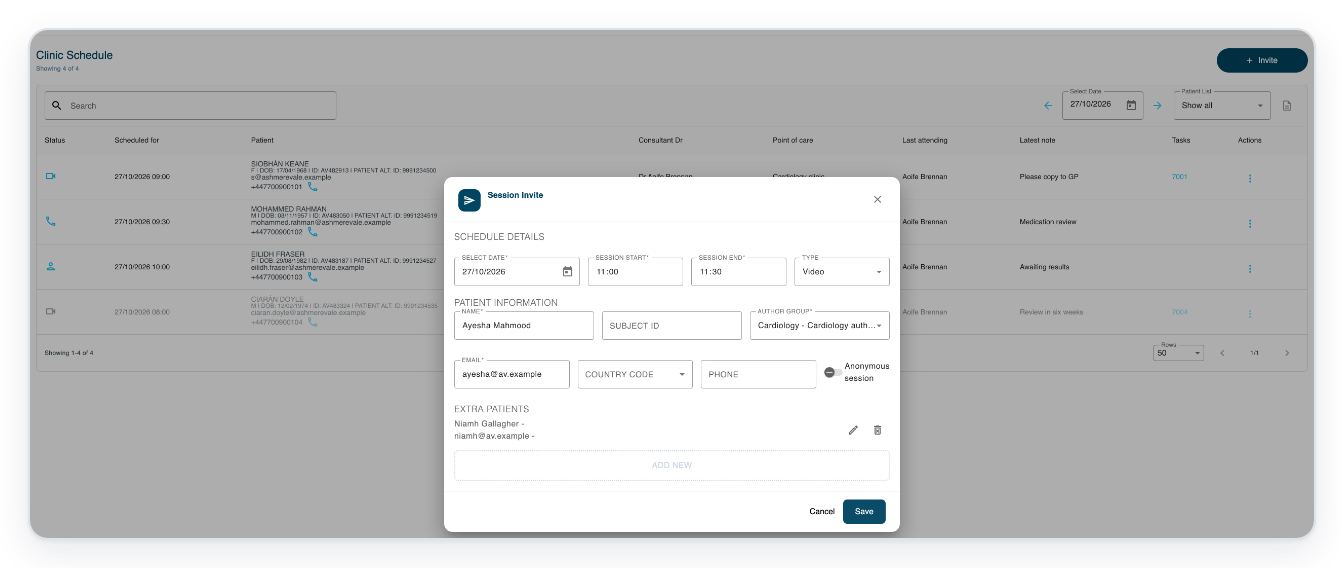
Click Save to create the invitation for the patient and extra participant.
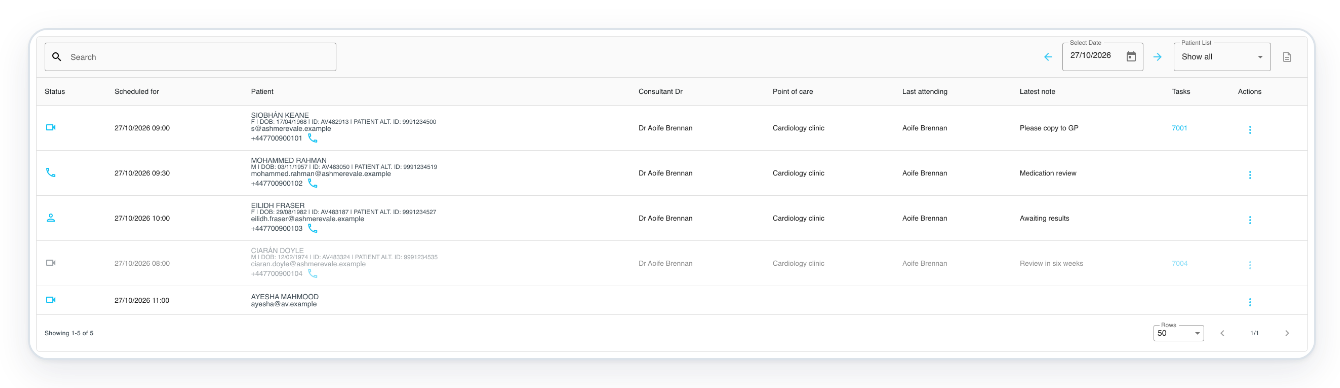
=> The schedule shows Ayesha Mahmood's new appointment and ayesha@av.example.
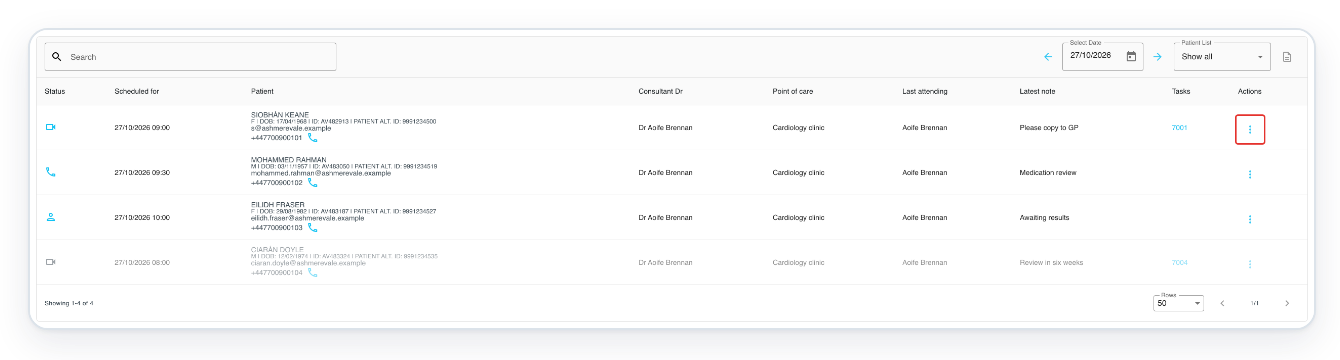
To edit an unfinished appointment, click its three dots in Actions.
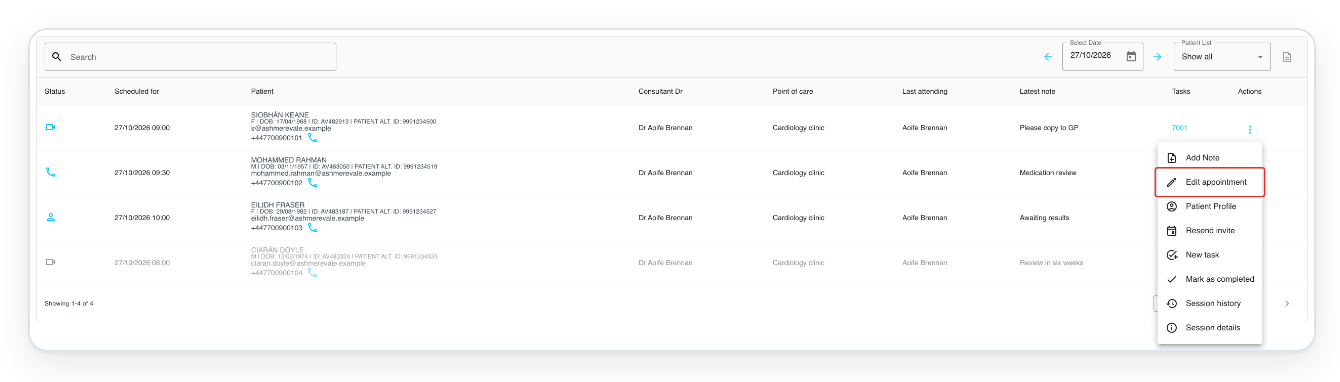
Click Edit appointment to open its Session Invite.
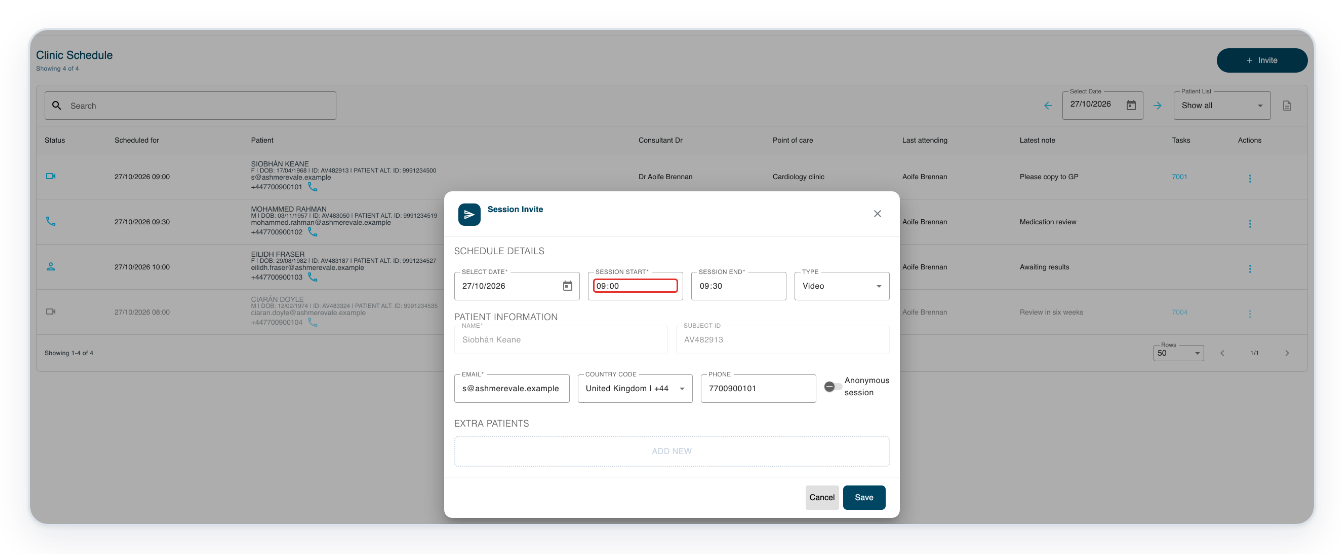
Change Session Start, here from 09:00 to 09:05. Keep Session End at 09:30.
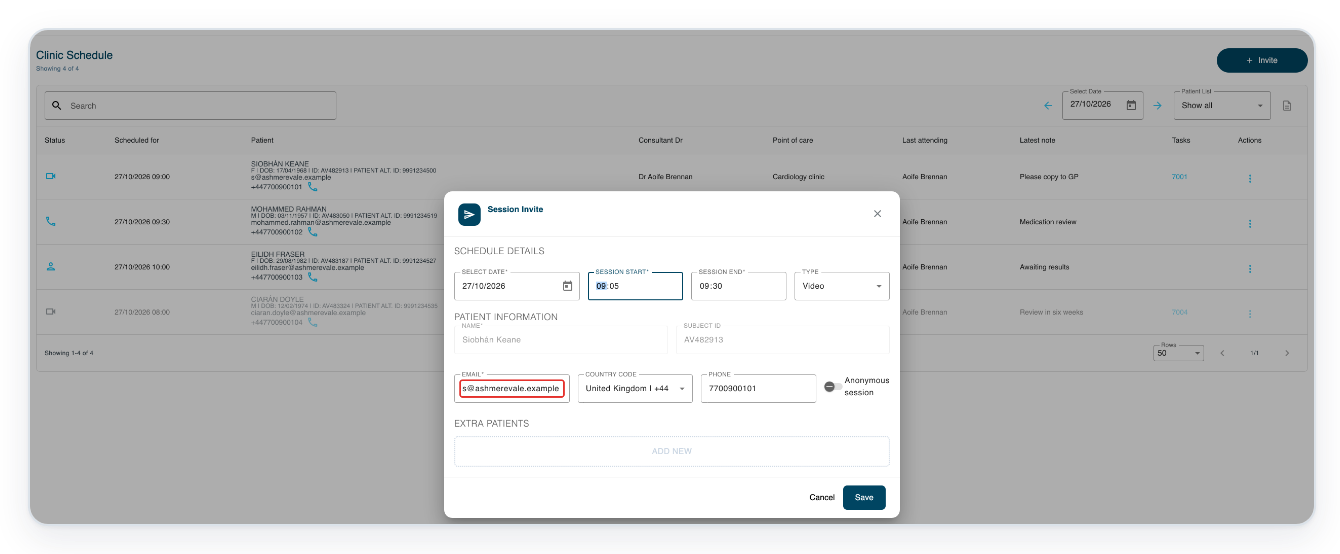
Update Email, here to sk@av.example.
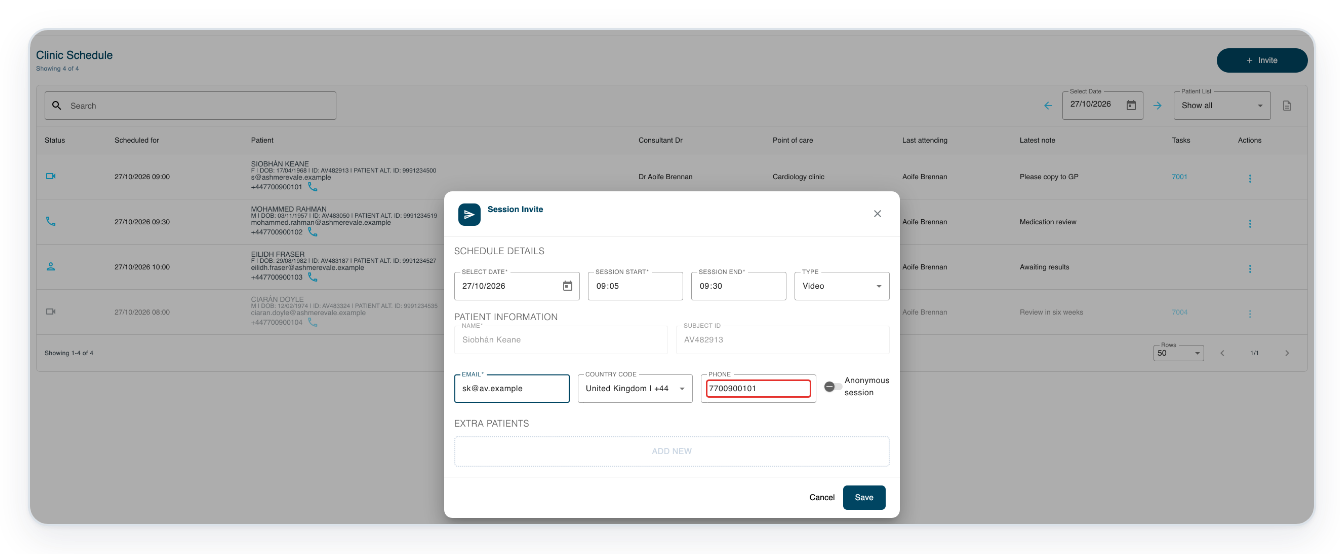
Confirm Phone as 7700900101, keeping United Kingdom | +44 as the Country Code.
Click Save to save your changes.
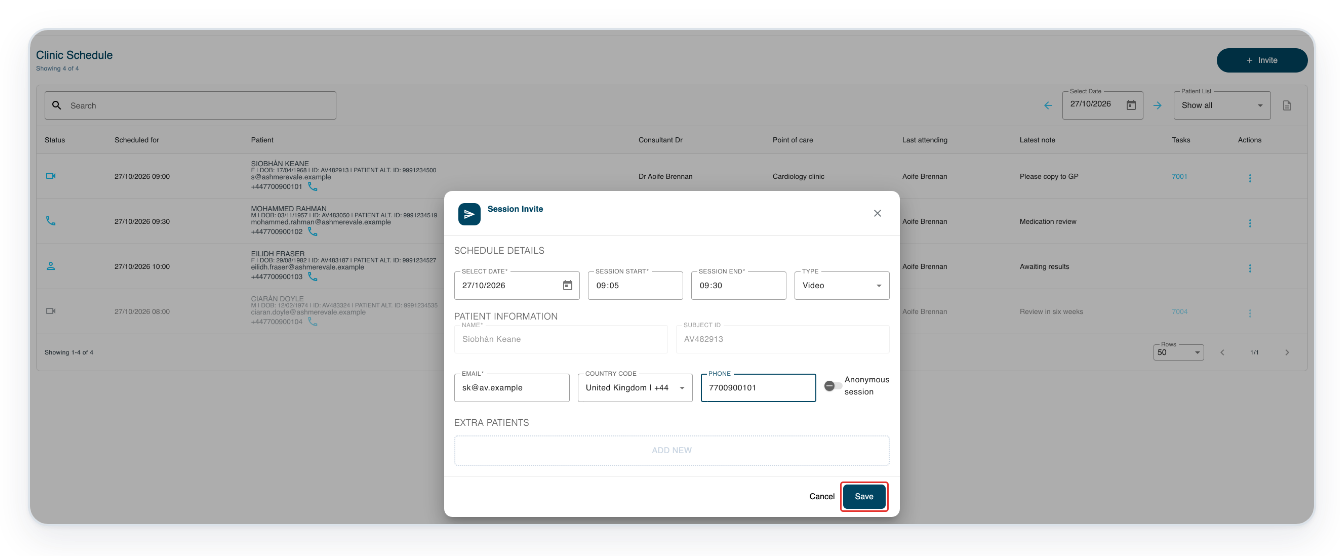
=> Siobhán Keane's appointment now shows the updated start time, 09:05.
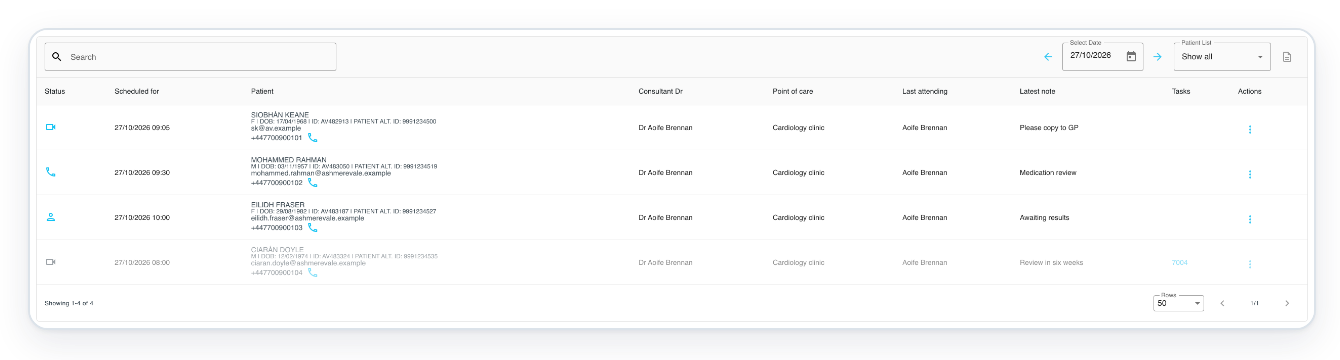
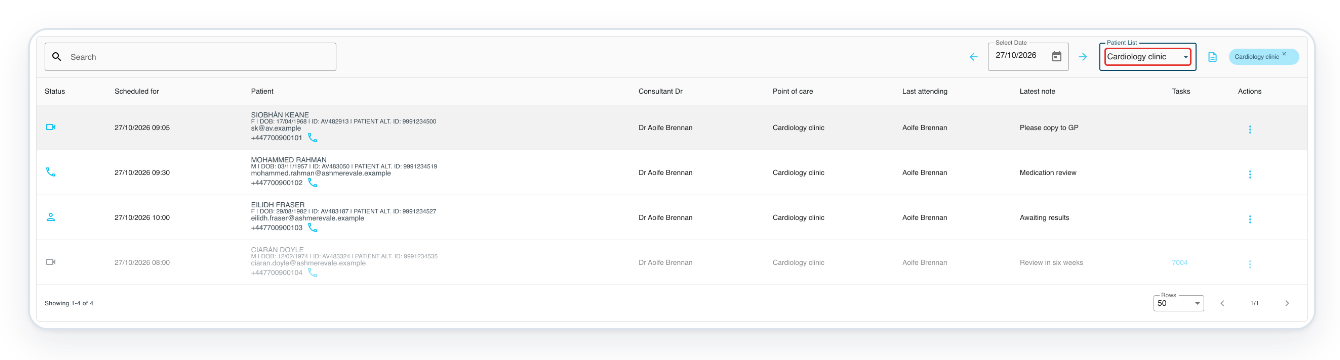
Open Patient List to see the available lists.
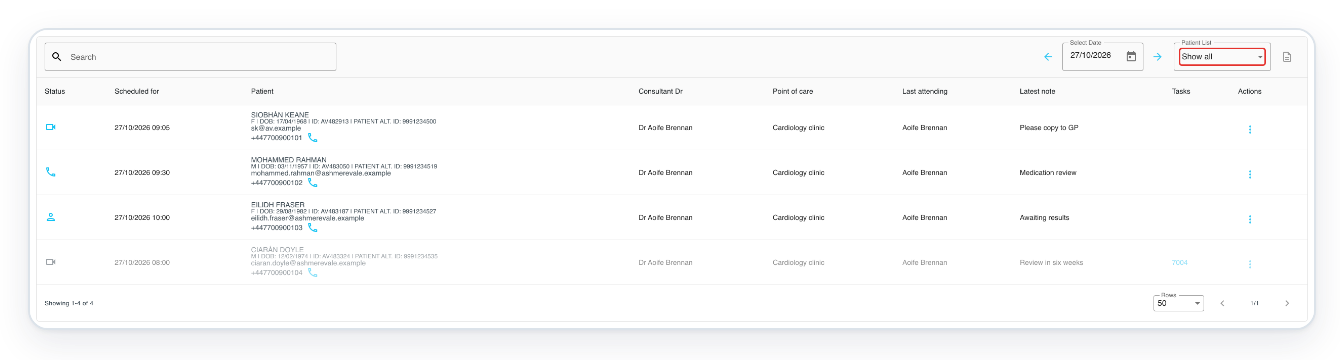
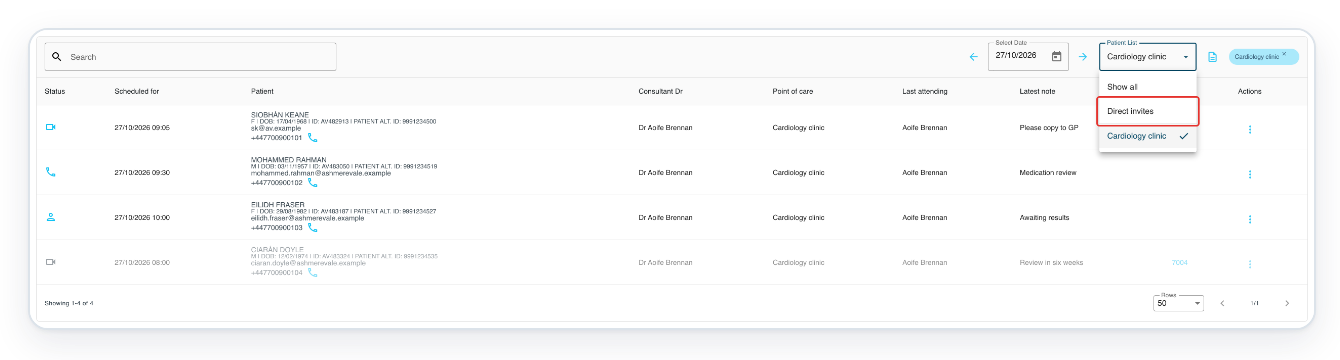
=> The choices include Show all, Direct invites and your clinic lists, here Cardiology clinic.
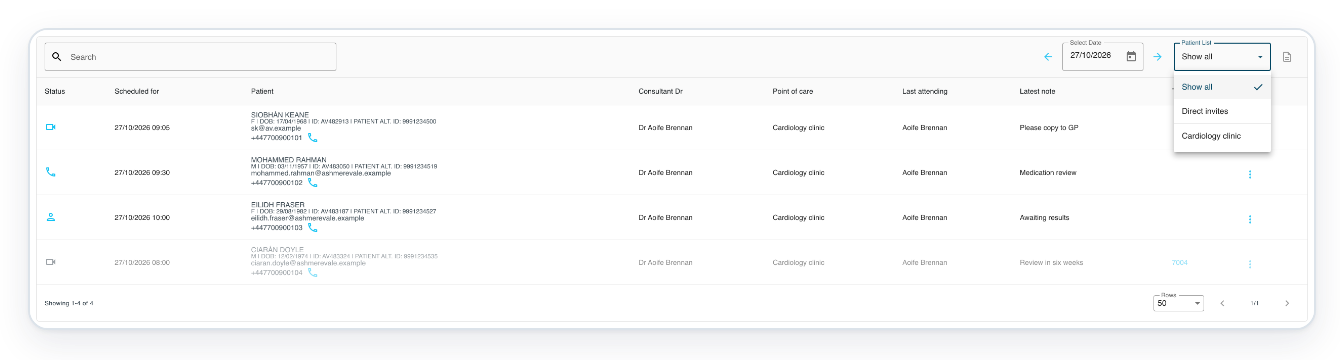
Choose Cardiology clinic to show that clinic's appointments.
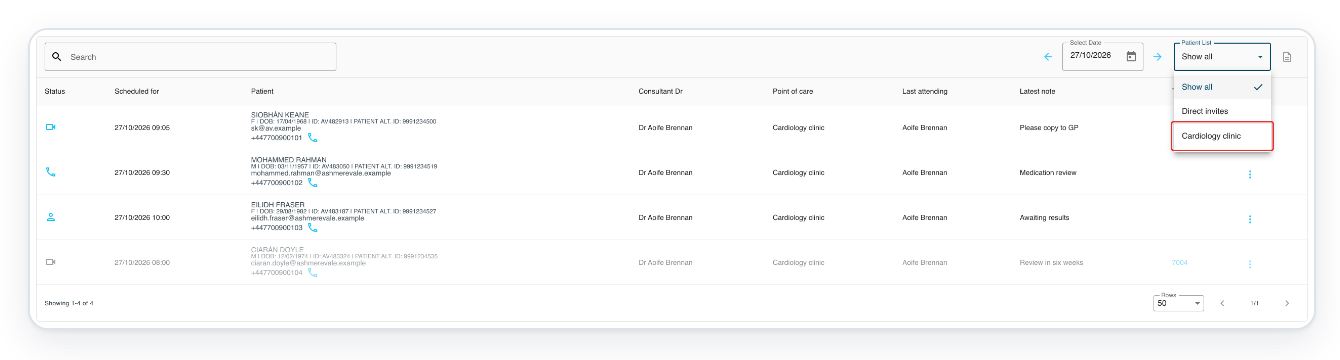
=> The schedule shows appointments in Cardiology clinic.
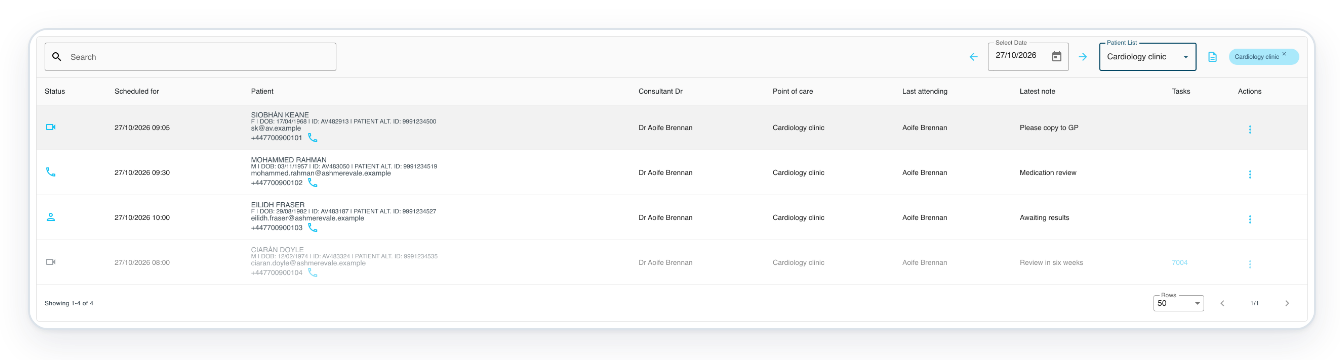
Open Patient List again to change the selection.
Choose Direct invites.
=> This example shows No appointments found for the selected date and list.
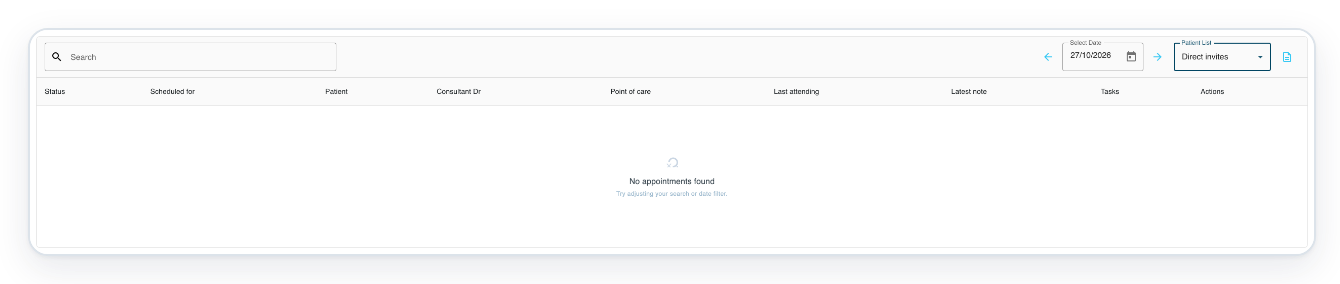
Click the calendar icon beside Select Date.
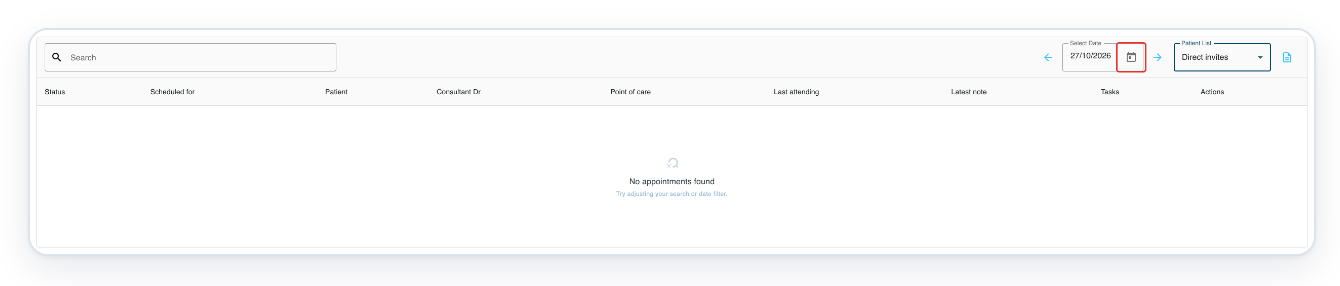
=> The calendar opens with the current selection, here 27 October 2026.
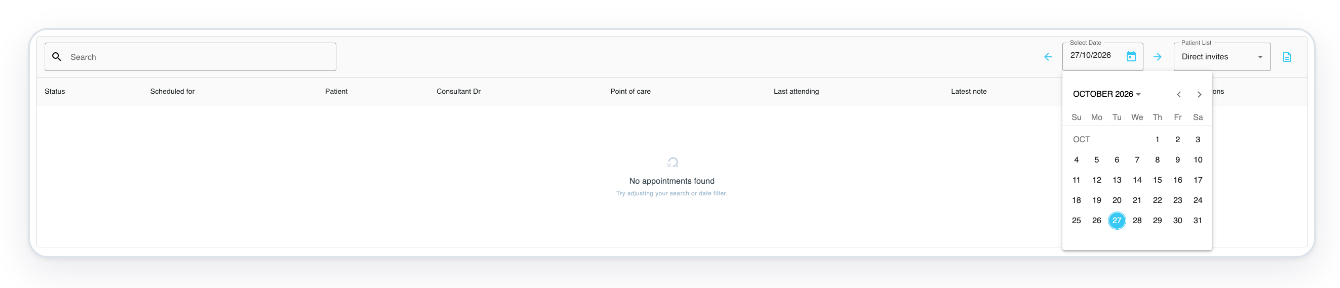
Choose another date, here 28 October 2026.
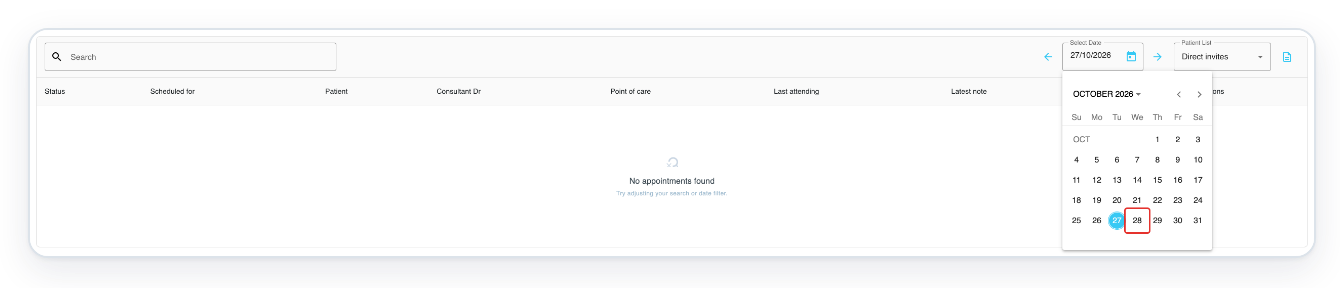
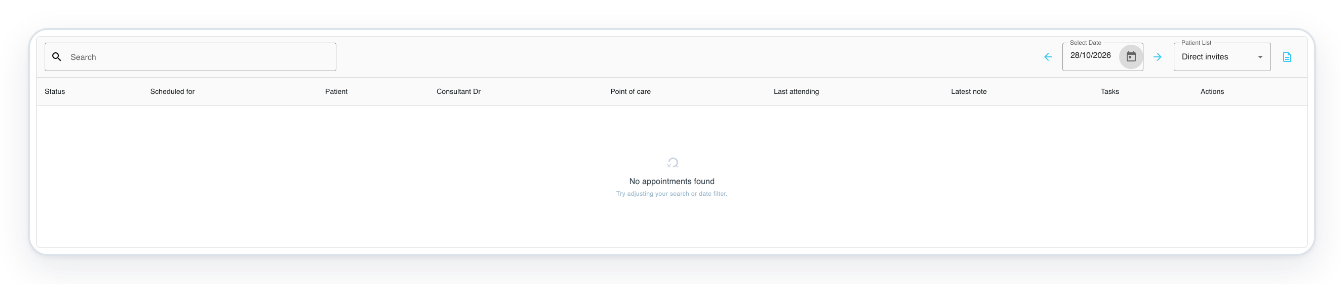
=> The schedule loads that date with Direct invites still selected. This example has no appointments.
NOTE:
- The schedule updates when appointments or session statuses change. For video appointments, it also updates the patient's waiting time.
- The patient QR code appears when speech recognition is turned off for your account. Otherwise, New task lets you create a task with the appointment's patient details.
- In Session Invite, turn on Anonymous session to replace staff names with Anonymous in the session participant list.
What the clinic schedule shows
Check the appointment details in these columns before opening the Actions menu.
| Column | What it shows |
|---|---|
| Status | An icon for video, phone or face-to-face appointments. Hover over it to read the current session status. |
| Scheduled for | The appointment date and time. For video appointments, it also shows the patient's waiting time in minutes, when available. |
| Patient | The patient's name, sex, date of birth, patient IDs, email address and phone number, where available. |
| Consultant Dr | The consultant named on the appointment. |
| Point of care | The clinic or patient list recorded for the appointment. |
| Last attending | The author listed for the appointment. |
| Latest note | The most recent appointment note. |
| Tasks | Task numbers linked to the appointment. |
| Actions | The three-dot menu of available options for that appointment. |
Tip: Use Select Date or the arrows beside it to find another day's appointments. Then use Patient List to narrow the list. Choose Show all to include every patient list for the selected date.
Can't use the clinic schedule?
- No appointments found? Click the cross in Search to clear it. Check Select Date, then choose Show all under Patient List.
- Mark as completed is missing? Wait until everyone has disconnected, then open Actions again. The appointment must have an invitation and still be unfinished.
- T-Pro shows “This session does not have a subject ID available.” Ask your clinic administrator to check the appointment's patient ID. Then try New task again.
Related articles
- eClinic Manager: an introduction
- Run a video appointment
- Phone appointments
- How patients join an online appointment
If you have any more queries, please do not hesitate to contact our Helpdesk or support@tpro.io.
© 2020 - 2026