
Before you start
You need an author or transcriber account. eClinic Manager must be turned on for your organisation and your account.
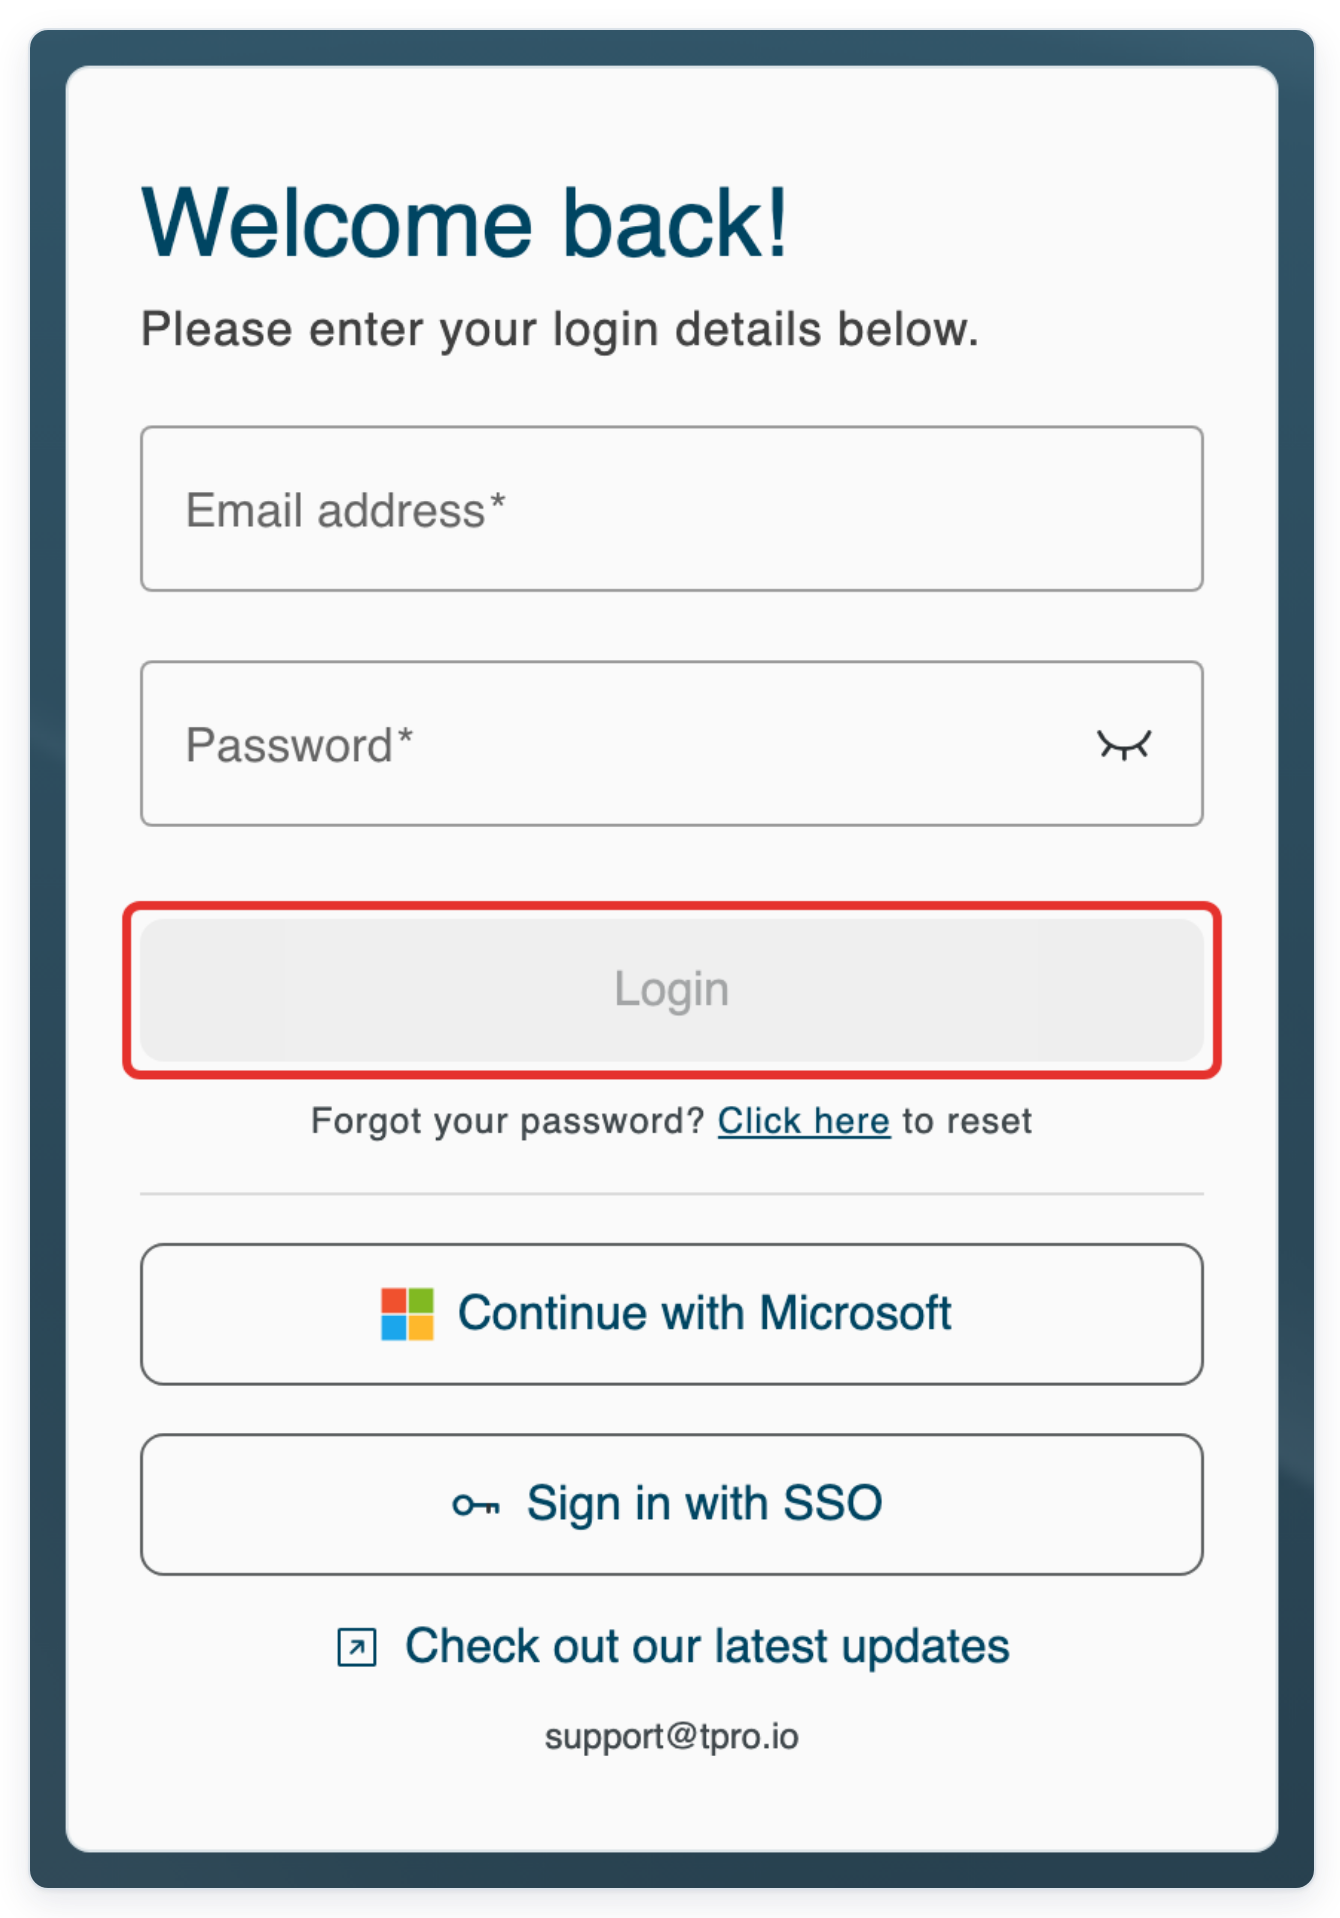
Log in to T-Pro with your author or transcriber credentials.
As an author
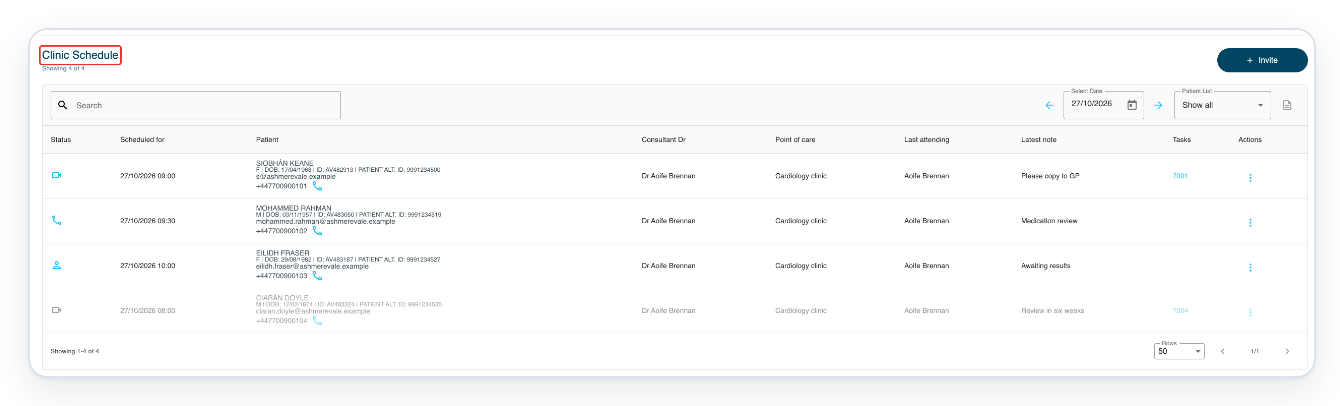
Click Clinic Manager in the top menu to open Clinic Schedule.
Use Select Date to choose a day. Use Patient List to choose a clinic list or show all appointments available to you.

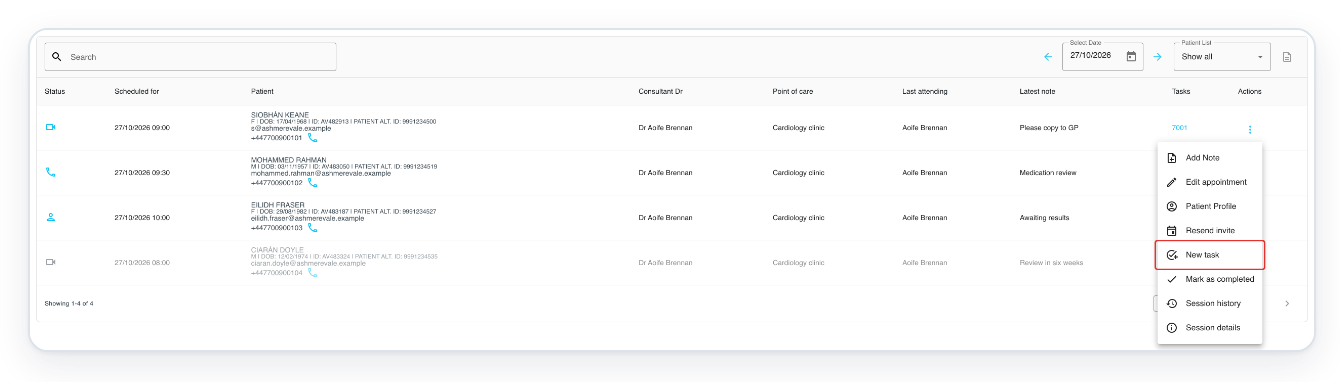
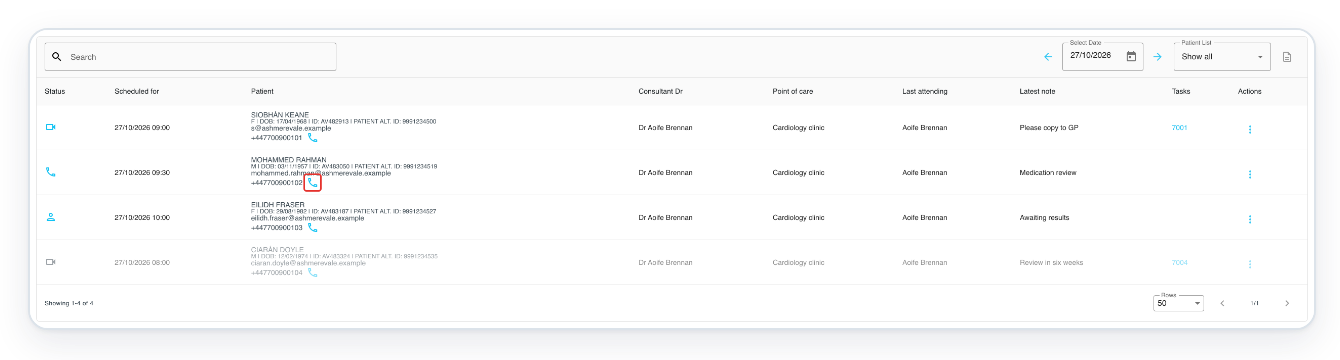
=> Clinic Schedule shows appointment times, patient details, the consultant, clinic, latest note and linked tasks. Each appointment has an Actions menu.
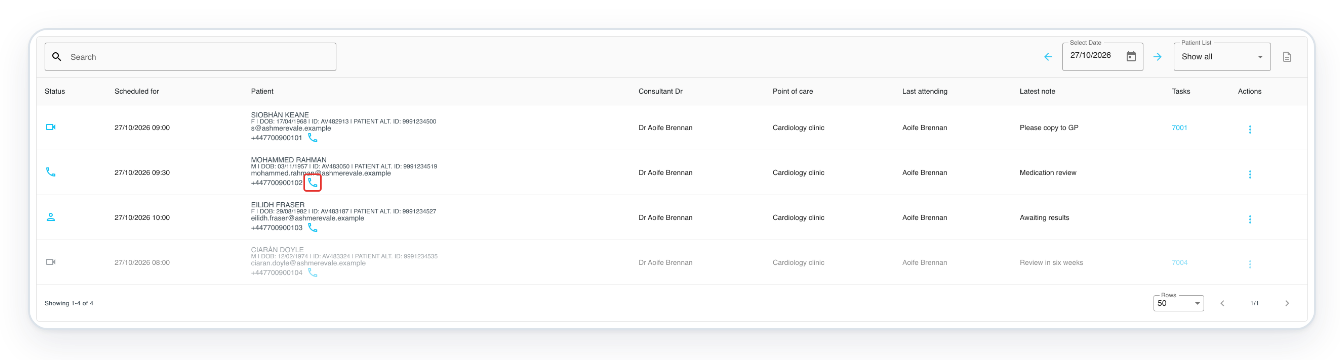
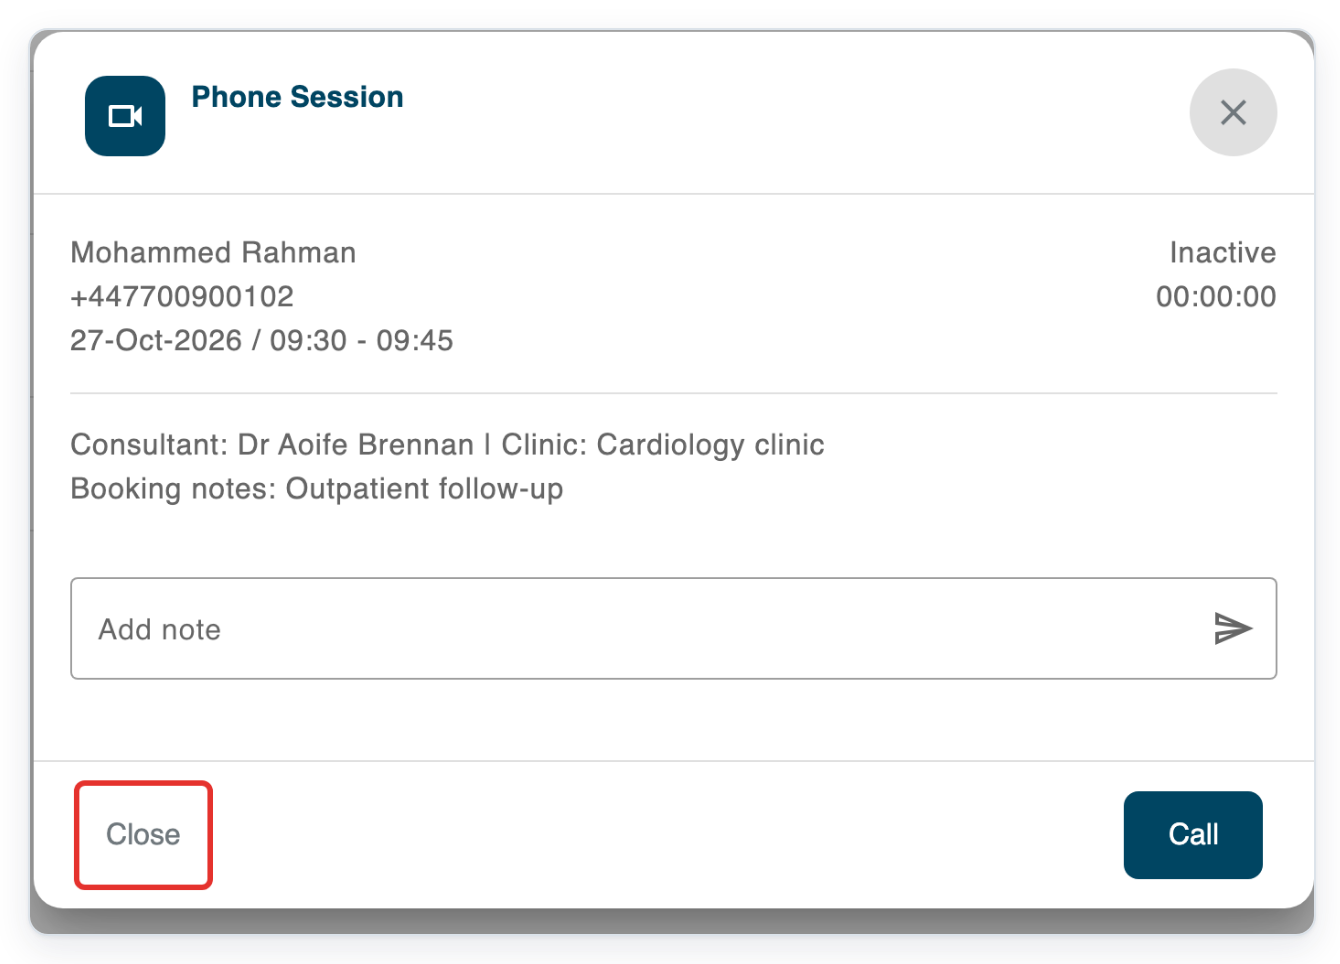
Click the phone icon beside the patient's phone number to open Phone Session. In this example, the patient is Mohammed Rahman.
Hover over the icon to see Call user. Check the patient's details before starting a call.
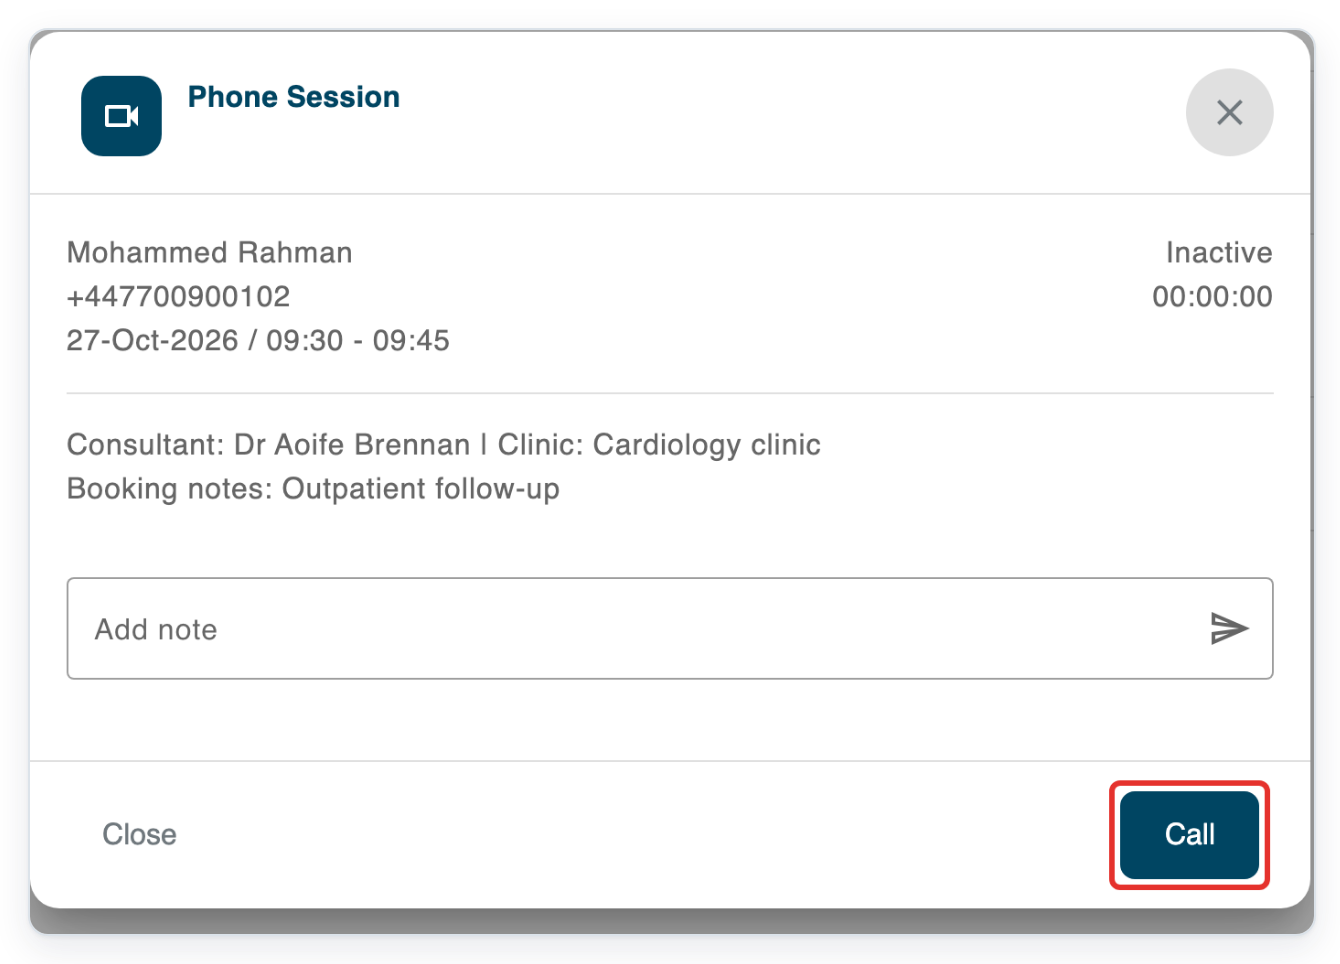
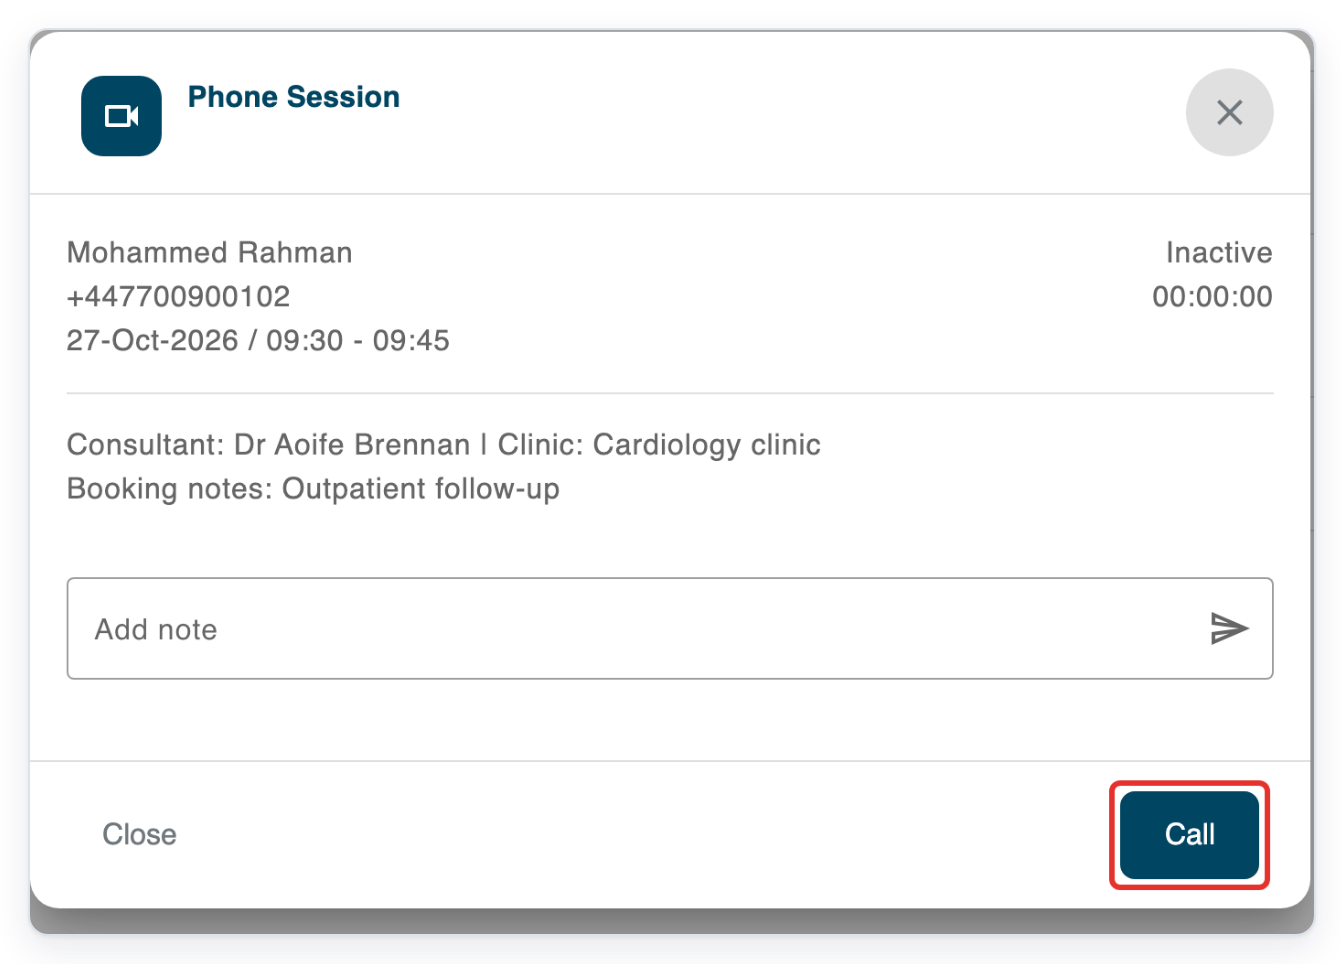
=> Phone Session shows the patient's name, phone number, appointment time, consultant, clinic and booking notes. The Call button starts the phone call.
Click Close to return to Clinic Schedule.
Click the three dots in the Actions column for an appointment. This example uses Siobhán Keane's appointment.
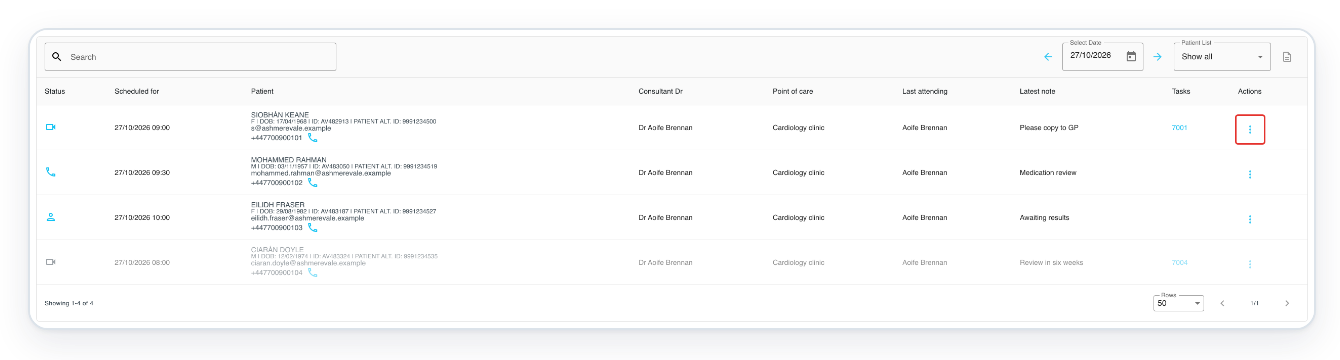
=> The menu includes New task, Patient Profile and Session history, along with other actions.
Use Patient Profile to view the patient's details, or Session history to review the appointment's history. The options available depend on the appointment and your access.
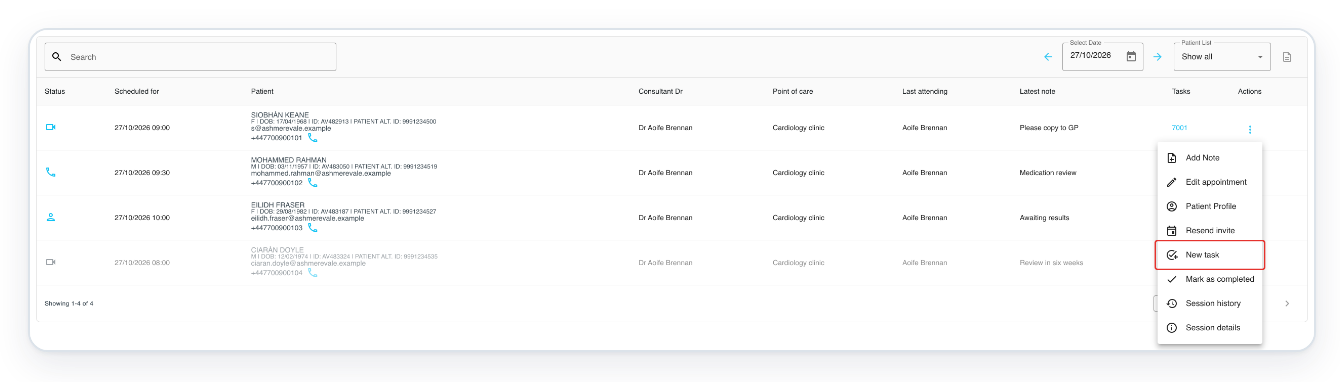
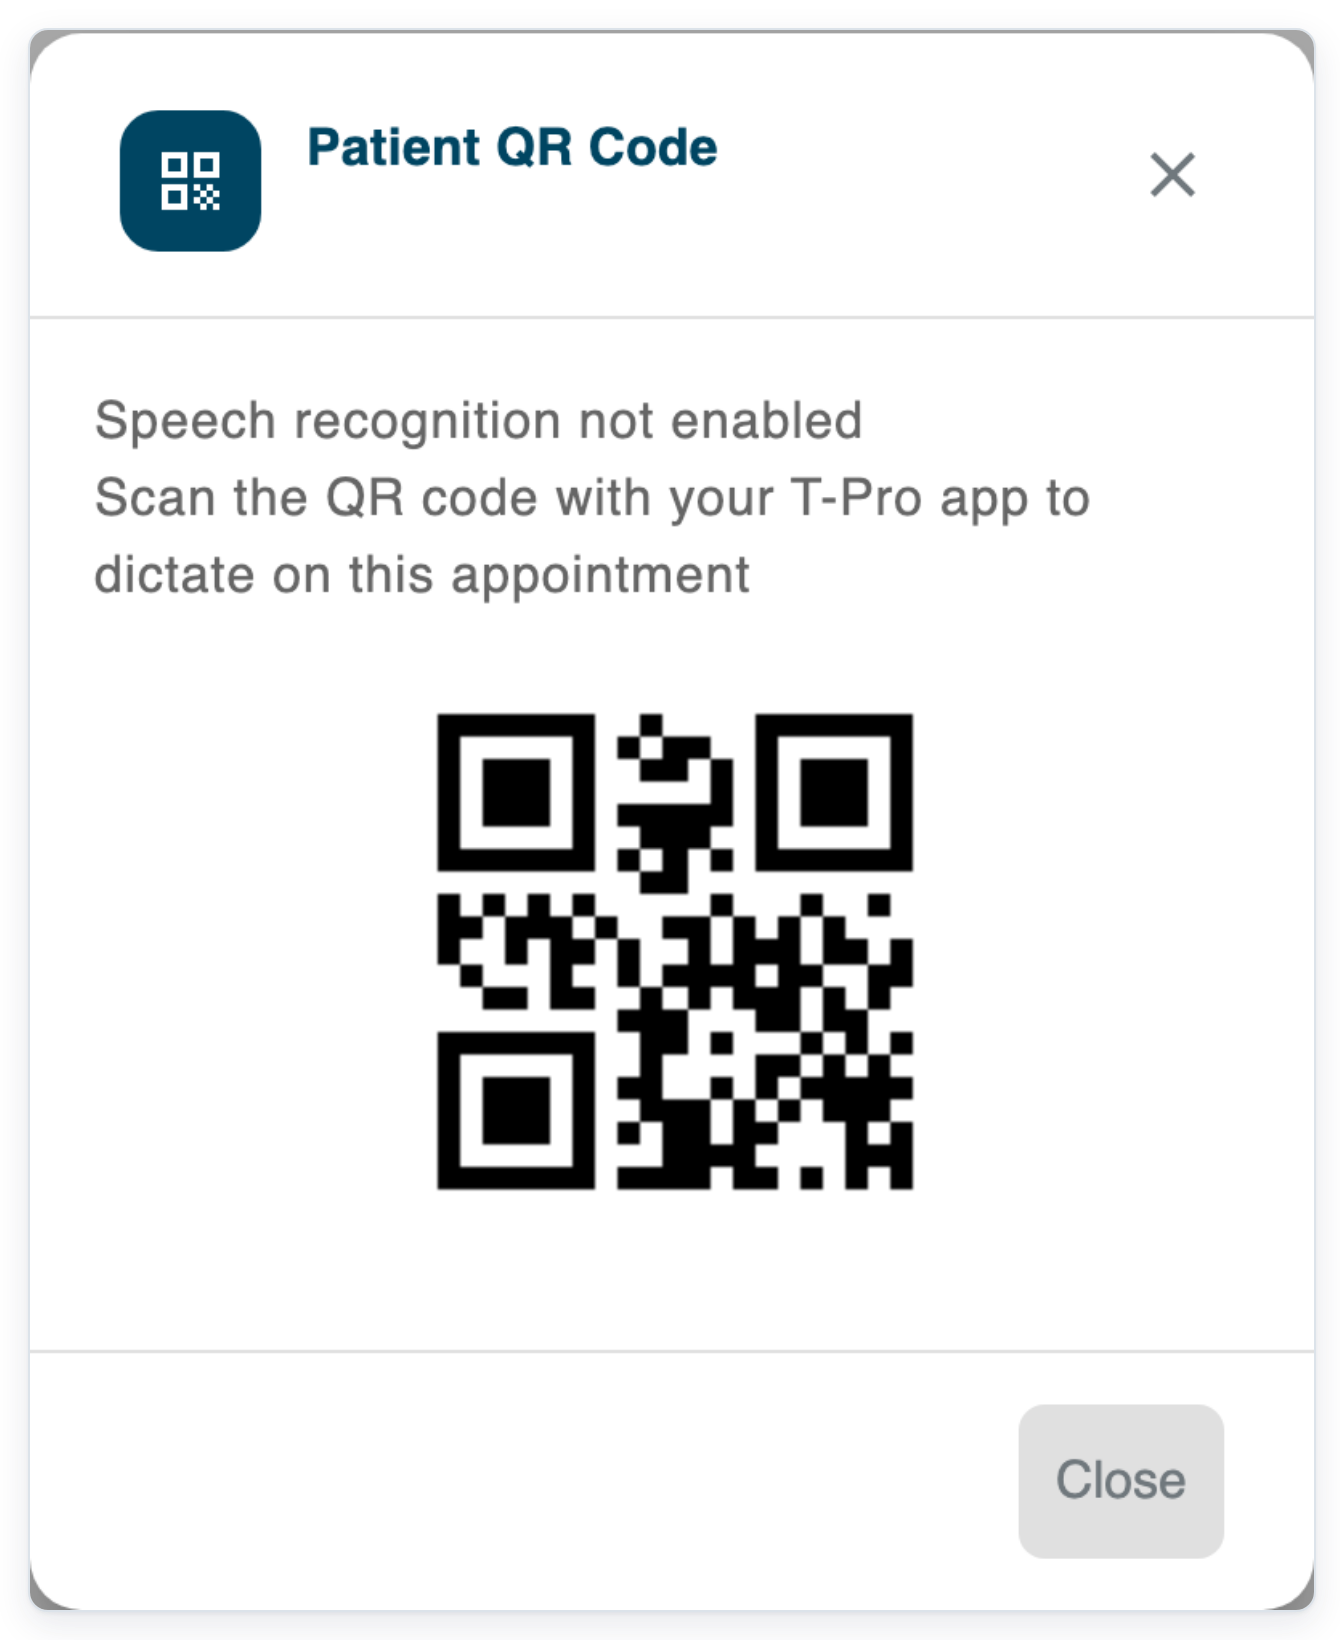
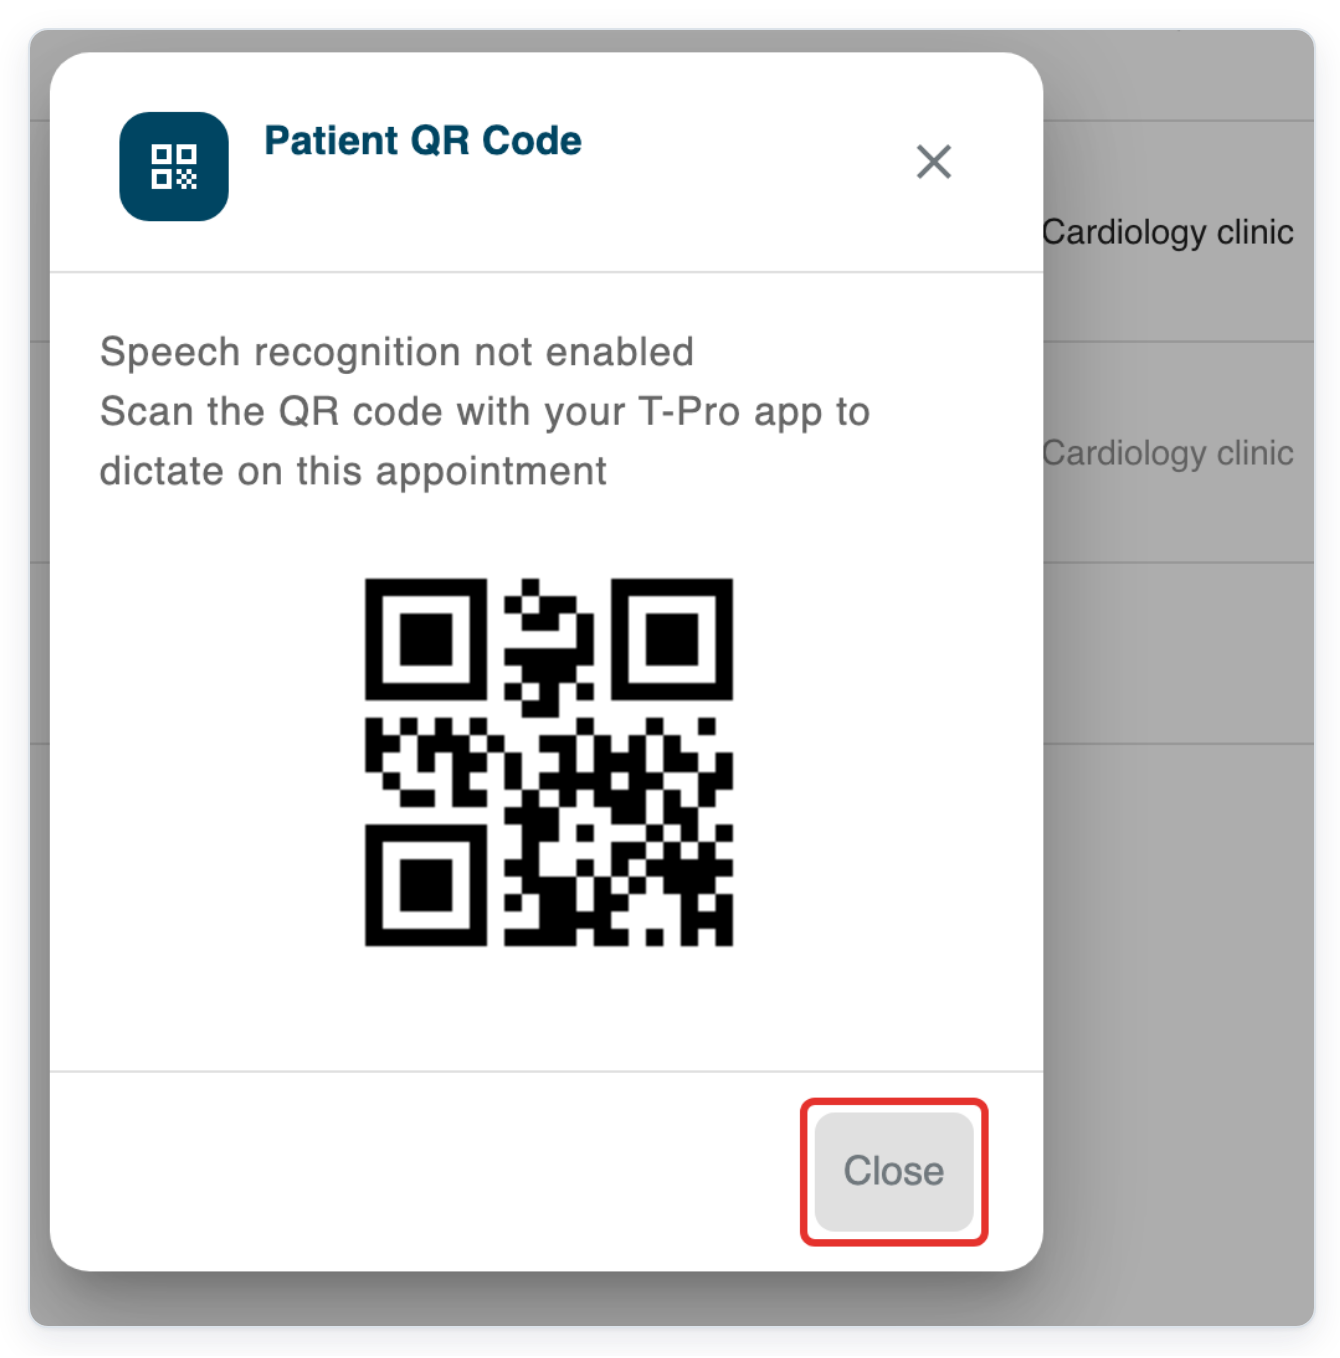
Click New task. With speech recognition disabled and a patient ID available, Patient QR Code opens.
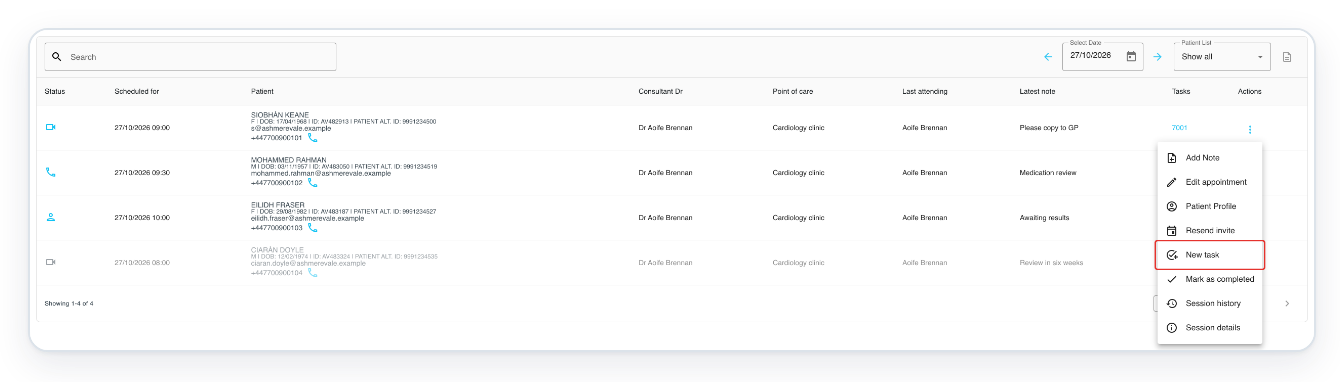
=> Scan the QR code with your T-Pro app to dictate on this appointment.
Click Close to return to Clinic Schedule.
Press Escape to close the Actions menu before opening an invitation.
Click Invite to open Session Invite.

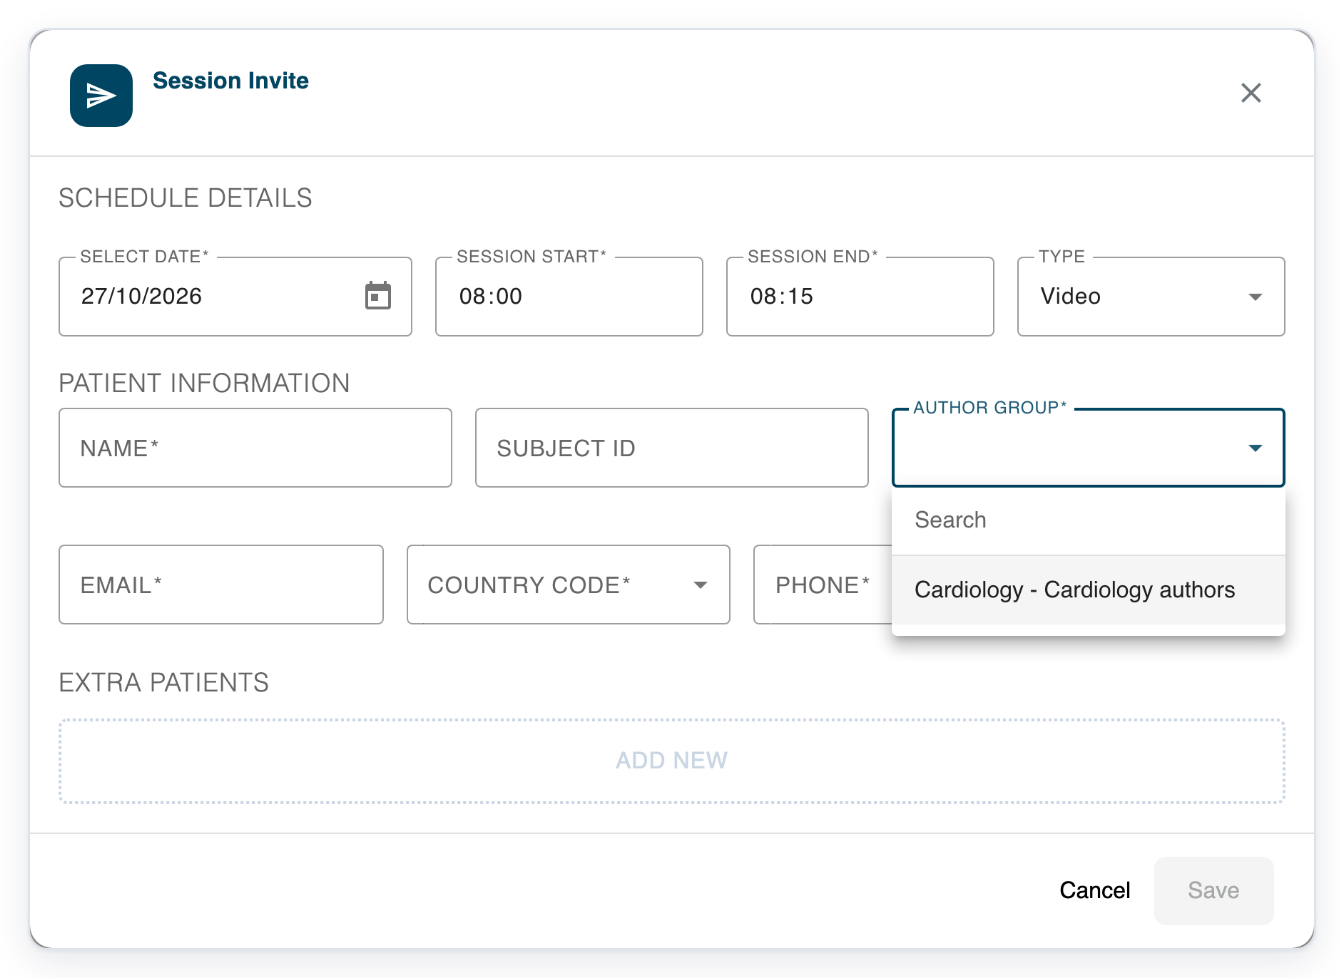
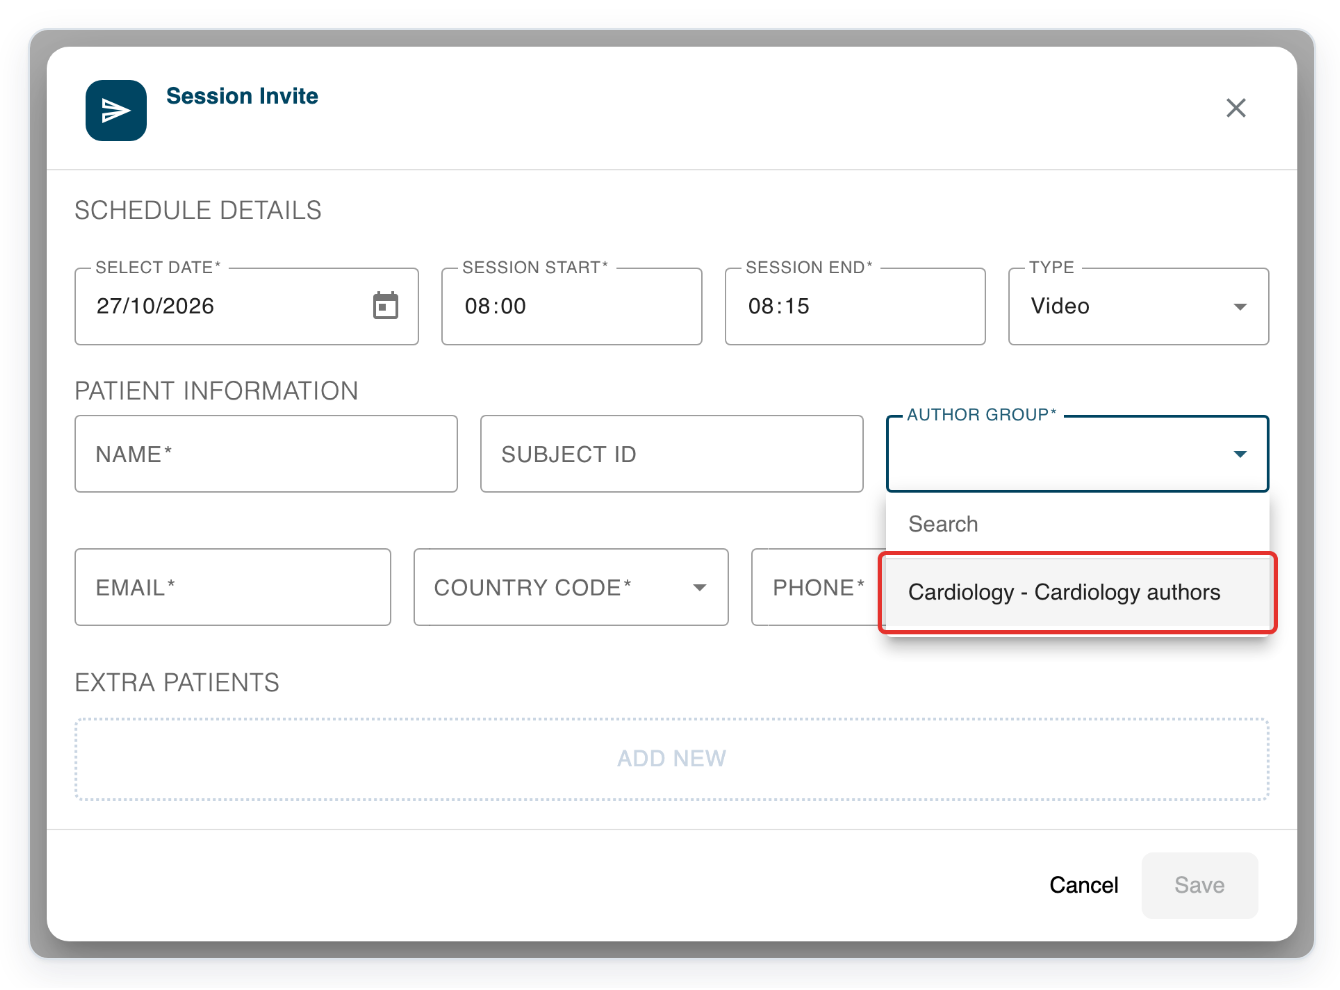
Click in Author Group, then press Enter to see your available author groups.
As an author, you can choose from your own author groups.
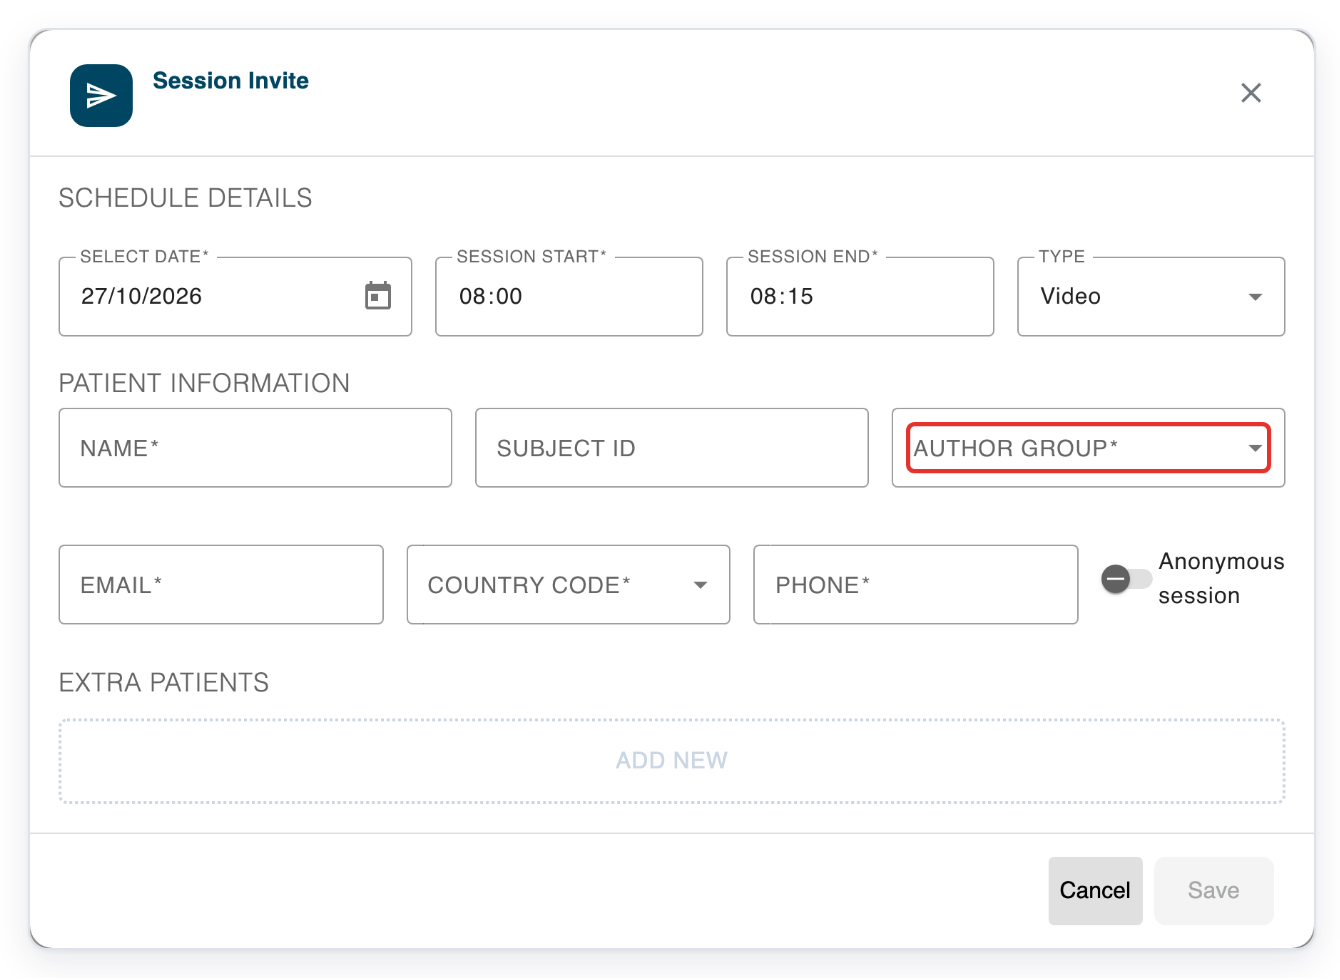
=> In this example, Author Group offers Cardiology - Cardiology authors.
As a transcriber
Click Clinic Manager in the top menu to open Clinic Schedule.

=> Your schedule shows the appointments available to you and the Invite button.
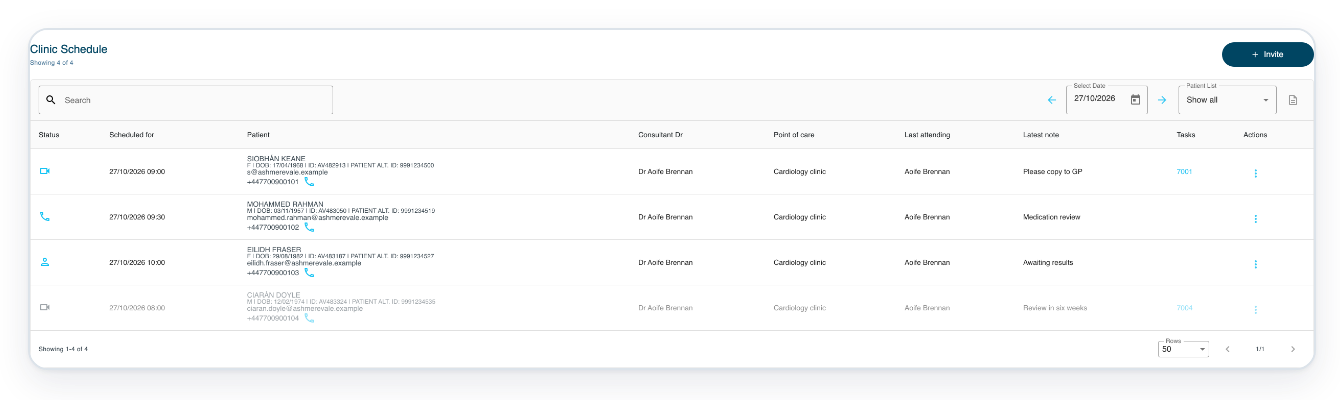
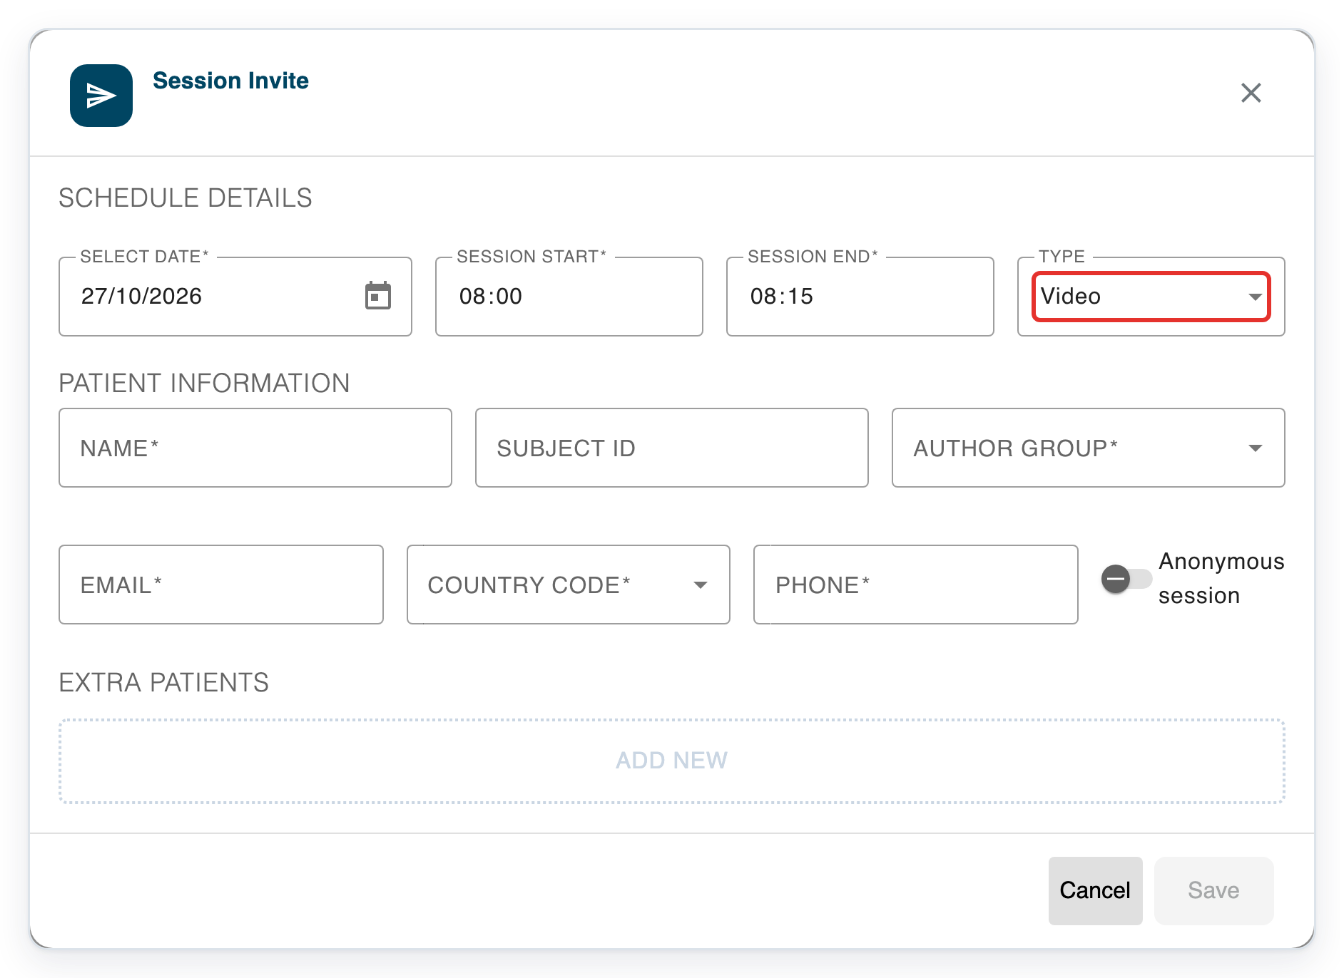
From Clinic Schedule, click Invite to open Session Invite.
You can enter the appointment date, start and end times, and the patient's name and contact details.

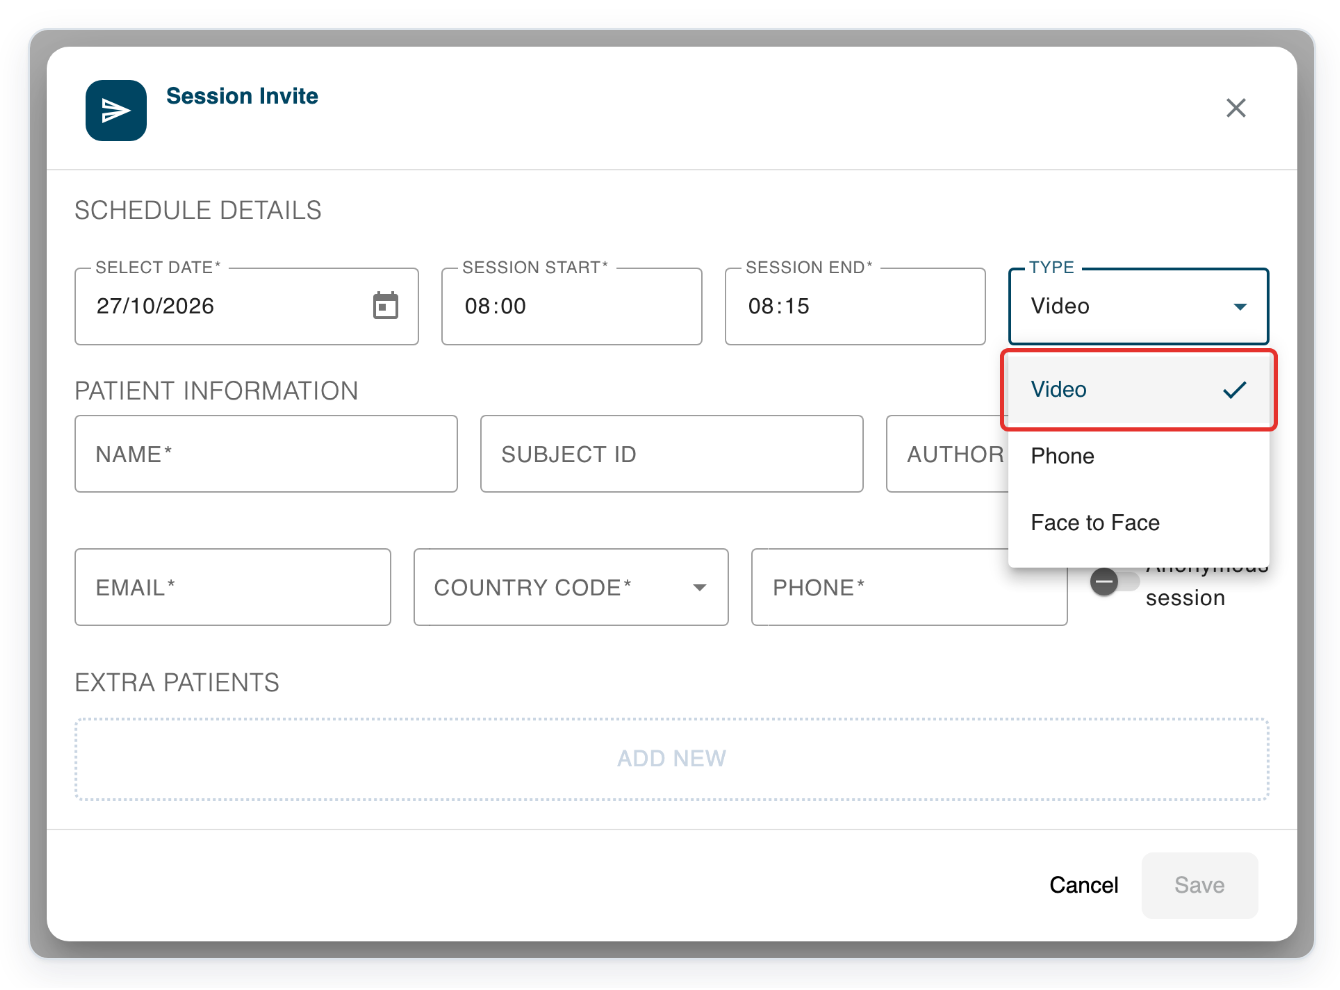
Open Type to see the appointment types.
Choose how the patient will attend. Set the appointment date and times above the patient details.
=> The choices are Video, Phone and Face to Face. The form also has patient details and an Anonymous session option. For video appointments, Extra Patients lets you add other participants.
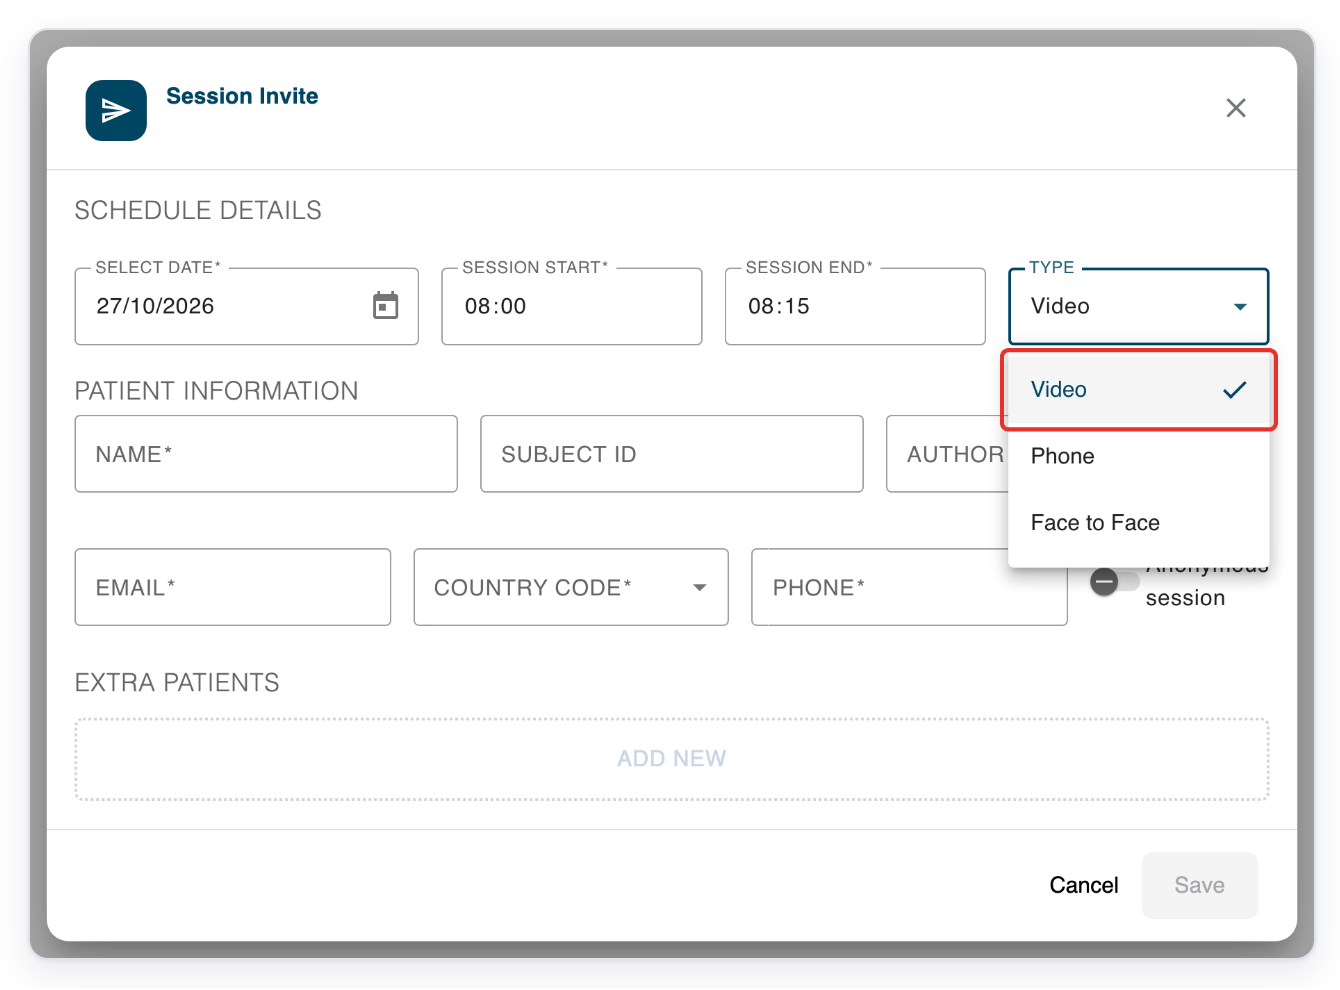
Click Video. The Type menu closes and you return to the invitation form.
Click in Author Group, then press Enter to see the clinical teams available for the appointment.
Groups are listed by department and group name to help you find the team you're booking for.
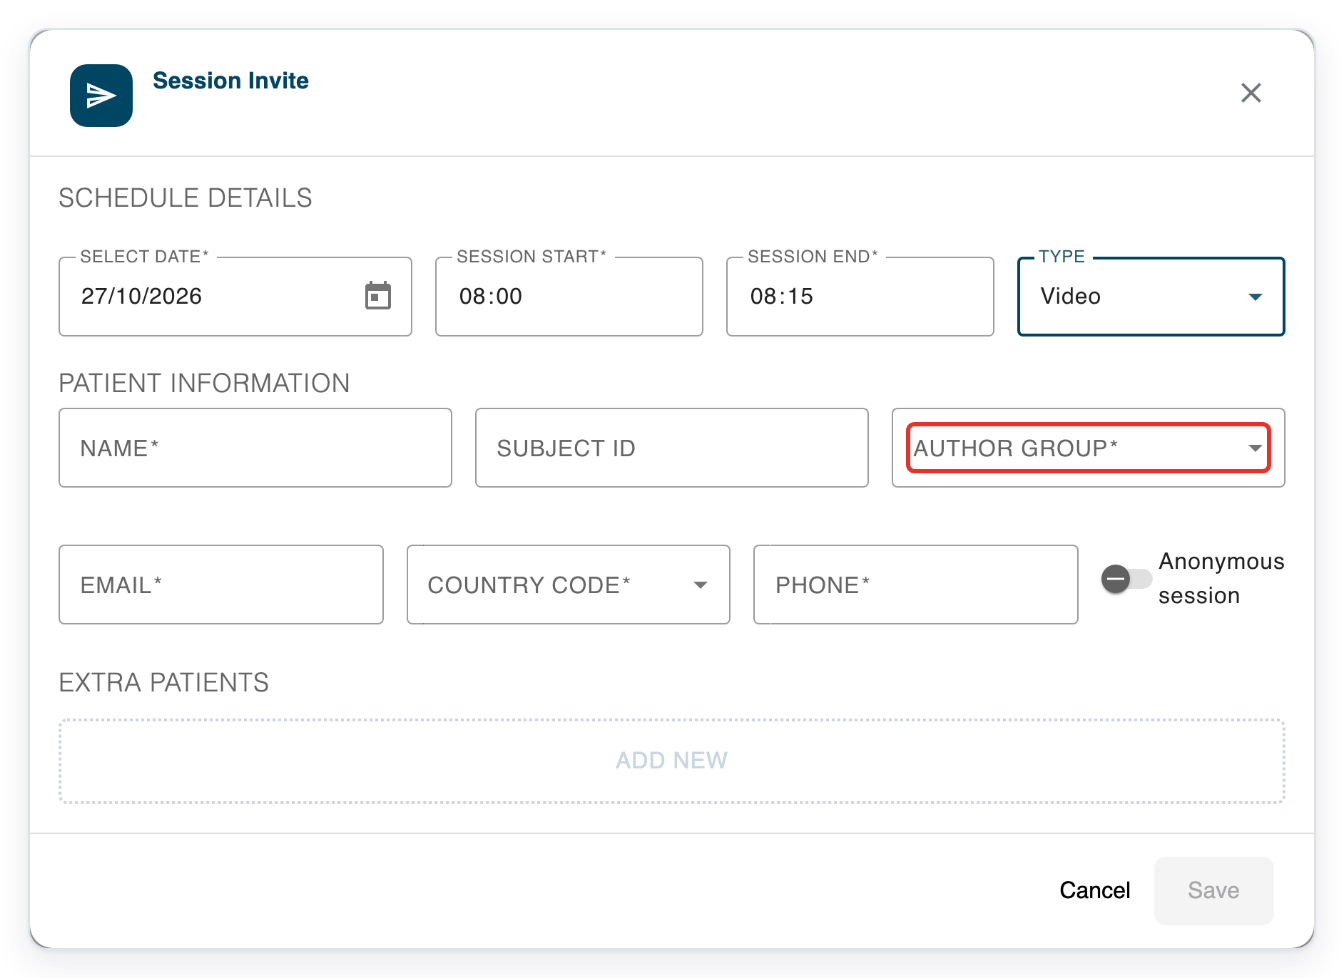
=> In this example, Author Group lists Cardiology - Cardiology authors.
Run phone and video consultations as an author
Click Clinic Manager to open Clinic Schedule.

Click the phone icon beside Mohammed Rahman's phone number to open Phone Session.
Click Call and wait for the patient to answer.
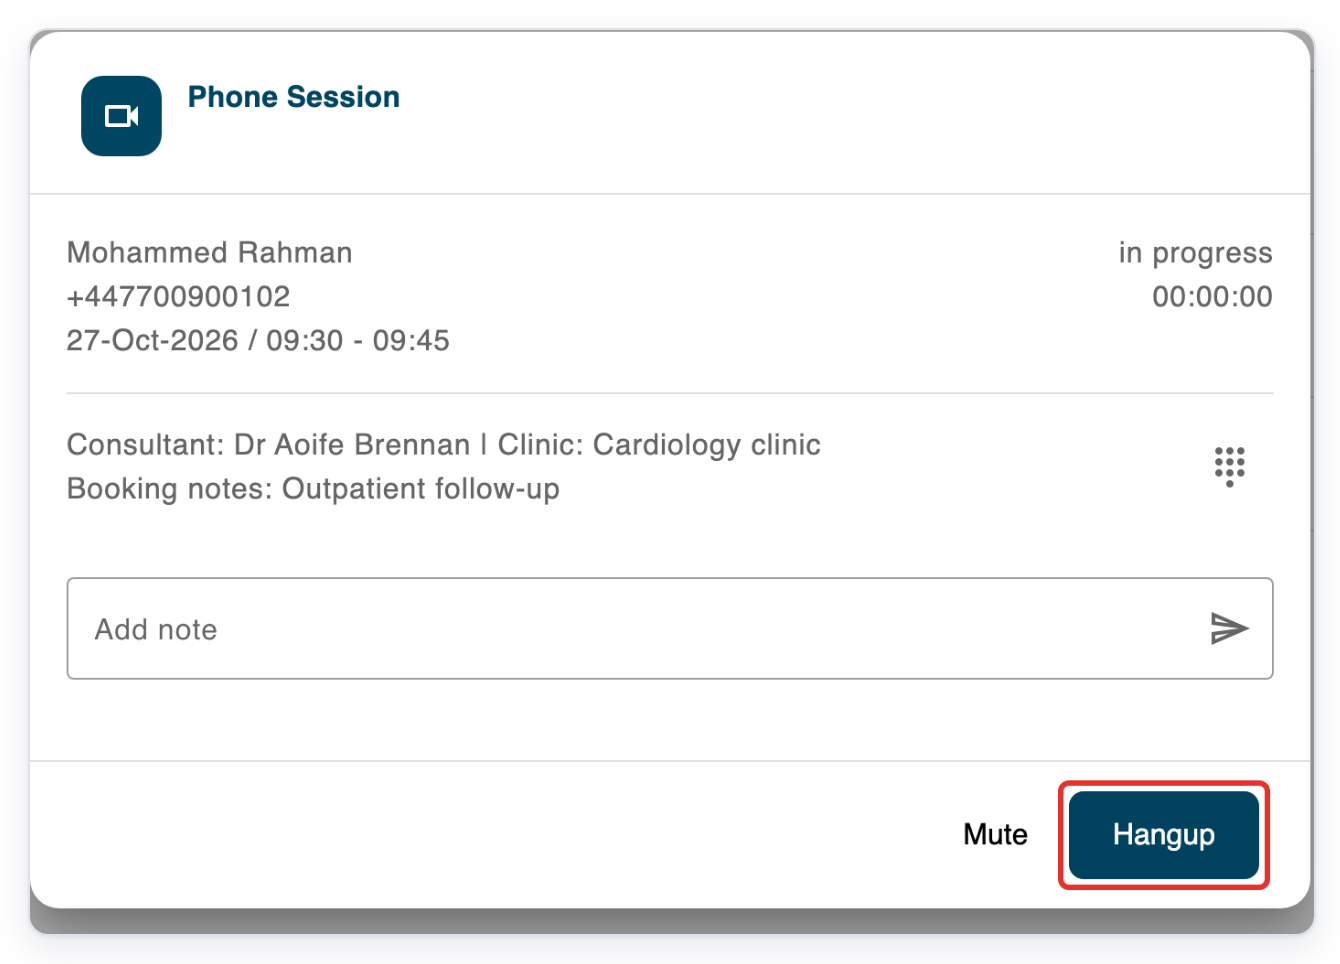
=> The connected call shows in progress, its duration, Mute and Hangup.
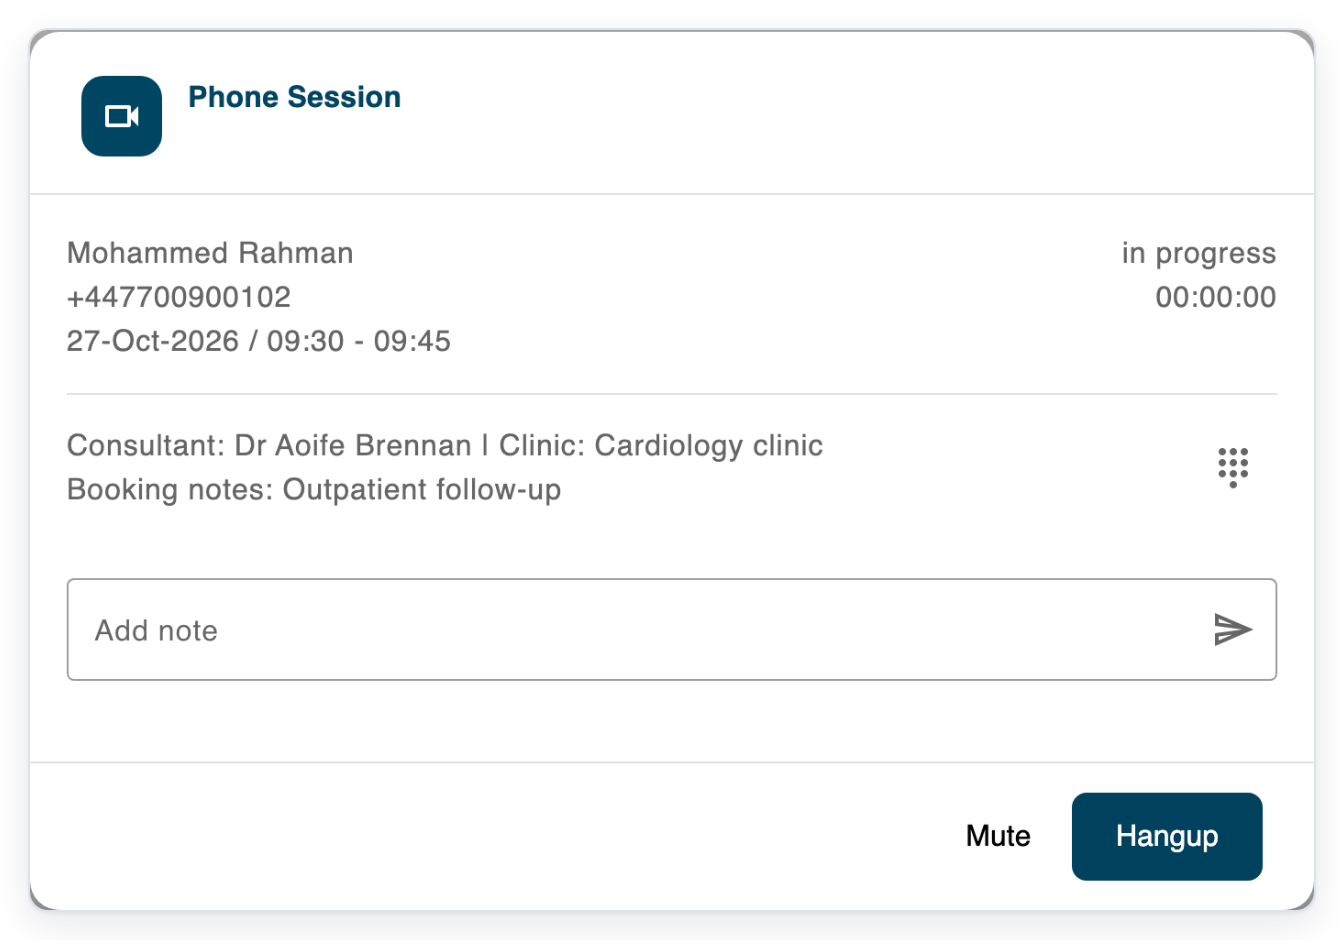
Click Hangup to end the call.
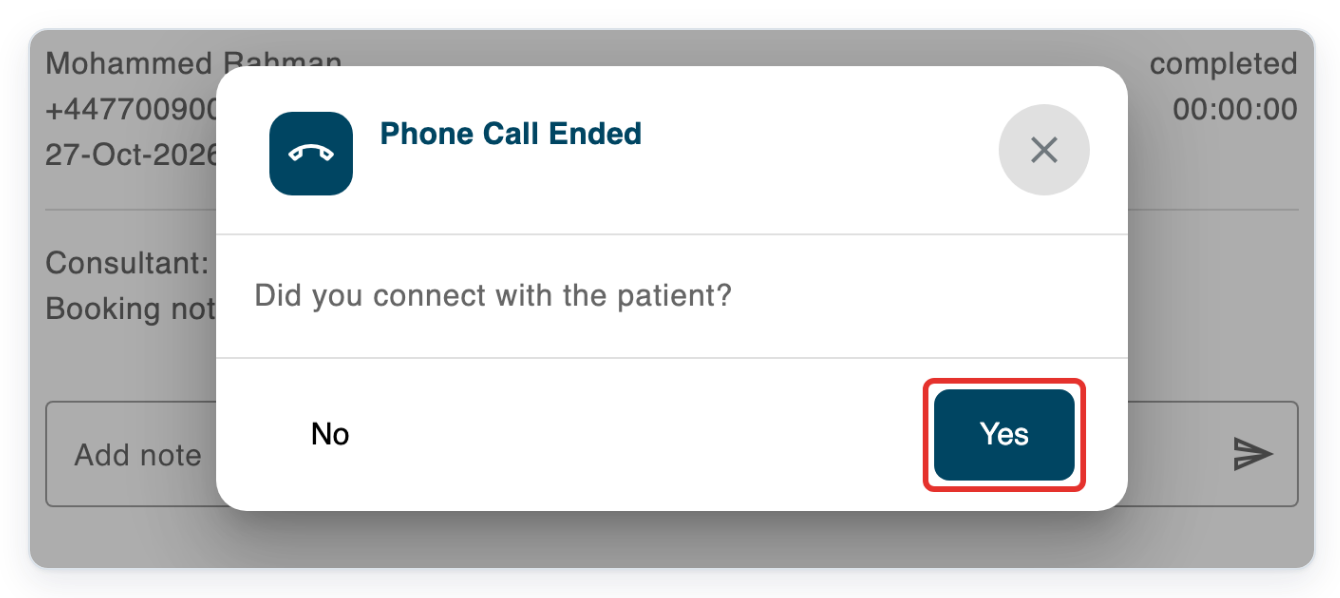
=> Phone Call Ended asks whether you connected with the patient. Choose Yes or No.
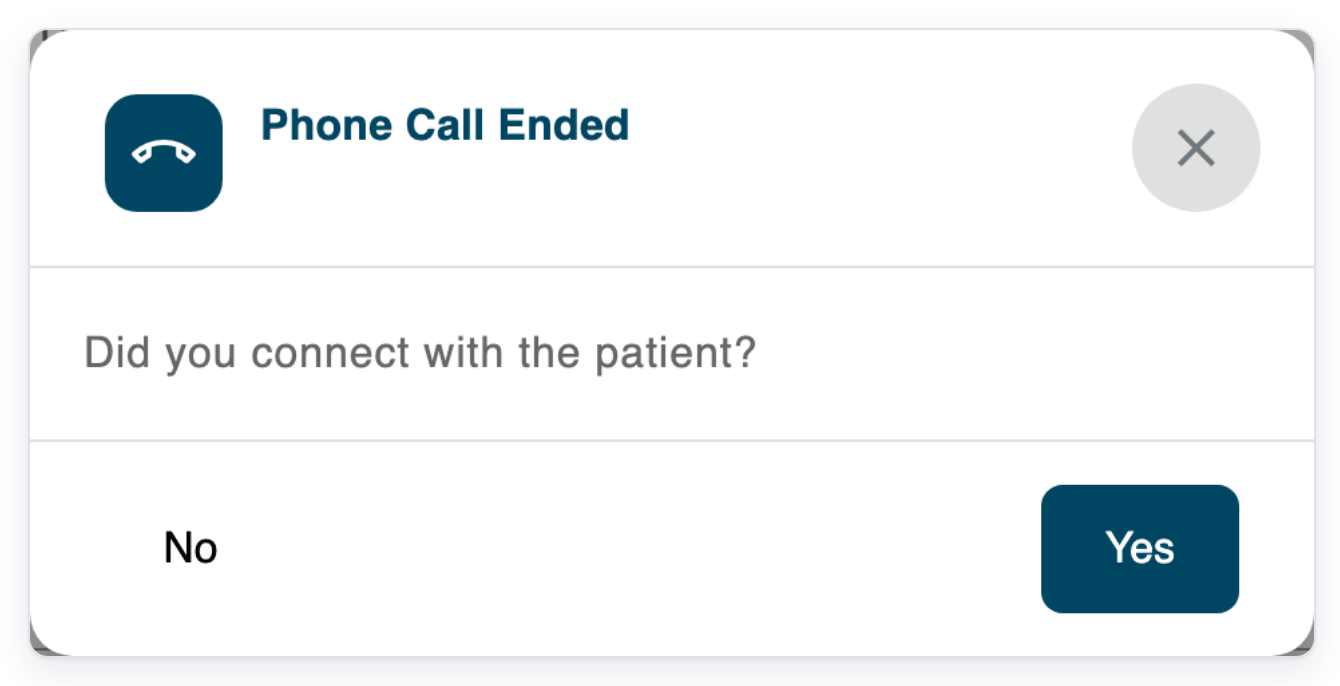
Click Yes if you spoke with the patient.
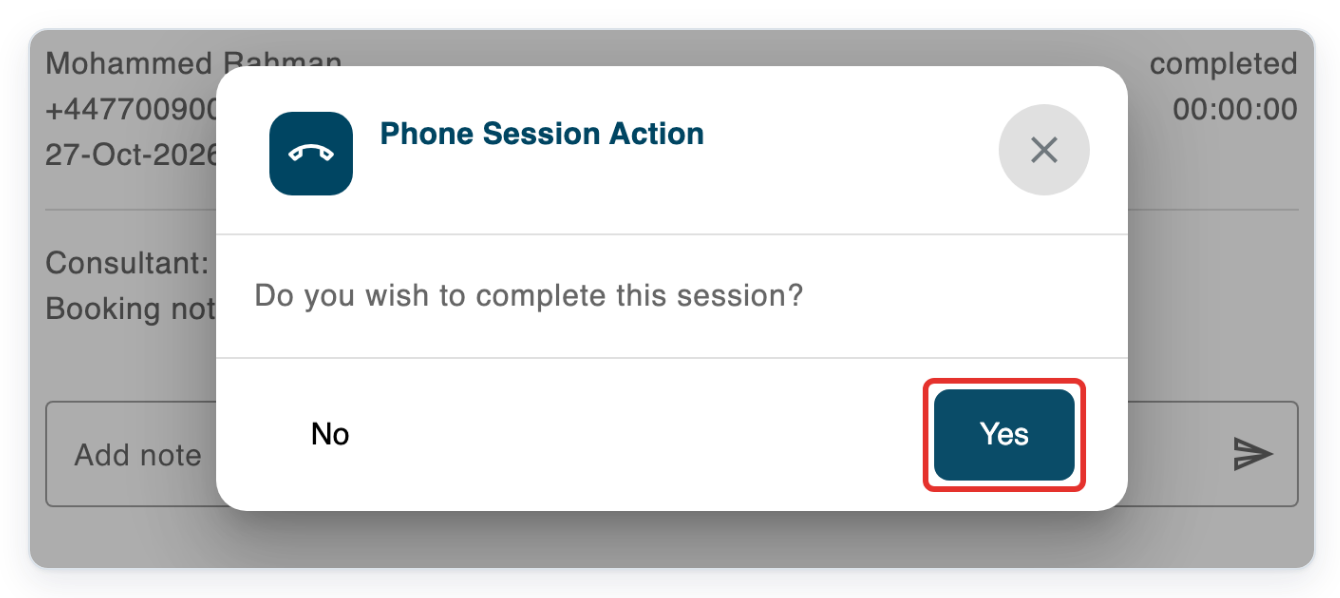
=> Phone Session Action separately asks whether you want to complete the appointment.
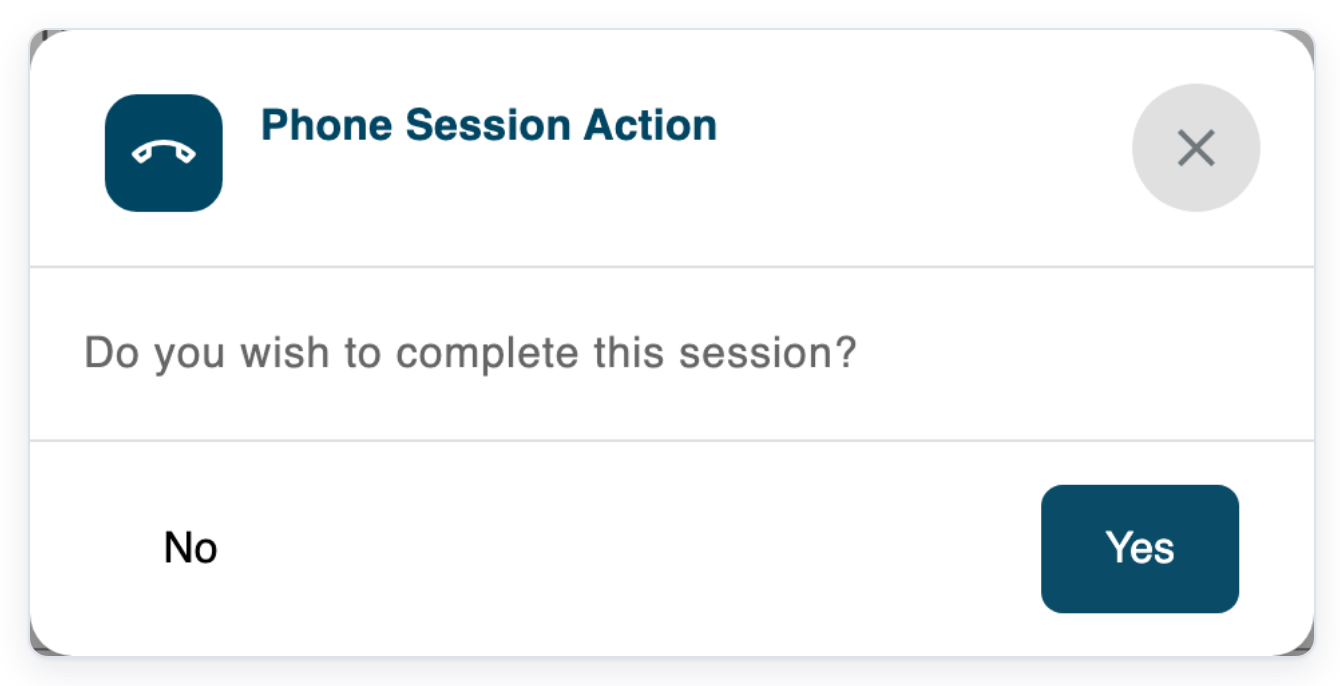
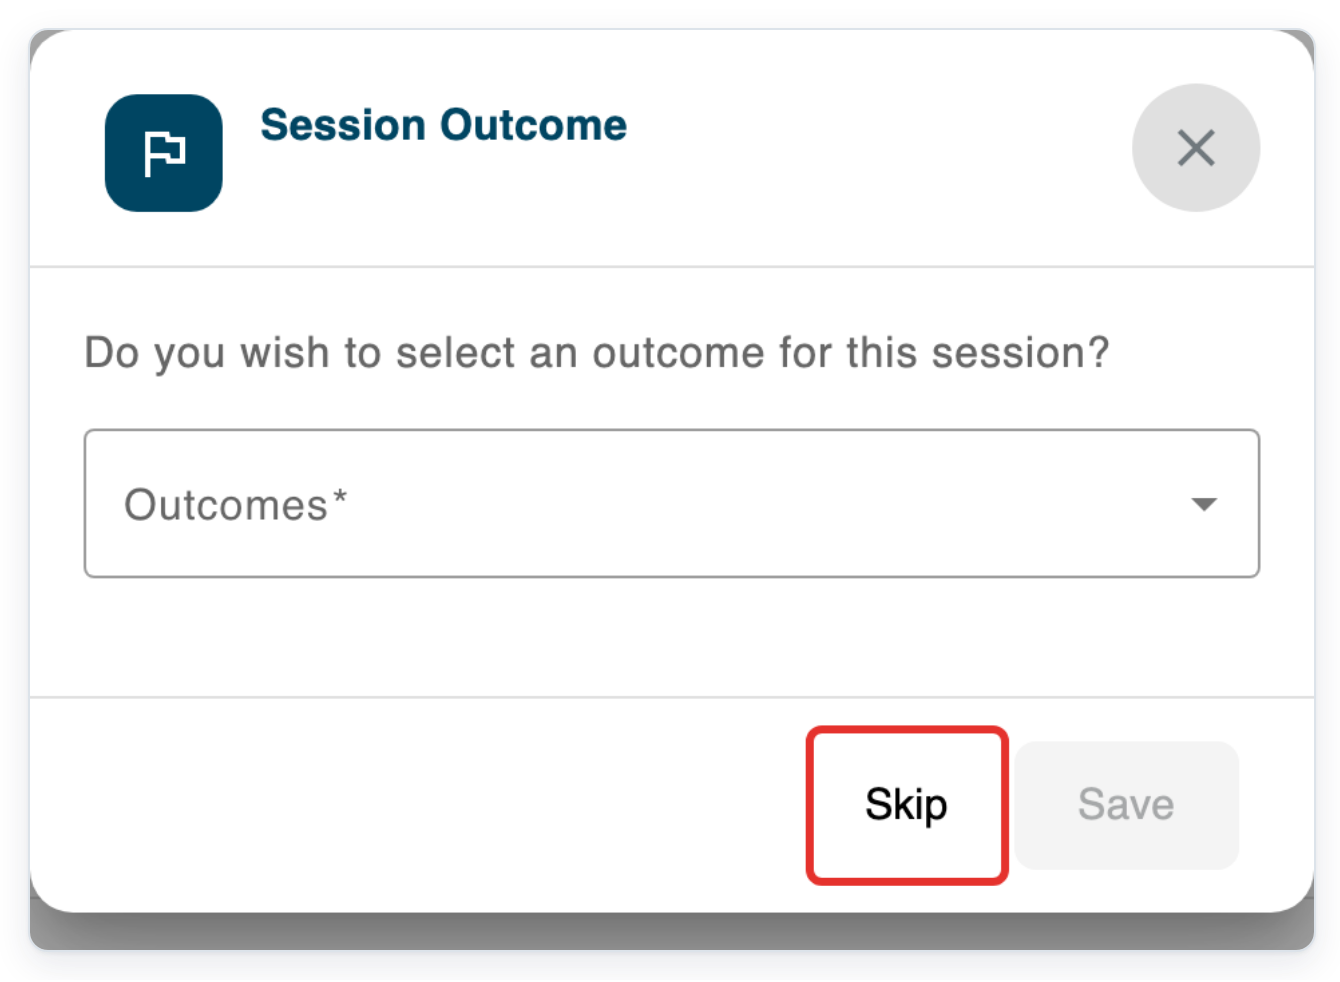
Click Yes to complete the appointment. If outcomes are available, Session Outcome opens.
Click Skip to finish without an outcome and return to Clinic Schedule.
Click Siobhán Keane's video appointment in Clinic Schedule.
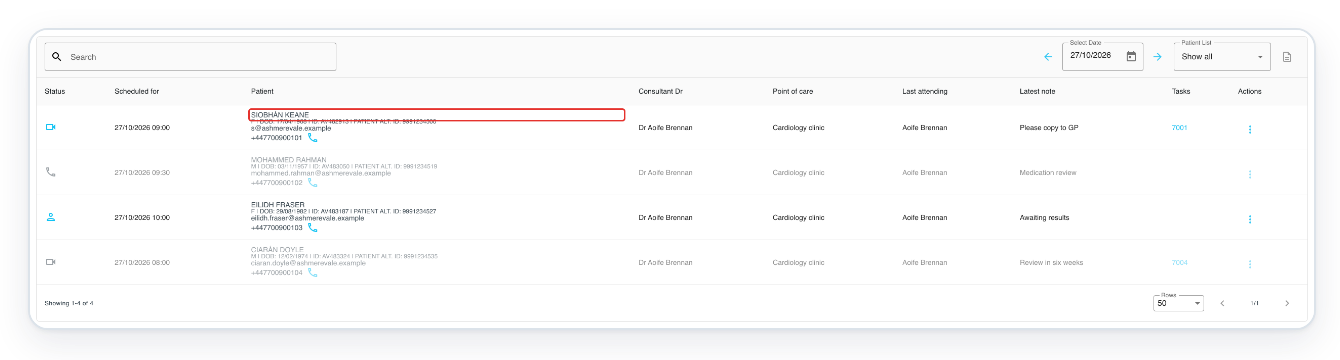
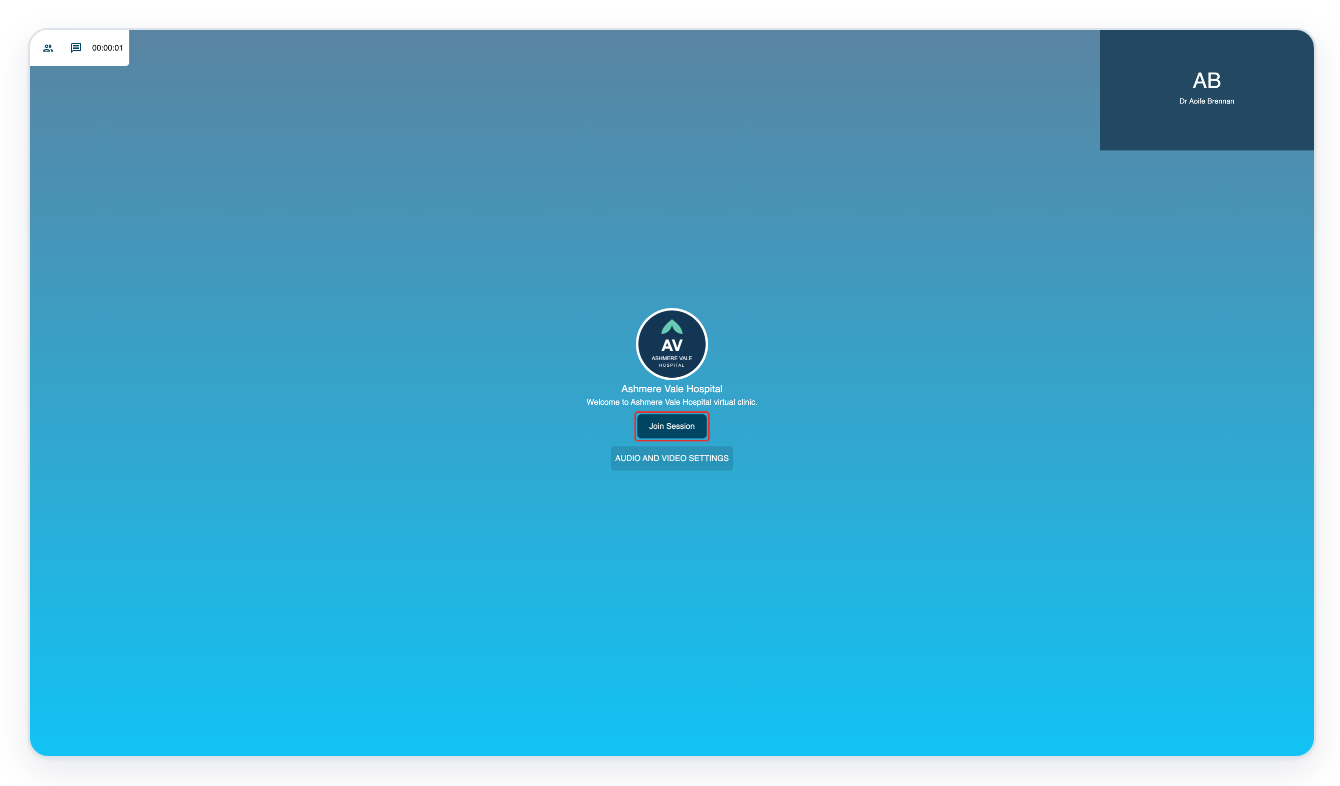
=> The appointment opens in a new tab with Join Session and audio and video settings.
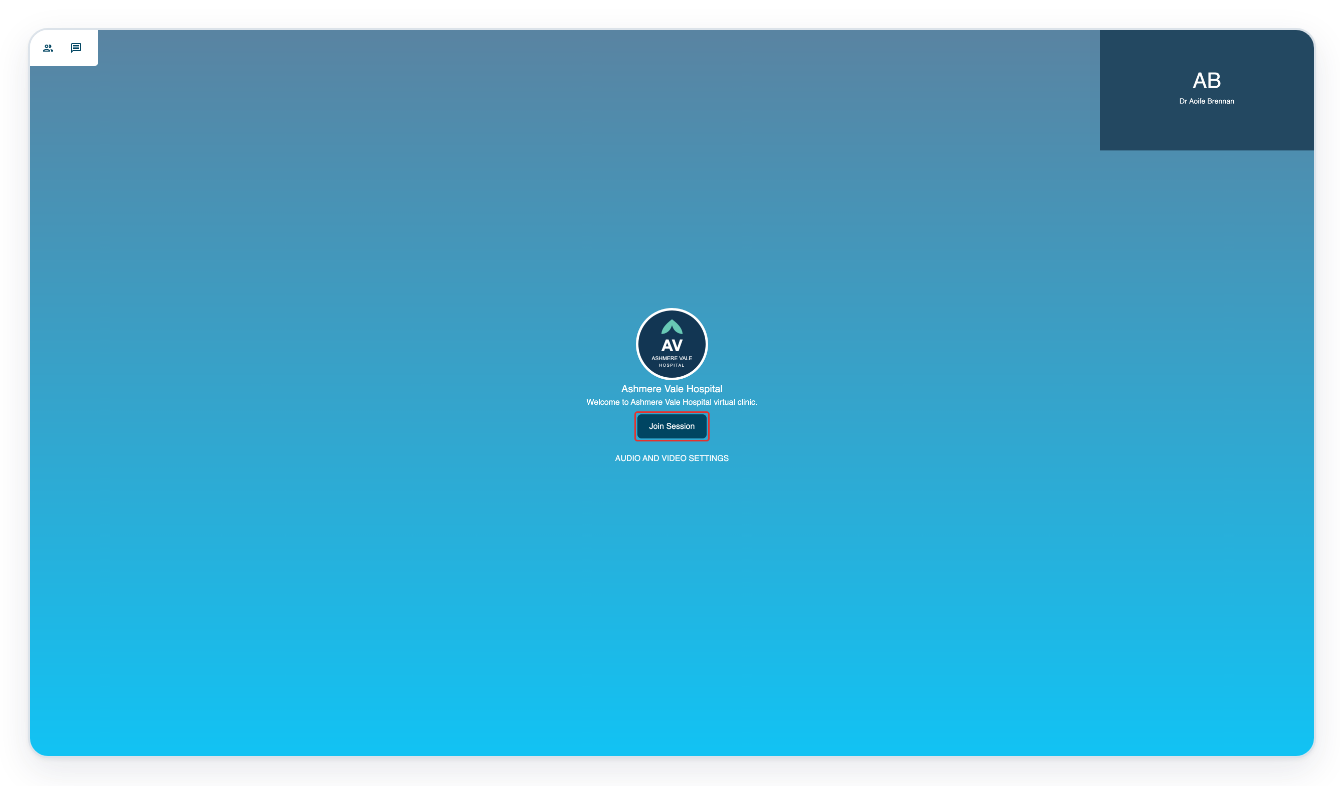
Click audio and video settings to check your devices.
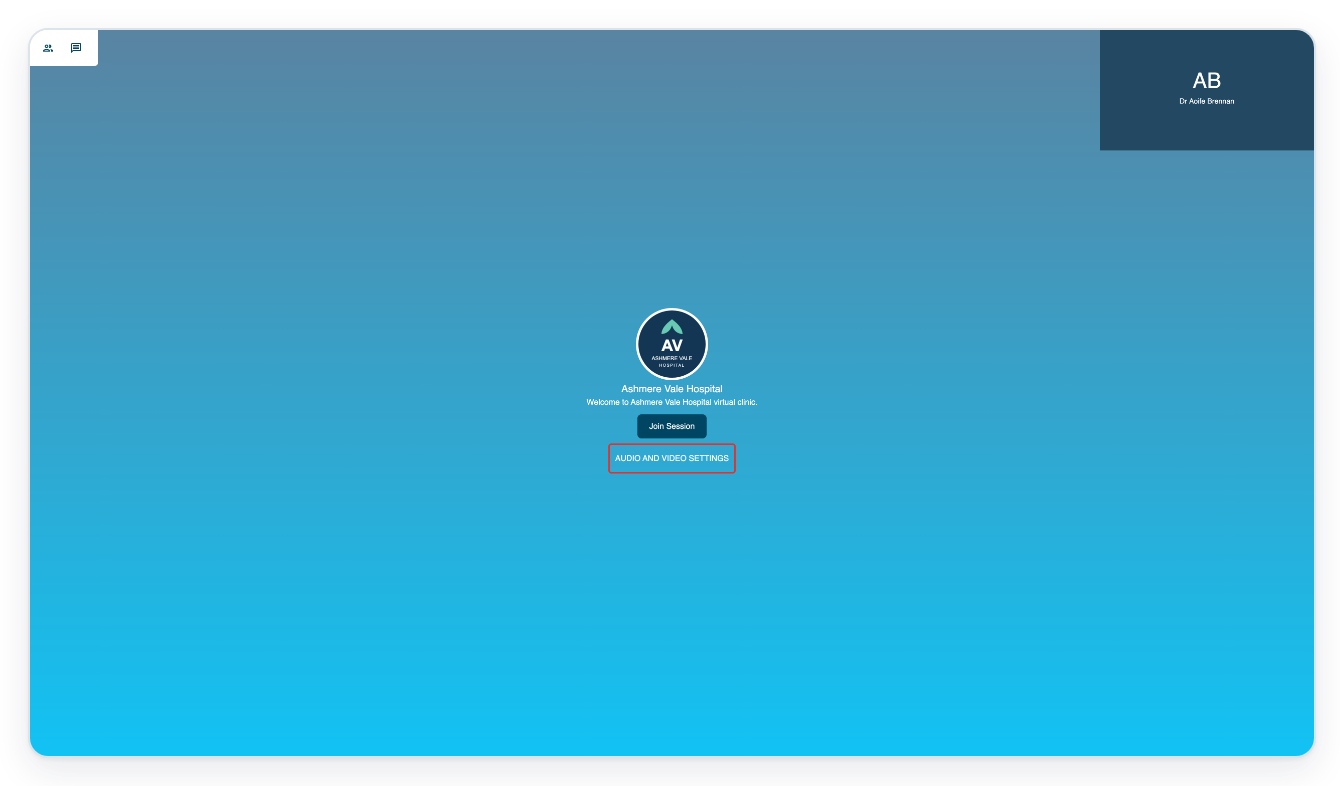
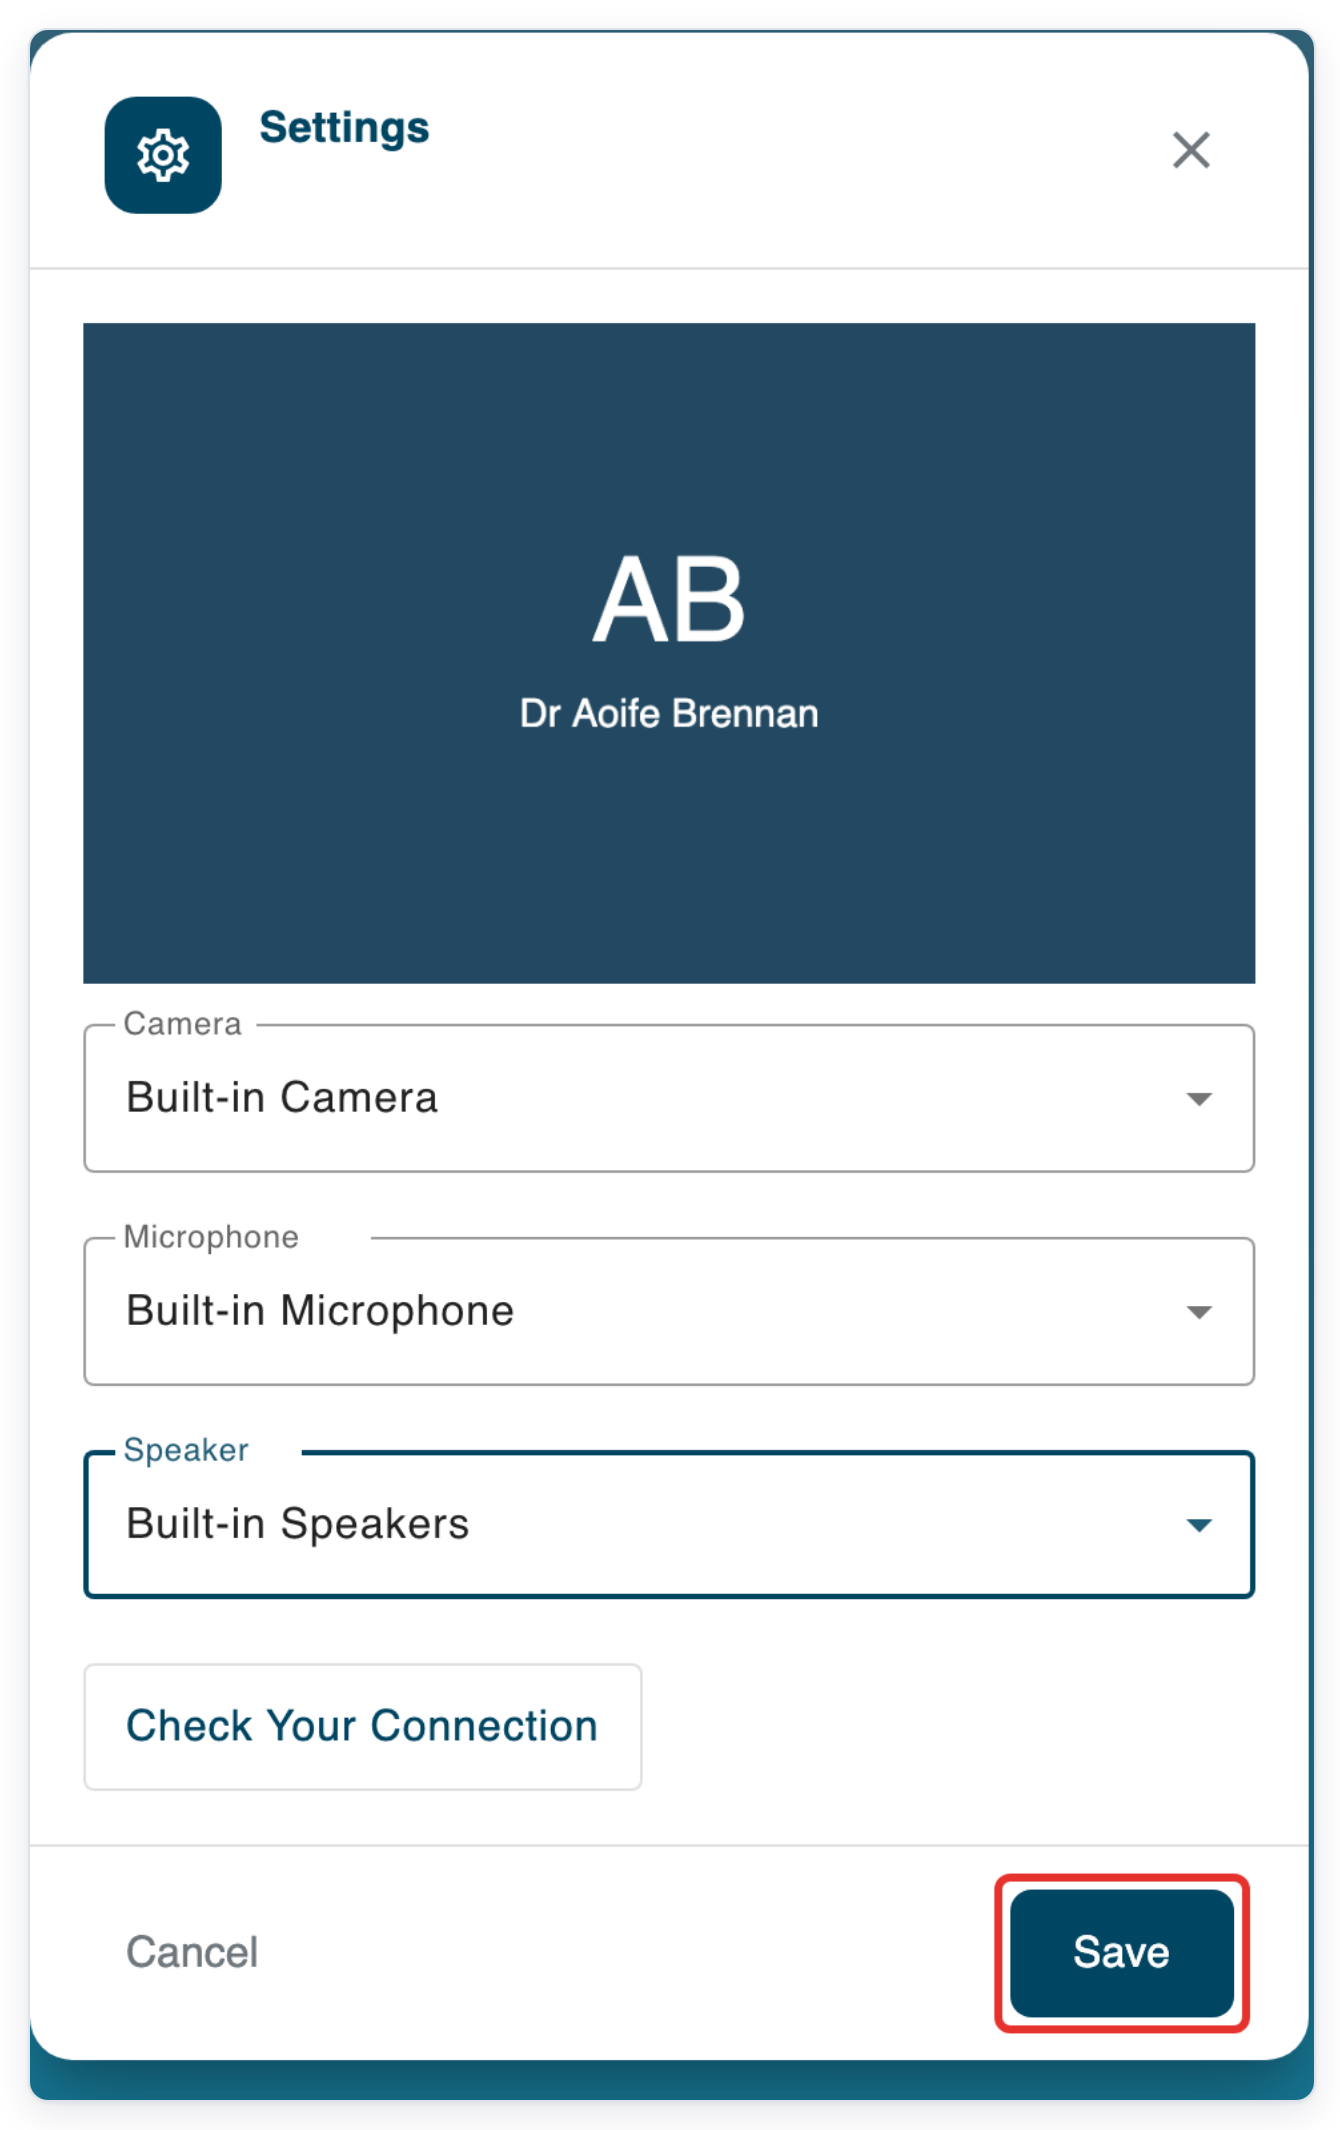
=> Settings shows a camera preview, Camera, Microphone, Speaker and Check Your Connection.
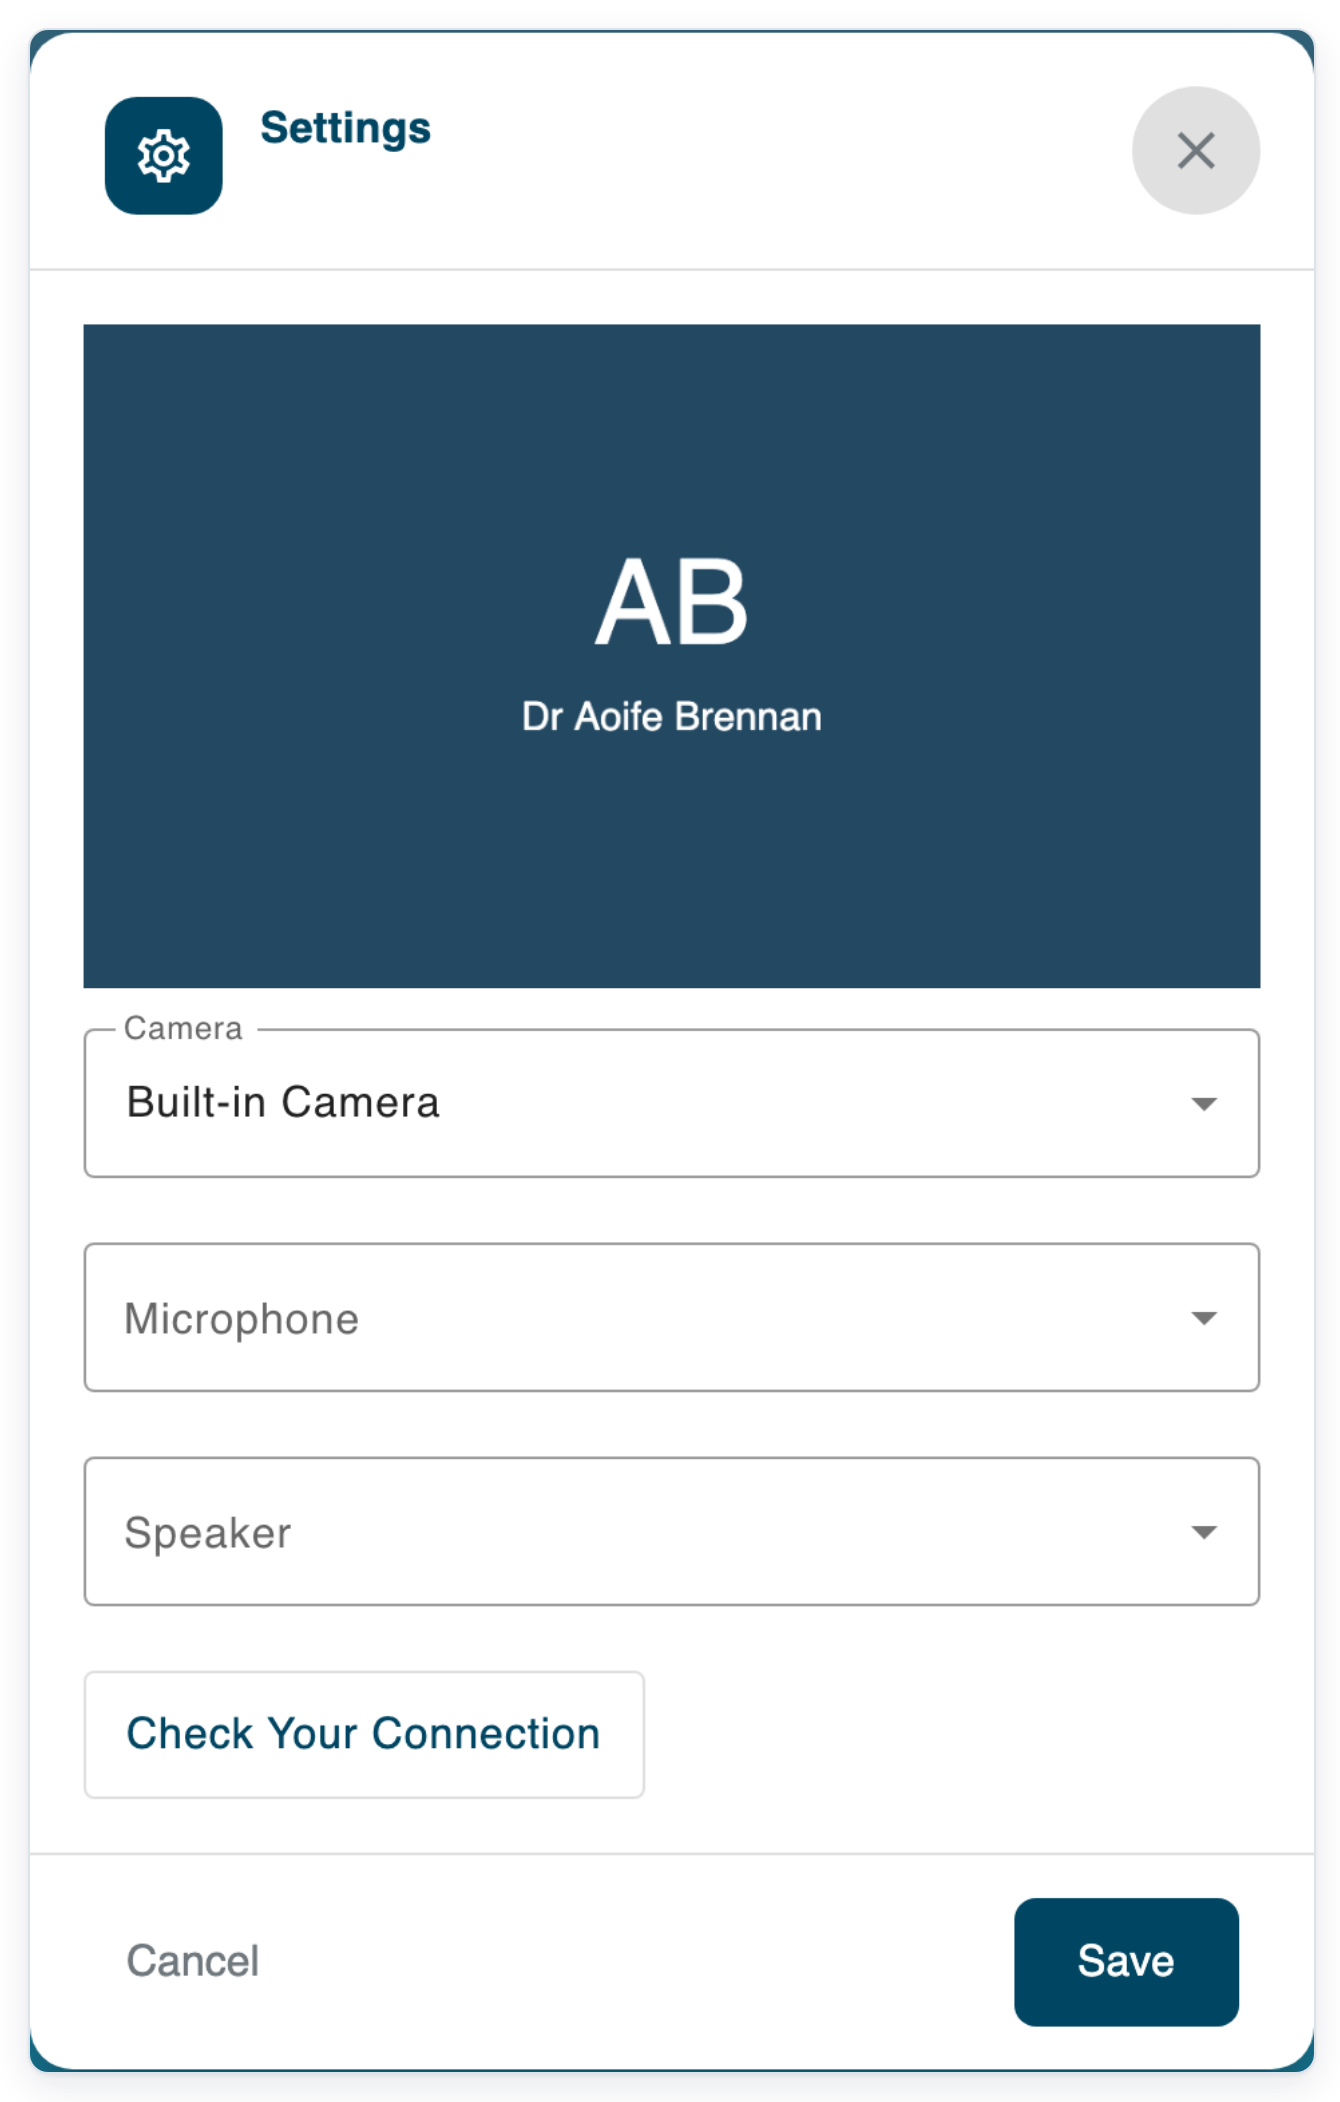
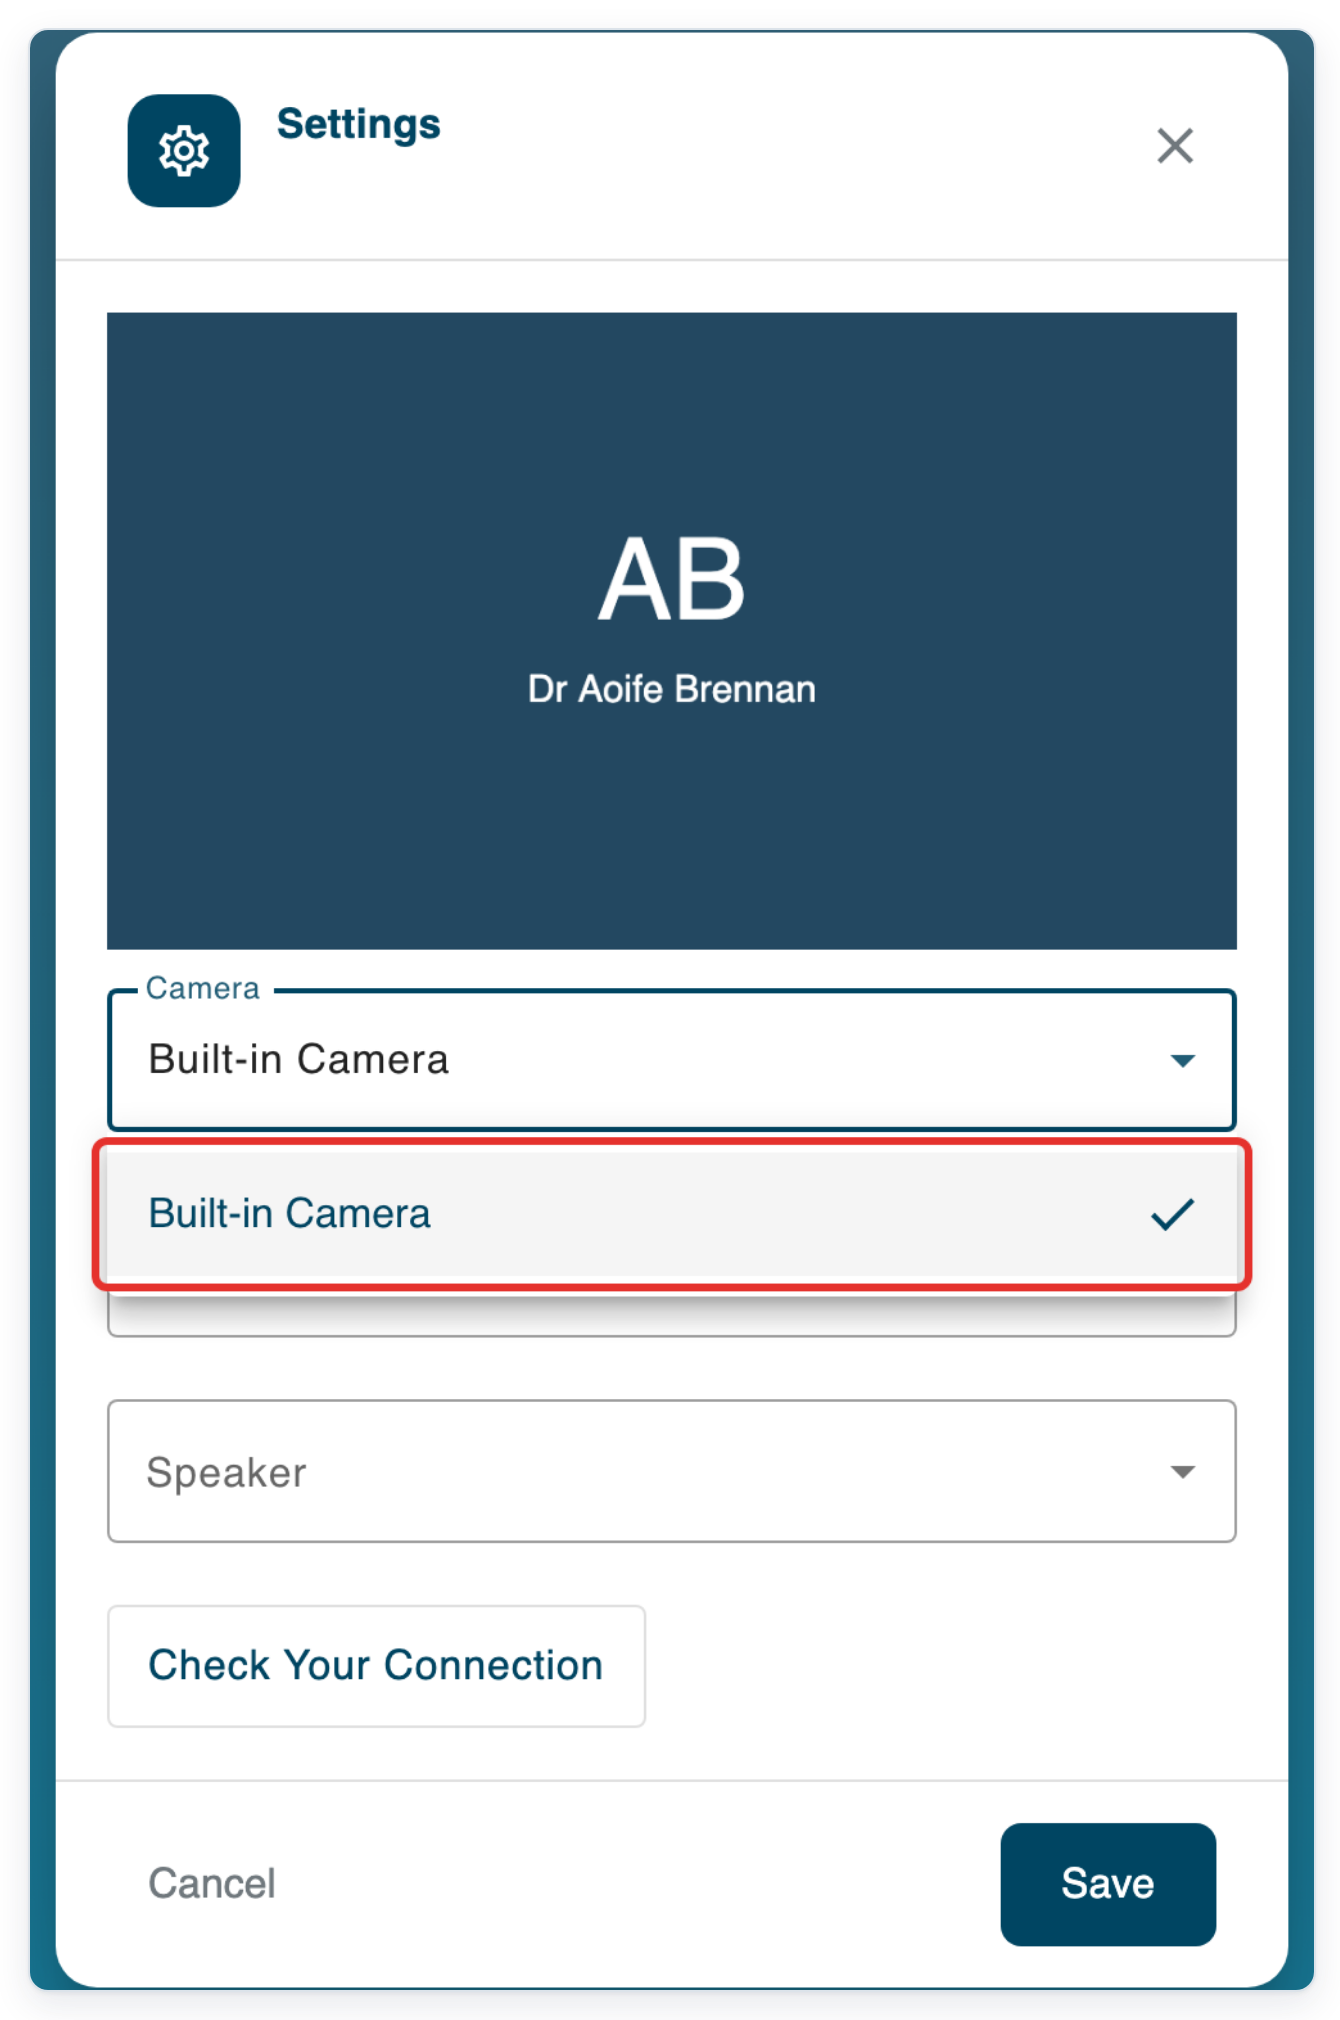
Open Camera to see the available devices.
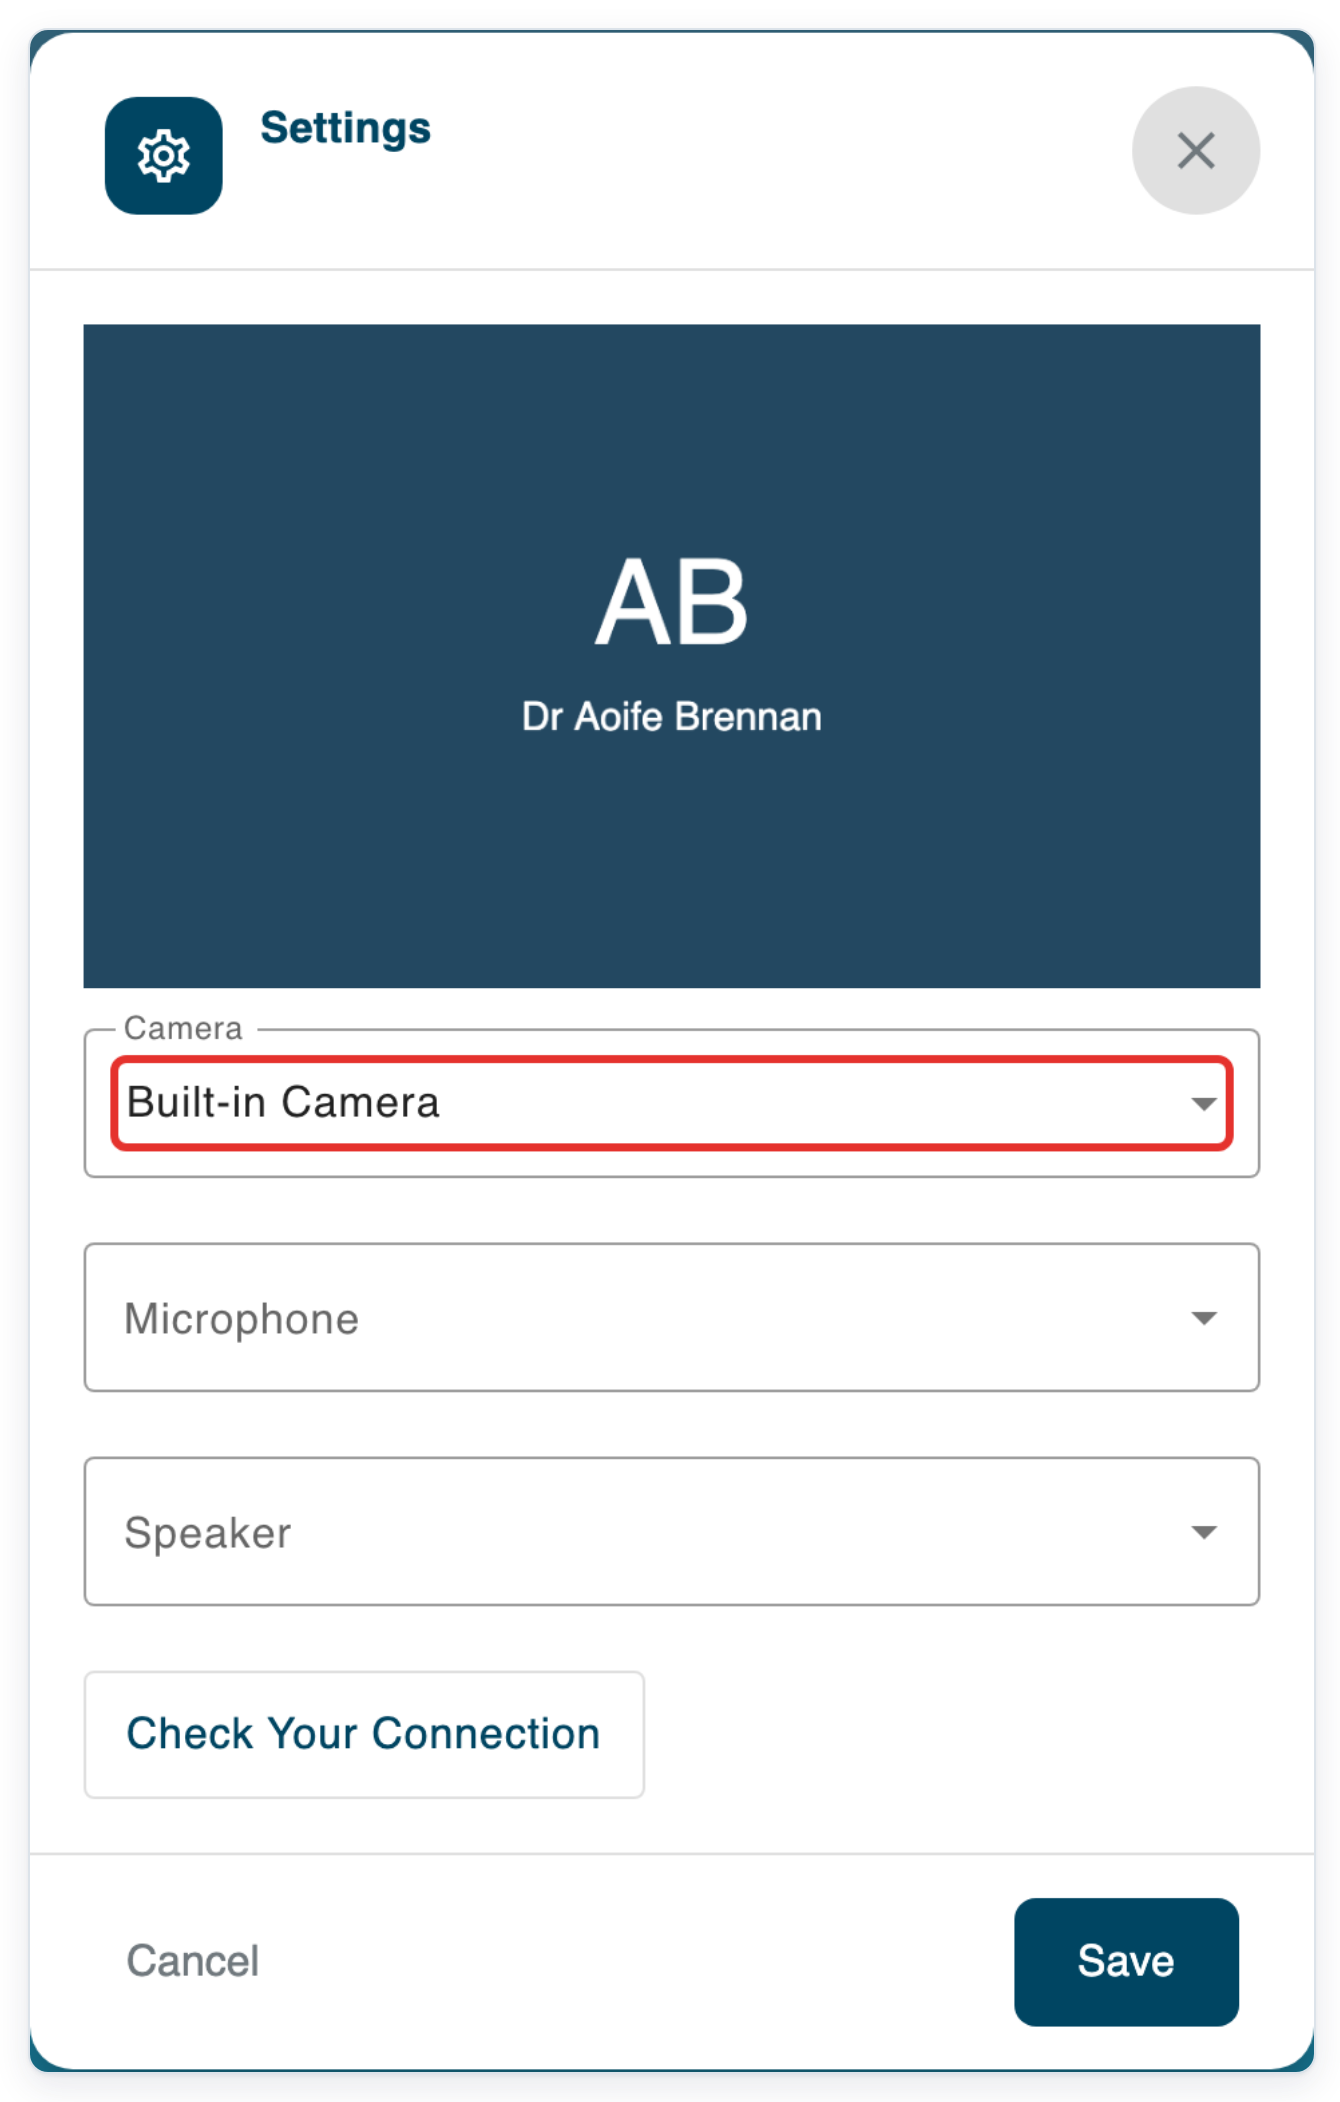
Choose your camera. This example uses Built-in Camera.
Open Microphone to see the available devices.
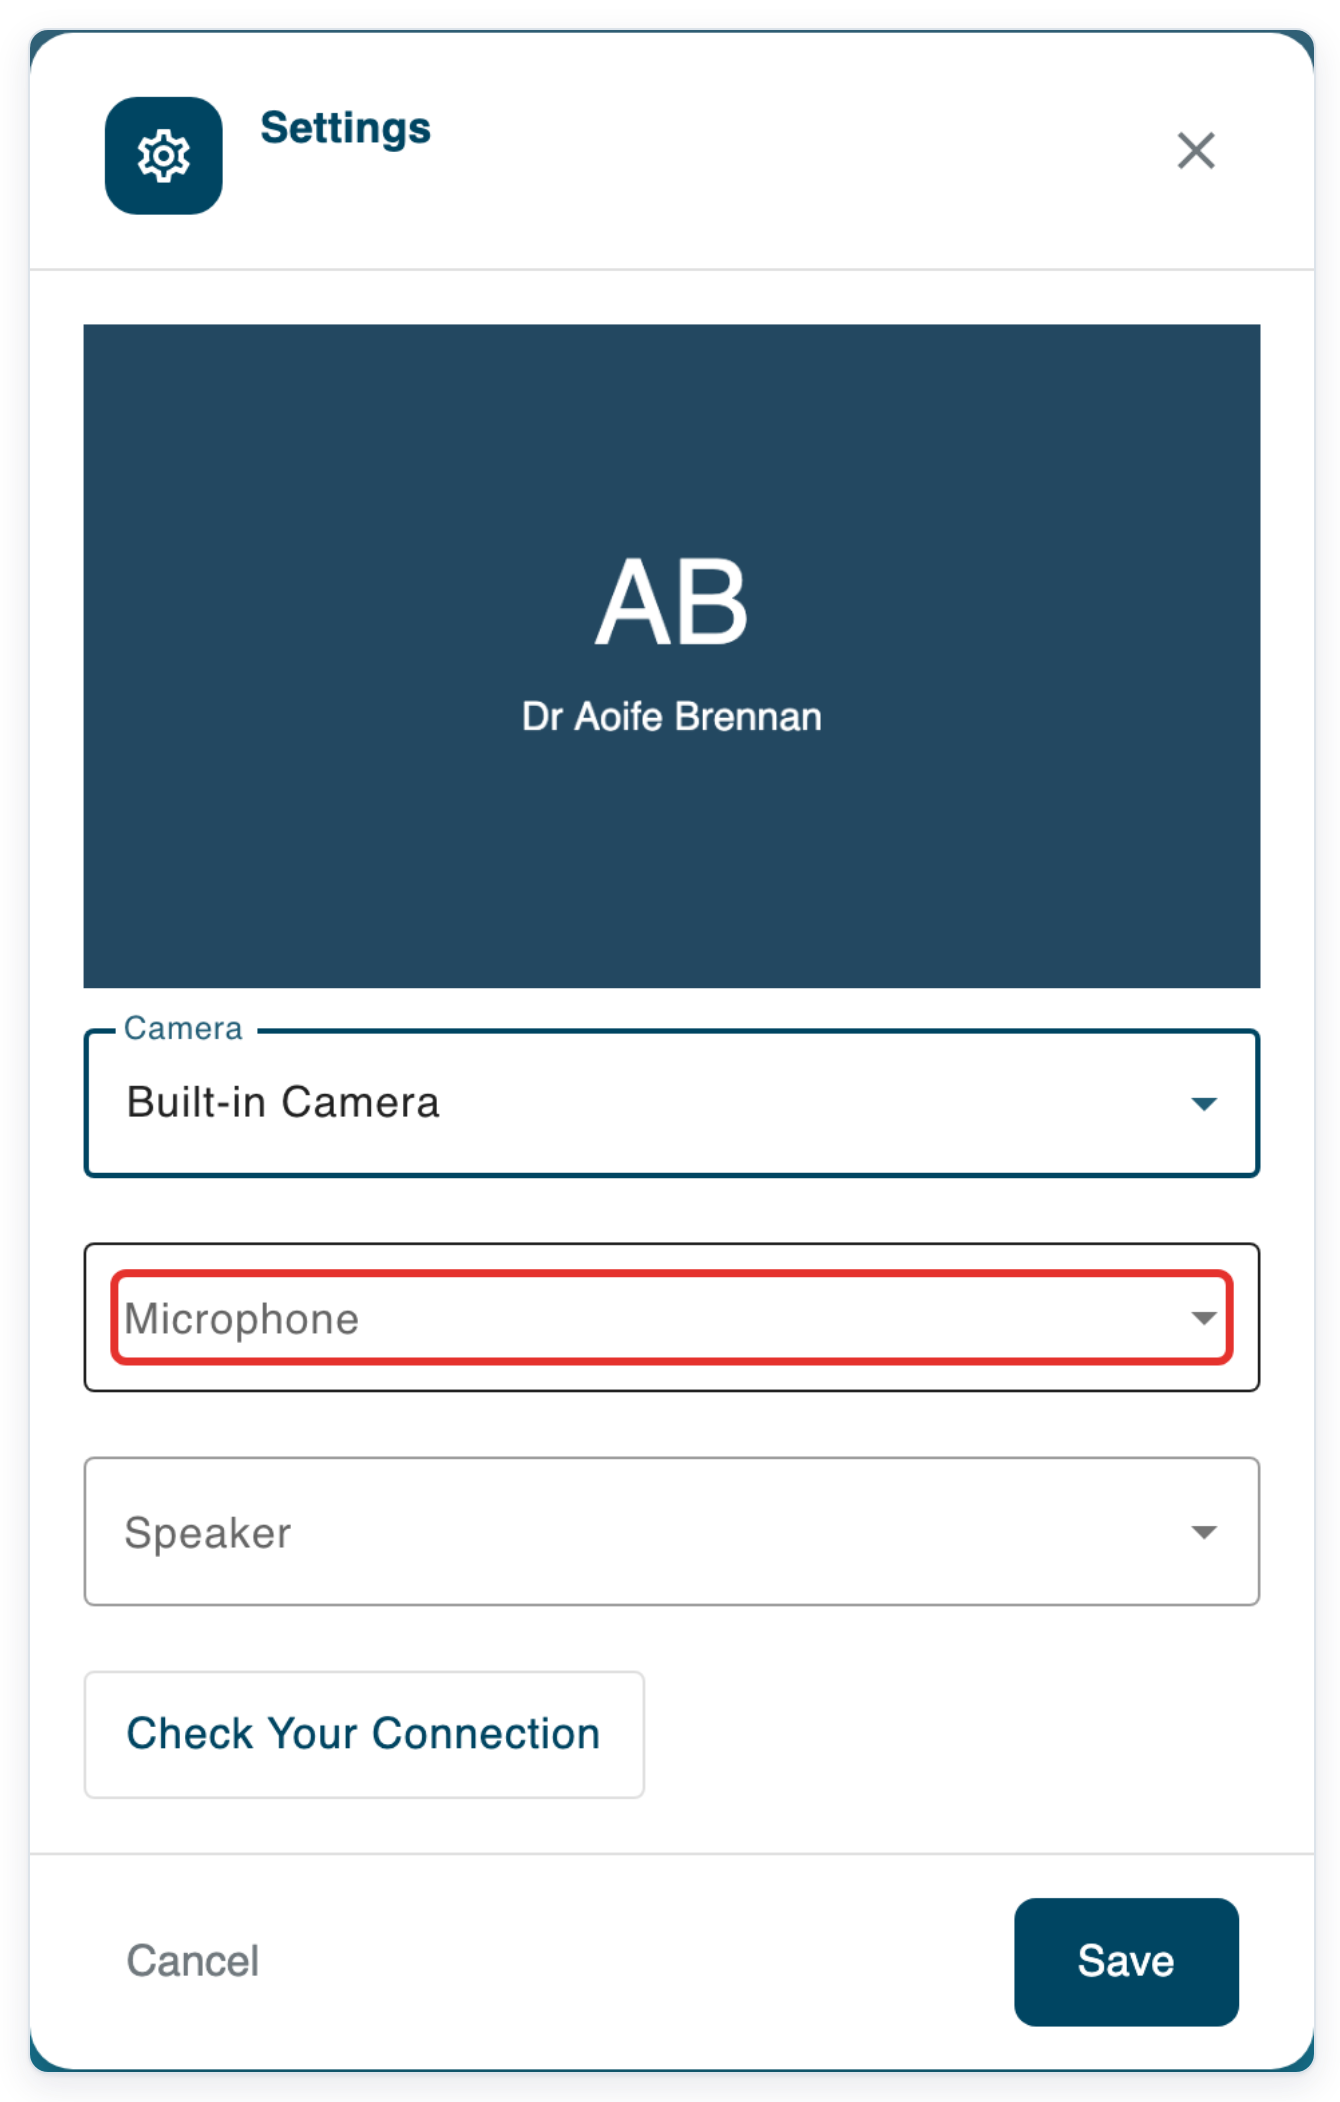
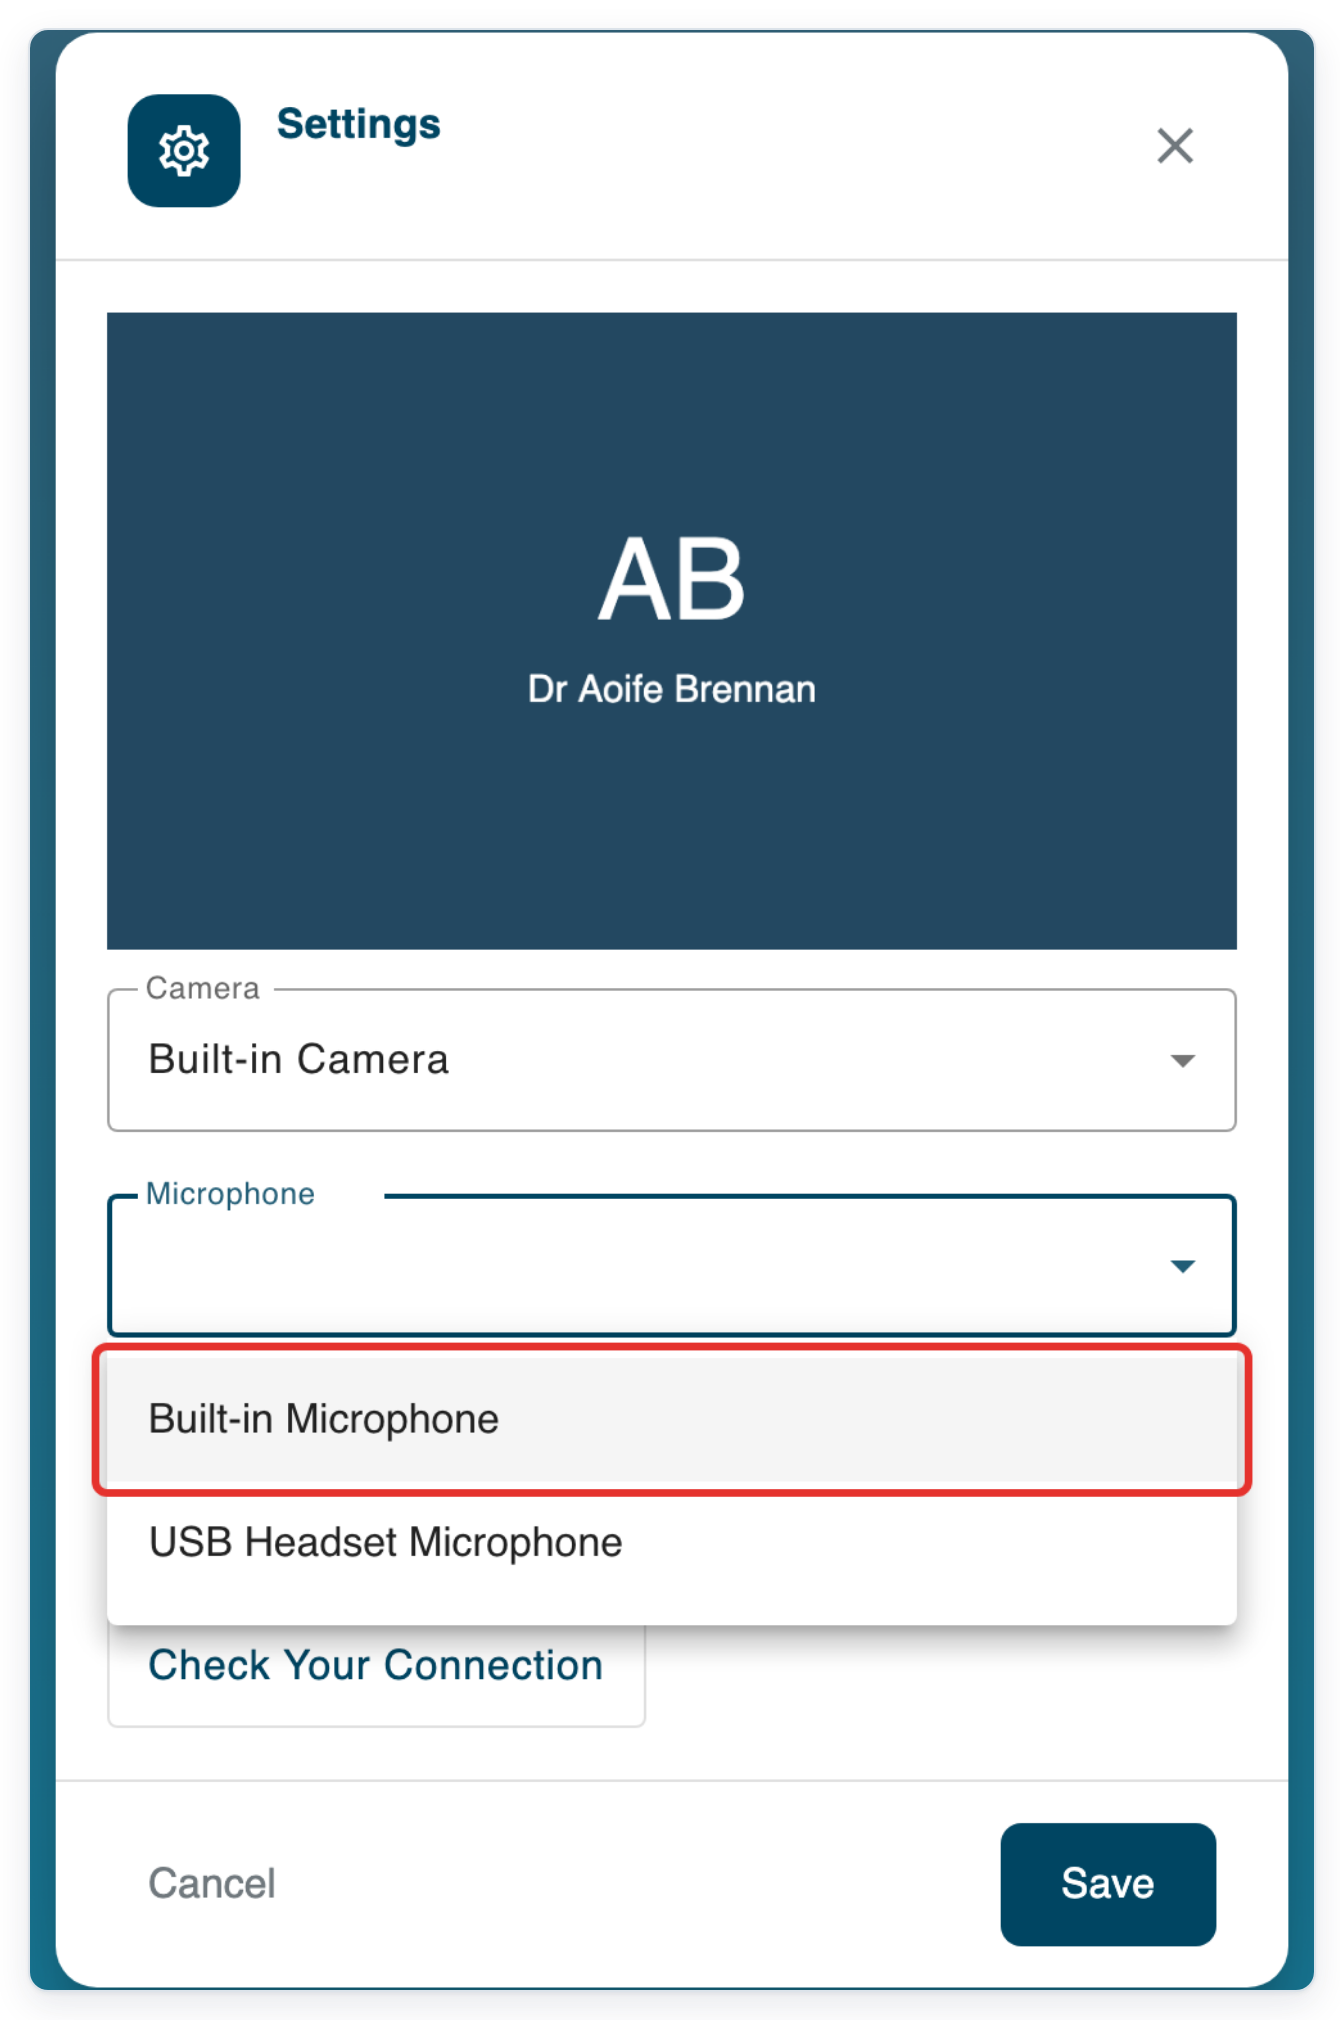
Choose your microphone. This example uses Built-in Microphone.
Open Speaker to see the available devices.
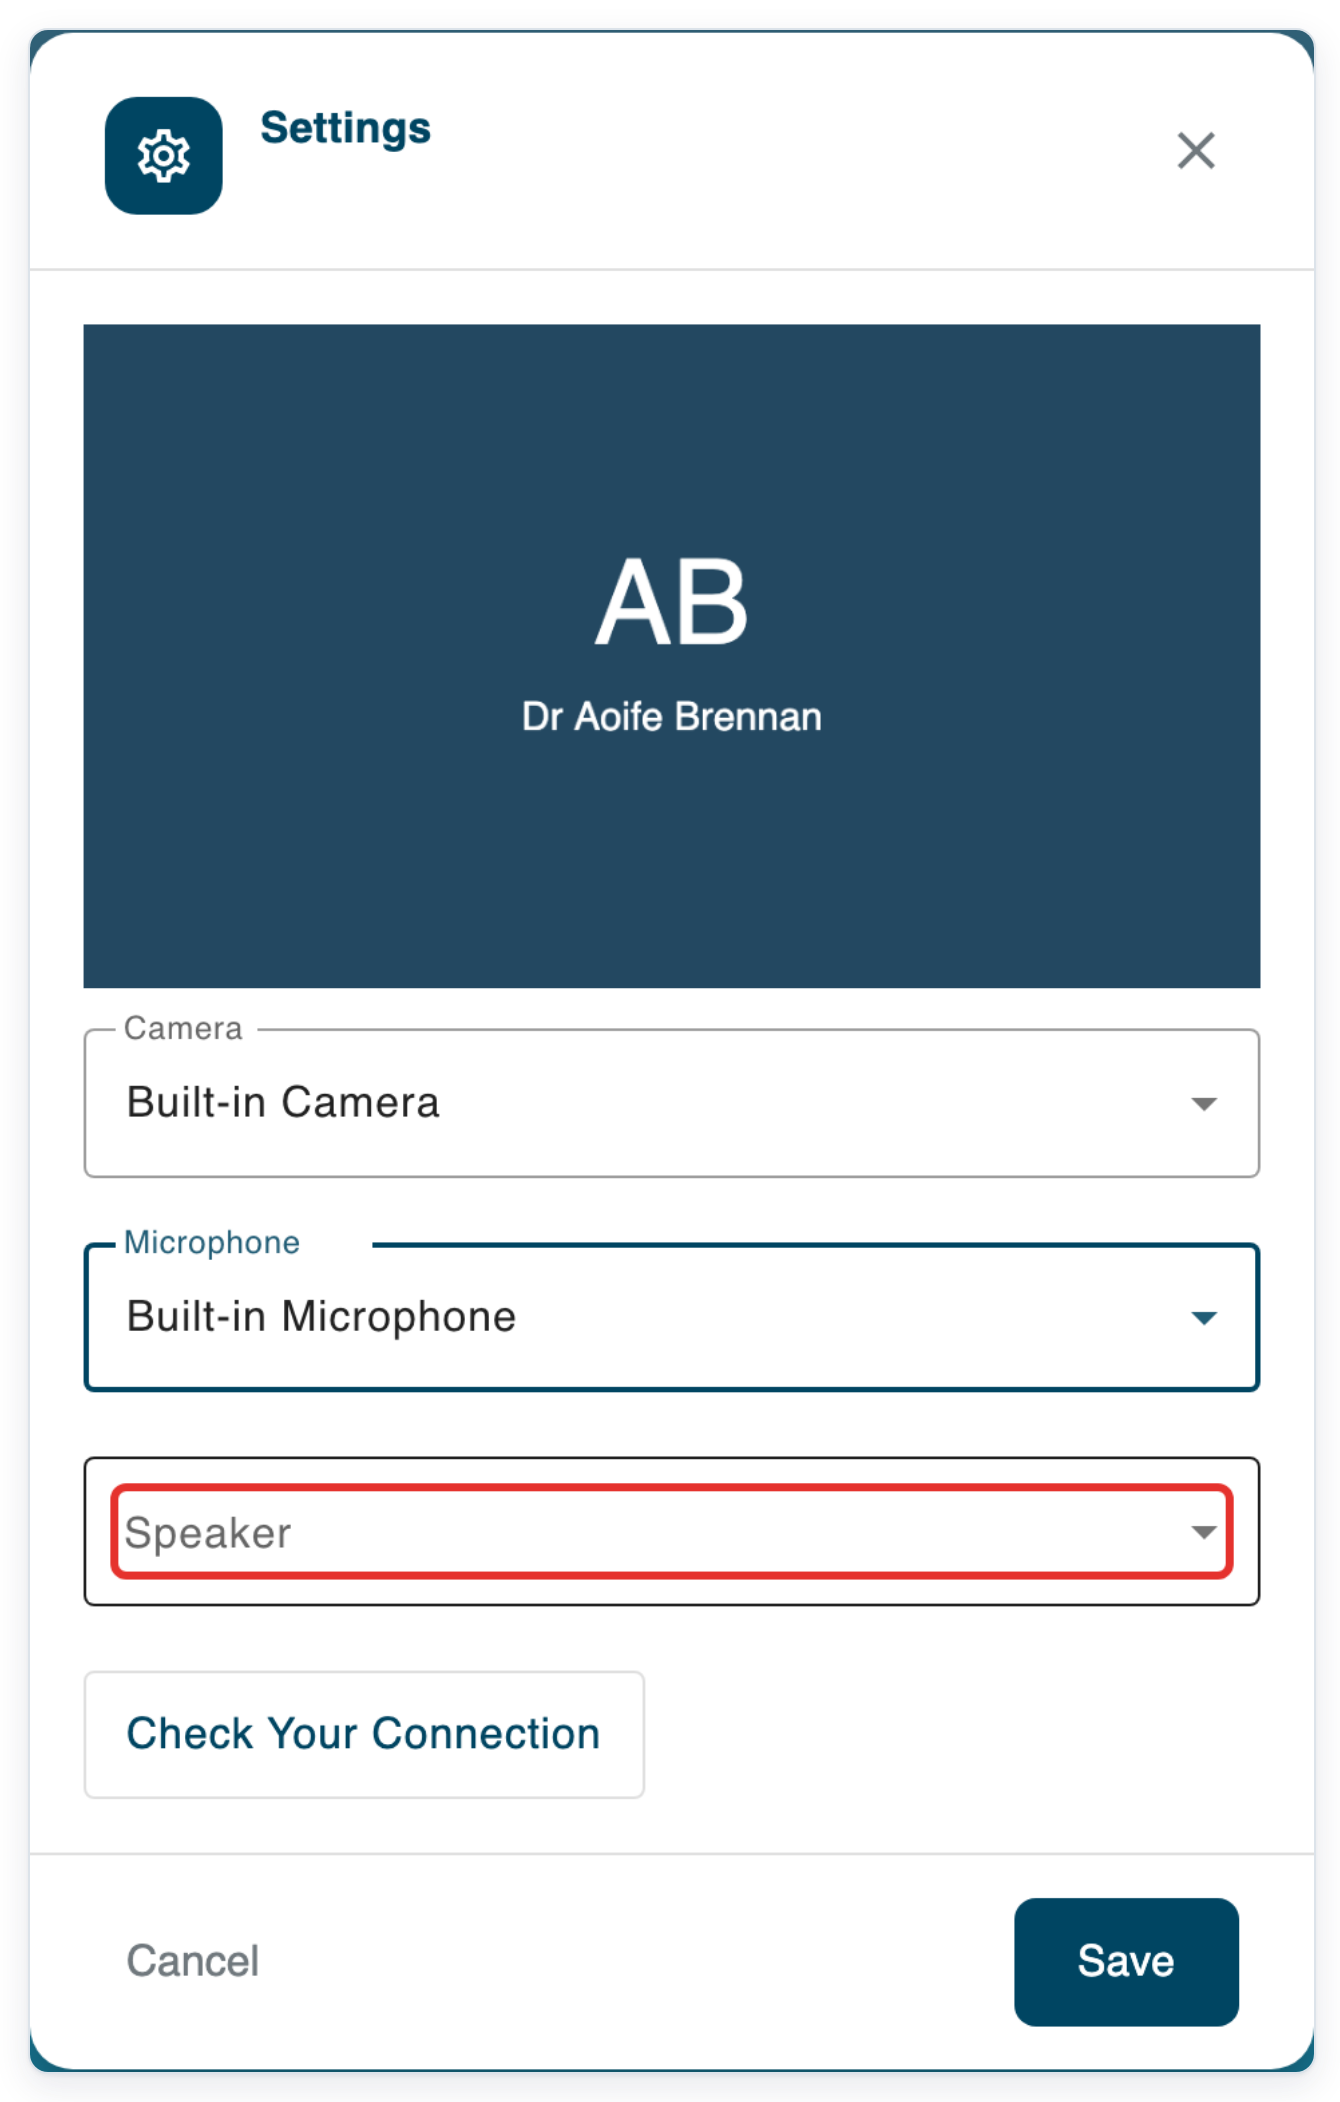
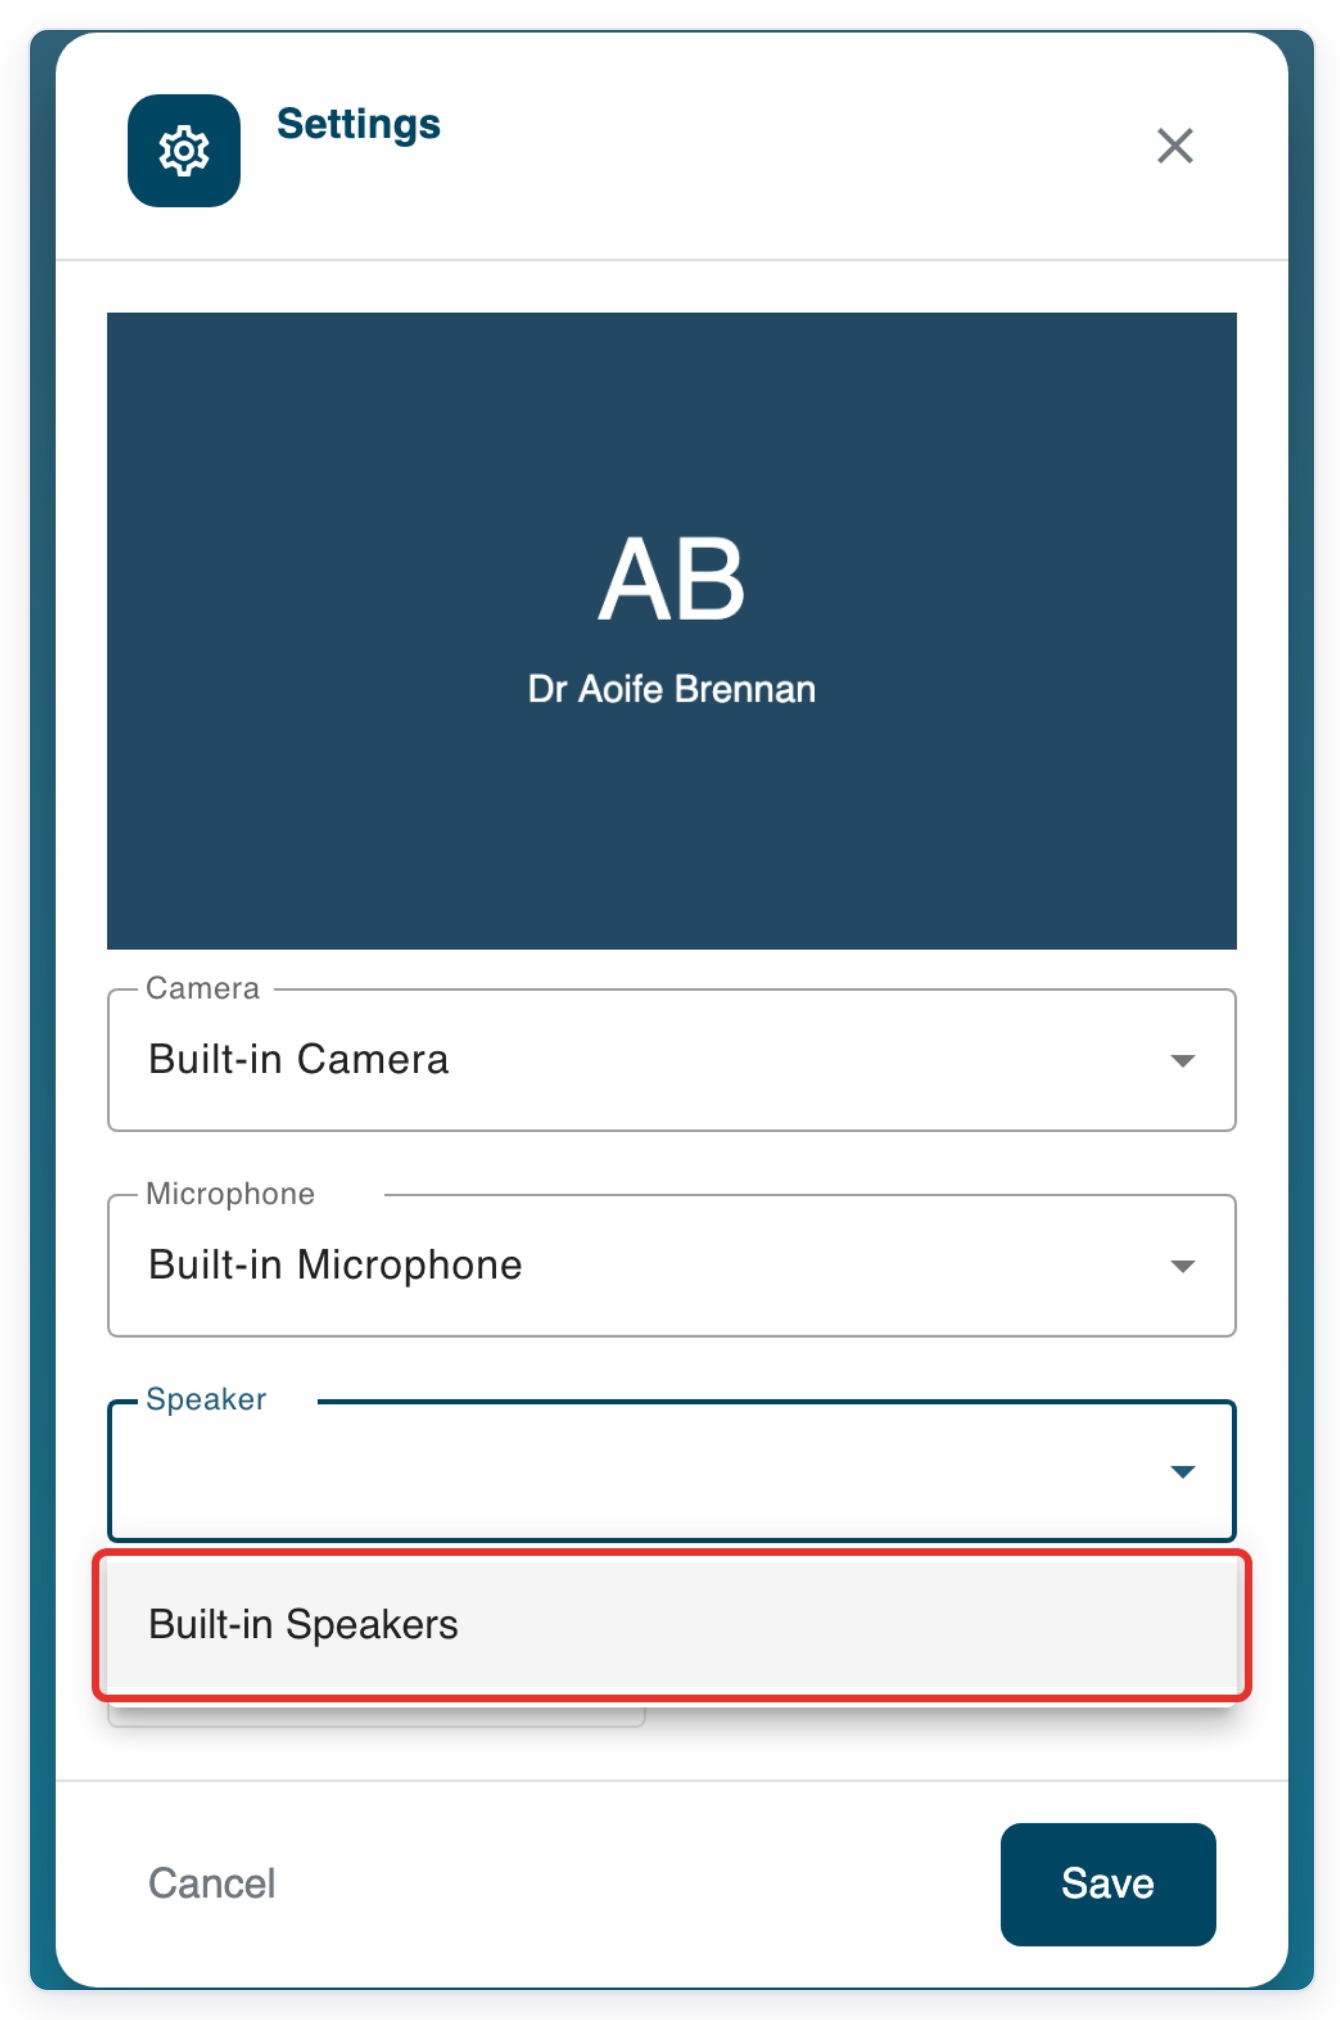
Choose your speakers. This example uses Built-in Speakers.
Click Save to keep your device choices and return to the appointment.
Click Join Session to enter the consultation.
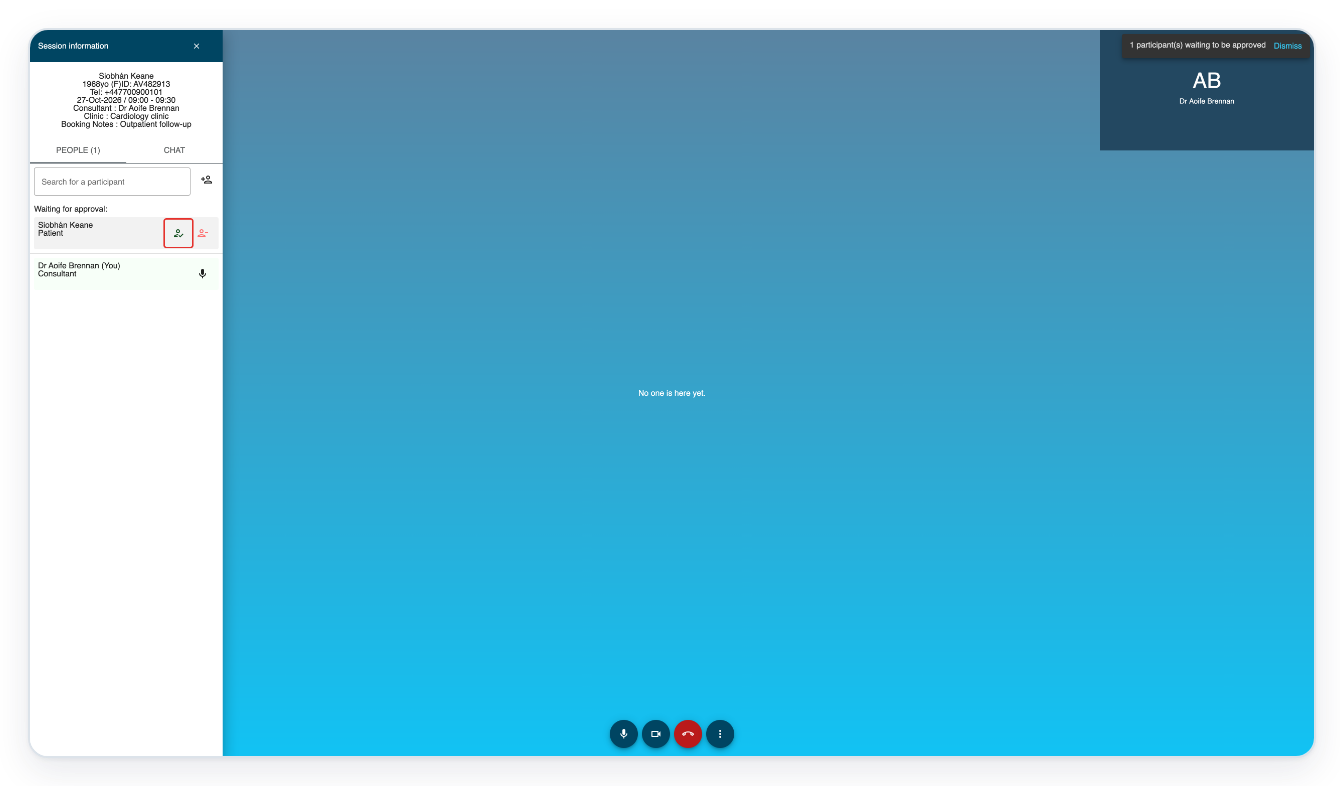
Under Waiting for approval:, click the admit icon beside Siobhán Keane.
=> The patient connects and appears alongside the call controls.
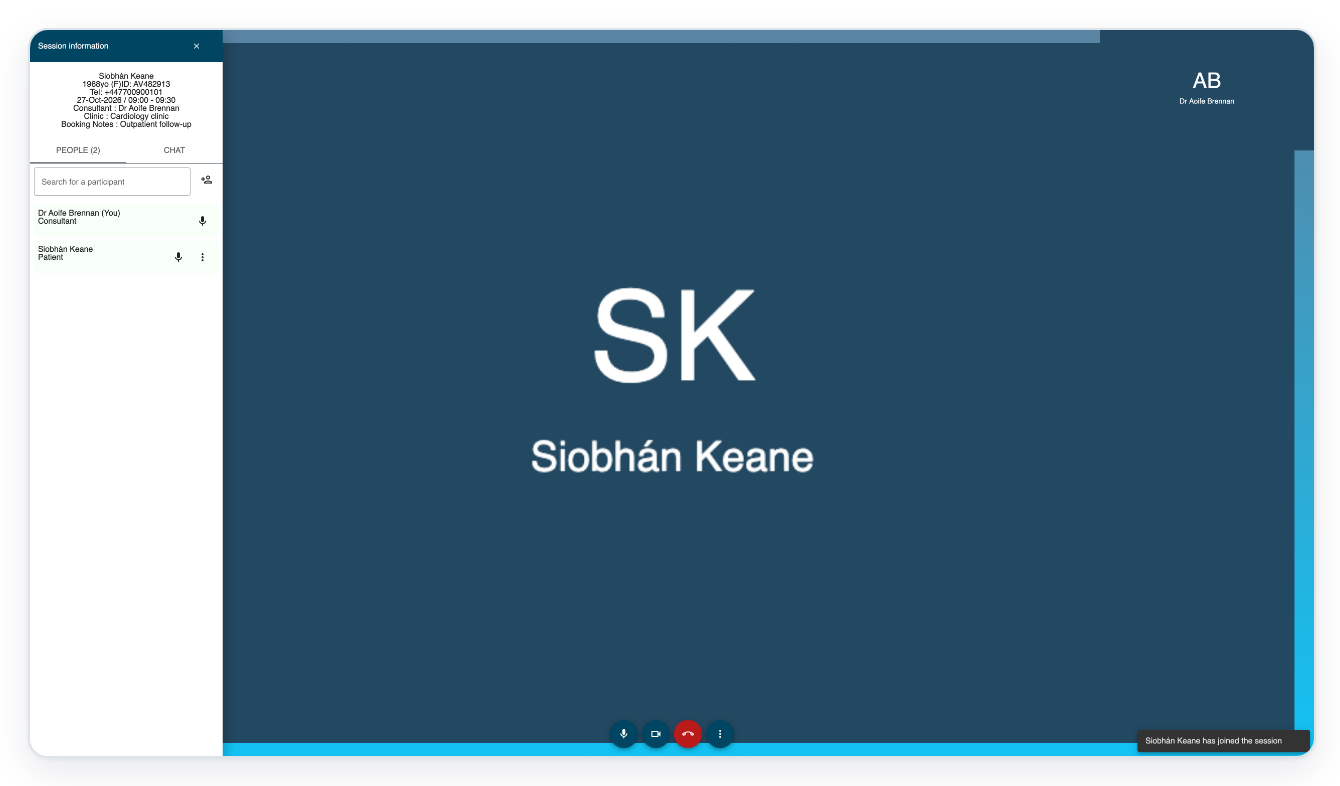
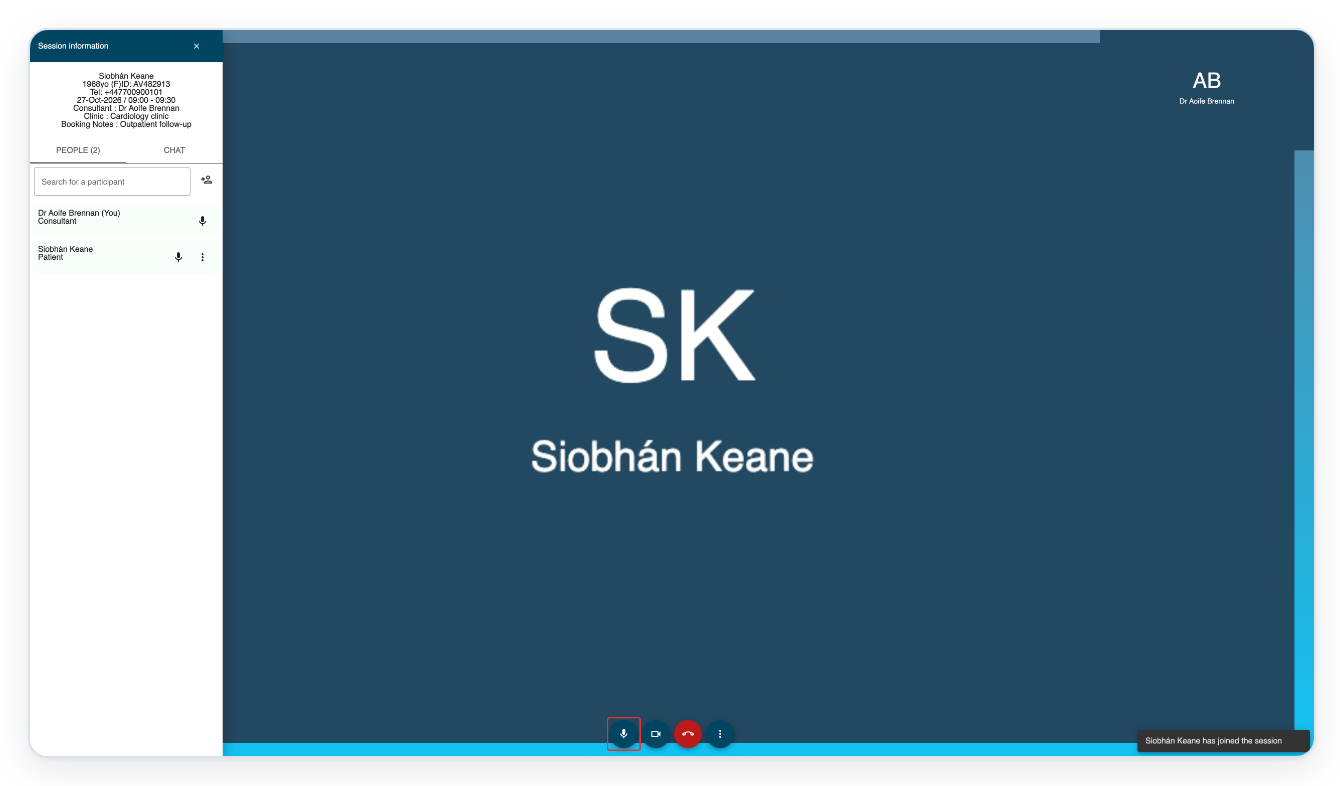
Click Microphone to mute your microphone.
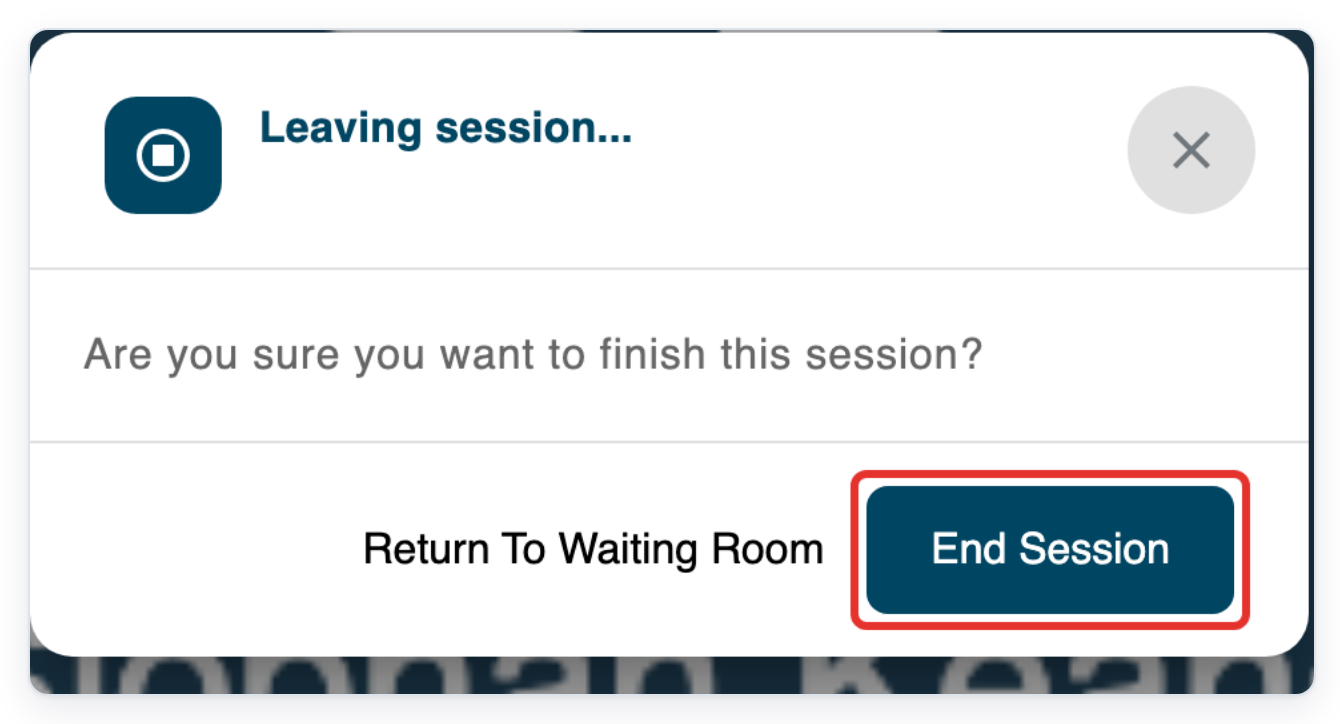
Click Leave session to finish the consultation.
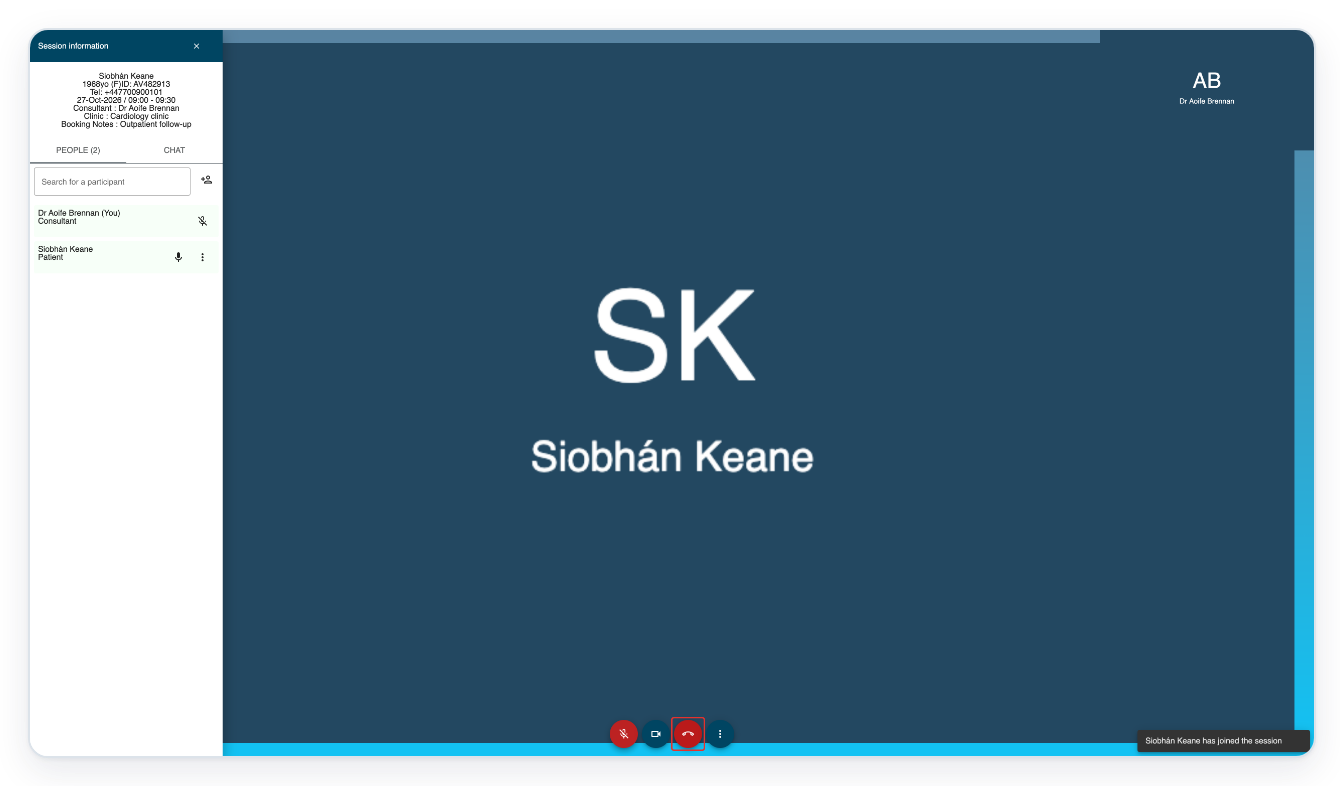
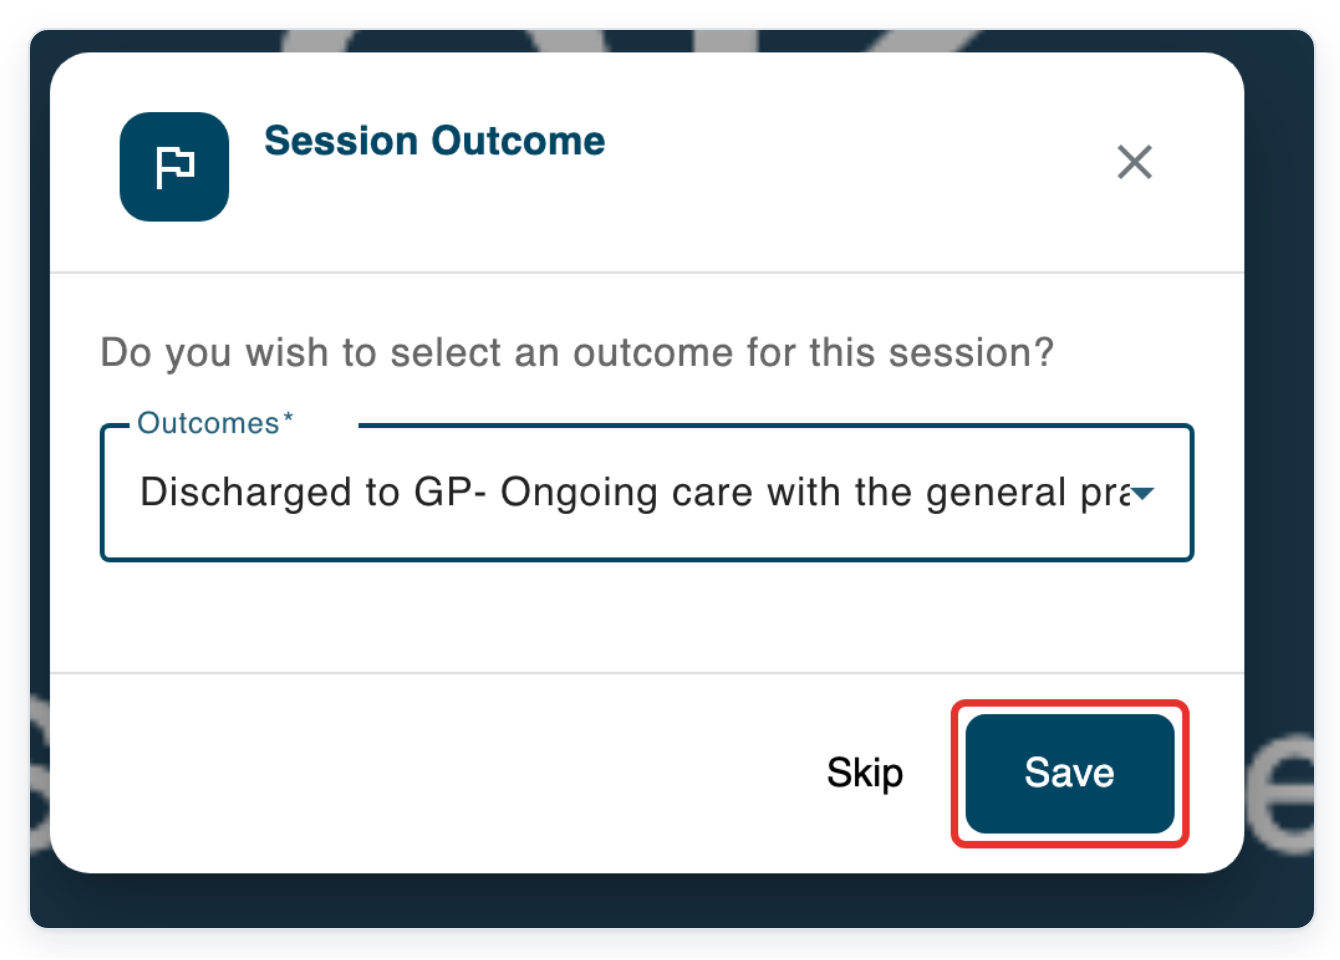
If you are the only host, click End Session. When outcomes are available, Session Outcome opens before the session ends.
=> Choose an outcome and click Save, or click Skip to end without an outcome.
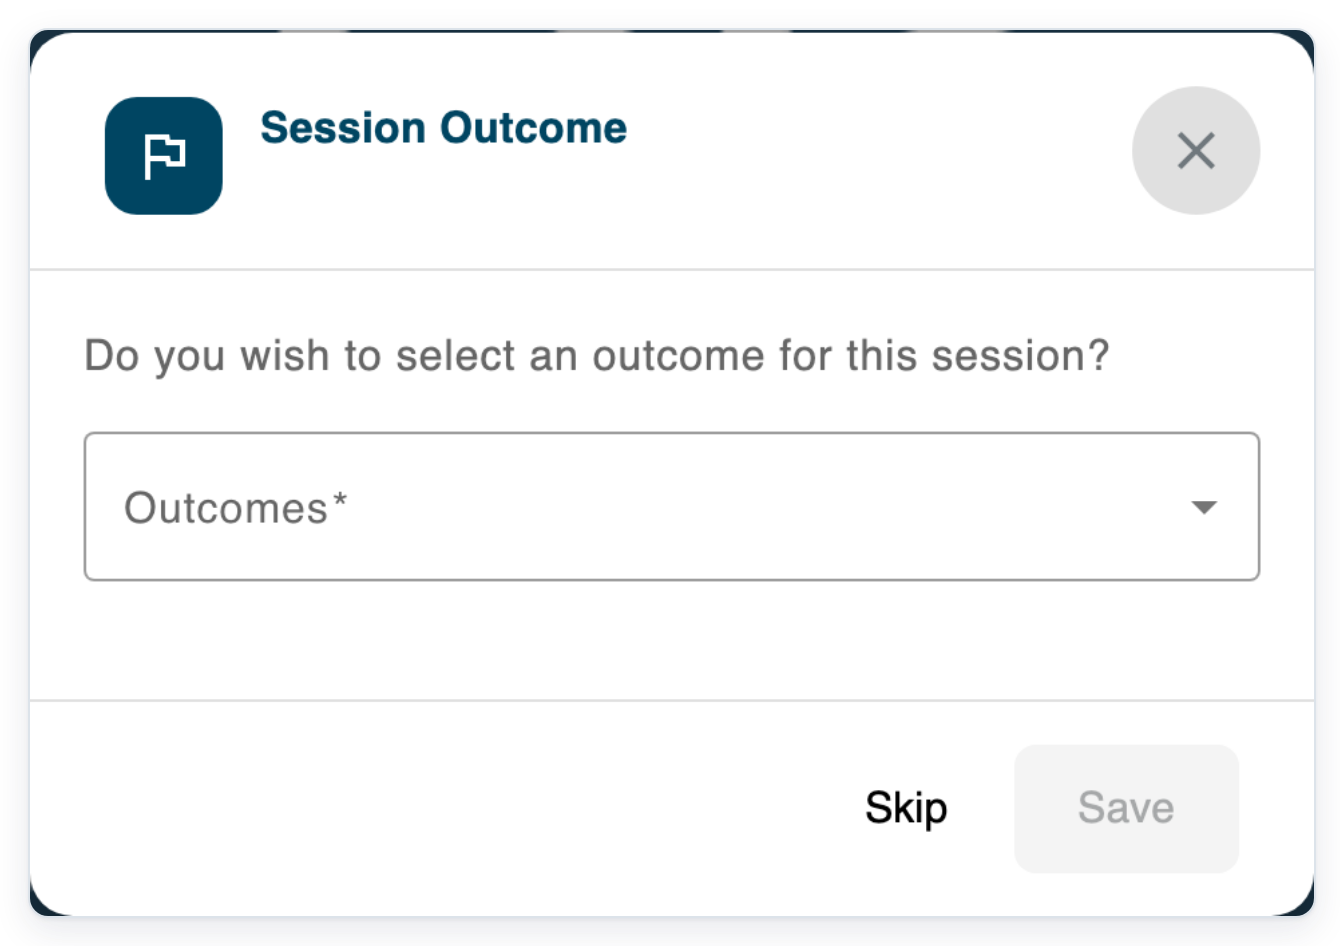
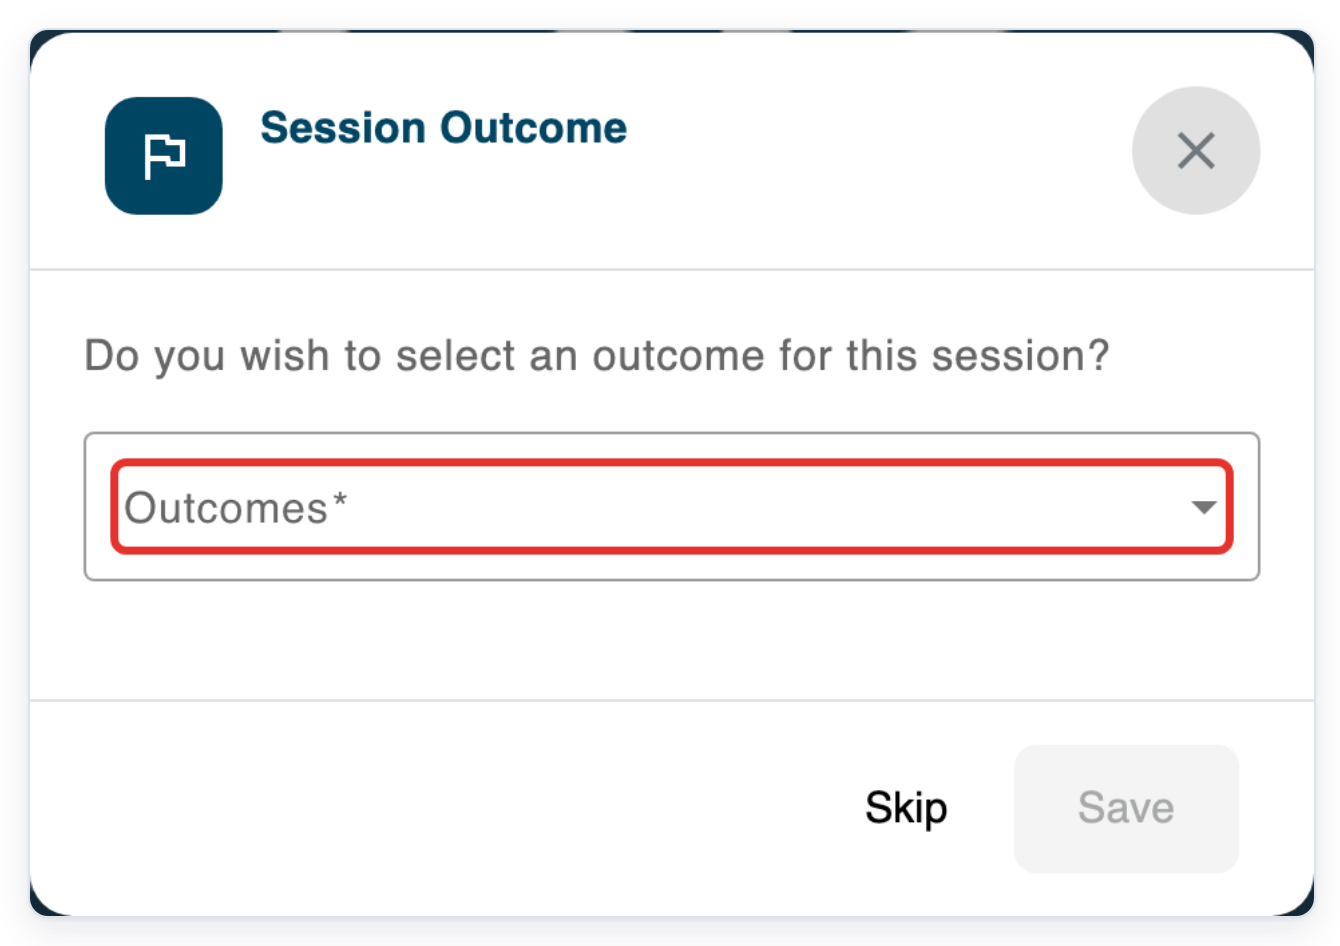
Open Outcomes to see the available choices.
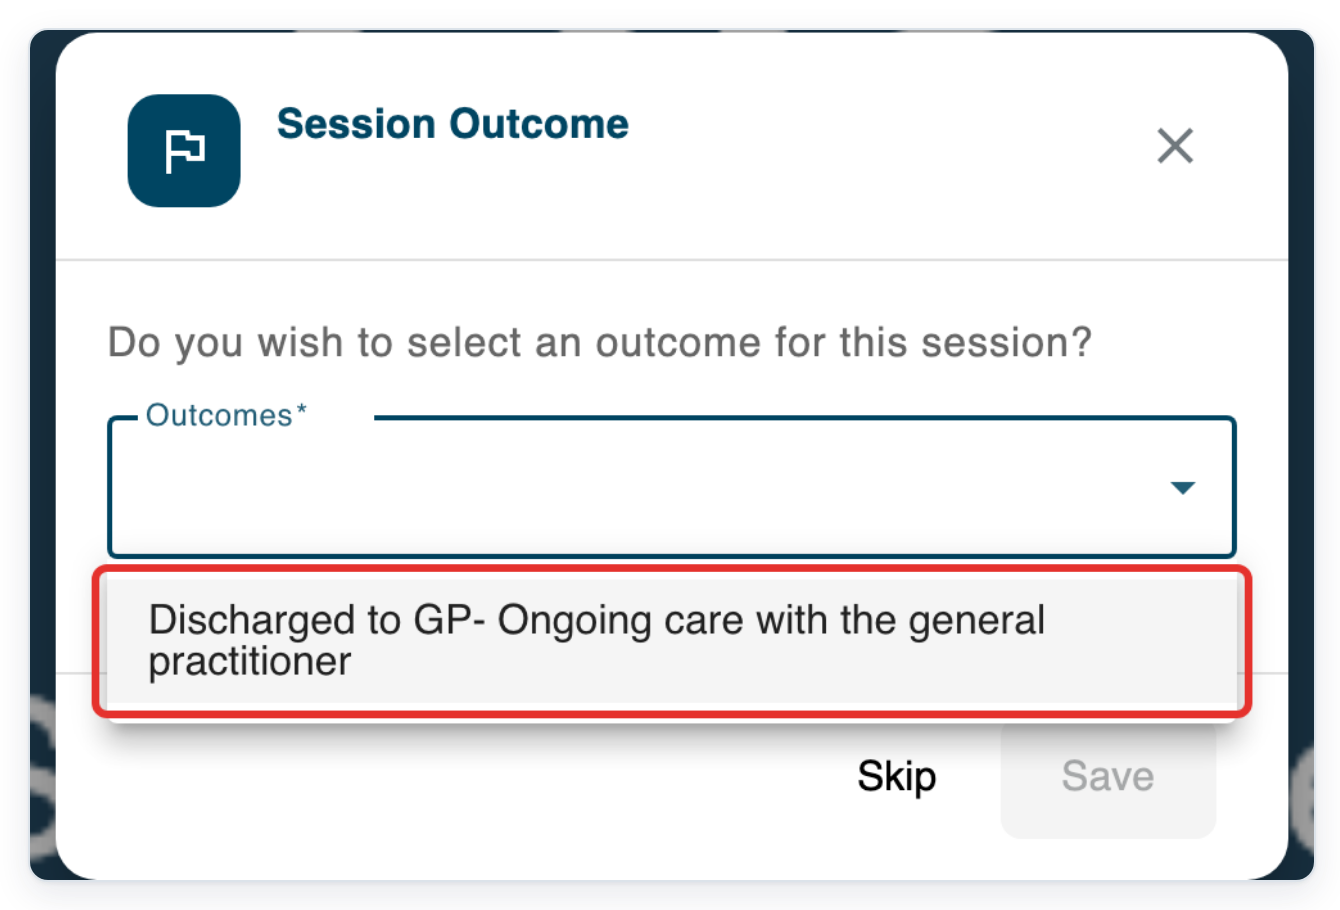
Choose Discharged to GP- Ongoing care with the general practitioner in this example.
Click Save to record the outcome and end the consultation. The session tab closes.
NOTE:
- As a transcriber, you can book appointments for author groups you can access. This includes group video appointments.
- Appointments can come from your organisation's scheduling system if it is connected to T-Pro.
- Patients open their video appointment link and wait to be admitted to the consultation.
Appointment types
| Type | What it is for |
|---|---|
| Video | An online consultation with the patient. You can invite extra participants for a group appointment. |
| Phone | A telephone consultation. Open the phone session from the schedule and use Call to ring the patient. |
| Face to Face | An appointment where the patient attends in person. |
Can't get started with eClinic Manager?
- If Clinic Manager opens an information page, ask your administrator to turn on eClinic Manager. They need to turn it on for your organisation and your account.
- No appointments found: check Select Date, clear Search and choose Show all under Patient List.
- If phone appointments are disabled, Phone Session will not open. Ask your administrator to turn on phone appointments for your organisation.
Related articles
- Turn on eClinic Manager for users
- The clinic schedule
- Run a video appointment
- Phone appointments
- How patients join an online appointment
If you have any more queries, please do not hesitate to contact our Helpdesk or support@tpro.io.
© 2020 - 2026