
Before you start
You need an administrator account and access to the facility's settings. The task's transcription route must include approval for the watermark to appear.
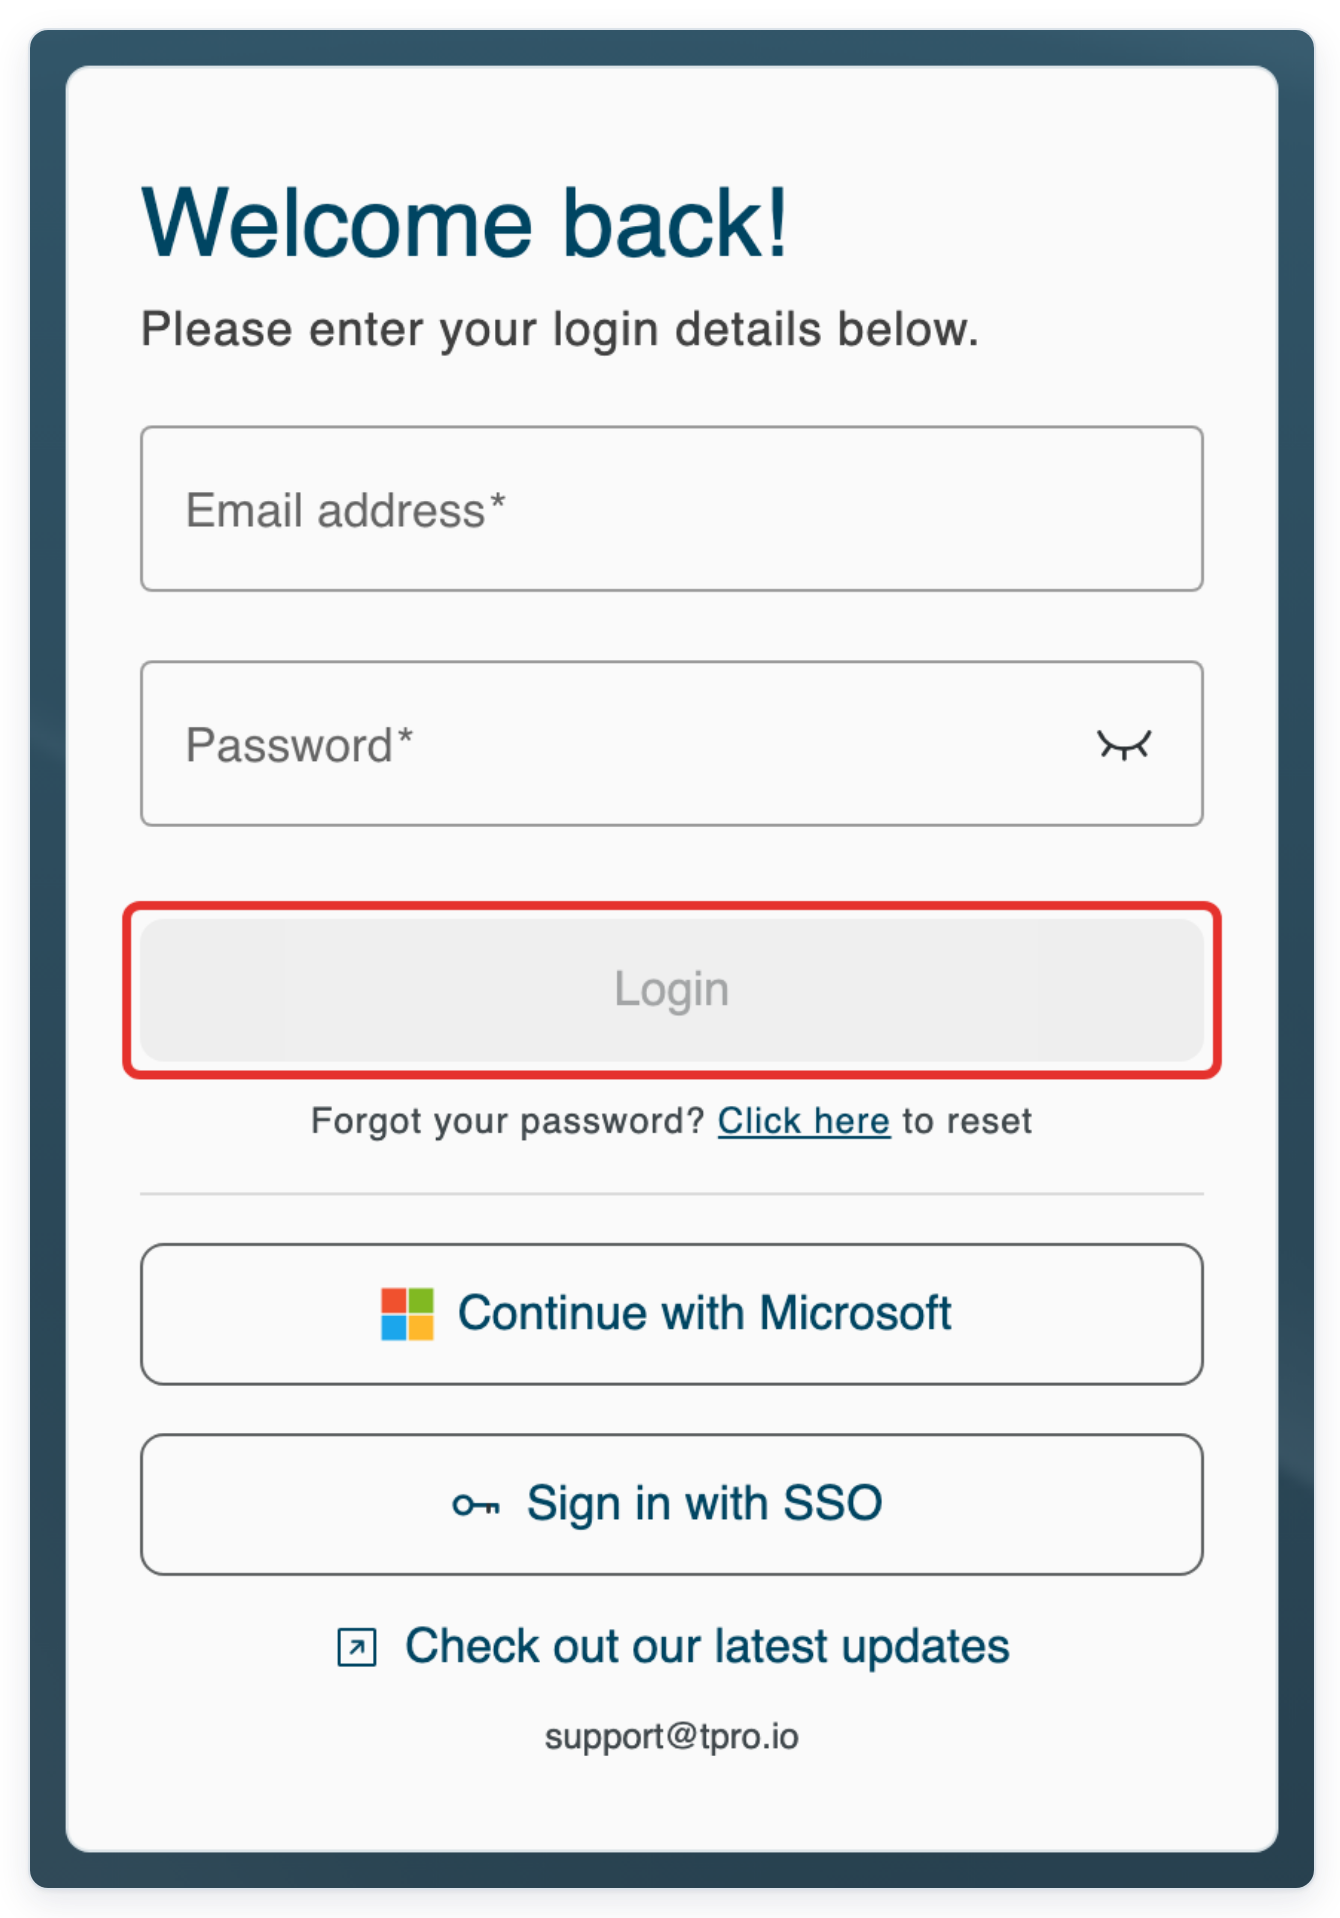
Log in to T-Pro with your administrator credentials.
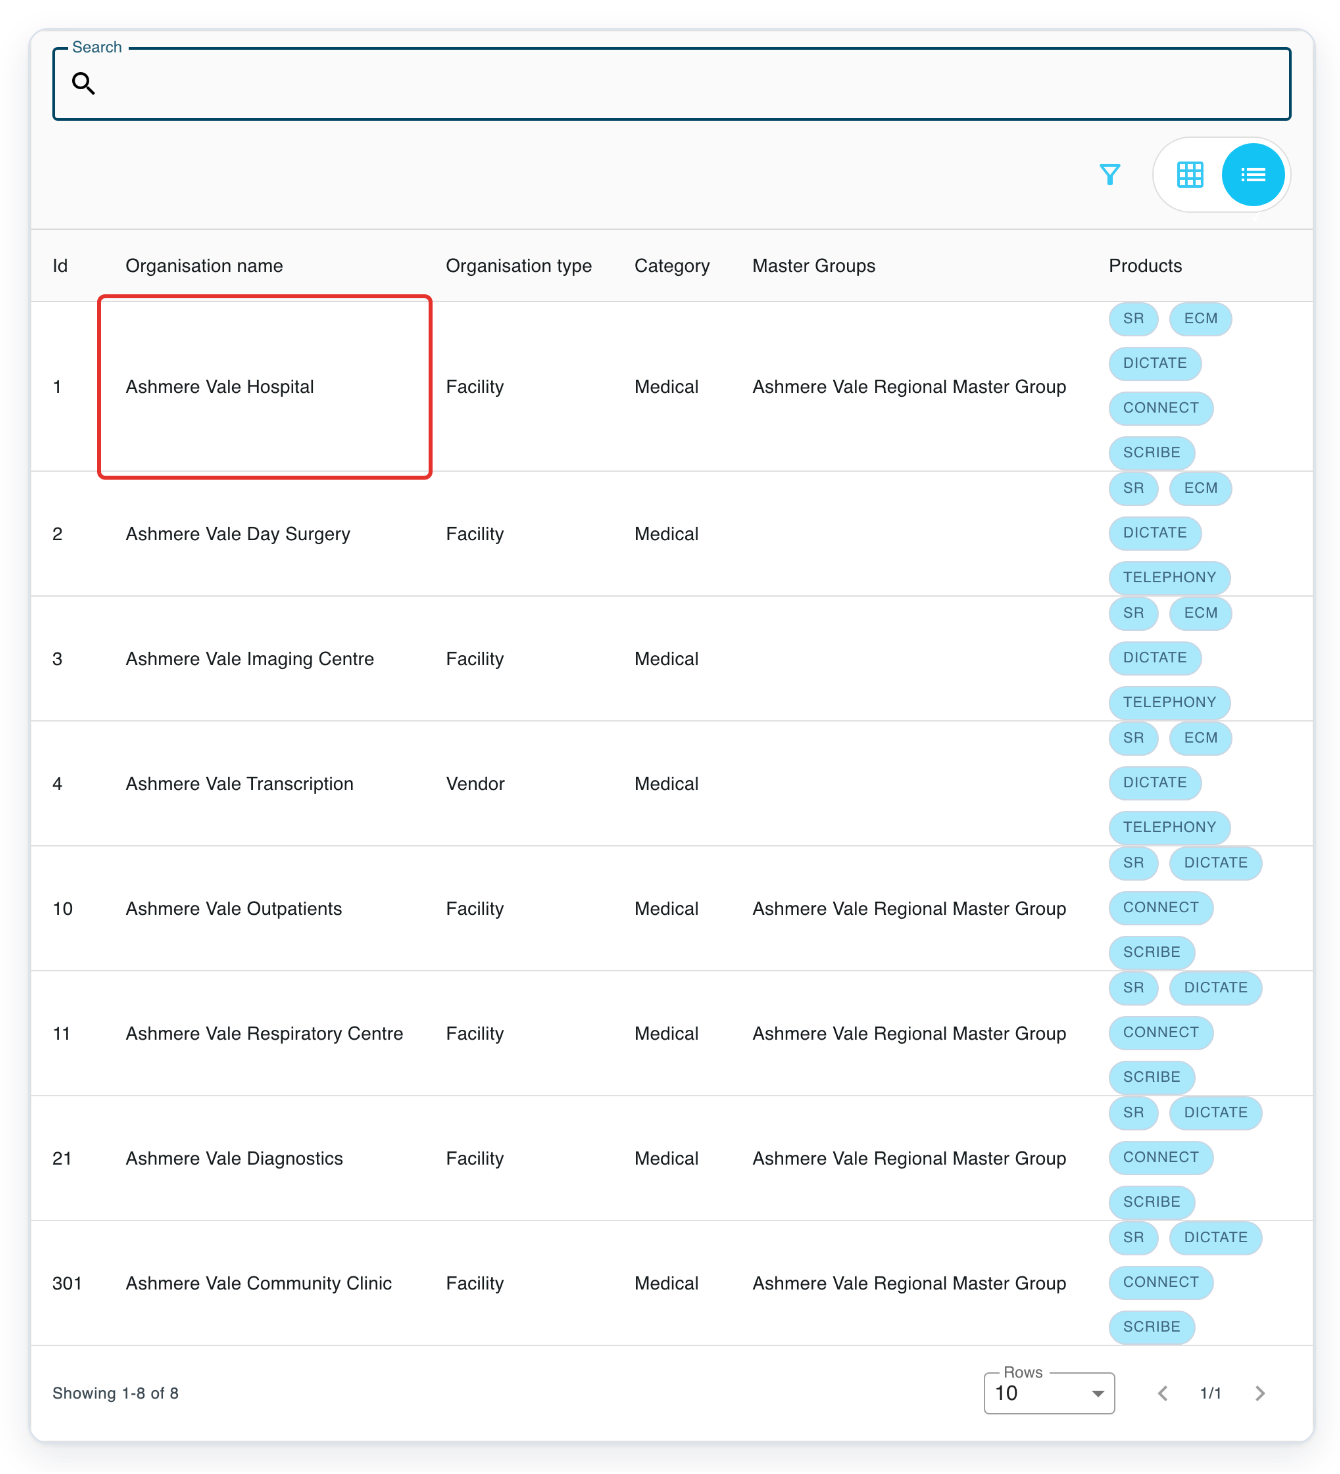
Go to Organisations and click your facility's name.
You set the watermark separately for each facility. To find a facility, enter its name in Search and press Enter.
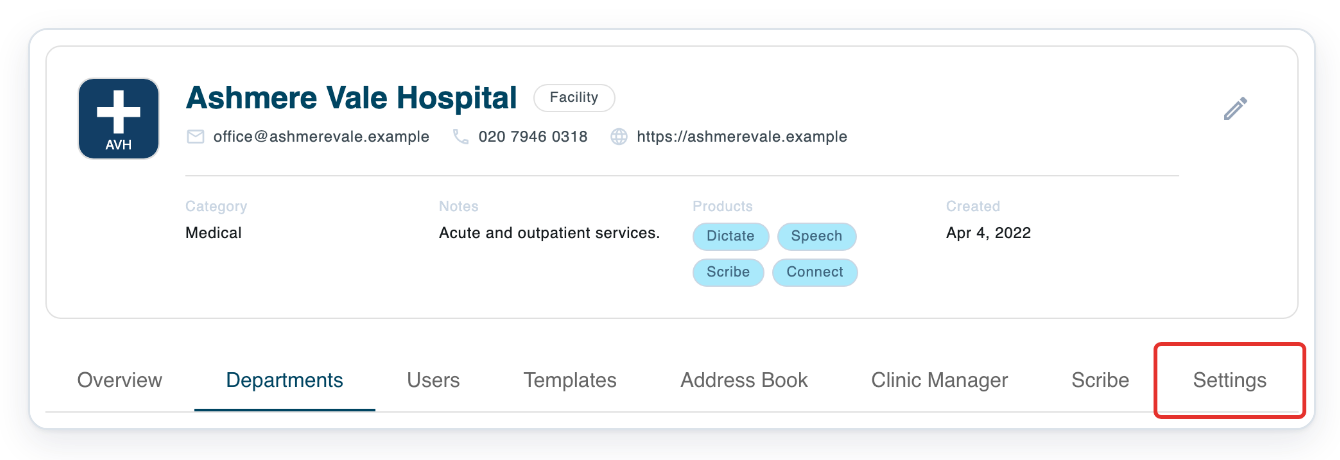
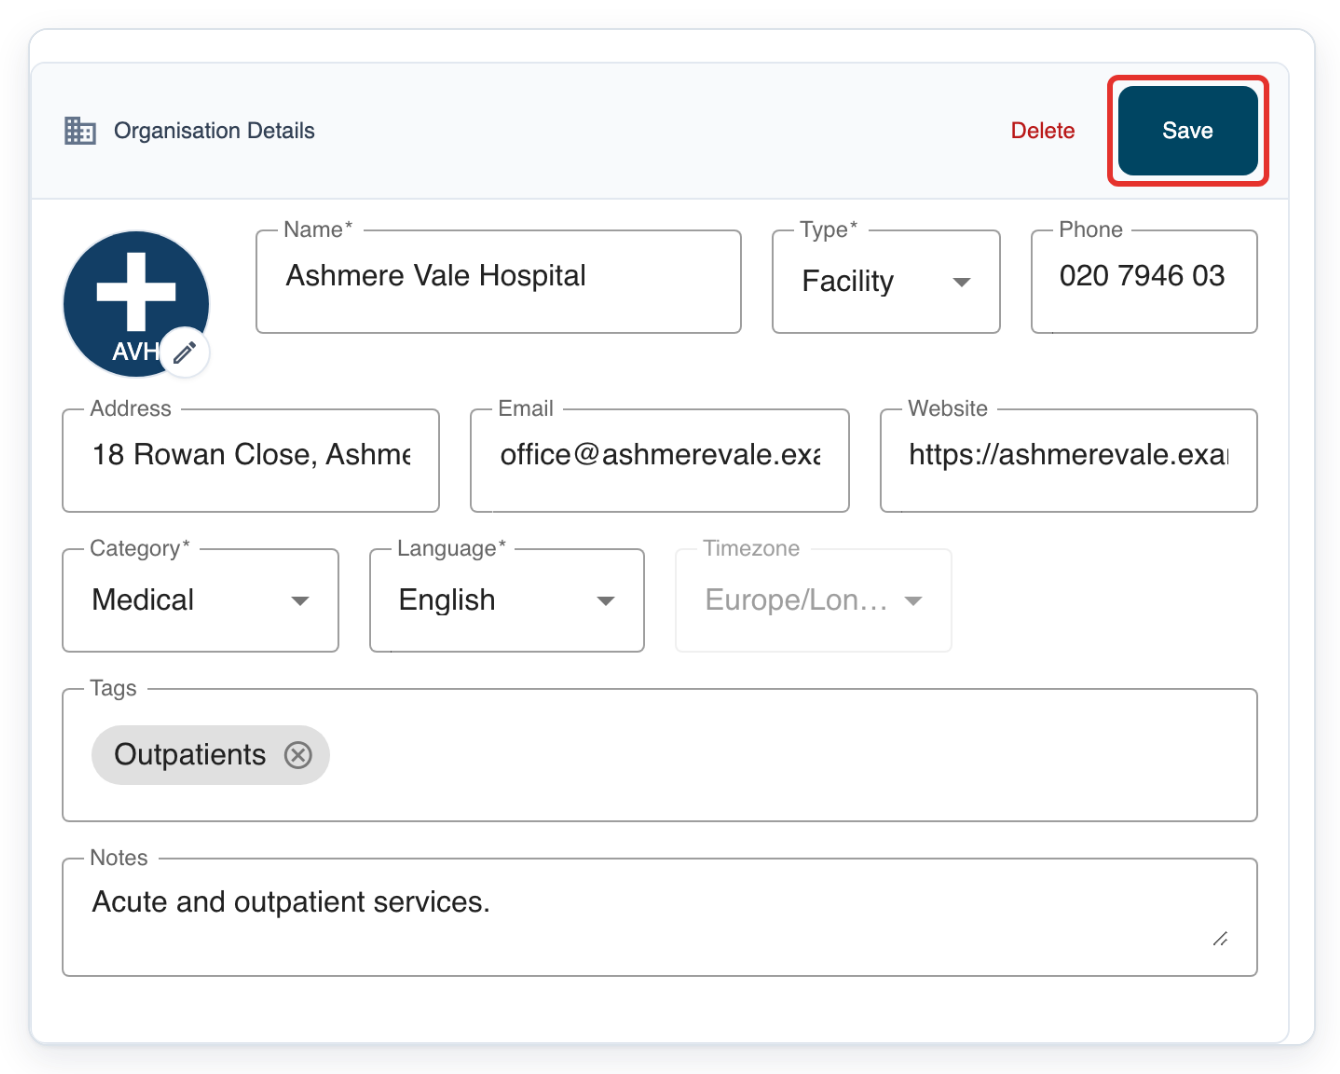
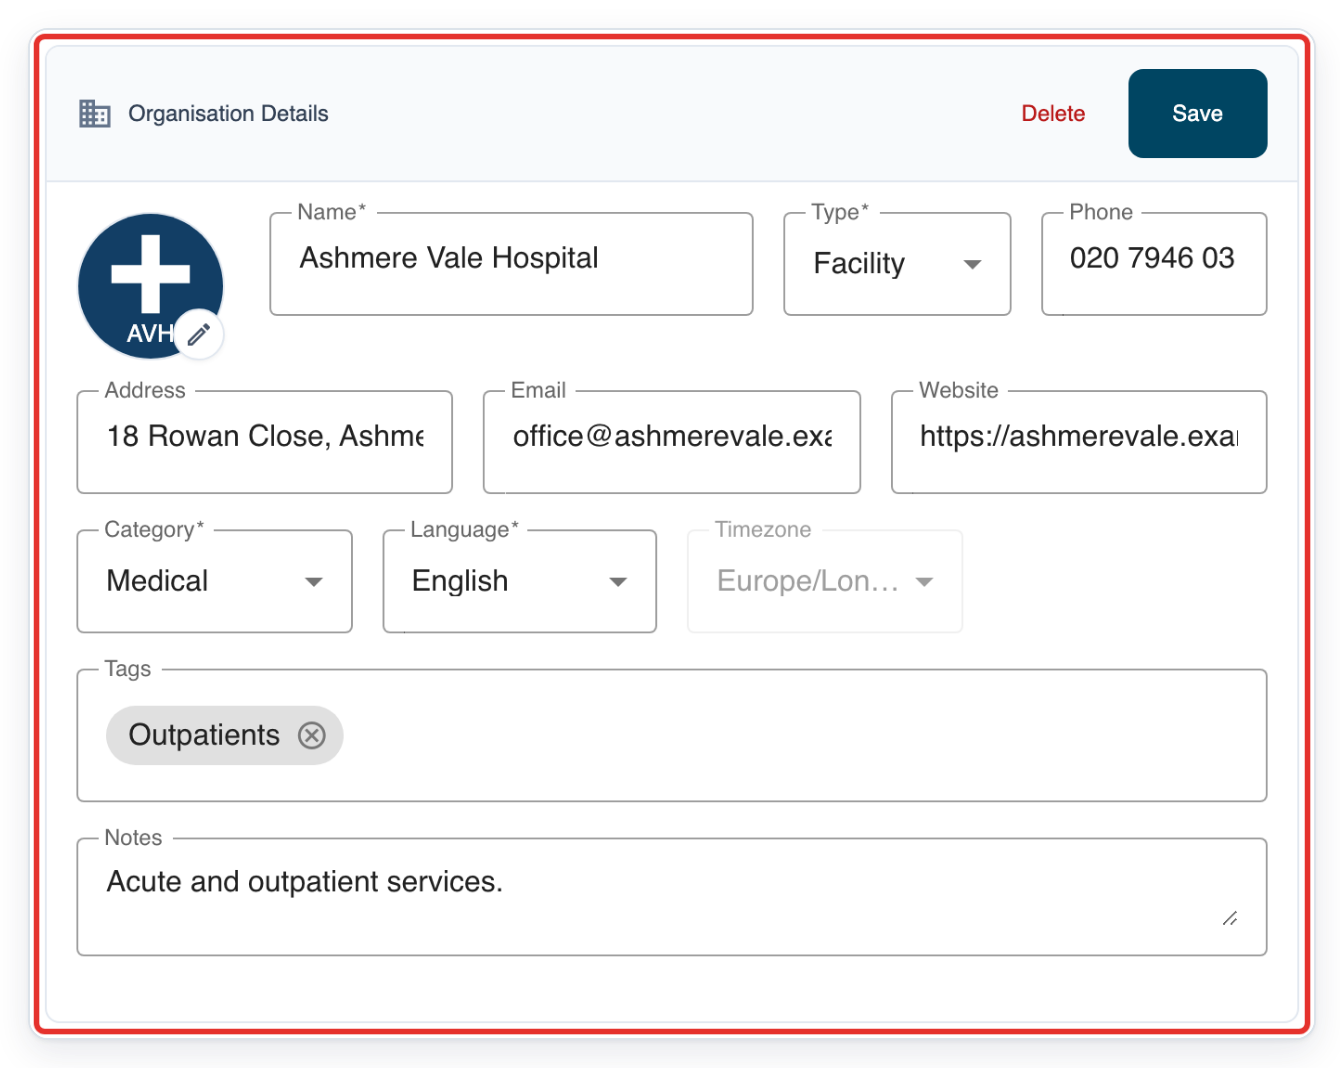
Click Settings below the facility details. General opens with Organisation Details and Save at the top.
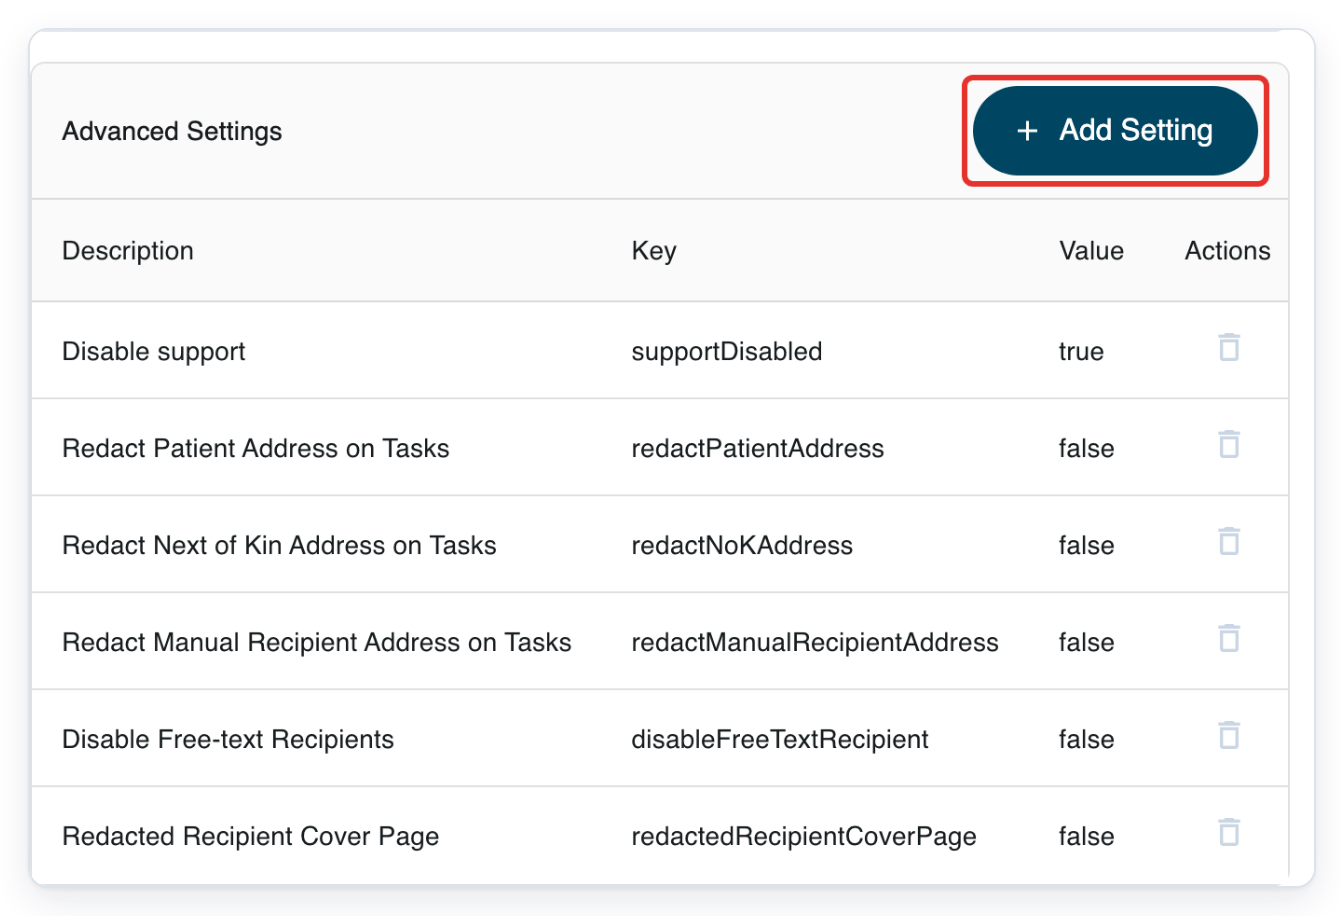
Scroll down to Advanced Settings and click Add Setting.
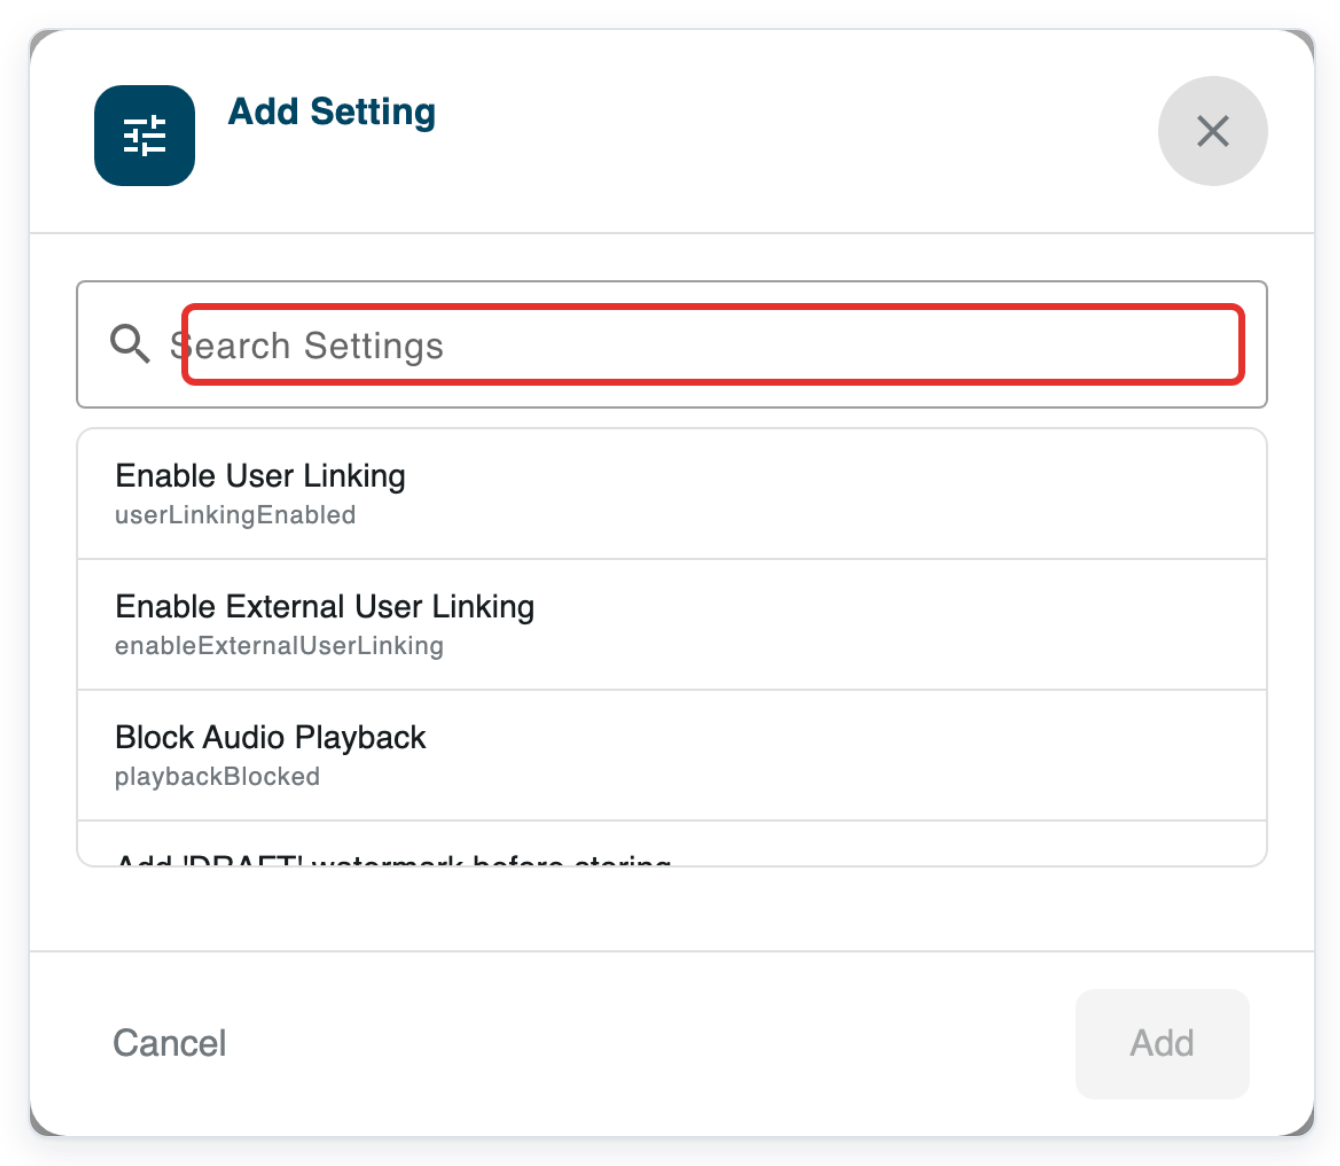
A dialog opens where you can find and select the watermark setting.
Enter showWatermark in Search Settings.
The list narrows as you type. You can search by the setting's description or name.
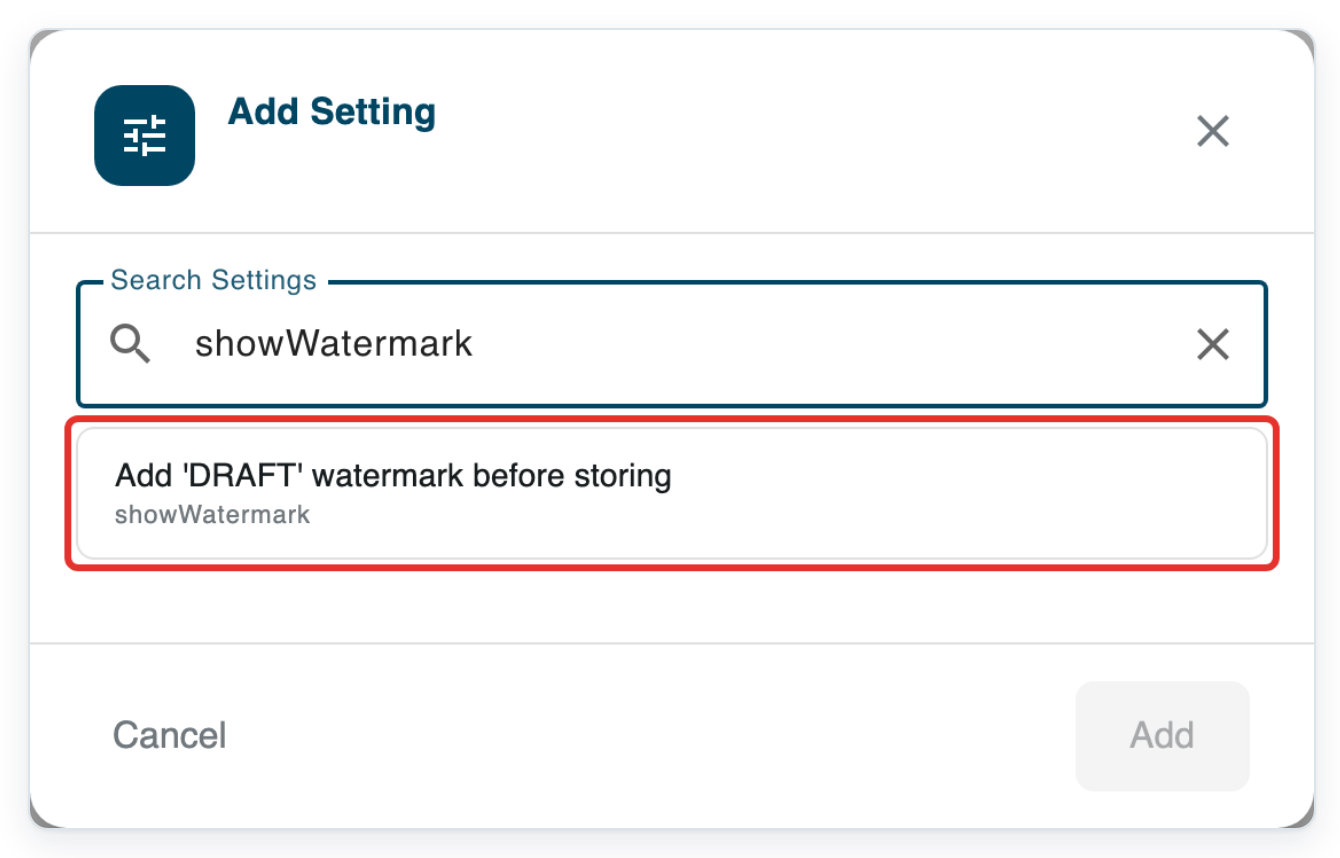
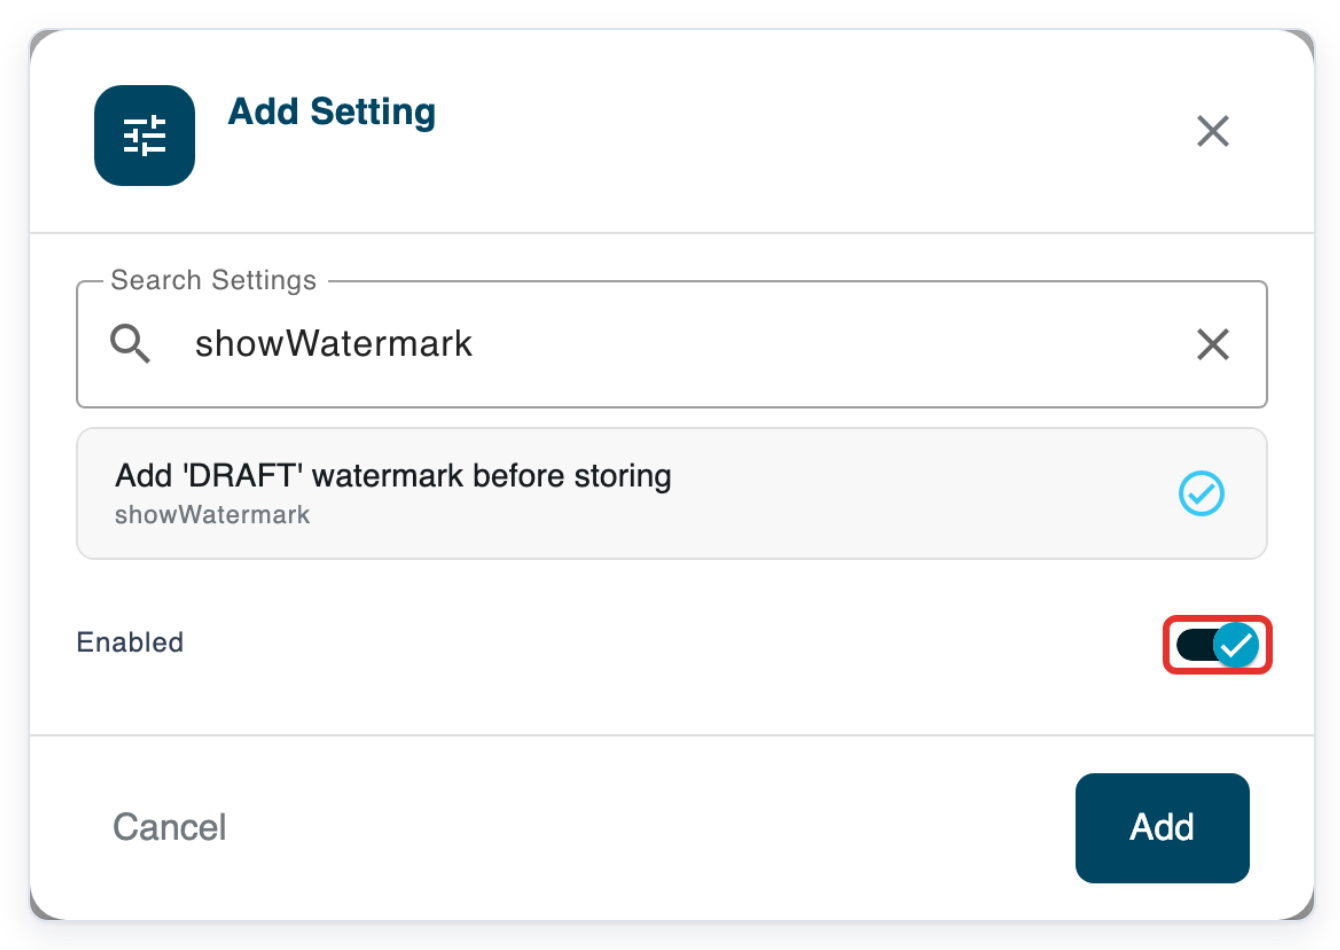
Select Add 'DRAFT' watermark before storing. An Enabled switch appears below the selected setting.
=> The Enabled switch is on. Leave it on to add the watermark.
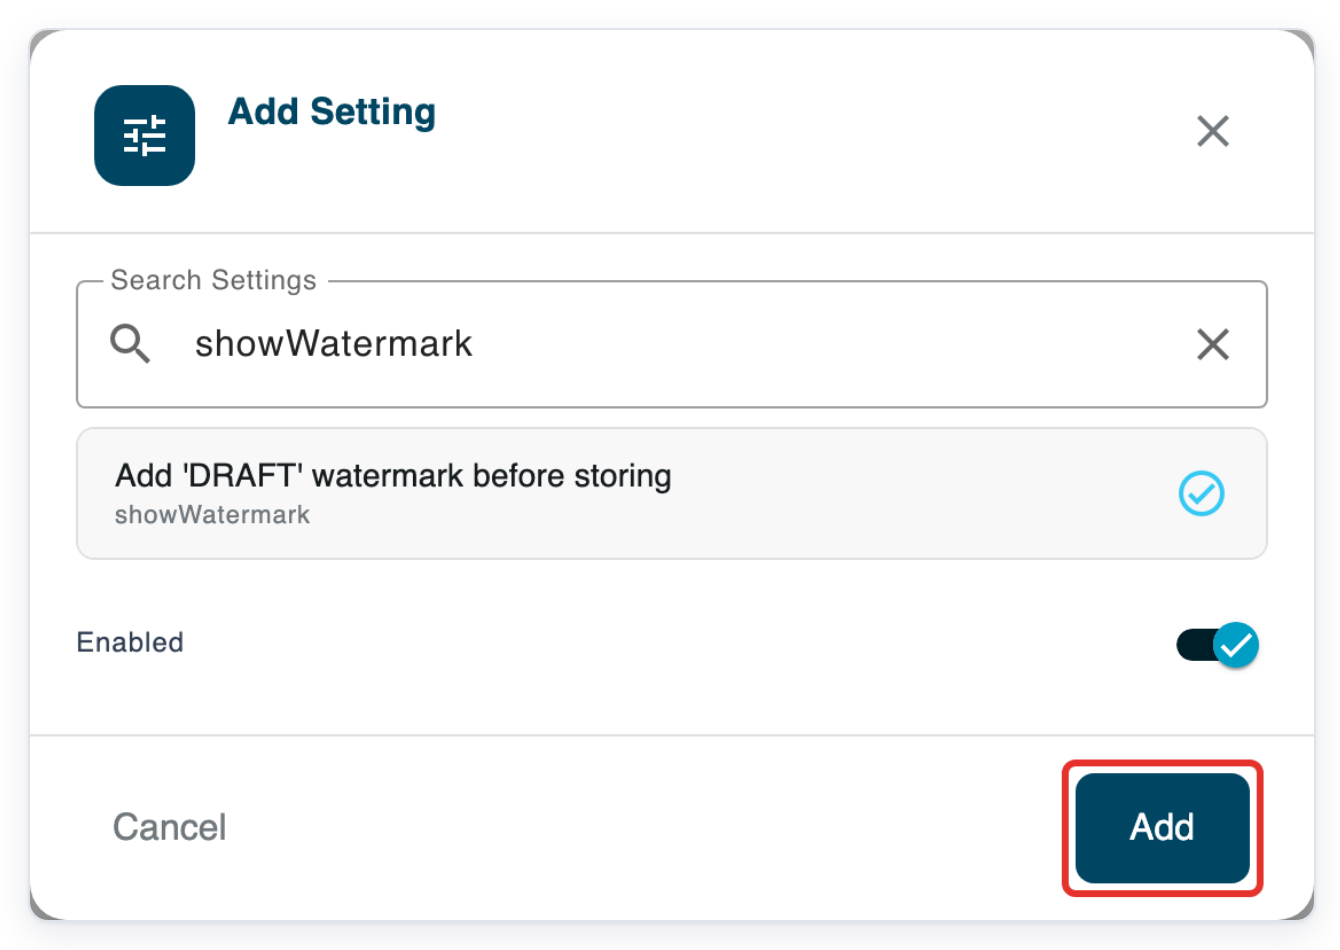
Click Add to put the enabled watermark setting in Advanced Settings.
=> Advanced Settings shows showWatermark with the value true. The setting is on, but you still need to save your change.
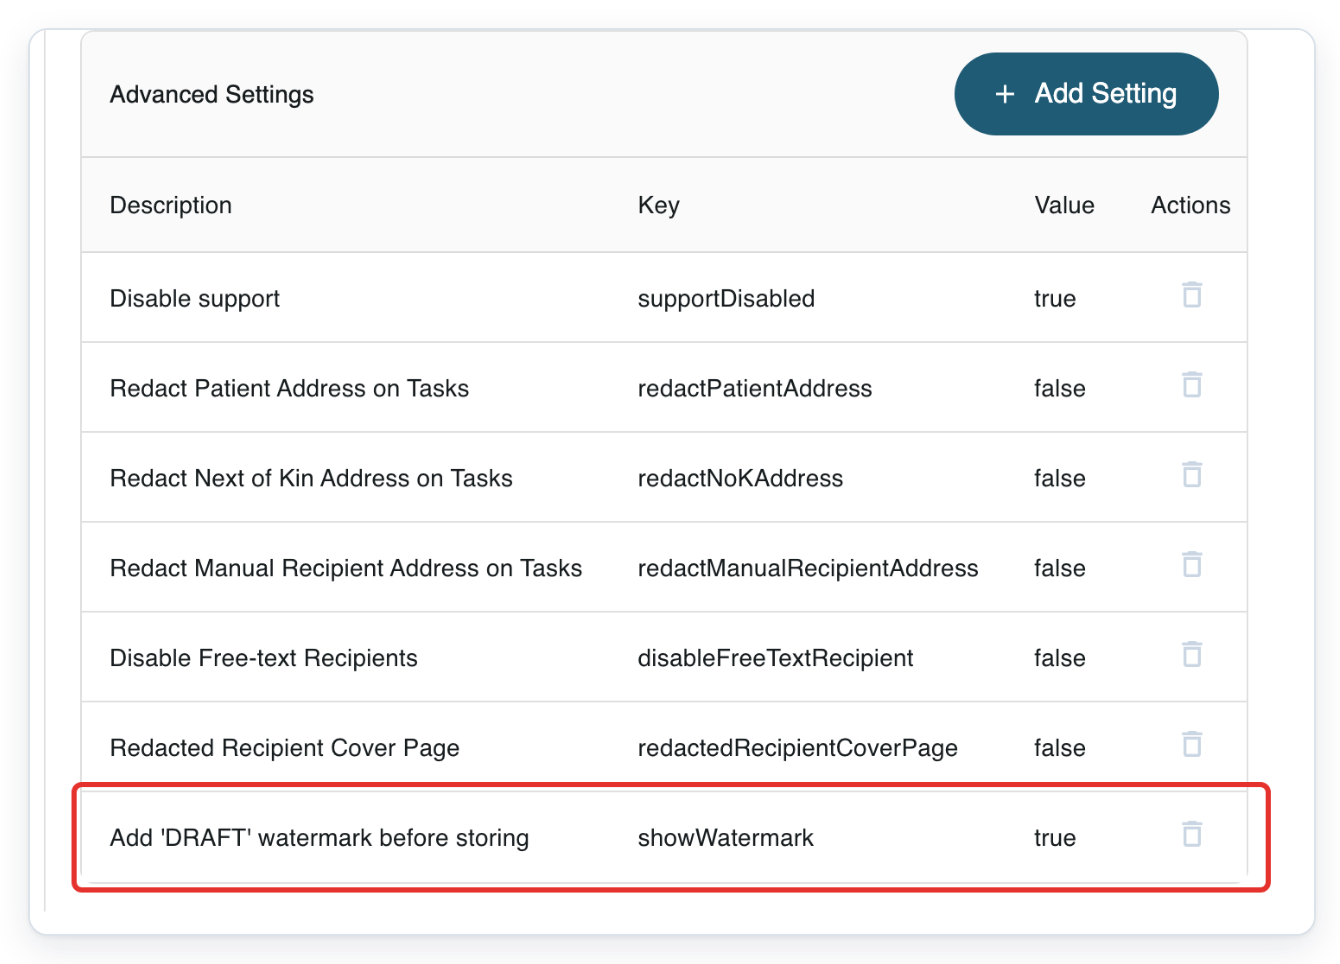
Scroll back to Organisation Details and click Save.
T-Pro shows Entity updated when the change is saved. You can then leave the settings page.
NOTE:
- This setting applies to the whole facility. Click Save in Organisation Details after adding it.
- The watermark applies to printouts, downloaded PDFs and PDFs created for electronic distribution. See the rules below.
- Deleted or rejected tasks can carry a separate watermark. The table below covers tasks that have not been deleted or rejected.
When the draft watermark appears
The task's transcription route determines whether it needs approval. The watermark stays while the task waits for a second approval, if needed. It disappears when the task reaches storing or completion.
| Task's route and stage | Draft watermark |
|---|---|
| Approval required, before storing, including while waiting for a second approval. | Shown when the facility setting is enabled. |
| No approval required. | Not shown. |
| Store, Store in Progress or Completed. | Not shown. |
Can't enable the draft watermark?
To check that your change was saved, reload the facility settings page, then scroll to Advanced Settings.
=> The saved facility settings show showWatermark with the value true.
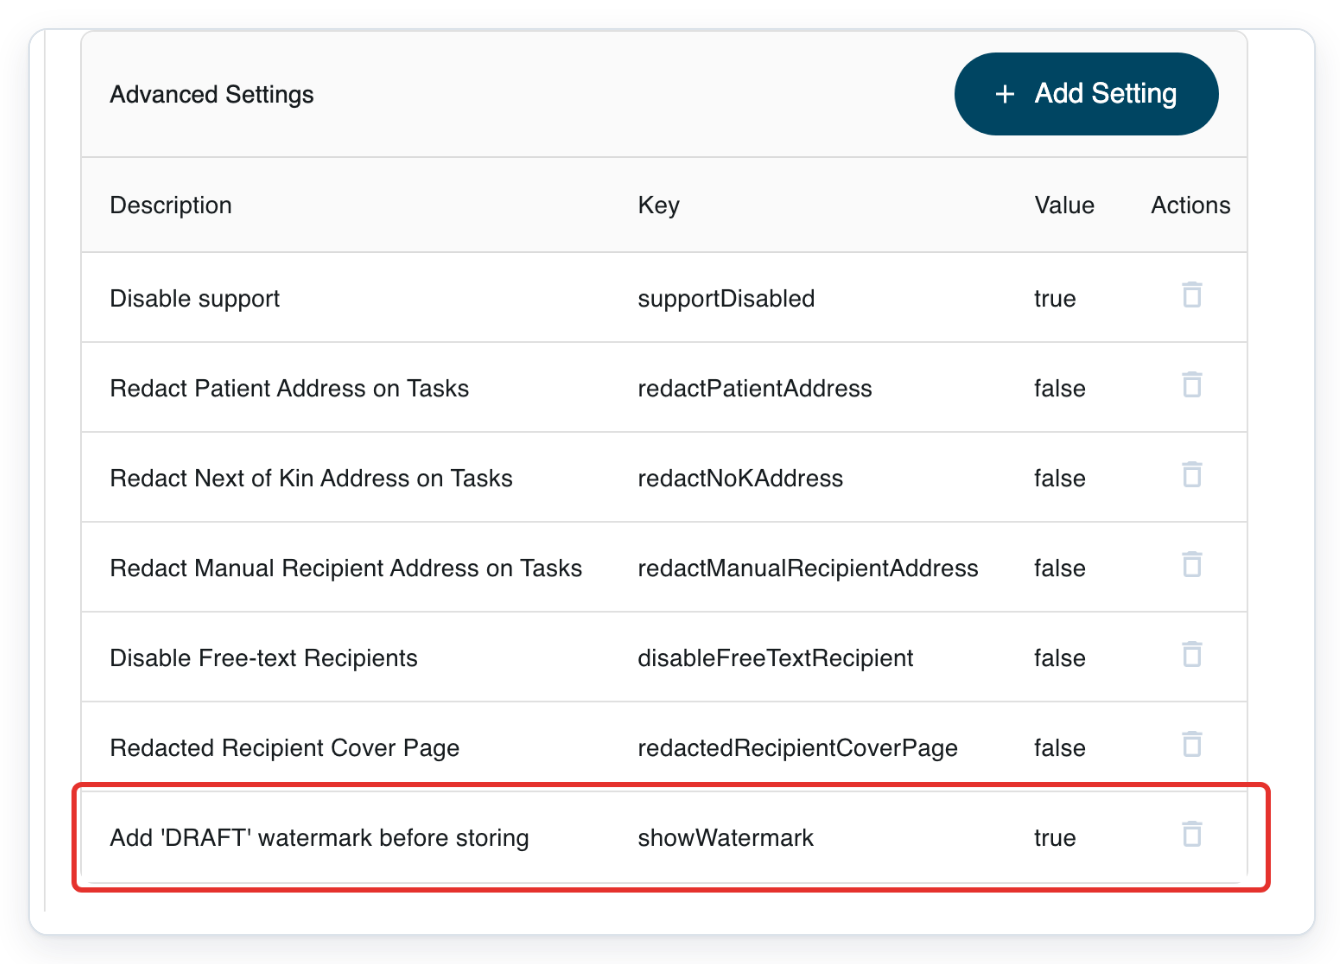
Check that you're viewing the facility you changed. If the row is missing, add the setting again and save your change. If its value is false, follow the instructions below for changing an existing setting.
If Advanced Settings is unavailable, ask an administrator to turn on the setting. This also applies if you use a master account.
If the setting is missing from Add Setting, find its row in Advanced Settings. Click the row, turn Enabled on and click Save in the dialog. Then click Save in Organisation Details.
If a document has no draft watermark before approval, check that the facility setting is saved and enabled. Ask your administrator to check that the task's transcription route includes approval.
Related articles
- Organisation settings in V2
- Task statuses in V2
- Approve a letter
- Print letters
- Download a letter as PDF or Word
If you have any more queries, please do not hesitate to contact our Helpdesk or support@tpro.io.
© 2020 - 2026