
Before you start
You need a master or admin account. If you're a master, your master group must link you to the organisation. To change product settings, sign in with an admin account.
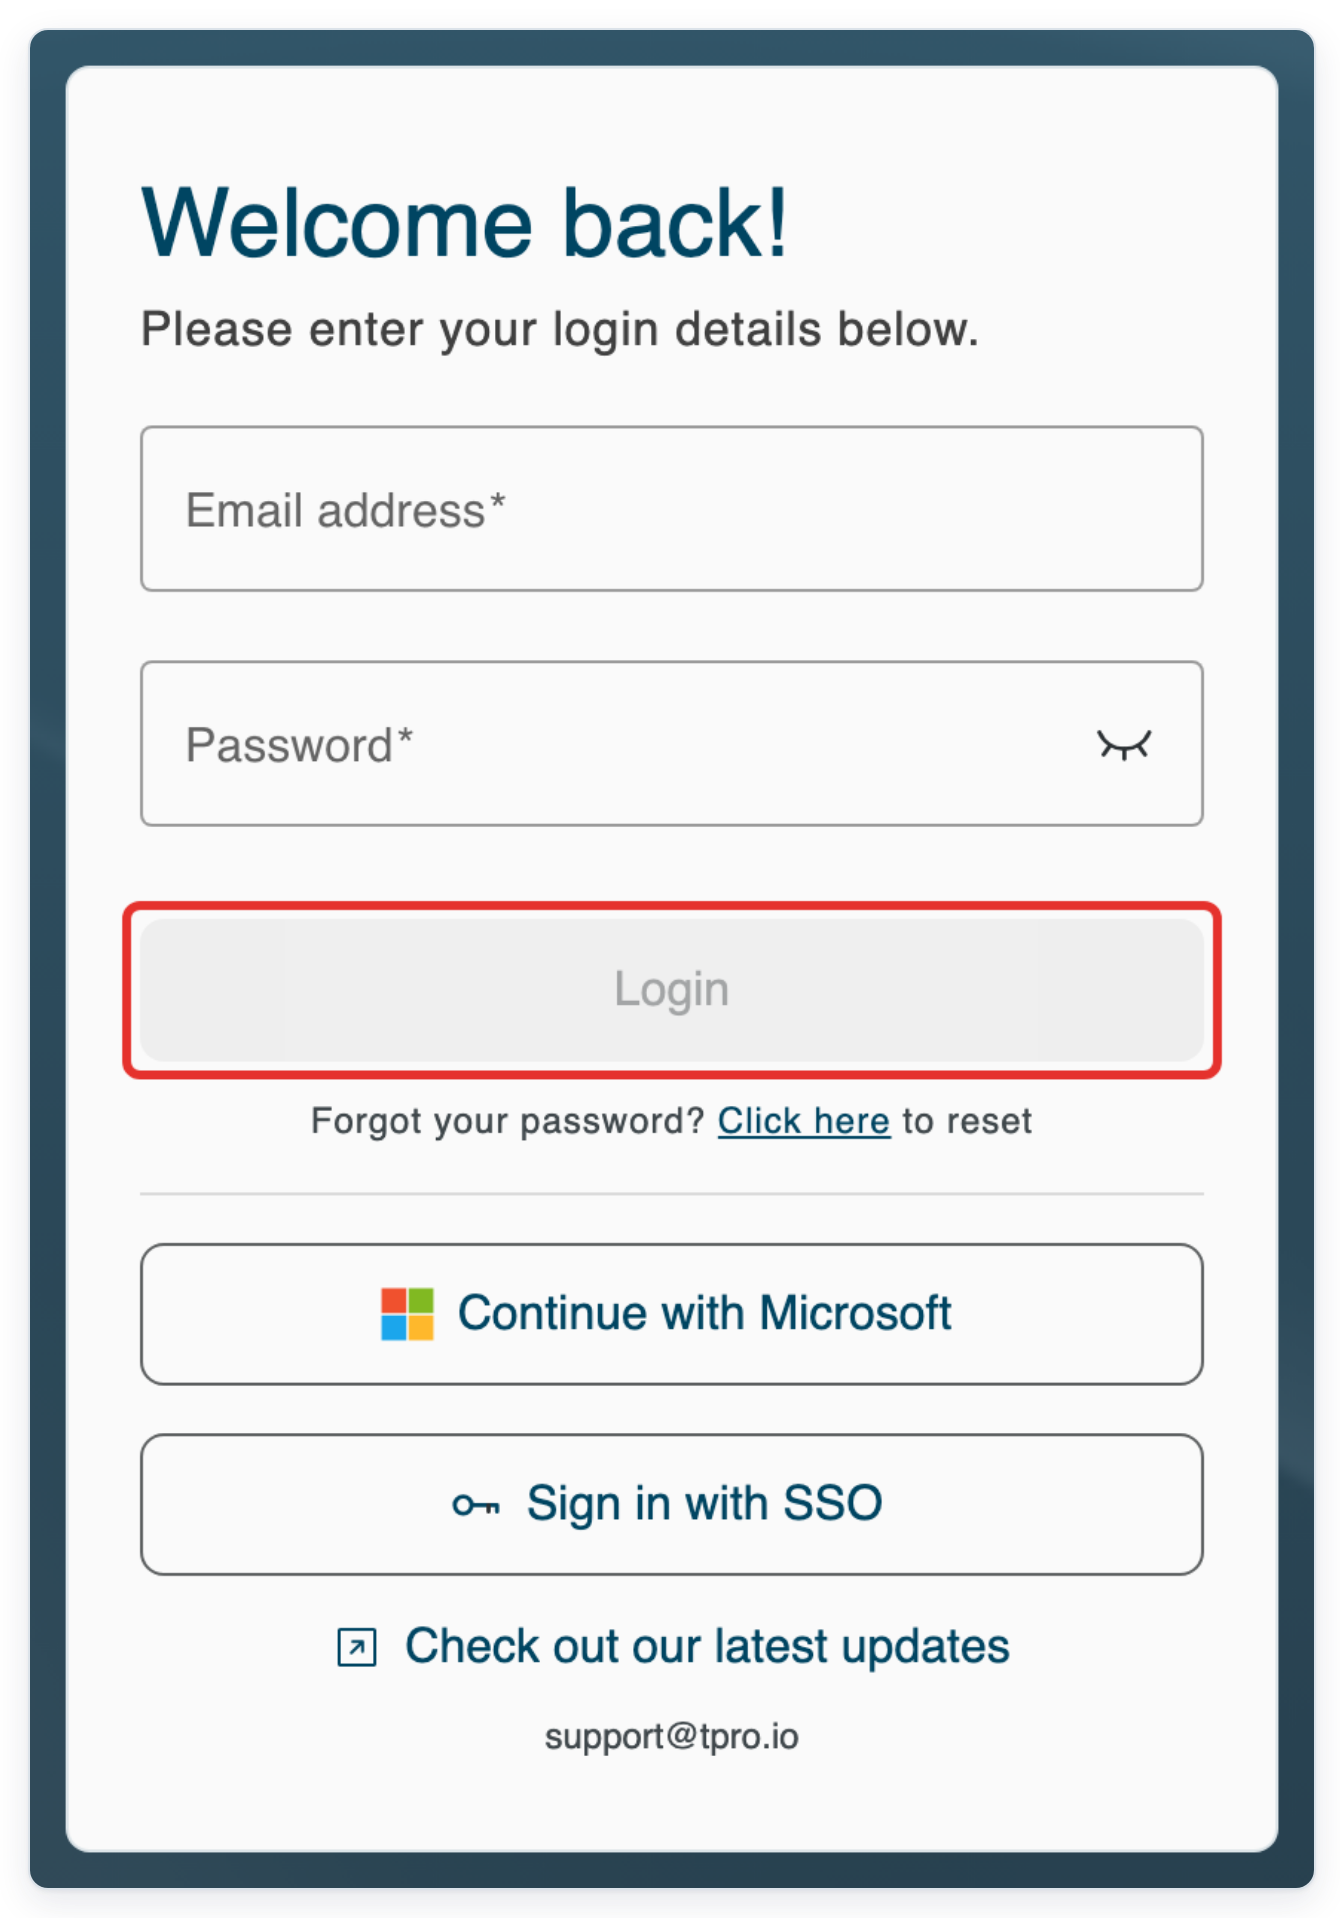
Log in to T-Pro with your master or admin credentials.
As a master
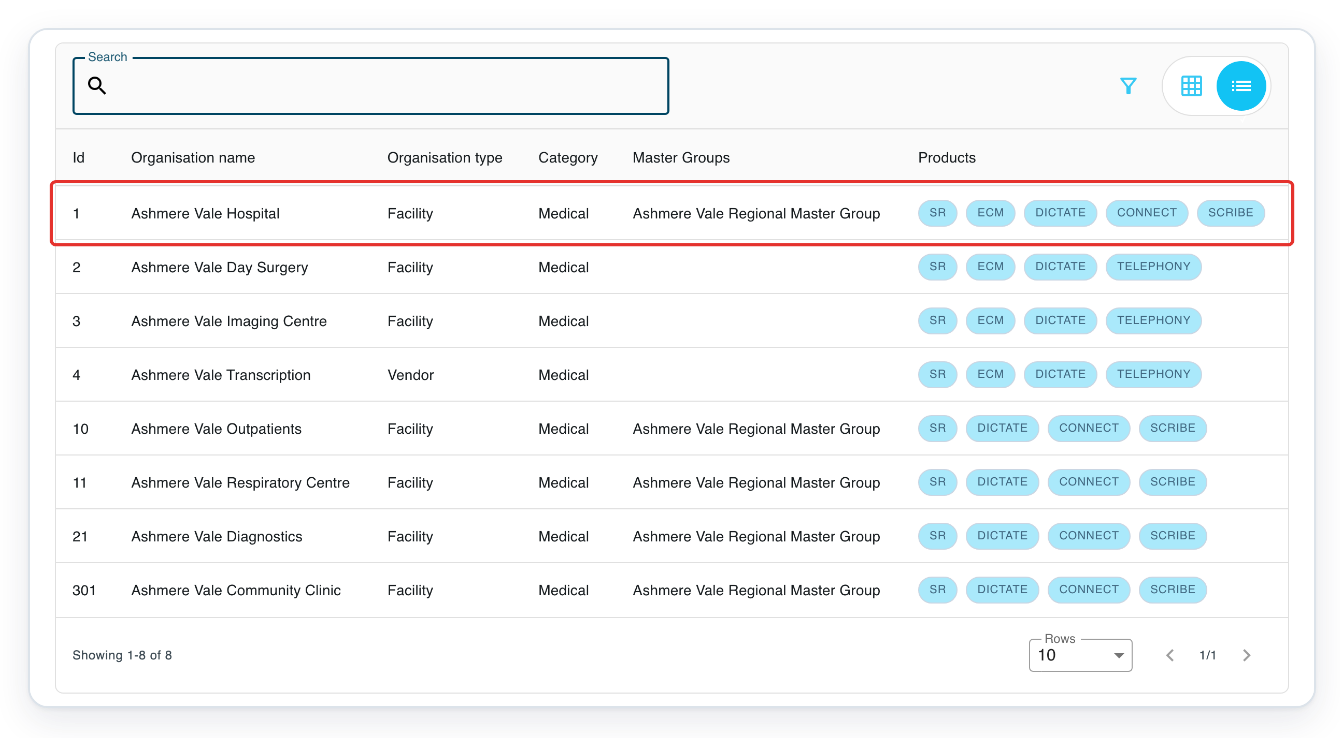
In Organisations, open your organisation.
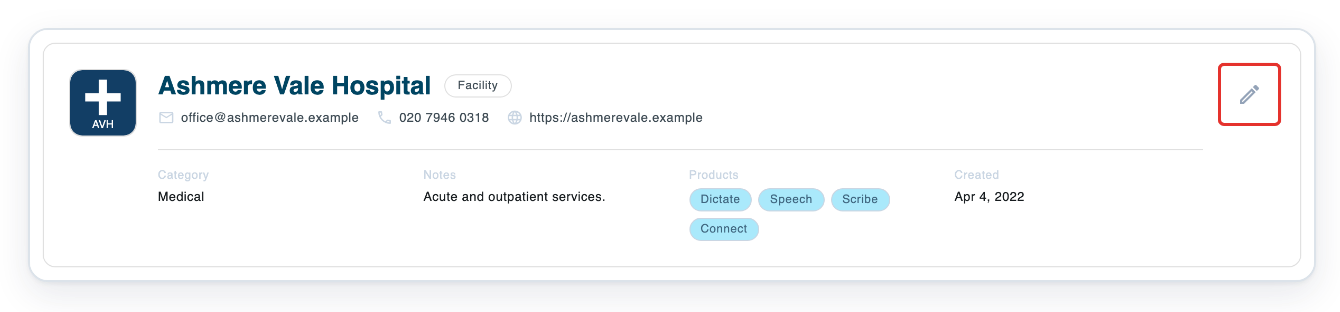
Check the name in the header, then click the Edit Settings pencil. General opens with Organisation Details, Password Policy and Standard Operating Procedure.
The header shows the organisation's name and type. Contact details, category, notes, products and creation date appear when available.
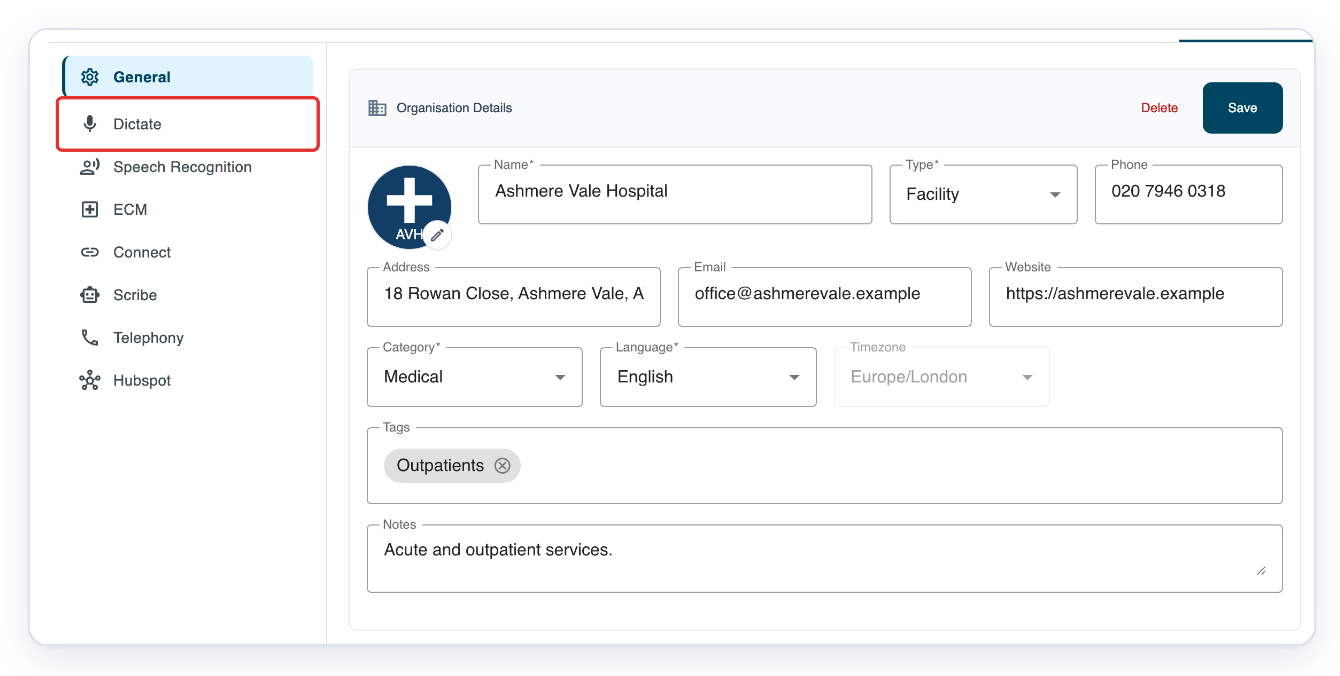
Review your organisation's details in General, including Category and Language. Click Save if you make changes. With an admin account, click Dictate in the settings menu.
The switch at the top turns Dictate on or off for the organisation.
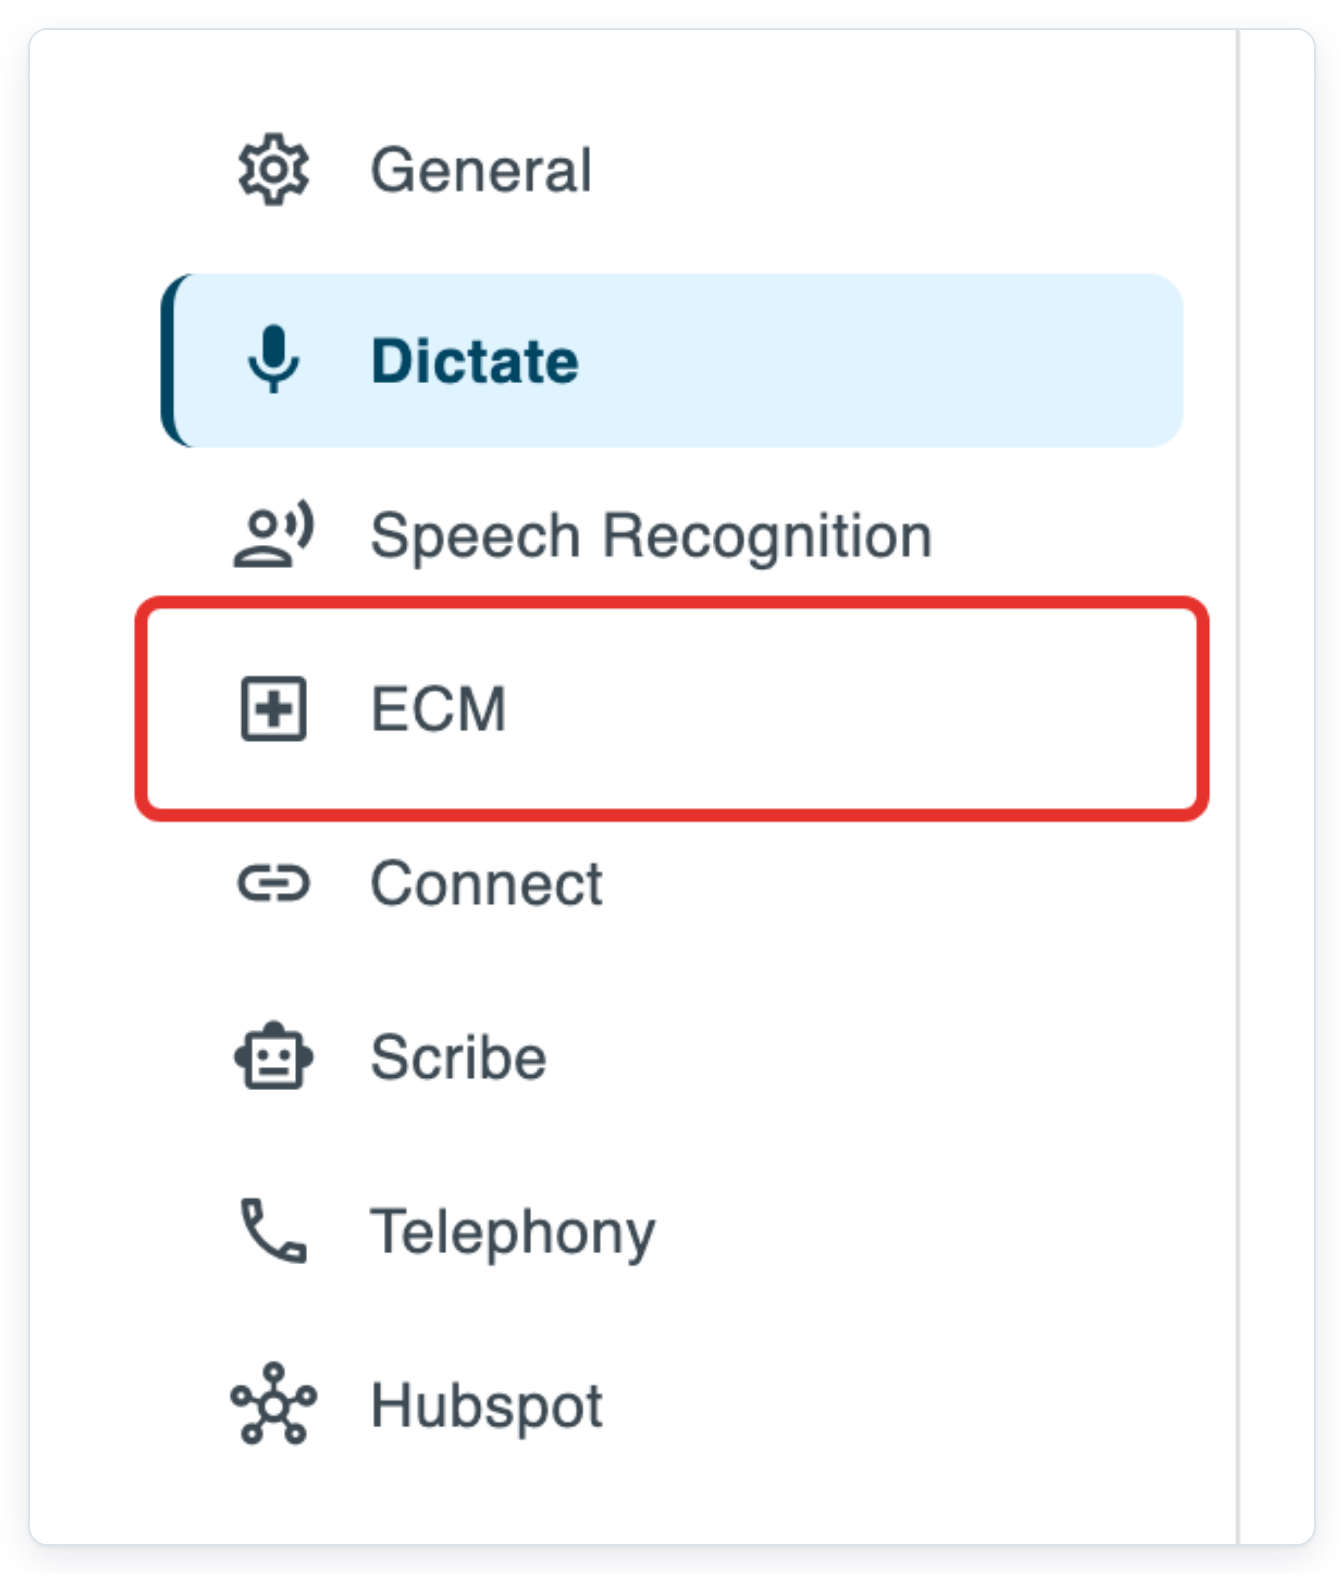
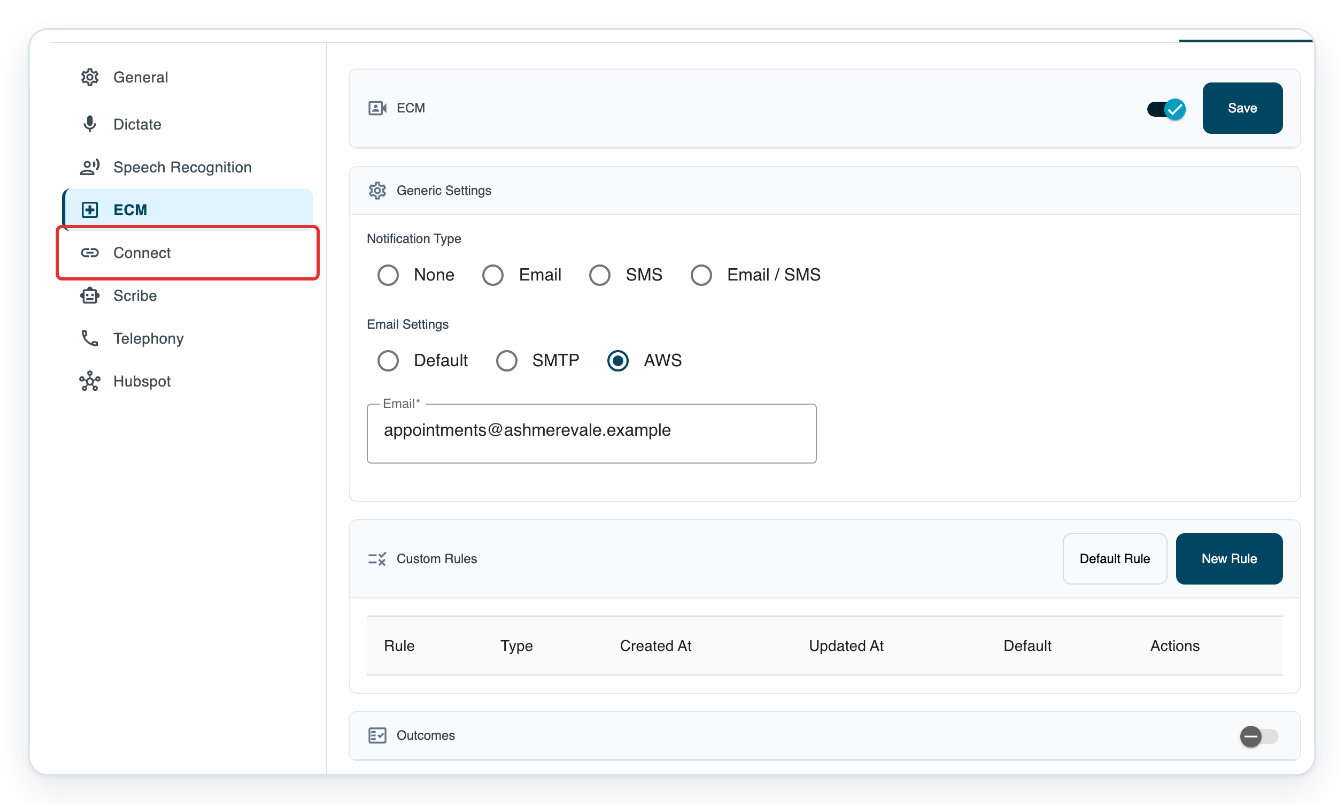
Click ECM in the settings menu to open the eClinic Manager settings.
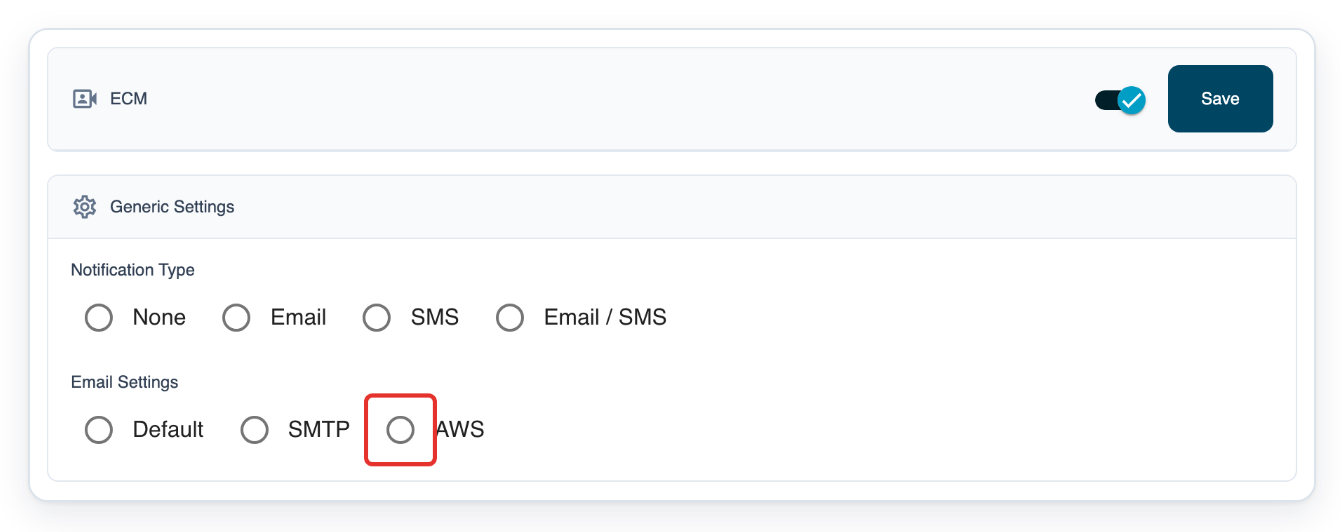
Under Notification Type, choose None, Email, SMS or Email / SMS. Manage appointment rules under Custom Rules and appointment outcomes under Outcomes.
Under Email Settings, choose AWS to enter your organisation's email address for delivery.
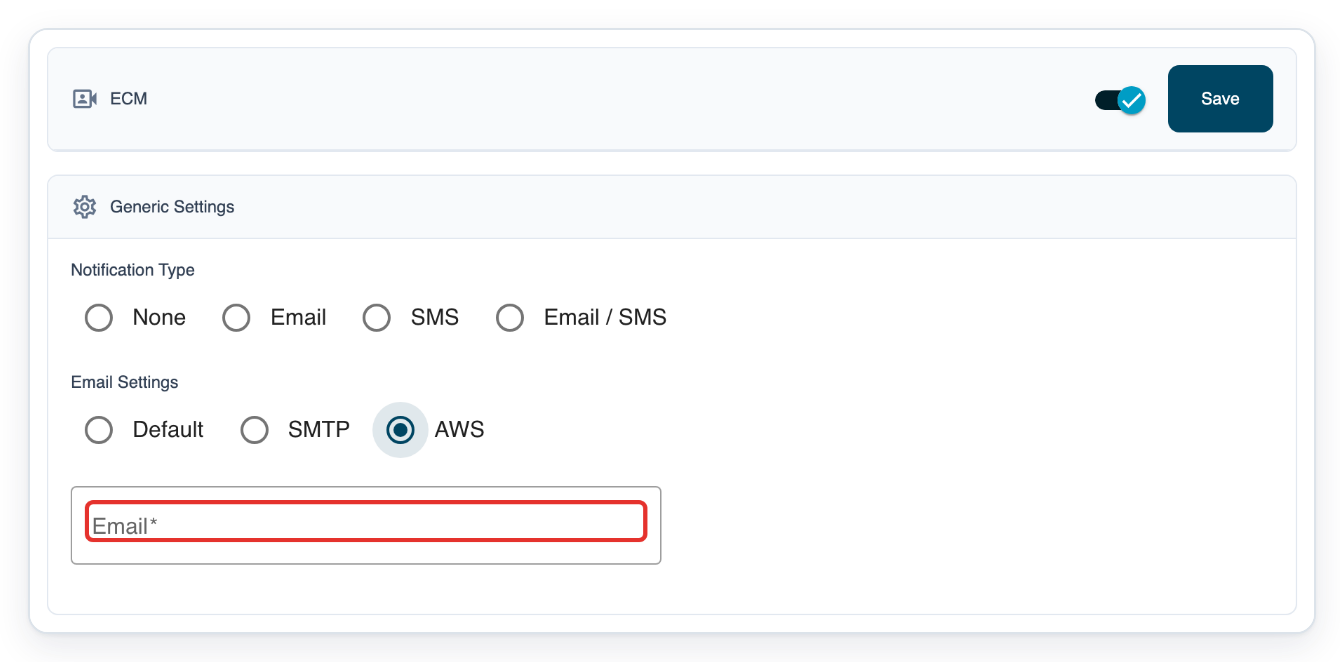
Enter your organisation's email address in Email.
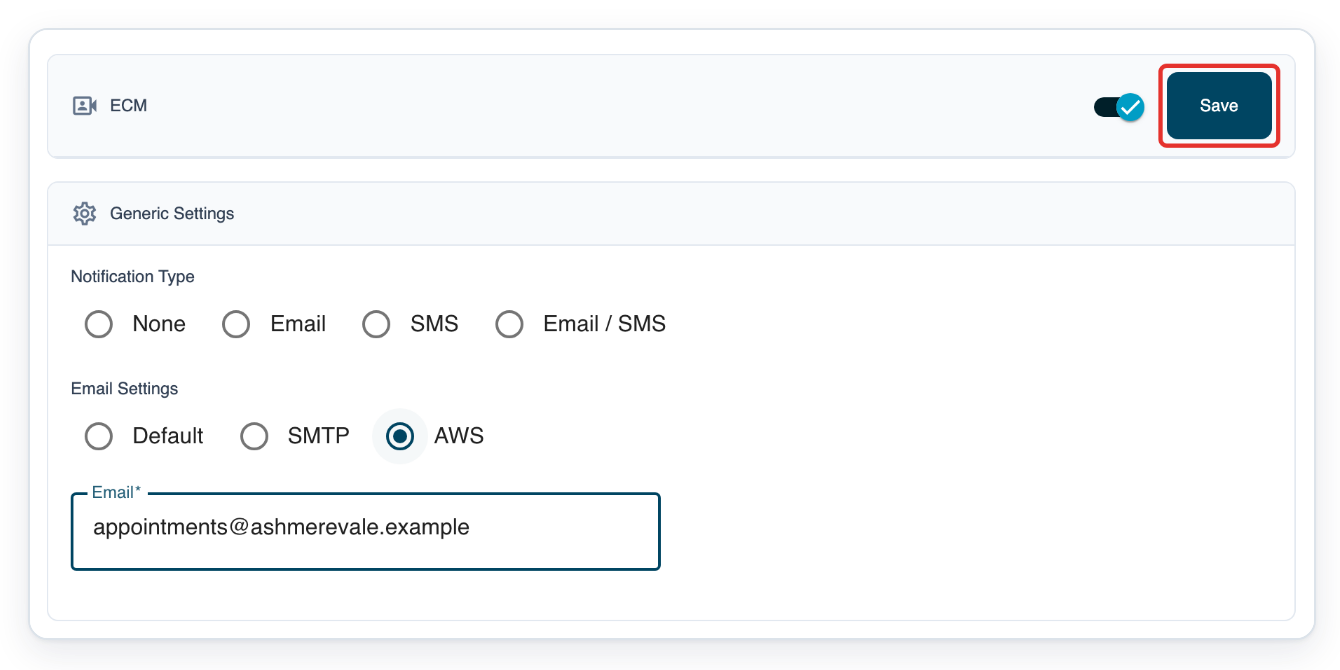
Click Save to keep your AWS email settings.
Review Custom Rules for appointment messages, reminders and the conditions under which they apply. Outcomes supplies choices when a consultation ends. Use the related eClinic Manager settings, rules and notifications guide for setup. Then click Connect.
The switch turns Connect on or off for the organisation.
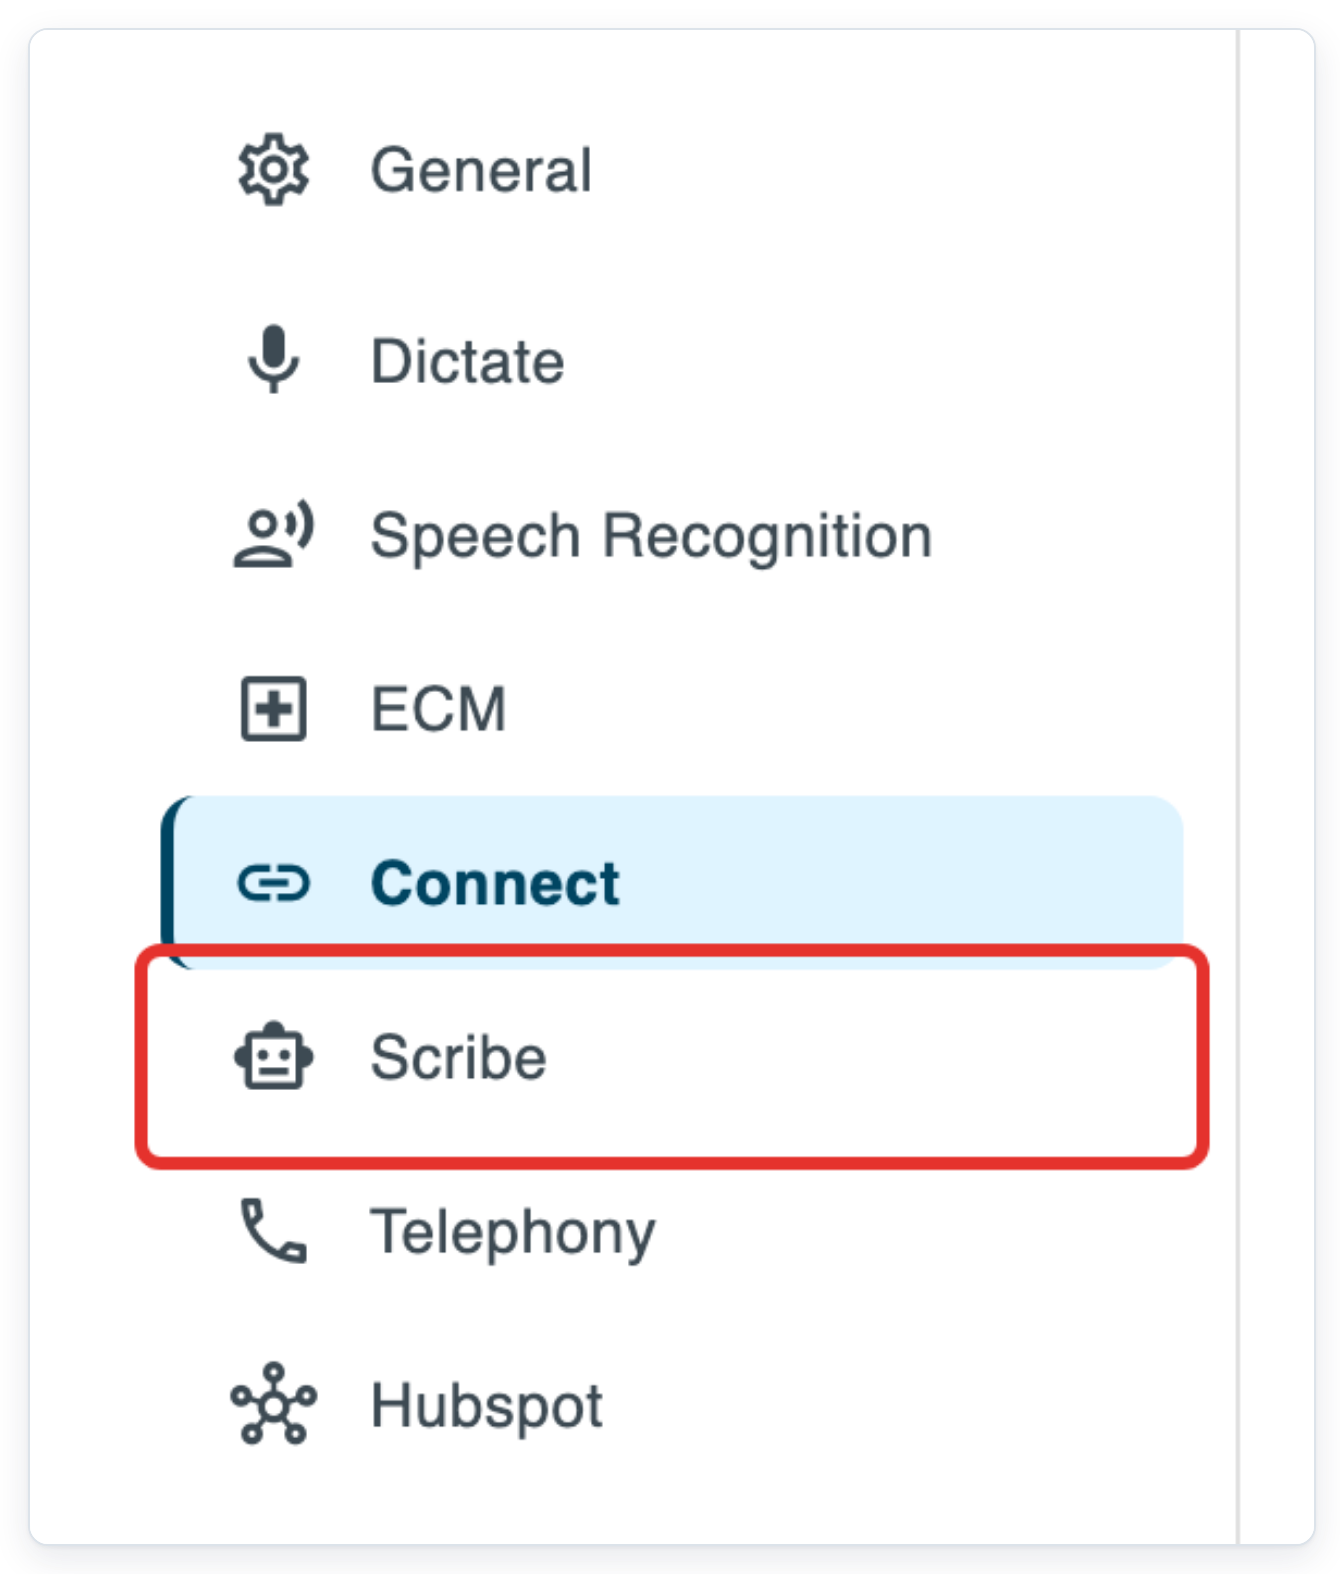
Click Scribe in the settings menu.
Central patient consent lets you set one message for all Scribe users in your organisation. When this setting is on, users must use that message.
Under Retention Settings, choose how long to keep Audio, Transcript and Encounter data. For each option you turn on, enter the Number of days to keep that data.
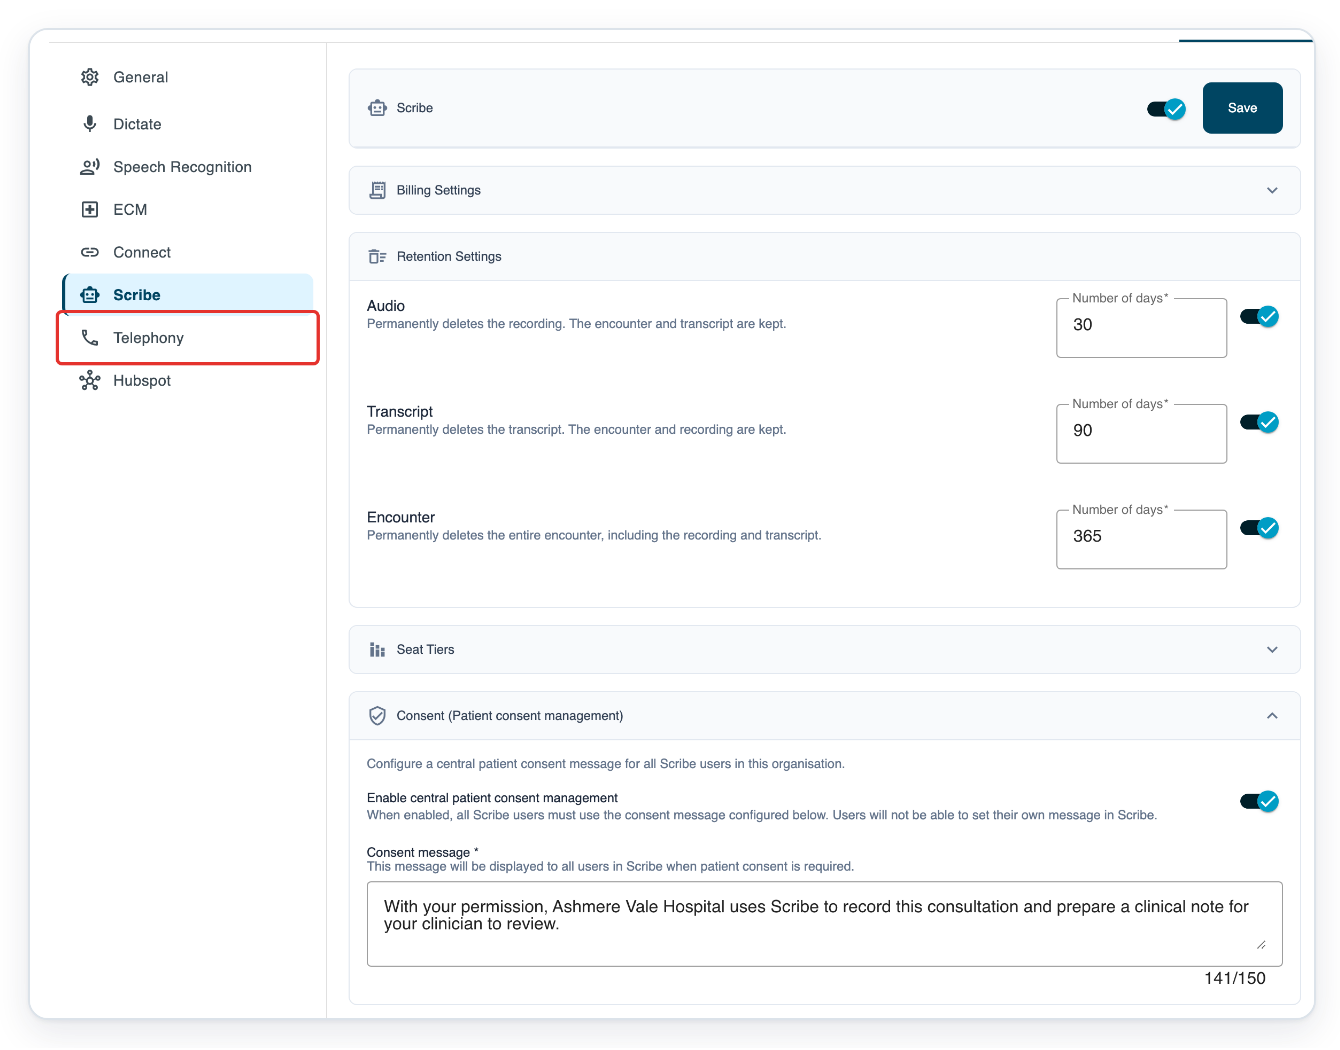
Review your Scribe retention periods and central patient consent message, then click Telephony in the settings menu.
Use Telephony Numbers to choose an available number. Set its Description and Default Voice. The number selection locks once you assign a number to the facility.
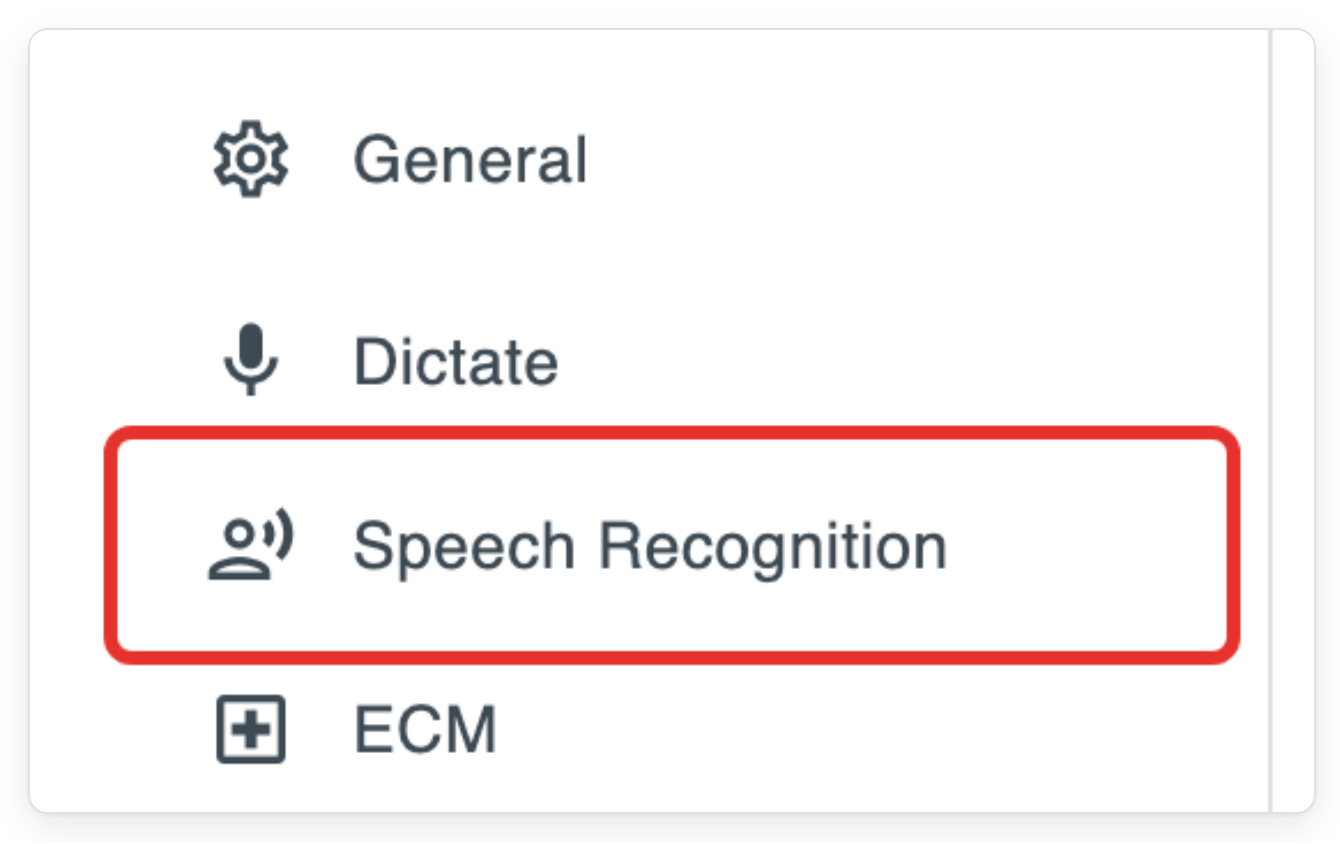
Click Speech Recognition in the settings menu to open Voice Settings.
Backend settings are for speech recognition of uploaded recordings. Frontend settings are for live dictation. Each has its own engine, language and topic.
As an admin
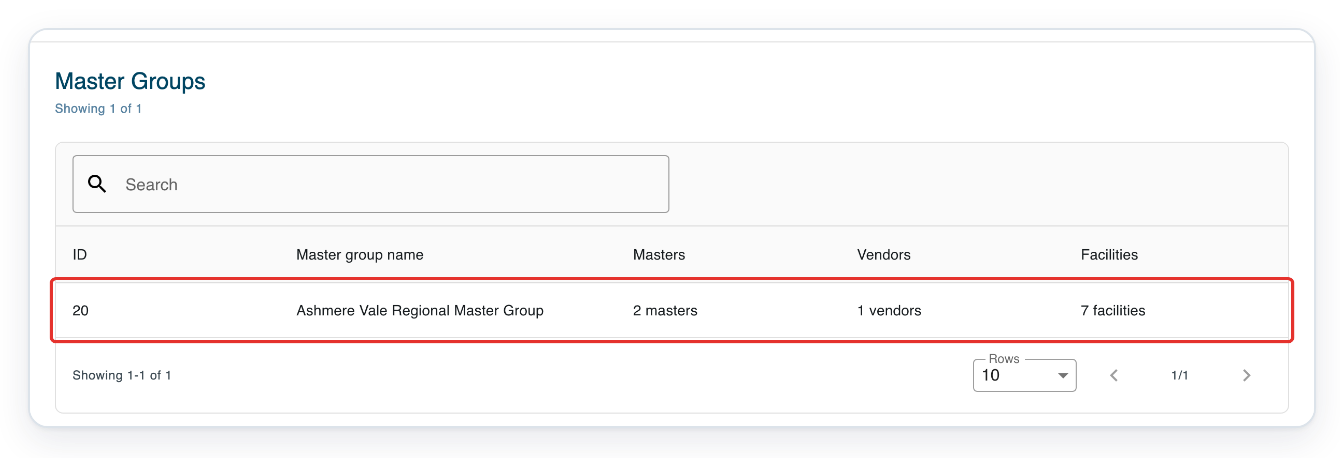
With a master account, click Master Groups in the top menu to see the groups you belong to.
The list shows each group's name and how many accounts and organisations are linked to it.

Click your master group's row to open it.
The group shows its linked accounts and organisations. As a master, you can access organisations linked to your master groups.
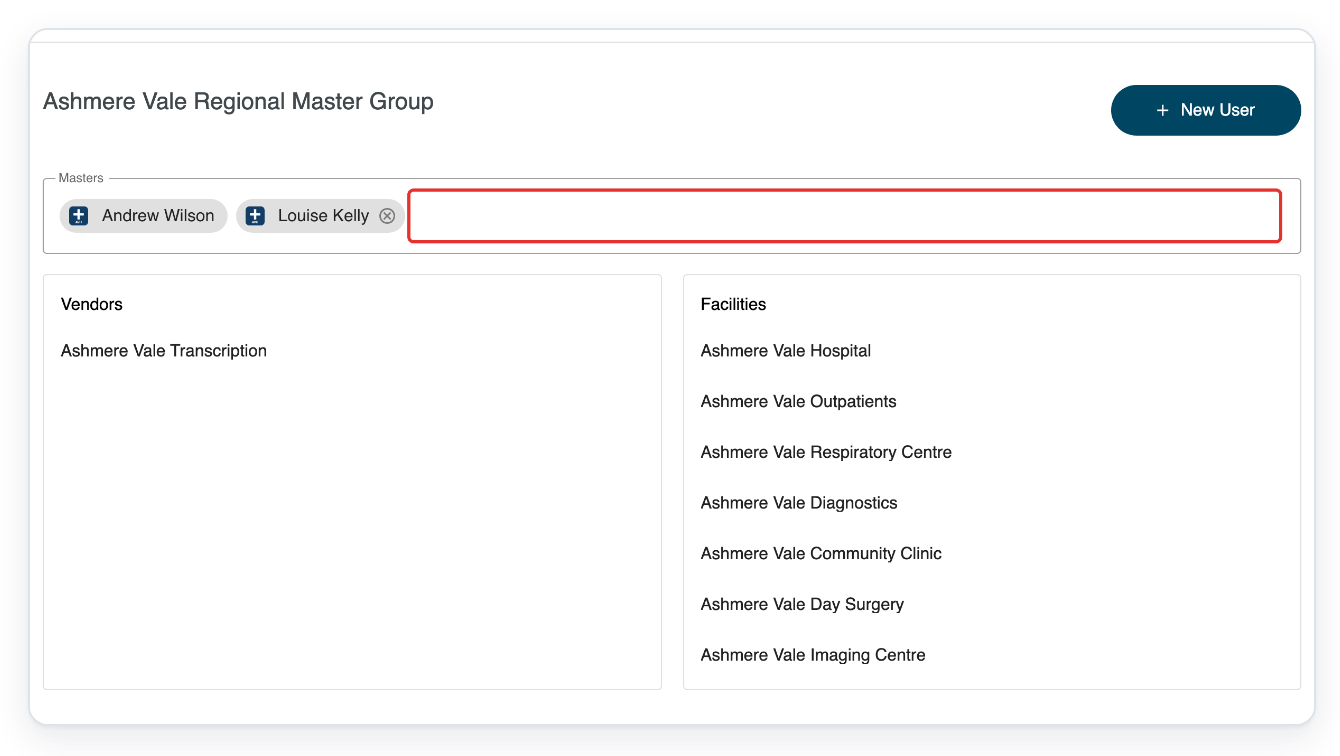
Click Add master to see existing masters you can add.
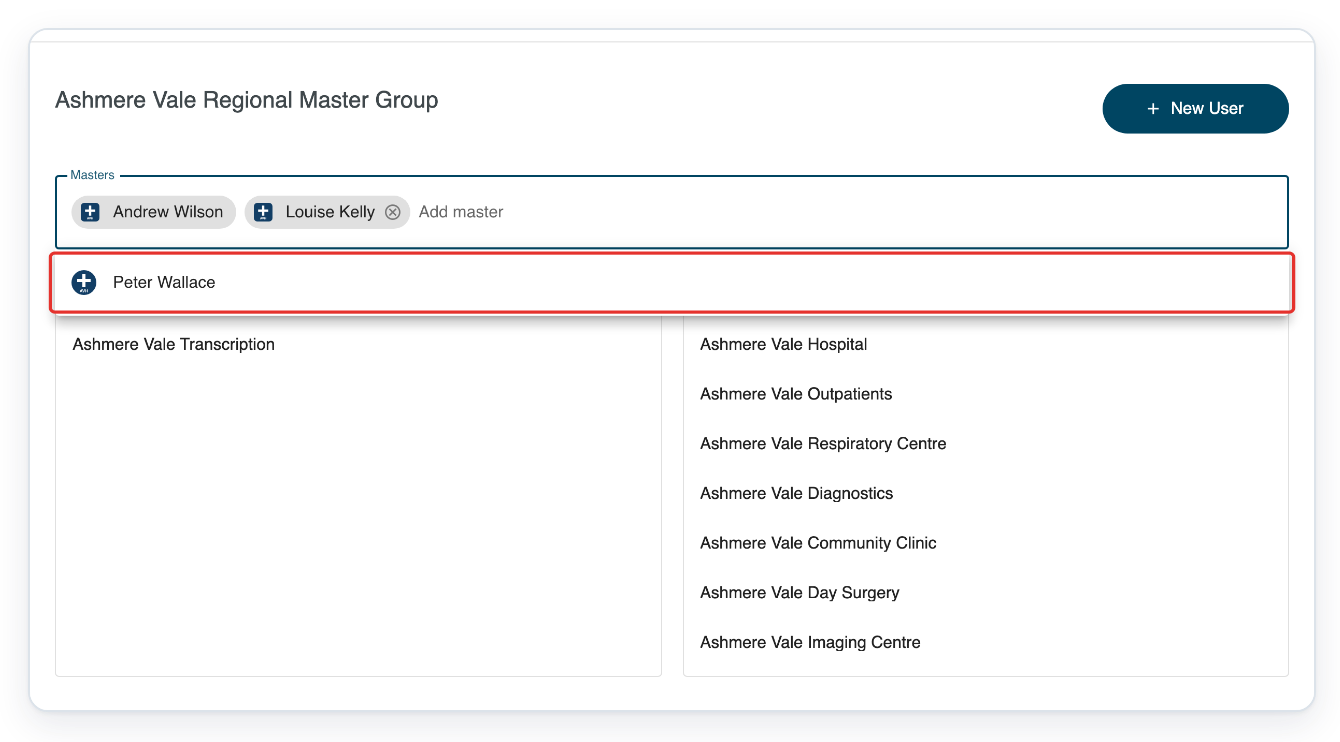
Select the master you want to add, such as Peter Wallace.
The selected master is added to the group.
Check that the new master is listed. To remove another member, click the remove icon beside their name, shown here beside Louise Kelly.
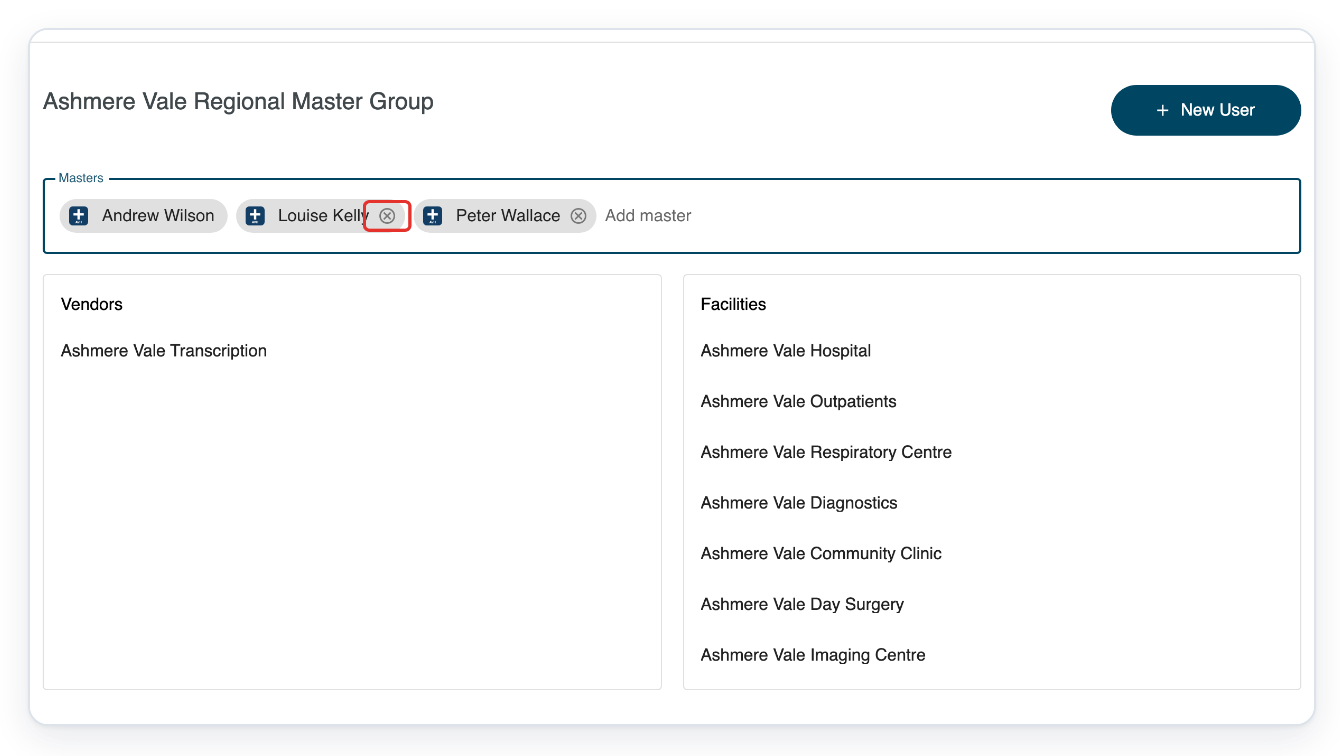
Click Yes to confirm removing that master from the group.
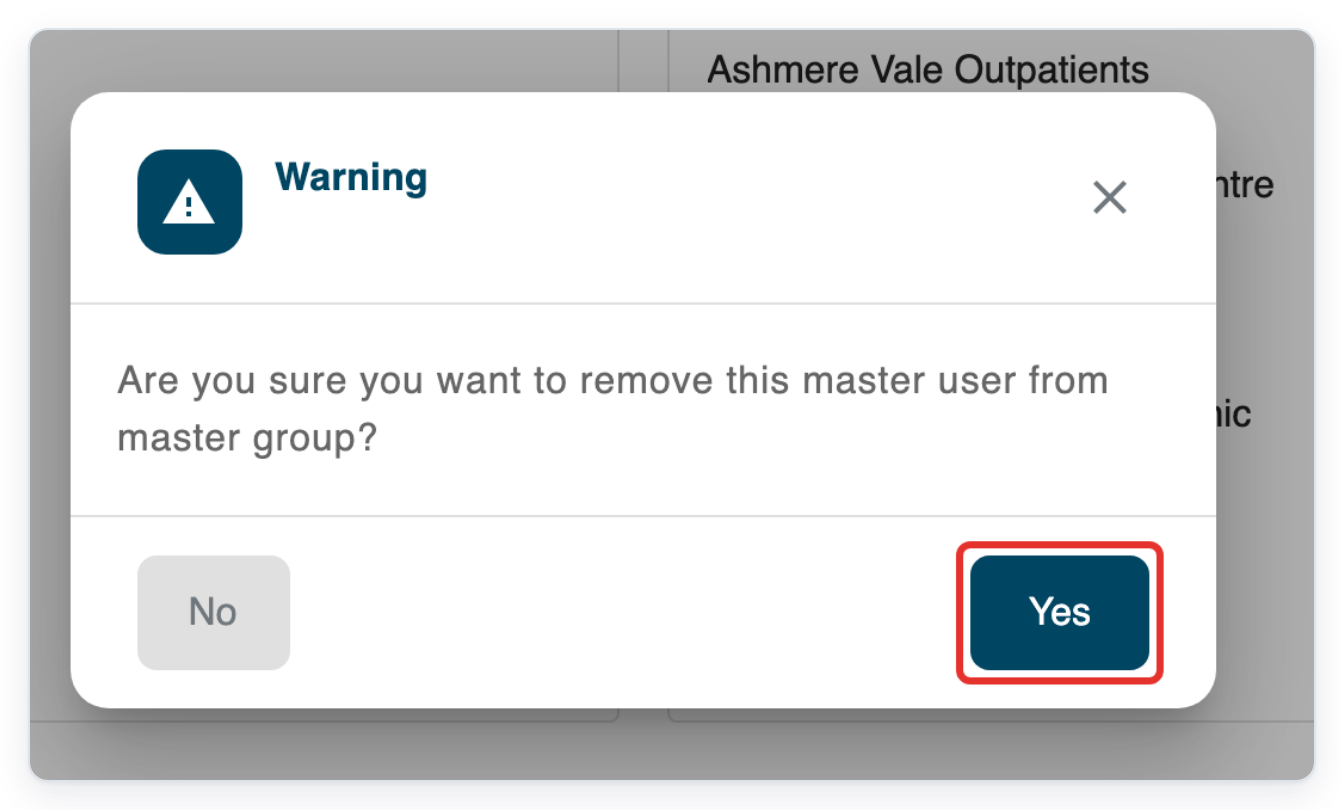
Manage master groups
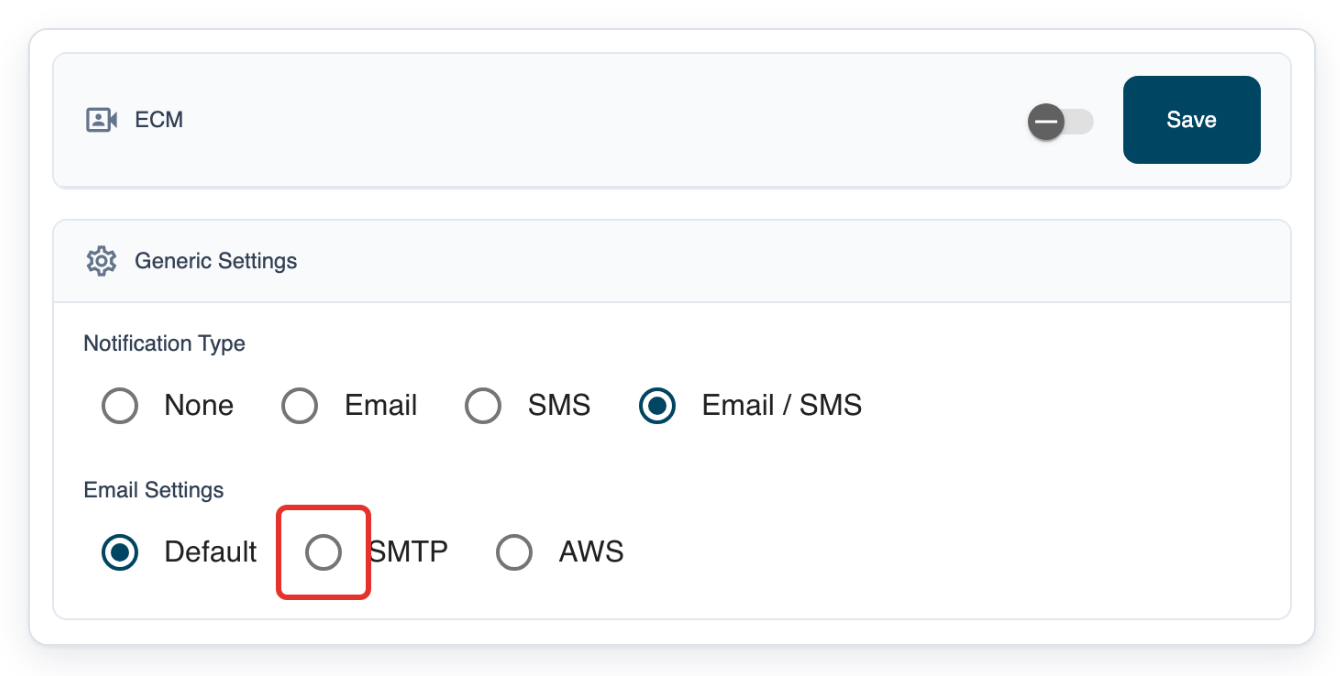
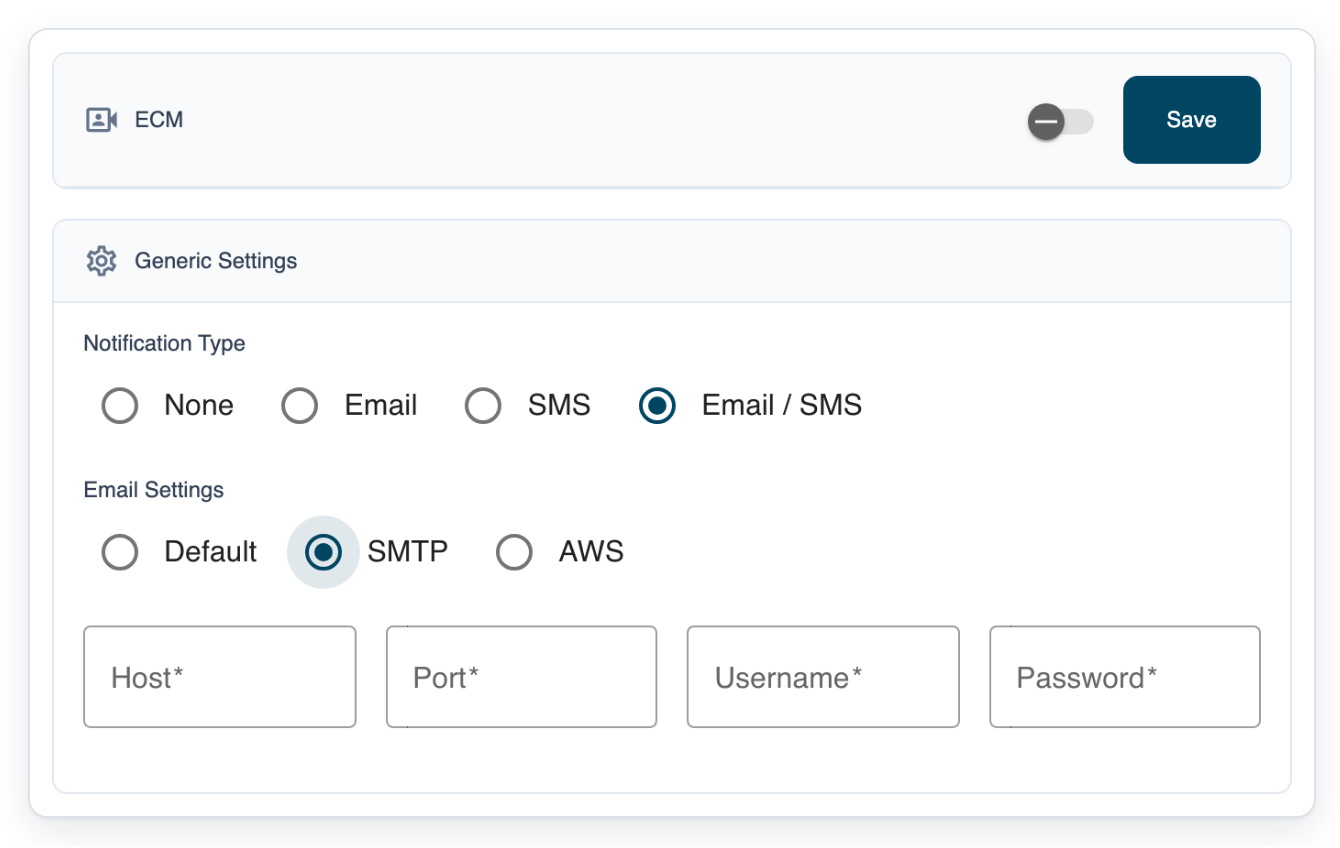
With an admin account, open your organisation's ECM settings. Under Email Settings, choose SMTP to display its connection fields.
=> The Host, Port, Username and Password fields appear.
NOTE:
- Click Save to keep your changes before leaving a settings tab.
- In Password Policy, set the required password length from 6 to 20 characters. Set password expiry from 1 to 12 months. Choose whether passwords require lowercase letters, uppercase letters, numbers and symbols.
- Use a PDF for the Standard Operating Procedure.
- Scribe permanently deletes data after the retention period you set. Deleting an encounter also deletes its recording and transcript.
- Admins create master groups and link facilities or vendors to them. Masters add or remove existing master members.
- Under Email Settings, choose Default, SMTP or AWS. For SMTP, enter Host, Port, Username and Password. For AWS, enter Email. Then click Save.
- ECM Custom Rules configure appointment messages, reminders and the conditions under which they apply. Outcomes supplies choices when a consultation ends. Use the related eClinic Manager settings, rules and notifications guide for setup.
- To set up telephony, turn on its switch. Select an available number under Telephony Numbers, enter Description, choose Default Voice, then click Save.
What each settings tab is for
| Settings tab | What you can change |
|---|---|
| General | Organisation details, password rules and the Standard Operating Procedure. |
| Dictate | Whether Dictate is on for the organisation. |
| ECM | Whether eClinic Manager is on, appointment notifications, custom rules and outcomes. |
| Scribe | Whether Scribe is on, the central patient consent message and retention periods. |
| Telephony | Whether telephony is on, the available telephone number, description and default voice. |
| Speech Recognition | Turn speech recognition on or off. Choose the engine, language and topic separately for uploaded recordings and live dictation. |
| Connect | Whether Connect is on for the organisation. |
Other places you can open organisation settings
- Open your organisation, then click its Settings tab instead of the Edit Settings pencil.
Can't manage organisation settings?
- If product settings tabs are missing, sign in with an admin account. ECM, Scribe, Telephony and Connect are available for facilities.
- If you cannot find your organisation as a master, ask an admin to check your master group. It must link your account to the organisation.
- If your changes will not save, fill in missing details and correct any errors. Then click Save again. If central patient consent is on, enter a Consent message.
- If automatic task deletion controls are missing, contact our Helpdesk. They can discuss how long your organisation needs to keep tasks.
- If Add master is unavailable with an admin account, use a master account to add an existing master.
- If your telephony number cannot be changed, it is already assigned to the organisation and locked. Contact our Helpdesk if it needs changing.
Related articles
- Facility overview
- Change your password
- Set up telephony dictation
- Turn on Scribe for an author
- eClinic Manager settings, rules and notifications
If you have any more queries, please do not hesitate to contact our Helpdesk or support@tpro.io.
© 2020 - 2026