
Before you start
You need a master or admin account with access to the author's profile. Scribe must already be enabled for their organisation.
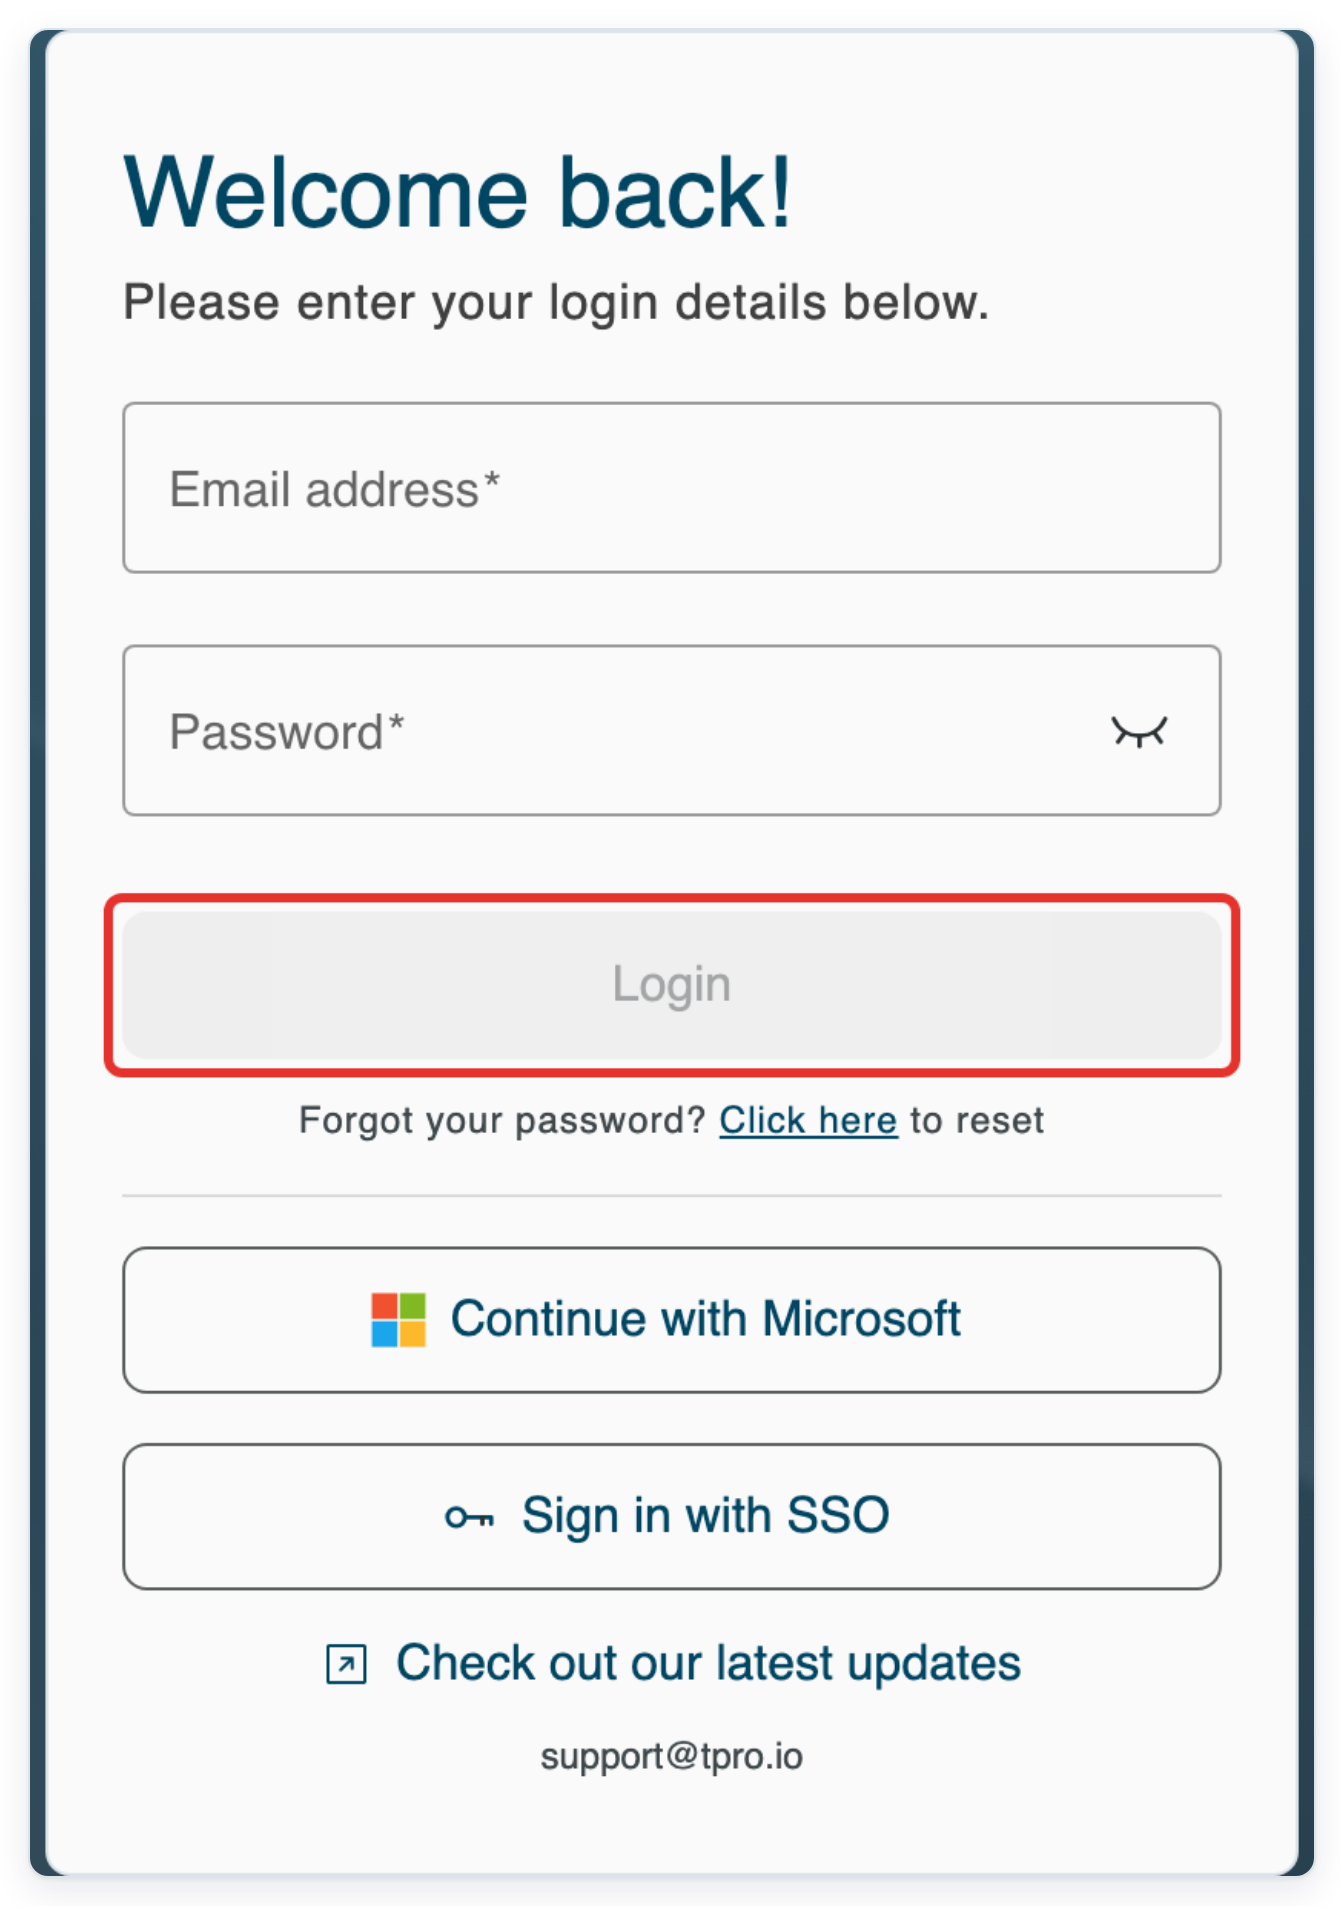
Log in to T-Pro with your master or admin credentials.
Enter your email address and password, then click Login.
Go to Users, then click Search above the user list.
Find the author's existing account by name, email address or user ID.

Type the author's name in Search. In this example, enter Eleanor Hayes.

Press Enter to search for the author.
Check the results before opening a profile. Use the E-mail, Organisation and Role columns to find the right account.

Click the author's row to open their profile in a new tab.
In this example, click Eleanor Hayes. The profile opens on My details. The author's email address and organisation appear at the top.

On the author's profile, click Scribe Settings.
Look for this tab beside the other profile settings. It has the switch for the author's Scribe access.

Turn on Enable Scribe for this user.
If the switch is off, click it once to turn it on. Leave this tab open until you've saved the change.

Click Save. The confirmation says User updated.
Wait for this confirmation before continuing.

=> After saving, Scribe Settings shows Enable Scribe for this user switched on.

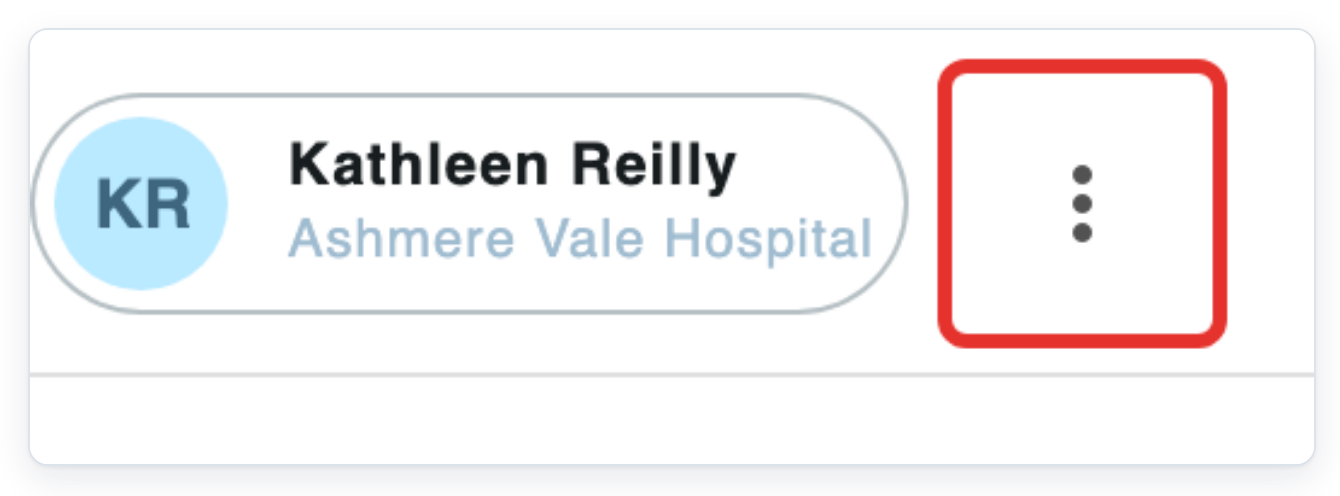
Open the account menu using the three dots in the top bar.
The next steps take you to the Scribe help centre.
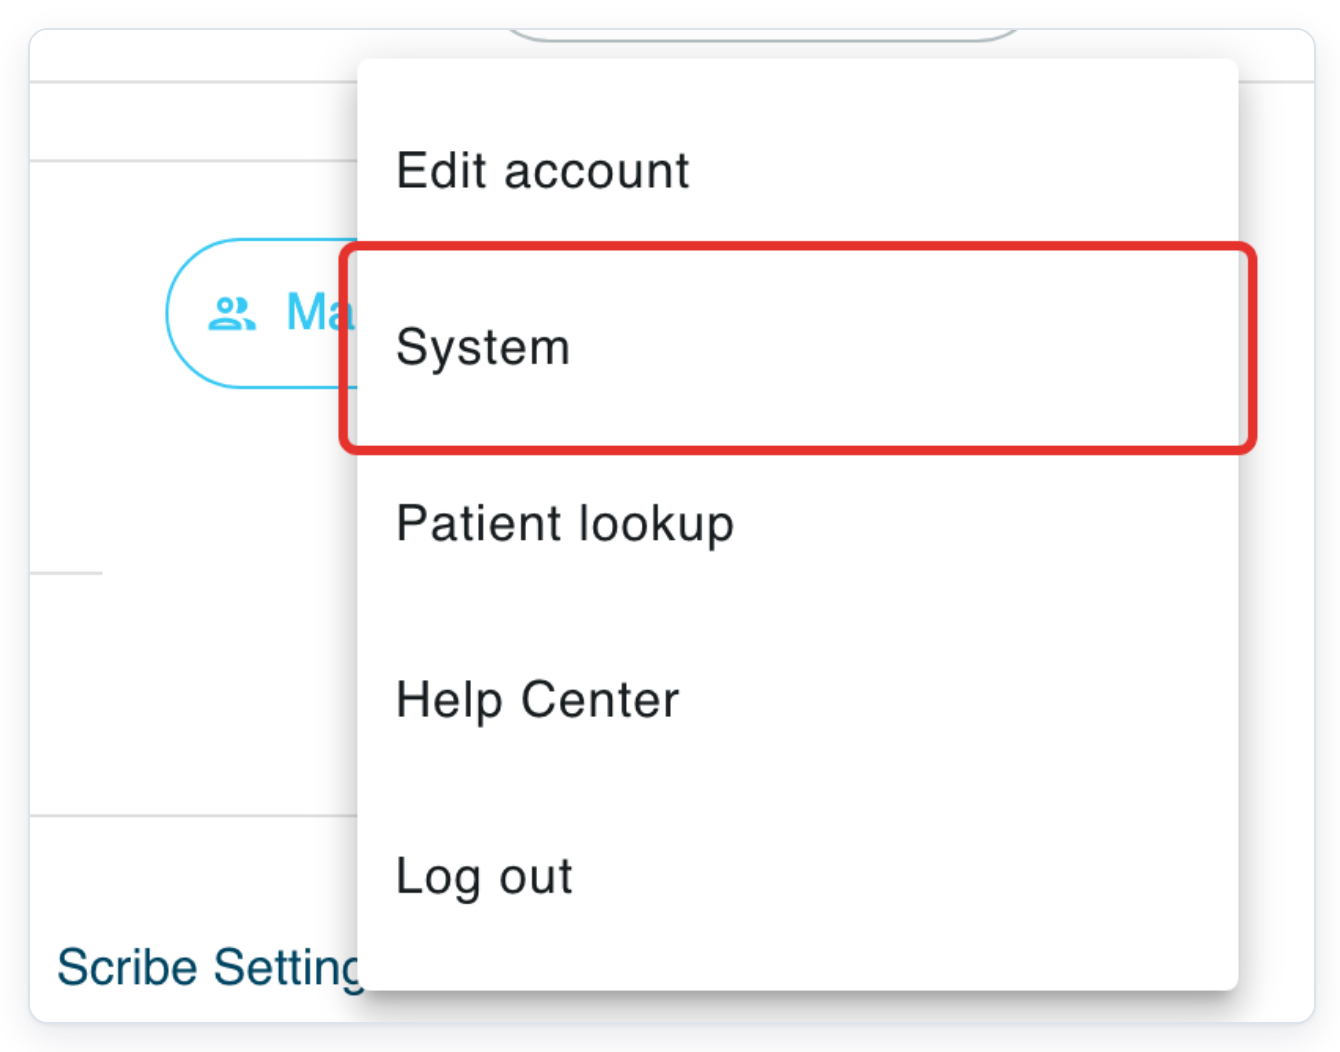
Click System in the account menu.
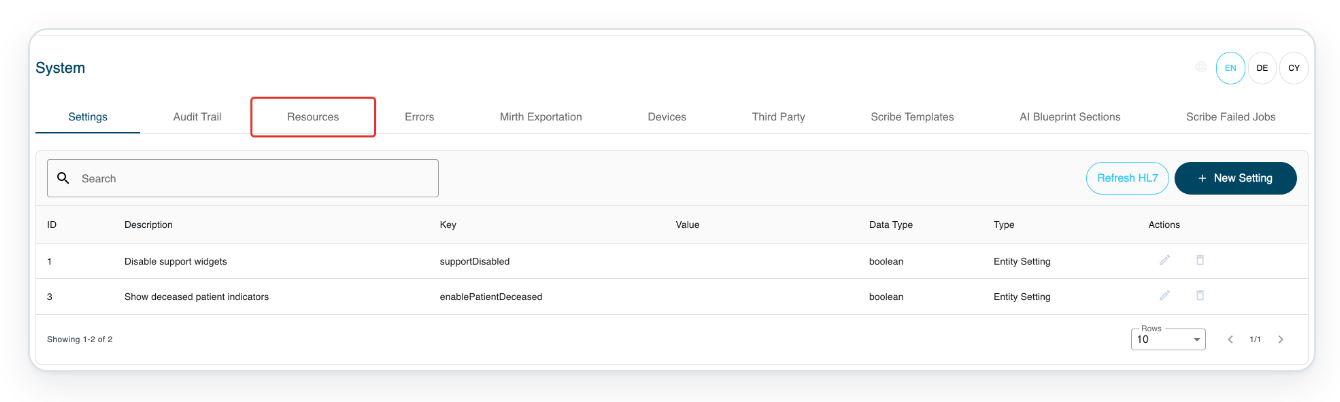
If you're signed in as an admin, Settings opens. With a master account, Resources opens with the help links.
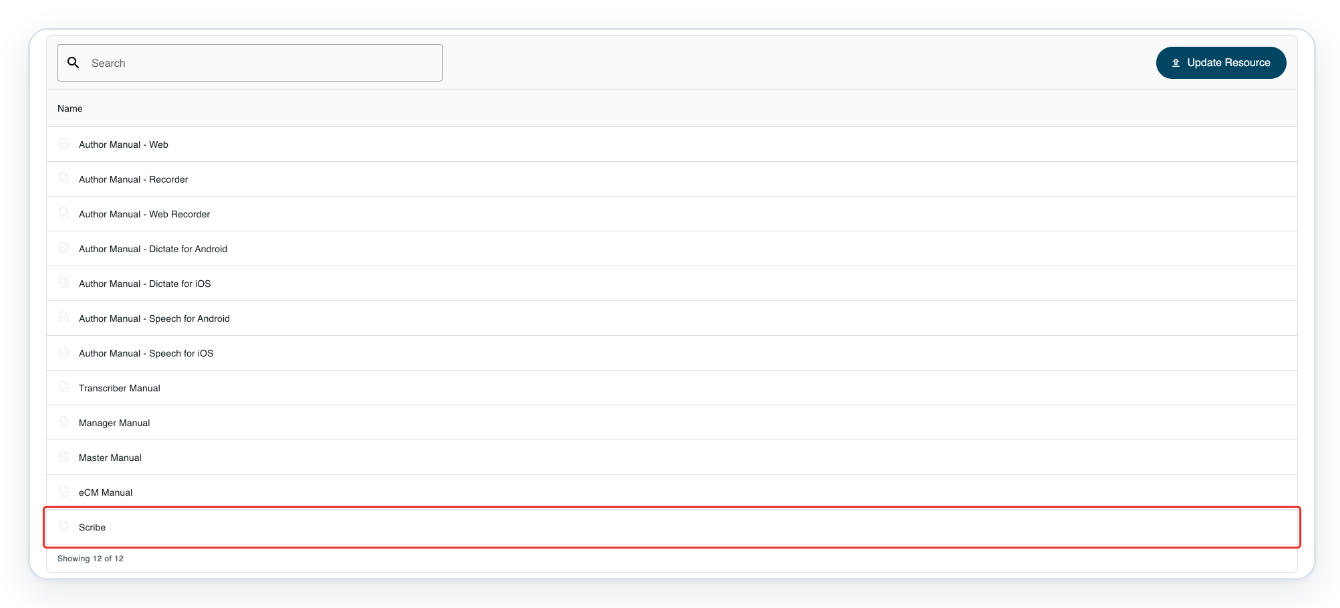
If needed, click Resources to open the help links.
Use Search above the list to find a resource by name.
=> Select the Scribe row to open the Scribe help centre in a new tab.
NOTE:
- To turn Scribe off again, use the same switch, then click Save.
What needs to be enabled
Scribe needs to be turned on for both the organisation and the author. Check both settings when giving access.
| Where | What is needed |
|---|---|
| Organisation | Scribe must already be enabled for the author's organisation before Scribe Settings appears on their profile. |
| Author | Turn on Enable Scribe for this user and click Save to give that author access. |
Other places you can turn on Scribe
- With your master or admin account, open the organisation's Users list. Click the author's icon in the Scribe column to turn Scribe on. The change saves when you click the icon.
- You can also turn Scribe on for several authors with your master or admin account. Select their checkboxes in the organisation's Users list. Open the menu in the Actions column heading and choose Enable Scribe.
Can't turn on Scribe?
- If Scribe Settings is missing, check that you're signed in with a master or admin account. Make sure you've opened an author's profile. Scribe also needs to be enabled for their organisation. Ask your organisation's administrator to check this setting if needed.
- If your change hasn't saved, click Save after changing the switch. Wait for User updated before leaving the tab.
Related articles
If you have any more queries, please do not hesitate to contact our Helpdesk or support@tpro.io.
© 2020 - 2026