
Before you start
You need permission to edit the task to change its recipients. For the printing steps, open the approved letter.
Log in to T-Pro with your author, transcriber or storer credentials.
As an author
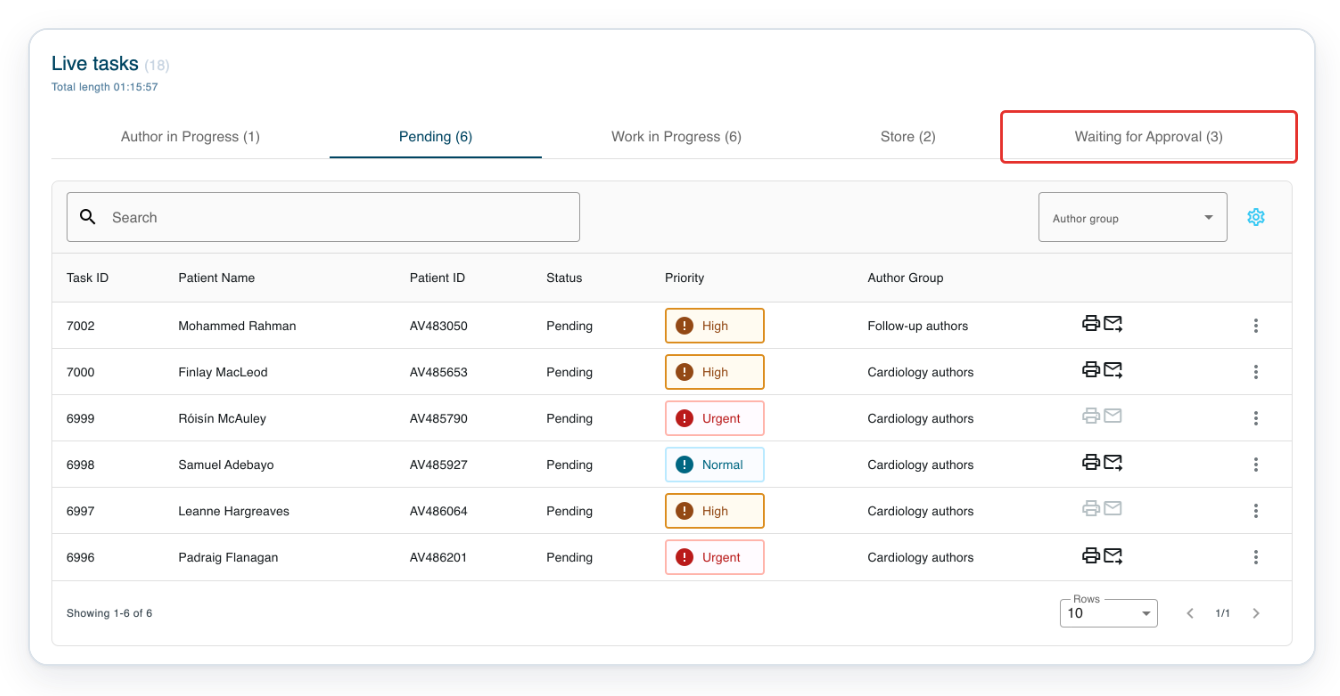
Go to Live Tasks, then click Waiting for Approval.
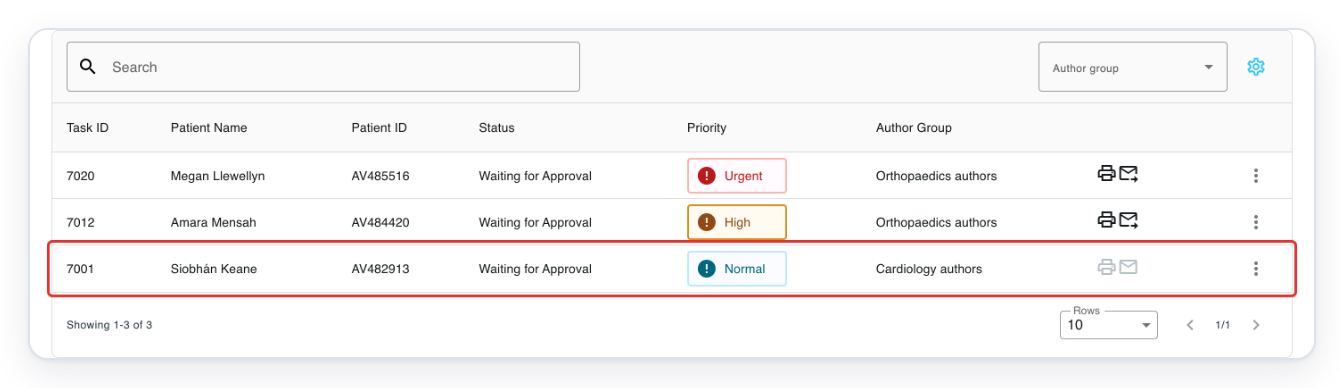
Click the task you want to open. In this example, choose task 7001 for Siobhán Keane.
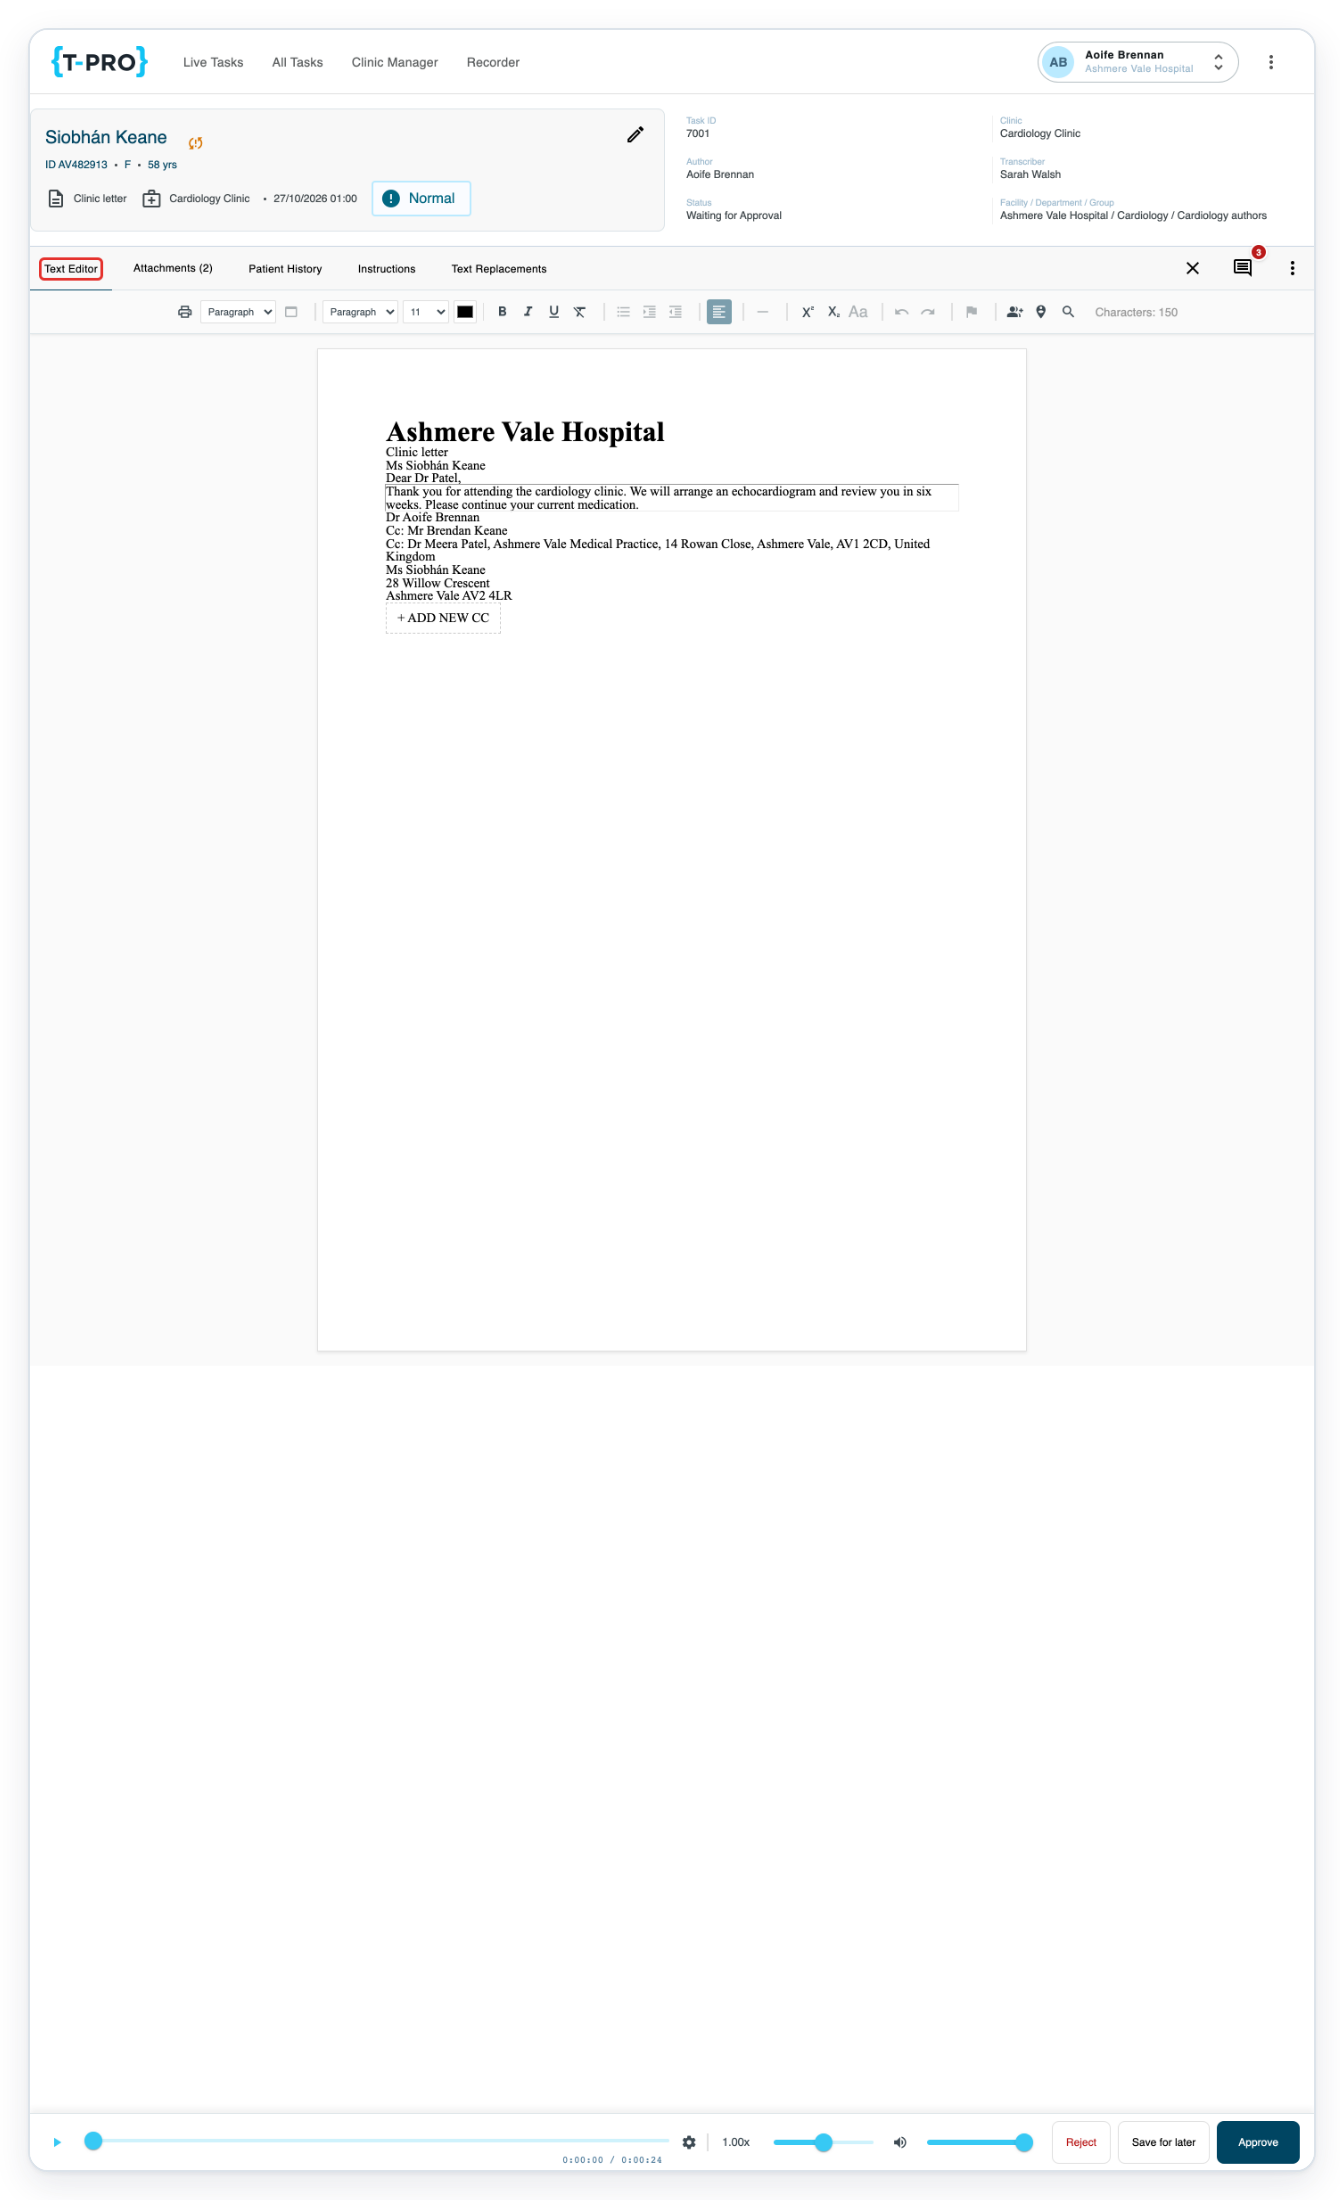
Click Text Editor to view the letter and its recipients.
Click the main recipient’s name in the letter to open their details.
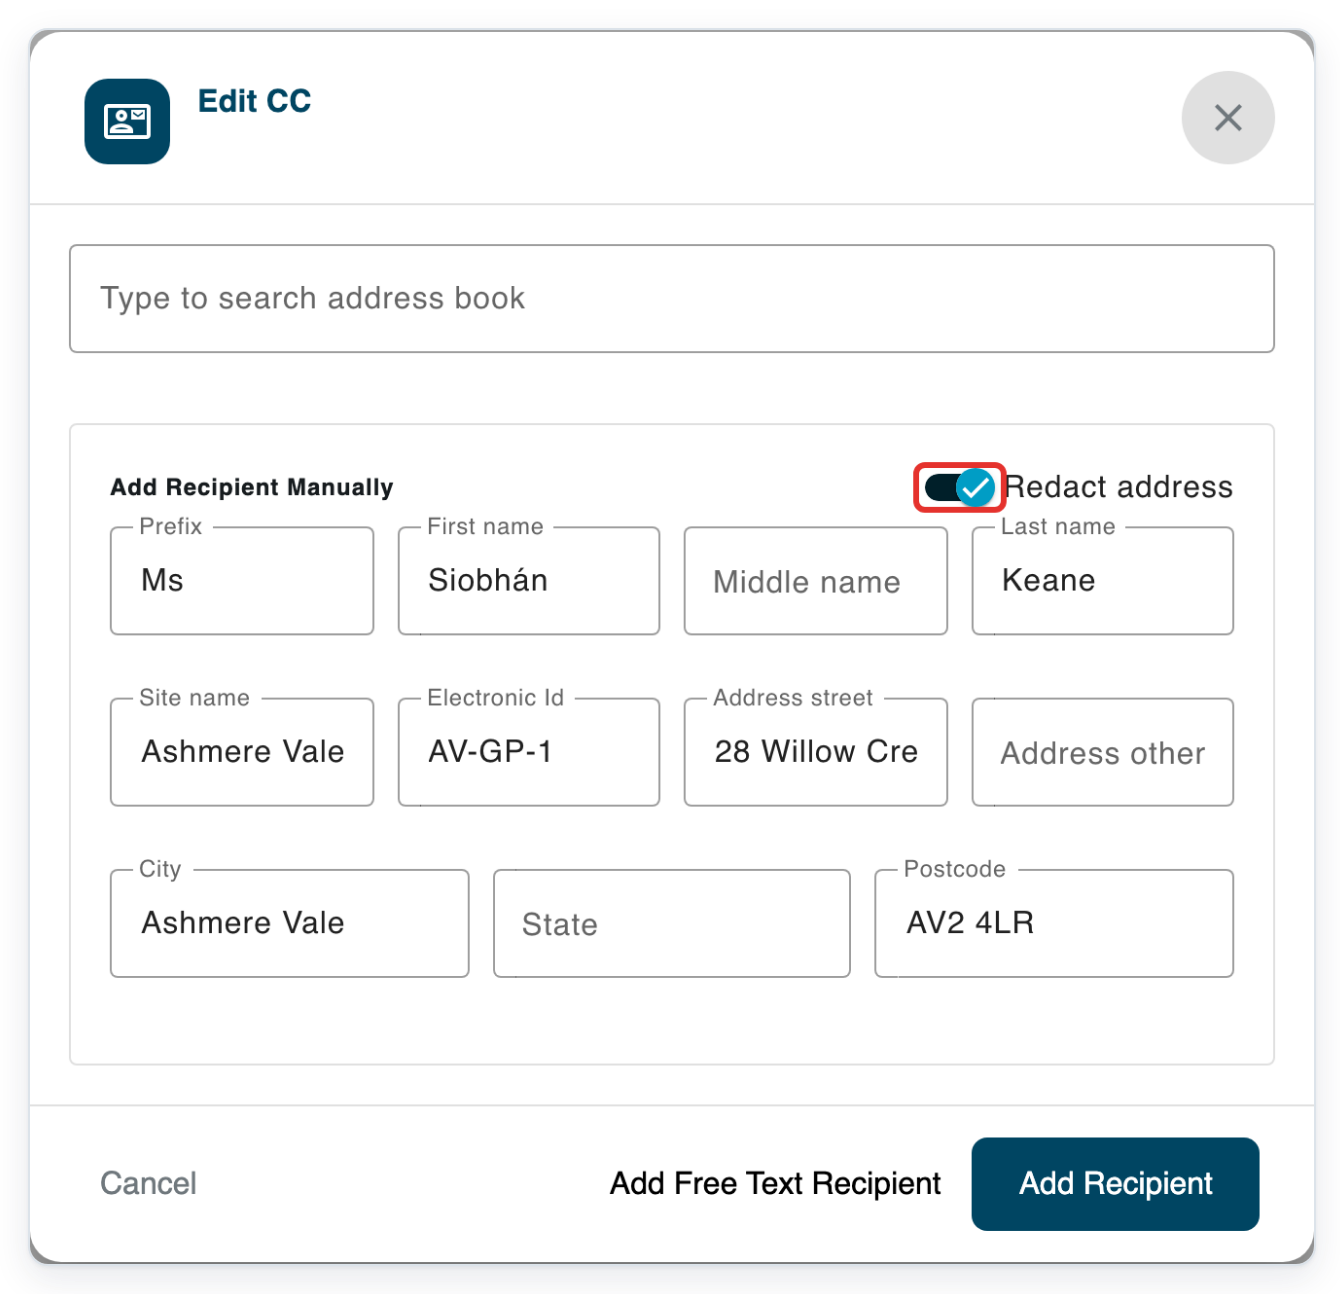
In this example, click Ms Siobhán Keane. The window shows separate name and address fields and Redact address.
If Redact address is unlocked, switch it off to show the recipient’s full postal address on the letter.
This choice applies to recipients entered in separate name and address fields.
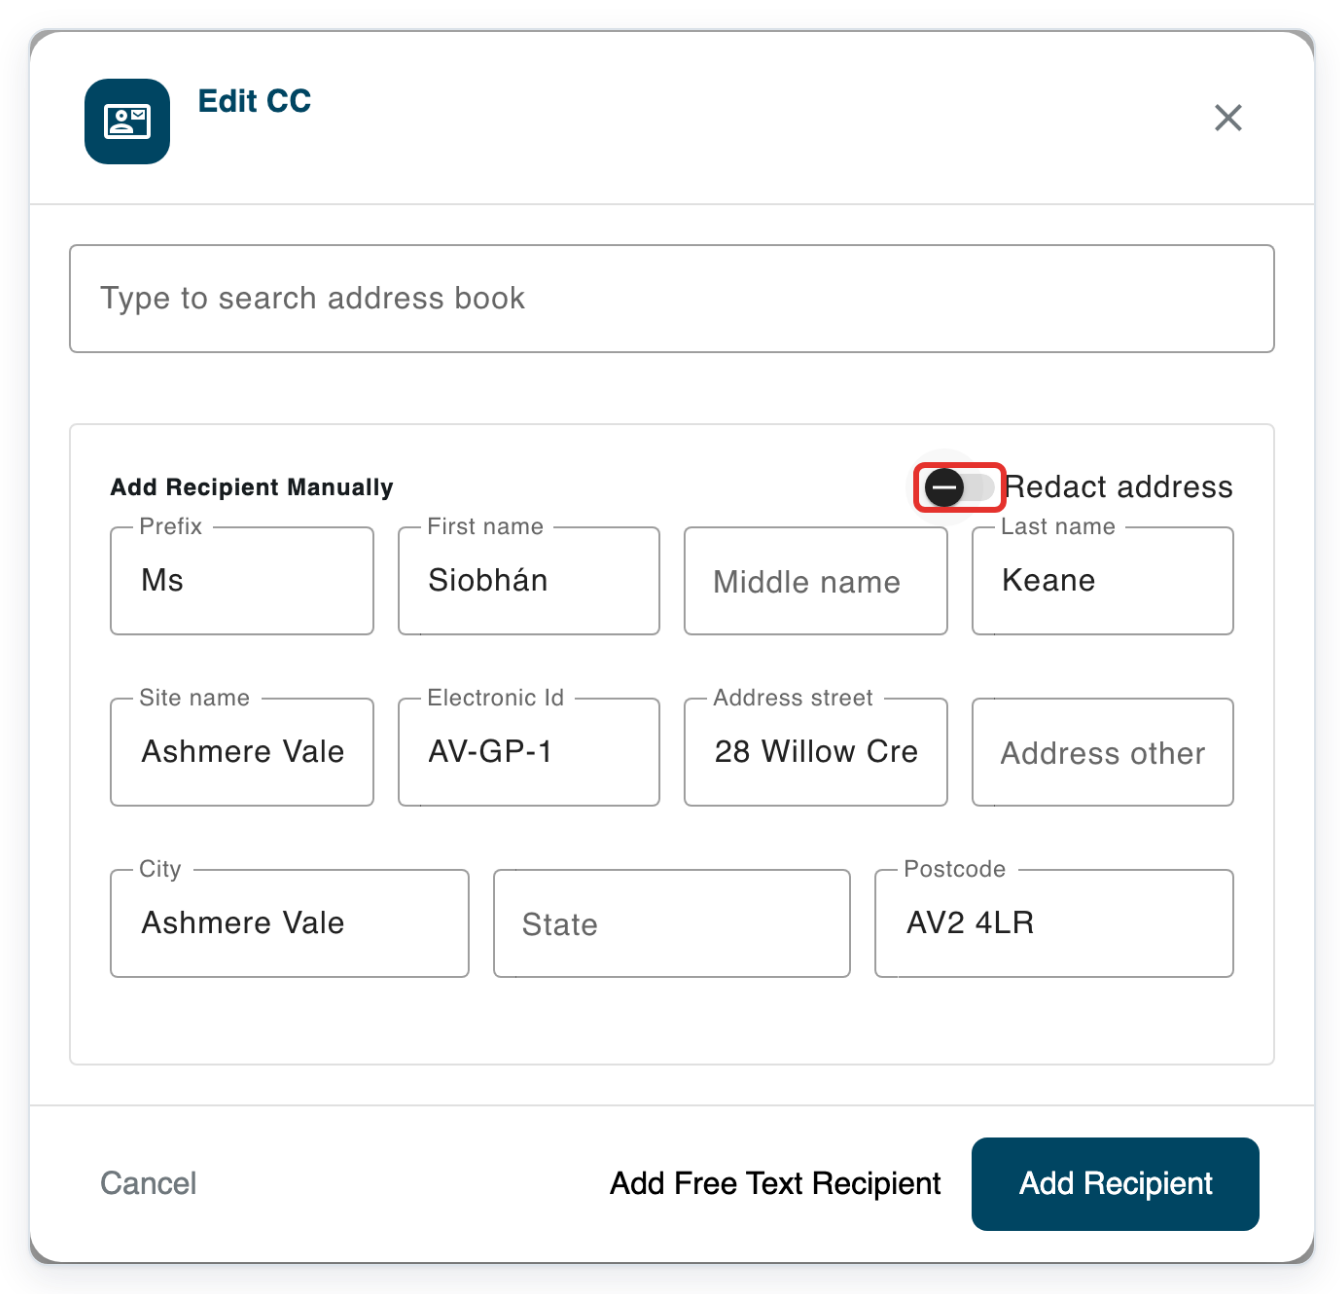
For this letter, switch Redact address back on to hide the main recipient’s postal details.
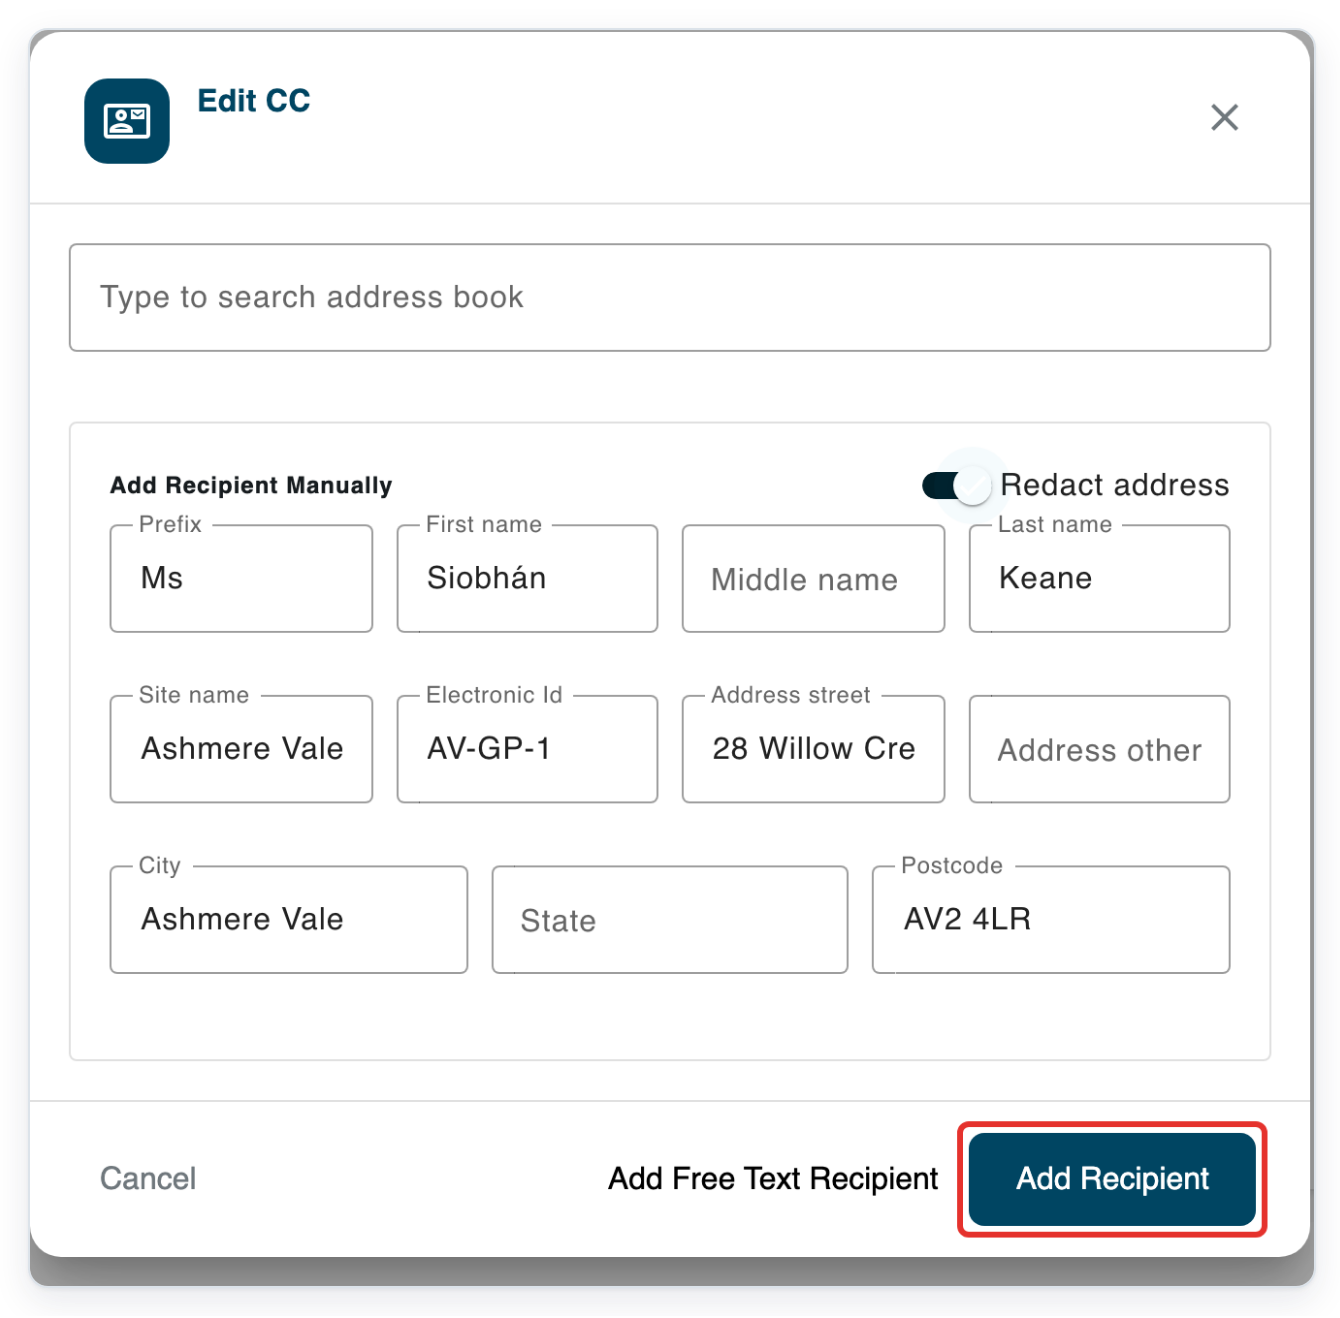
Leave Redact address on and click Add Recipient to save the recipient’s details.
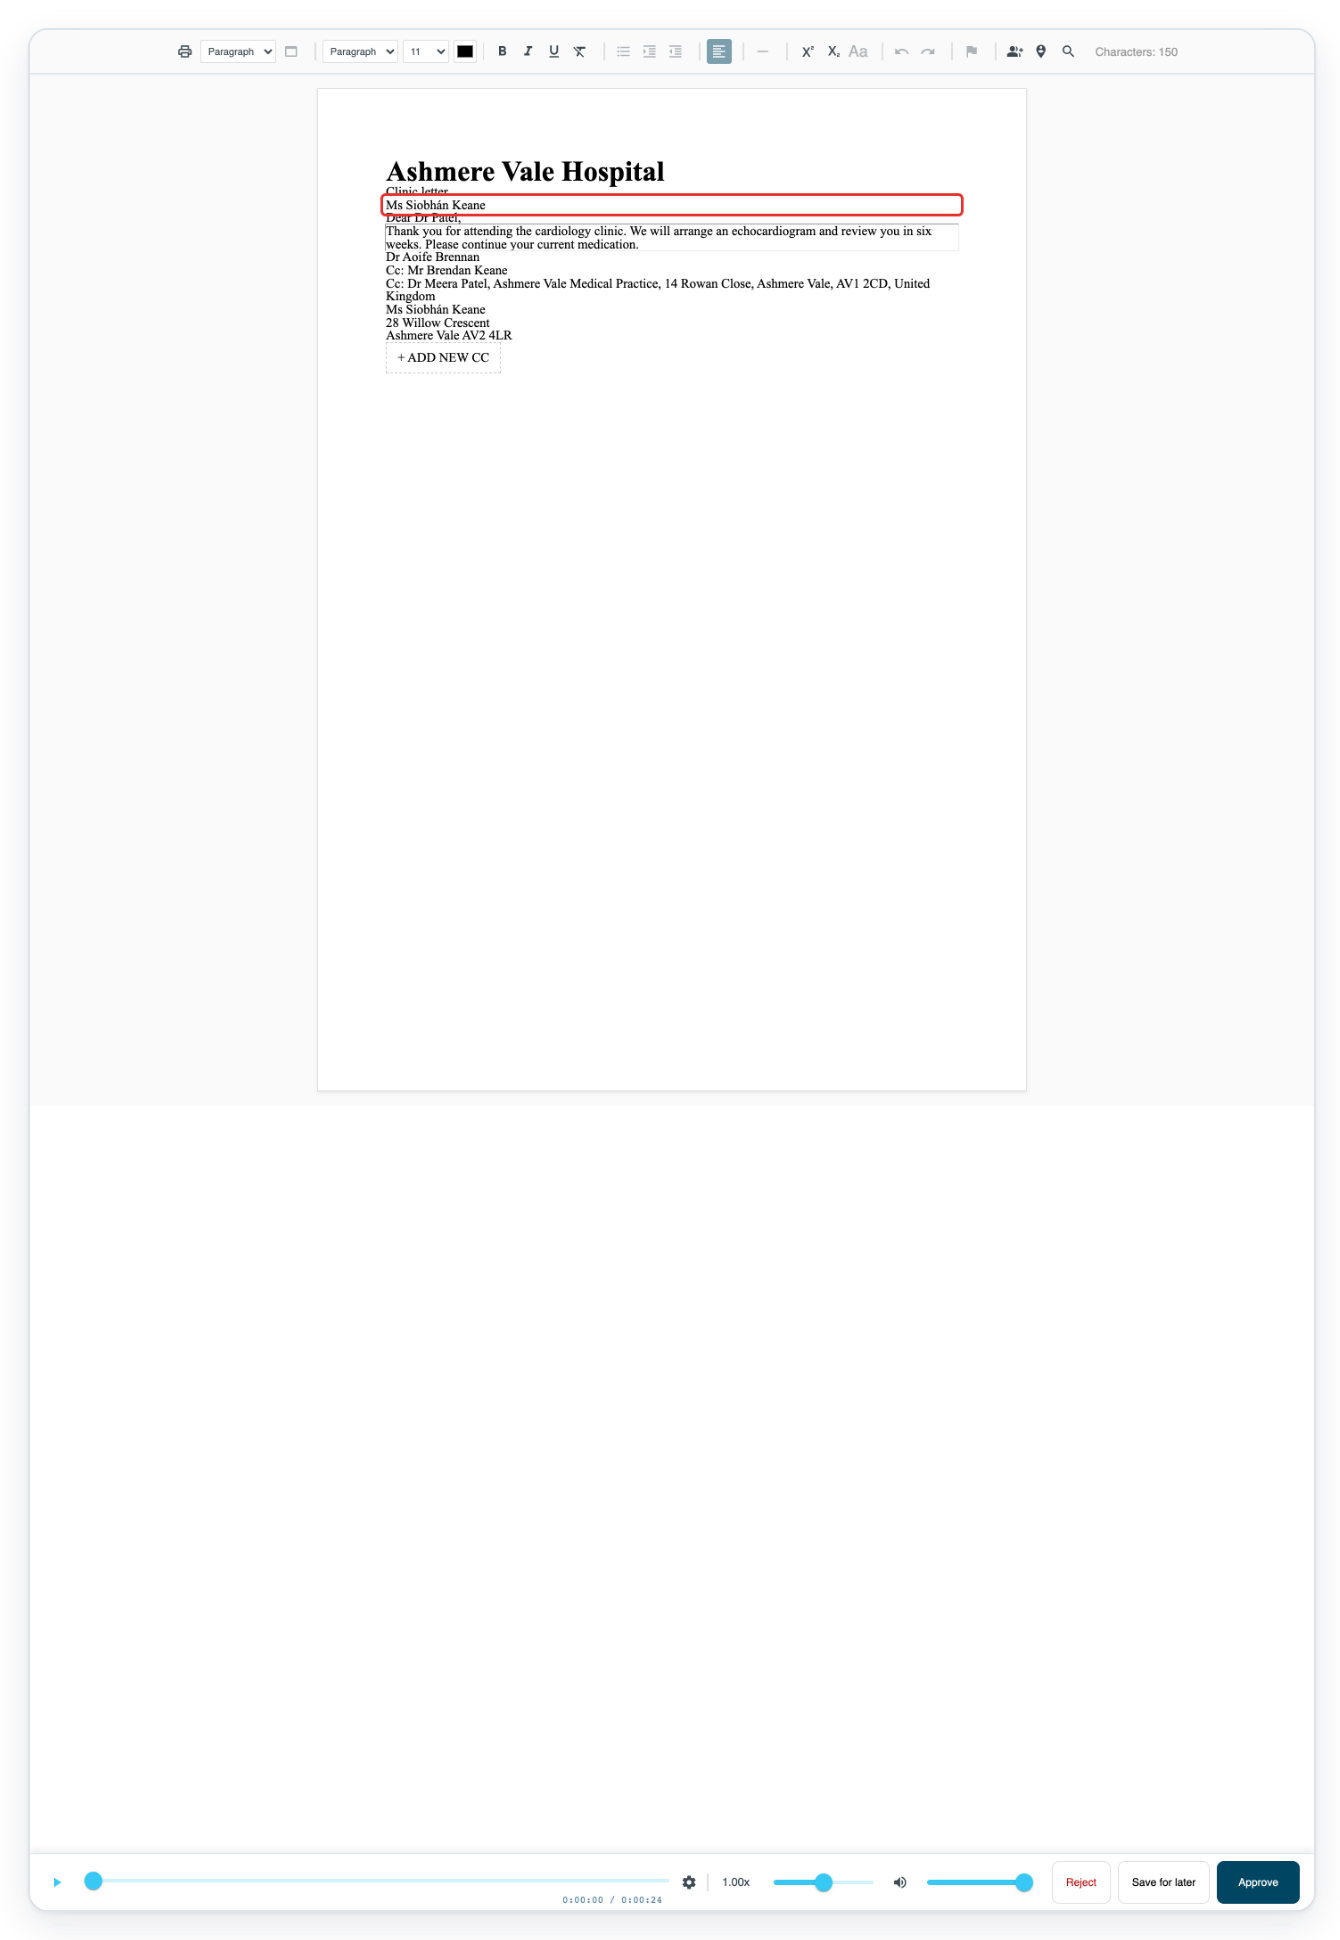
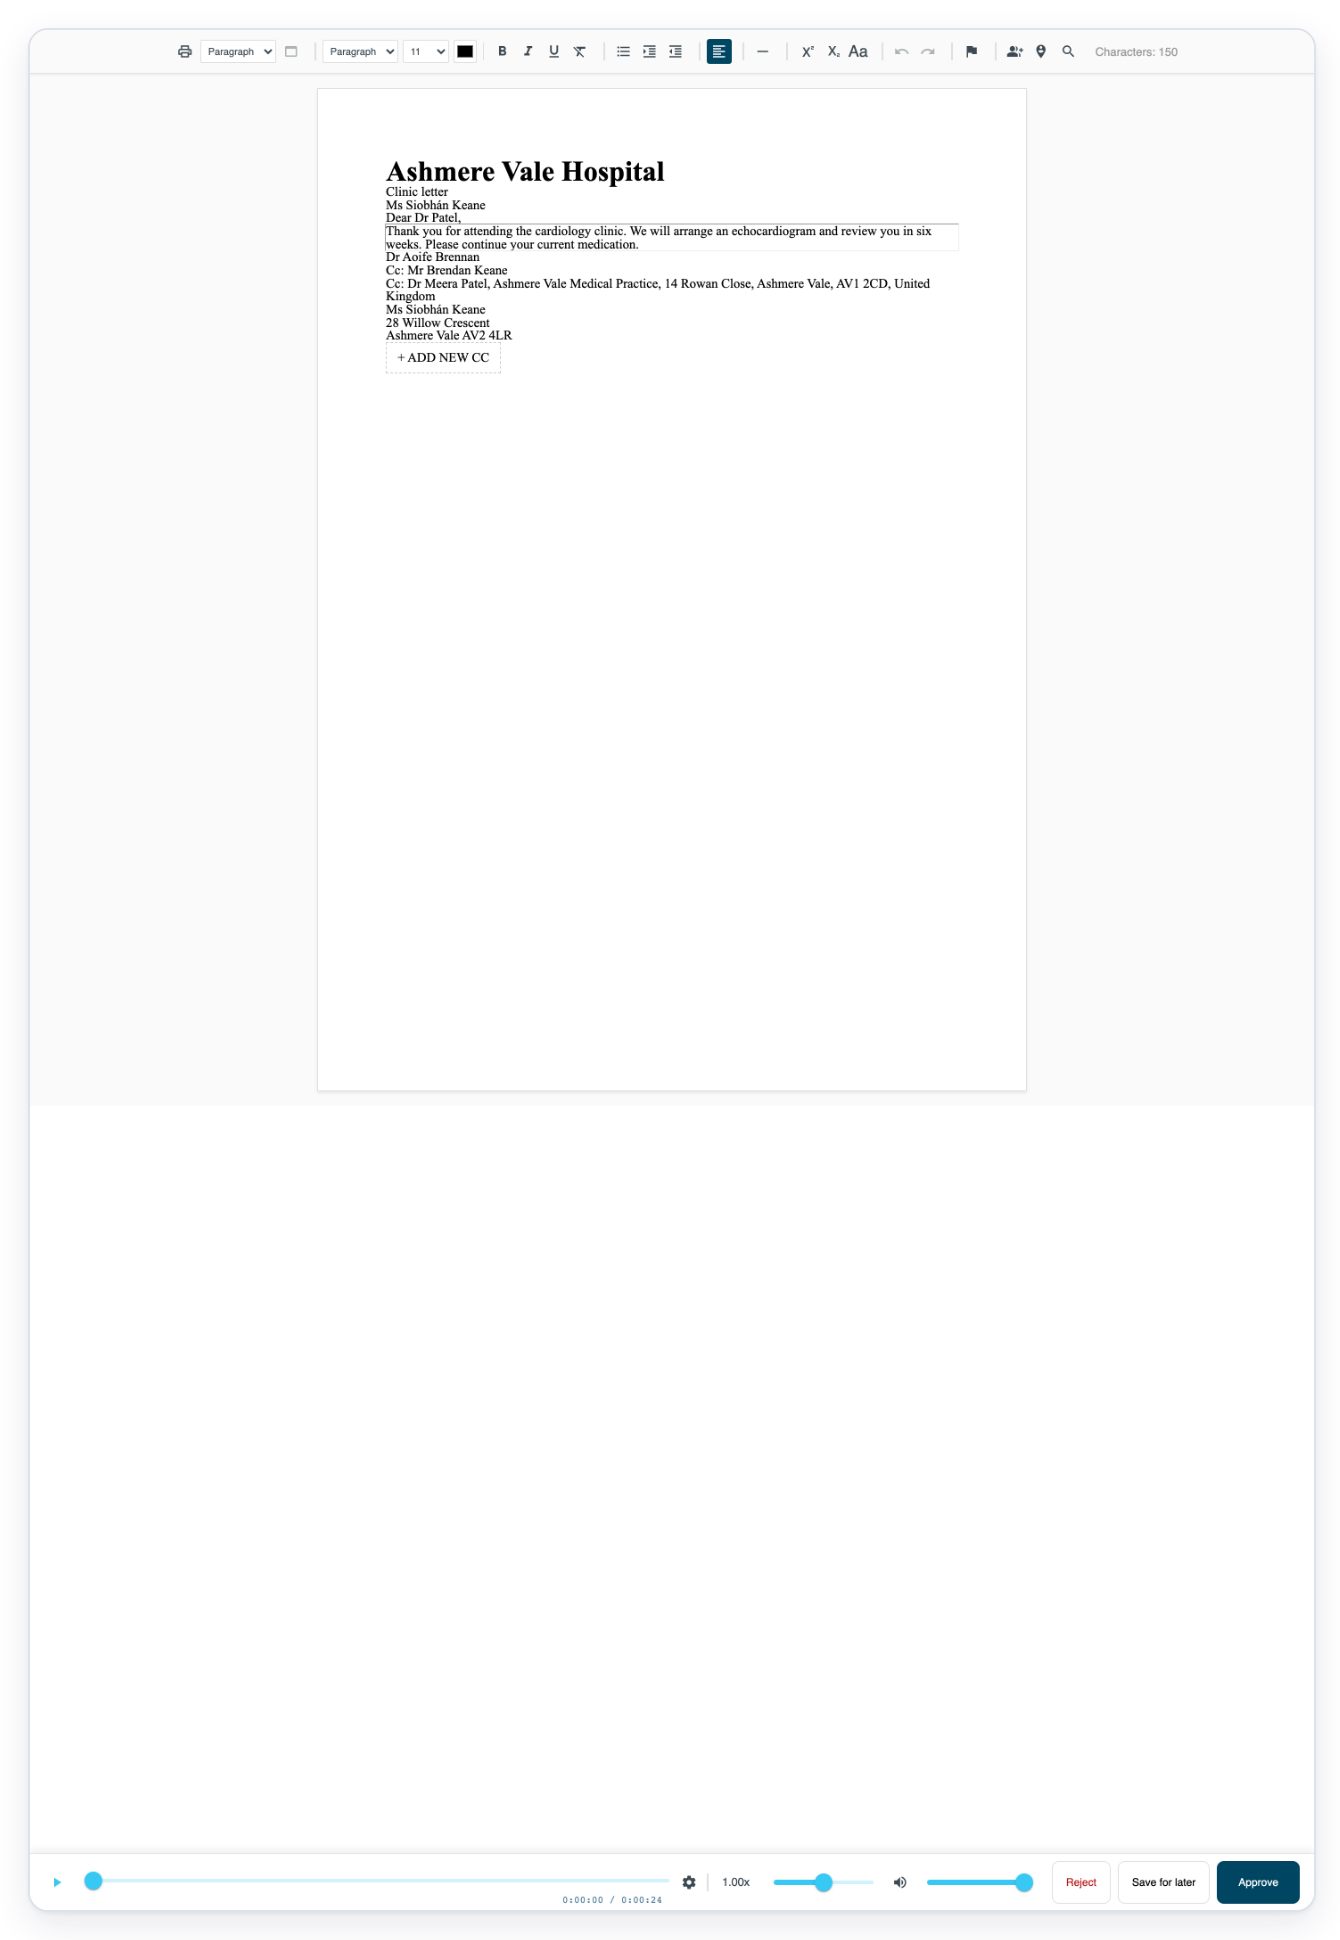
=> The main recipient shows Ms Siobhán Keane without her postal details. Dr Meera Patel’s postal address stays visible in the CC list.
As a transcriber
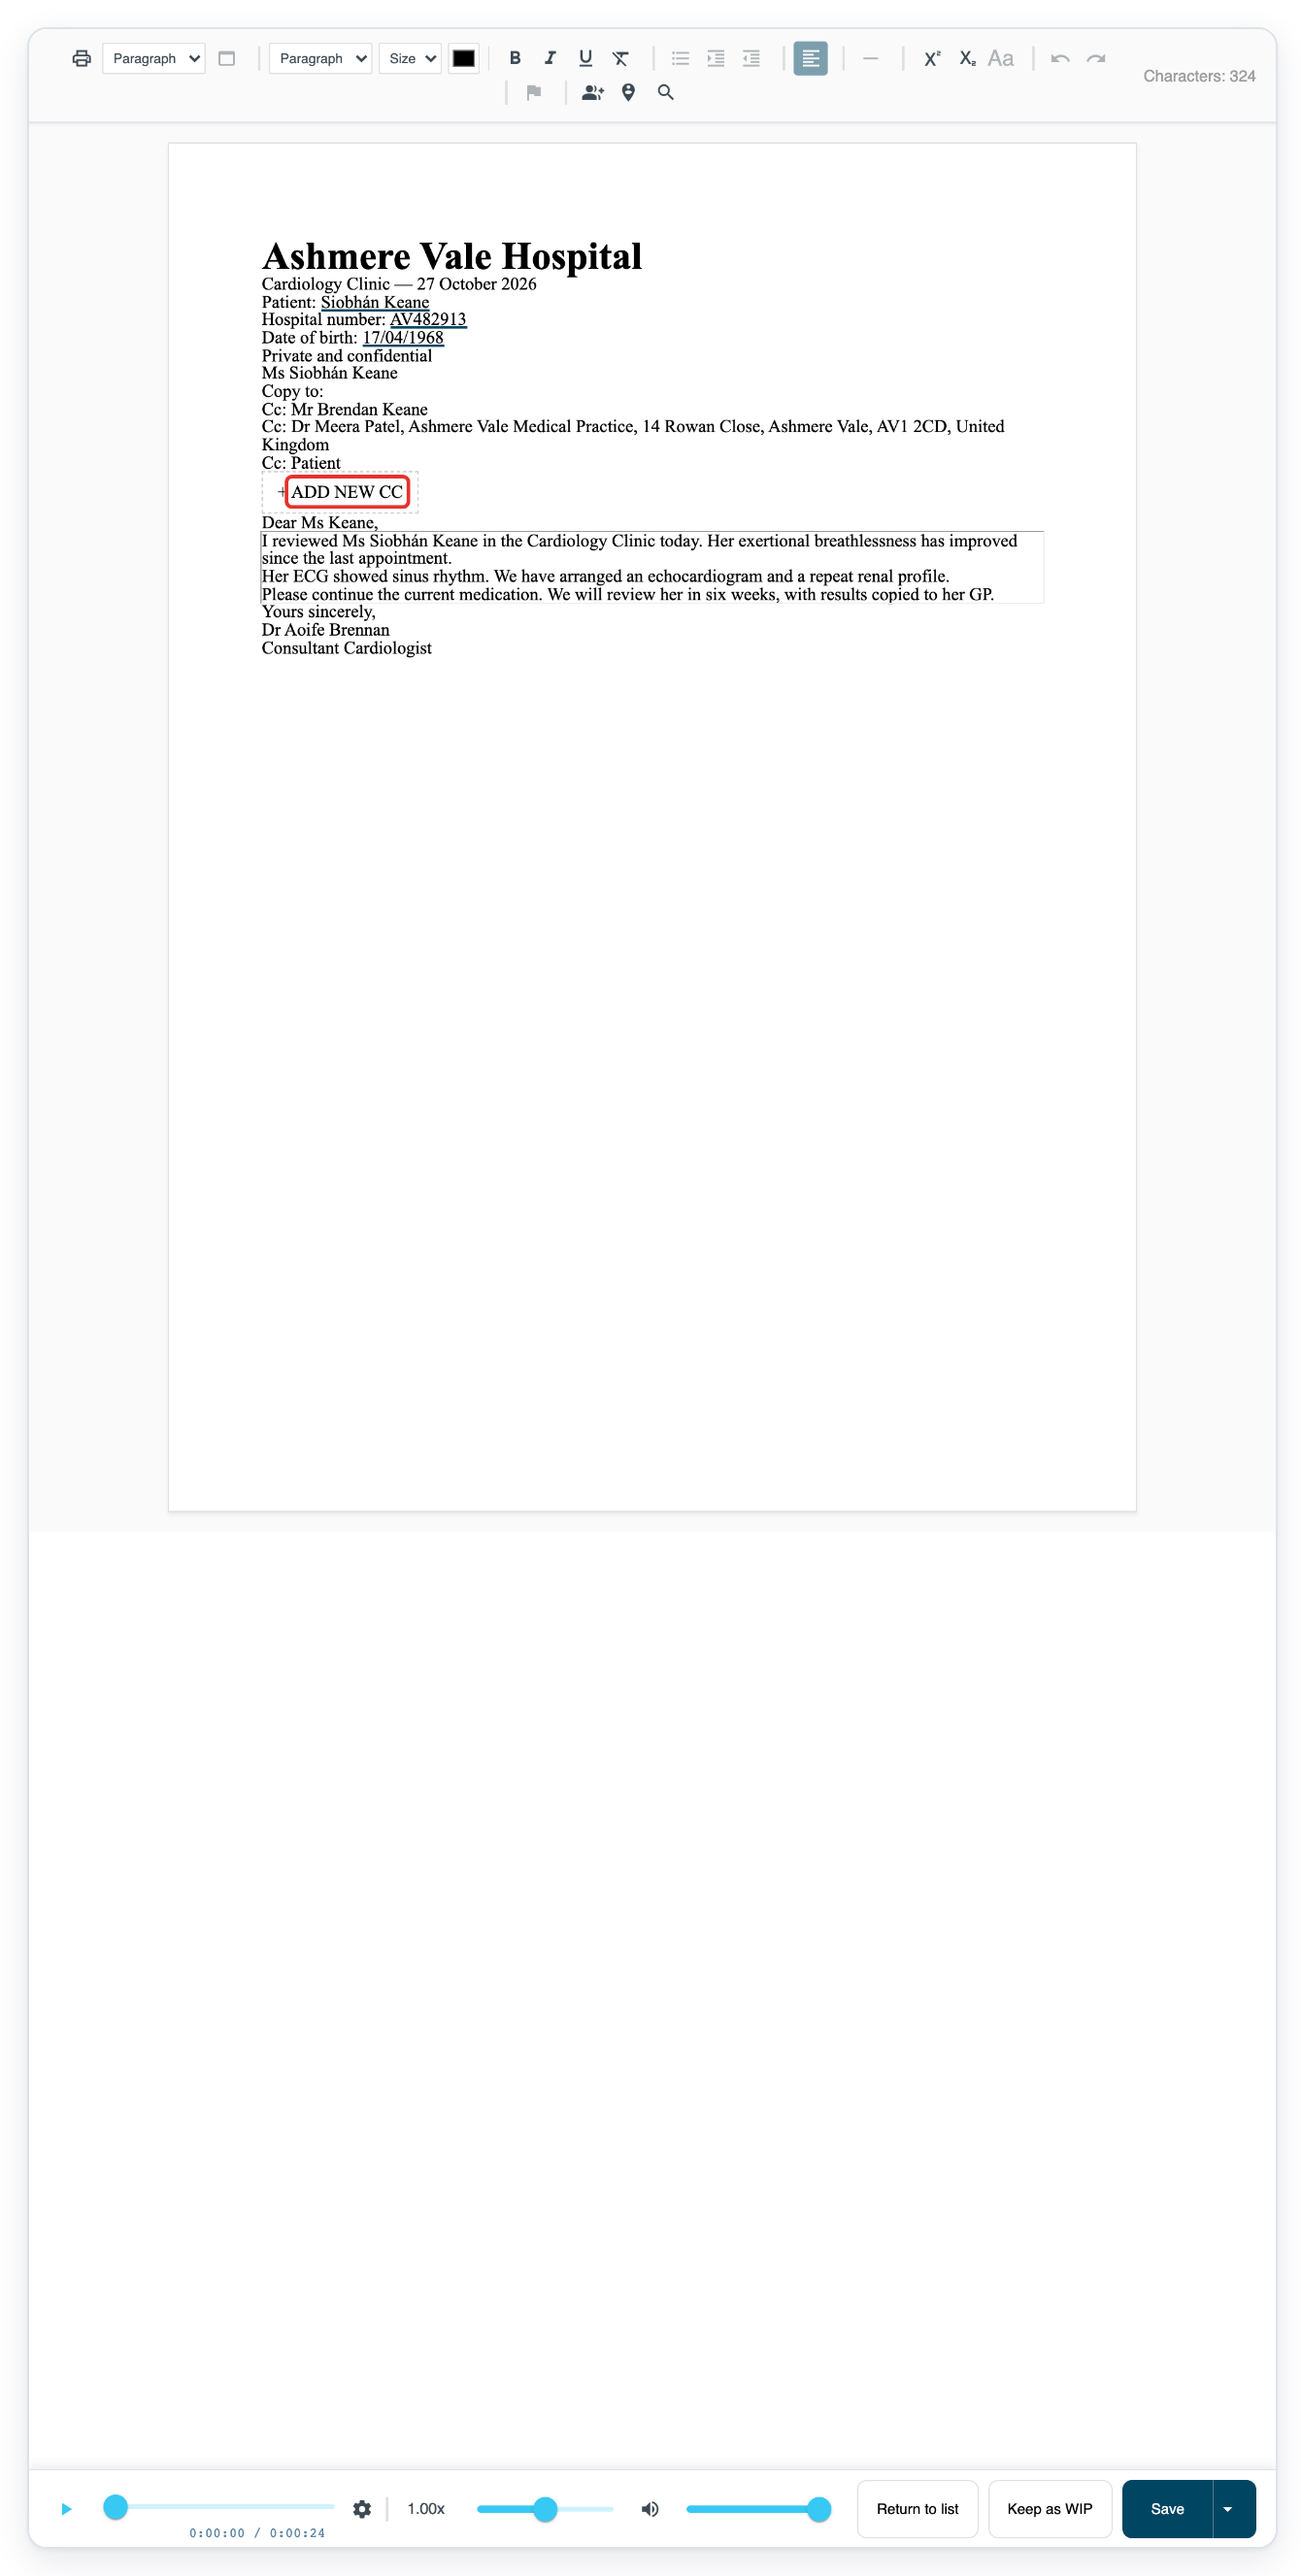
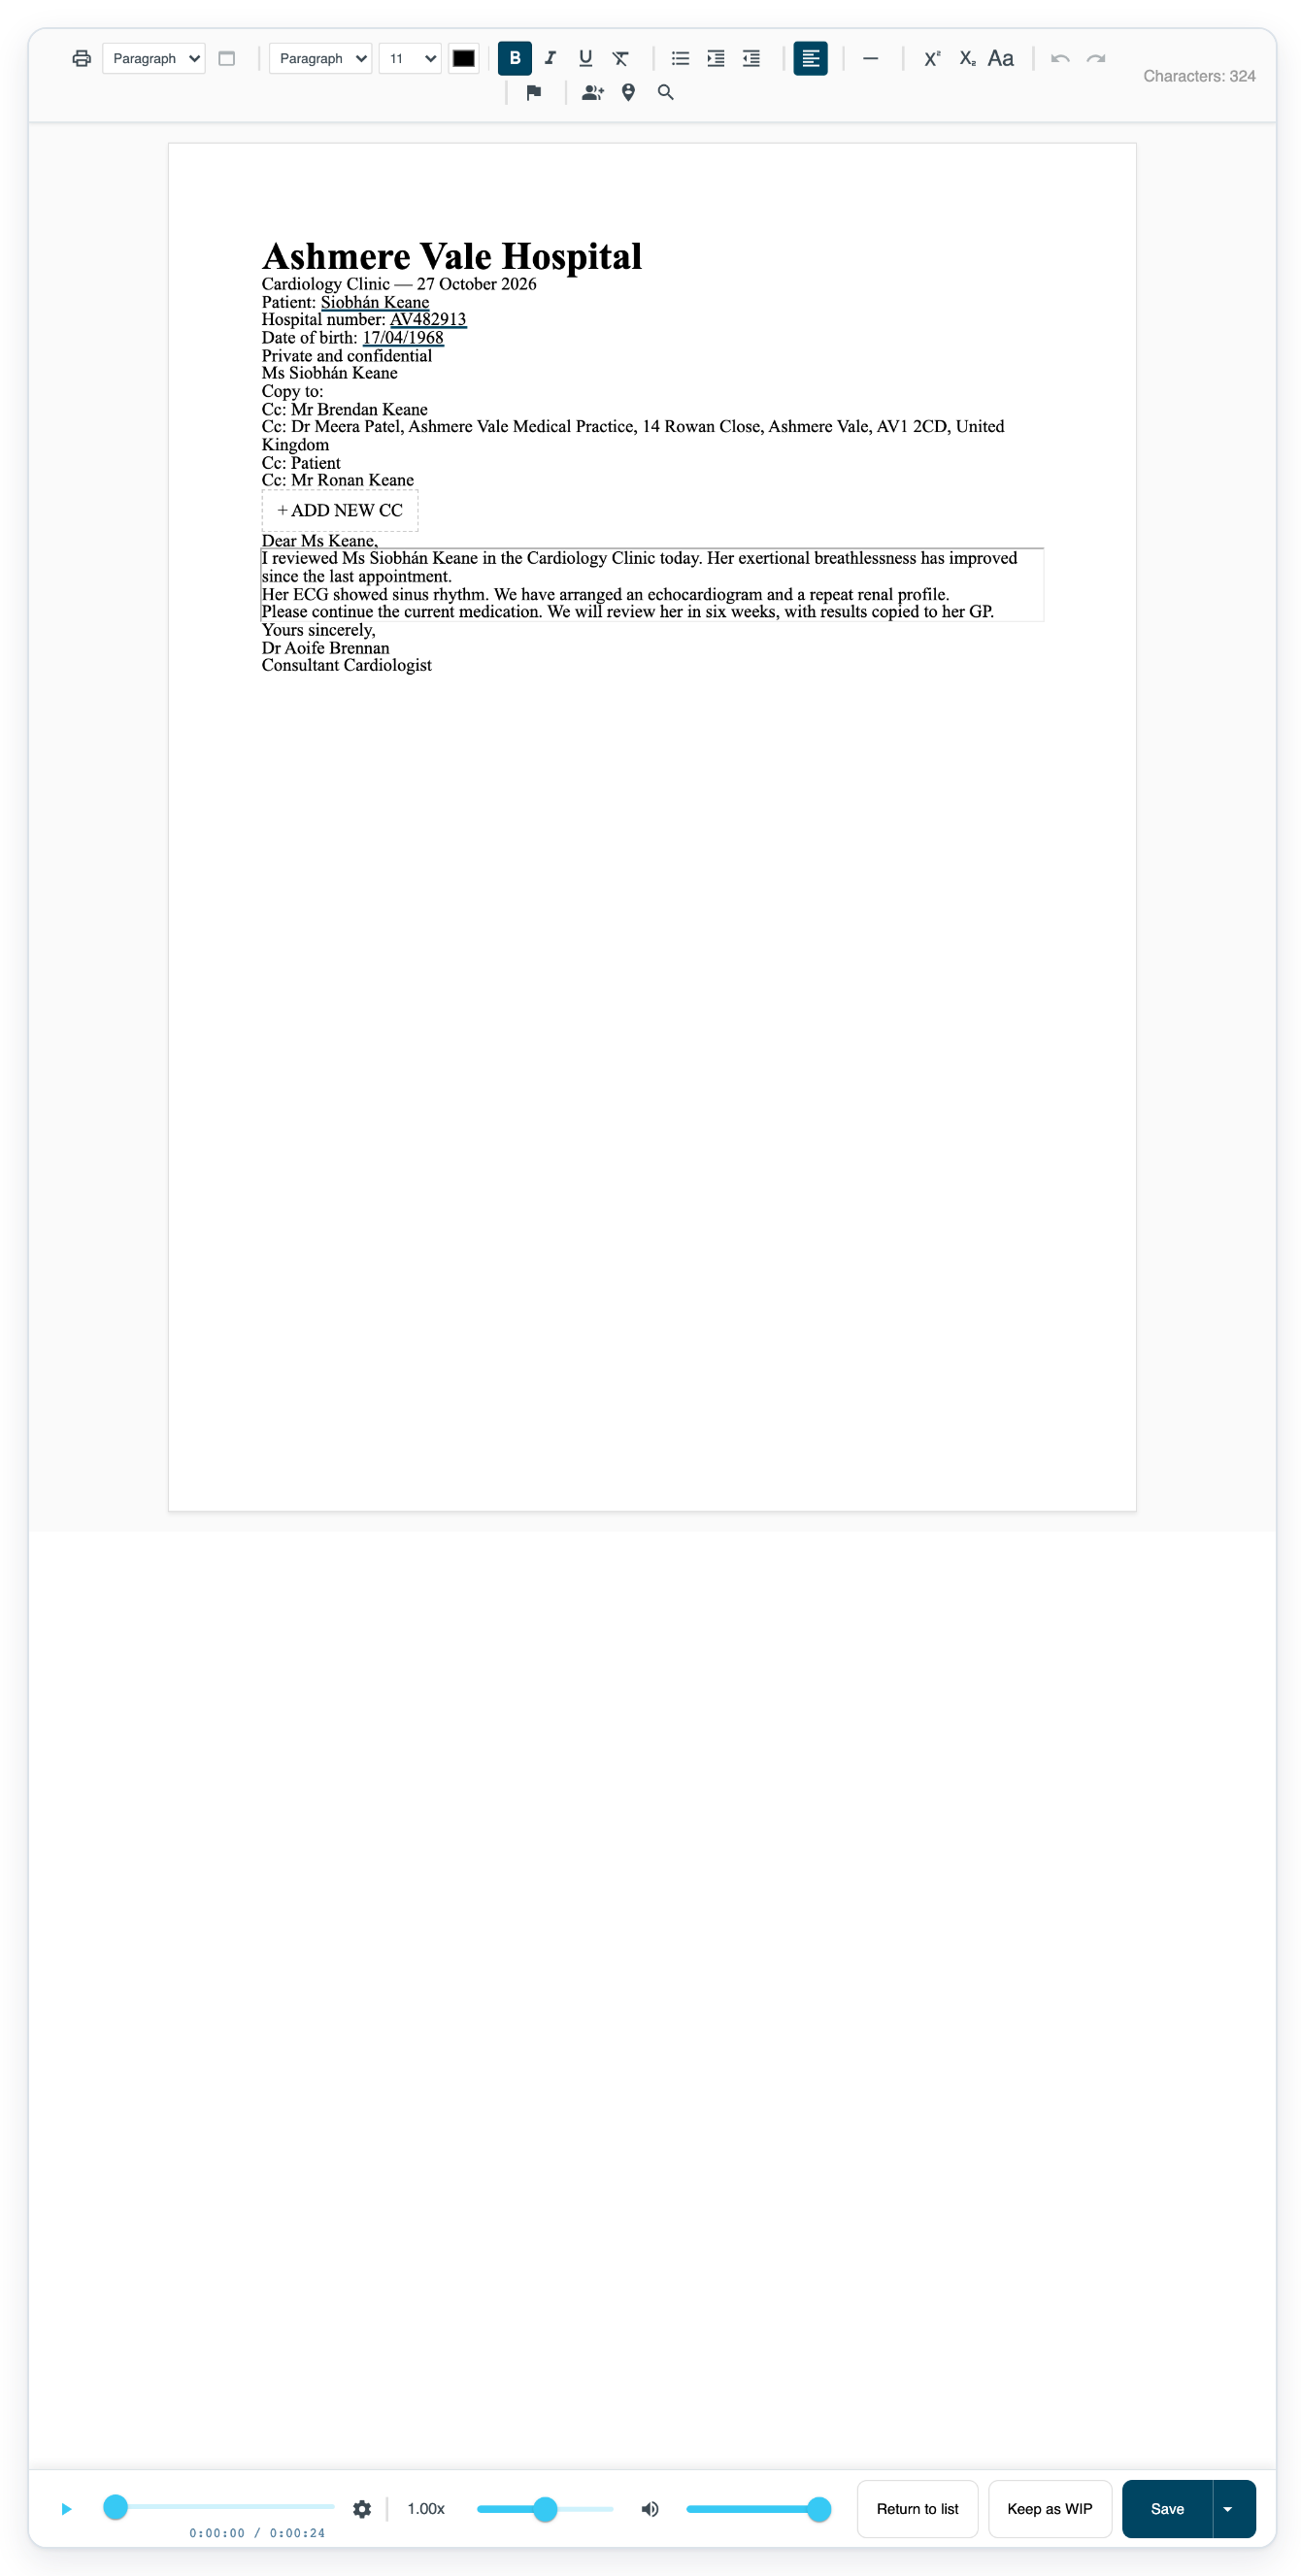
Click add new CC in the letter to open the window for another copy recipient.
To add someone without searching, enter their name and address in the separate fields. Check Redact address before adding them.
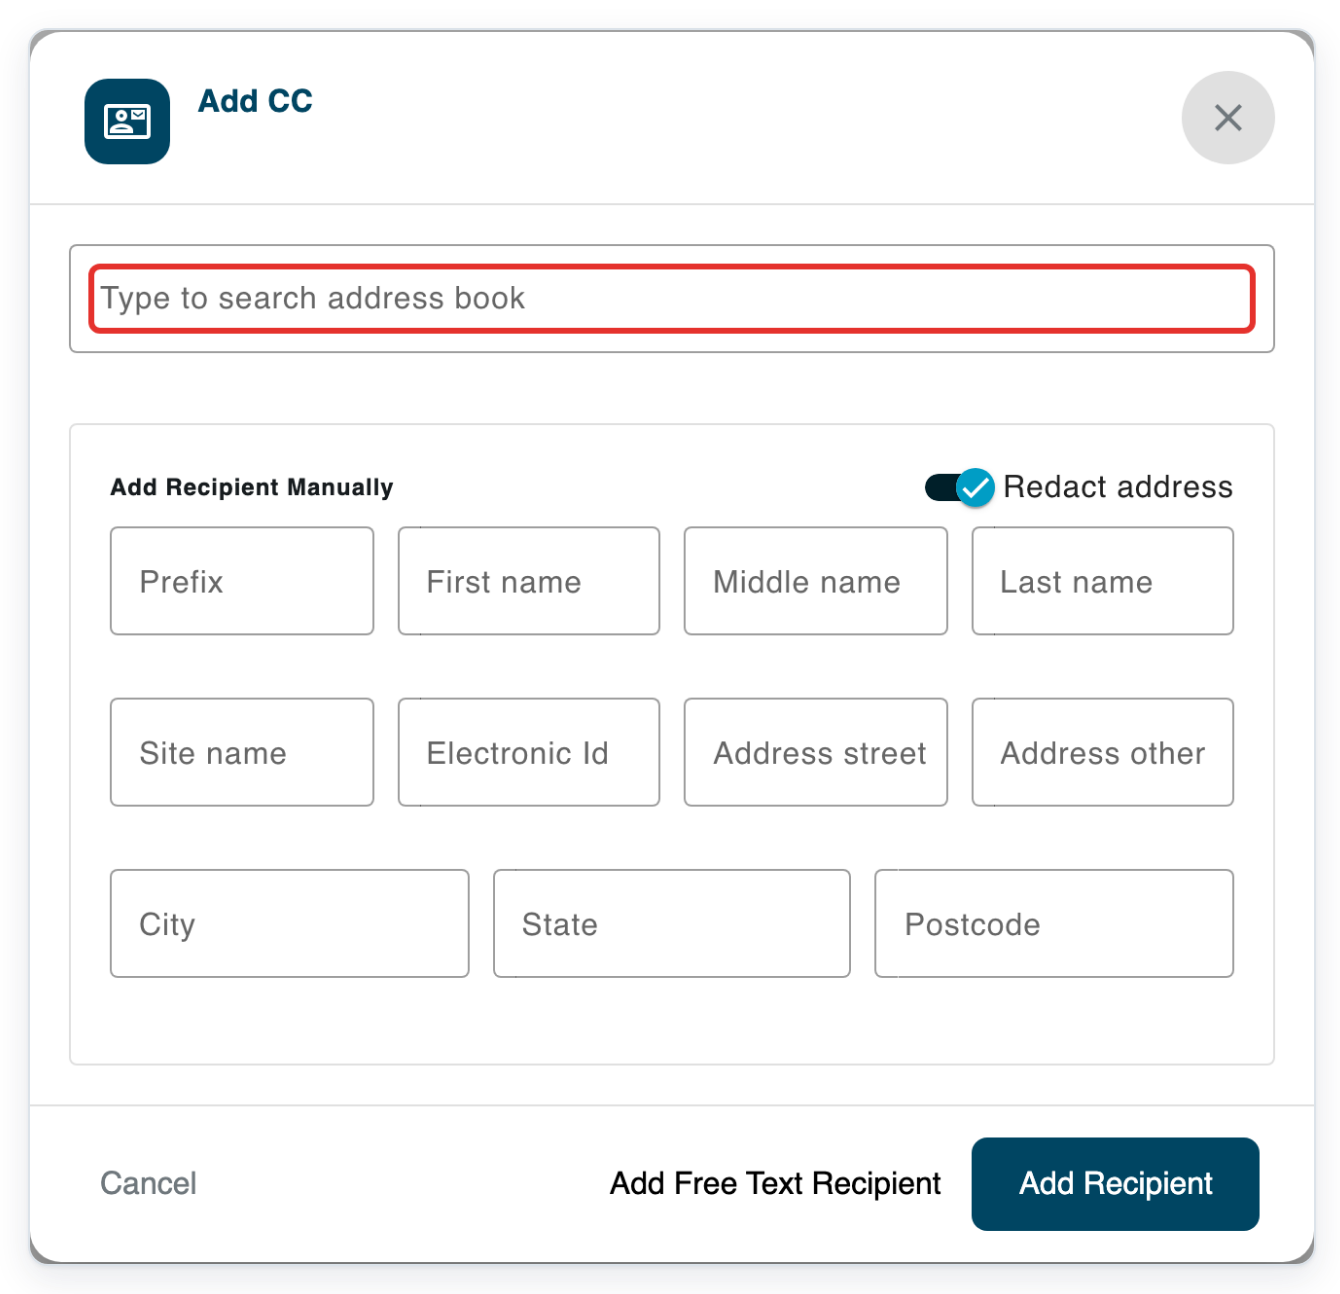
In Type to search address book, enter the recipient’s name. In this example, type Ronan Keane to find the next-of-kin recipient.
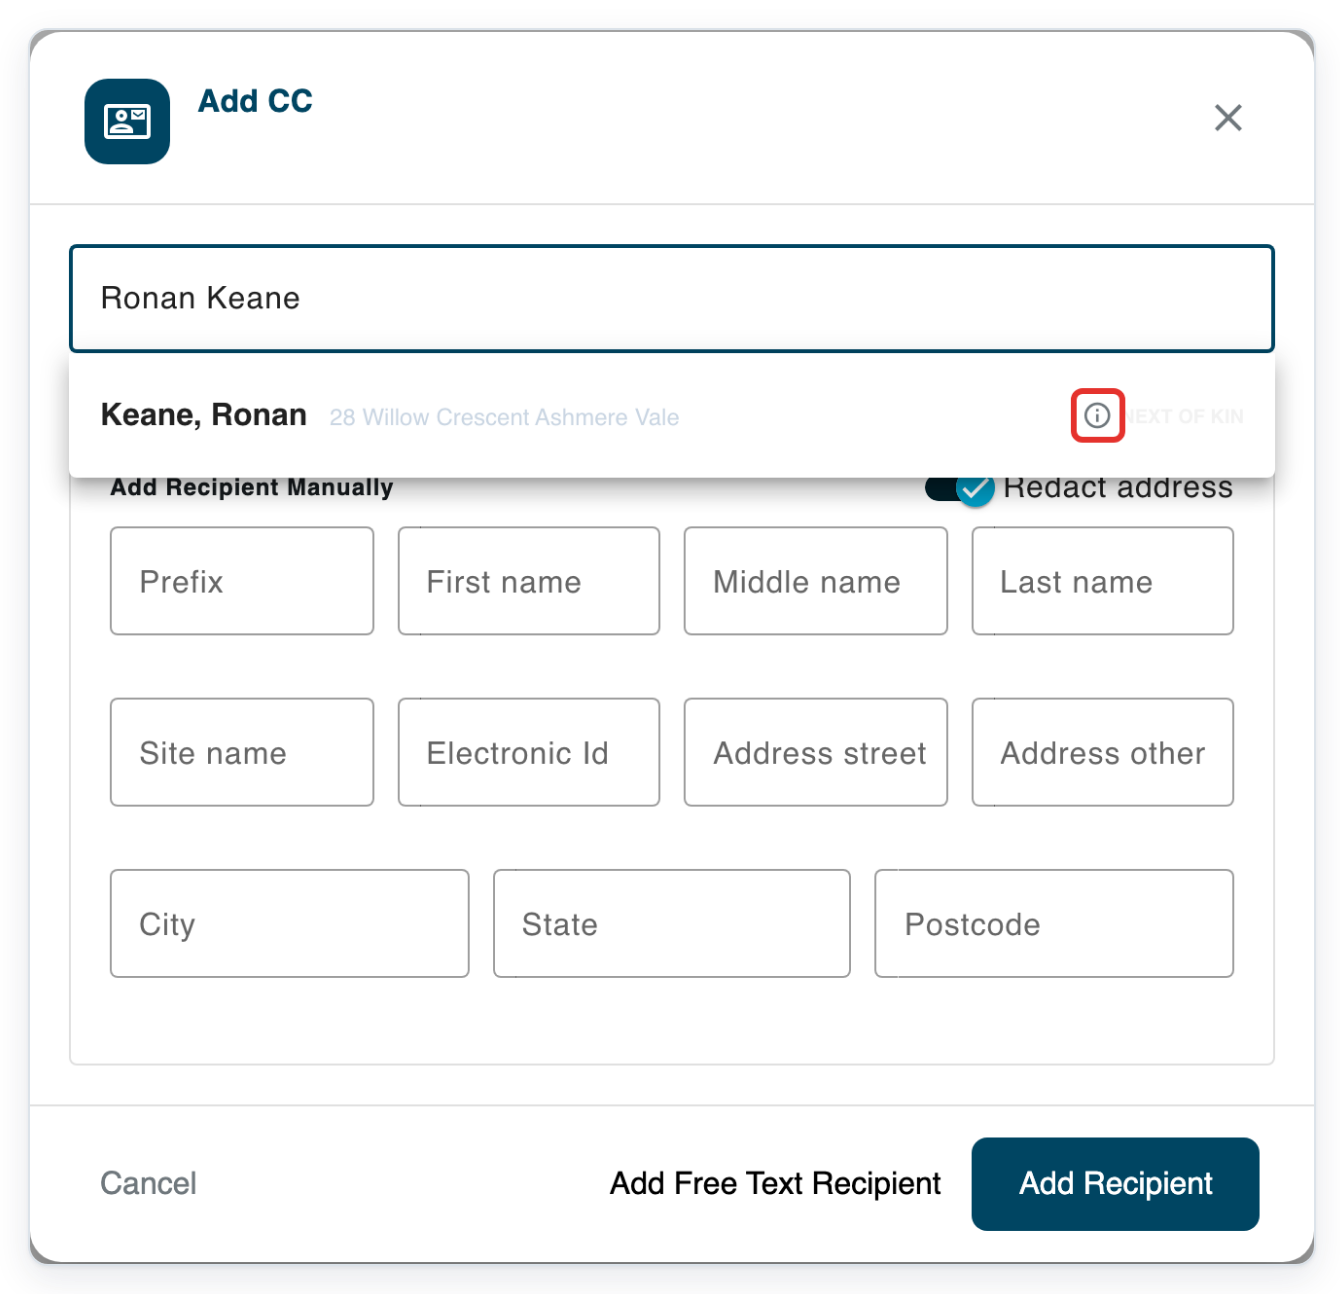
Hover over the information icon beside Ronan Keane’s search result to read Address redacted on task.
This tells you that your organisation’s rule covers this recipient before you select them.
Select Keane, Ronan to fill in the recipient’s name and address.
For this recipient, your organisation’s rule keeps Redact address on and locked.
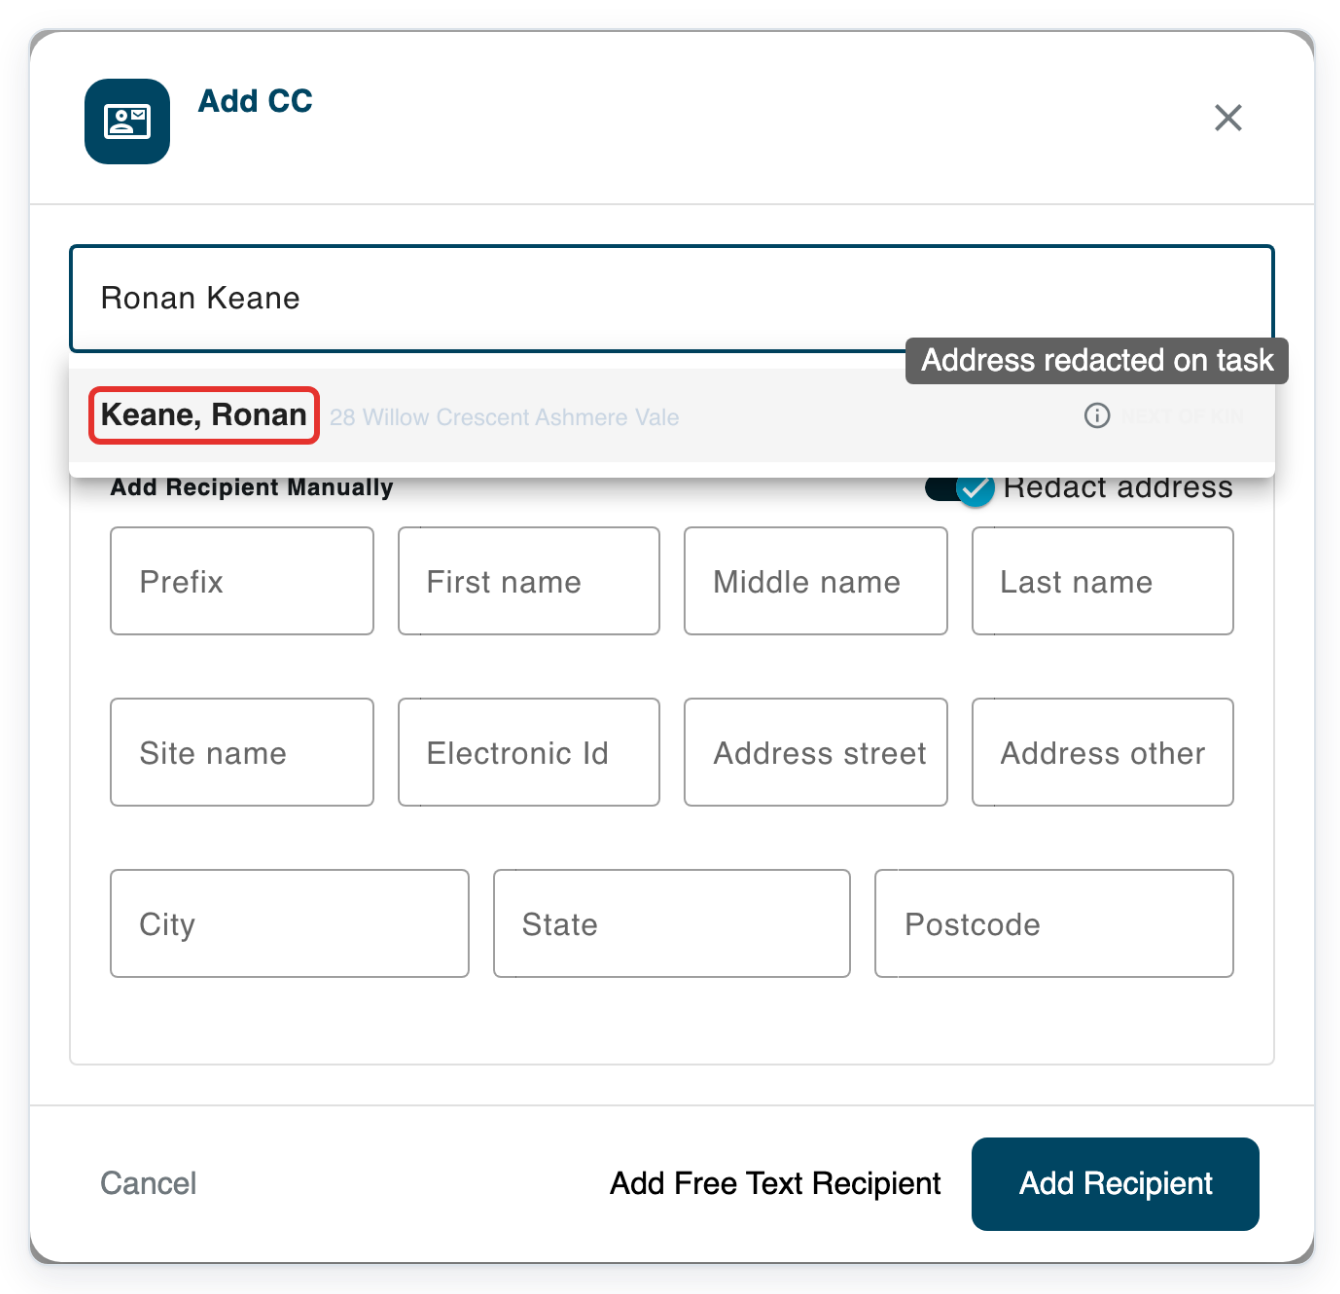
Click Add Recipient to add the next-of-kin CC.
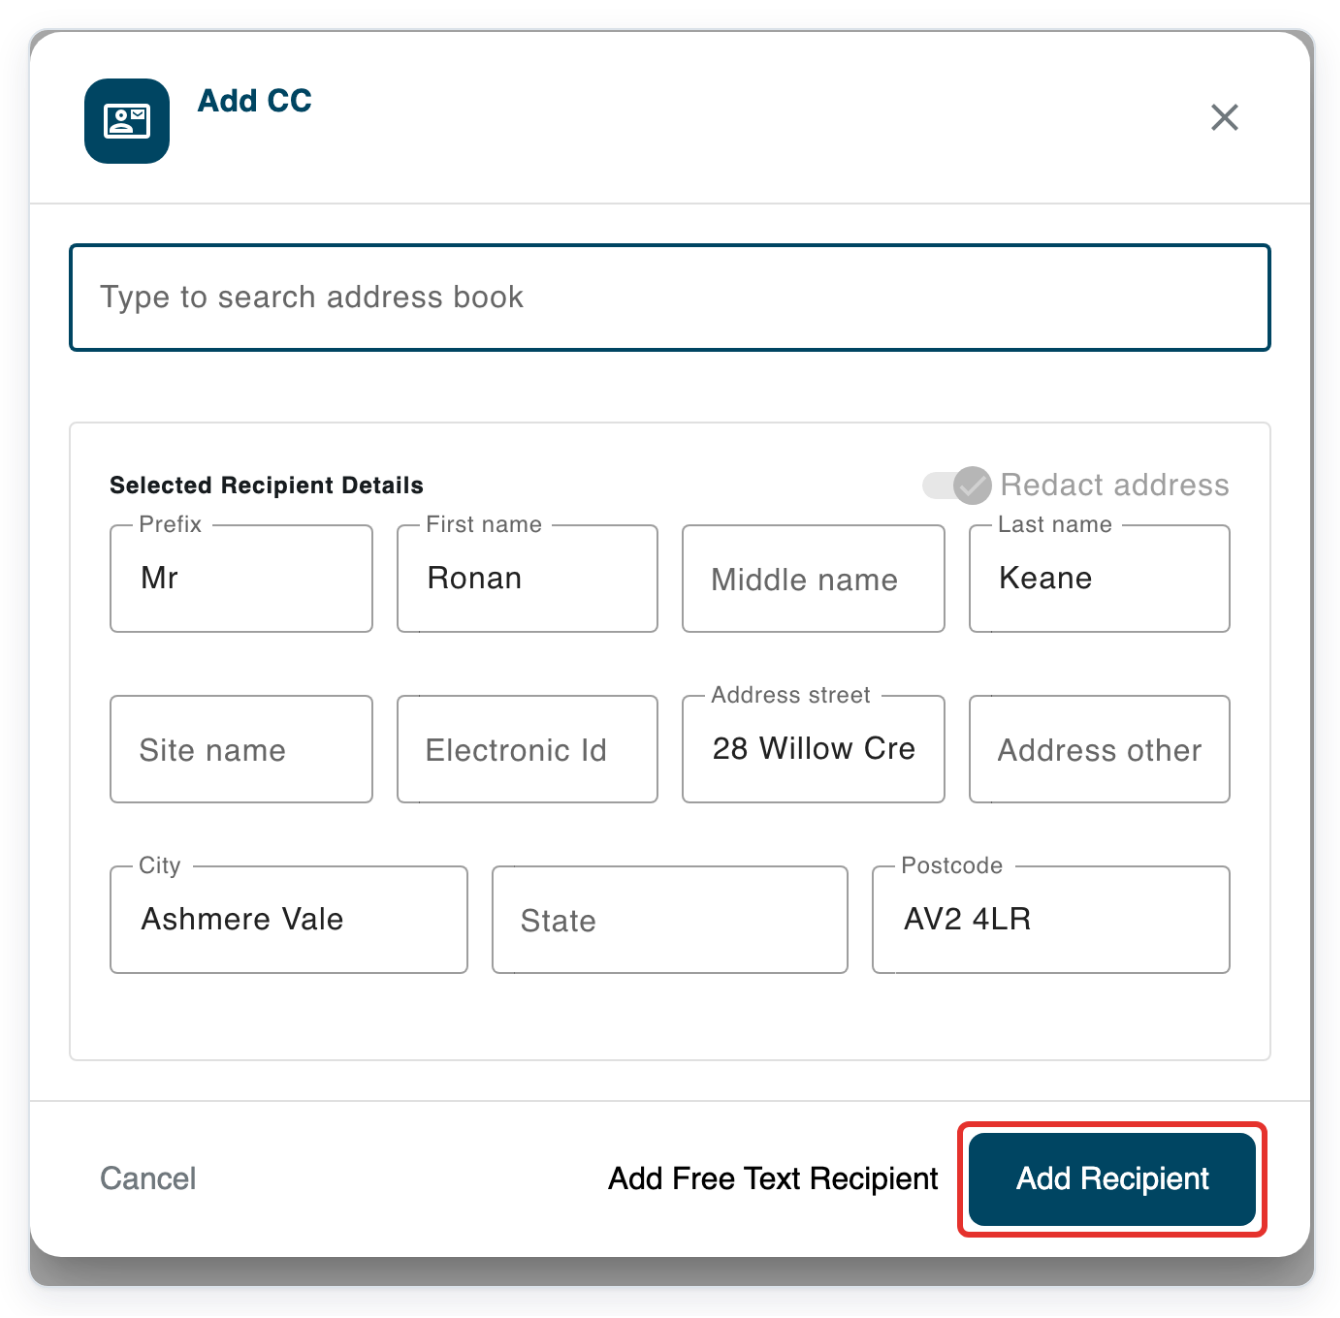
=> The added CC shows Mr Ronan Keane without his postal details. Siobhán and Brendan Keane also show names only. Dr Meera Patel keeps her postal address. The existing free text patient entry shows Patient.
As a storer
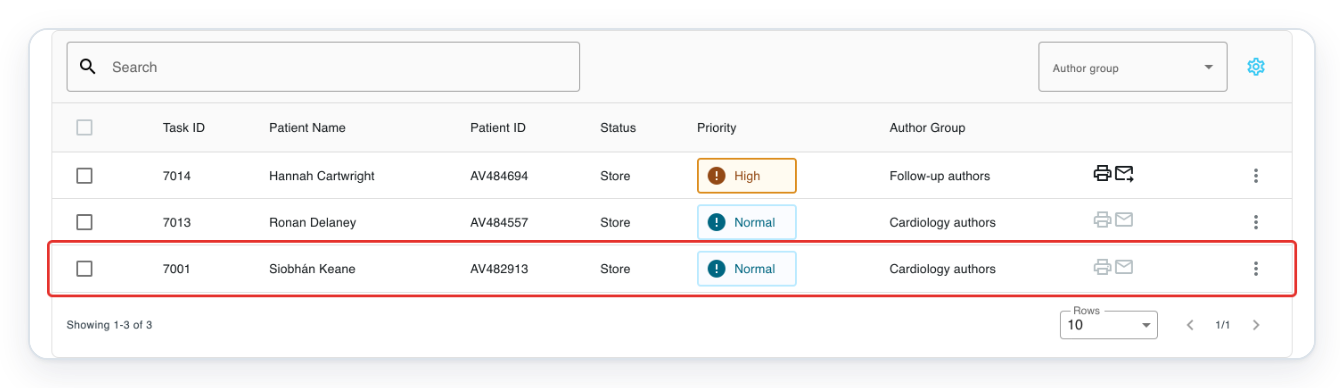
Go to Live Tasks, then click Store to find approved letters.
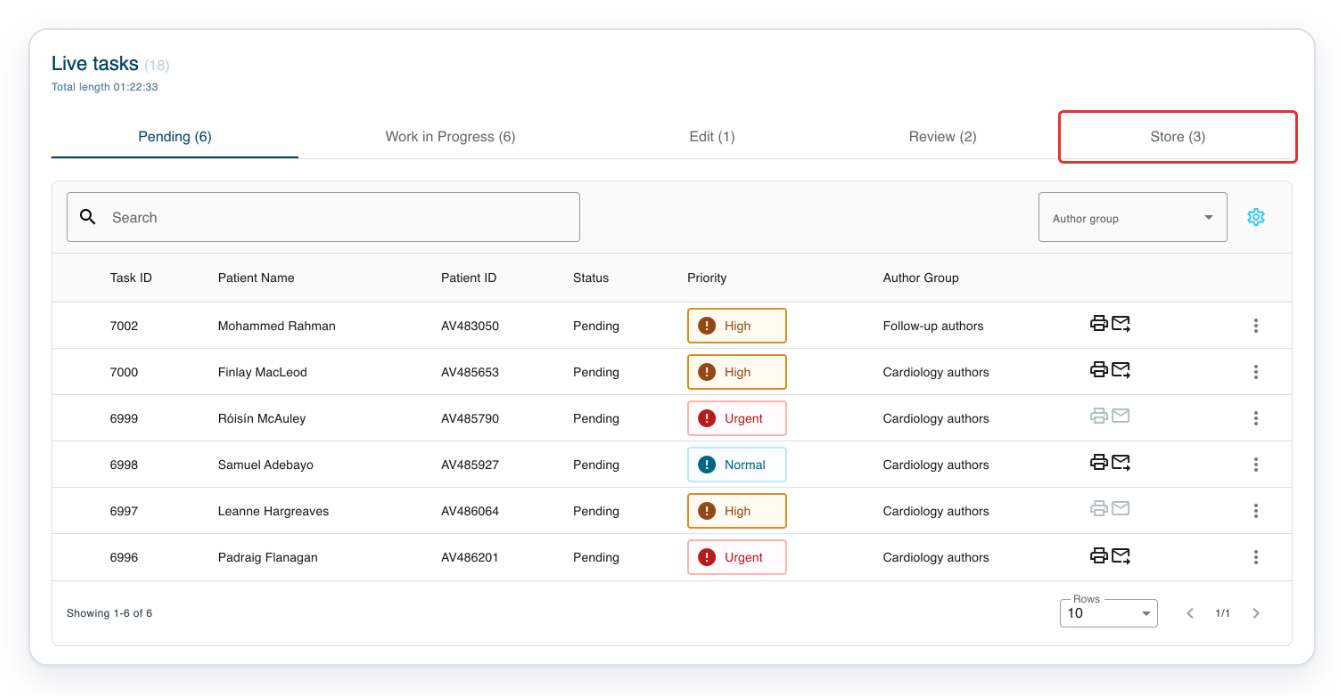
Click the approved task you want to open. In this example, choose task 7001 for Siobhán Keane.
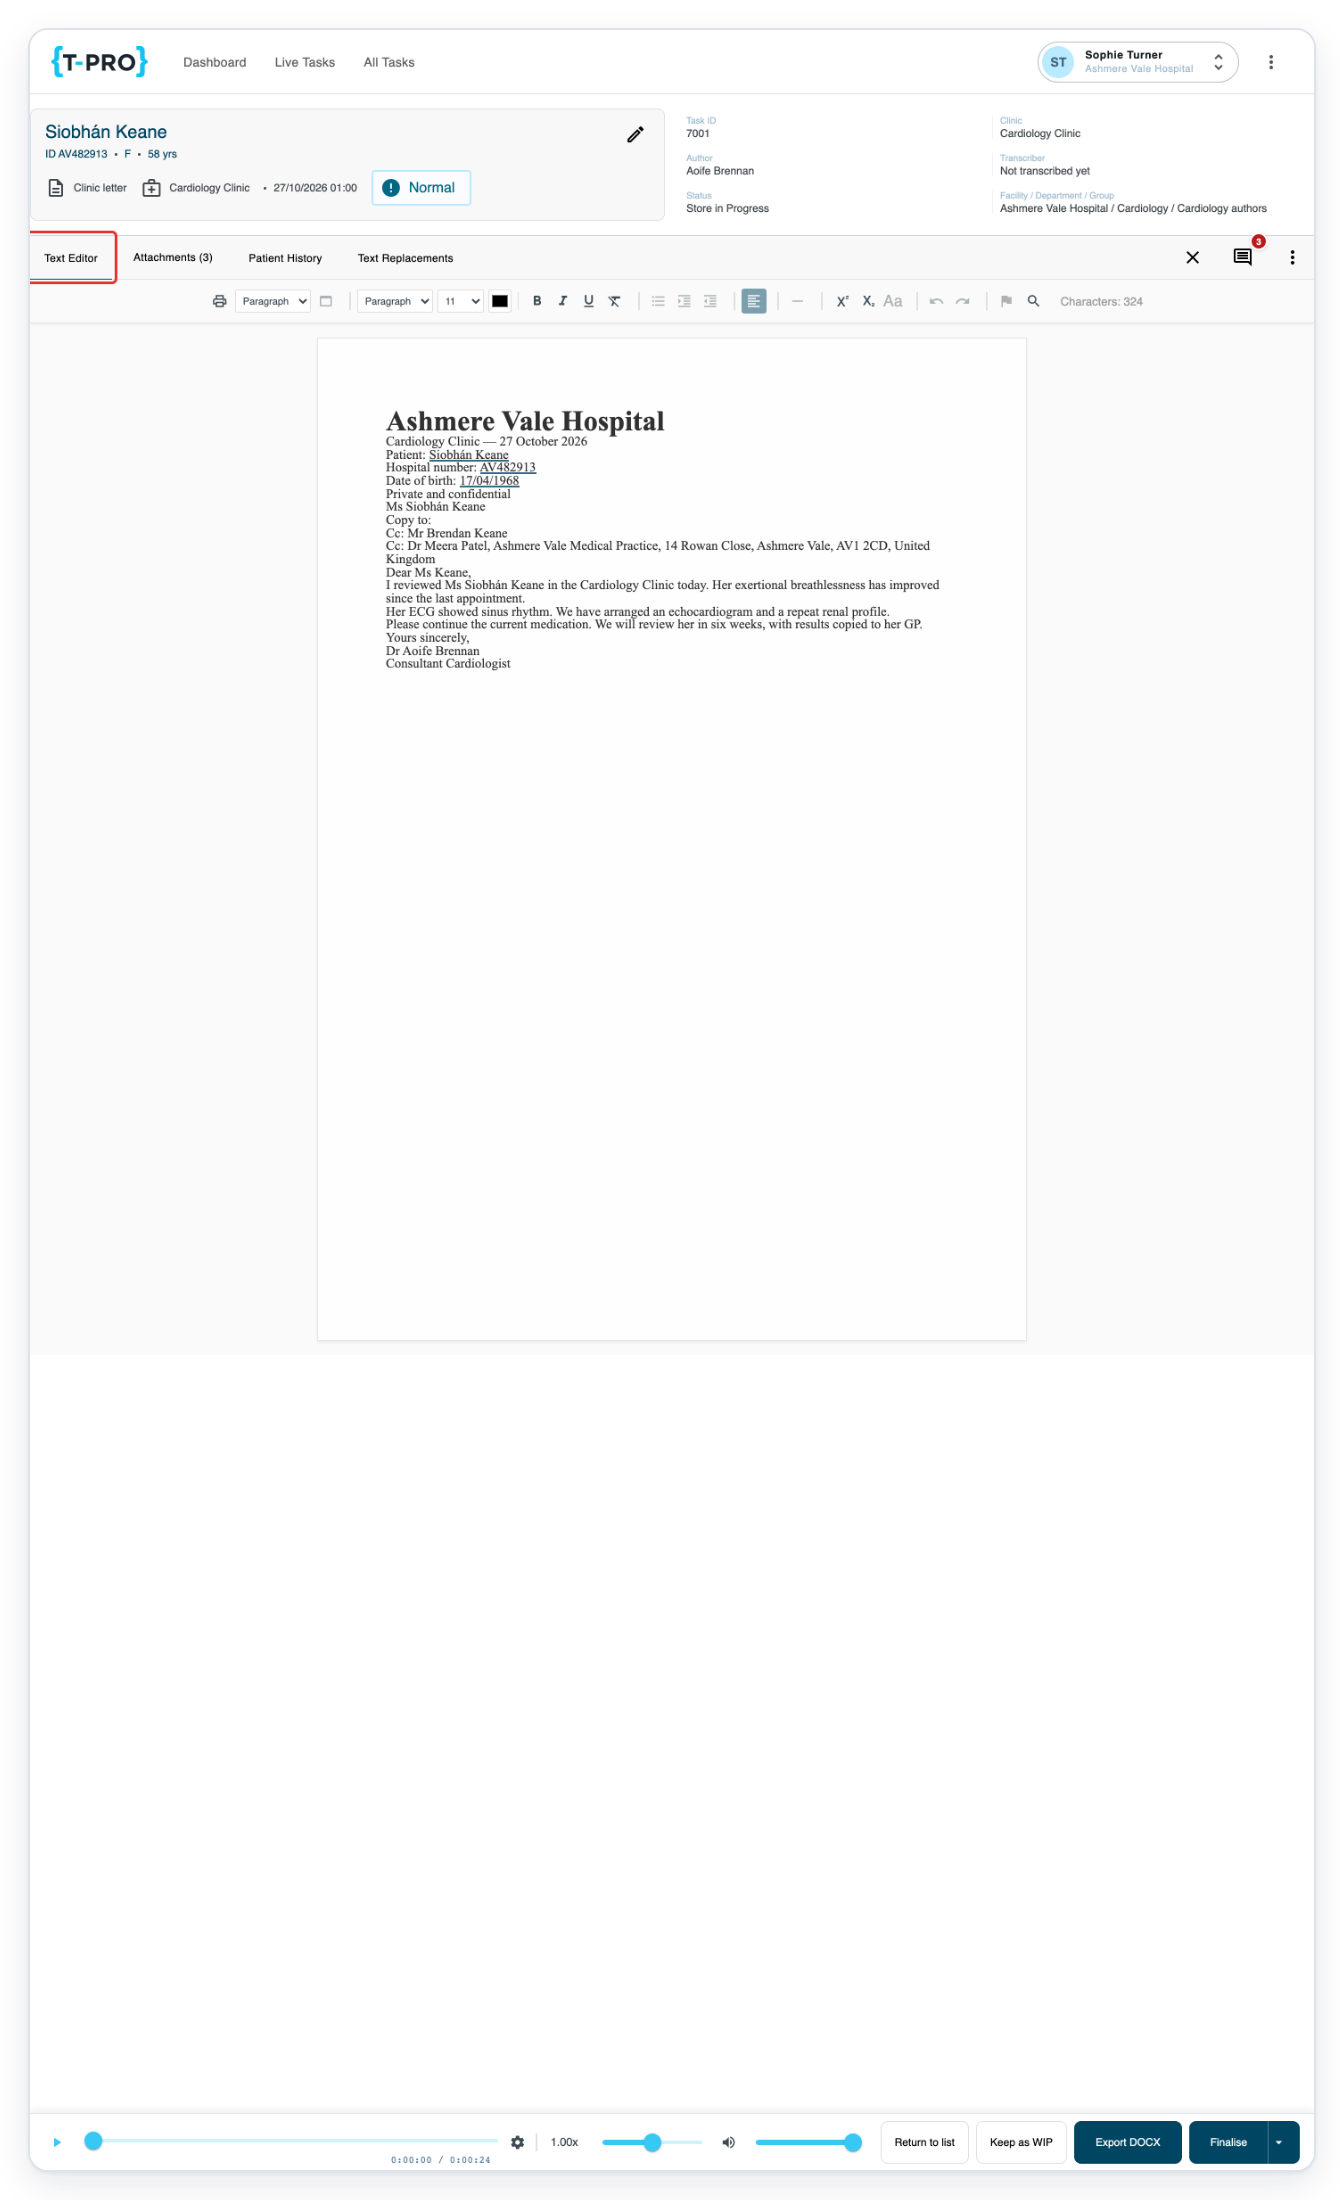
Click Text Editor to display the letter.
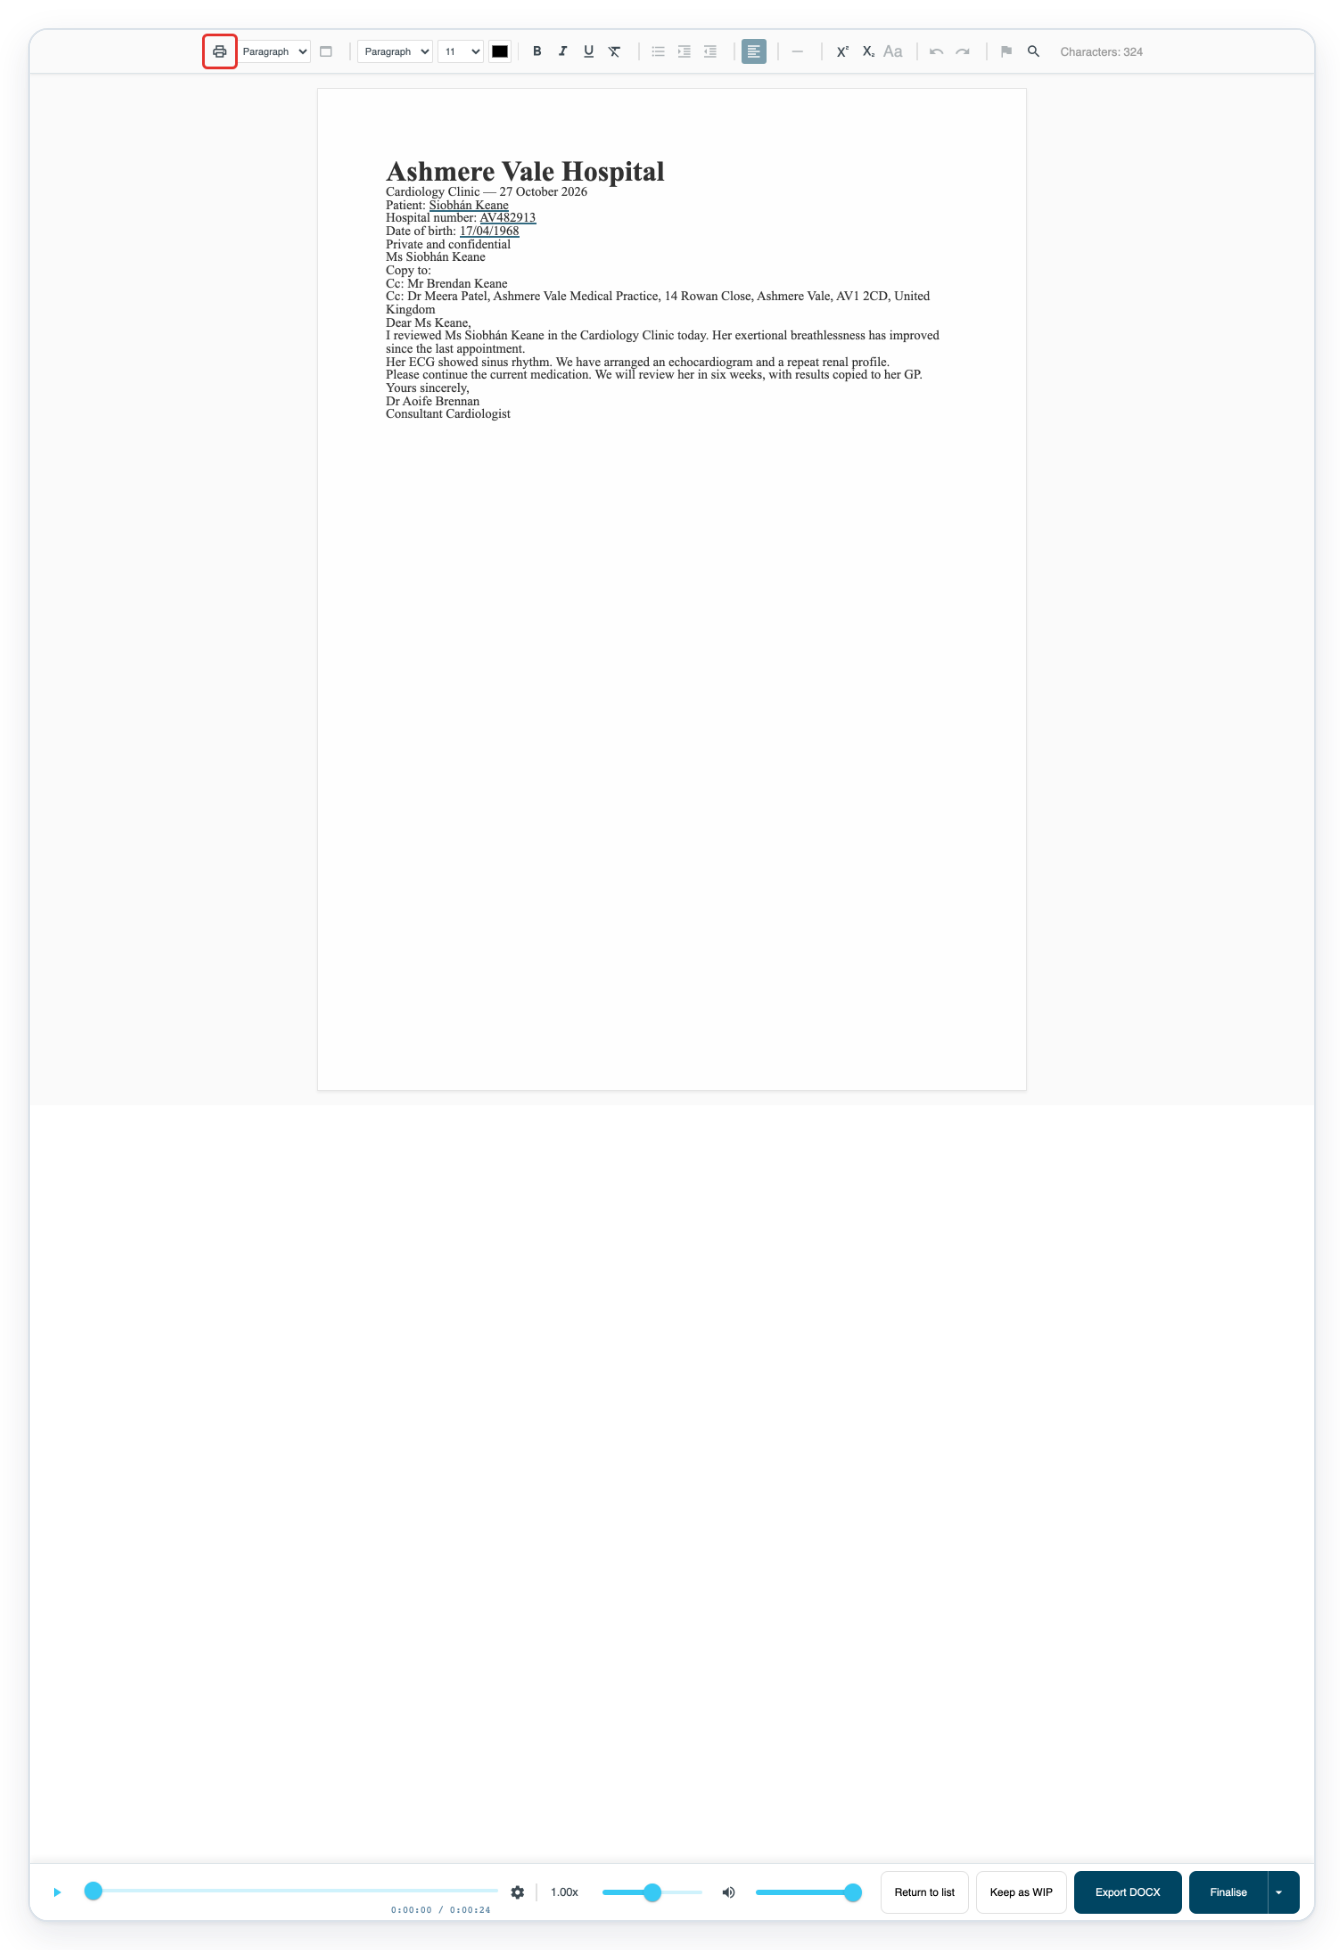
In the approved letter, click Print Document in the toolbar to open the recipient print options.
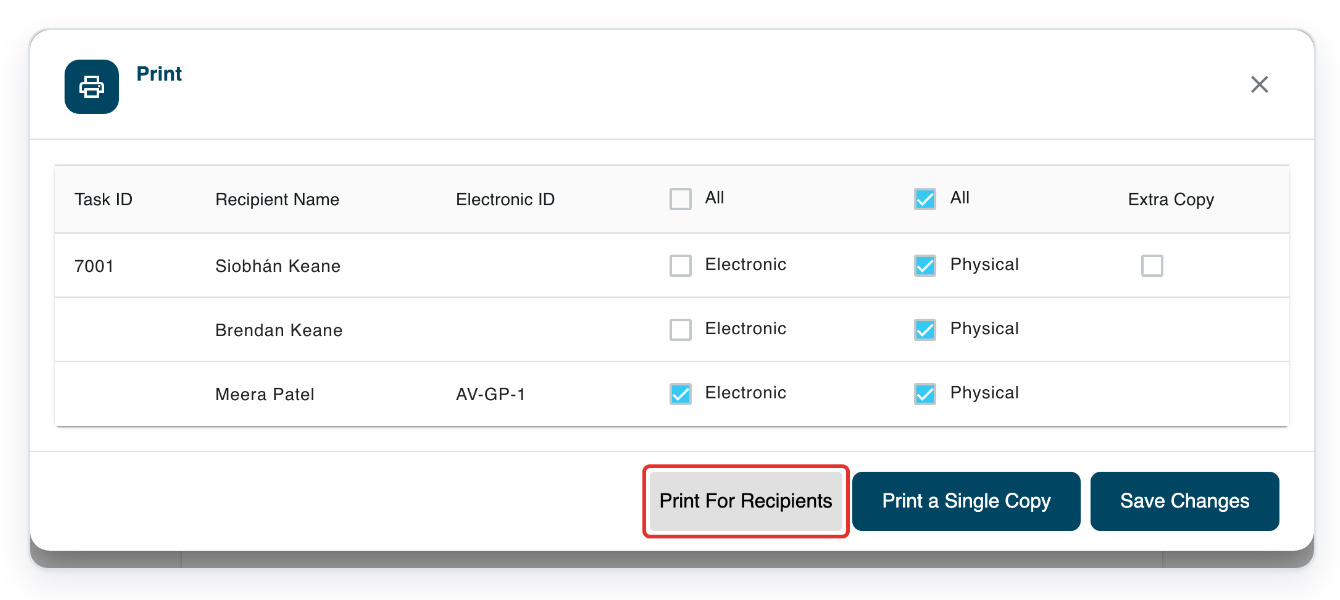
Once you've selected the postal copies, click Print For Recipients to request them.
First, select Physical for each recipient who needs a postal copy. T-Pro adds cover pages for redacted recipients if your organisation has turned this on.
NOTE:
- Your organisation decides whether patient and next of kin addresses are redacted. Ask your admin which rules apply.
- For a new recipient entered in separate fields, Redact address starts on when any address redaction rule is enabled. Otherwise, it starts off.
- New free text recipients show all the text you enter. Use separate name and address fields when an address needs redaction.
- Addresses stay redacted in PDF and Word letters.
- When a letter is completed, its existing recipients keep their saved redaction settings. Later changes to your organisation’s rules do not affect those saved settings.
- When Redact address is unlocked, turn it off to keep the recipient’s full postal address visible, then click Add Recipient to save. This applies to recipients entered in separate name and address fields.
Where the address appears
| Where | What you see |
|---|---|
| Primary recipient and CC areas on the letter | The recipient’s title and names remain visible. Their site name and postal address are hidden when redaction applies. |
| Recipient search and details | The address is still available. An information icon shows which recipient types your organisation’s redaction rules cover. |
| Cover page | The full postal address appears on any cover page generated, even when it is hidden in the letter. |
Can't use address redaction?
- The recipient details won't open. Check that you have the task open for editing. If someone else is working on it, ask them to make the change.
- Redact address is locked. Your organisation’s rule requires redaction for this recipient. Ask your admin to review the rule if needed.
- Add Free Text Recipient is missing. Your organisation has turned off new free text entries. Use the address search or separate name and address fields.
- No cover page for a redacted recipient. Select Physical for that recipient and use Print For Recipients. If there's no cover page, ask your admin to check the automatic cover page setting.
Related articles
If you have any more queries, please do not hesitate to contact our Helpdesk or support@tpro.io.
© 2020 - 2026