
Before you start
Use your manager or master account. If you are a manager, patient lookup must be set up for your organisation.
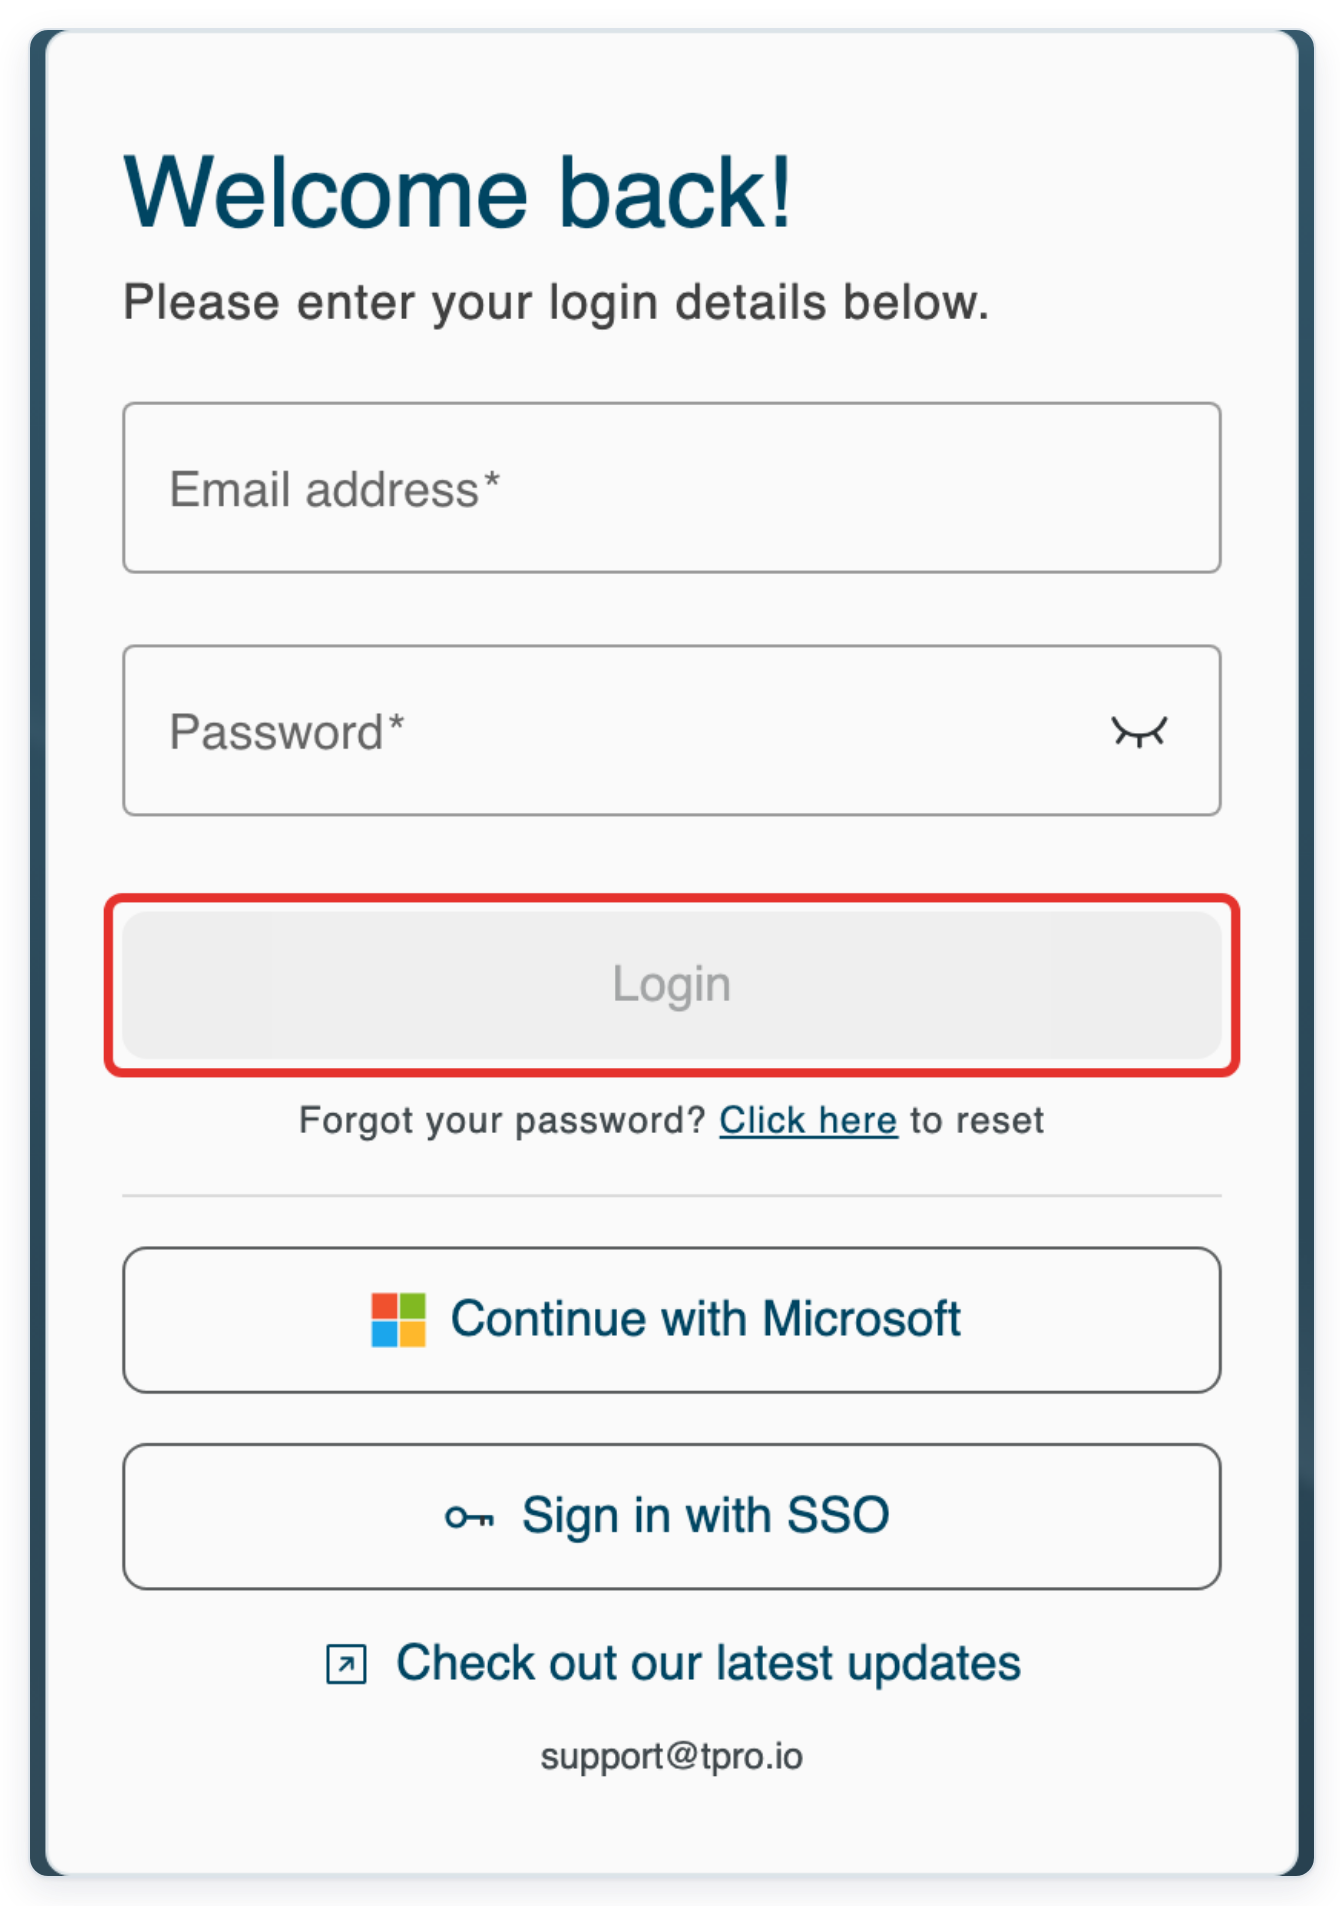
Log in to T-Pro with your manager or master credentials.
As a manager
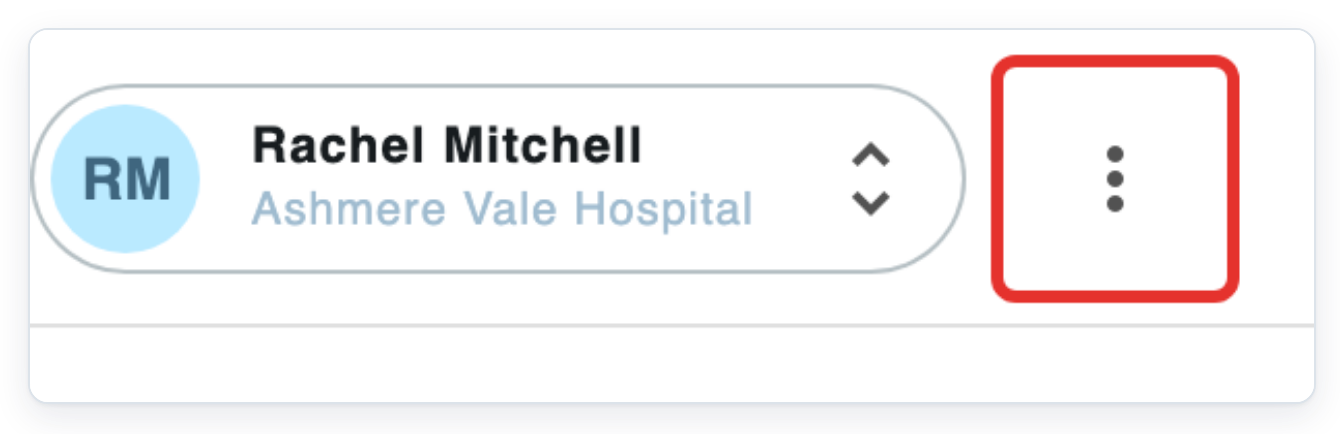
Click the three dots beside your name at the top right to open the account menu.
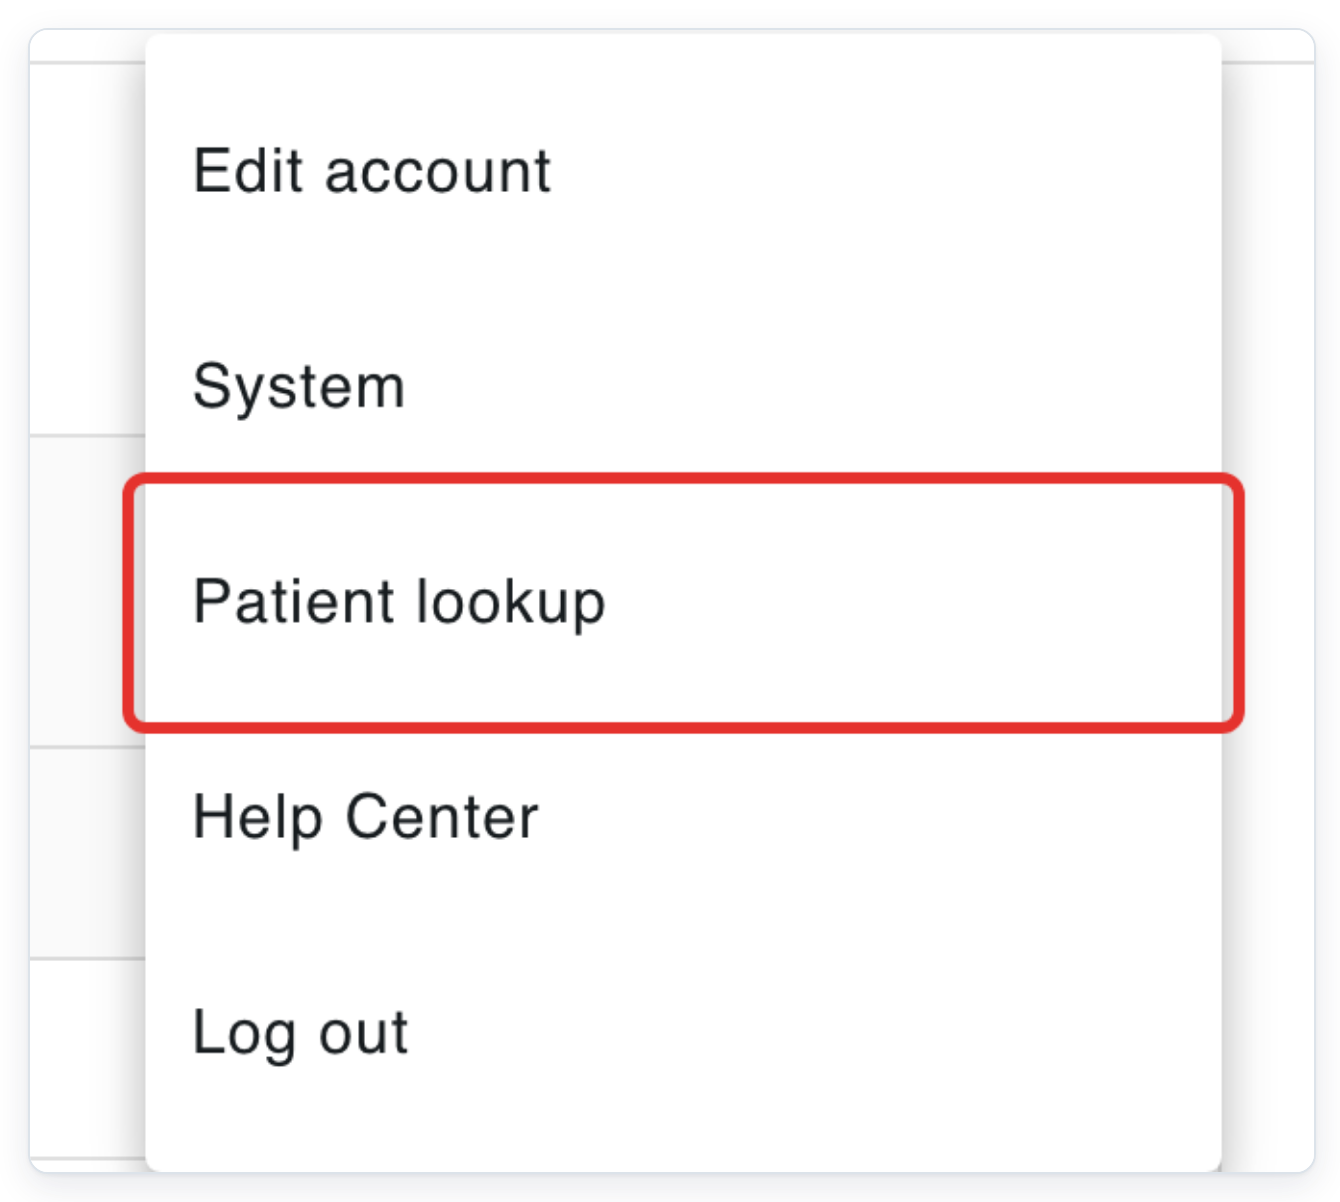
Choose Patient lookup to open the patient search page.
Enter the patient's given name in Search, for example Siobhán.
Enter at least three characters. The search checks patient records for your organisation.
You can search by surname instead. Enter the patient's surname in Search, for example Keane.
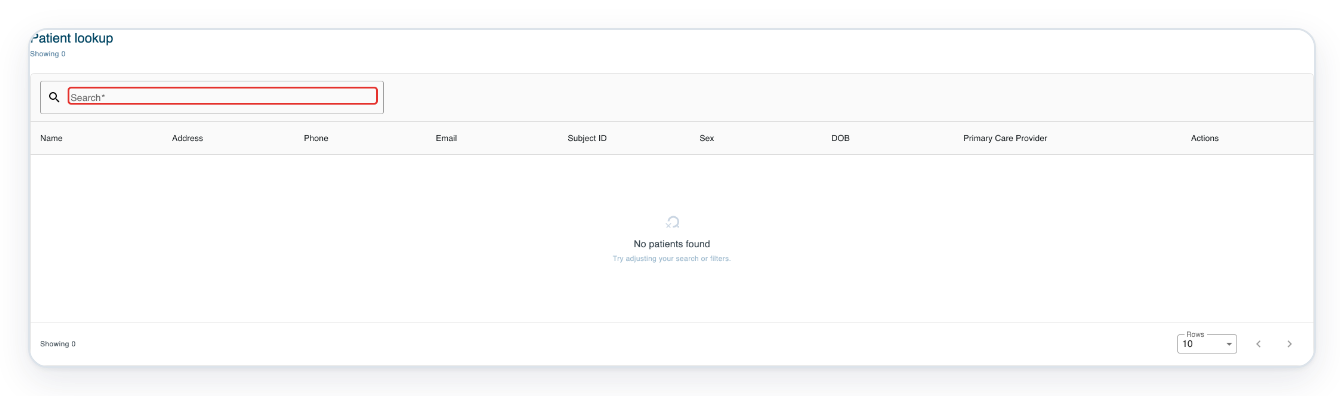
With your cursor in Search, press Enter to find matching patients.
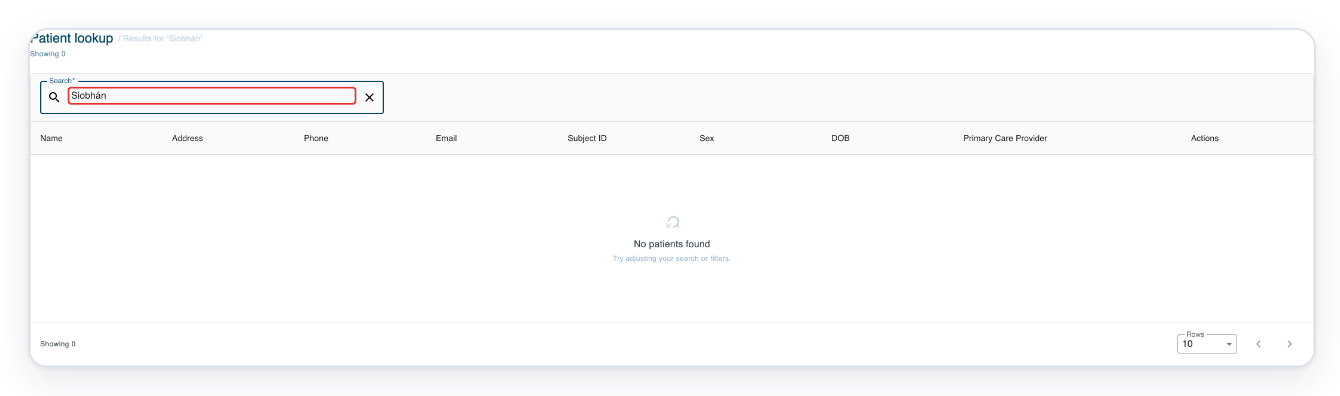
=> The results show name, address, phone, email, Subject ID, sex, DOB and primary care provider. Check the name, Subject ID and date of birth to find the right patient.

To search by patient ID, replace the name in Search with AV482913.
Use the patient's ID as shown in the Subject ID column.

With your cursor in Search, press Enter to search for AV482913.

Click the three dots in the patient's Actions column to open Patient options.
Use the menu on the same row as the patient you want to check.

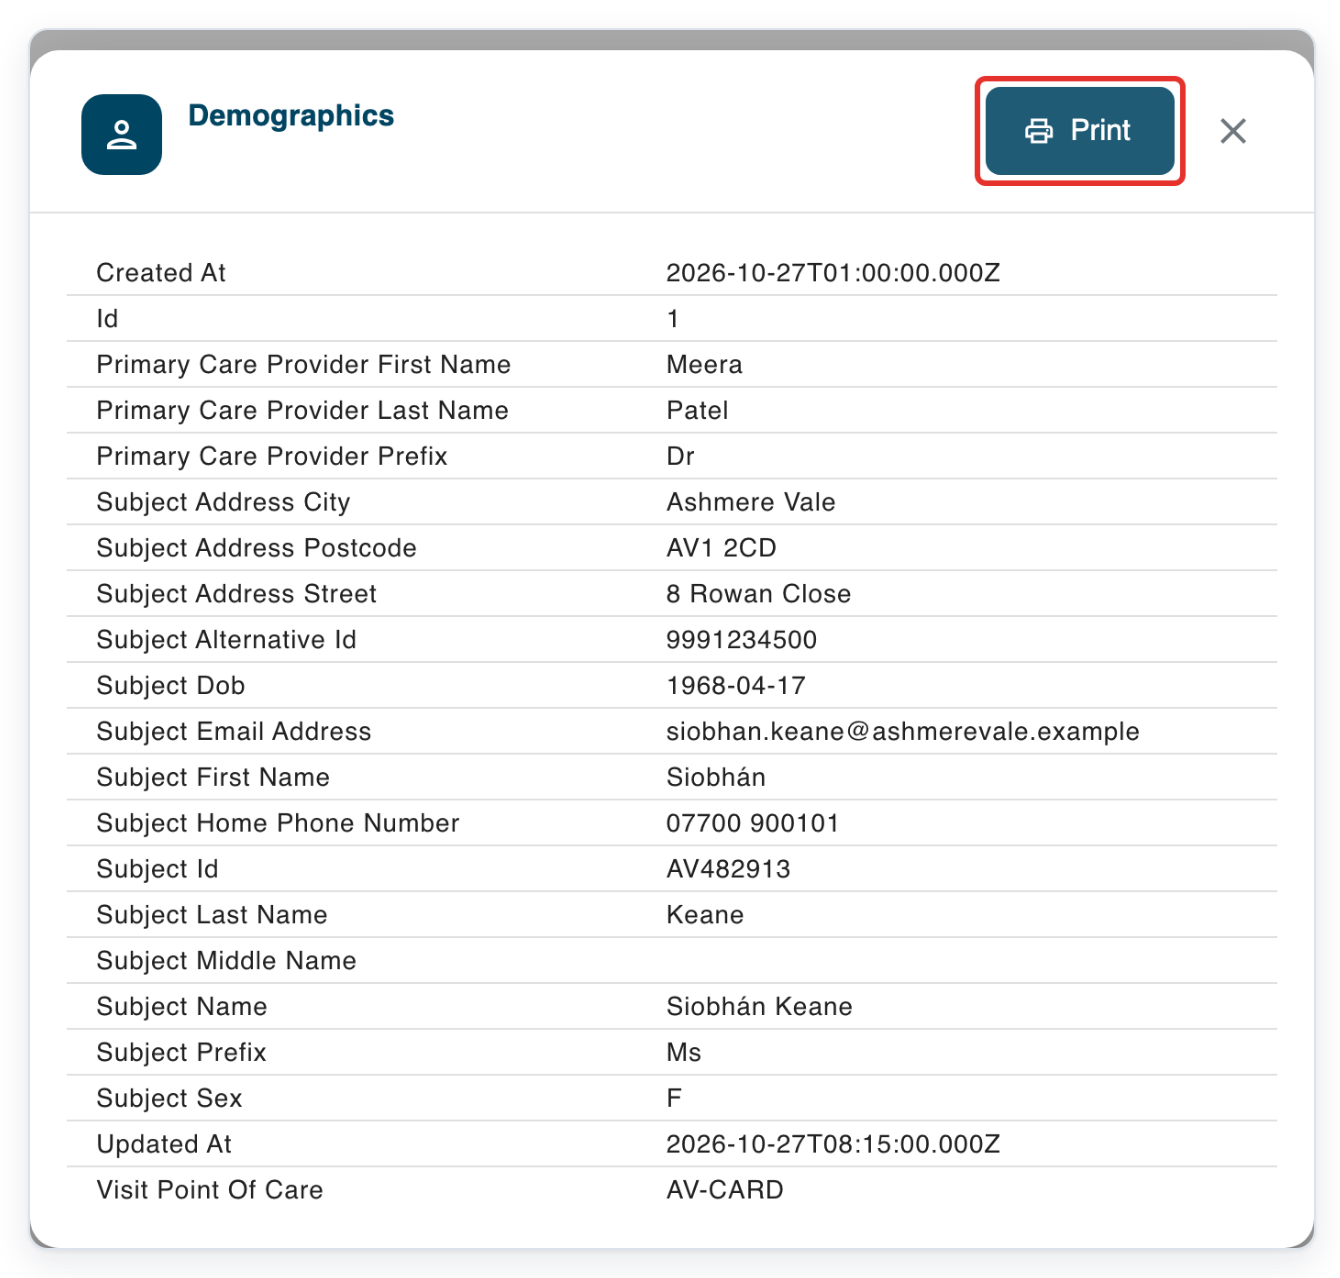
Choose Demographics to see the patient's details.

=> The Demographics window shows the details recorded for the patient. Scroll through the list to see all the fields. Print is at the top.
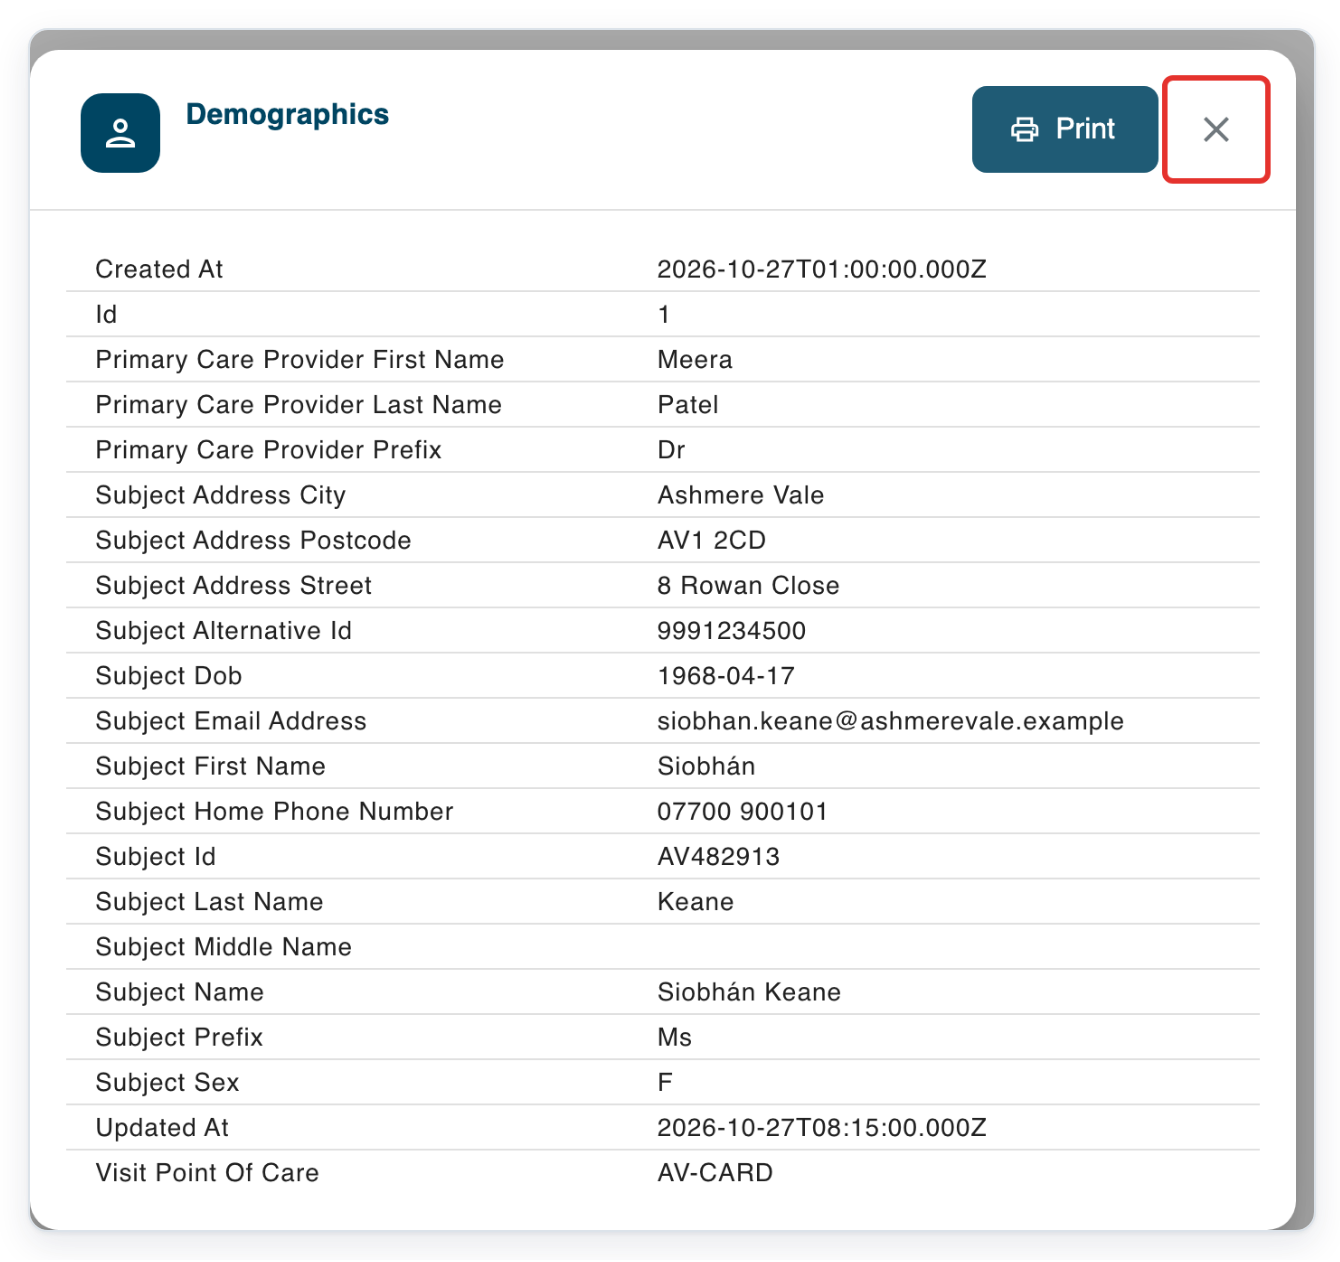
Click the cross at the top right of Demographics to return to the patient results.
Open Patient options again using the three dots on the same patient's row.

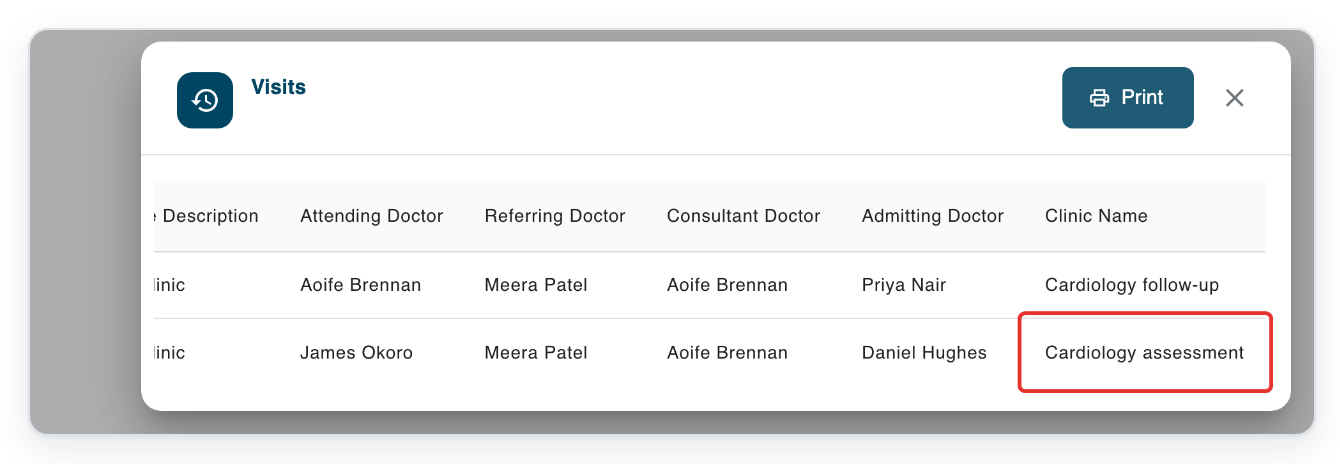
Choose Visits to open the patient's visit history.

=> The Visits window shows visit details where available: IDs, admission dates, points of care, attending doctors and referring doctors. Print is at the top.
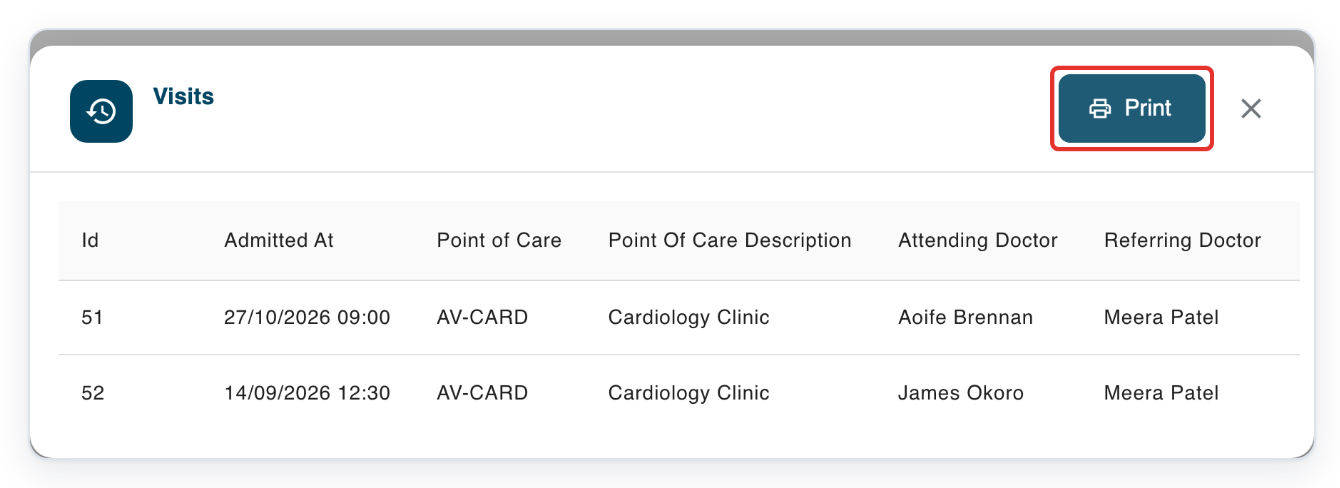
=> Scroll across the table to see Consultant Doctor, Admitting Doctor and Clinic Name.
As a master
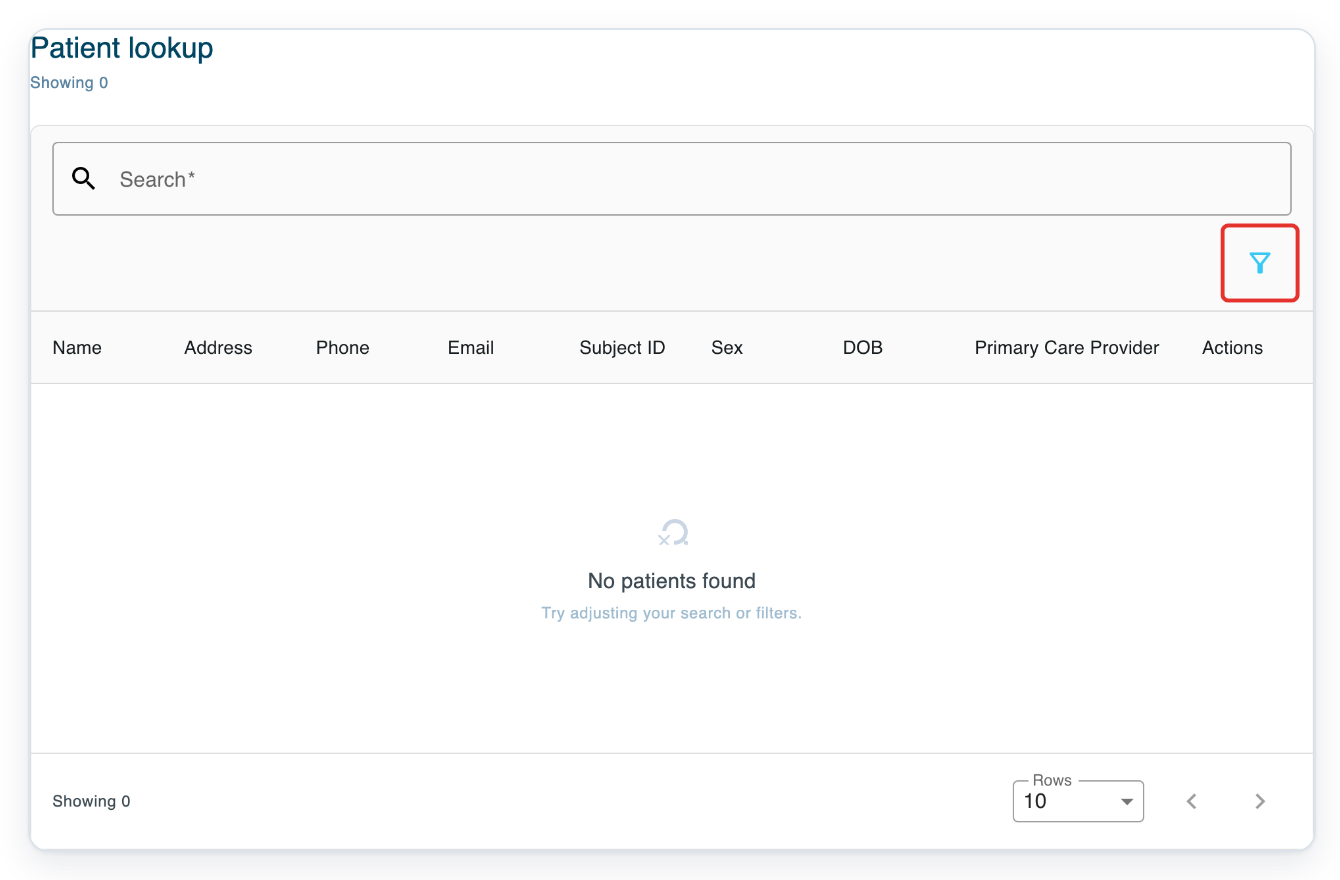
Open Patient lookup from the account menu, following steps 2 and 3. Click Filter, the funnel icon above the results.
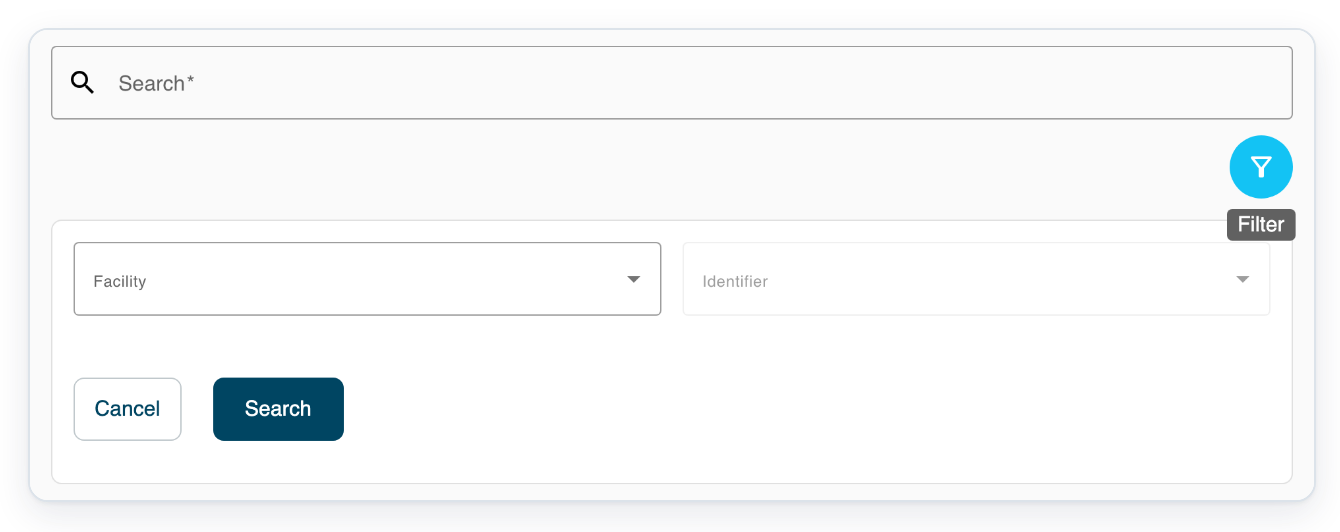
Choose Facility first, then Identifier. Enter the patient's surname in Search above the results. Then click Search in the filter panel.
=> The filter panel contains Facility and Identifier, with Cancel and Search below.
As an administrator viewing an author's profile
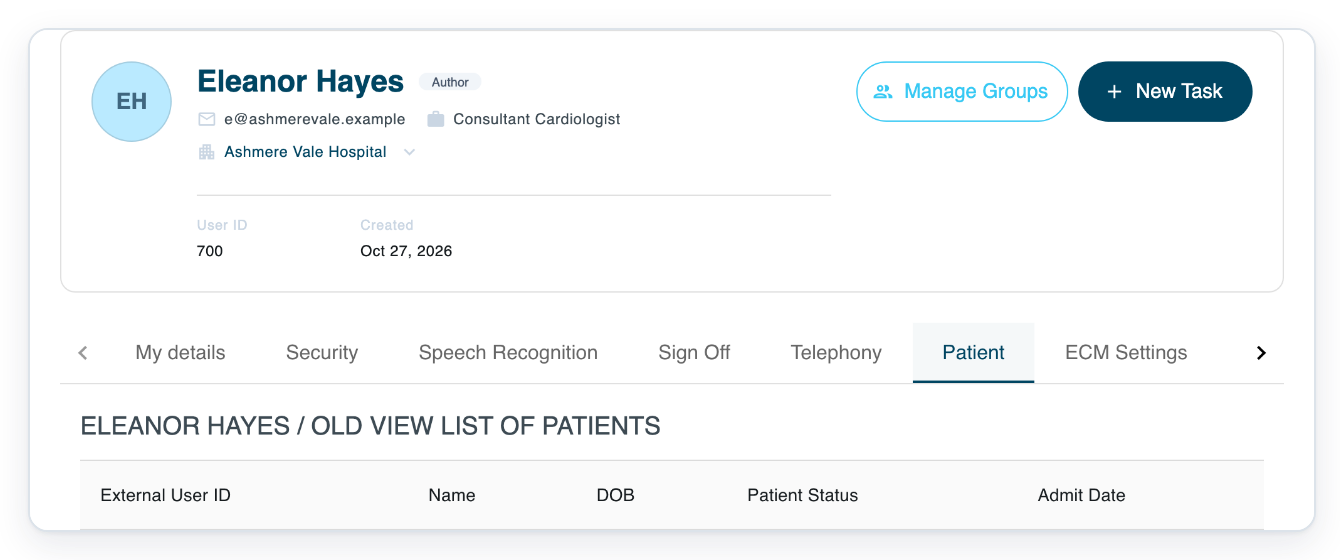
In Eleanor Hayes's author profile, click Patient.
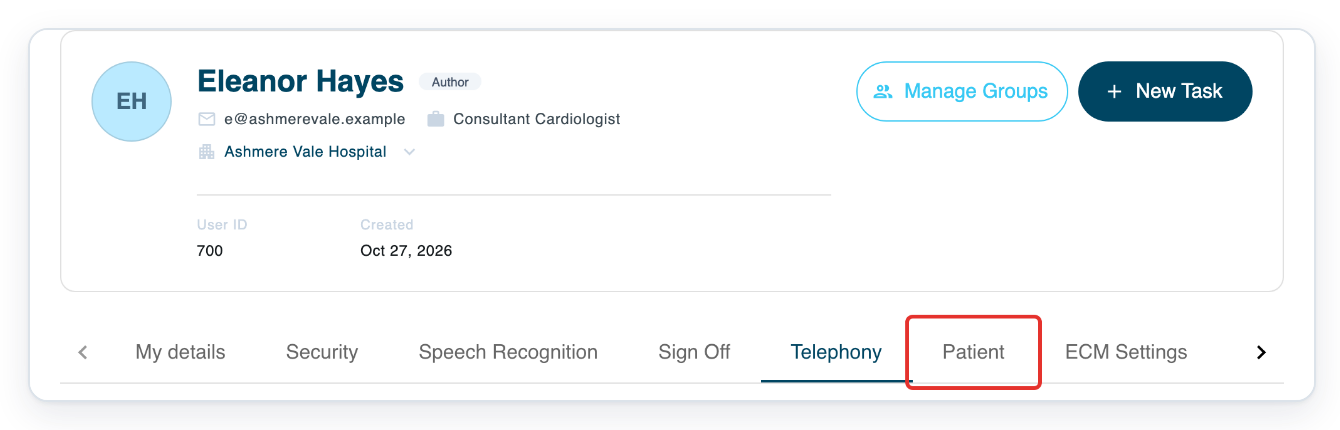
=> The tab shows Old view list of patients and column headings, with no patient rows.
NOTE:
- If you are a master, choose both Facility and Identifier before searching.
- To print demographic details or visit history, click Print at the top of that window.
- In demographic details, the deceased indicator shows the recorded value. A blank value does not tell you whether the patient is deceased.
- If you are a manager, enter your search text in Search, then press Enter to search your organisation's configured patient records.
- You can search by patient ID, given name or surname. The examples above use Siobhán and AV482913.
What you can check
Use the results to find a patient, then open their details or visits from the row's three-dot menu.
| View | What it shows |
|---|---|
| Patient results | Name, address, phone, email, Subject ID, sex, date of birth and primary care provider. Use these to identify the patient. |
| Demographics | Details recorded for the selected patient, listed alphabetically by field name. |
| Visits | Visit IDs, admission dates, points of care, attending, referring, consultant and admitting doctors, and clinic names where available. |
| The profile's Patient tab | Only administrators viewing an author's profile see this tab. Patient records are not loaded in this view, so its empty table does not mean a patient is absent. Use Patient lookup from the account menu to search. |
Tip: Use the arrows below the results to move between pages. You can also enter a page number in Page. Choose 5, 10 or 15 in Rows to change how many results appear per page.
Can't find a patient?
- If your search does nothing, enter at least three characters in Search, then press Enter. Typing alone does not submit the search.
- If you see No patients found when you open the page, enter a surname and search. If there are still no results, adjust your search. If you are a master, check Facility and Identifier too.
- If Patient lookup is missing from the account menu, ask your administrator to check your organisation's patient lookup setup.
- If the patient tab is missing or empty in a profile, open the account menu. Choose Patient lookup to search.
Related articles
If you have any more queries, please do not hesitate to contact our Helpdesk or support@tpro.io.
© 2020 - 2026