
Before you start
You need a task you can edit and a letter with a CC section. To change your organisation's setting, you need admin access.
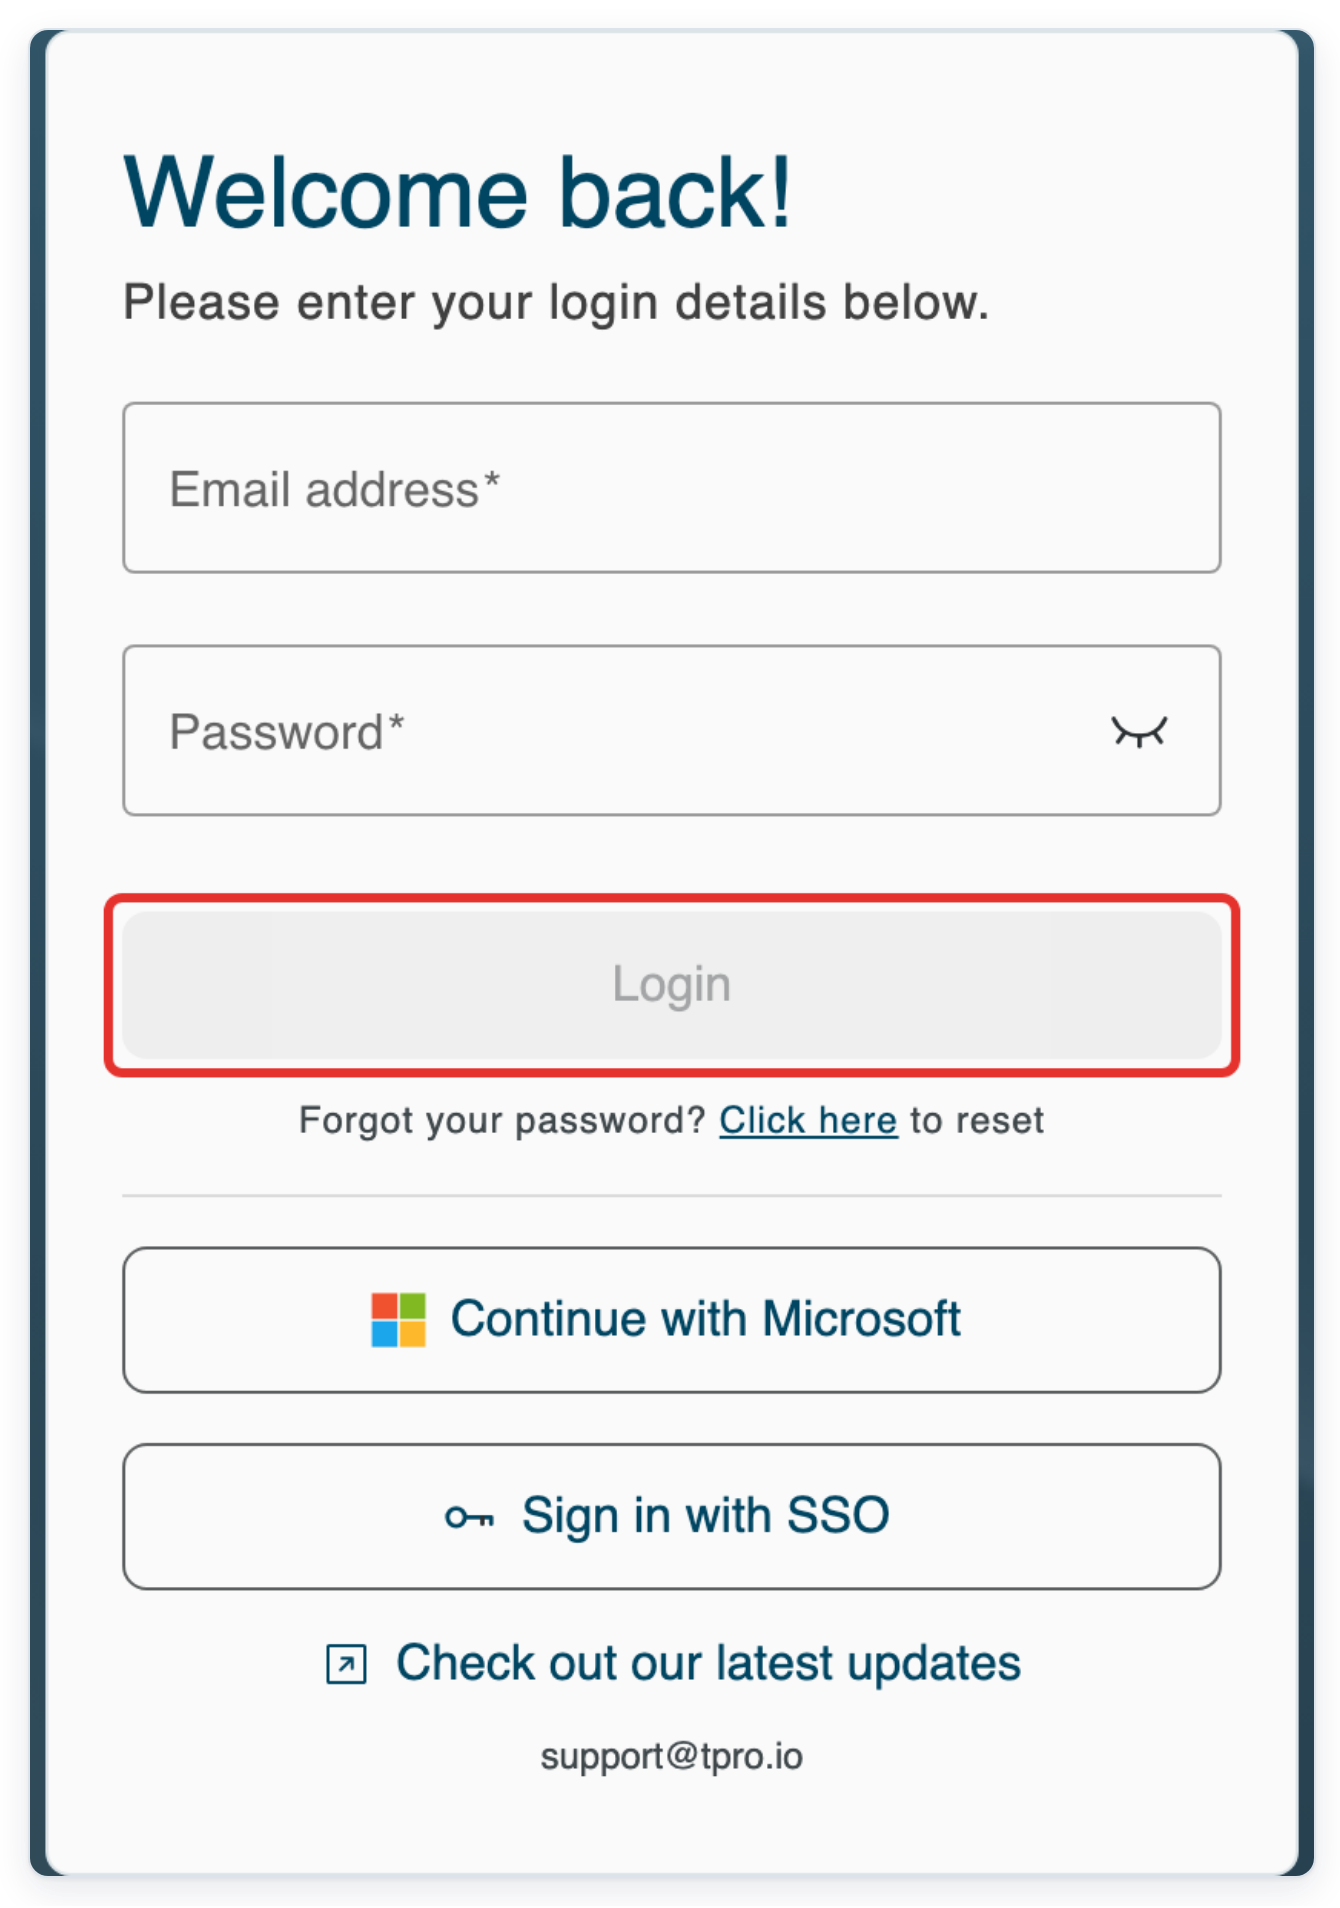
Log in to T-Pro with your transcriber or admin credentials.
As a transcriber
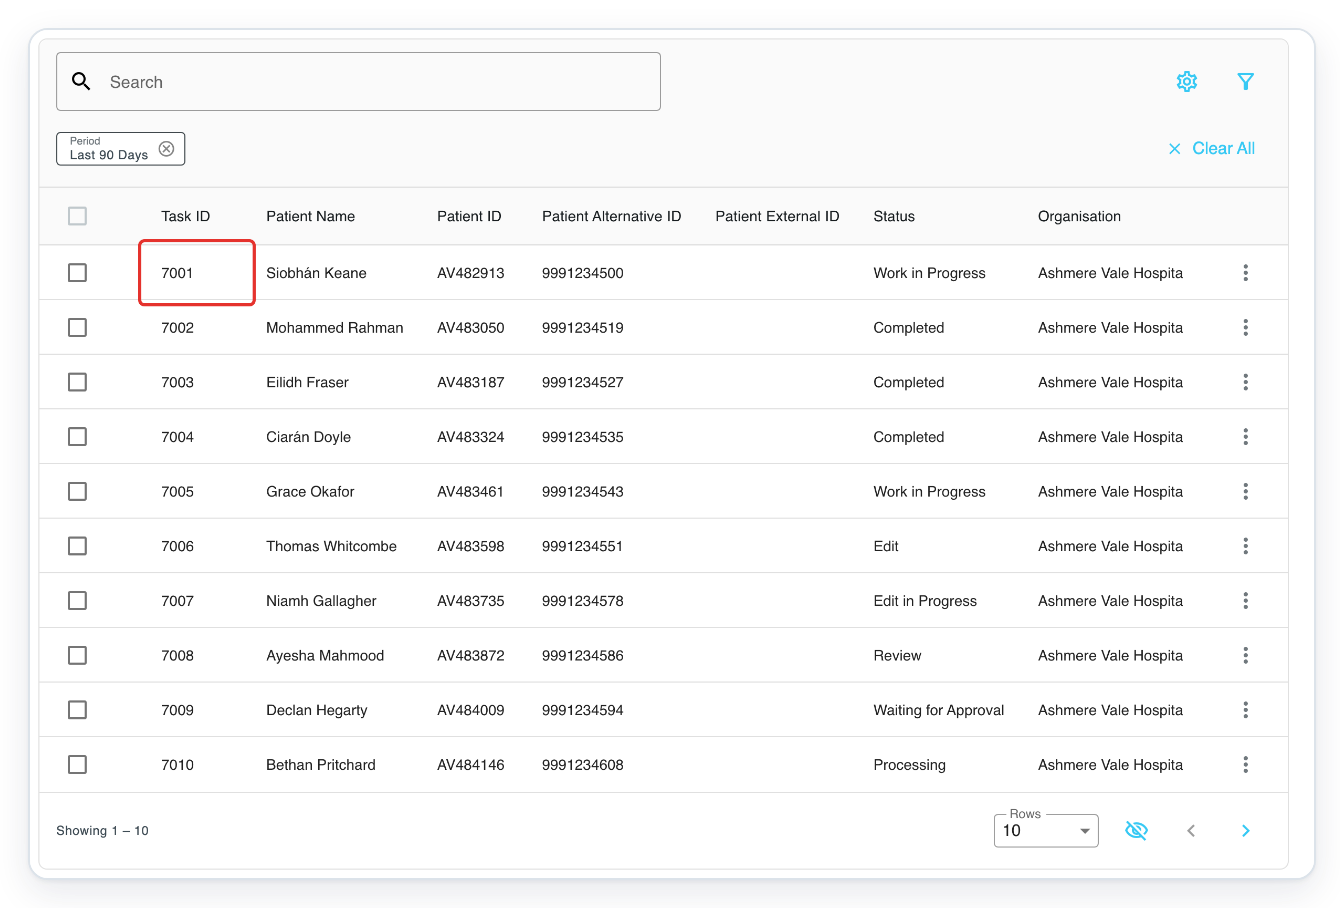
In All Tasks, click the task ID to open its letter in Text Editor.
This example uses a manager's task list. Task 7001, for Siobhán Keane, is Work in Progress.
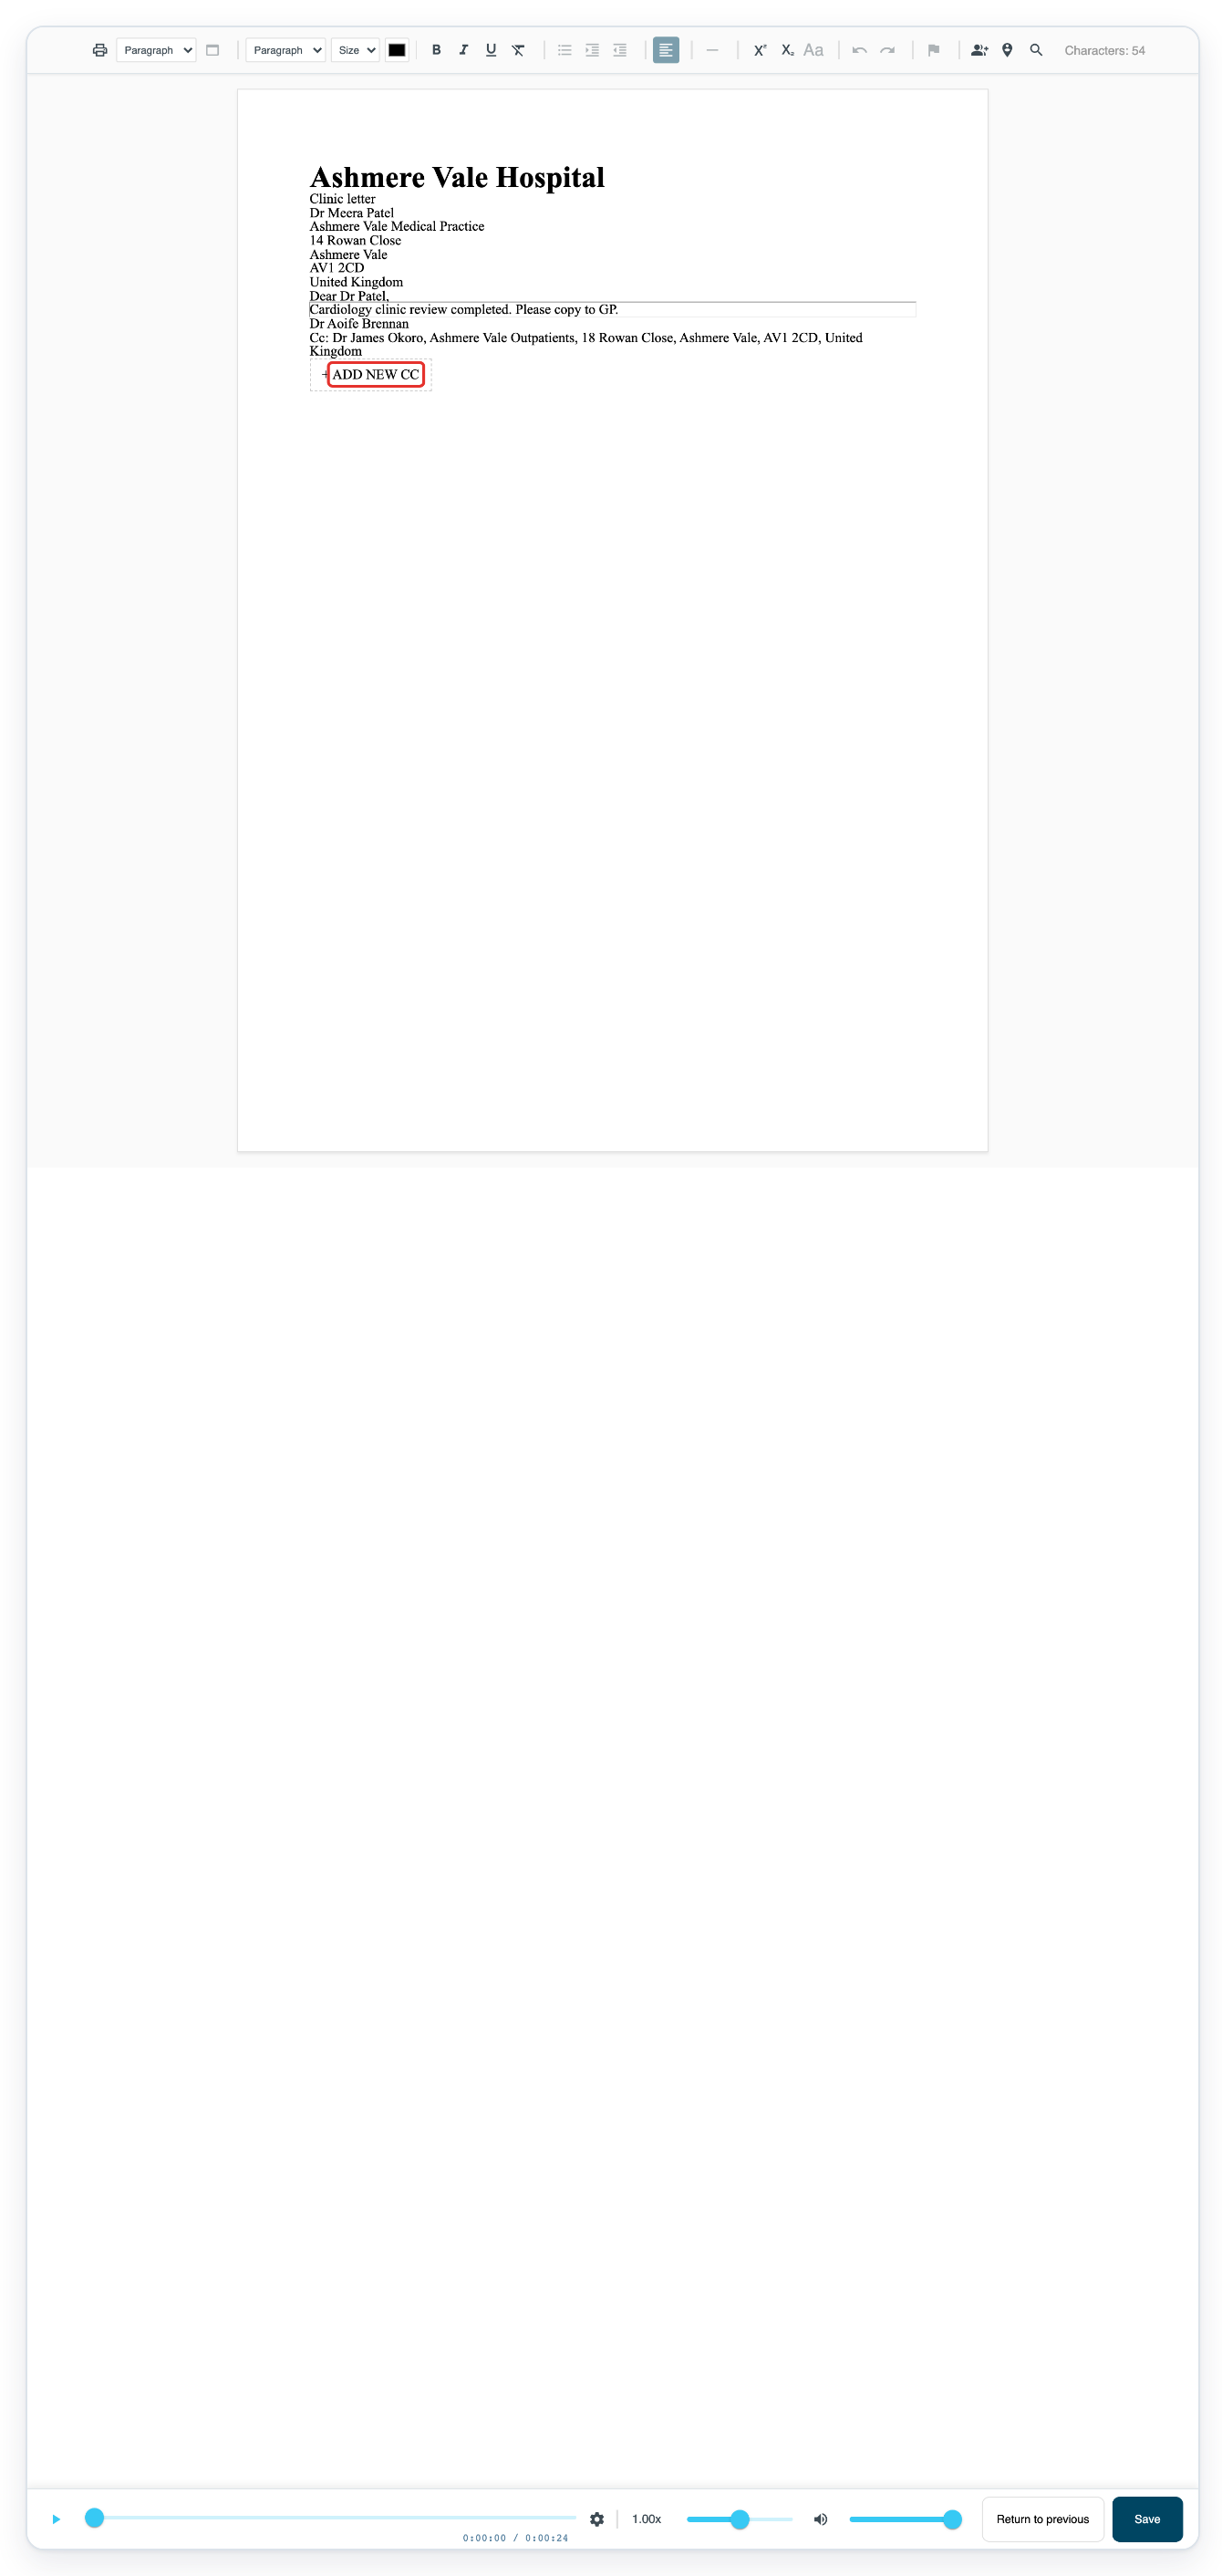
In the task's Text Editor, click add new CC in the letter. The Add CC dialog opens.
Add a copy recipient here if someone else needs a copy of the letter.
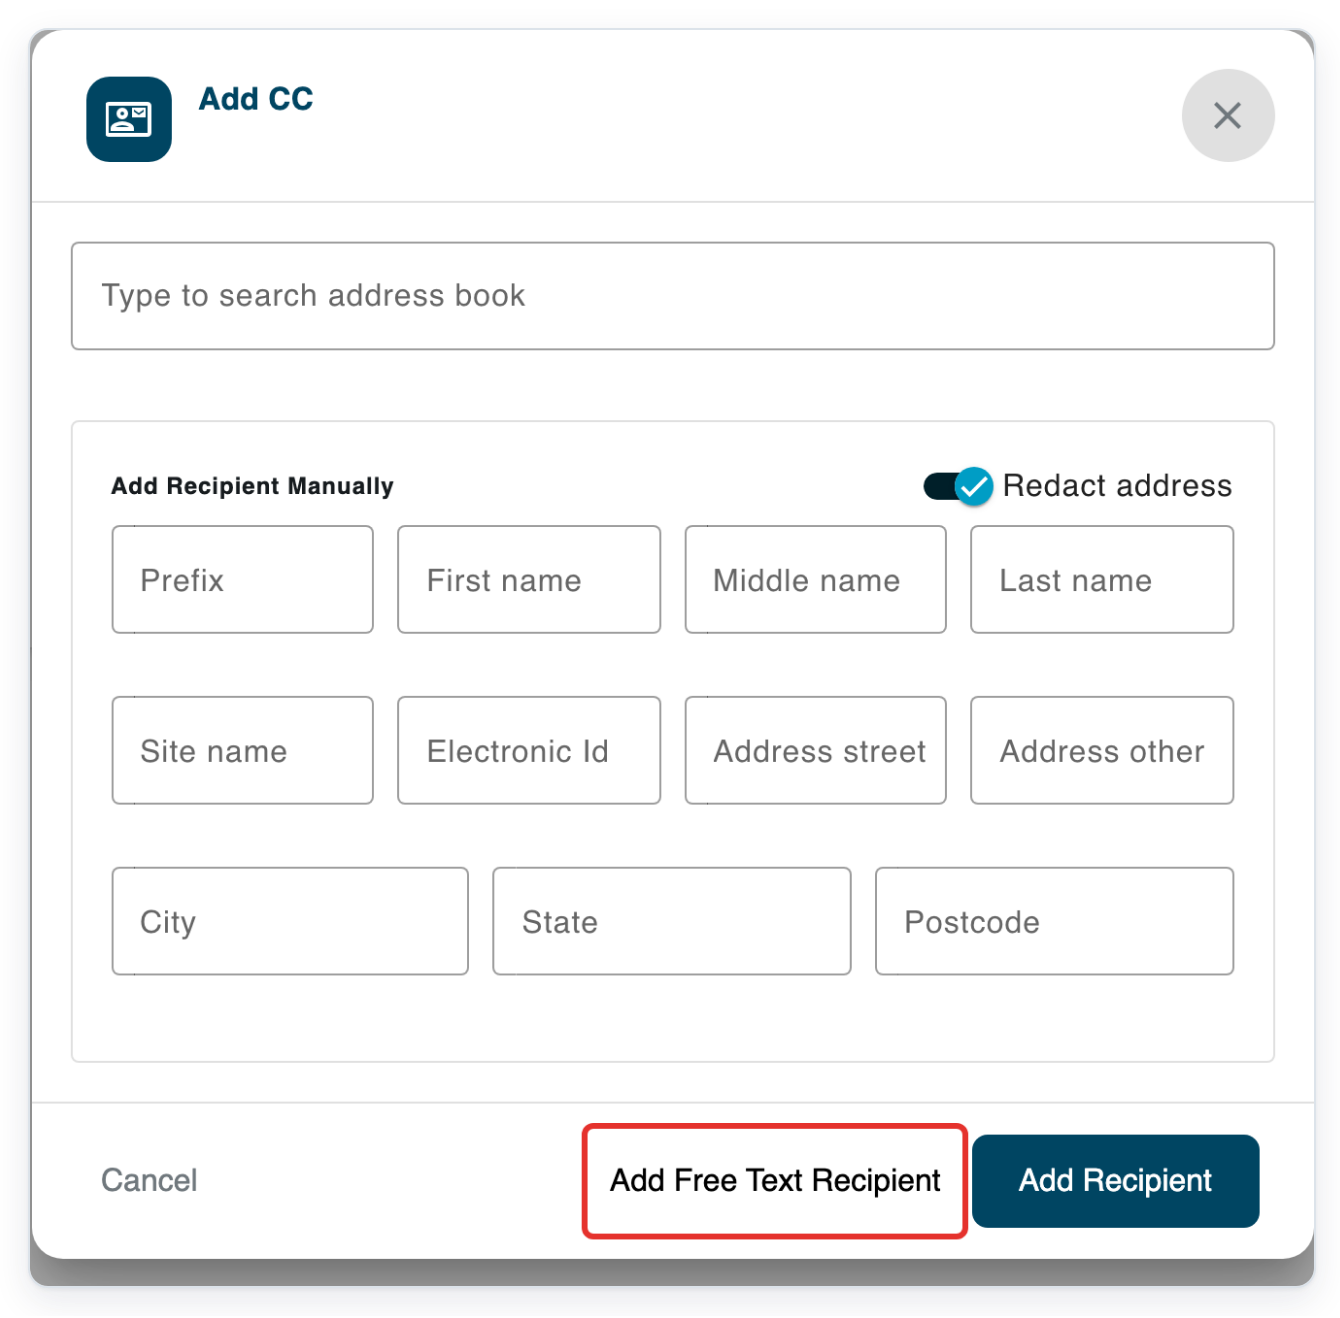
Click Add Free Text Recipient to enter the copy recipient as formatted text.
This opens a blank editor with formatting controls above it.
Click inside the blank recipient editor to place your cursor.
Use the toolbar to adjust the text size, make text bold or change its alignment.
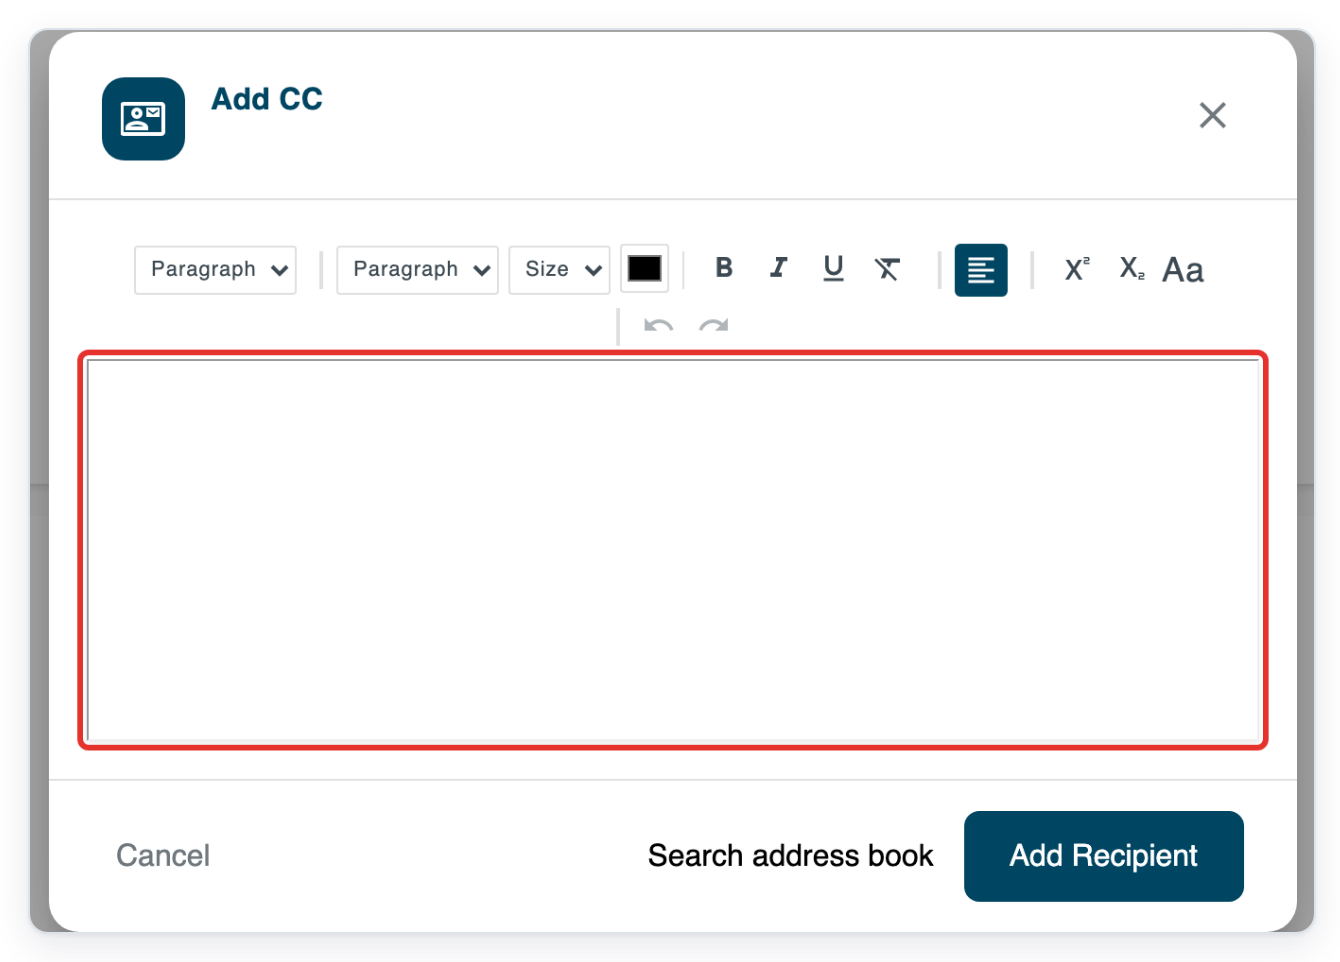
Enter the recipient's name and full postal address.
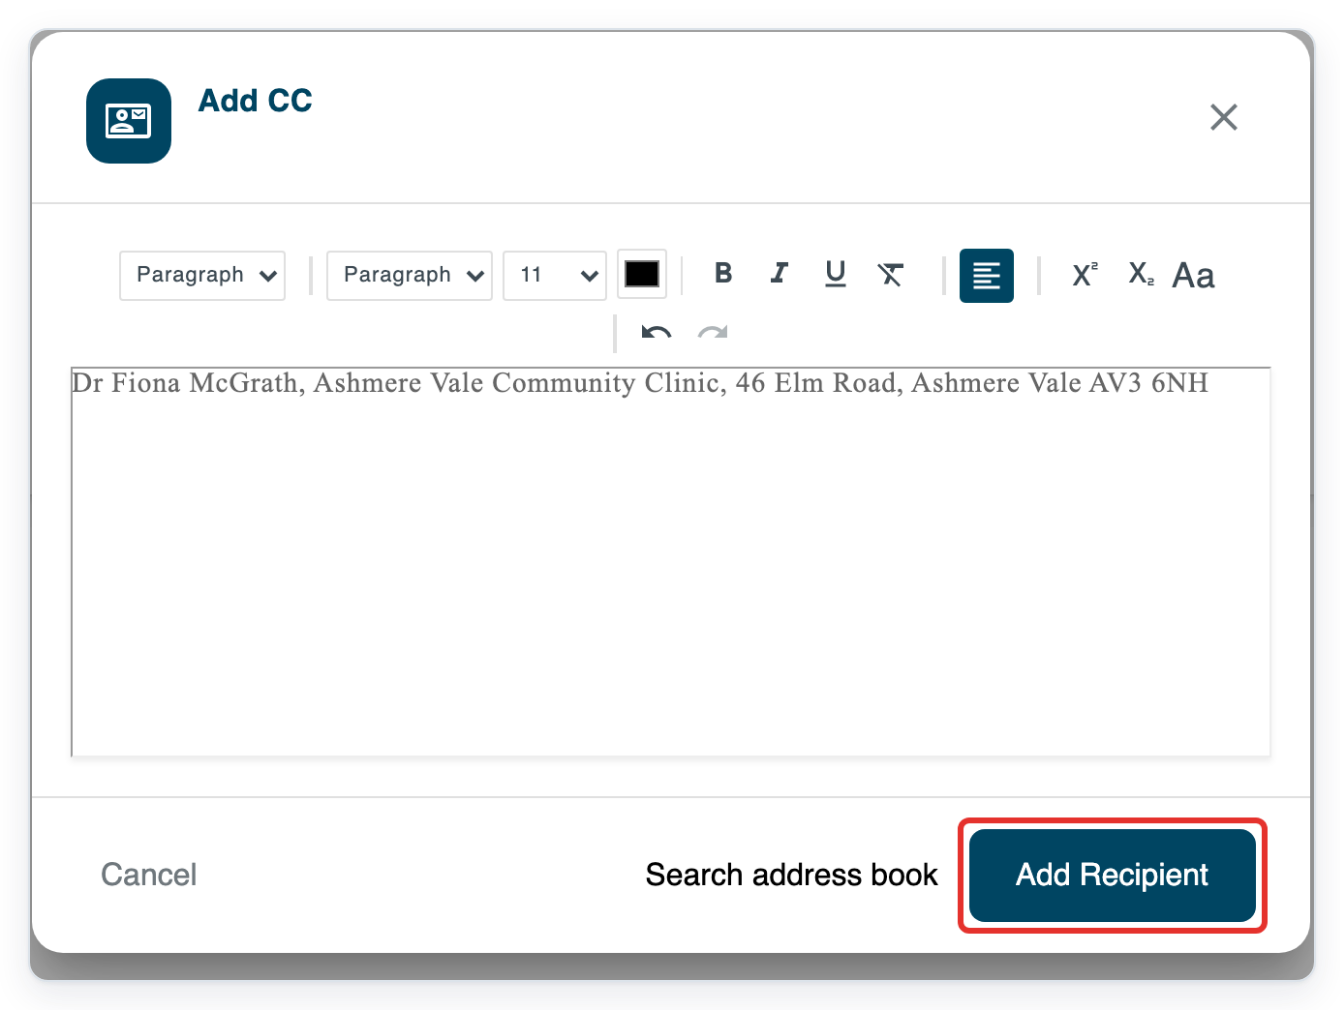
For this example, enter Dr Fiona McGrath, Ashmere Vale Community Clinic, 46 Elm Road, Ashmere Vale AV3 6NH. Keep the details together in the editor.
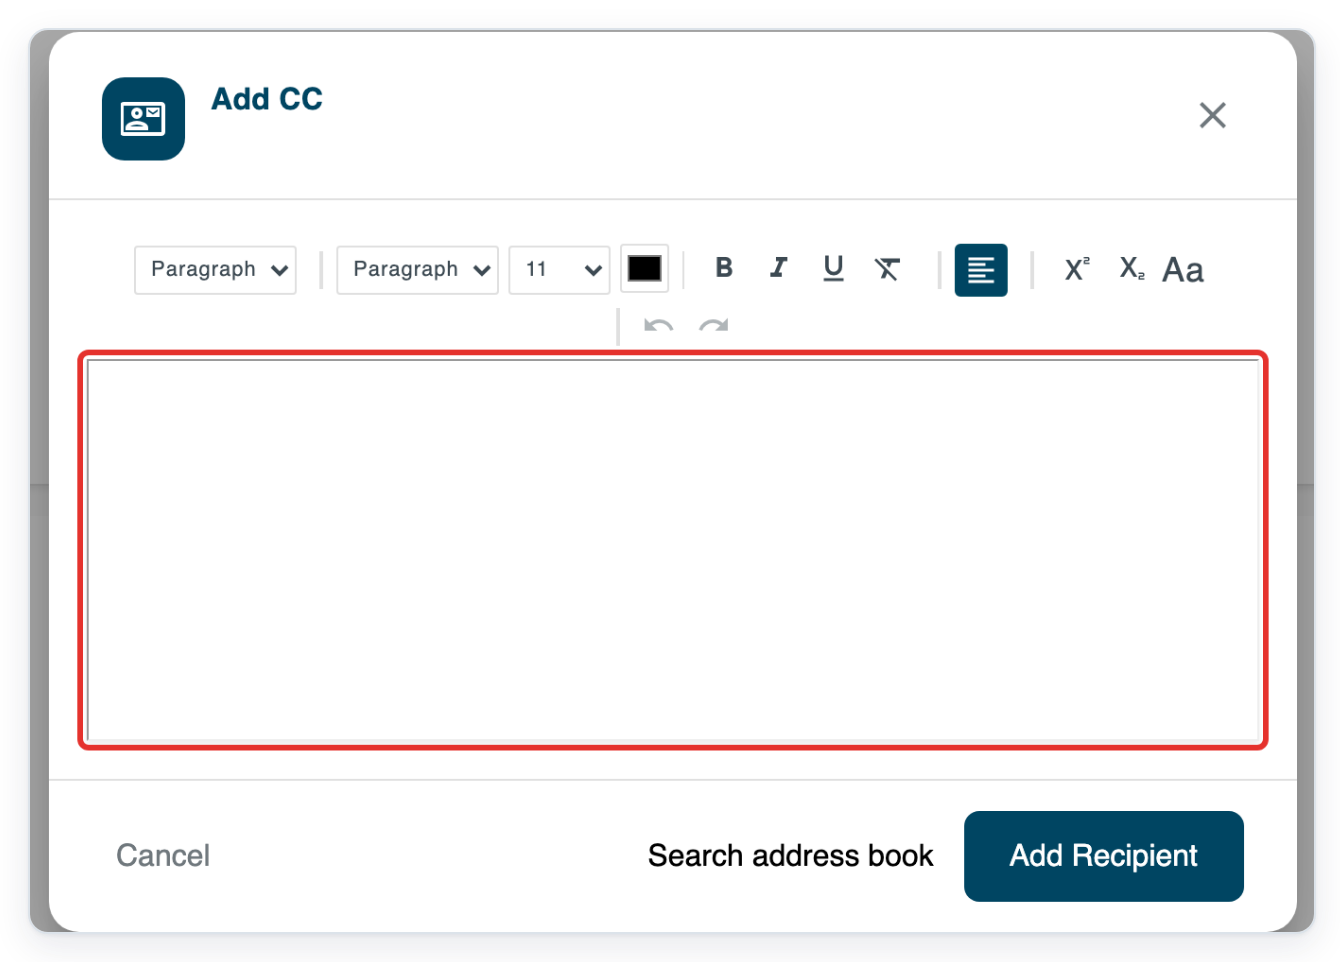
Click Add Recipient to add the copy recipient to the letter.
Before you click, check the name and address.
As an admin
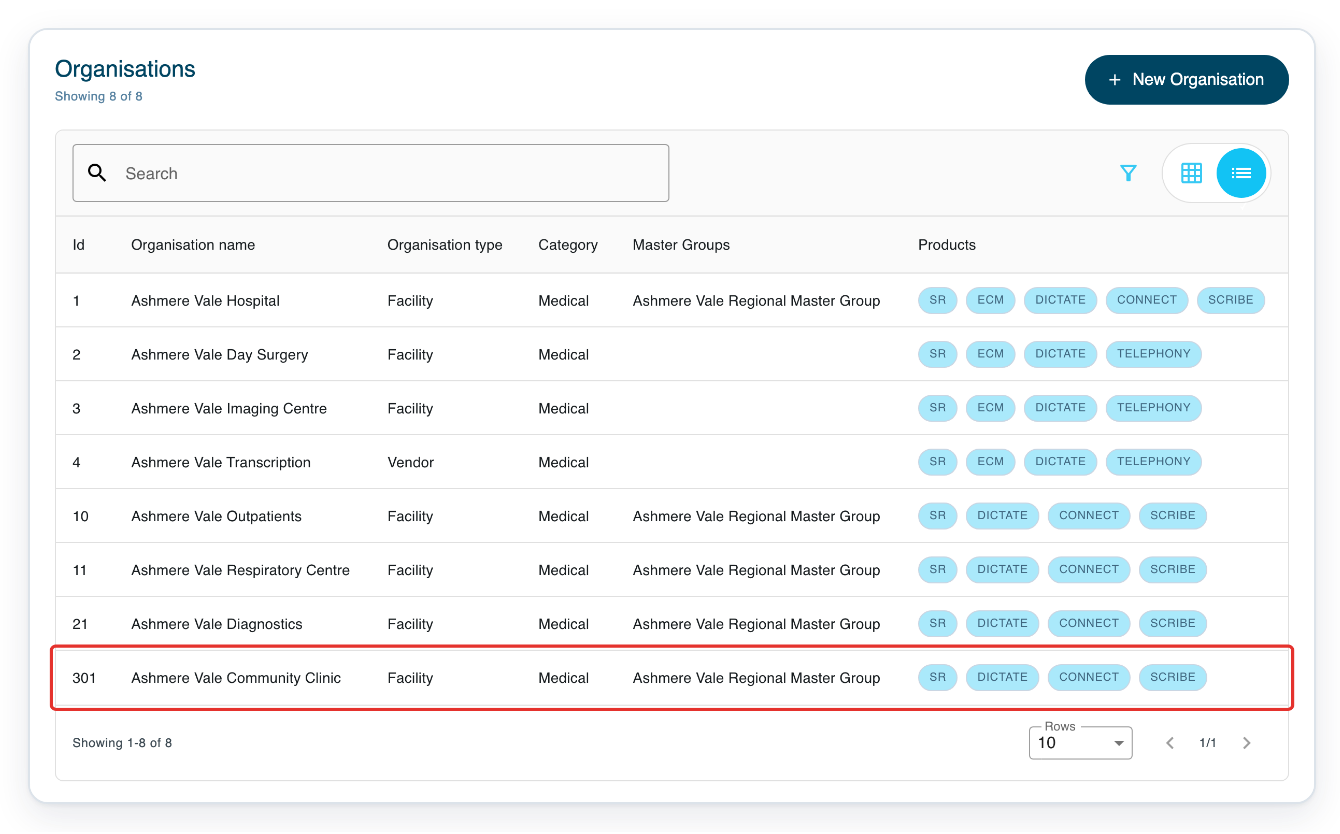
Click Organisations in the top menu to see the organisation list.

Click the facility where you want to turn off free text entry.
This example uses Ashmere Vale Community Clinic.
Click Settings. General opens with Organisation Details and Advanced Settings.
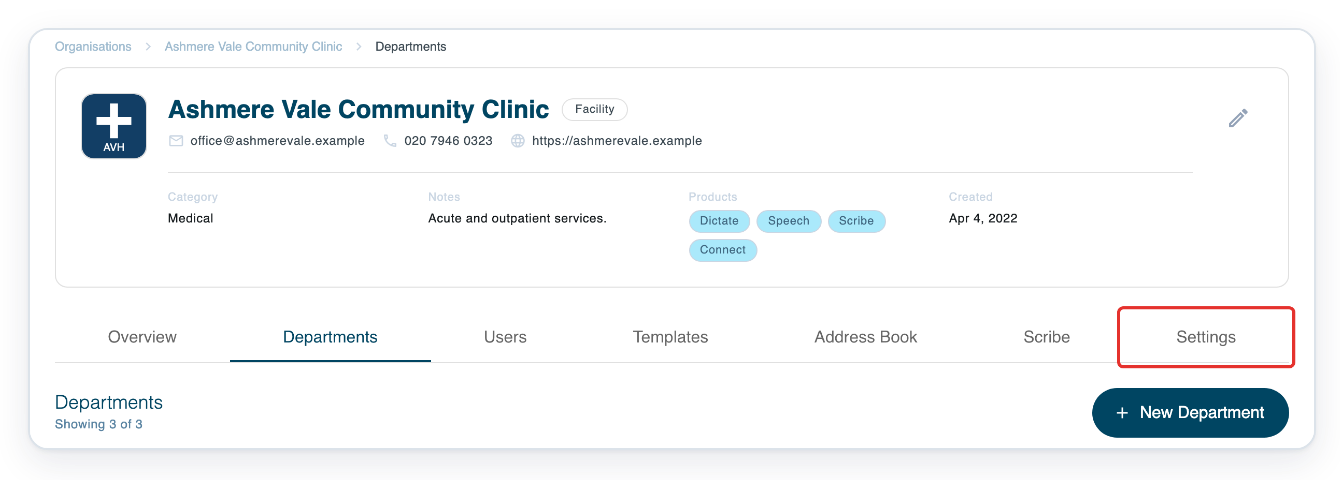
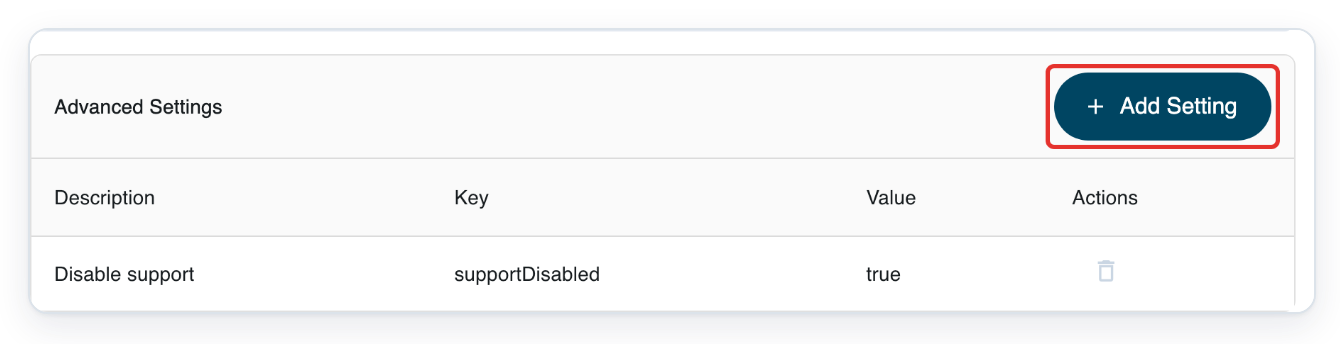
Under Advanced Settings, click Add Setting.
Check that you've selected the organisation where you want to turn off free text entry.
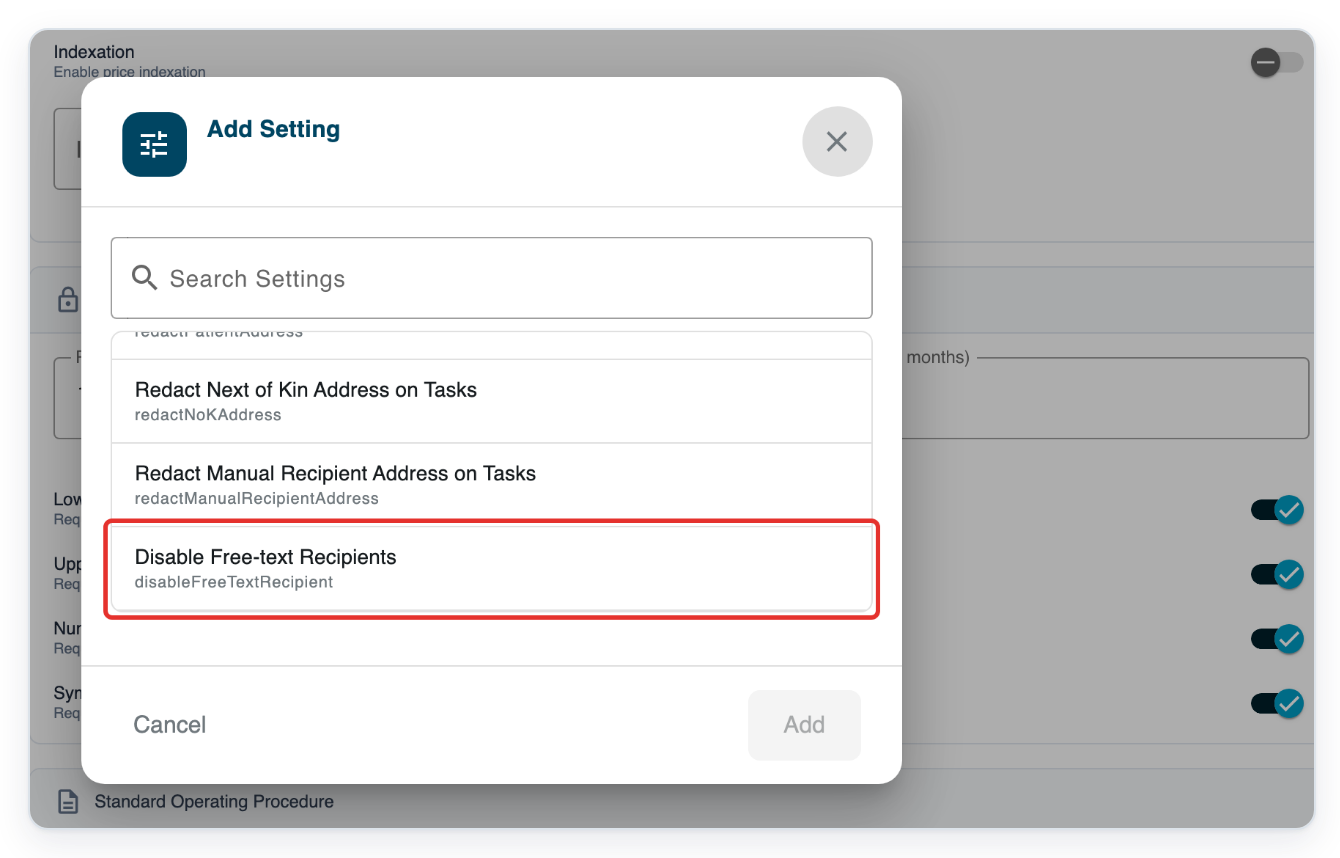
Select Disable Free-text Recipients. The Enabled toggle is already switched on.
Leave it on to stop users adding new free text recipients.
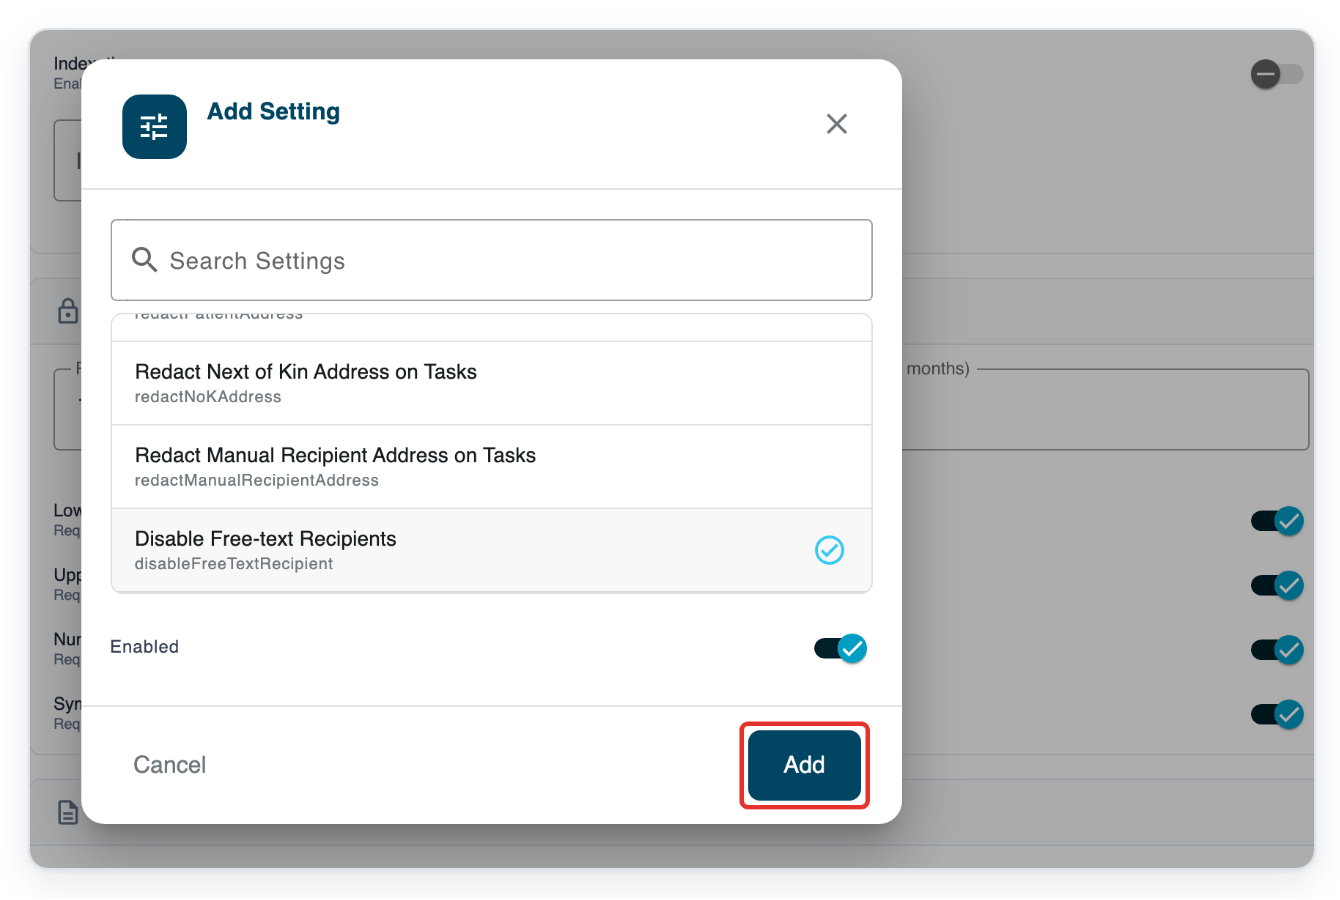
Click Add to place the setting in Advanced Settings.
The dialog closes and the setting appears in the table. Save your organisation's settings next.
Click Save in Organisation Details to save the setting.

Replace an existing free text recipient
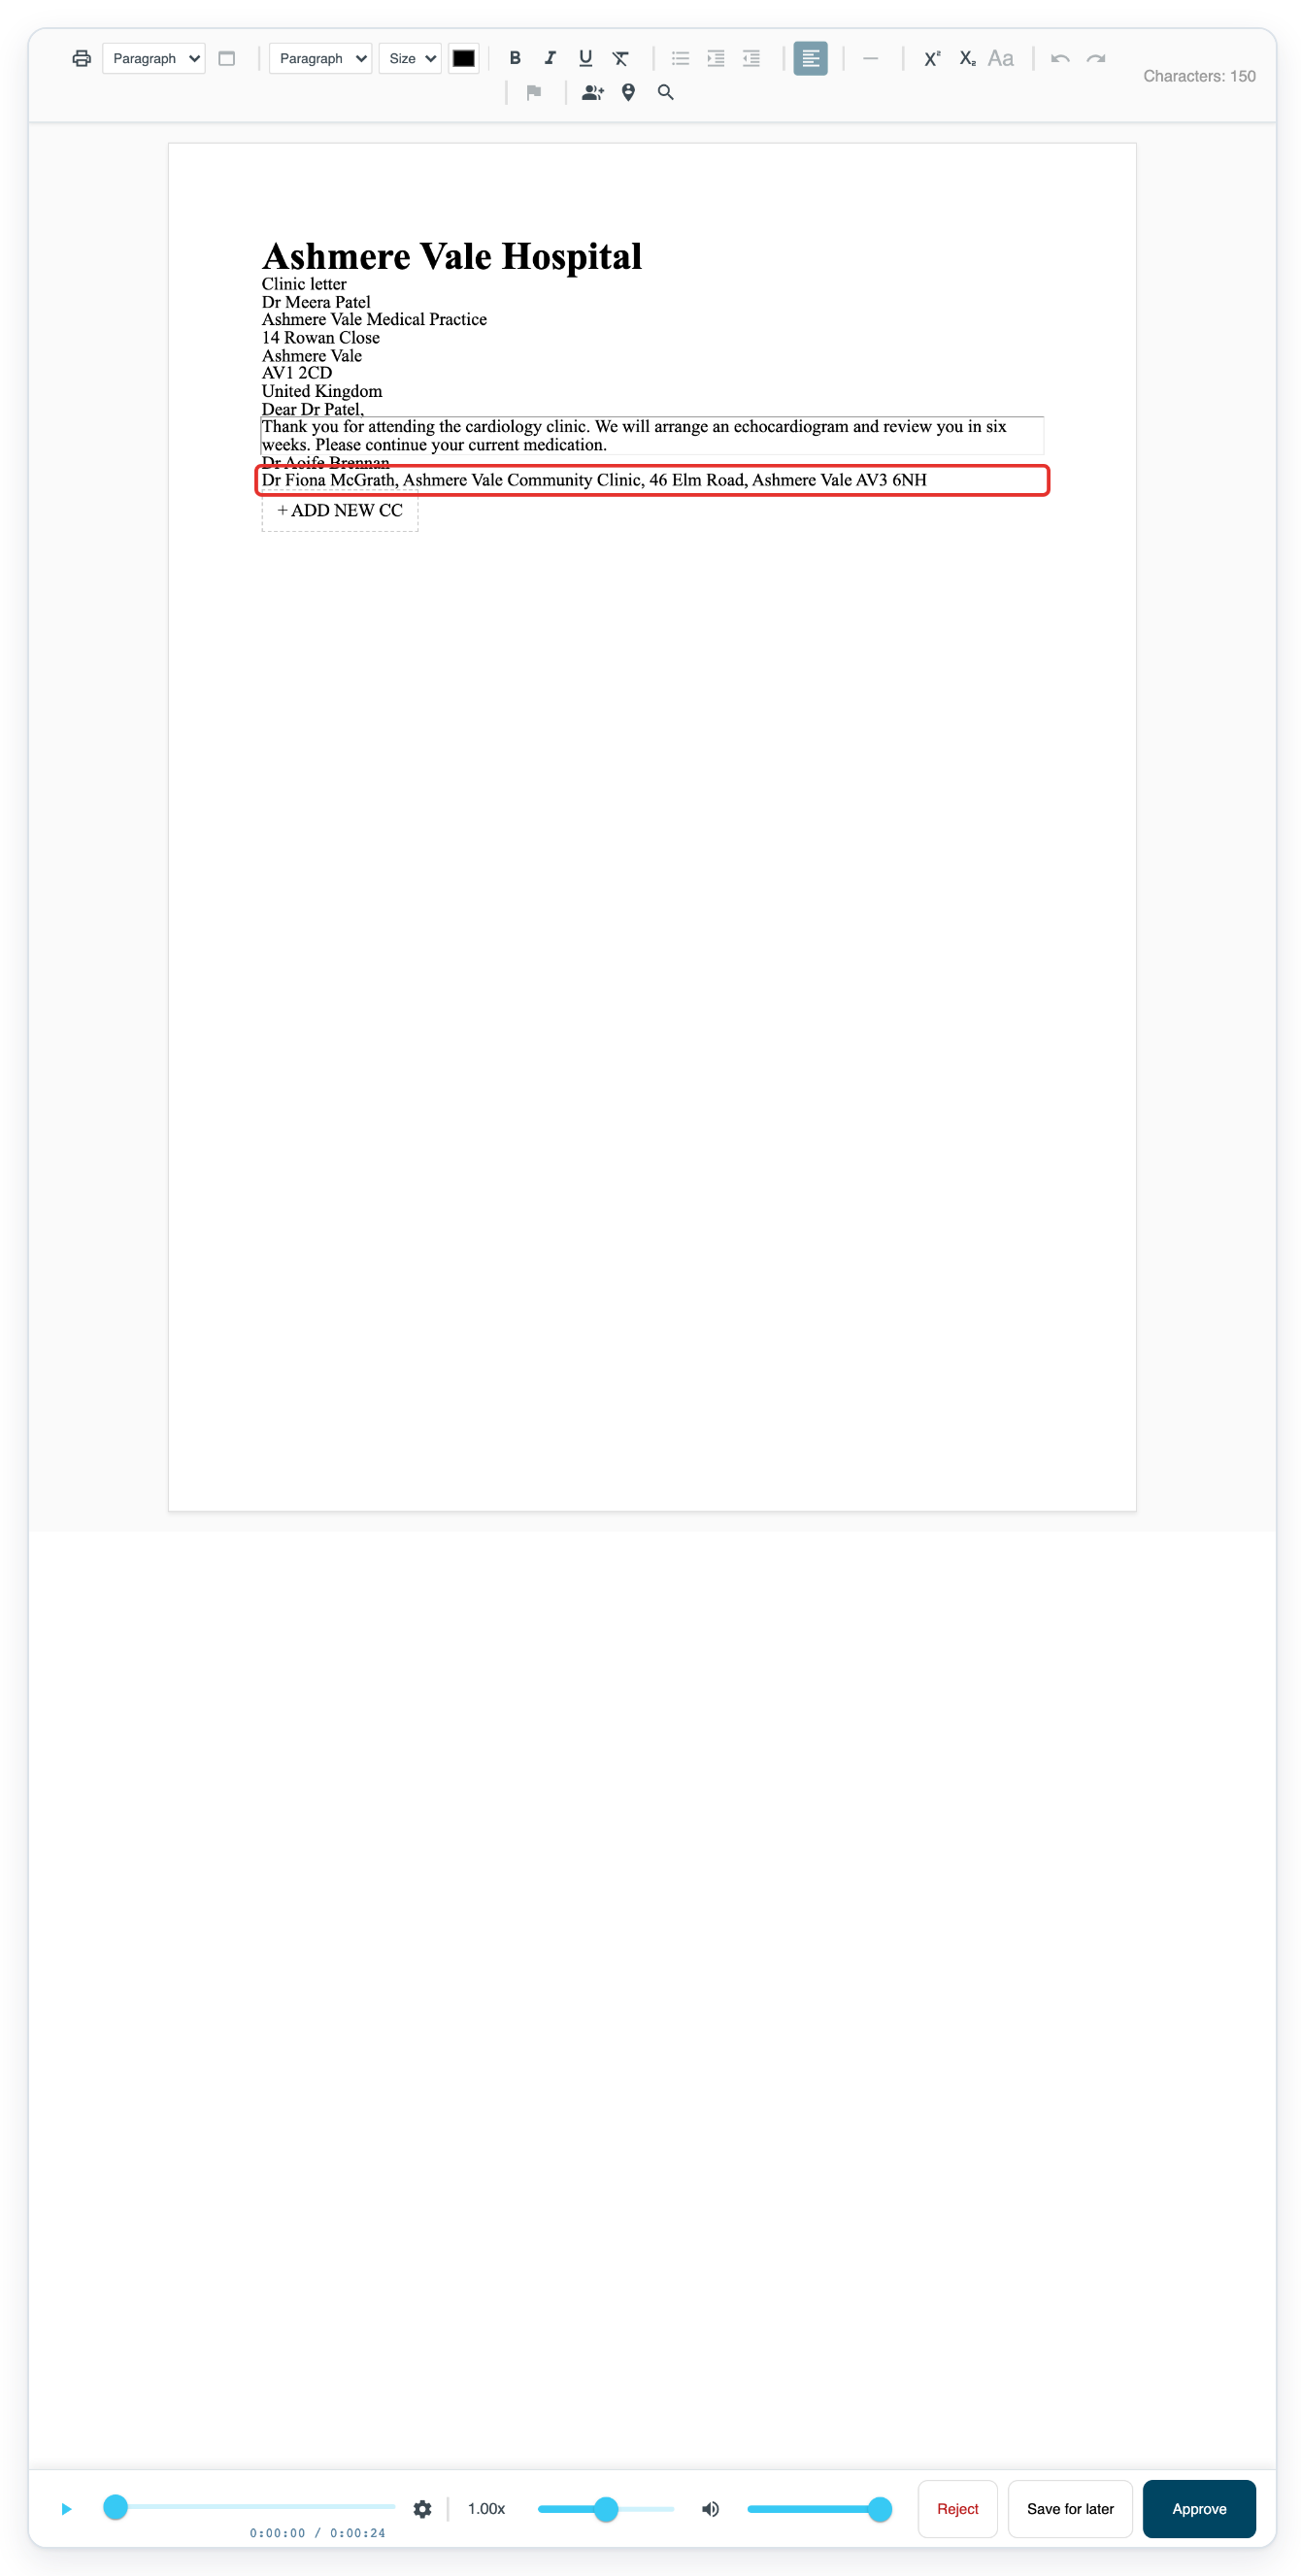
In Text Editor, click the existing free text CC to open its details.
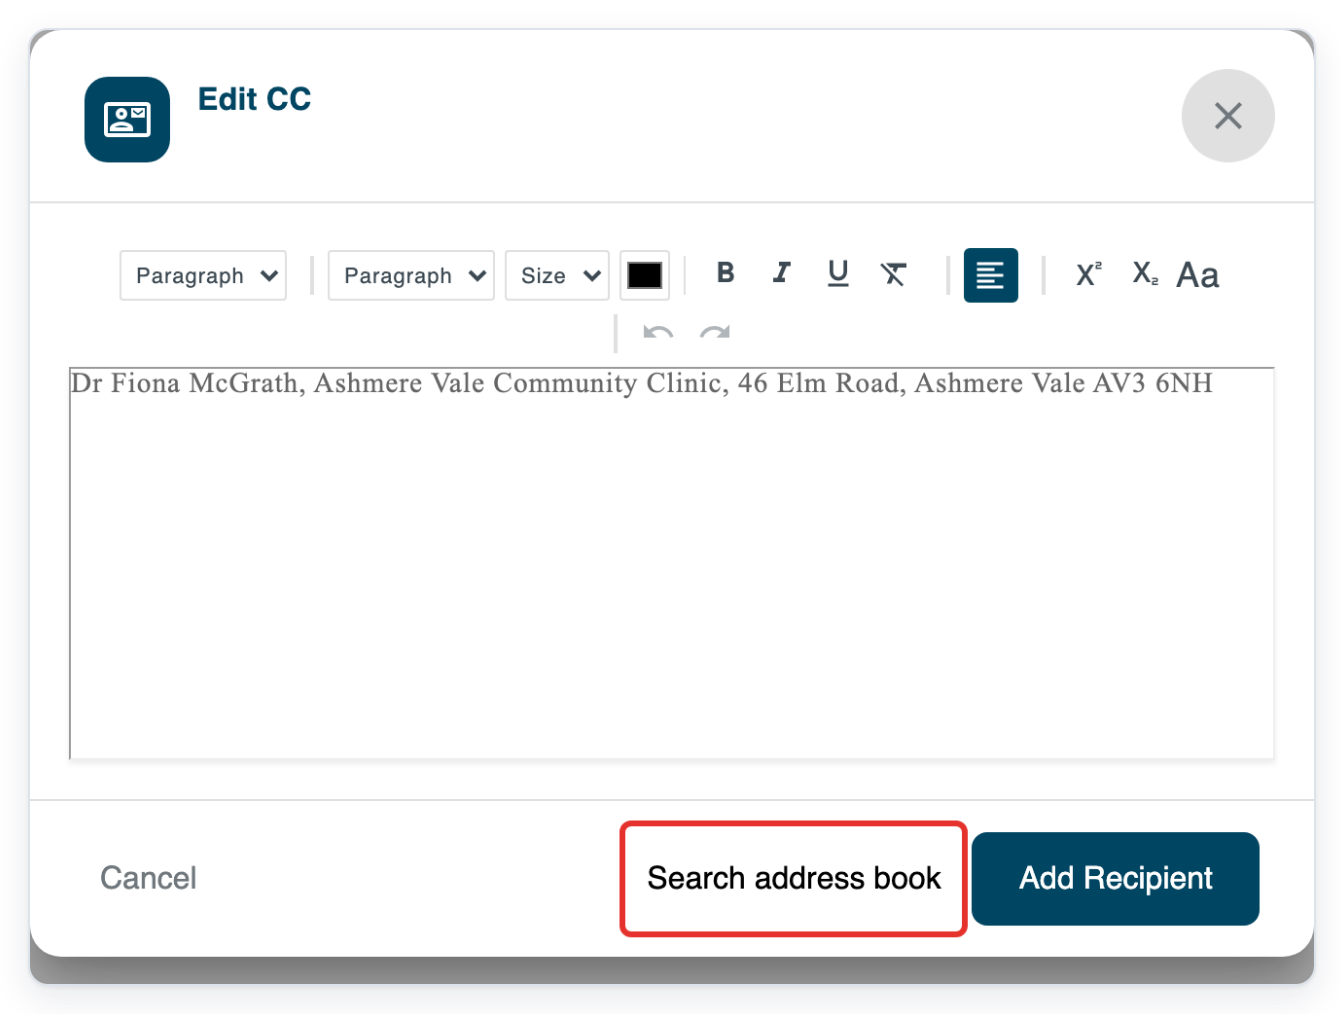
For this example, click Dr Fiona McGrath's name and address. The free text editor still opens after the restriction is enabled.
Click Search address book to switch to separate recipient fields.
With the restriction enabled, Add Free Text Recipient is no longer offered after you switch.
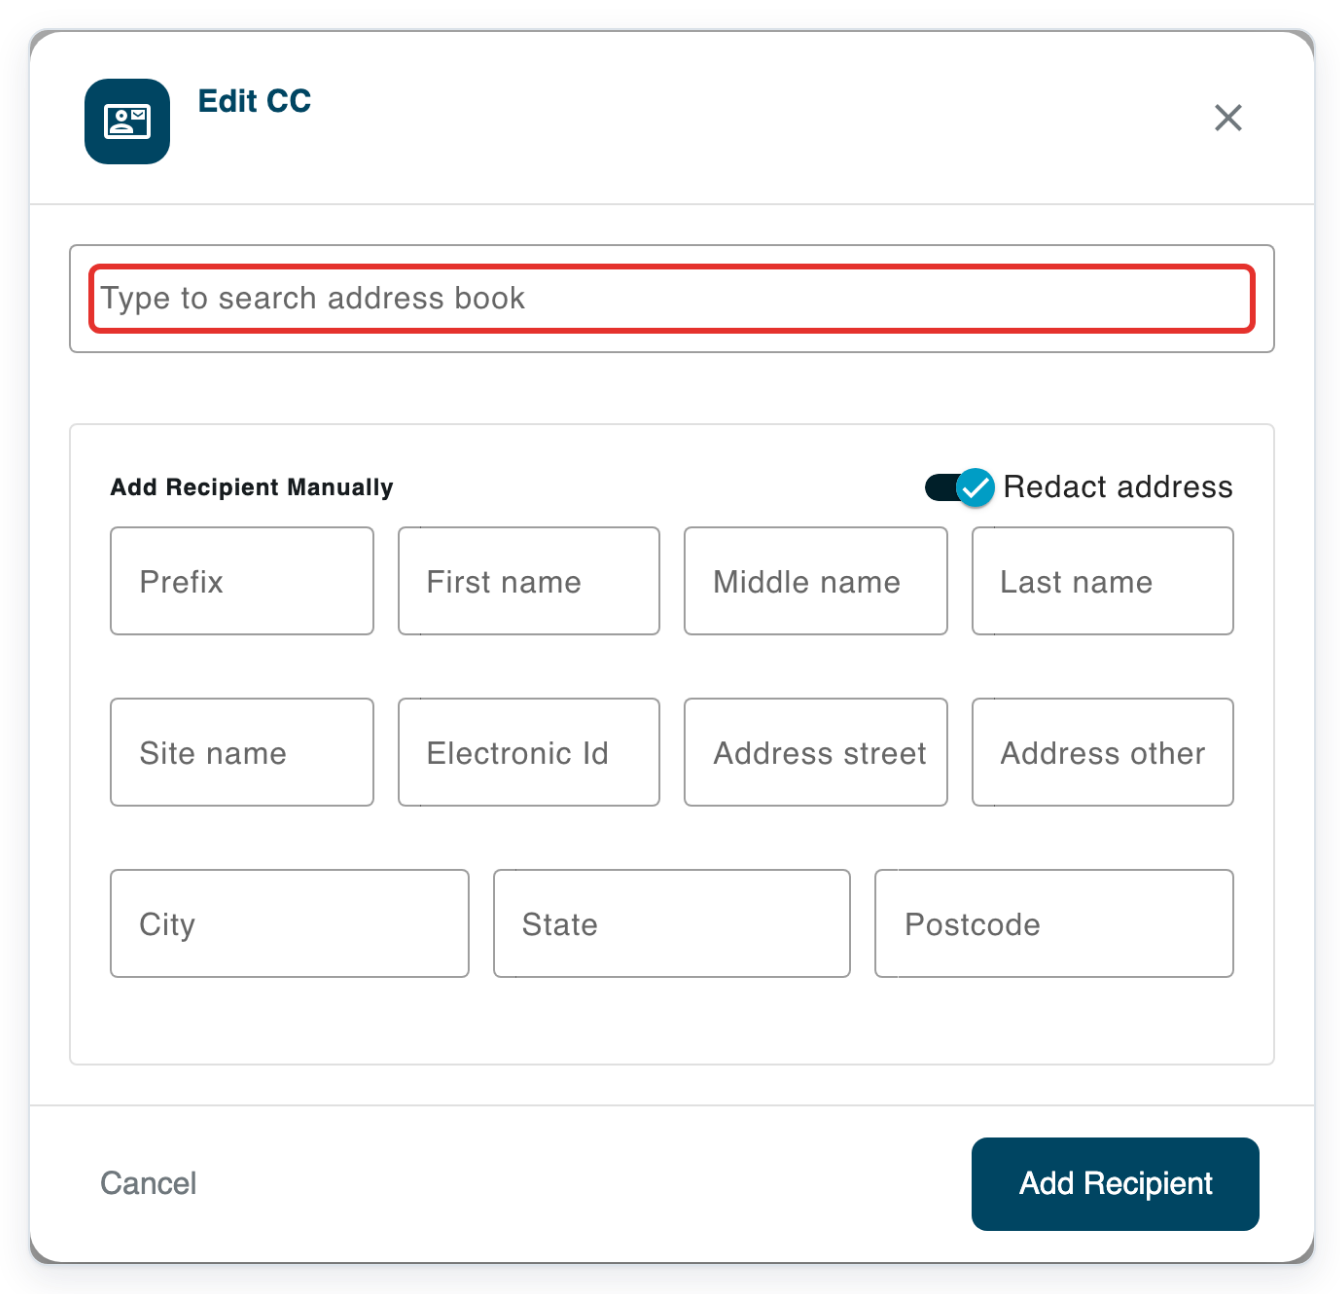
Click Type to search address book to see the available recipients.
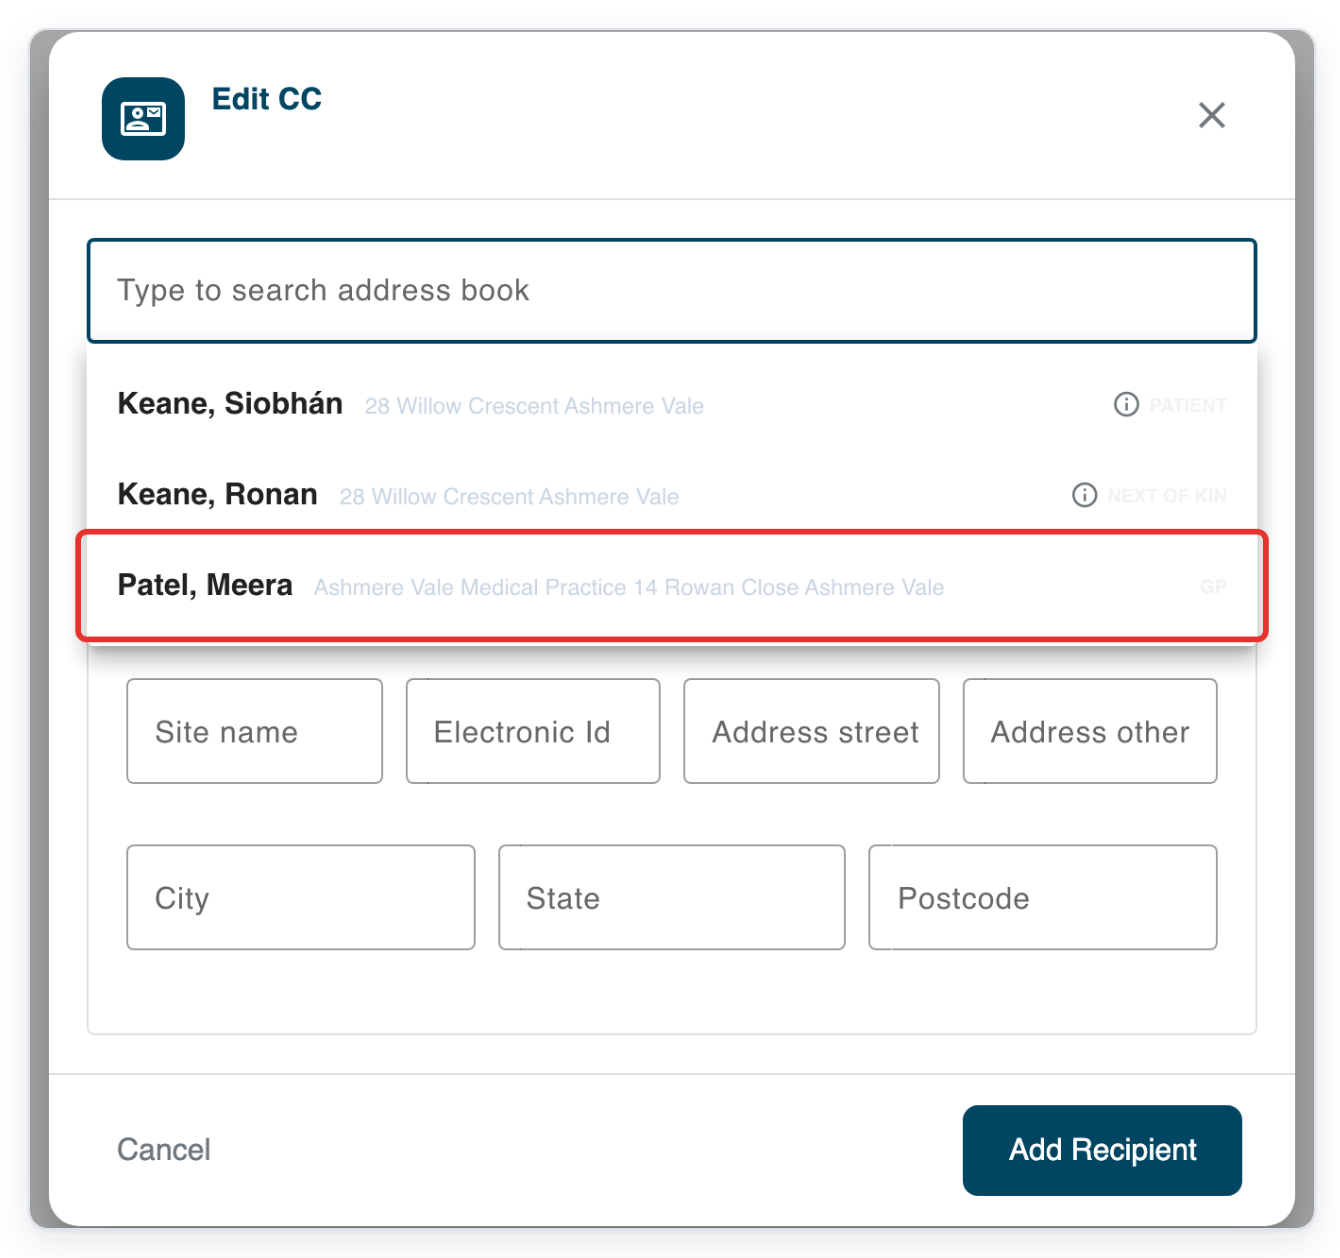
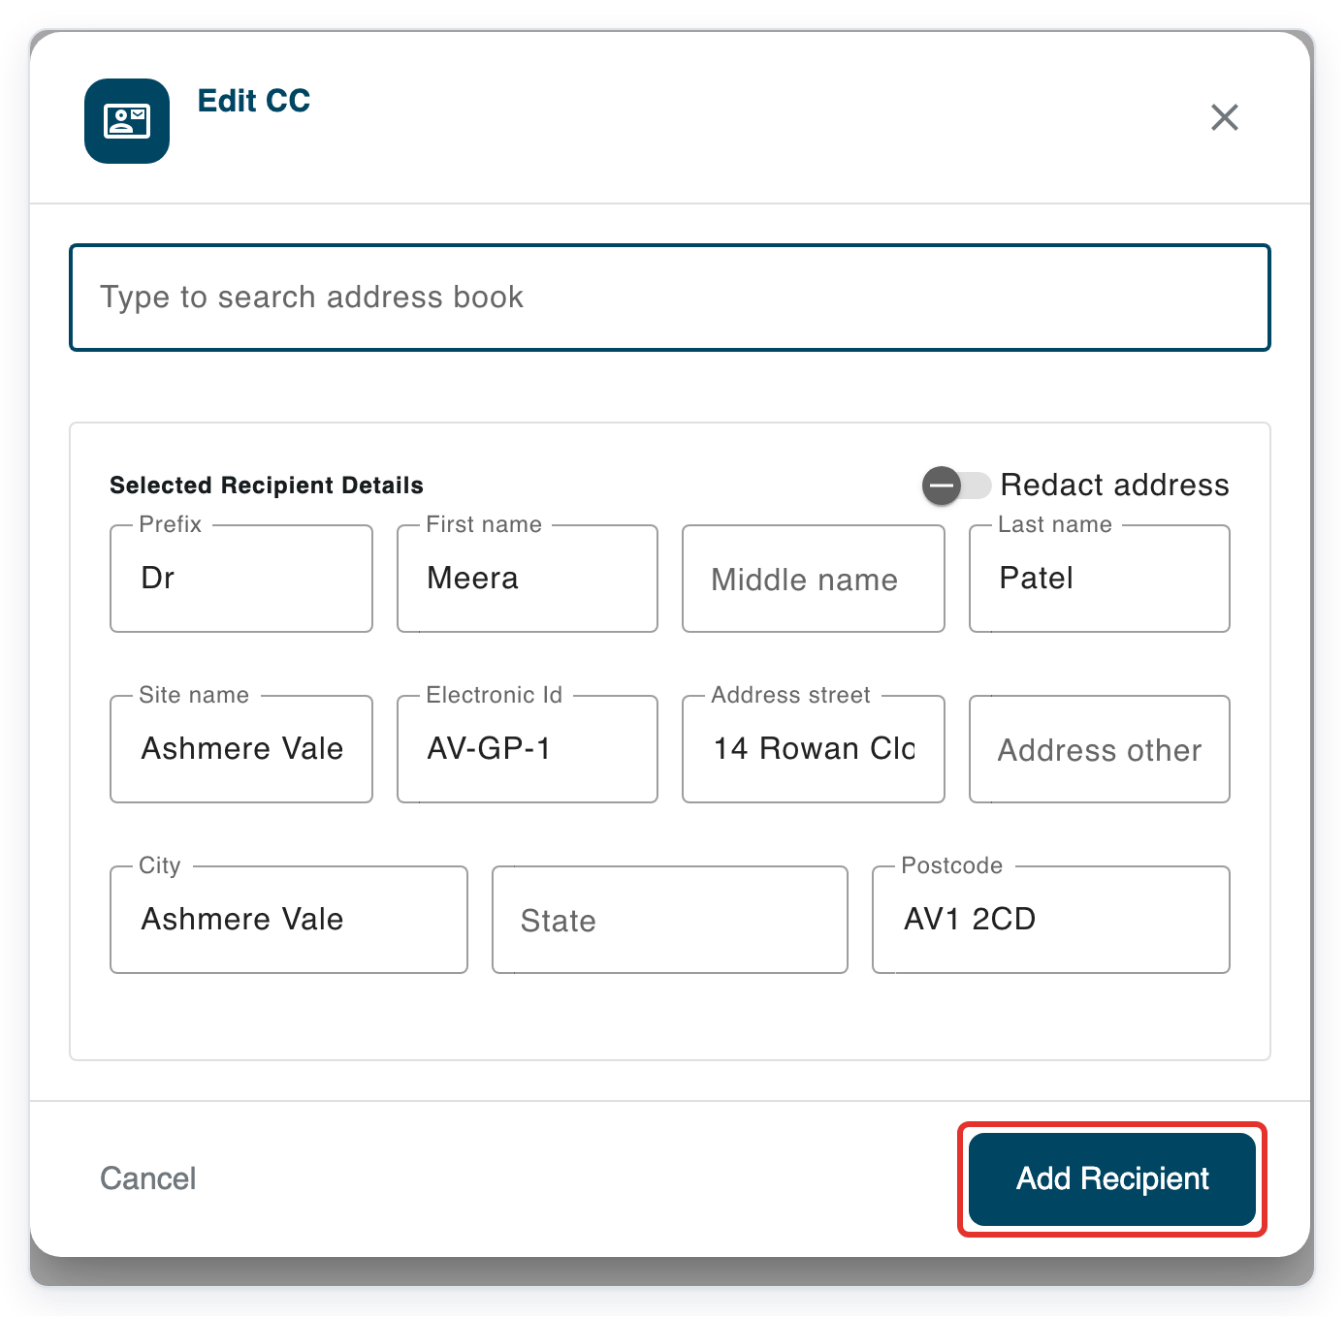
Choose an entry from the results, or enter the name, site and postal details in the separate fields.
Select Meera Patel from the results to fill the recipient fields.
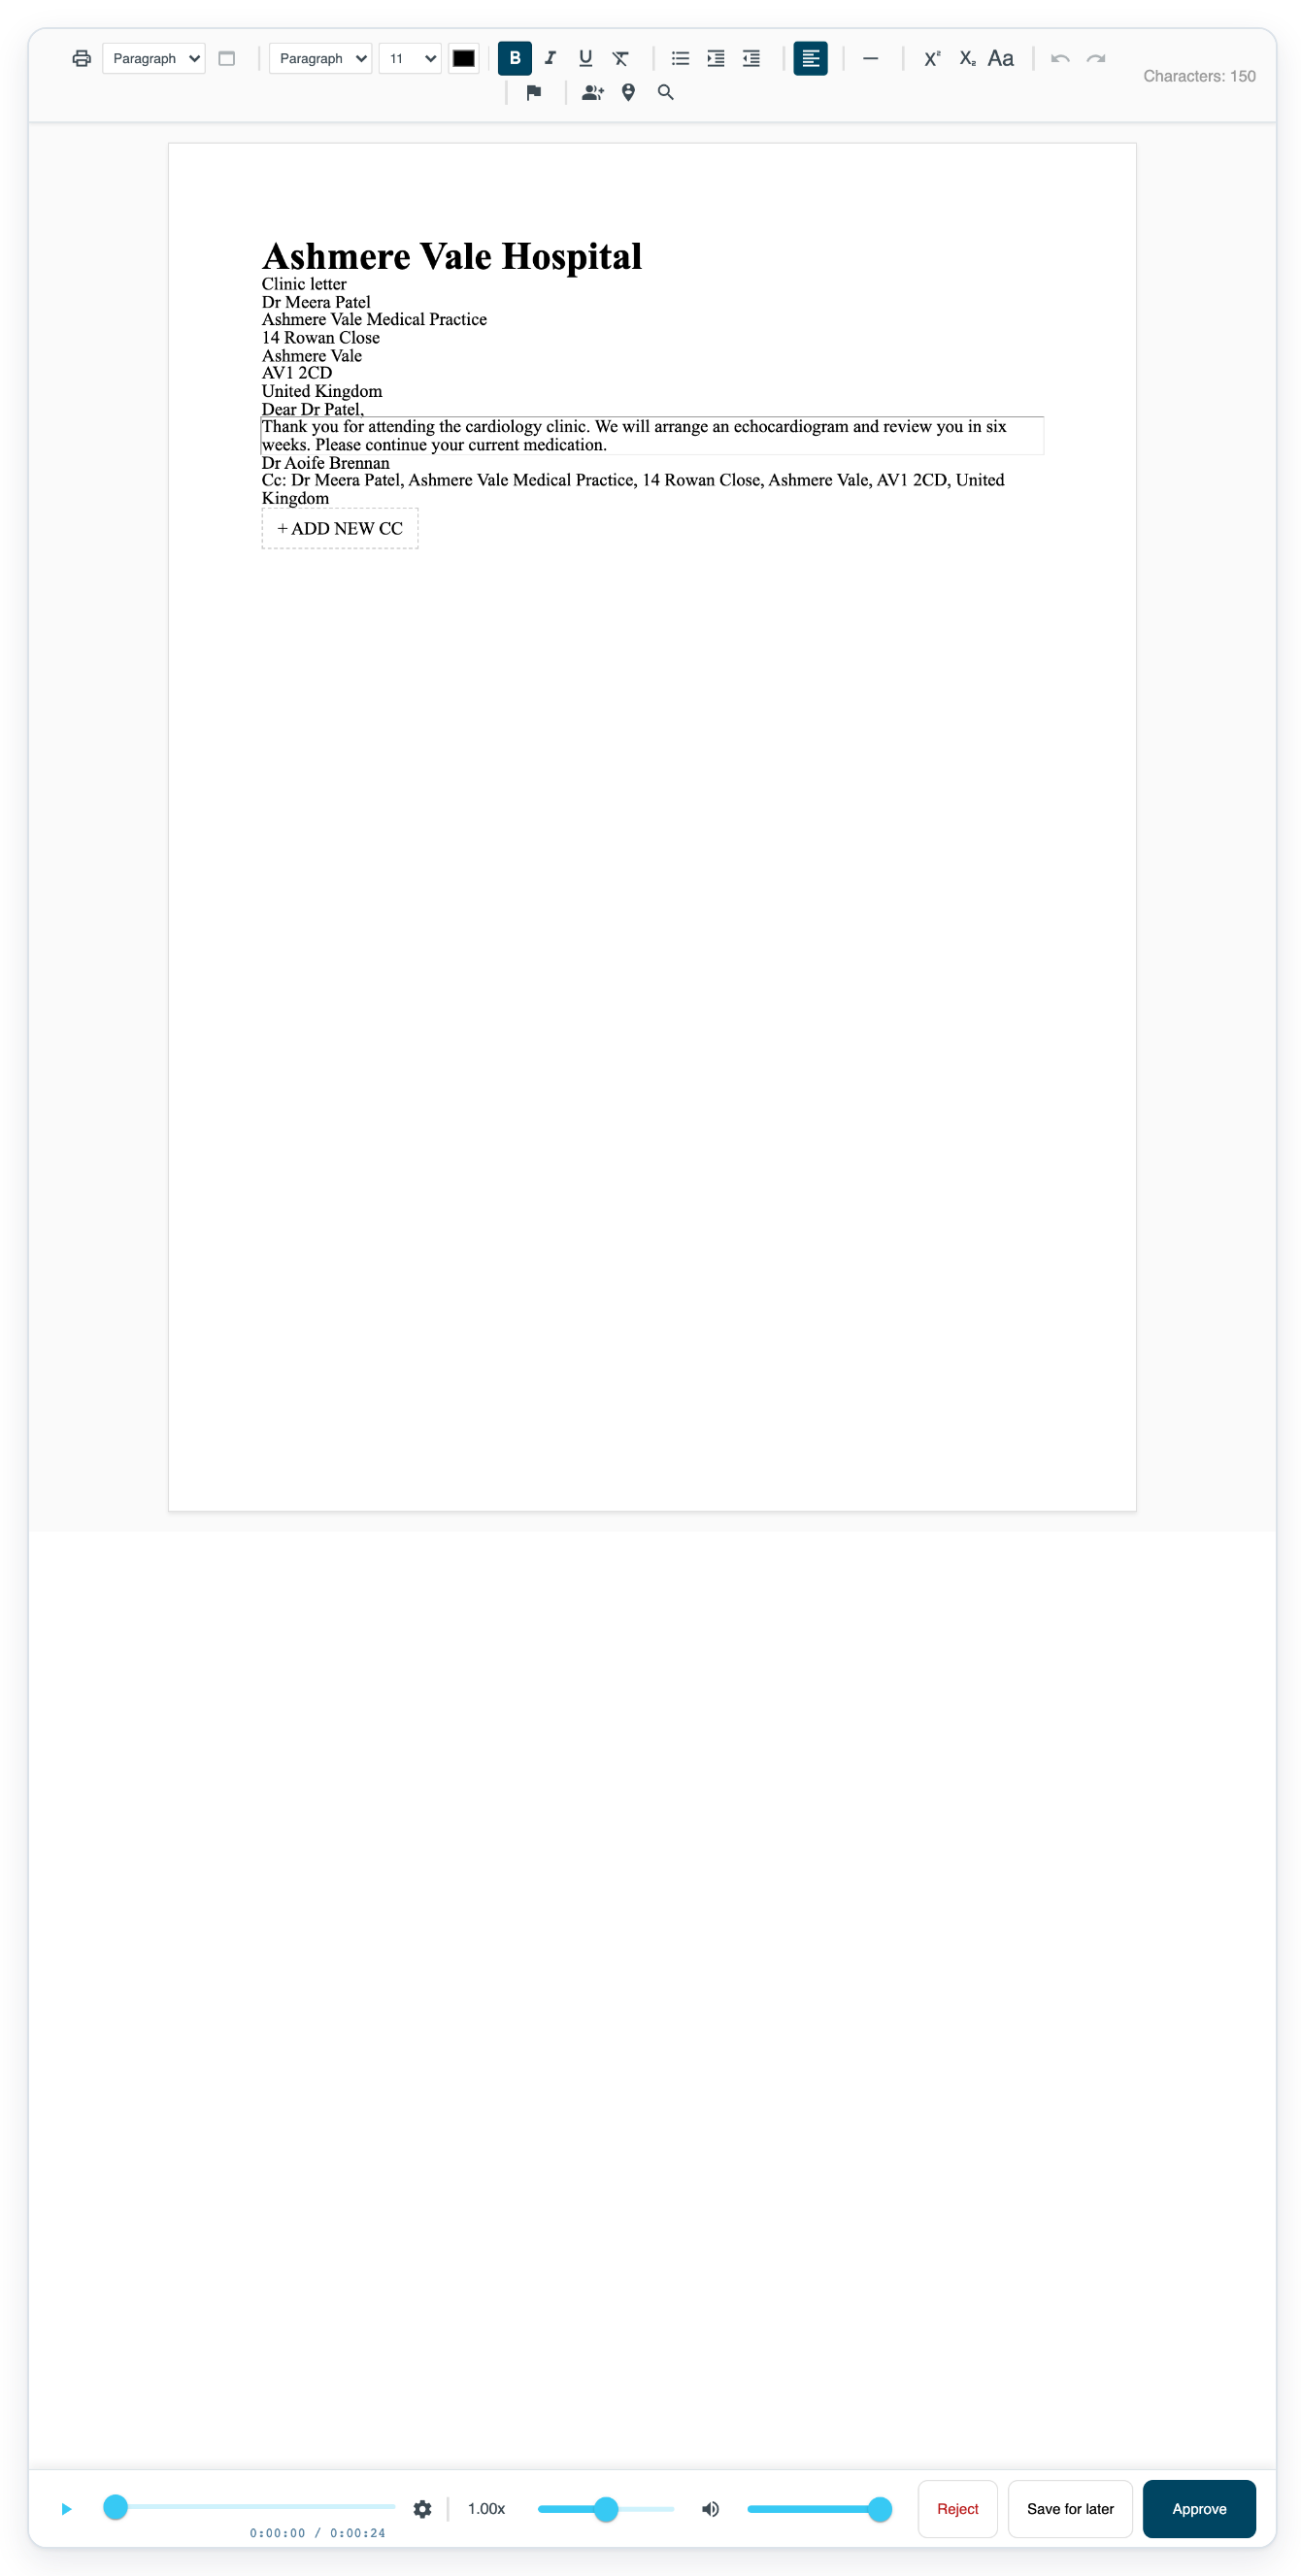
Click Add Recipient to replace the free text CC with Meera Patel's details.
=> The letter now shows Dr Meera Patel and her address in its Cc list.
NOTE:
- Recipients added here are saved in the letter only.
- This setting applies to everyone in your organisation.
- You can enter free text when this setting is off or has not been added.
- You can still open and edit existing free text recipients after turning on this setting.
- Your organisation may require separate name and address fields for systems that receive its letters. Free text supplies one block of content.
Free text and separate recipient fields
Choose how to enter the recipient's details. Free text keeps the name and address together. Separate fields let you enter each part on its own.
| Entry method | How the details are entered |
|---|---|
| Free text | Enter the recipient's details together in an editor with formatting controls. |
| Separate fields | Search for a saved address to fill the fields. You can also enter the name, site and postal details individually. The electronic ID field is read-only. |
Other places you can add a free text recipient
- In the letter editor, click the main recipient's address or placeholder. This opens the same recipient dialog. Choose Add Free Text Recipient when the option is available.
Can't add a free text recipient?
- If Add Free Text Recipient is missing, search the address book or enter the details in separate fields. Ask your administrator if free text entry should be available for your organisation.
- If Advanced Settings is missing, ask an administrator to change the setting. Only admins can access this section.
- If the setting is missing from Add Setting search results, look for it in Advanced Settings. Click its row and turn Enabled on or off. Click Save in the dialog, then Save in Organisation Details.
Related articles
If you have any more queries, please do not hesitate to contact our Helpdesk or support@tpro.io.
© 2020 - 2026