
Before you start
You need an author account and a microphone your browser can access. Your foot pedal must be set up for recording and finalising through T-Pro Connect. Use a barcode scanner set up to enter text.
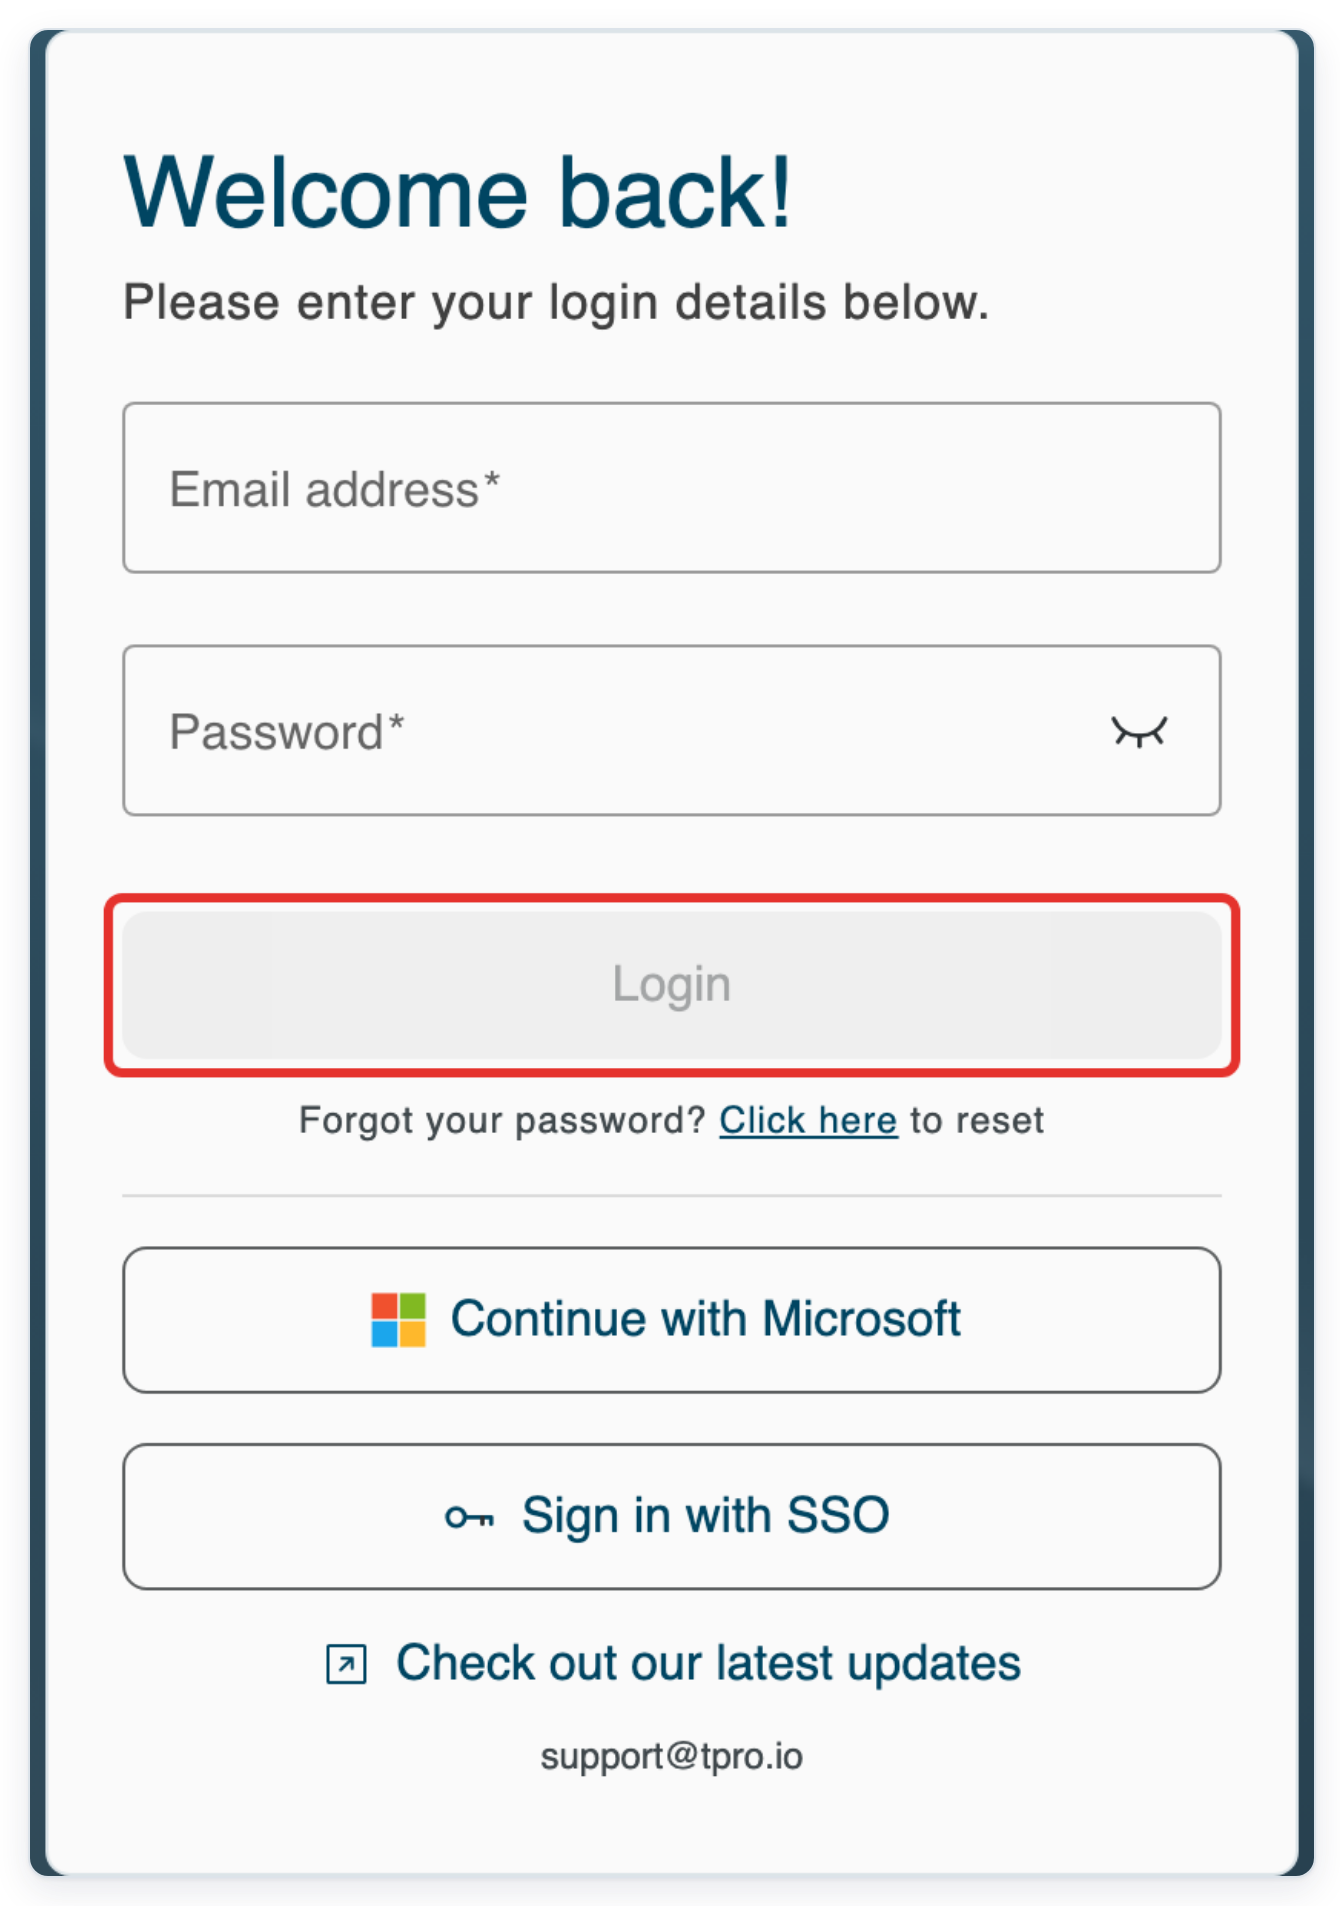
Log in to T-Pro with your author credentials.
Open Web Recorder
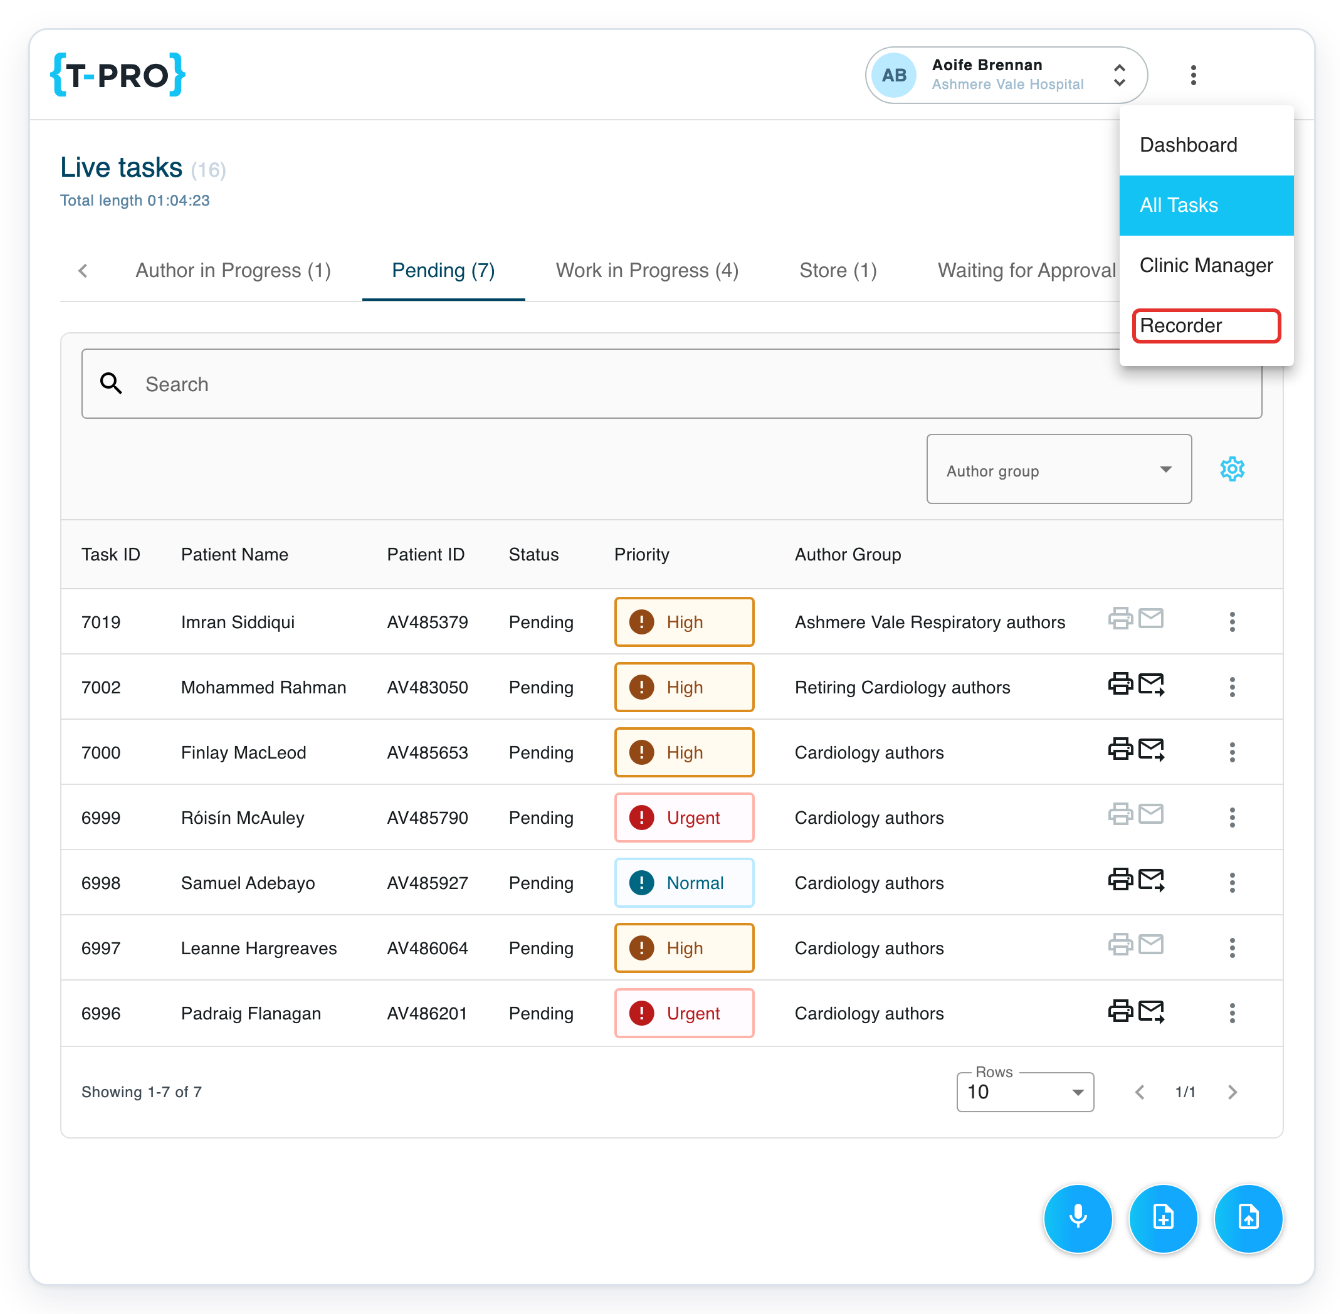
Click Menu at the top right to open the main navigation.
If Web Recorder opens automatically, continue at step 4.

Click Recorder to open Web Recorder.
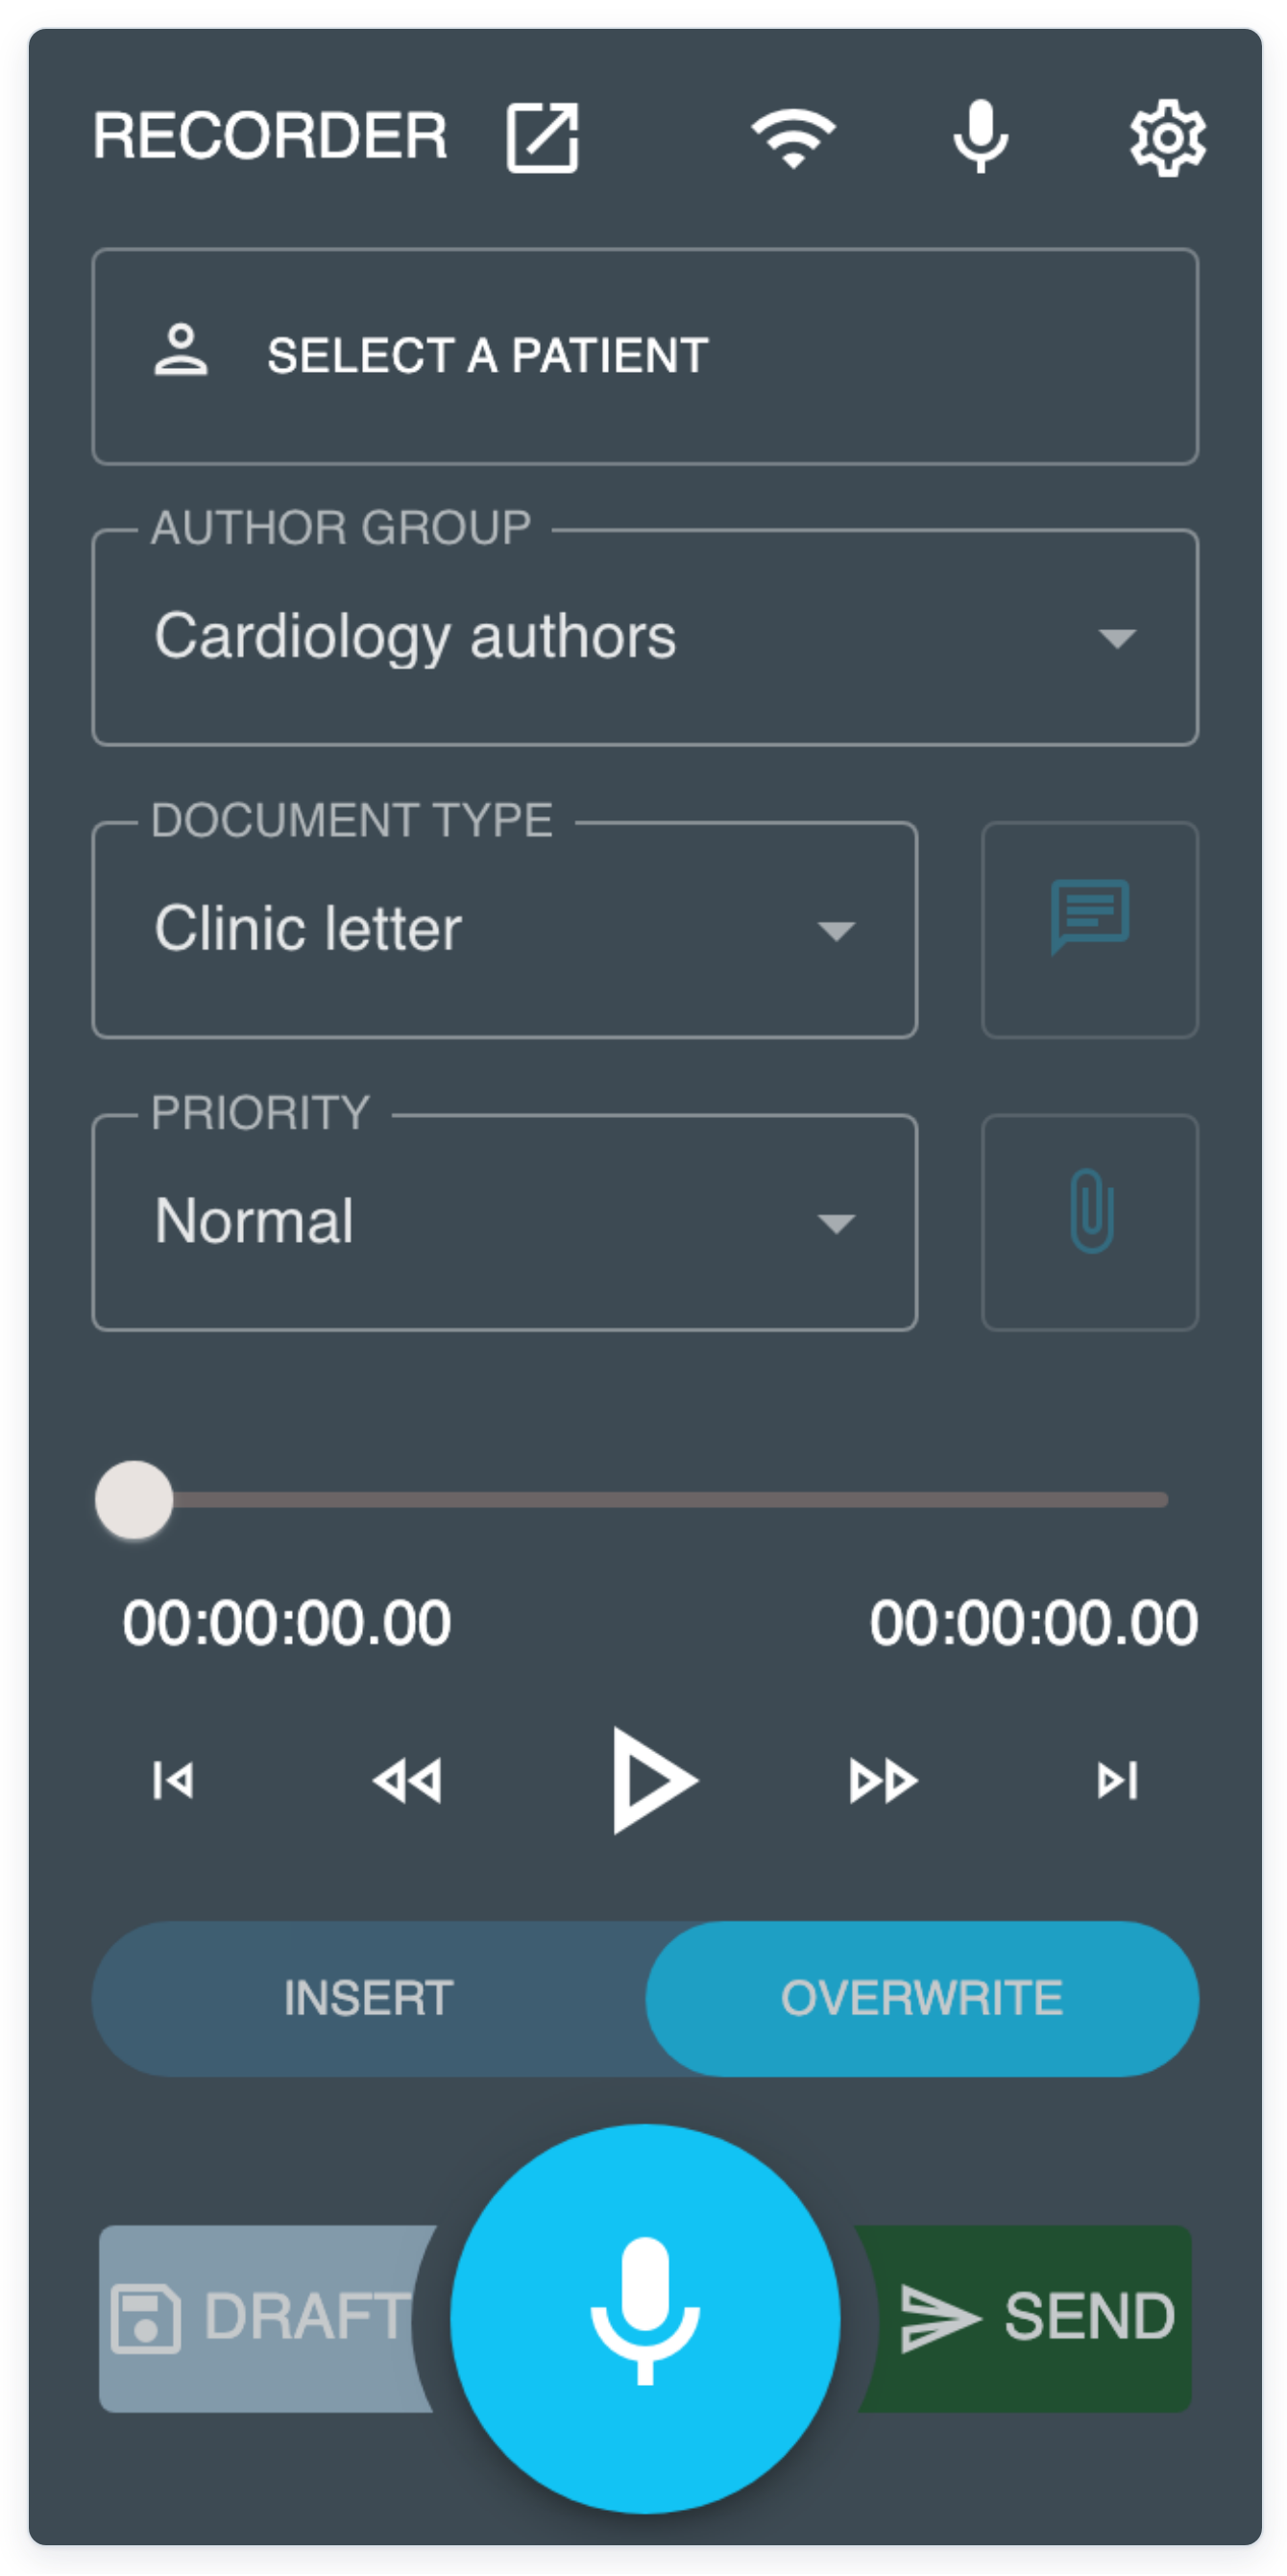
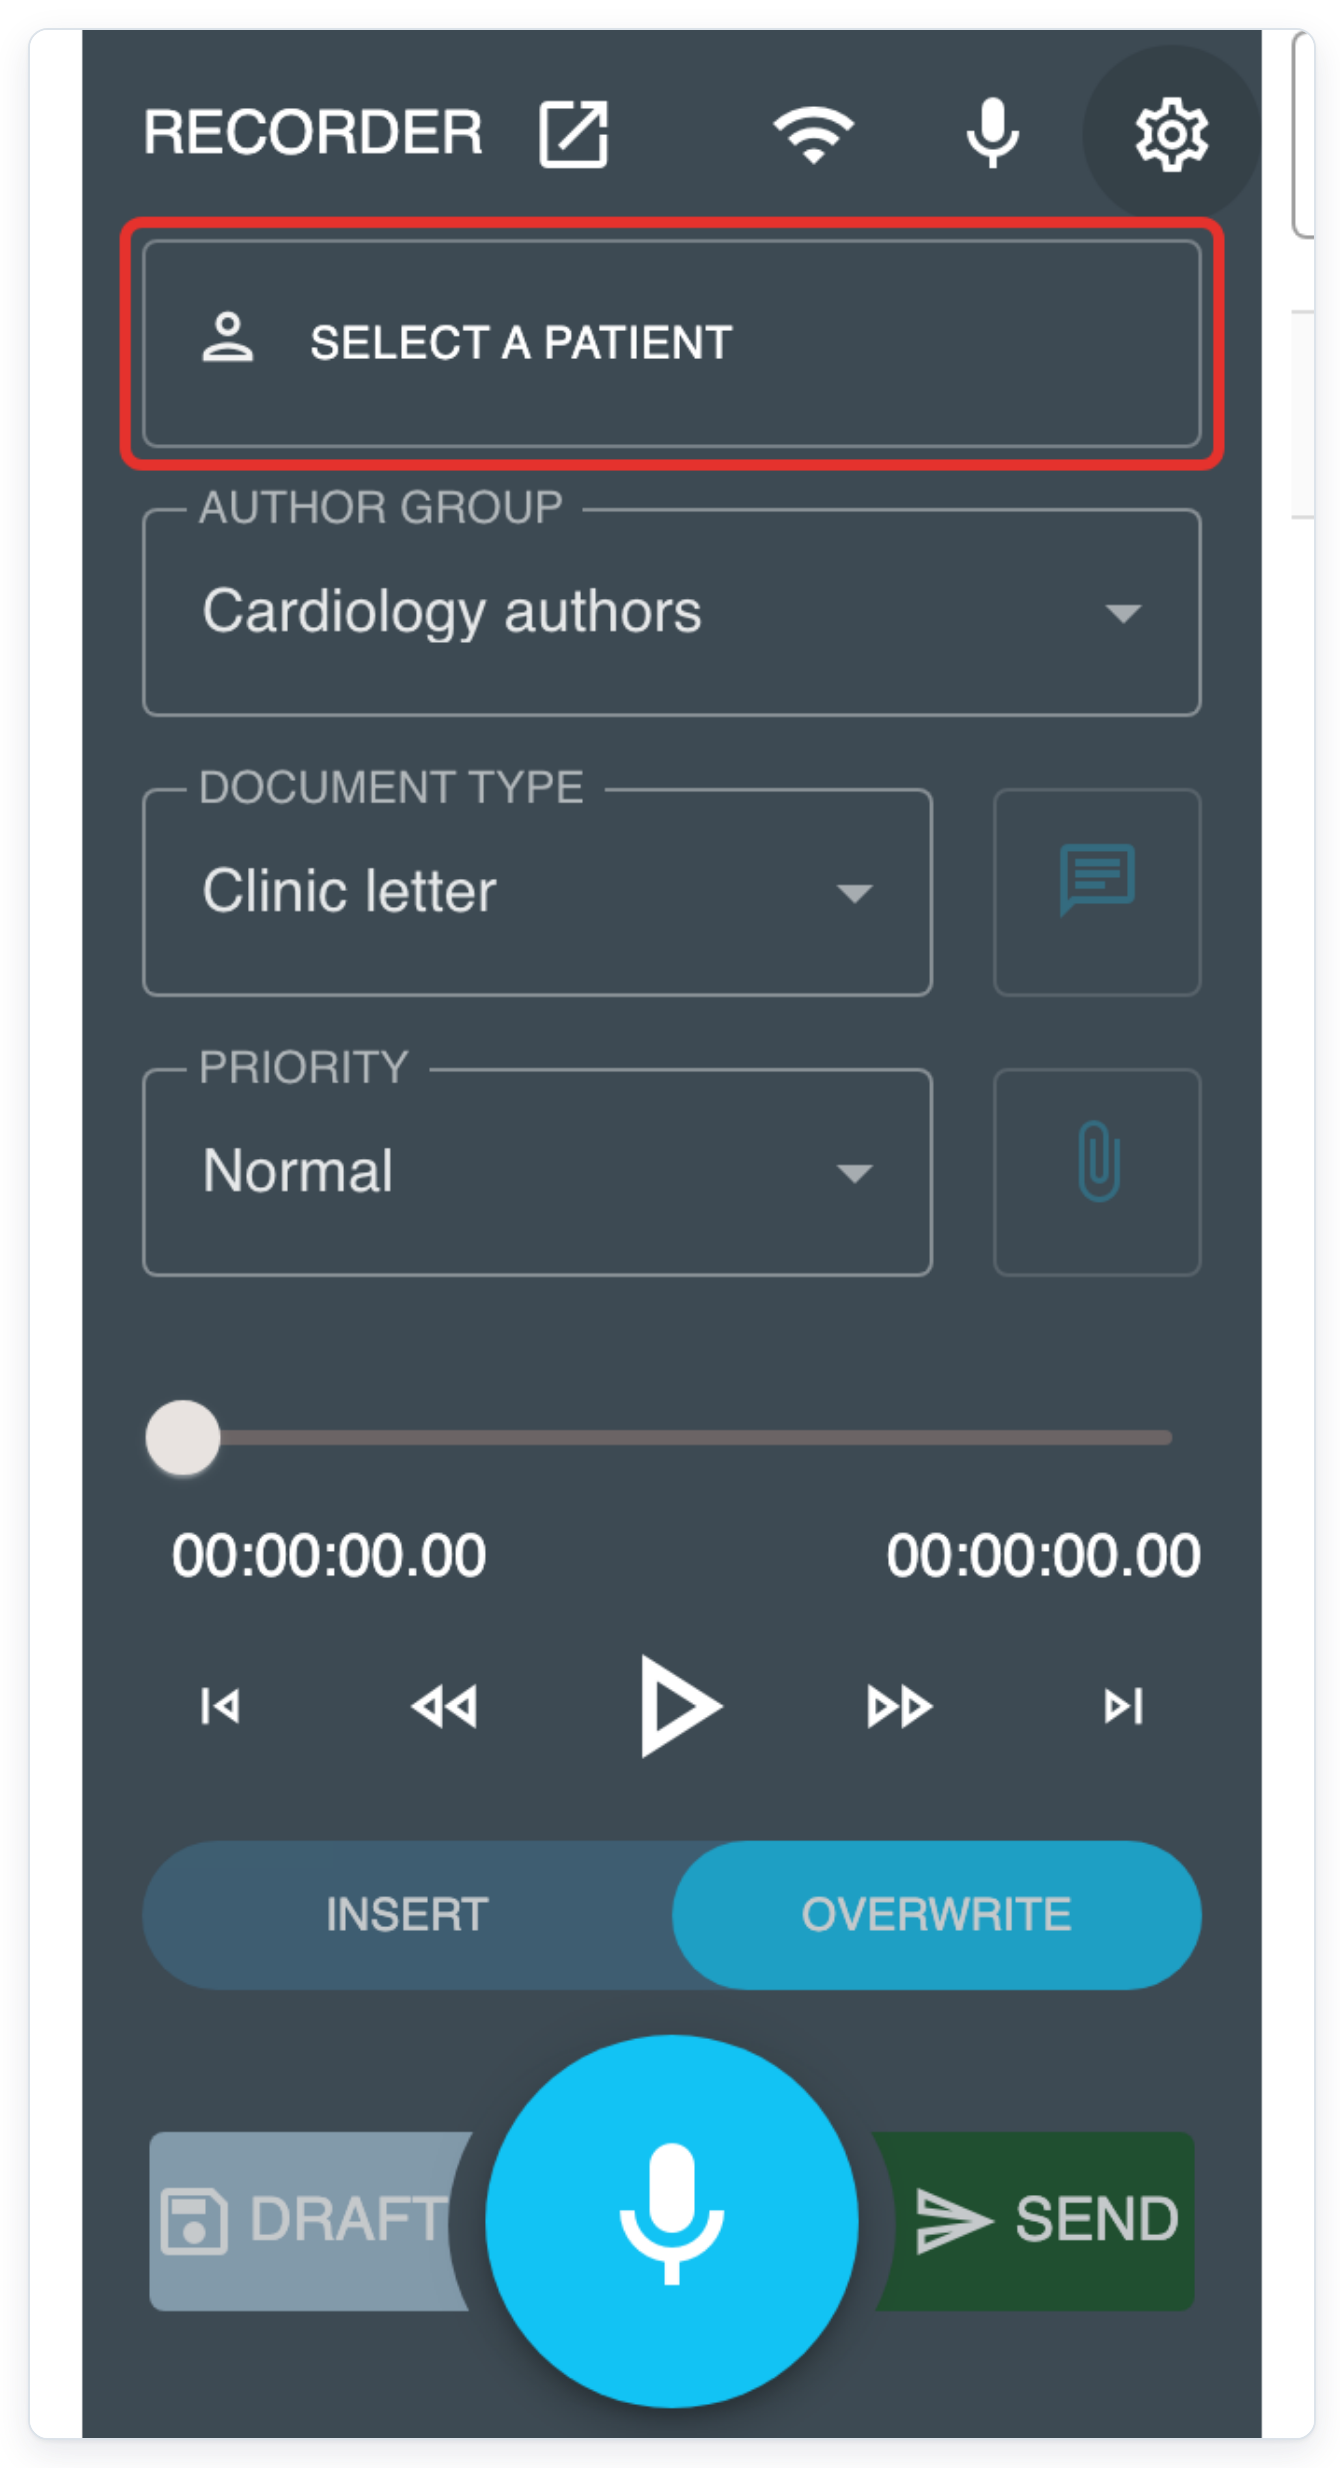
=> The recorder opens with Select a Patient, the microphone and the recording controls.
Set up and use hands-free dictation
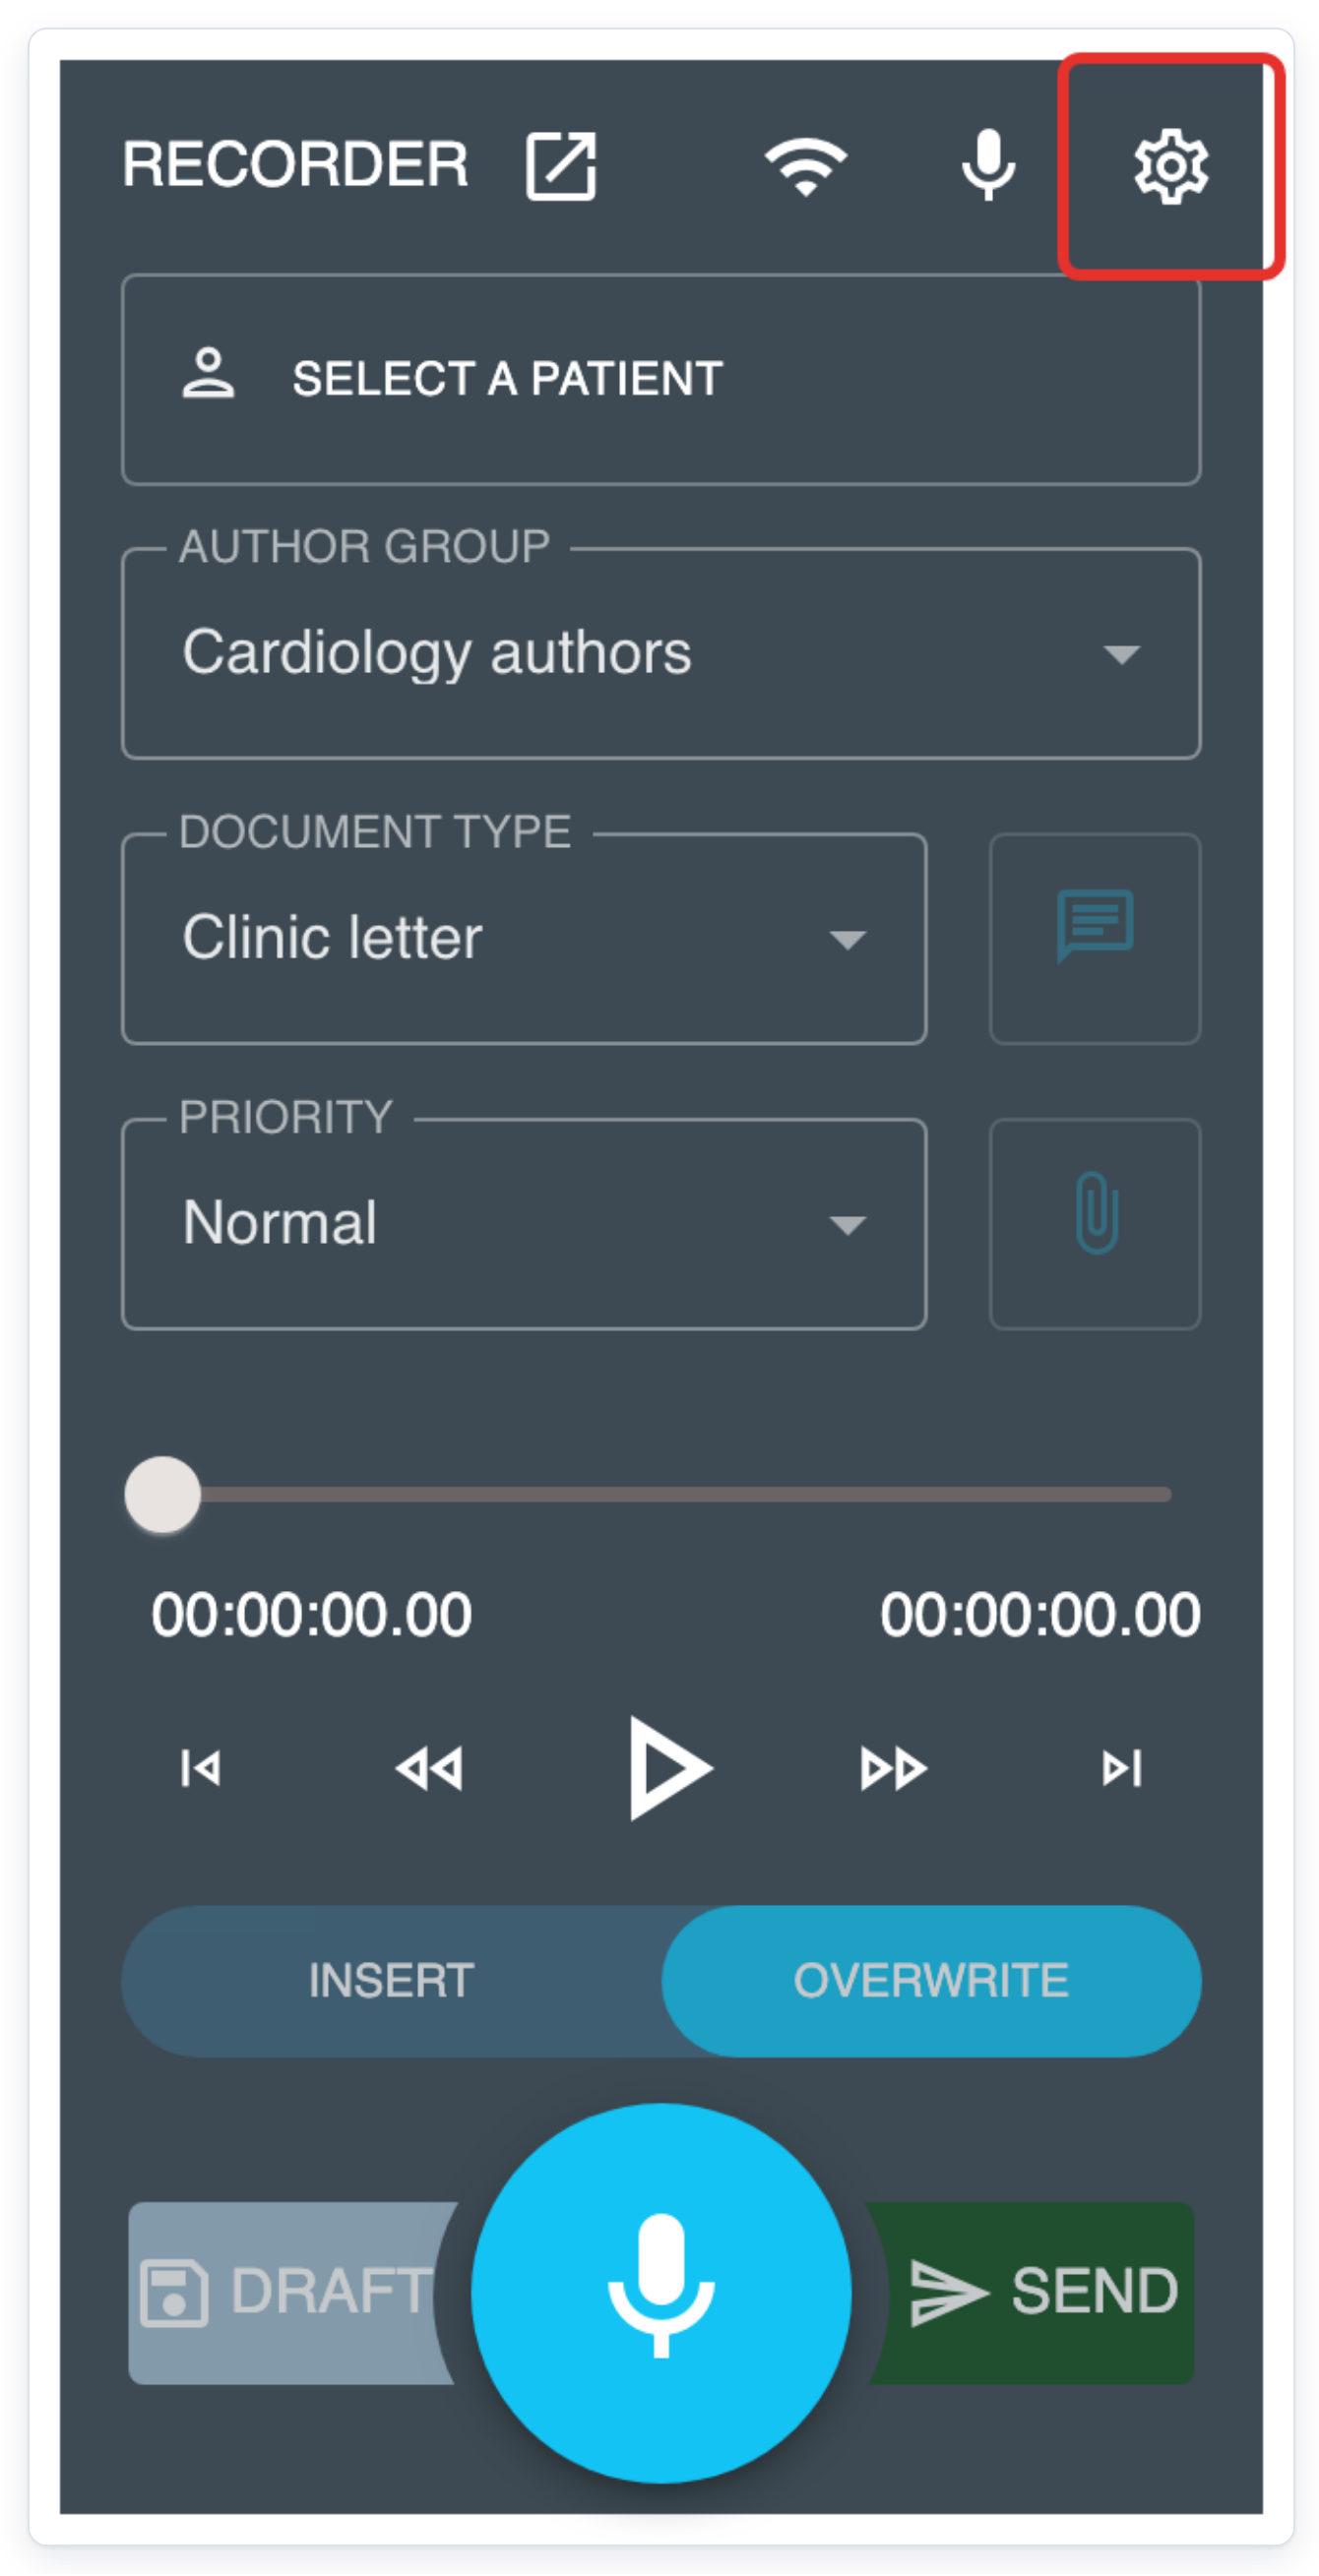
Click the Settings cog at the top of the recorder. Recorder Settings opens.
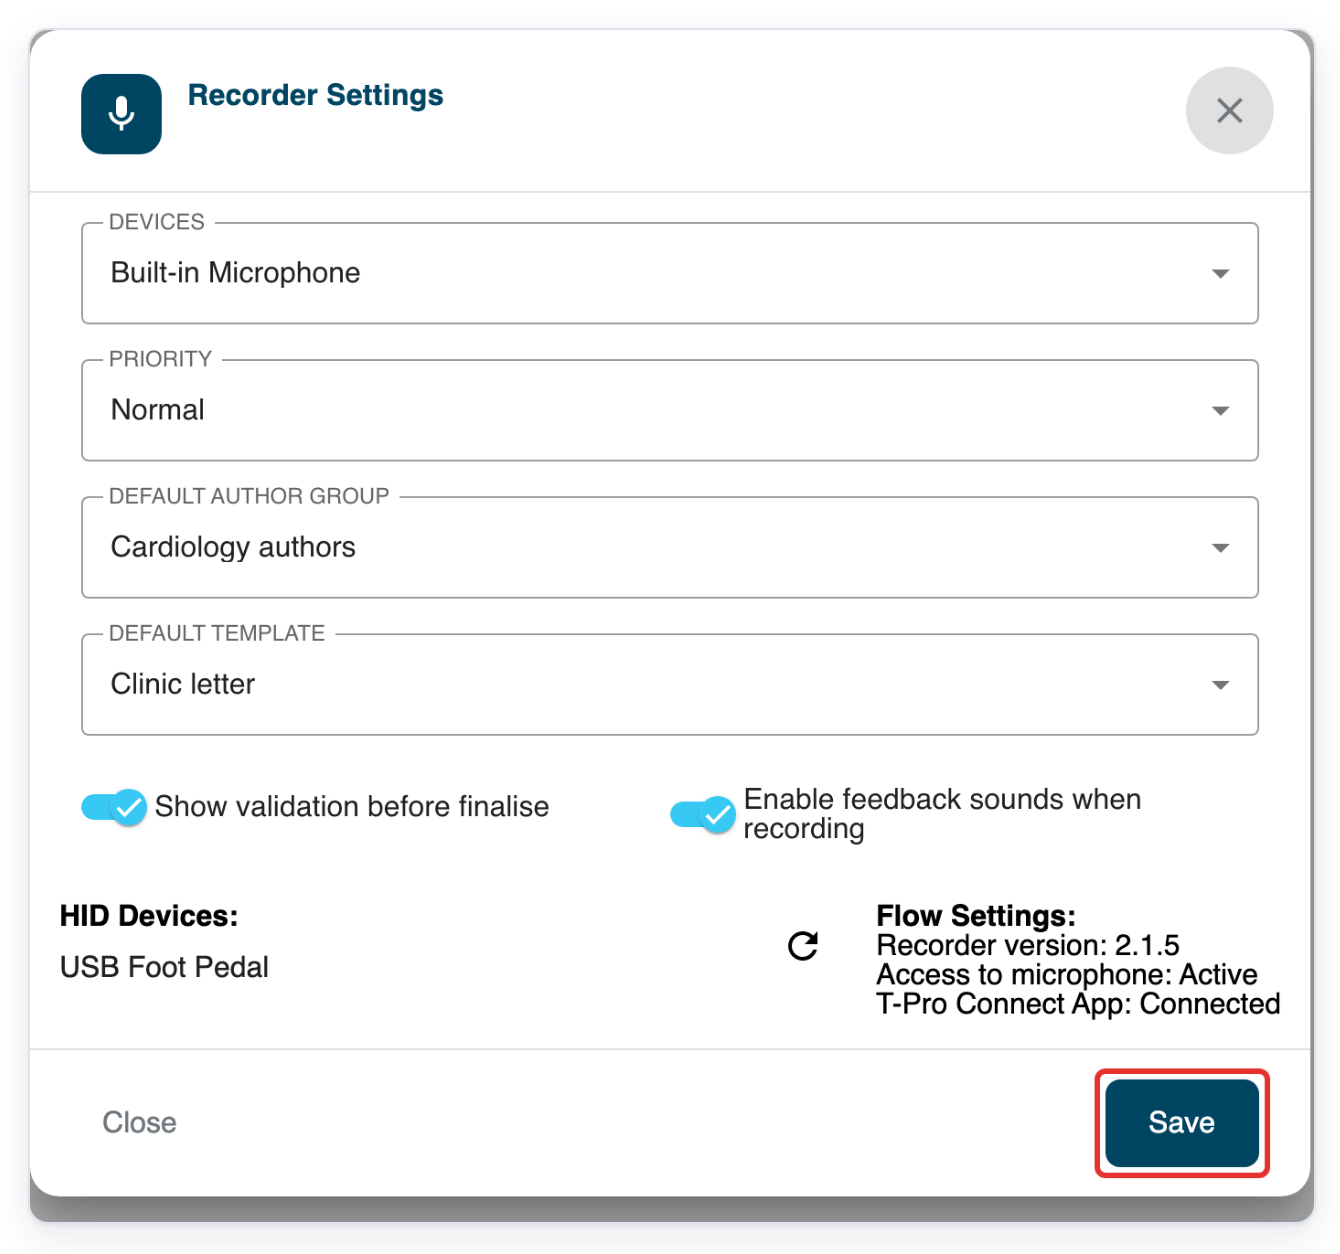
Turn on Show validation before finalise so you can confirm before sending.
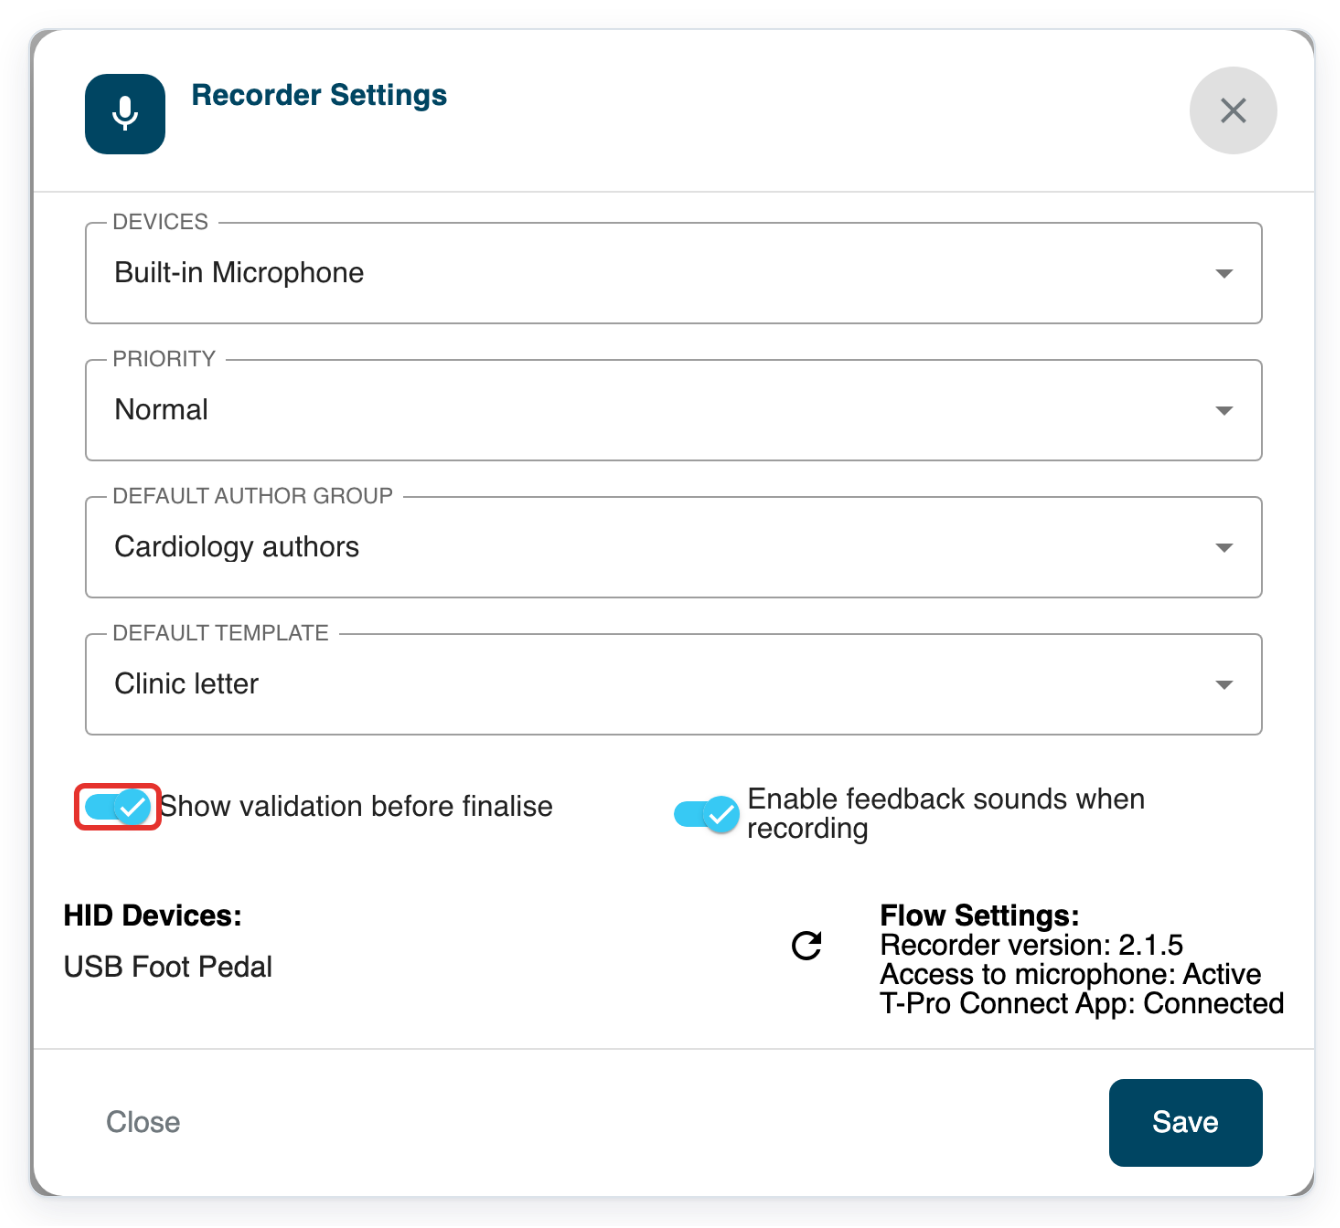
Click Save to save your settings and return to Web Recorder.
Click Select a Patient to open Patient Information.
Before starting a new recording, you can use your finalise pedal instead. This opens Patient ID ready for scanning. Continue at step 9, starting with the scan.
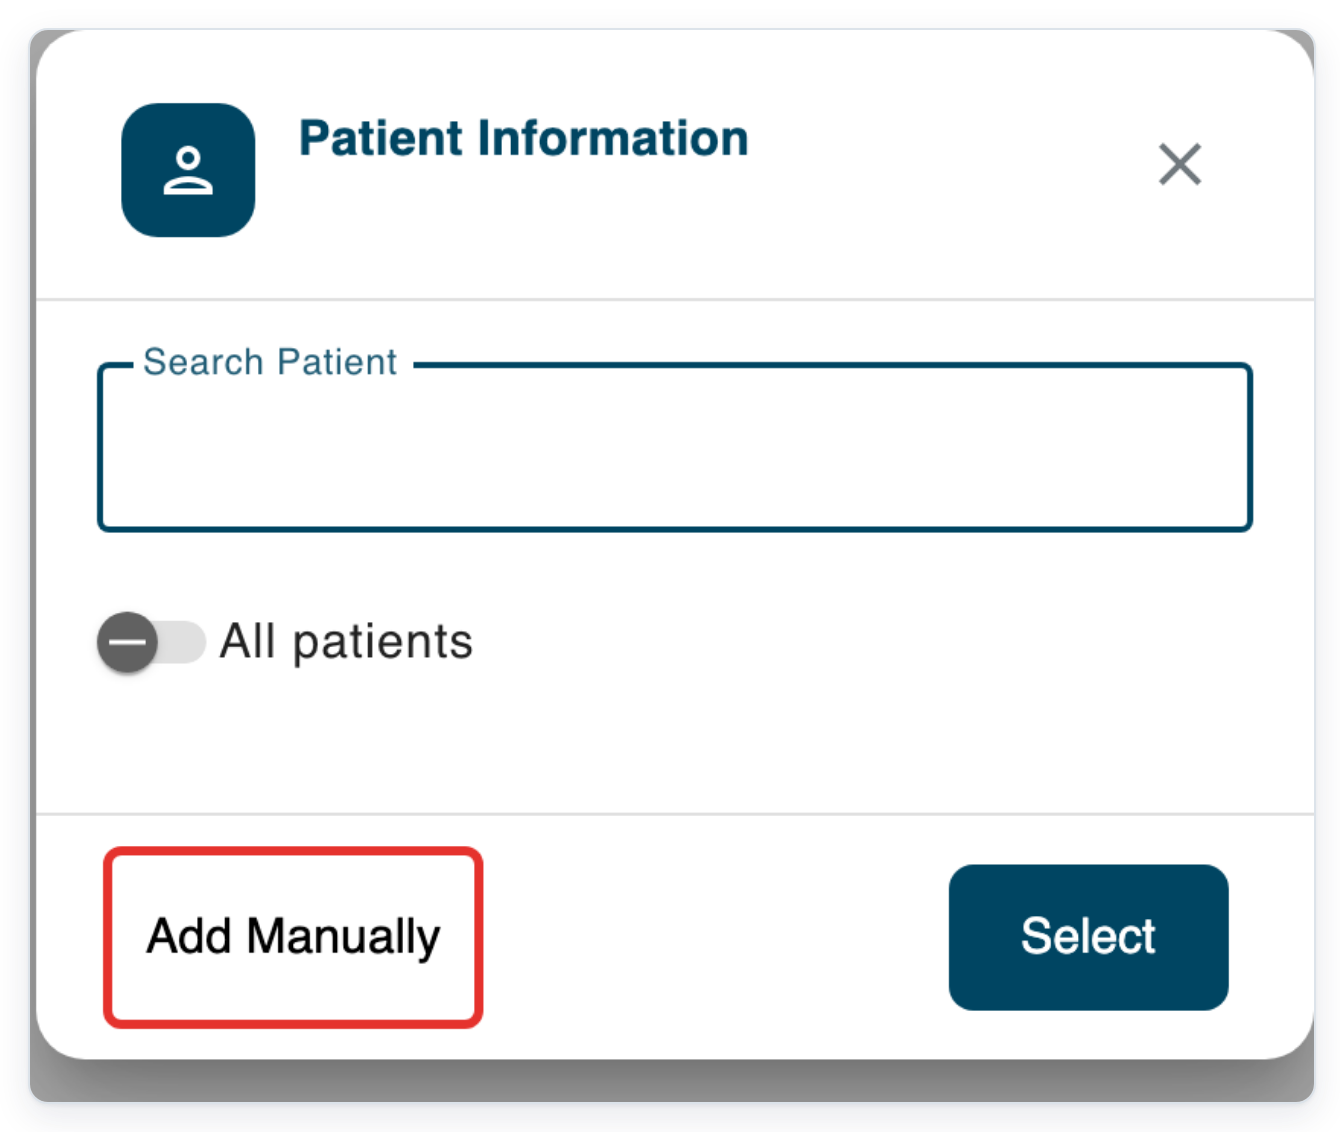
Click Add Manually to show Patient ID and Patient Name.
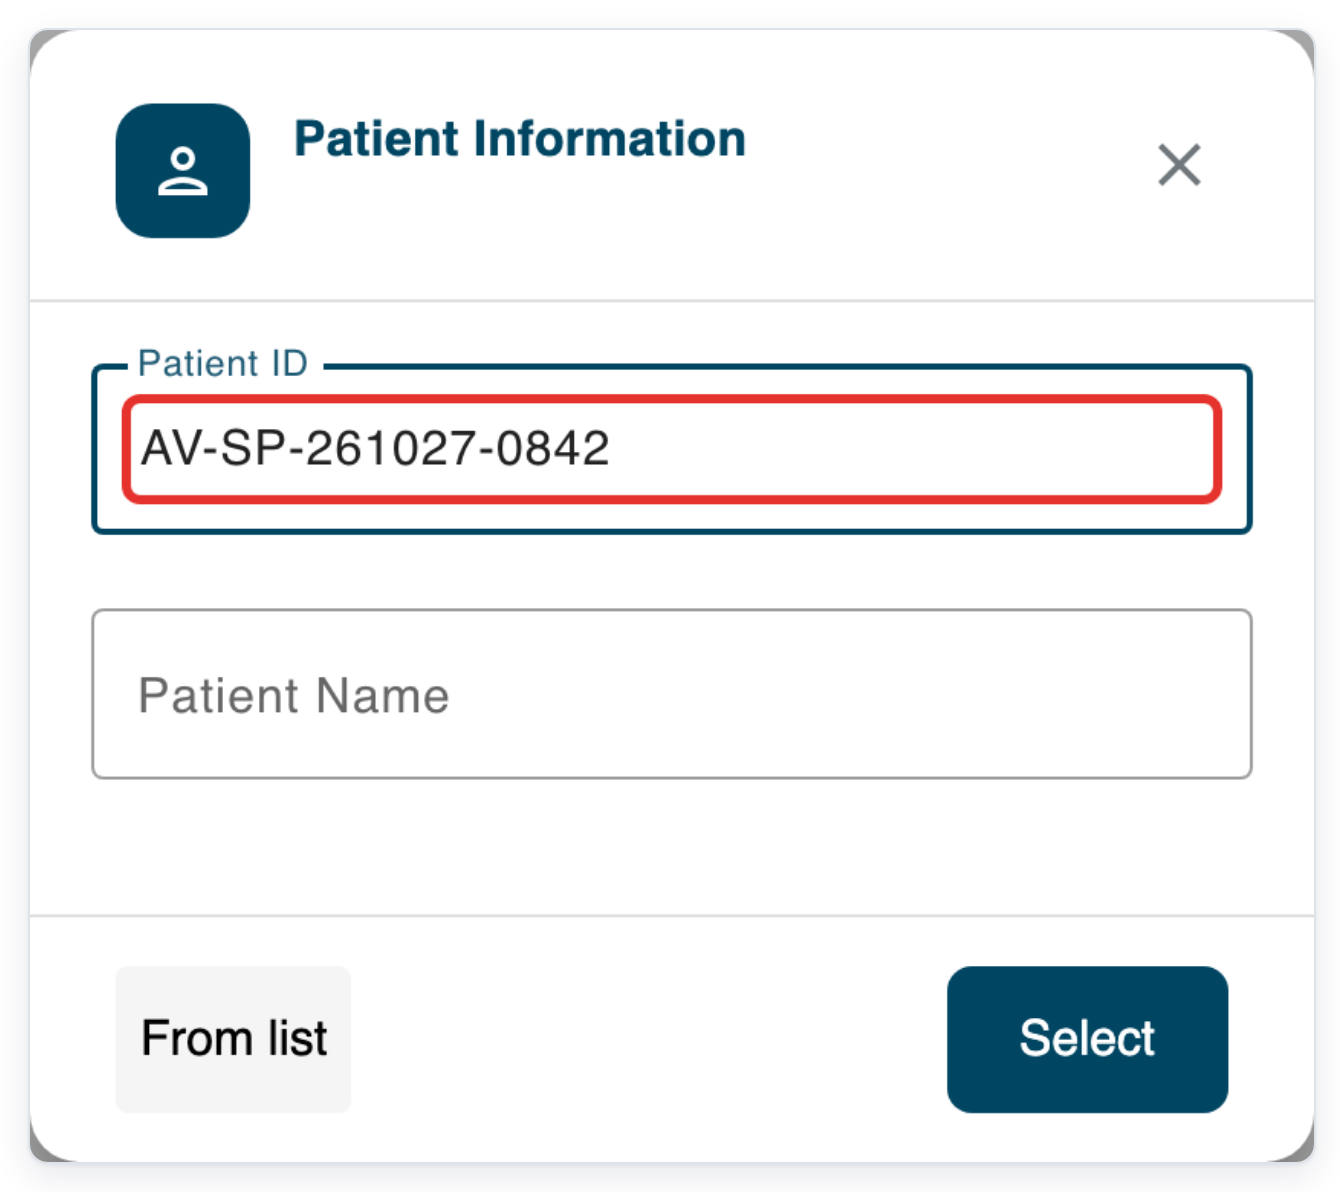
Click Patient ID, then scan the specimen barcode. The example ID is AV-SP-261027-0842.
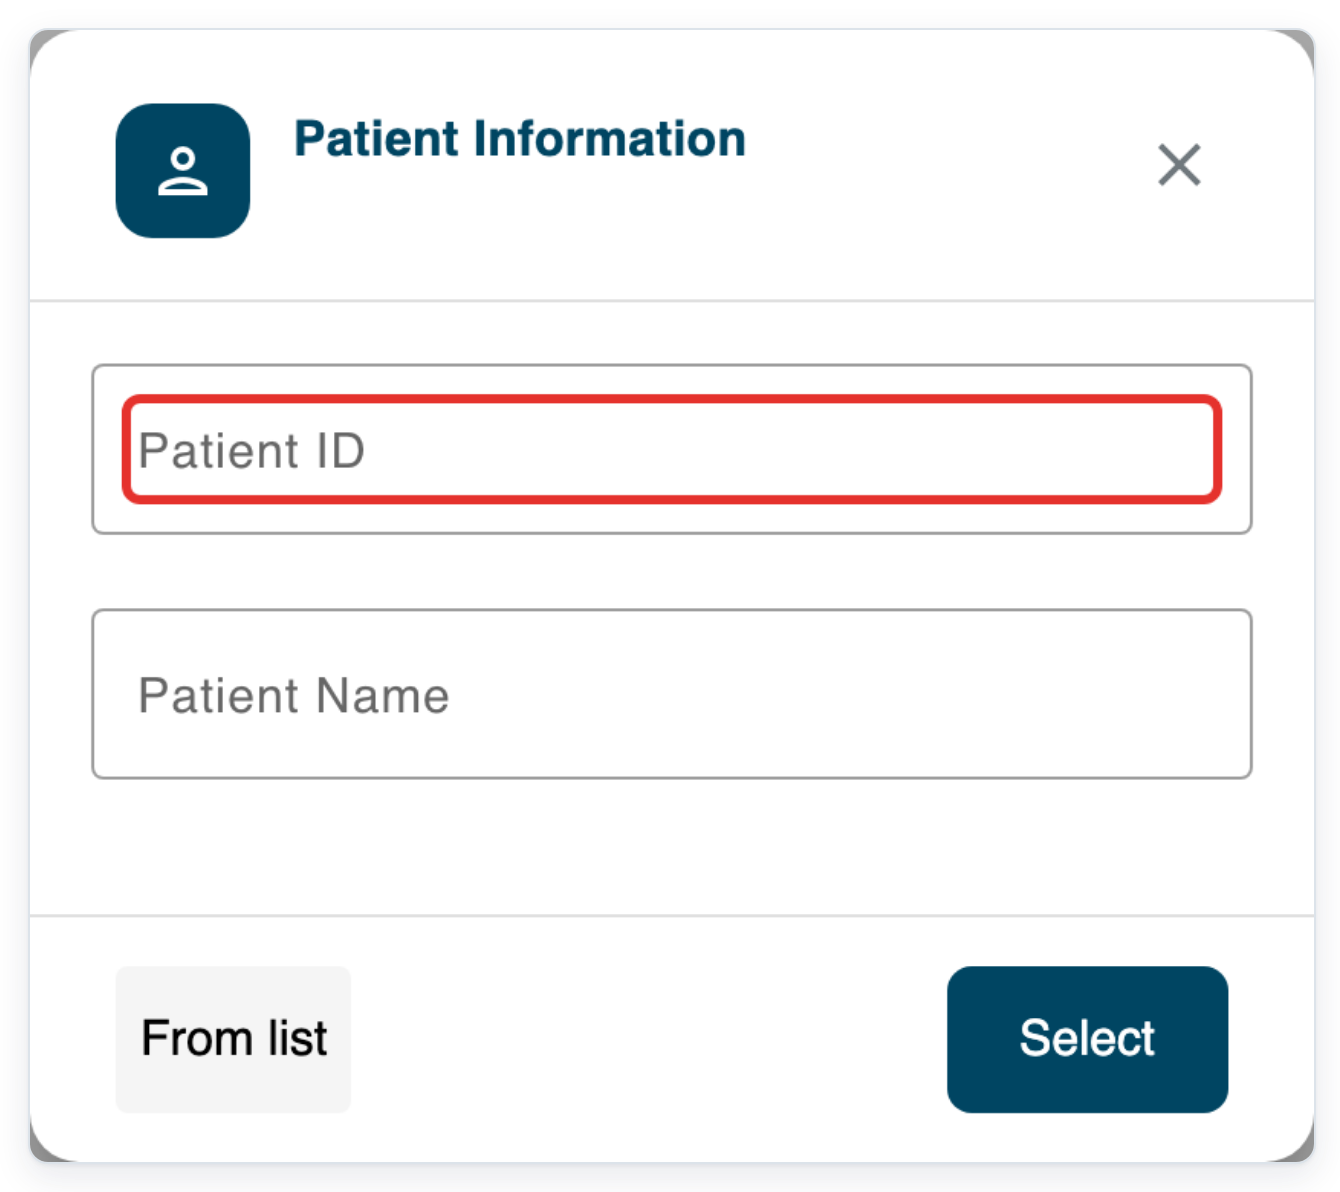
=> Check that Patient ID contains the correct specimen barcode before you confirm.
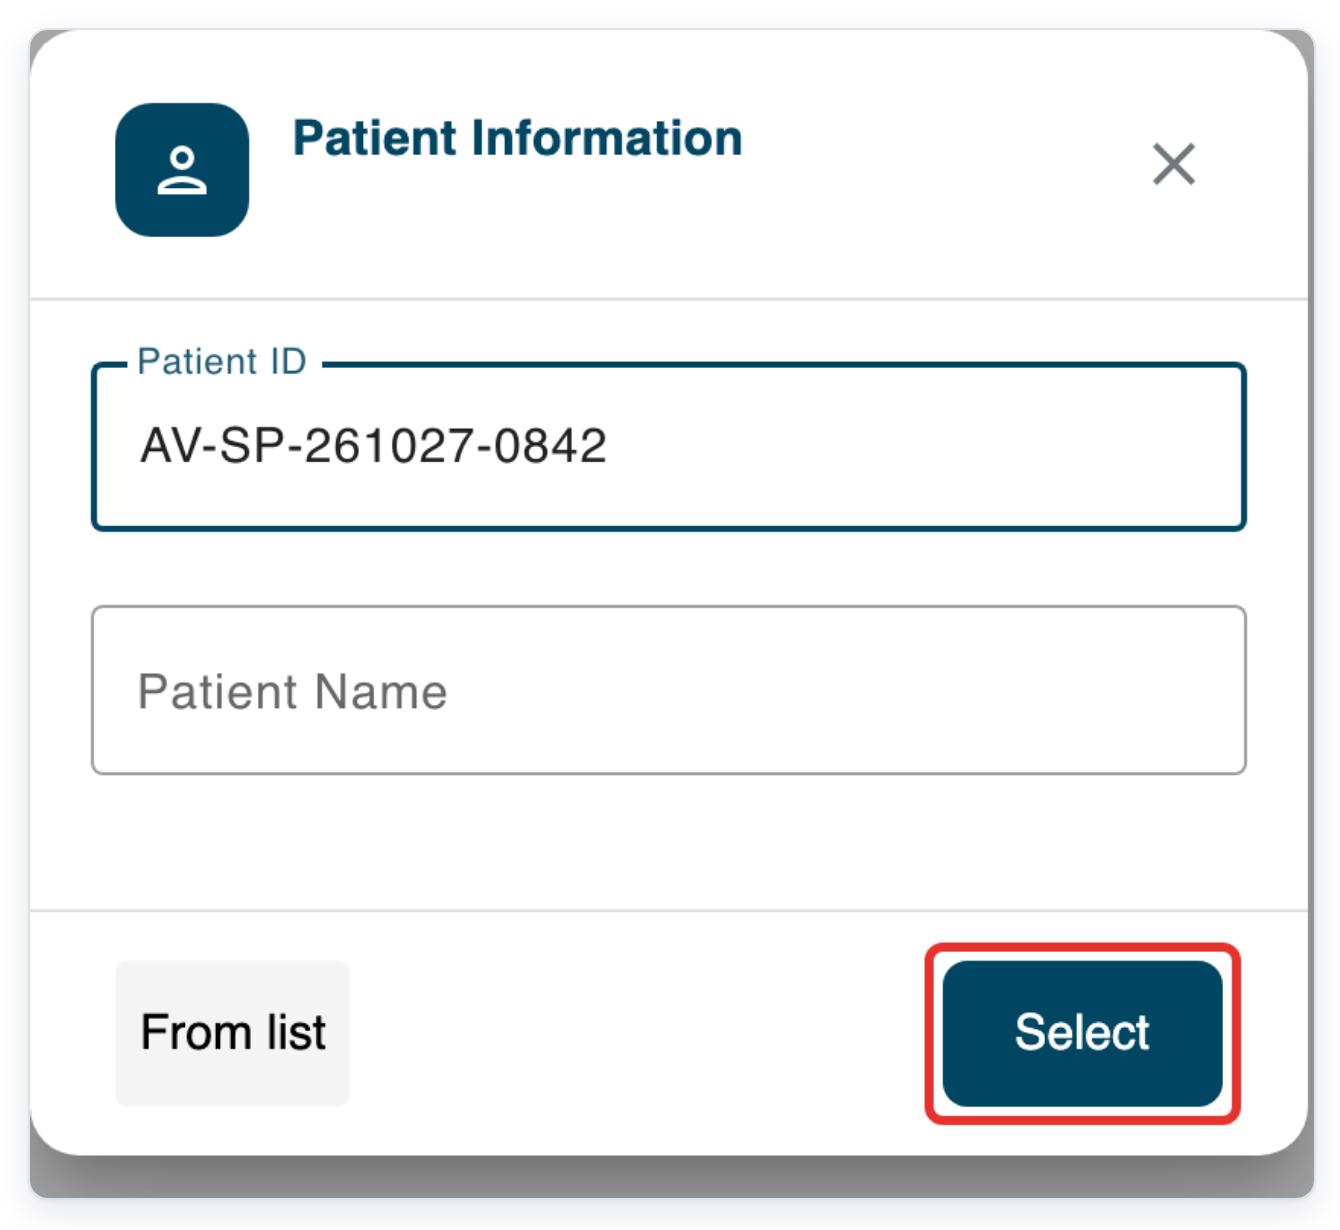
Click Select to confirm the specimen ID and return to the recorder.
Or press your finalise pedal again.
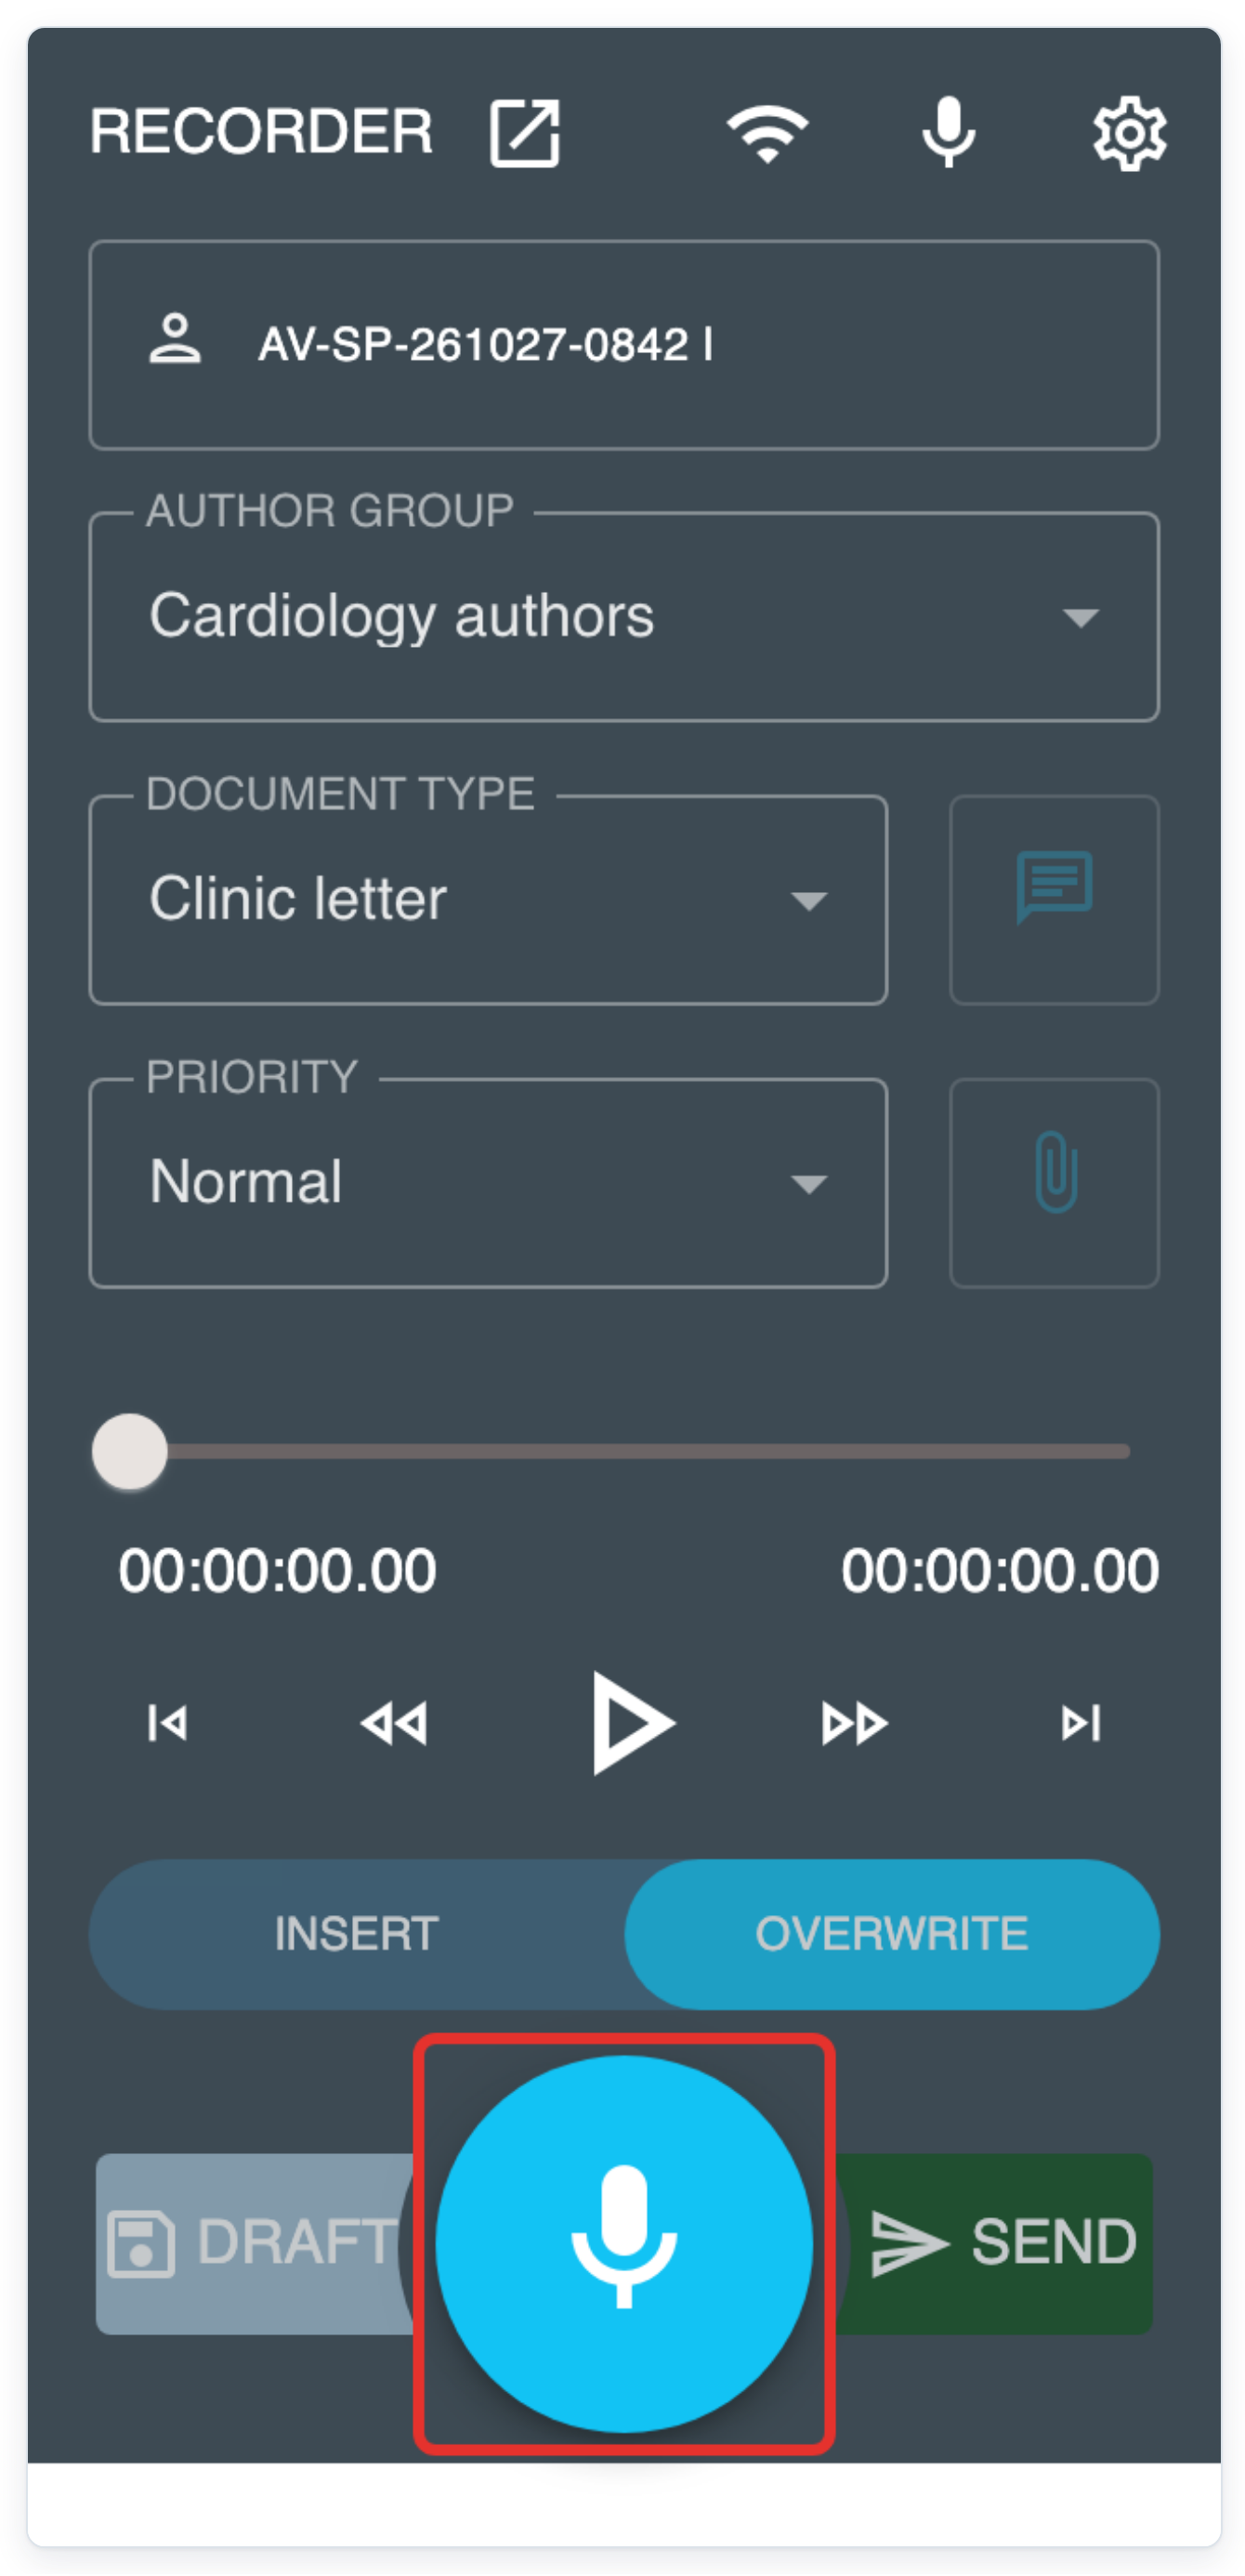
Click the microphone to create a task and start dictating.
Or use your record pedal.
When you finish speaking, click Pause. You can use INSERT and OVERWRITE while recording is paused.
If your pedal starts and pauses recording with each press, press it again to pause.
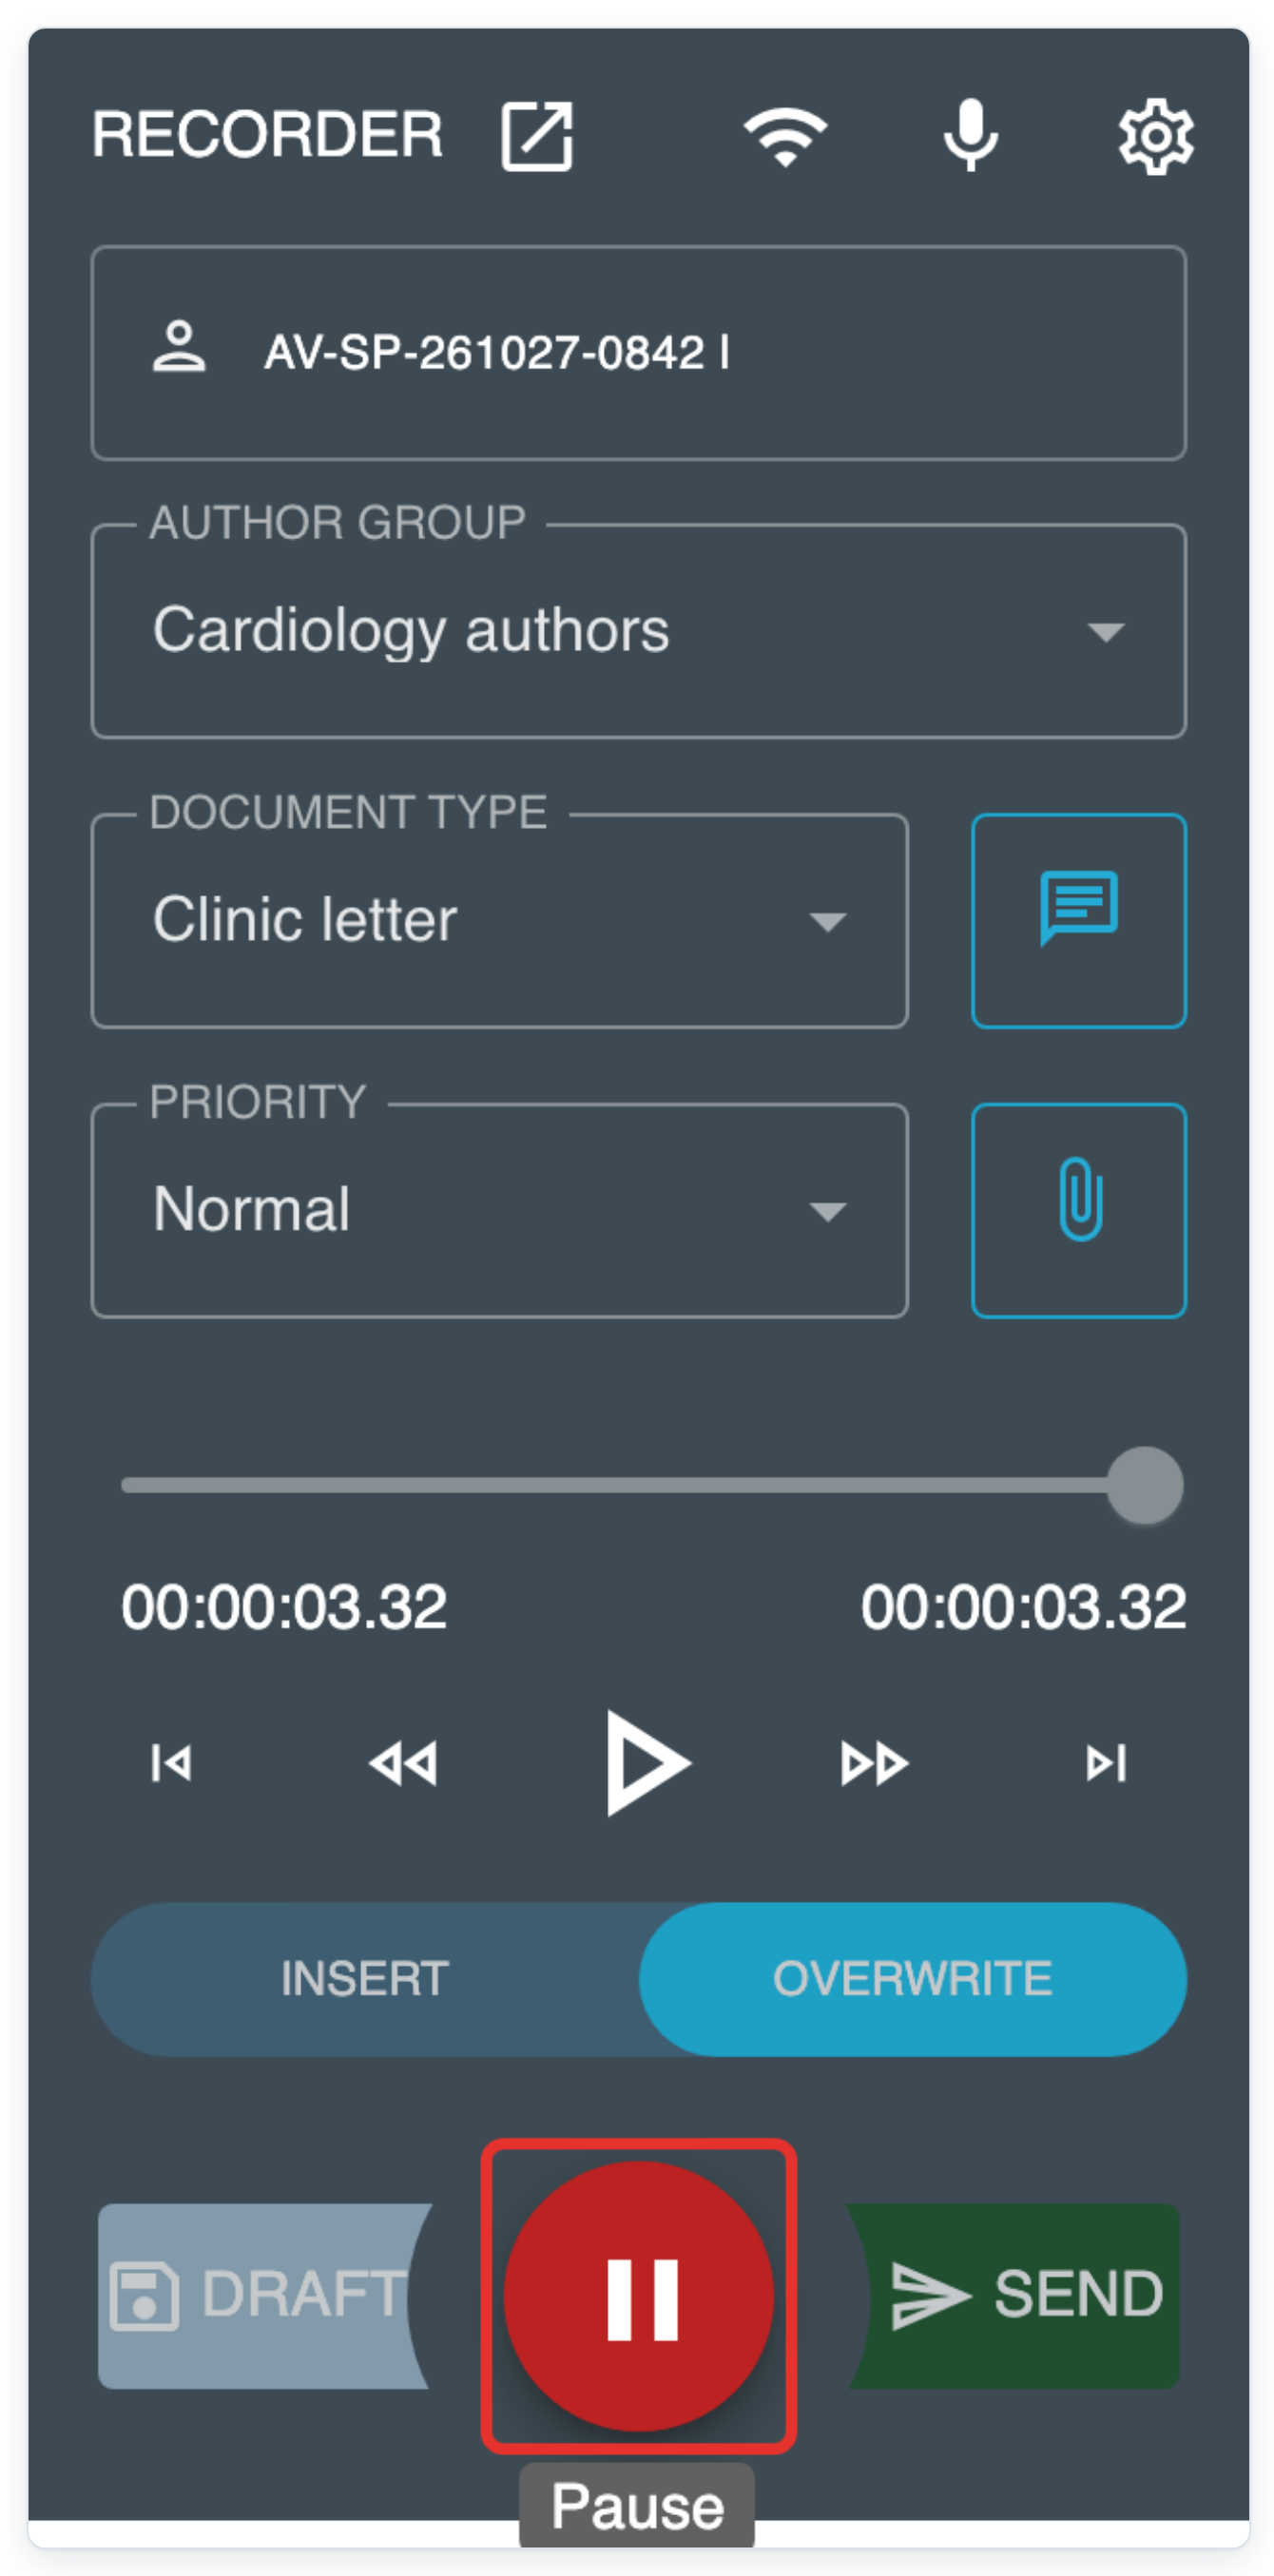
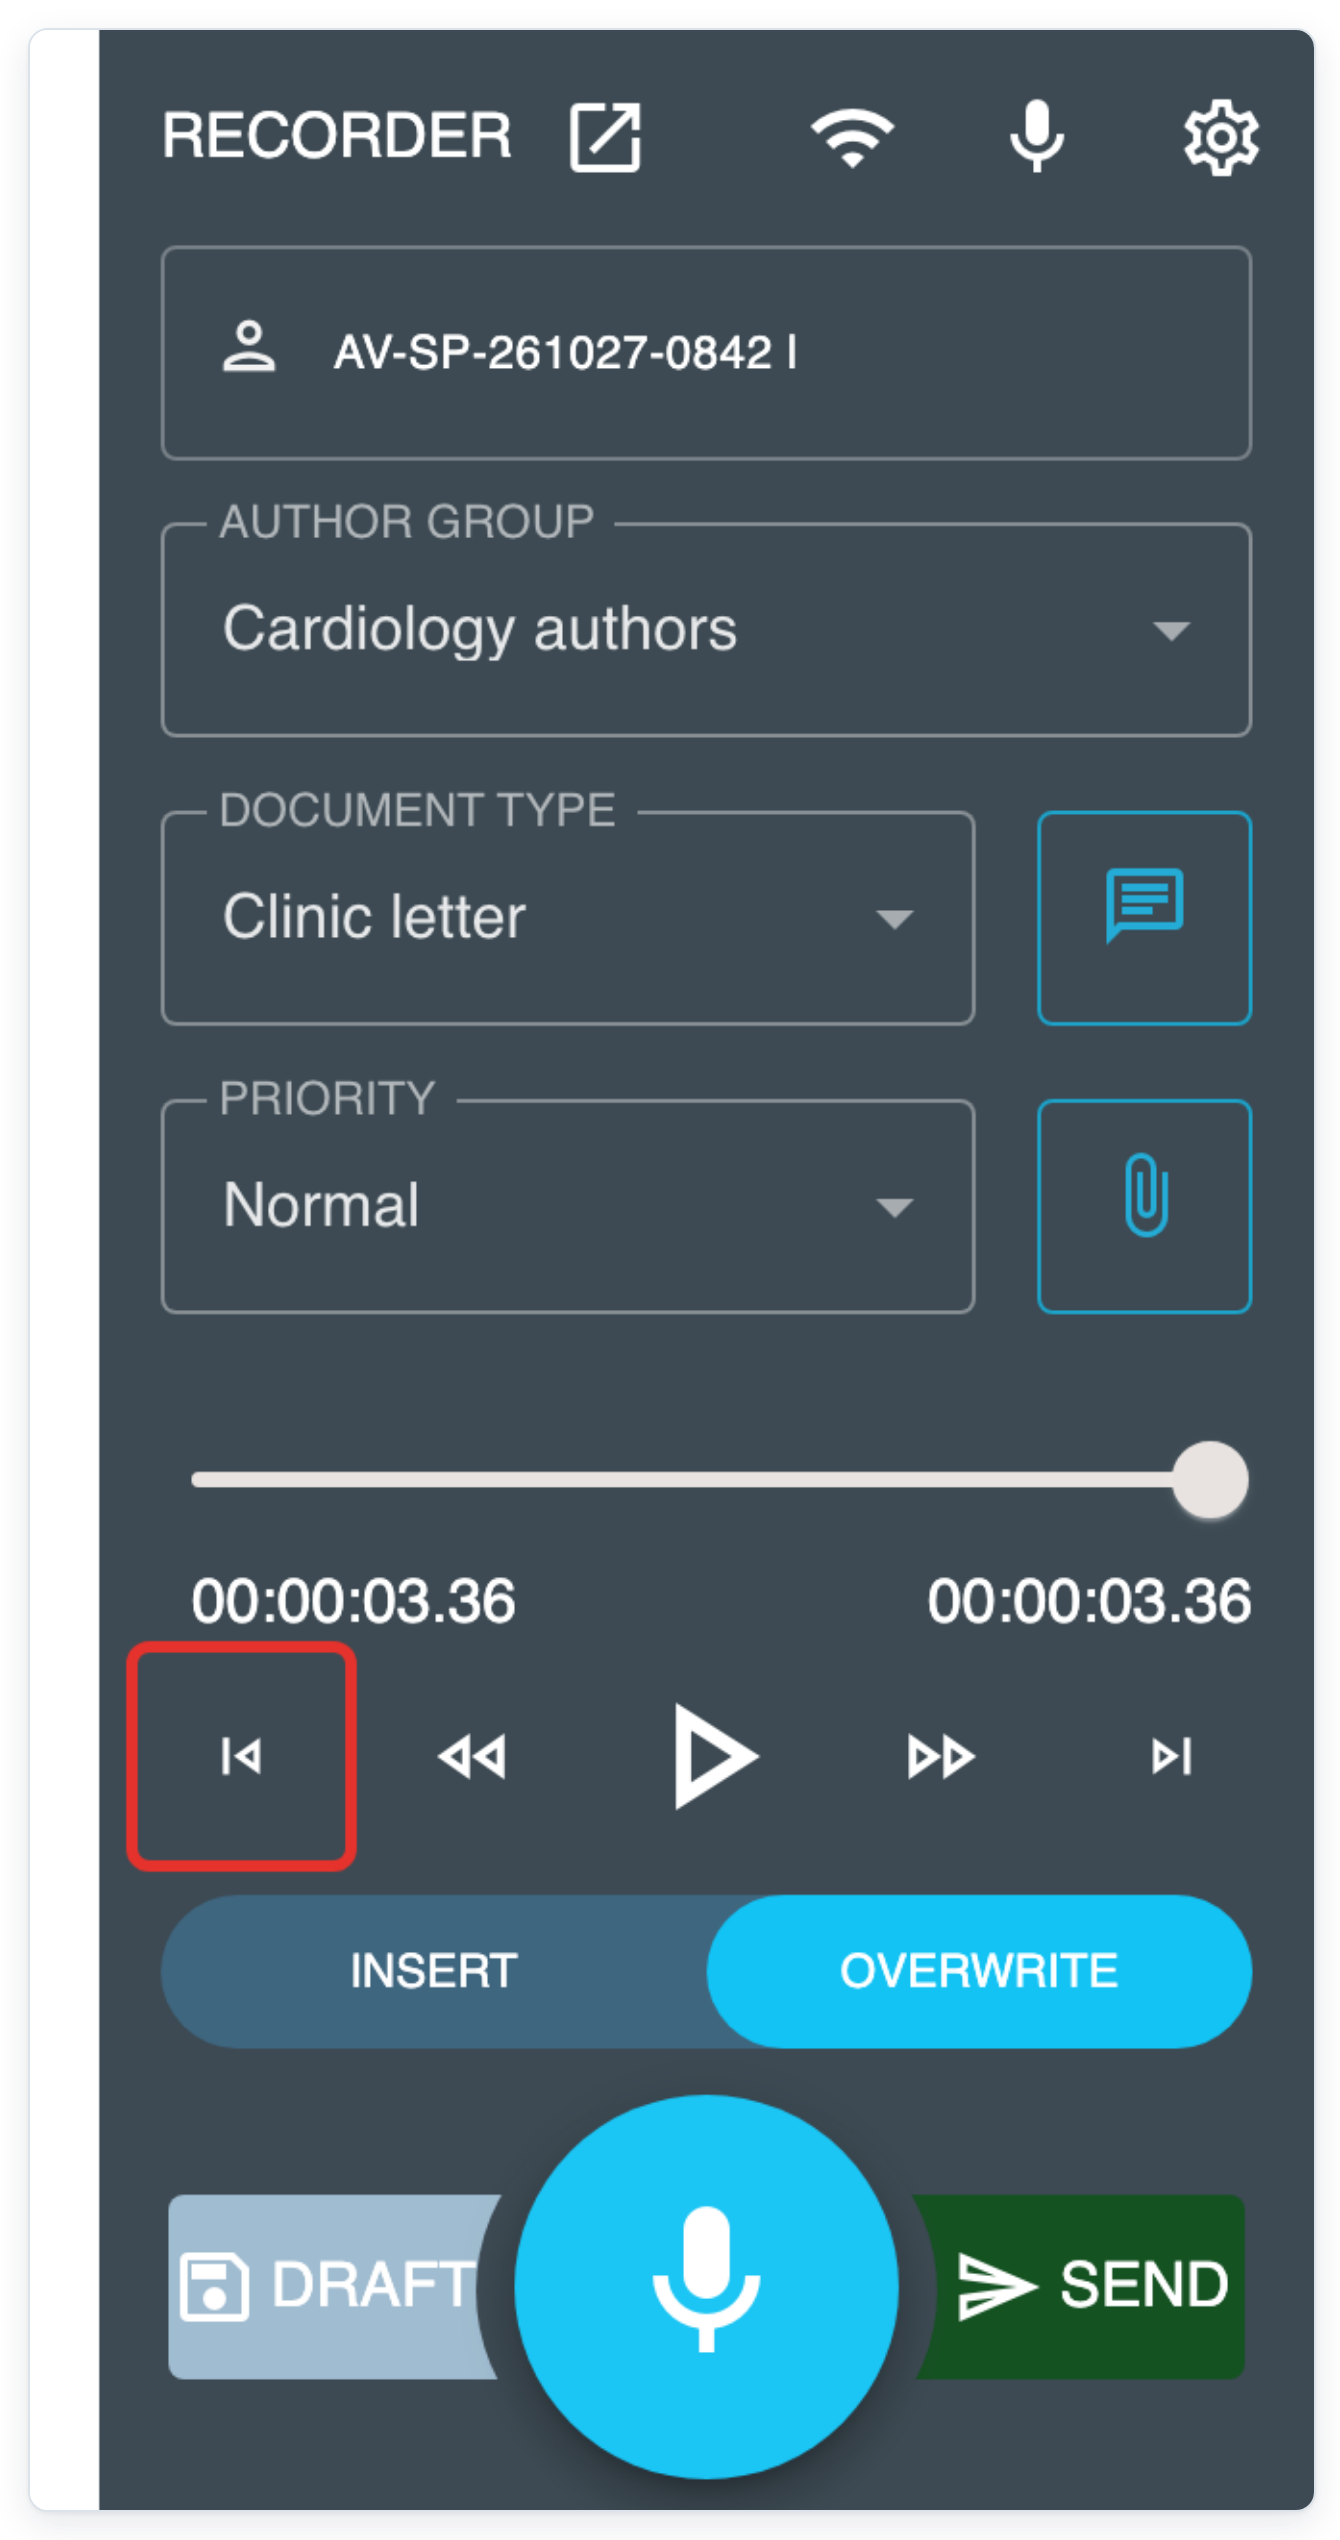
To replace audio from the beginning, click Go to start. OVERWRITE is selected by default.
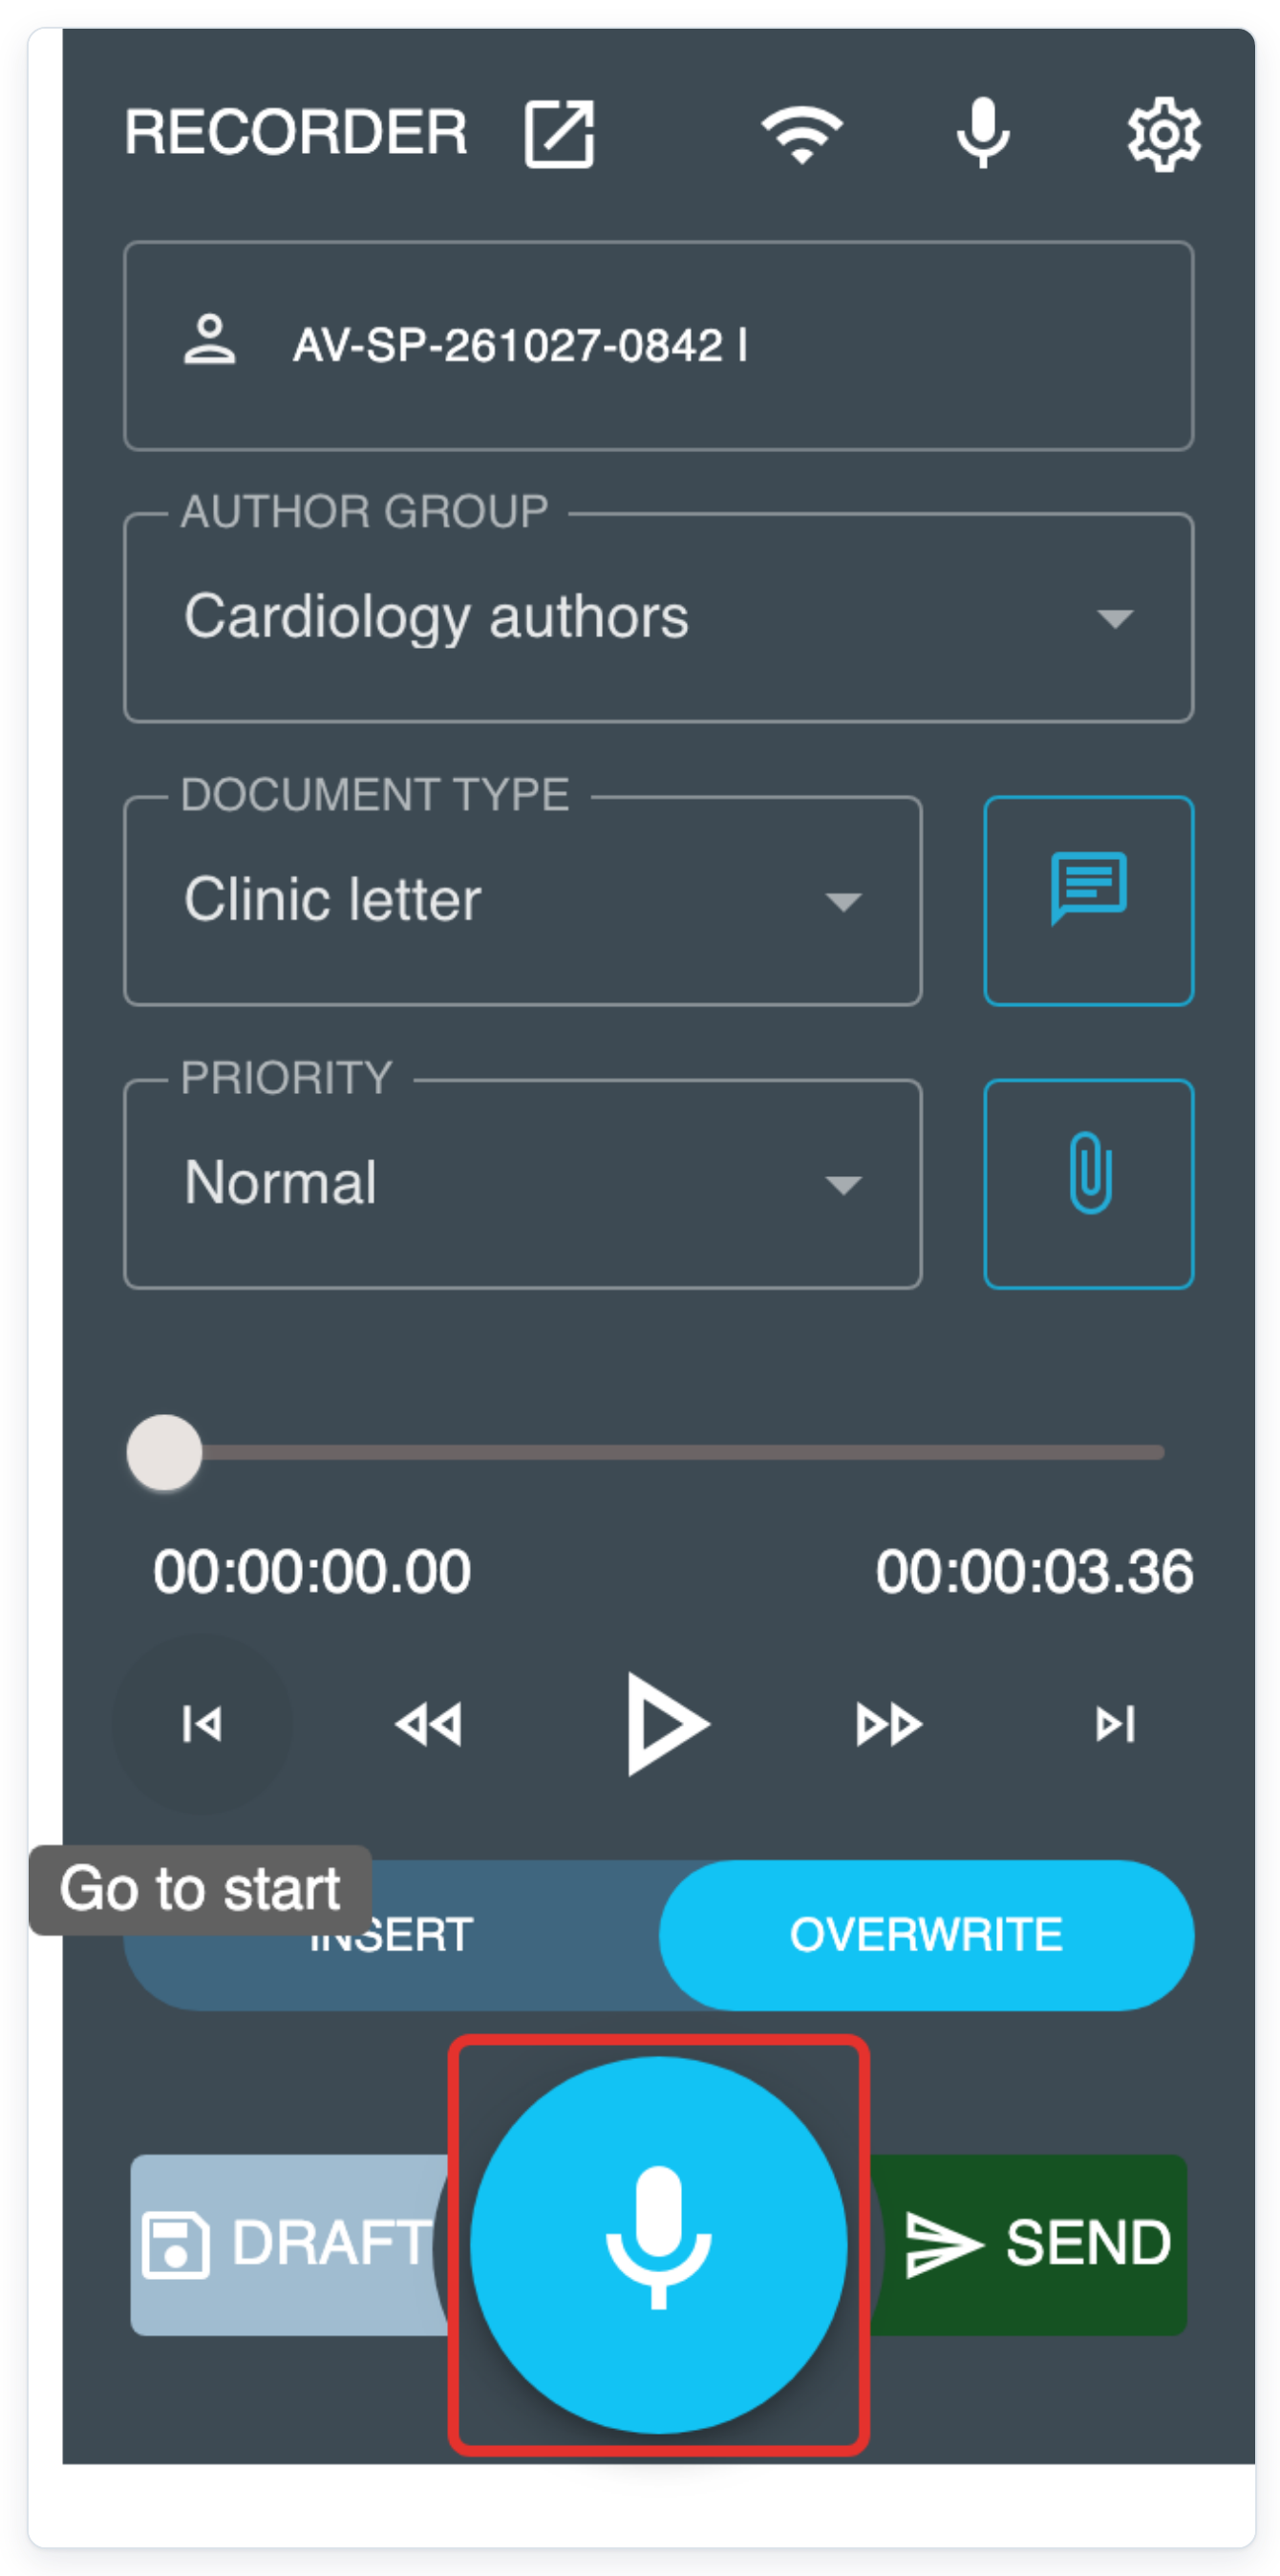
Before recording again, check your position on the left and the total recording length on the right.
Click the microphone to record again in OVERWRITE mode. This replaces existing audio from the current position.
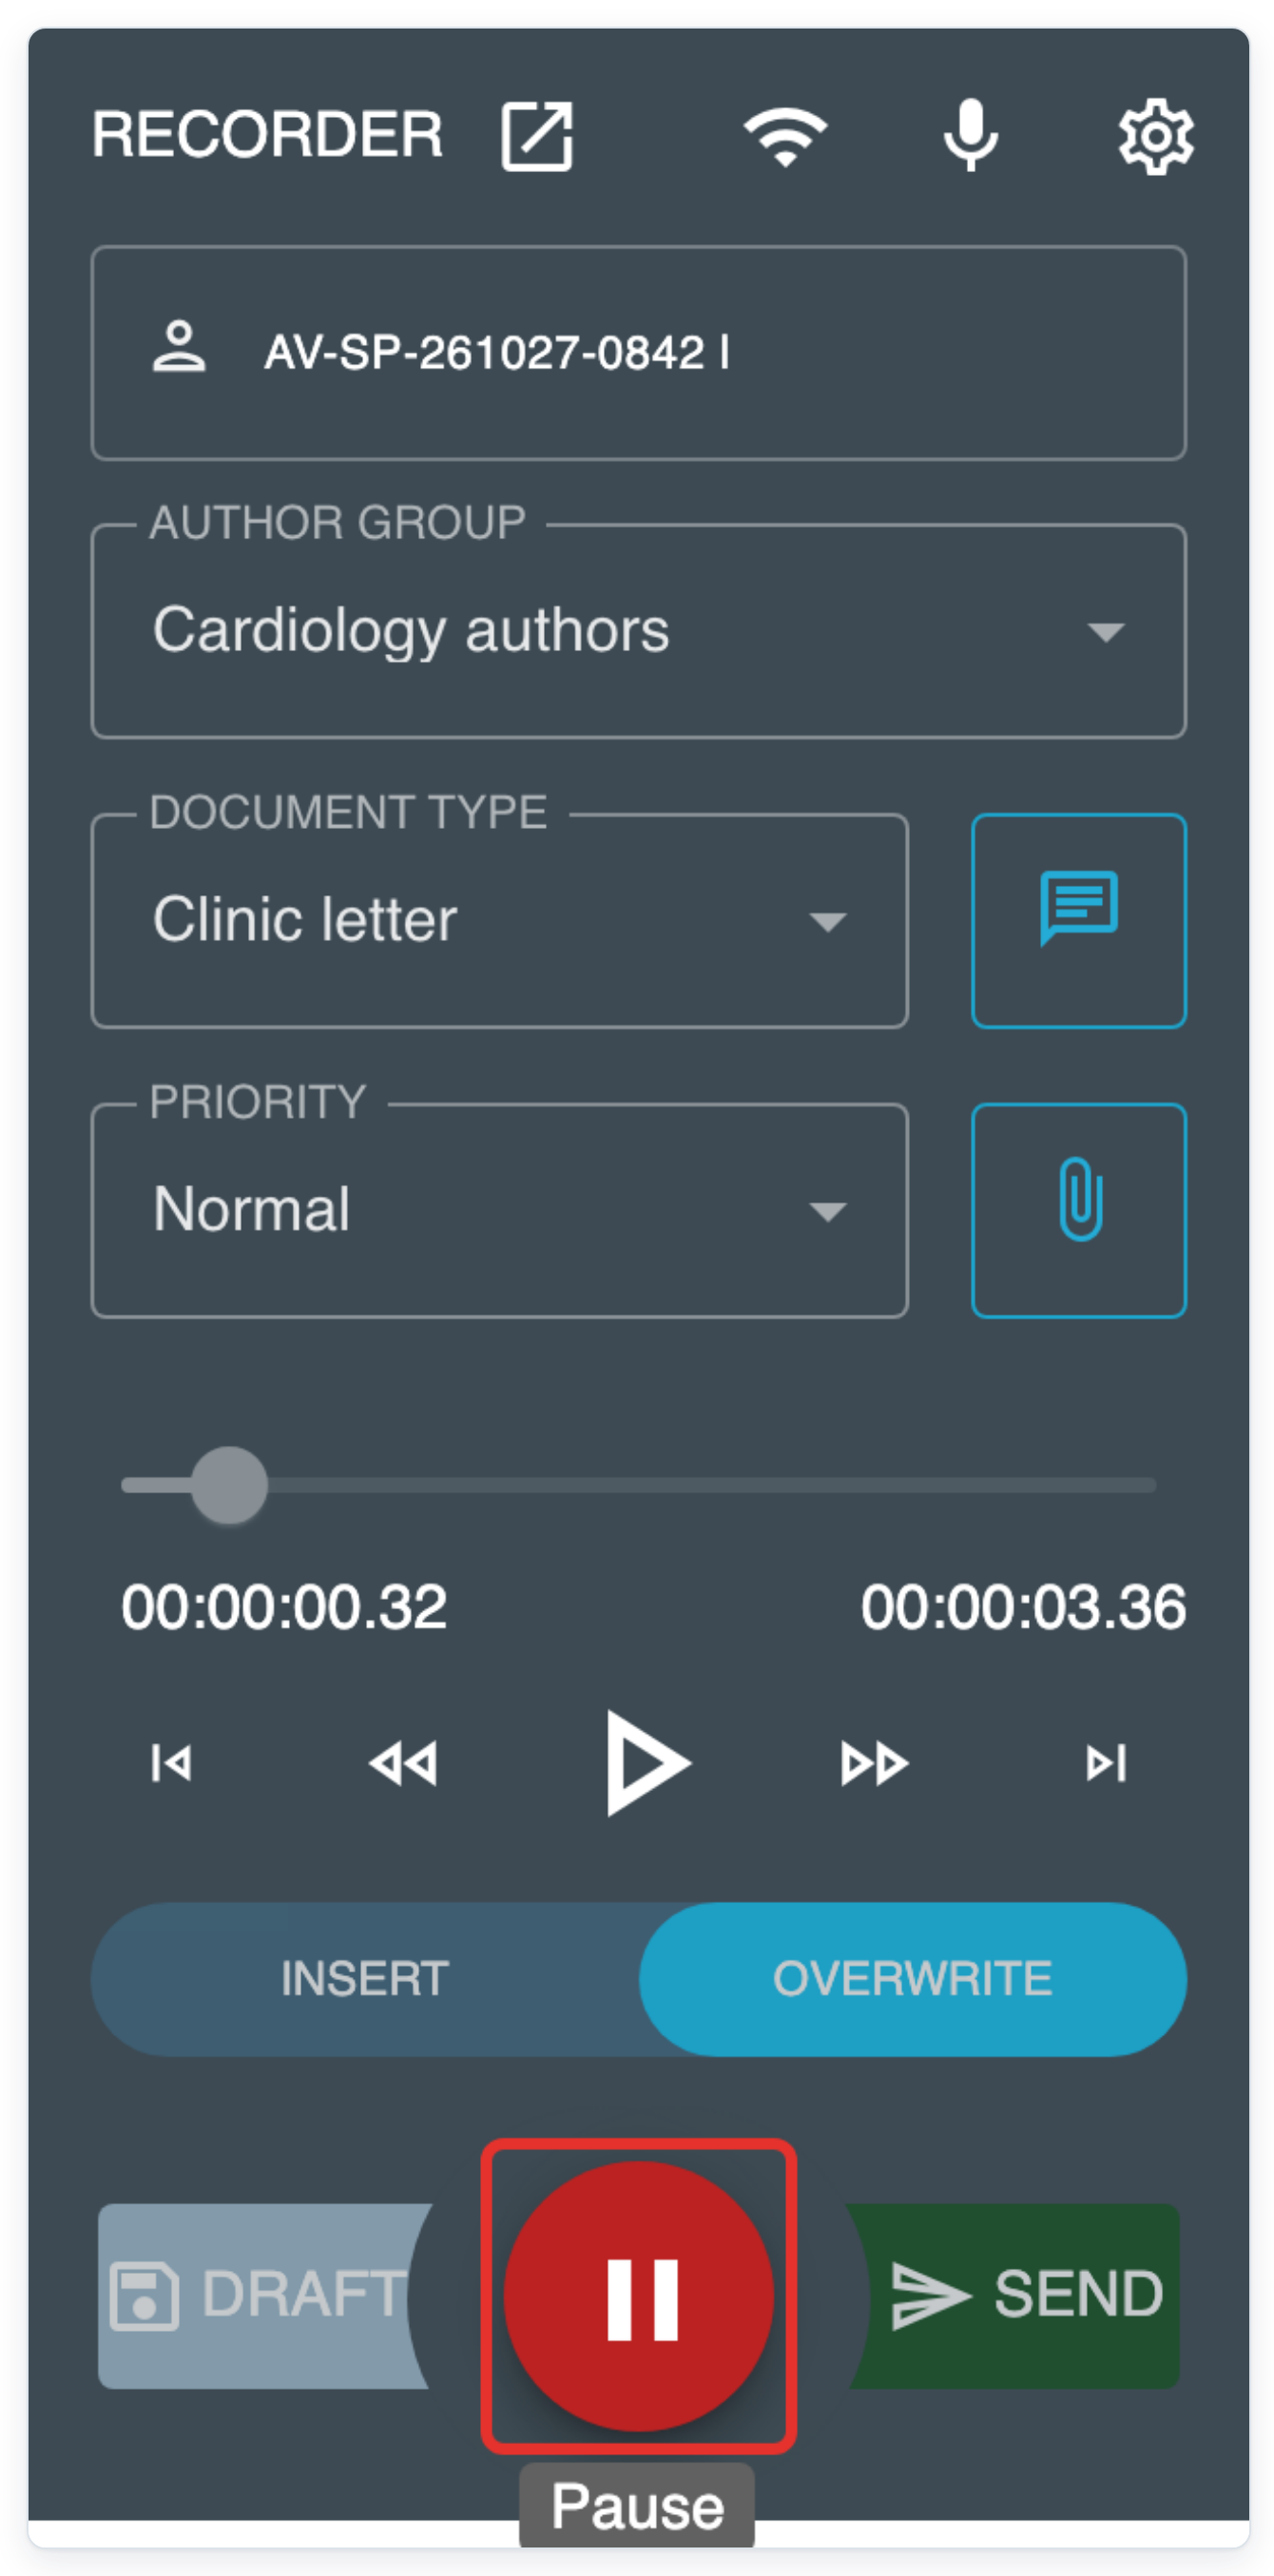
After dictating the replacement audio, click Pause before sending.
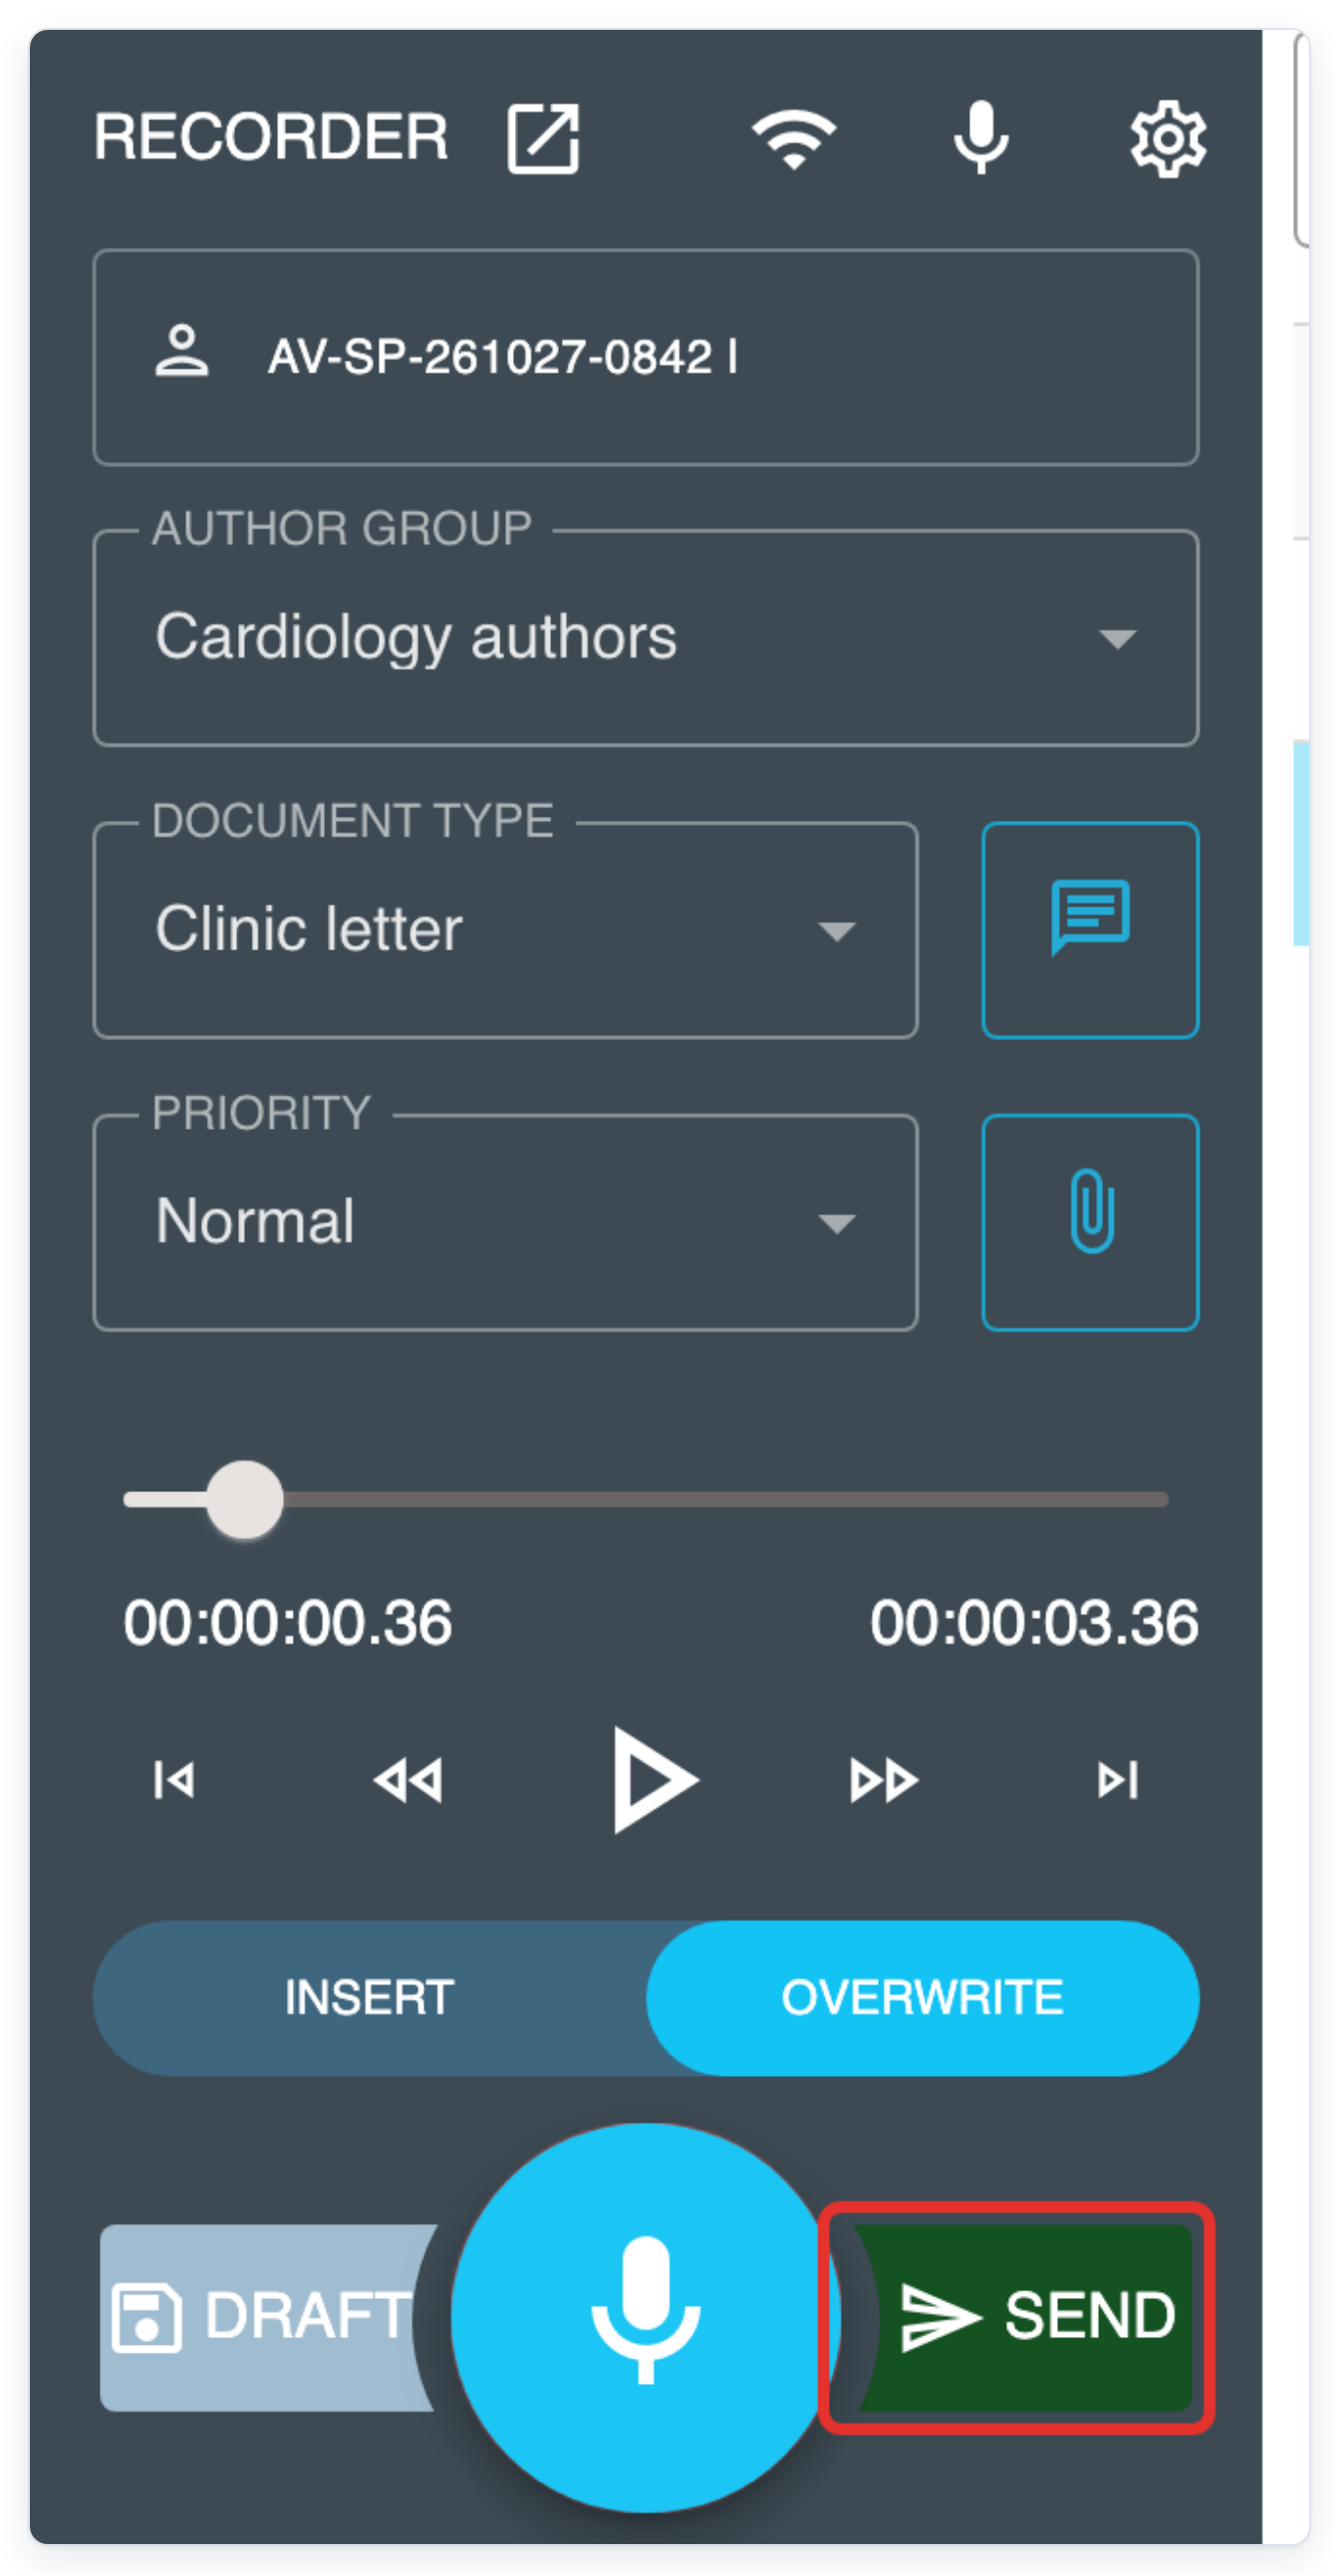
Click SEND to finalise the recording. You'll be asked to confirm that you want to send it now.
Or press your finalise pedal when recording and playback are paused.
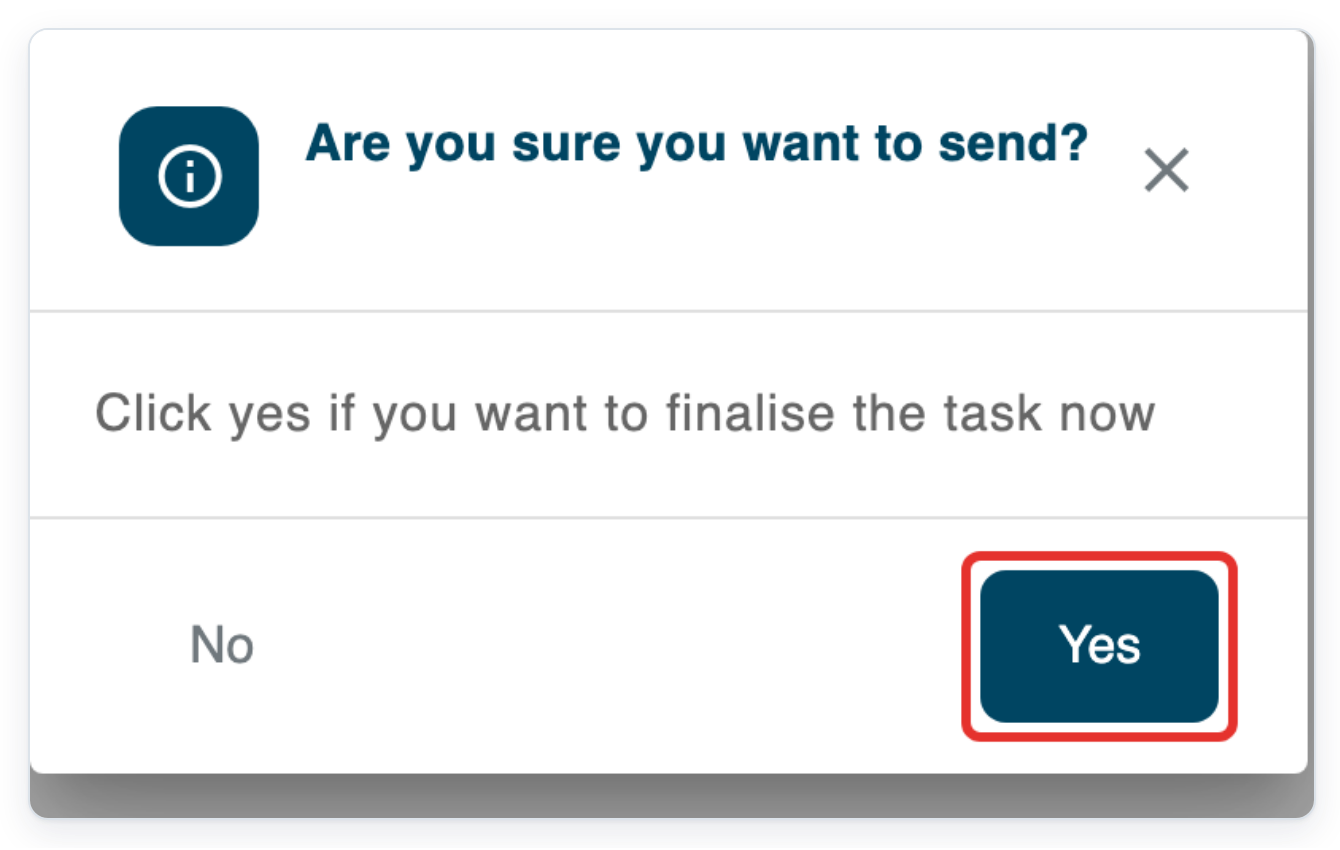
Click Yes to send the recording.
Or press your finalise pedal again to confirm.
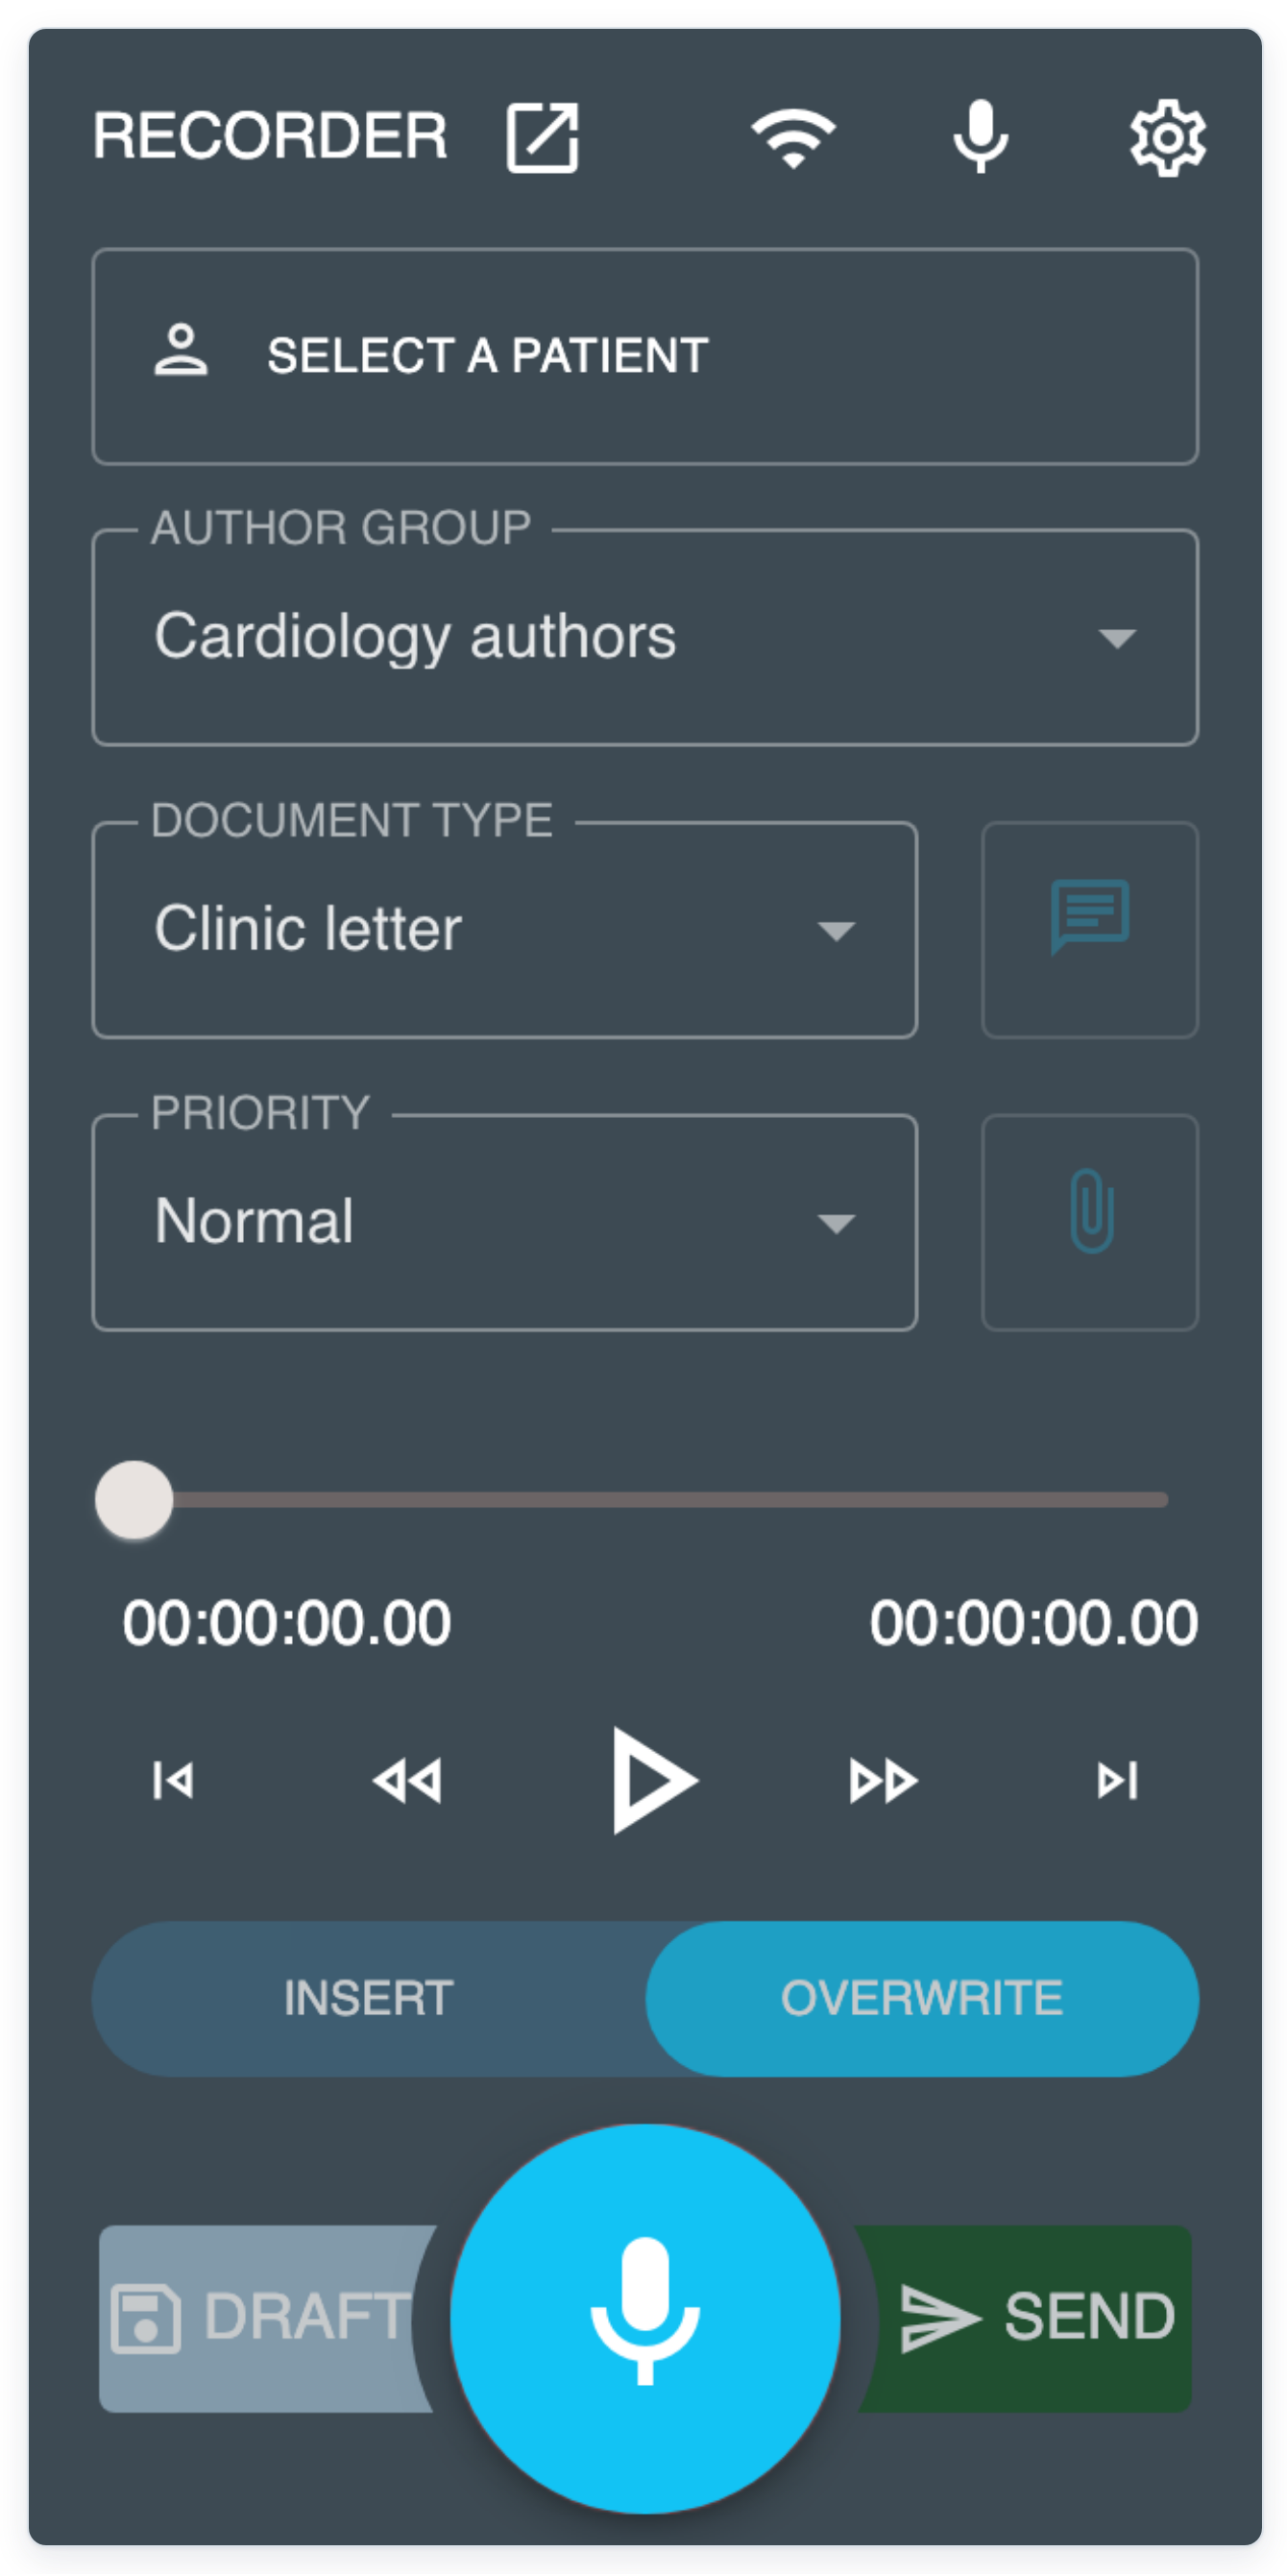
=> The recorder shows Select a Patient and the timer resets, ready for the next specimen.
NOTE:
- For barcode entry, place the cursor in Patient ID, then scan. Check the ID before confirming.
- OVERWRITE is selected by default. Recording again replaces existing audio from the current position.
- Some devices pause recording or playback when you release the pedal. Hold the pedal down while using these devices.
- If Show validation before finalise is off, your recording is sent without confirmation.
Using your foot pedal
Use the pedal controls set up for each action below.
| Foot pedal control | When to use it | What happens |
|---|---|---|
| Finalise before recording | Before you start a new dictation. | Opens Patient Information with Patient ID ready for scanning. Scan the barcode, check the ID, then press finalise again to confirm. |
| Record | To start or pause dictation. | Press and release once to start, then press and release again to pause. |
| Rewind | When recording and playback are paused, or the send confirmation is open. | Hold to move backwards through the audio. Press to cancel the send confirmation. |
| Play | To listen to your recording after pausing. | Starts playback. Press again to pause. |
| Finalise after recording | When recording and playback are paused. | Sends the recording. If confirmation is switched on, press again to confirm. |
Can't dictate hands-free?
- The finalise pedal does nothing. Pause recording and playback. Wait for the recorder to finish loading, then try again.
- The recording won't send. Record at least one second of audio, then pause and send.
- Your pedal is missing from Recorder Settings. Click the refresh button beside HID Devices:. Contact our Helpdesk if it's still missing.
Related articles
If you have any more queries, please do not hesitate to contact our Helpdesk or support@tpro.io.
© 2020 - 2026