
Before you start
You need a master or manager account with access to an existing author group. If you’re a manager, you must manage the group’s department. After signing in, managers start at step 2 and masters at step 8.
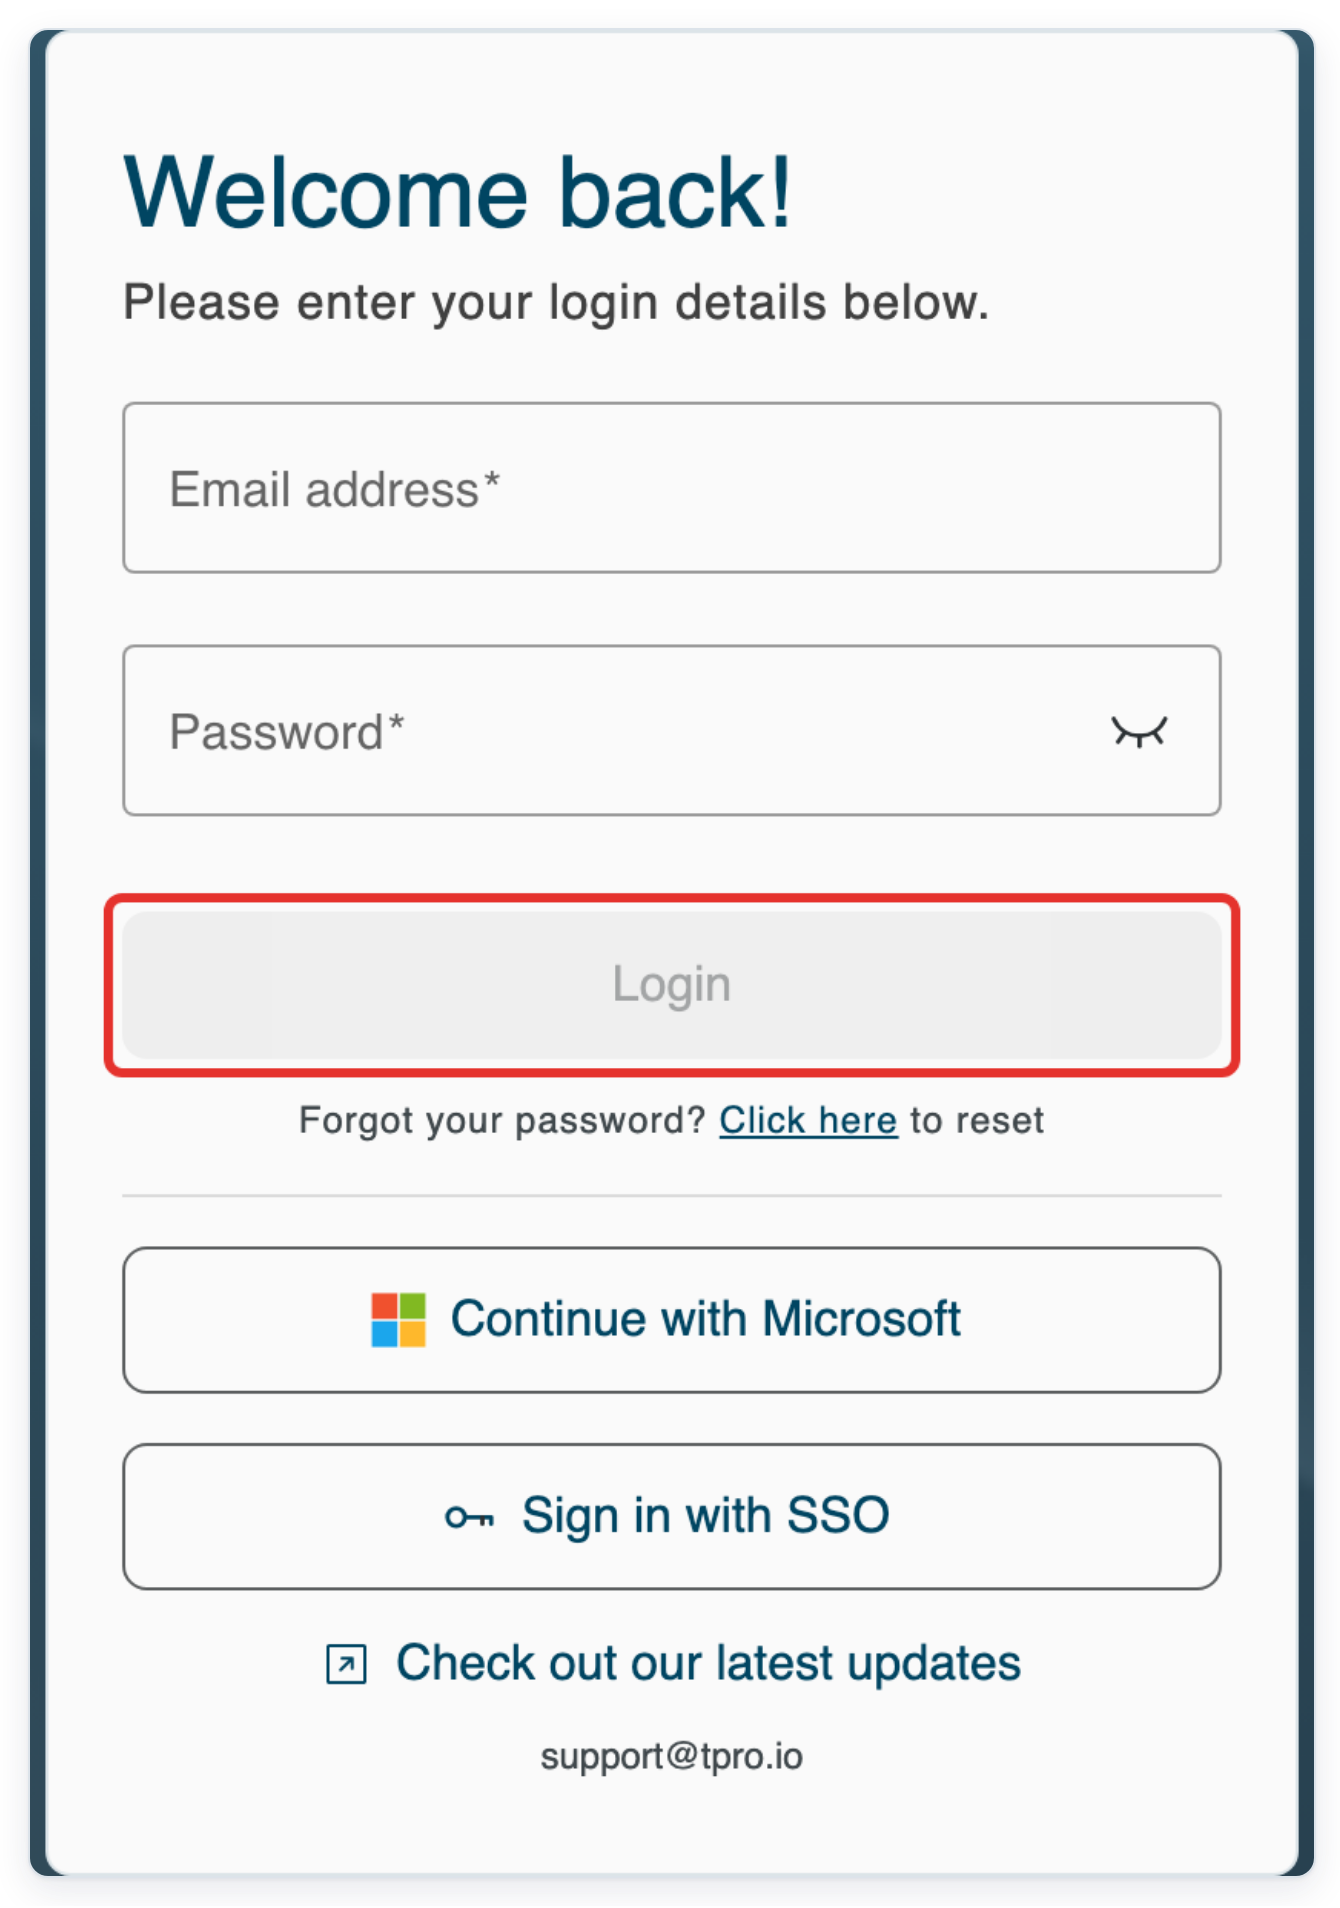
Log in to T-Pro with your master or manager credentials.
As a manager
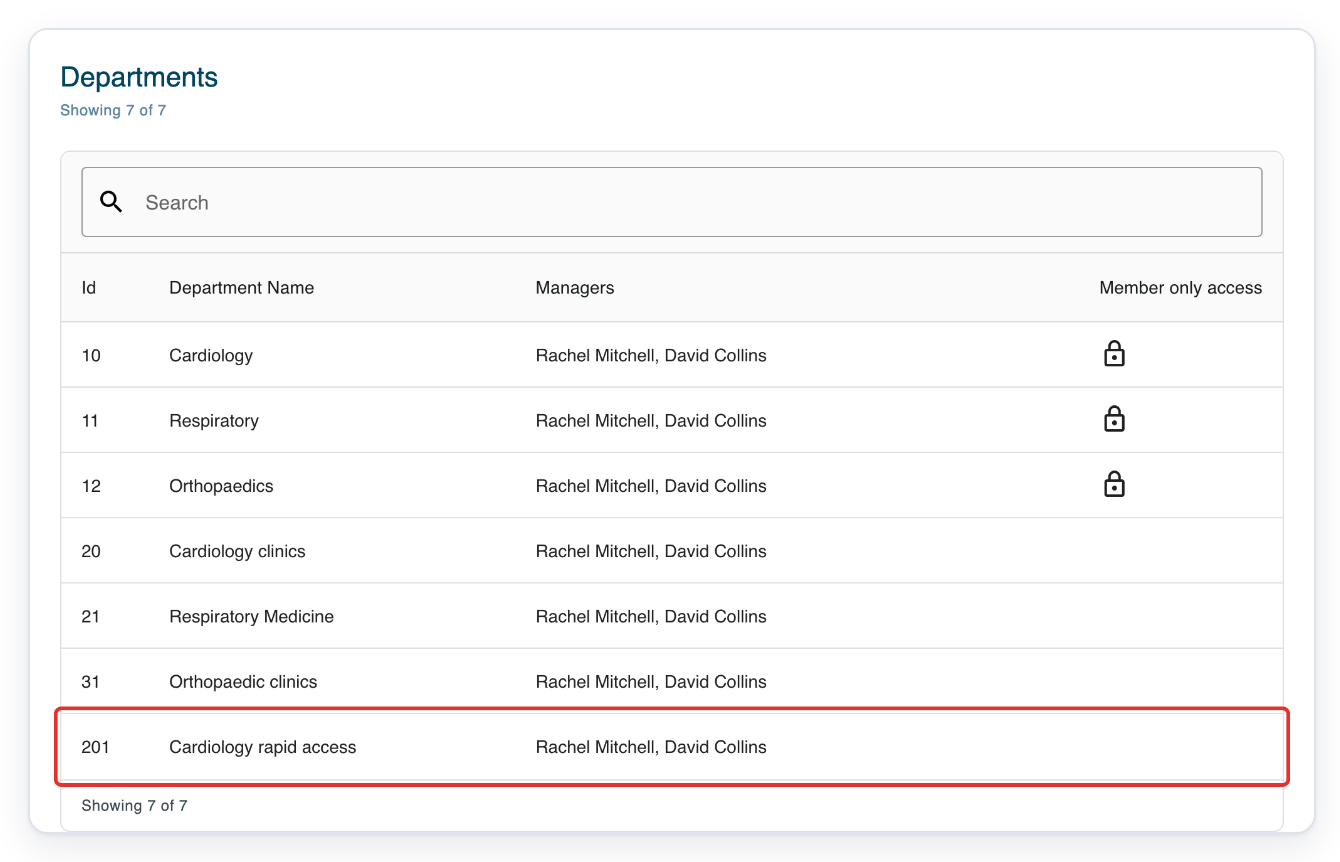
In Departments, click the department you want to update (Cardiology rapid access in this example). Its Authors tab opens.
Use Search above the list to find the department that contains your author group. Each department’s managers are also listed to help you find the right one.
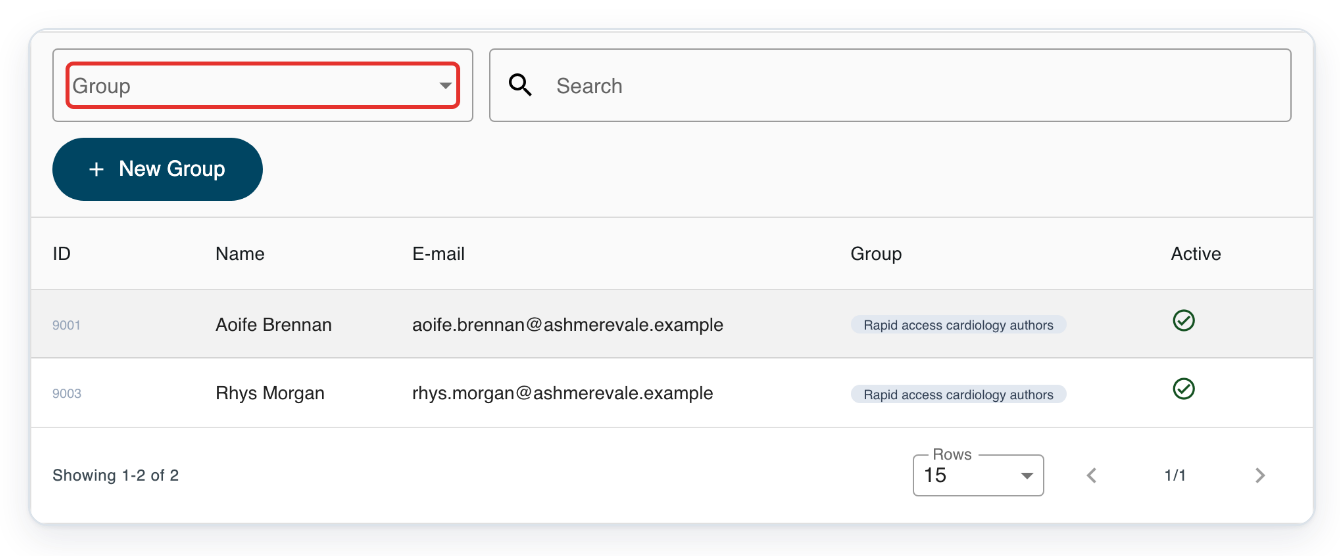
Open Group to see the department’s author groups.
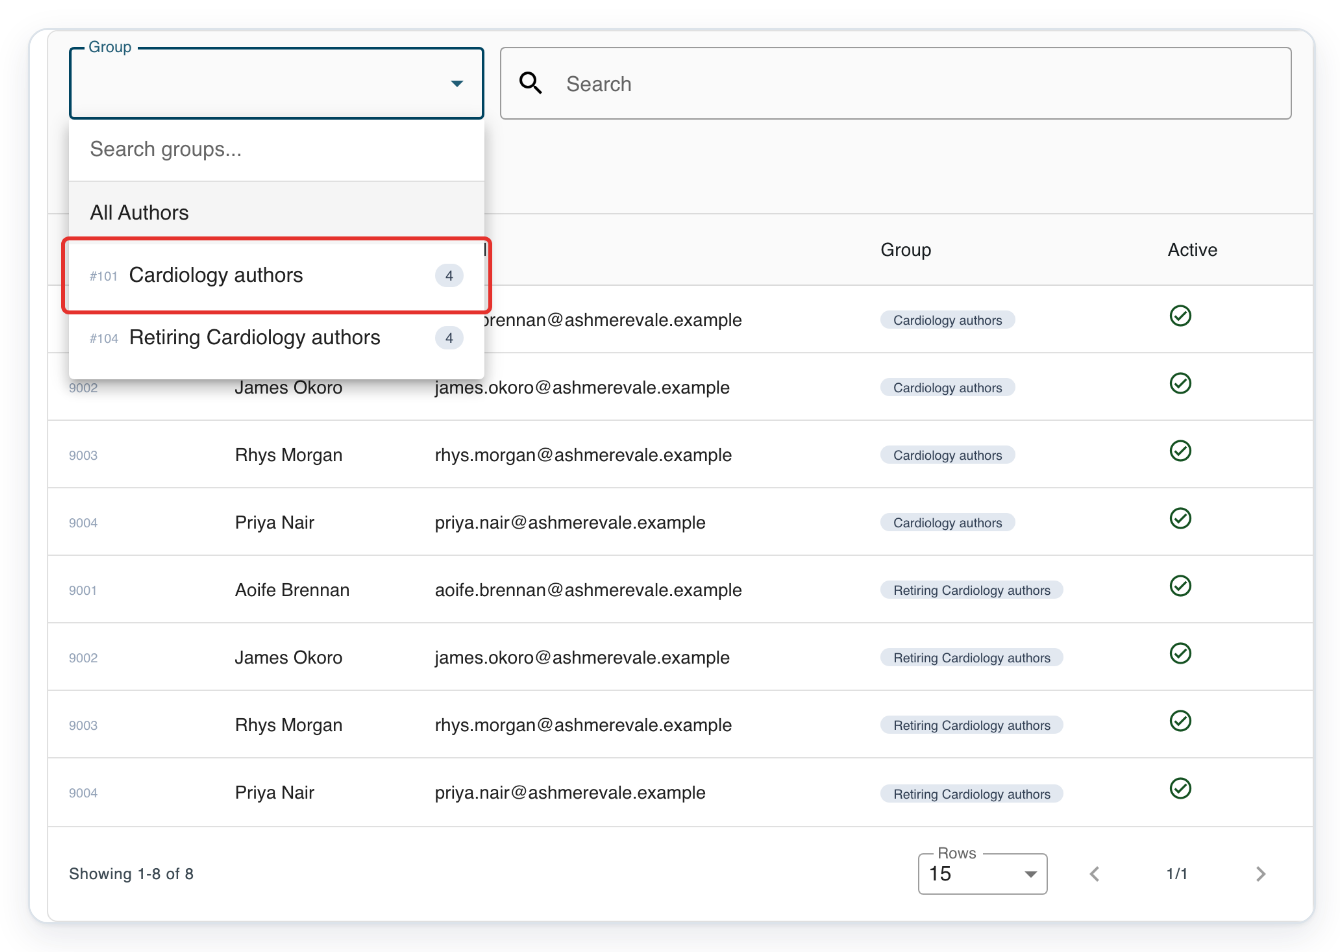
To find a group, type part of its name in Search groups... in the menu.
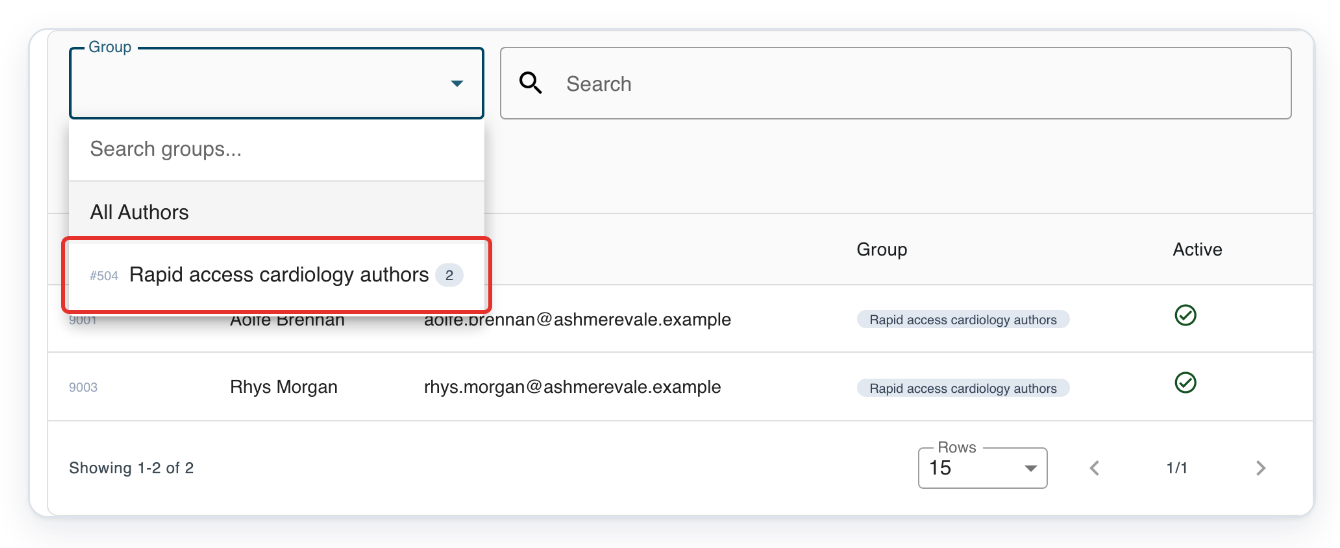
Choose the author group you want to update (Rapid access cardiology authors in this example).
Each group has a name and number. The count beside its name tells you how many members it has. Choose a group to open its tabs and member list.
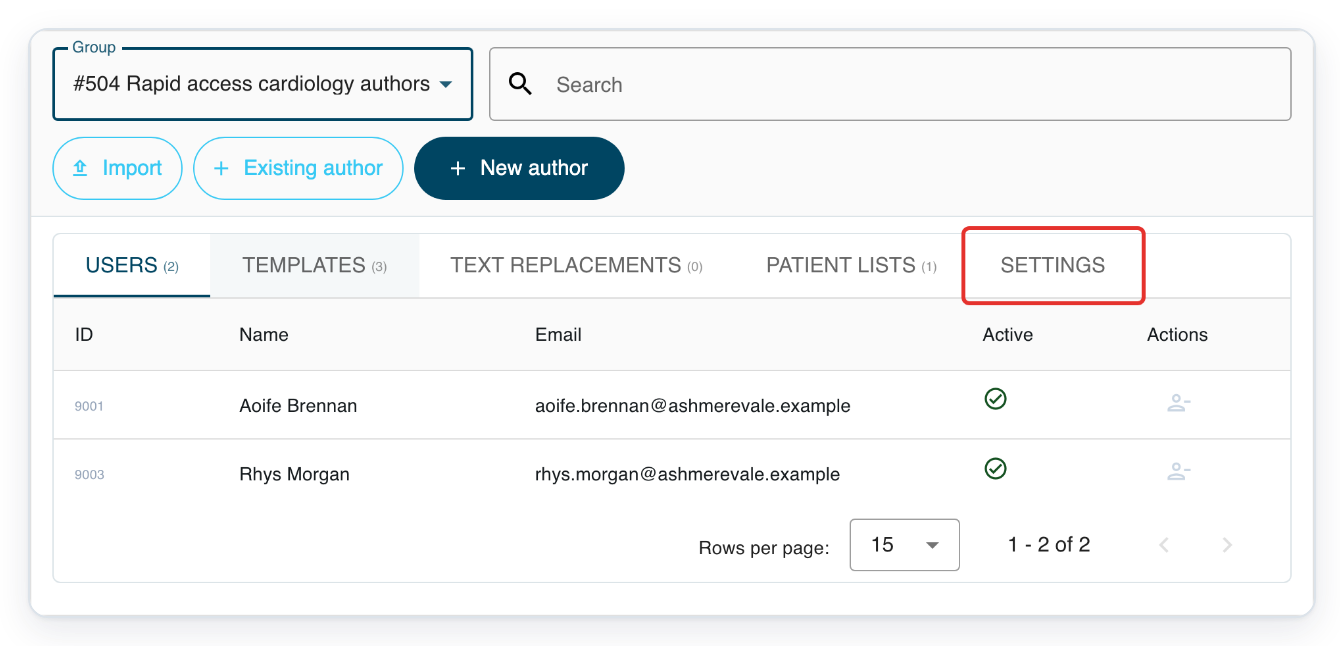
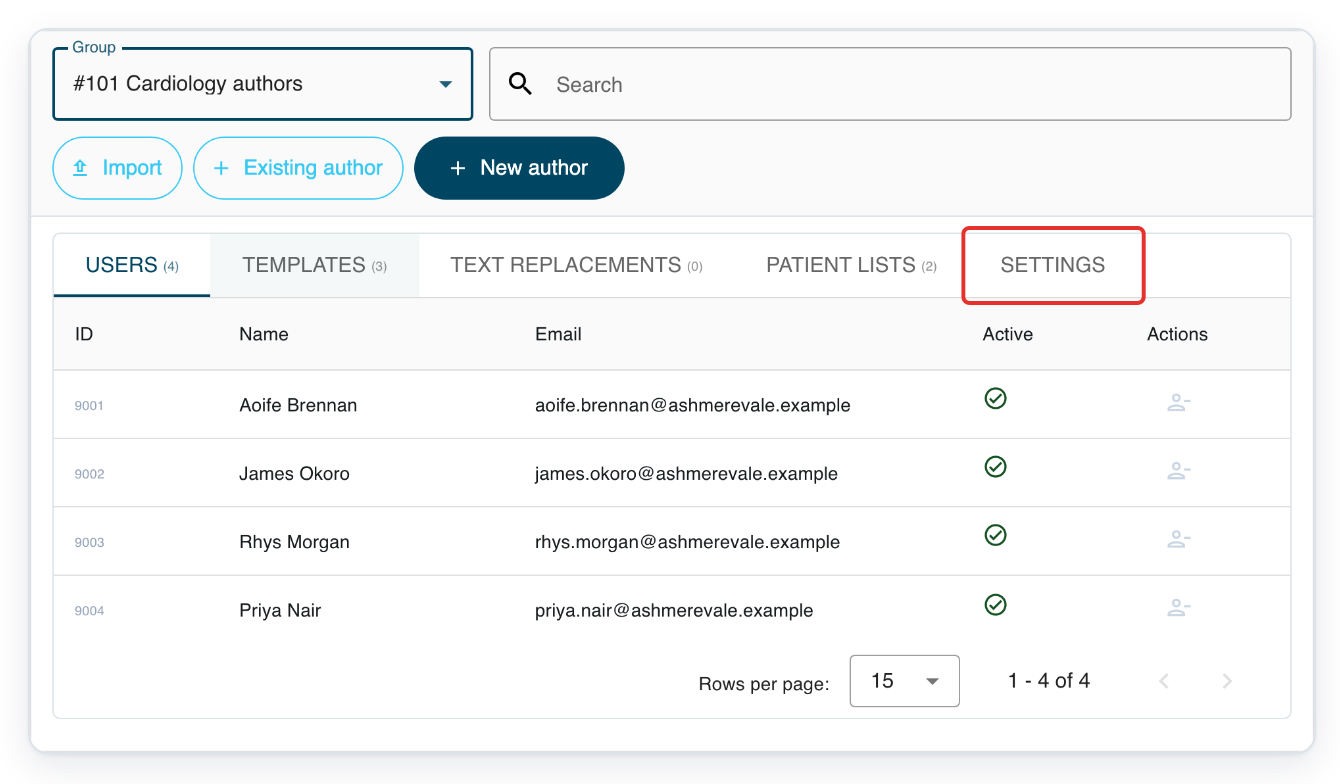
Click the author group’s Settings tab.
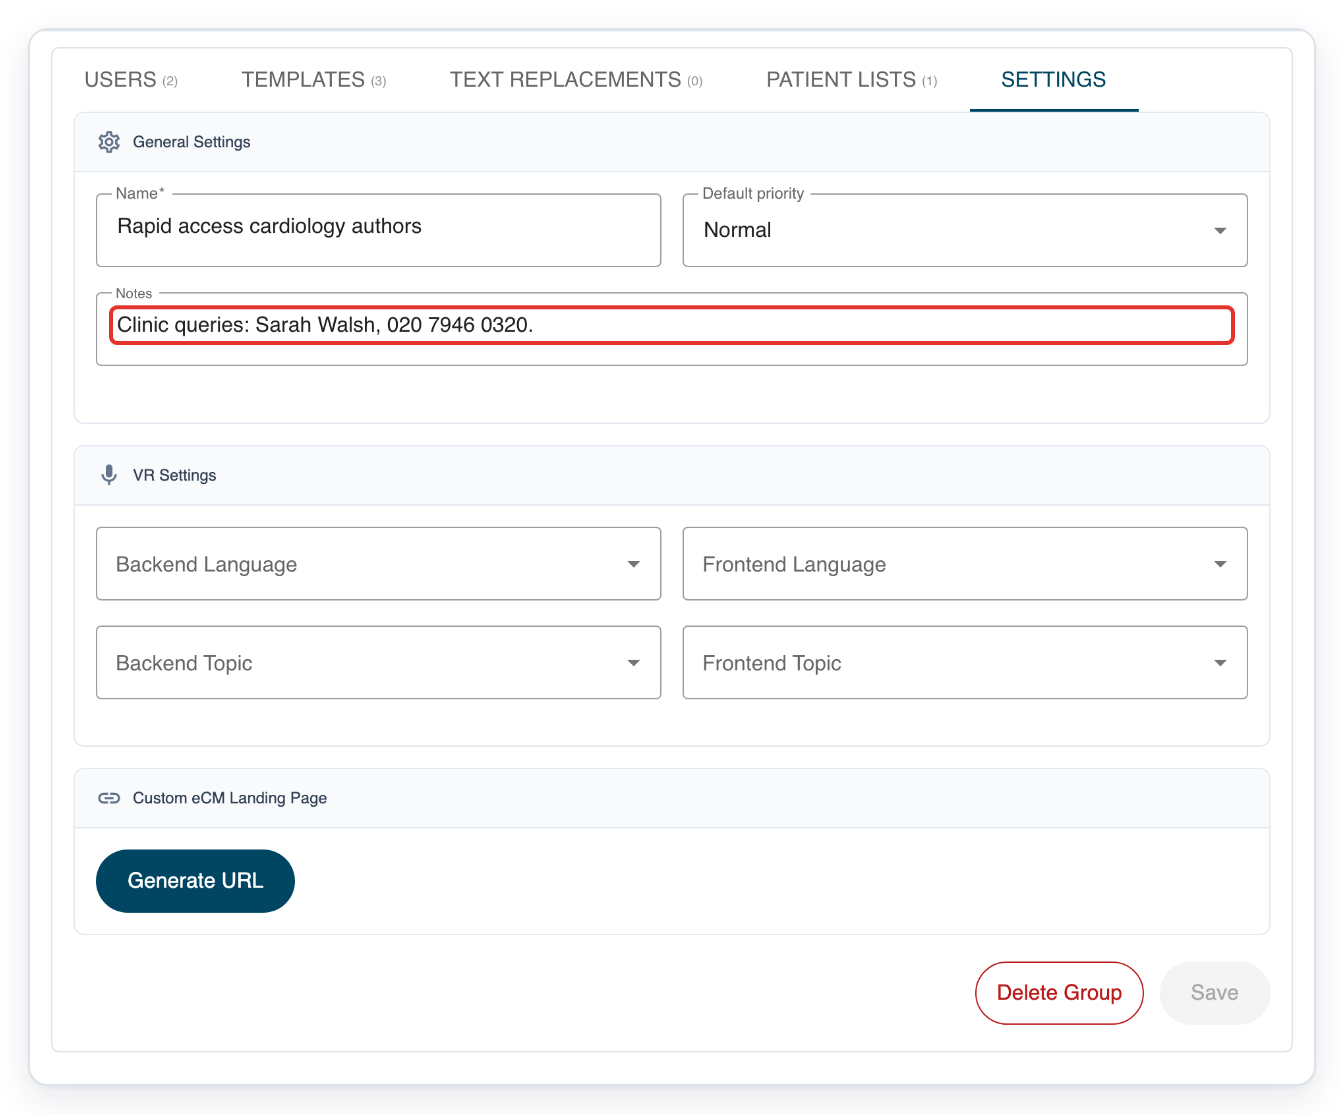
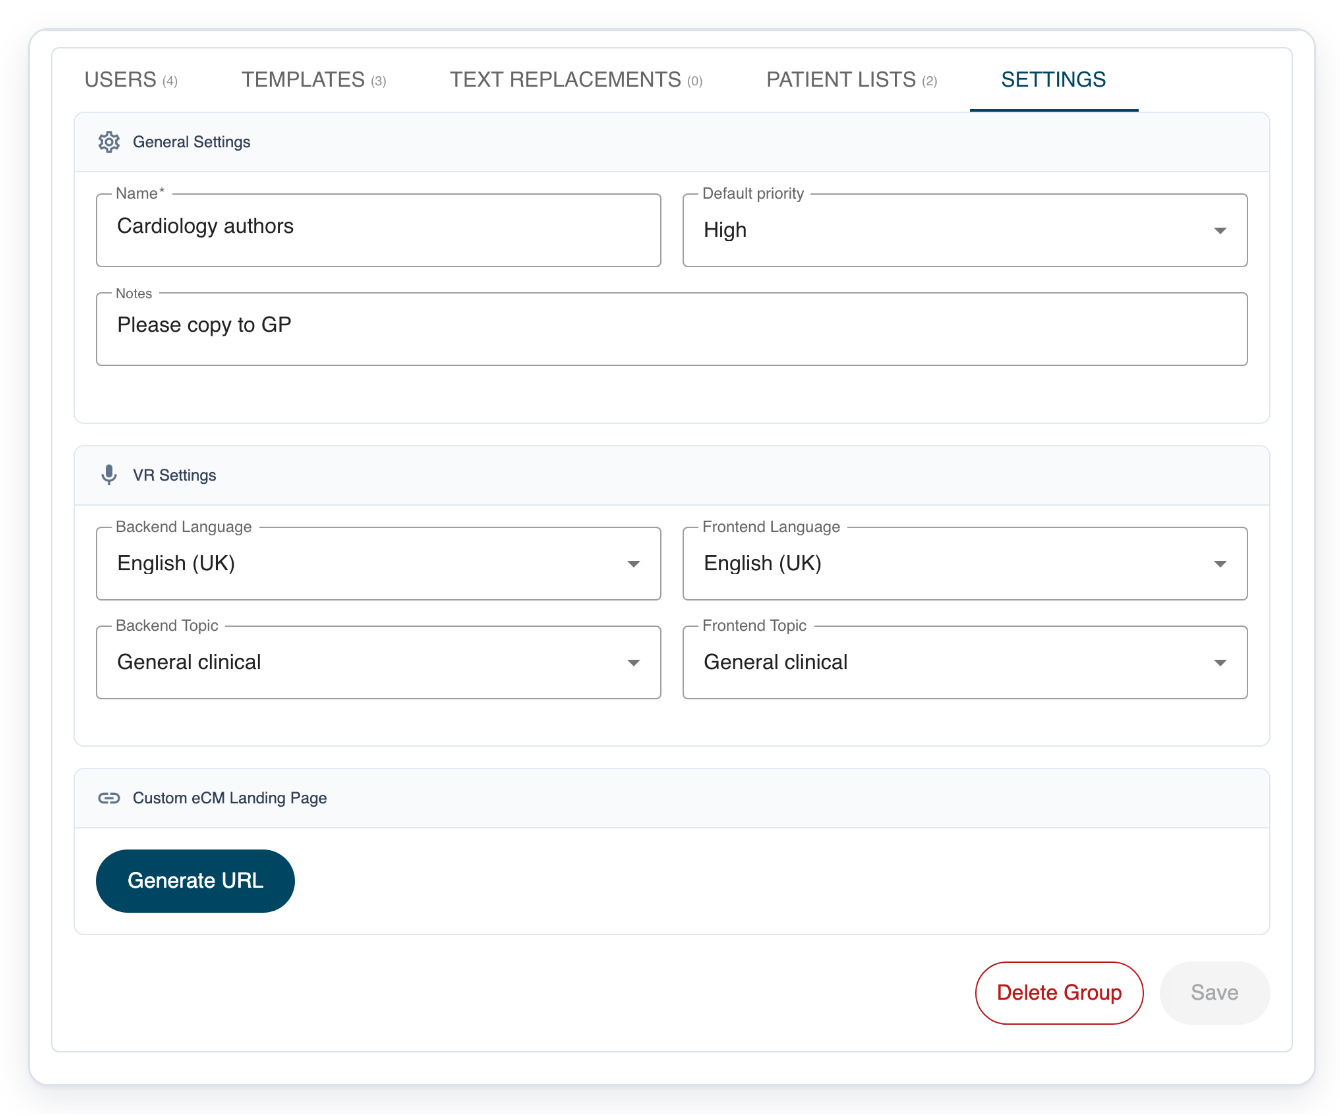
Enter or replace the contact information in Notes, exactly as you want it to appear in documents.
Notes is under General Settings. For example, enter:
For appointment queries, please contact the Cardiology secretaries on 020 7946 0318, Monday to Friday, 09:00–17:00.
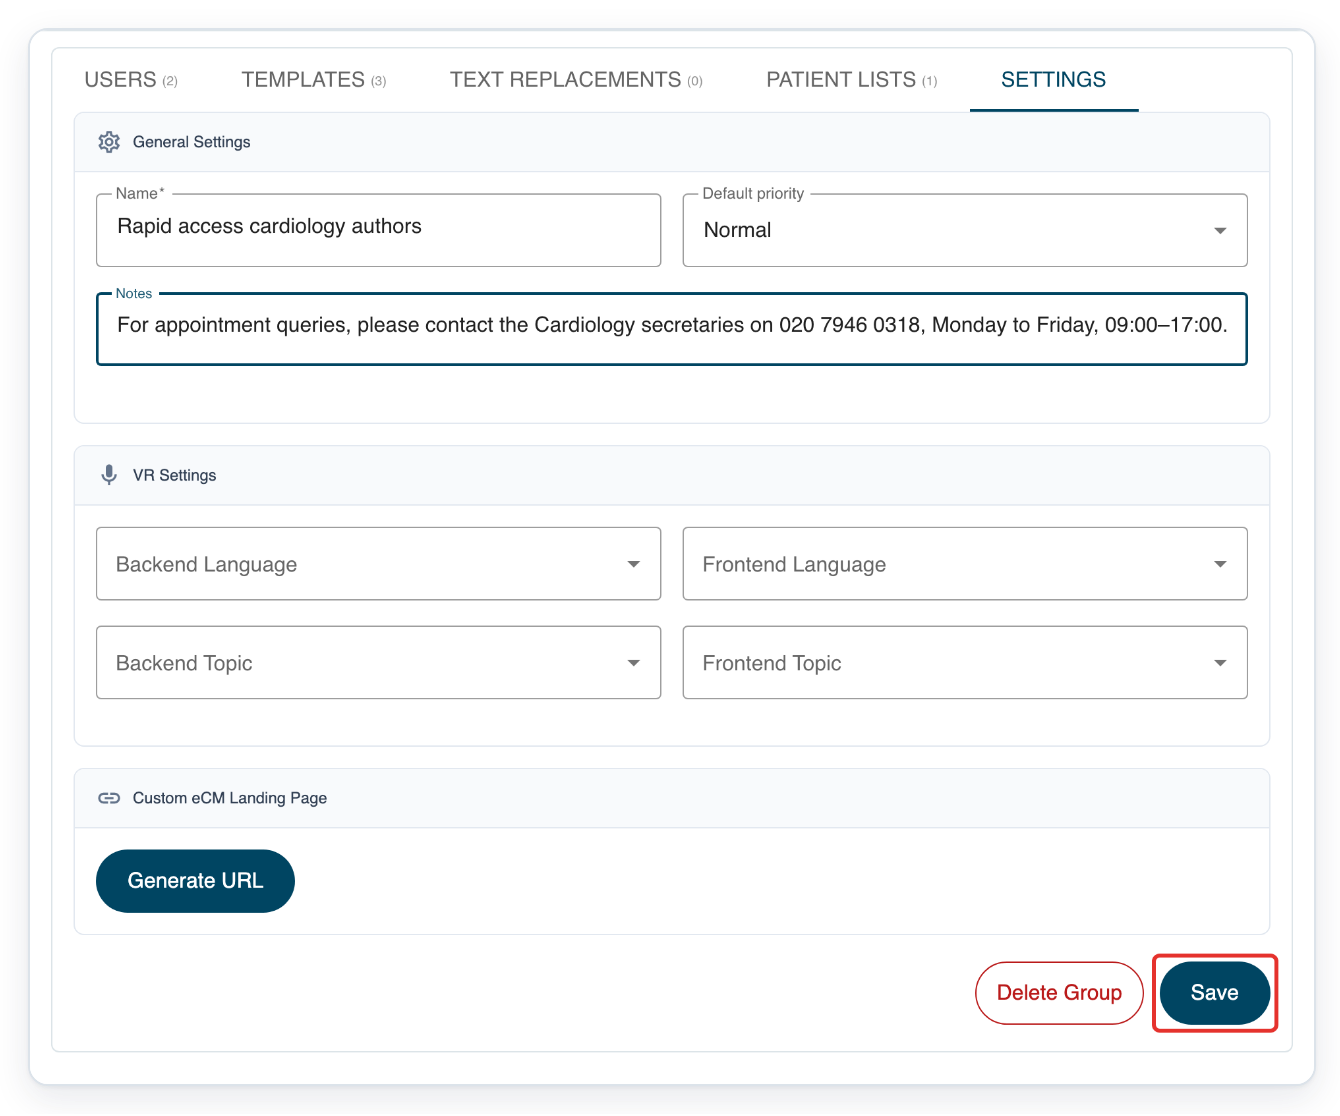
Click Save. T-Pro confirms the change with Group updated.
Wait for this confirmation before leaving the page.
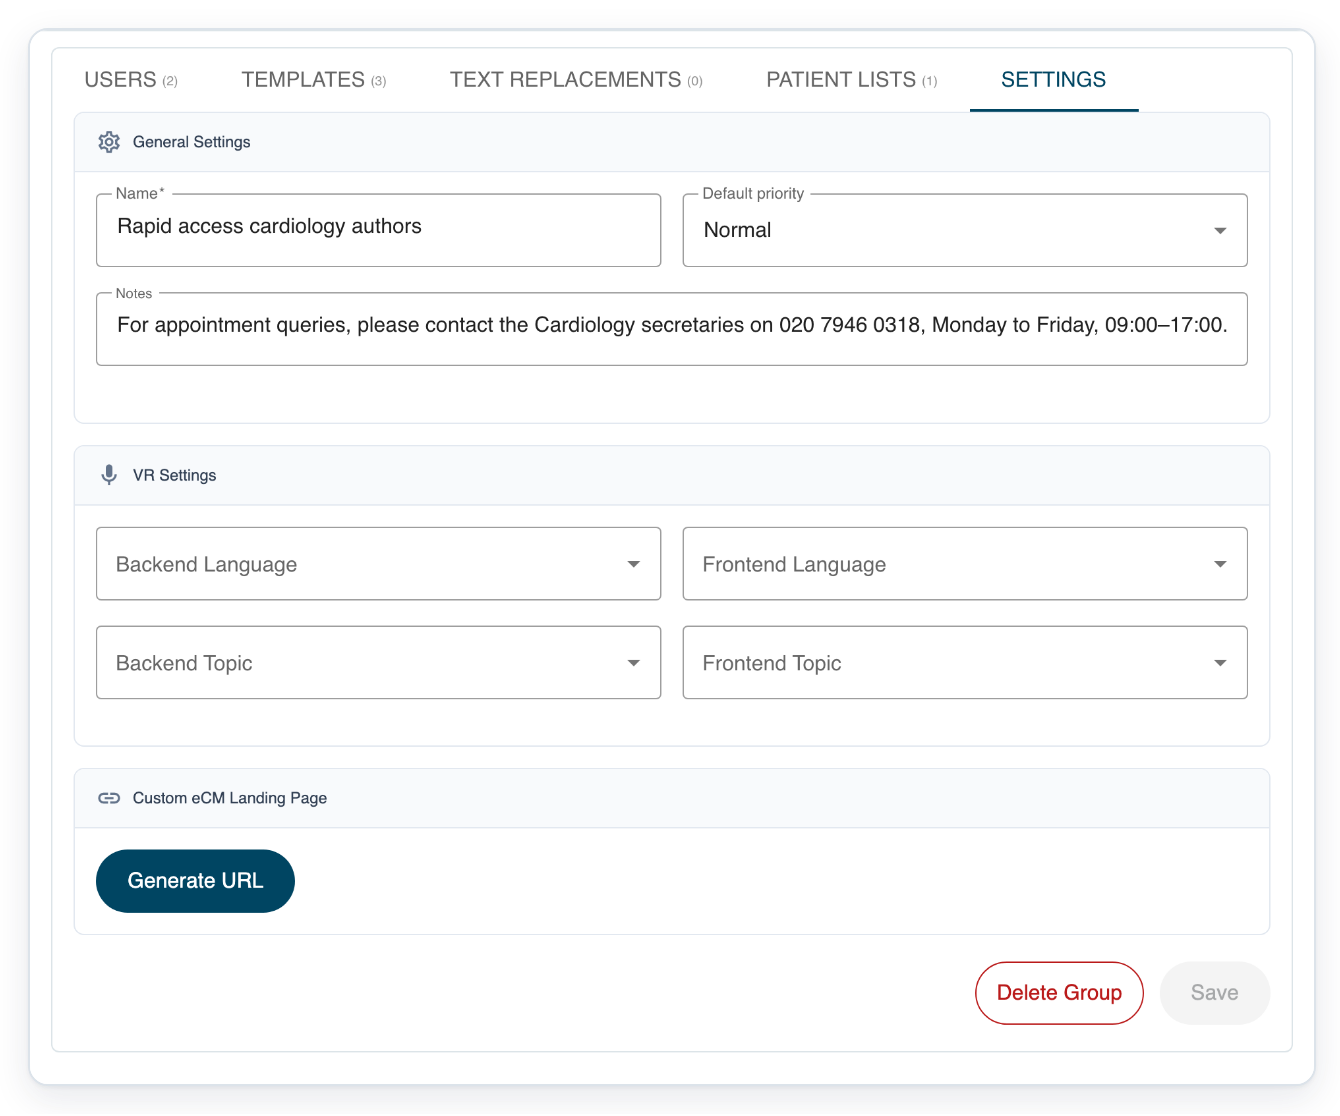
=> Your contact information is saved in Notes on the group’s Settings tab. Save becomes available again when you make another change.
As a master
After signing in as a master, open your organisation in Organisations. Here, we’re using Ashmere Vale Outpatients.
Choose the organisation that contains the department and author group you want to update. Type its name in Search above the list, then press Enter.
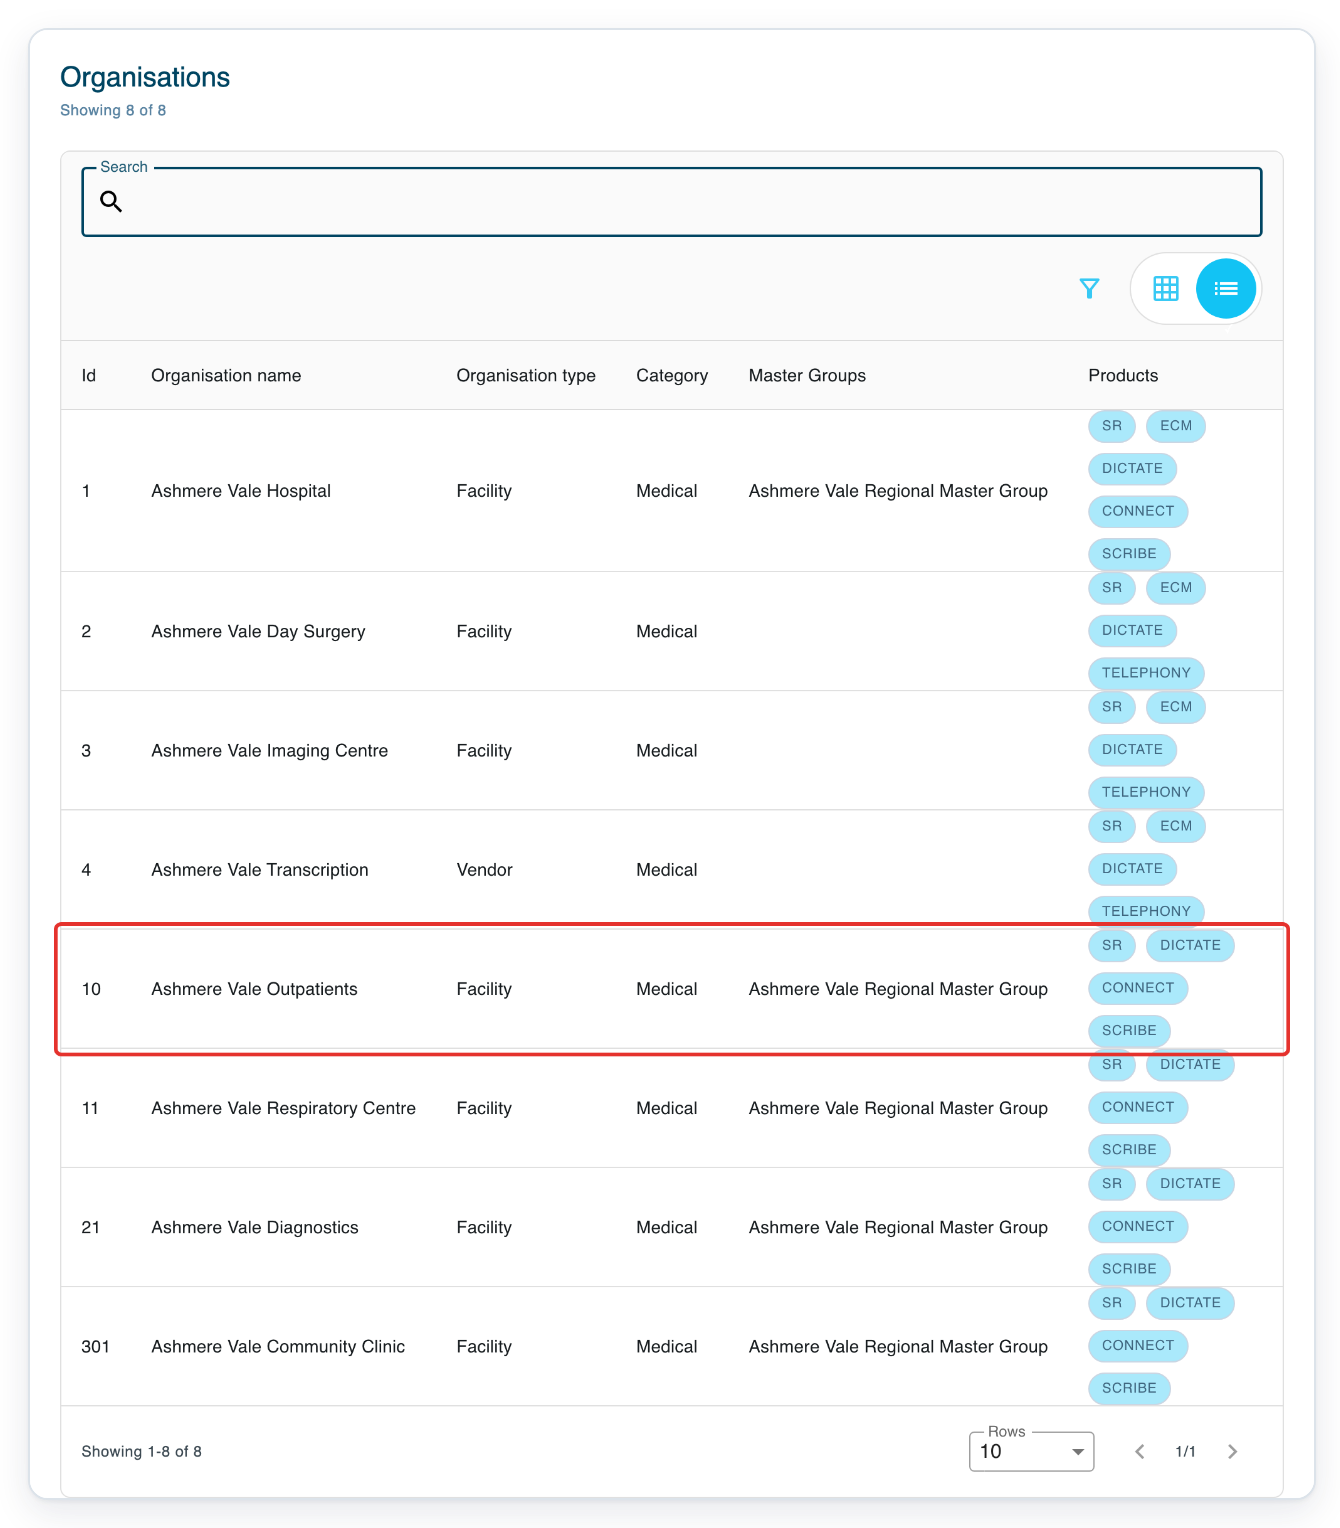
Click the organisation’s Departments tab.
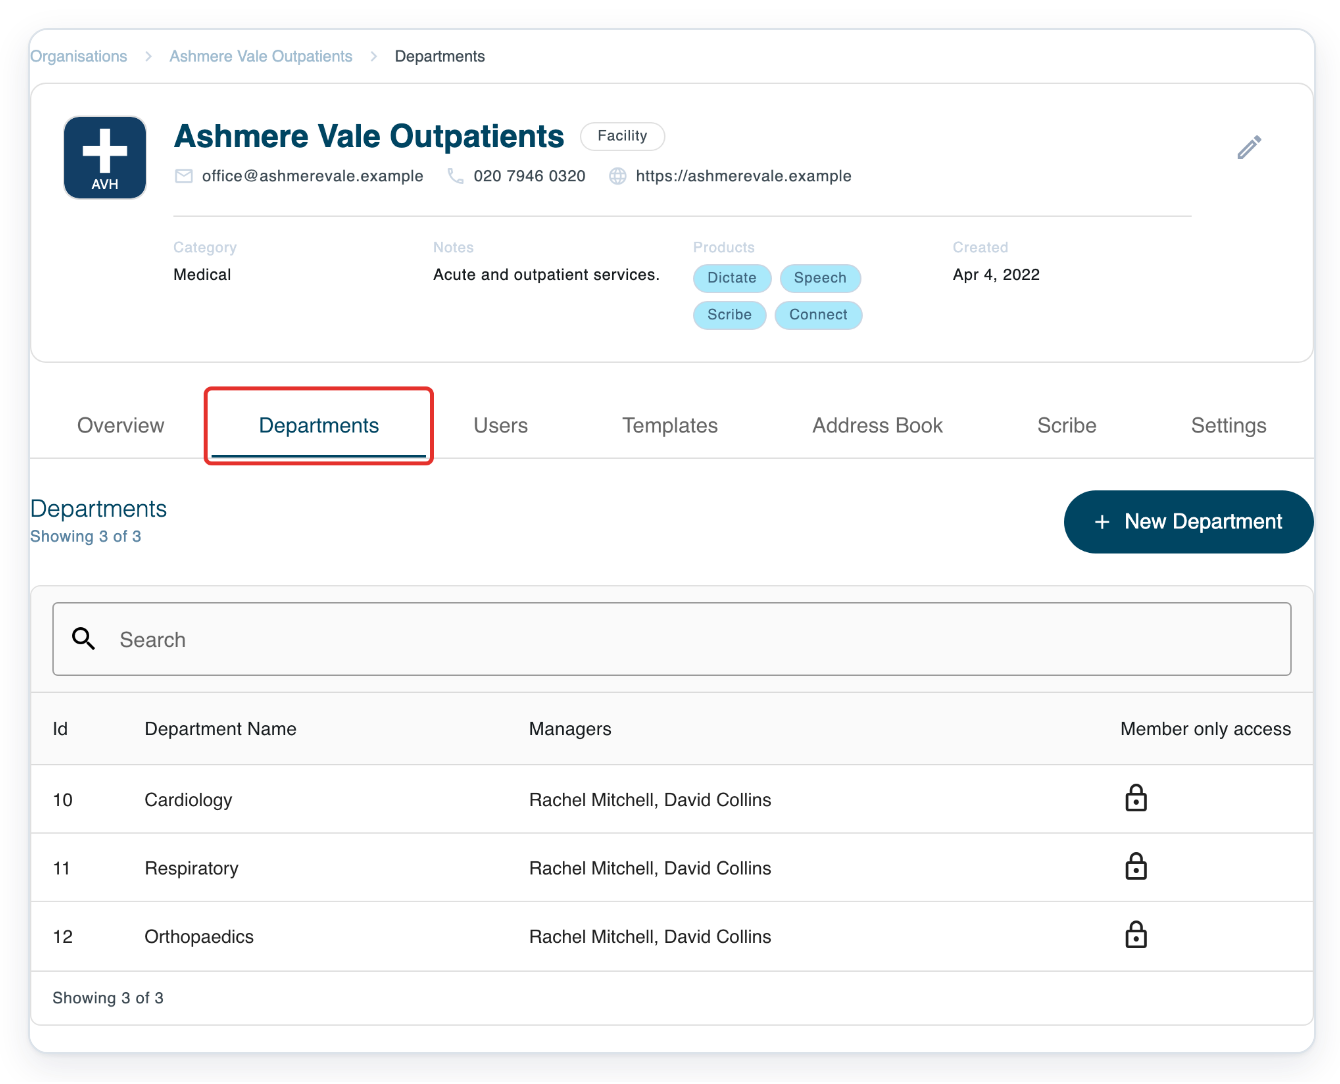
=> The Departments tab shows the organisation’s departments.
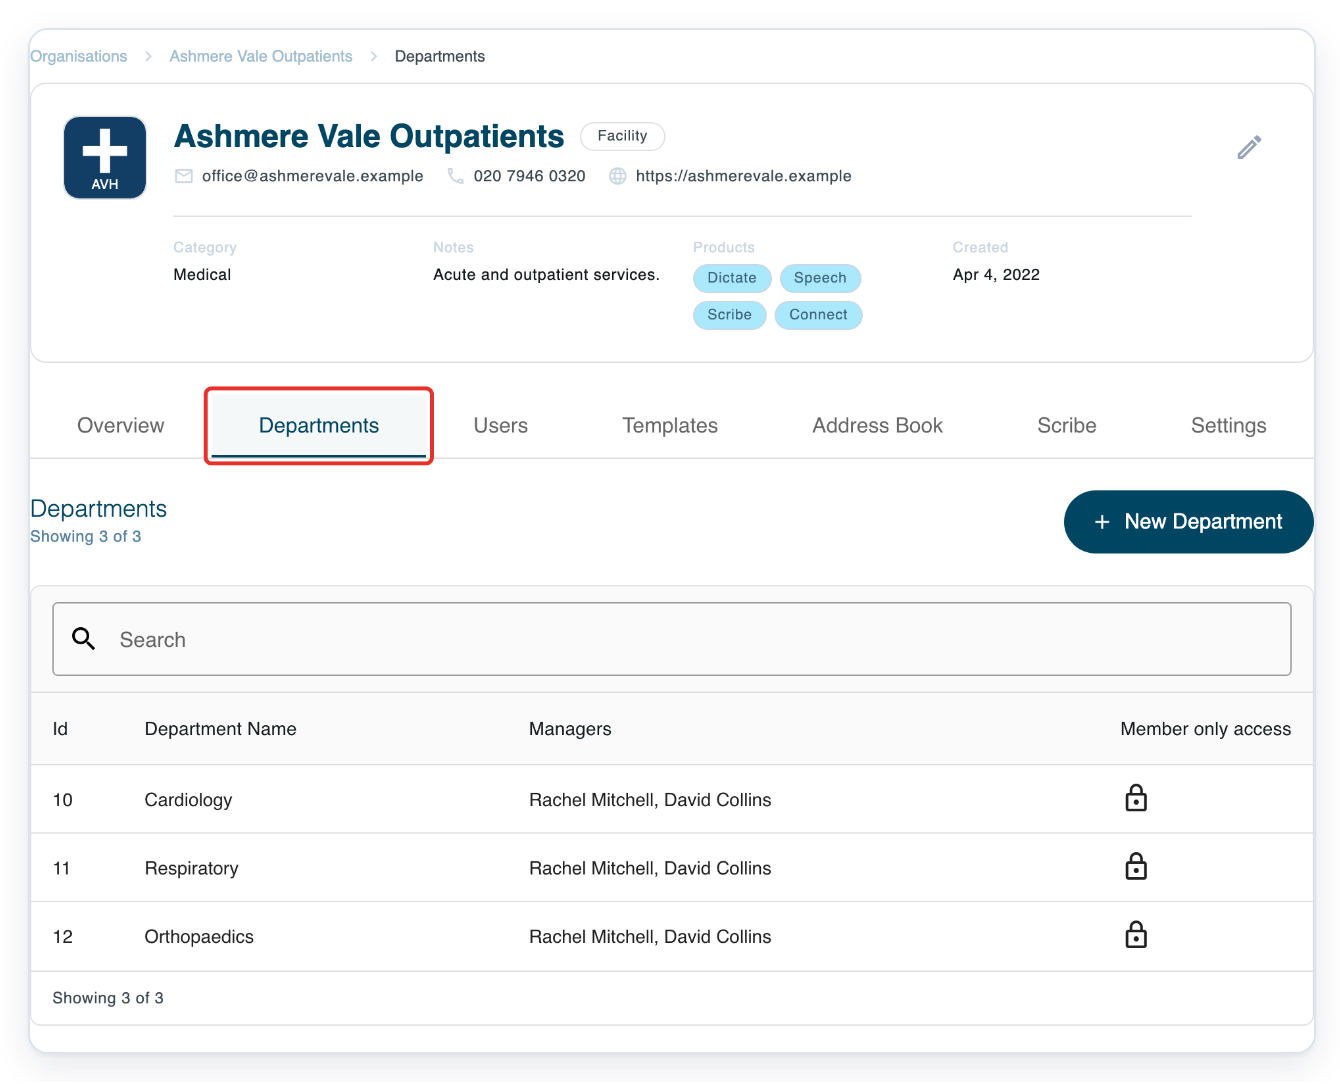
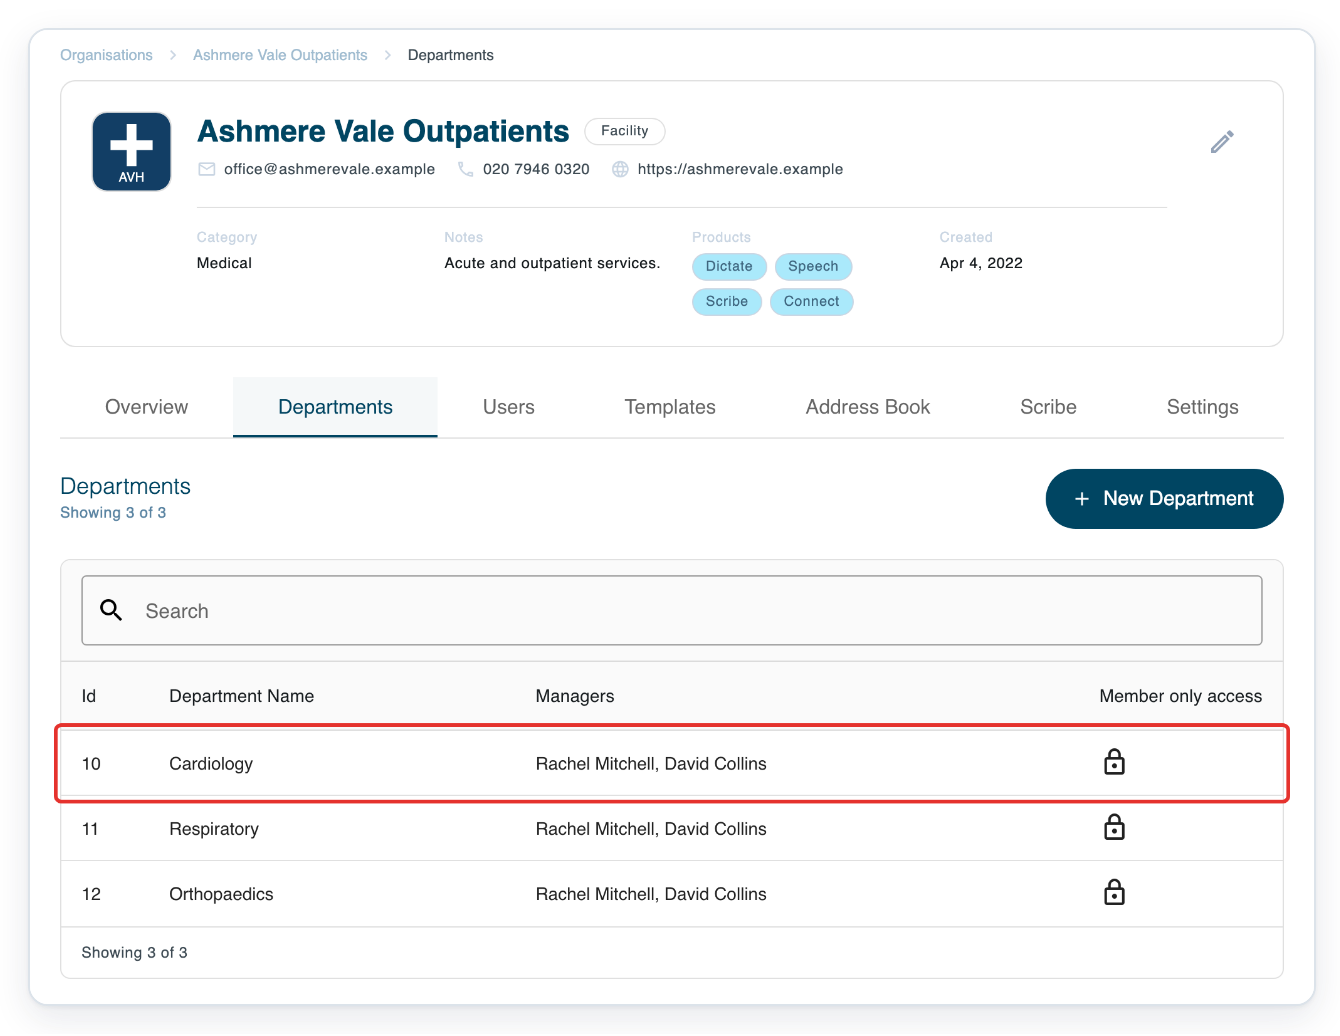
Click the department you want to open (Cardiology in this example). Its Authors tab opens.
Open Group to see this department’s author groups.
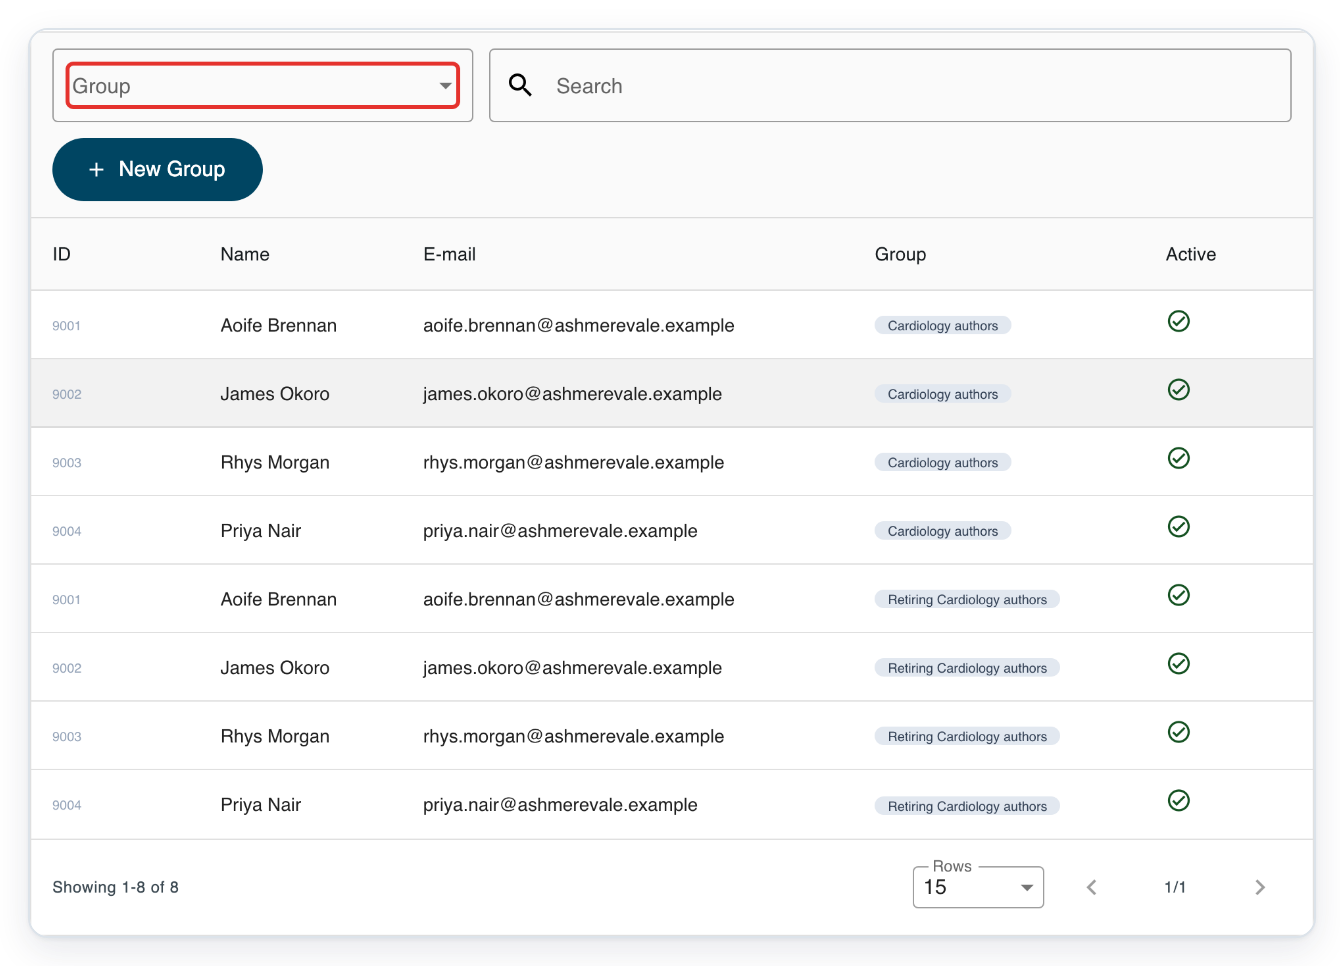
Choose the author group you want to update (Cardiology authors in this example).
Click the author group’s Settings tab.
=> The group’s saved note appears in Notes. Enter your contact information, then click Save, as in steps 6 and 7.
NOTE:
- The template needs the exact merge field
author_group_note. This marks where the group’s note appears in the document. - The note comes from the task’s author group. Check which group the task uses before updating its note.
Tip: You can reuse a template with
author_group_notefor groups that need different contact information. Each group supplies its own note.
Can't use the author group note?
Saved Notes, but the note is missing from your document? Check that the template contains
author_group_note.=> In this example,
author_group_notedisplays the appointment contact information above the letter text.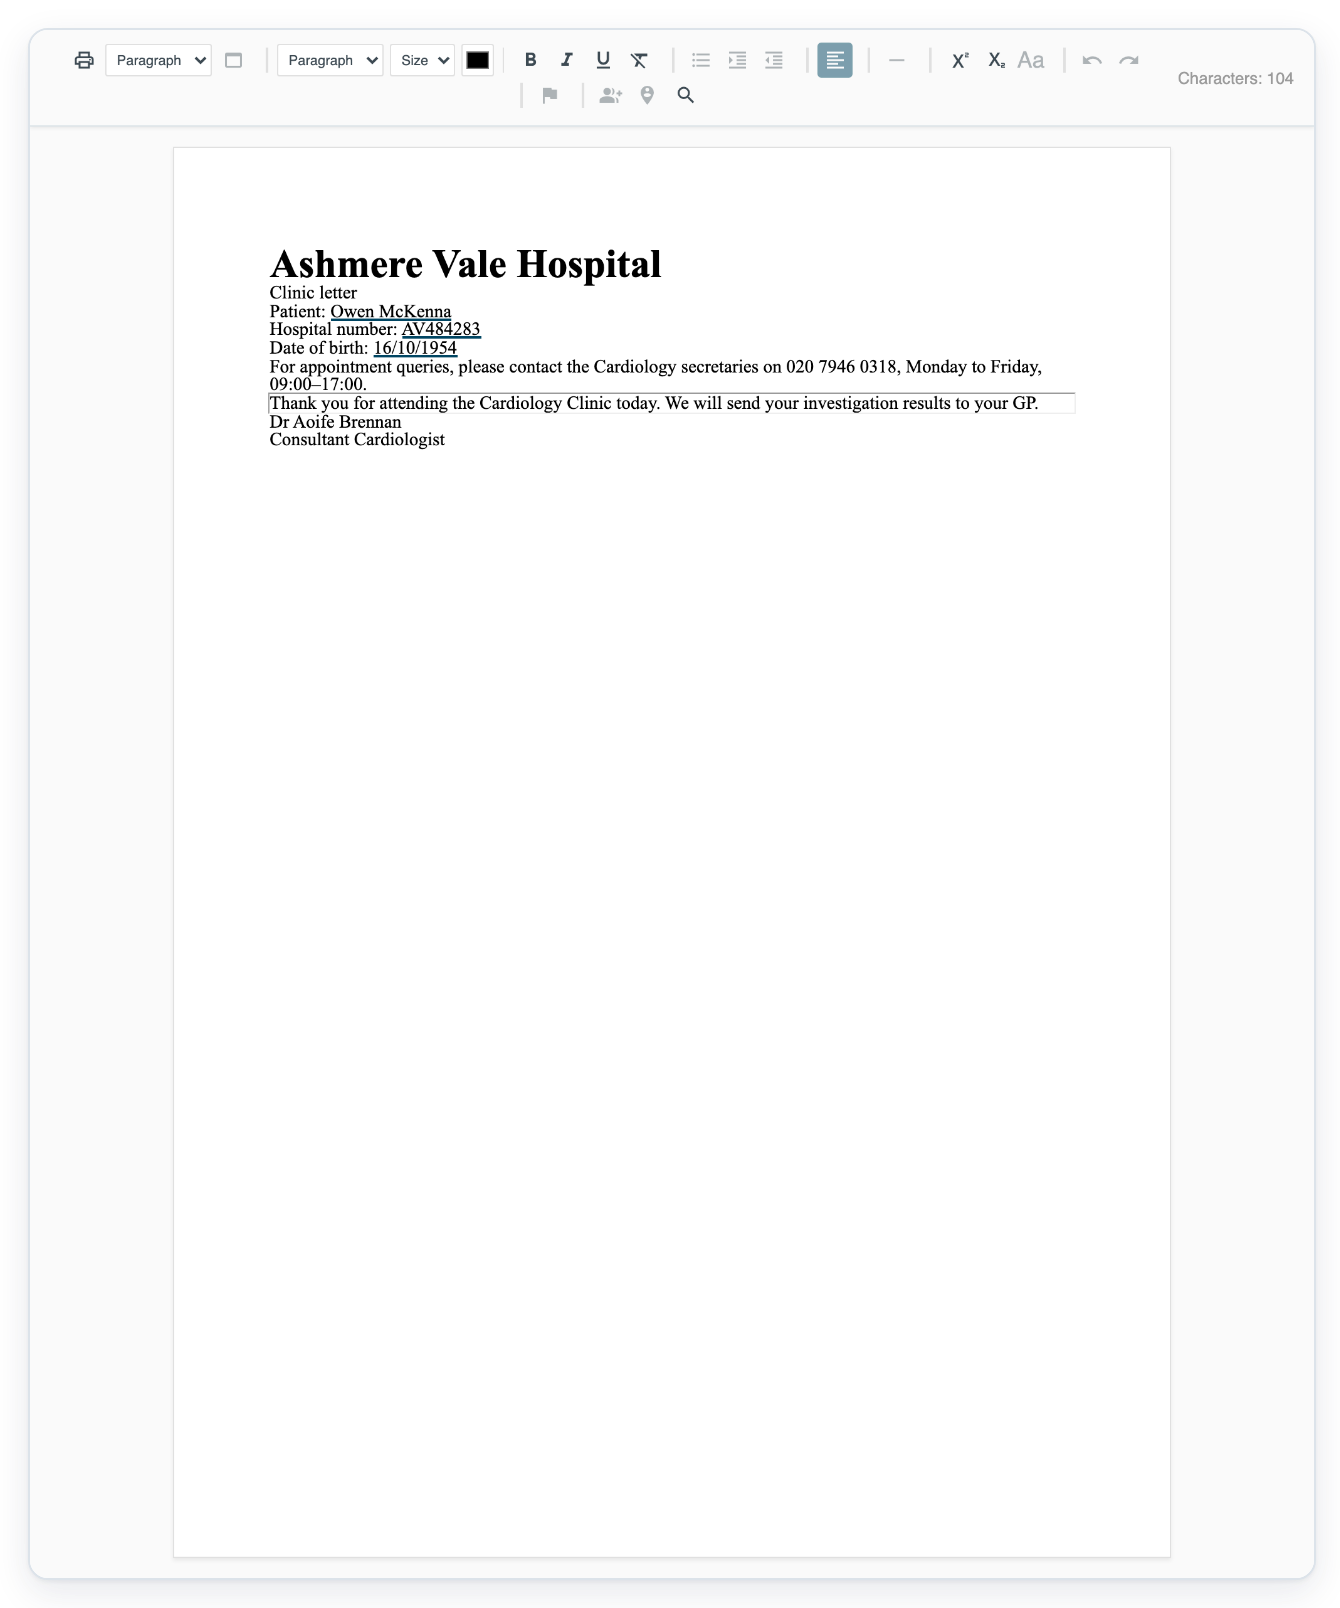
Open the template and look for
author_group_notewhere you want the note to appear. Add the merge field there if it’s missing.Can’t see Settings? Choose an author group in Group first. This opens the group’s tabs.
Save unavailable? Make a change in Notes. You can enter up to 1,000 characters, but the note must be 255 characters or fewer to save. Shorten longer notes, then try again.
Related articles
If you have any more queries, please do not hesitate to contact our Helpdesk or support@tpro.io.
© 2020 - 2026