
Before you start
You need an author account, an author group and a document type. Your workflow must let you finish without another person's approval or a storage stage.
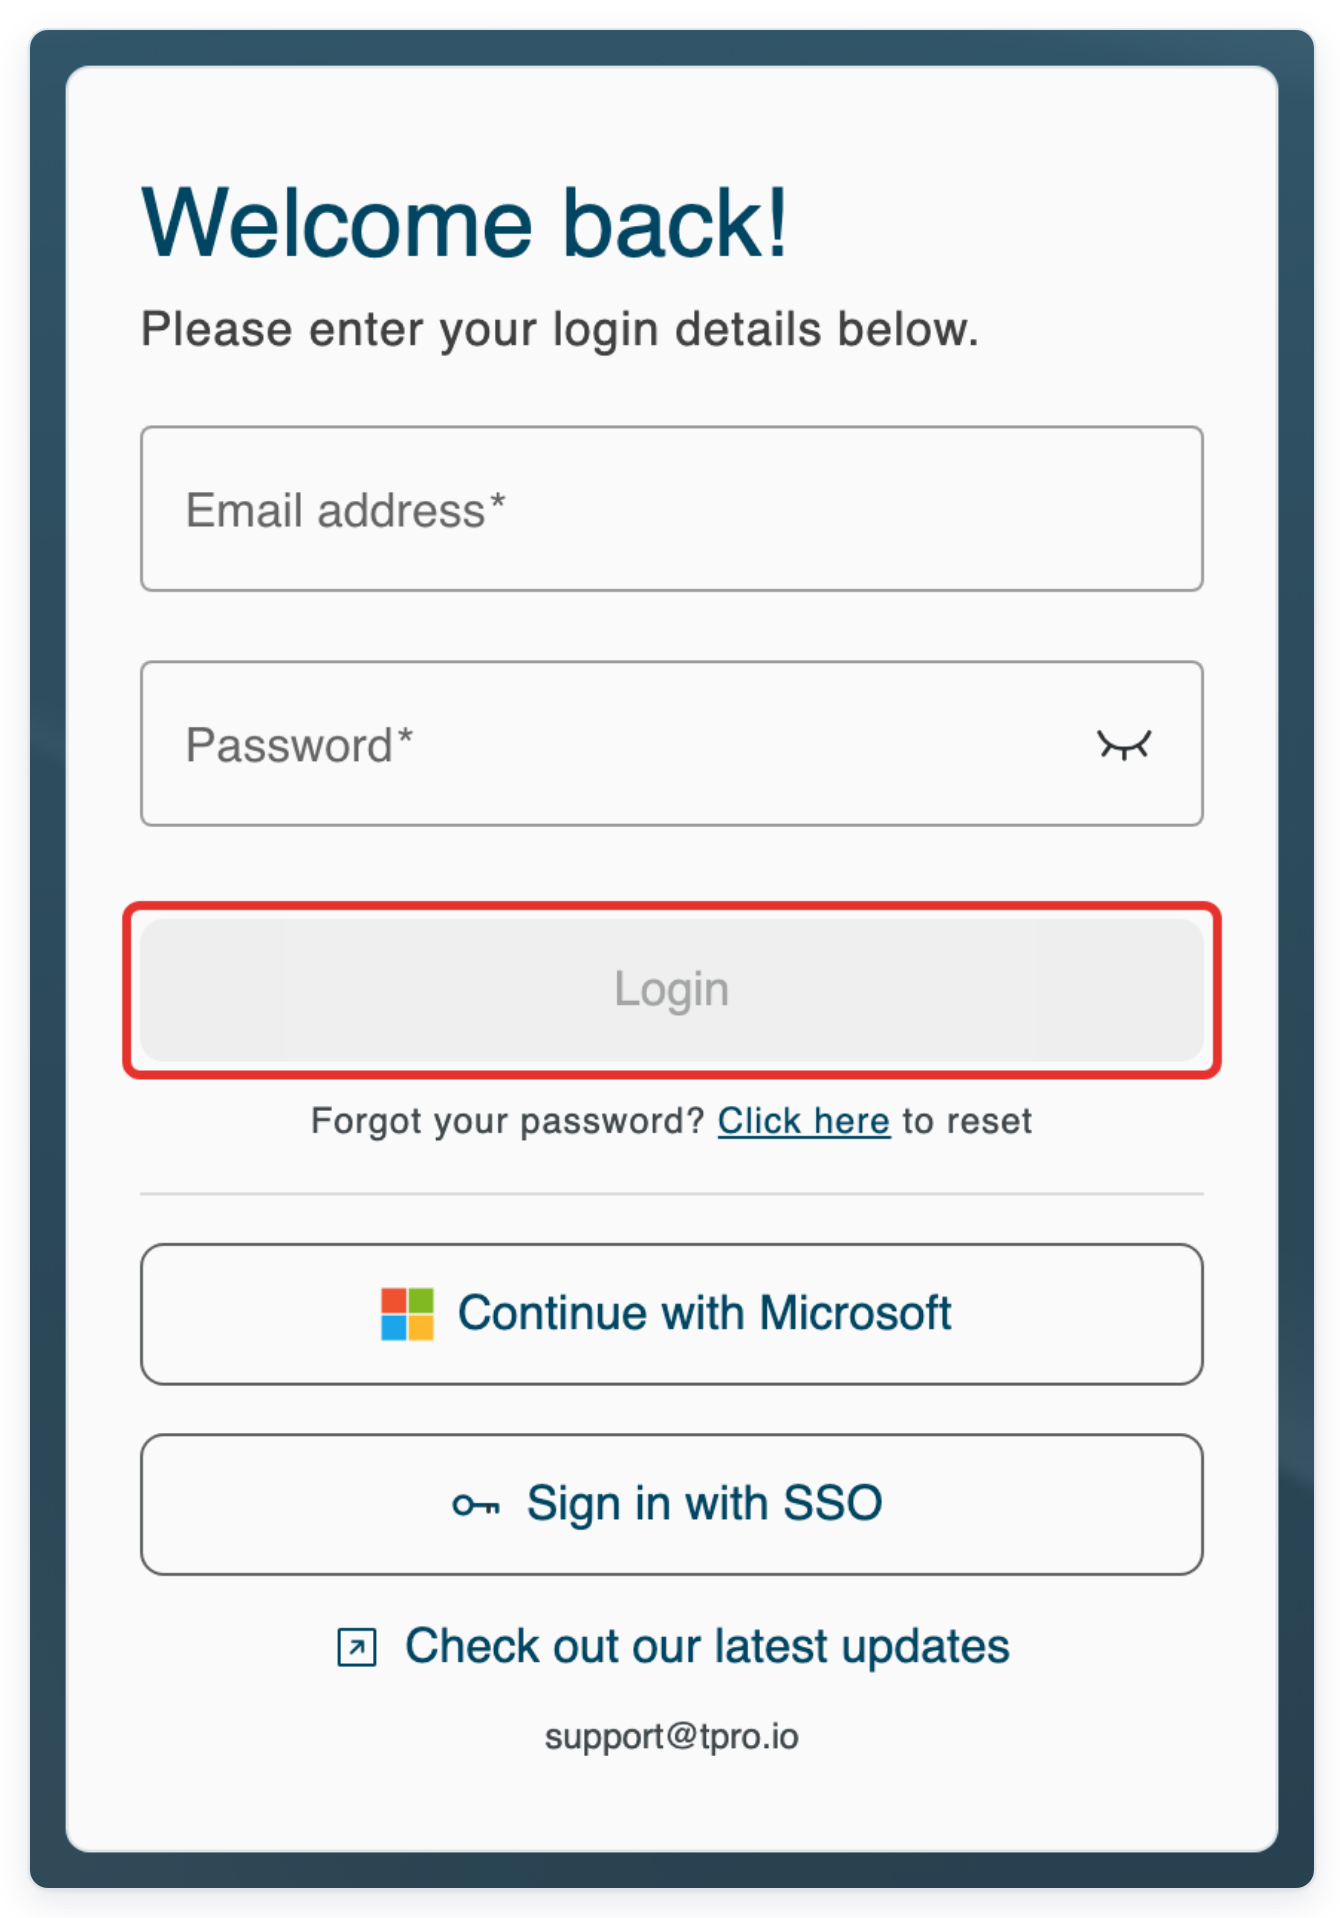
Log in to T-Pro with your author credentials.
Create and finish a task on the web
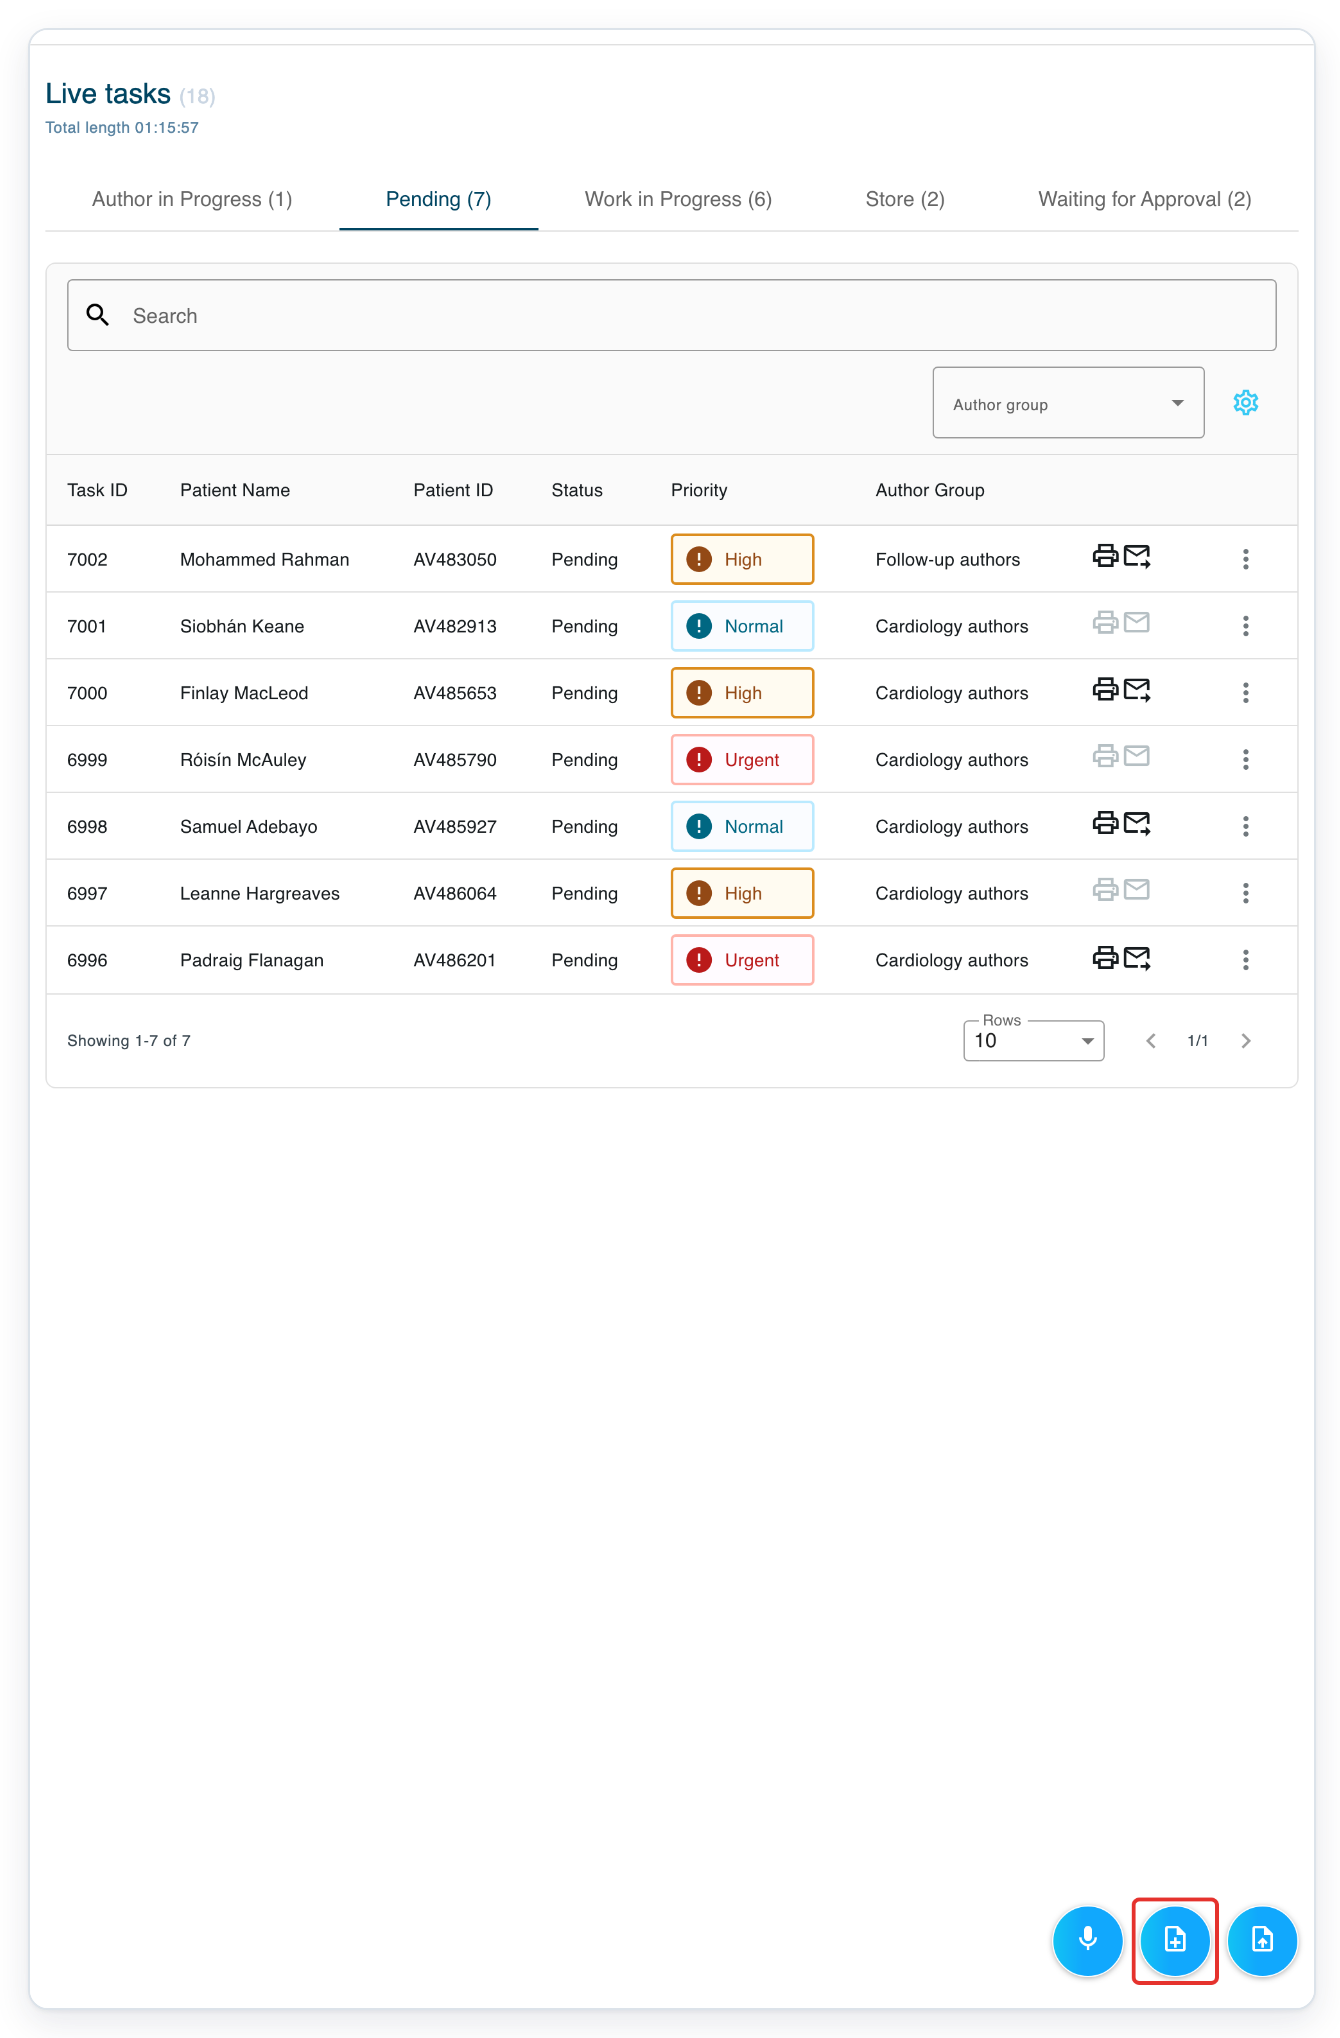
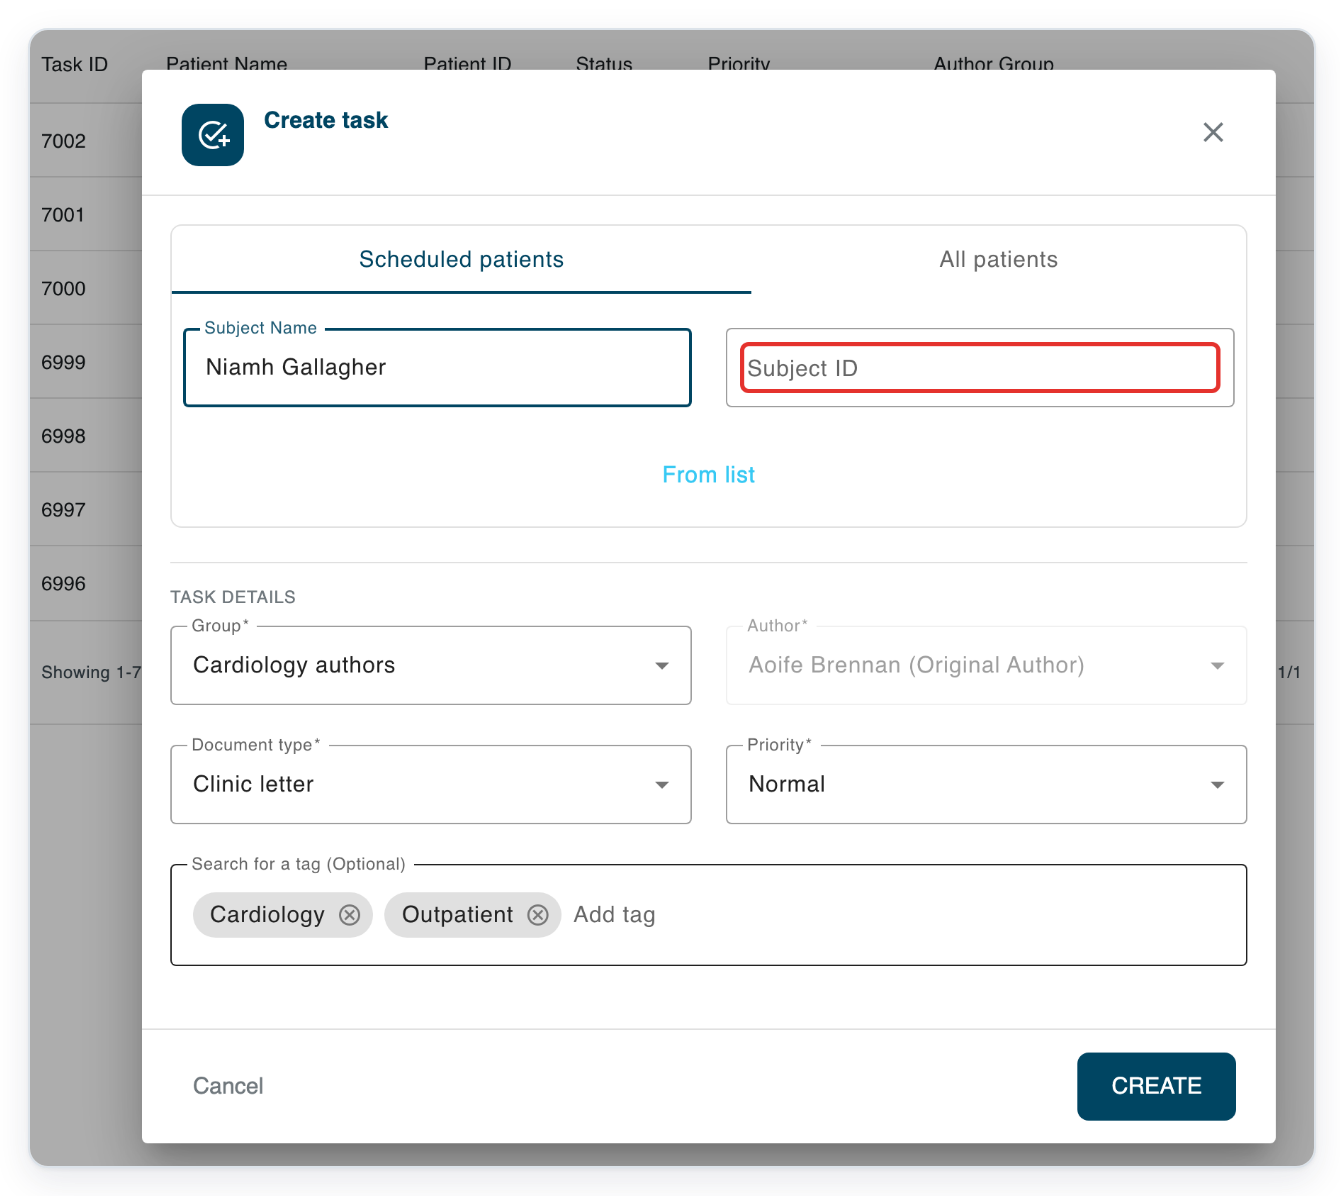
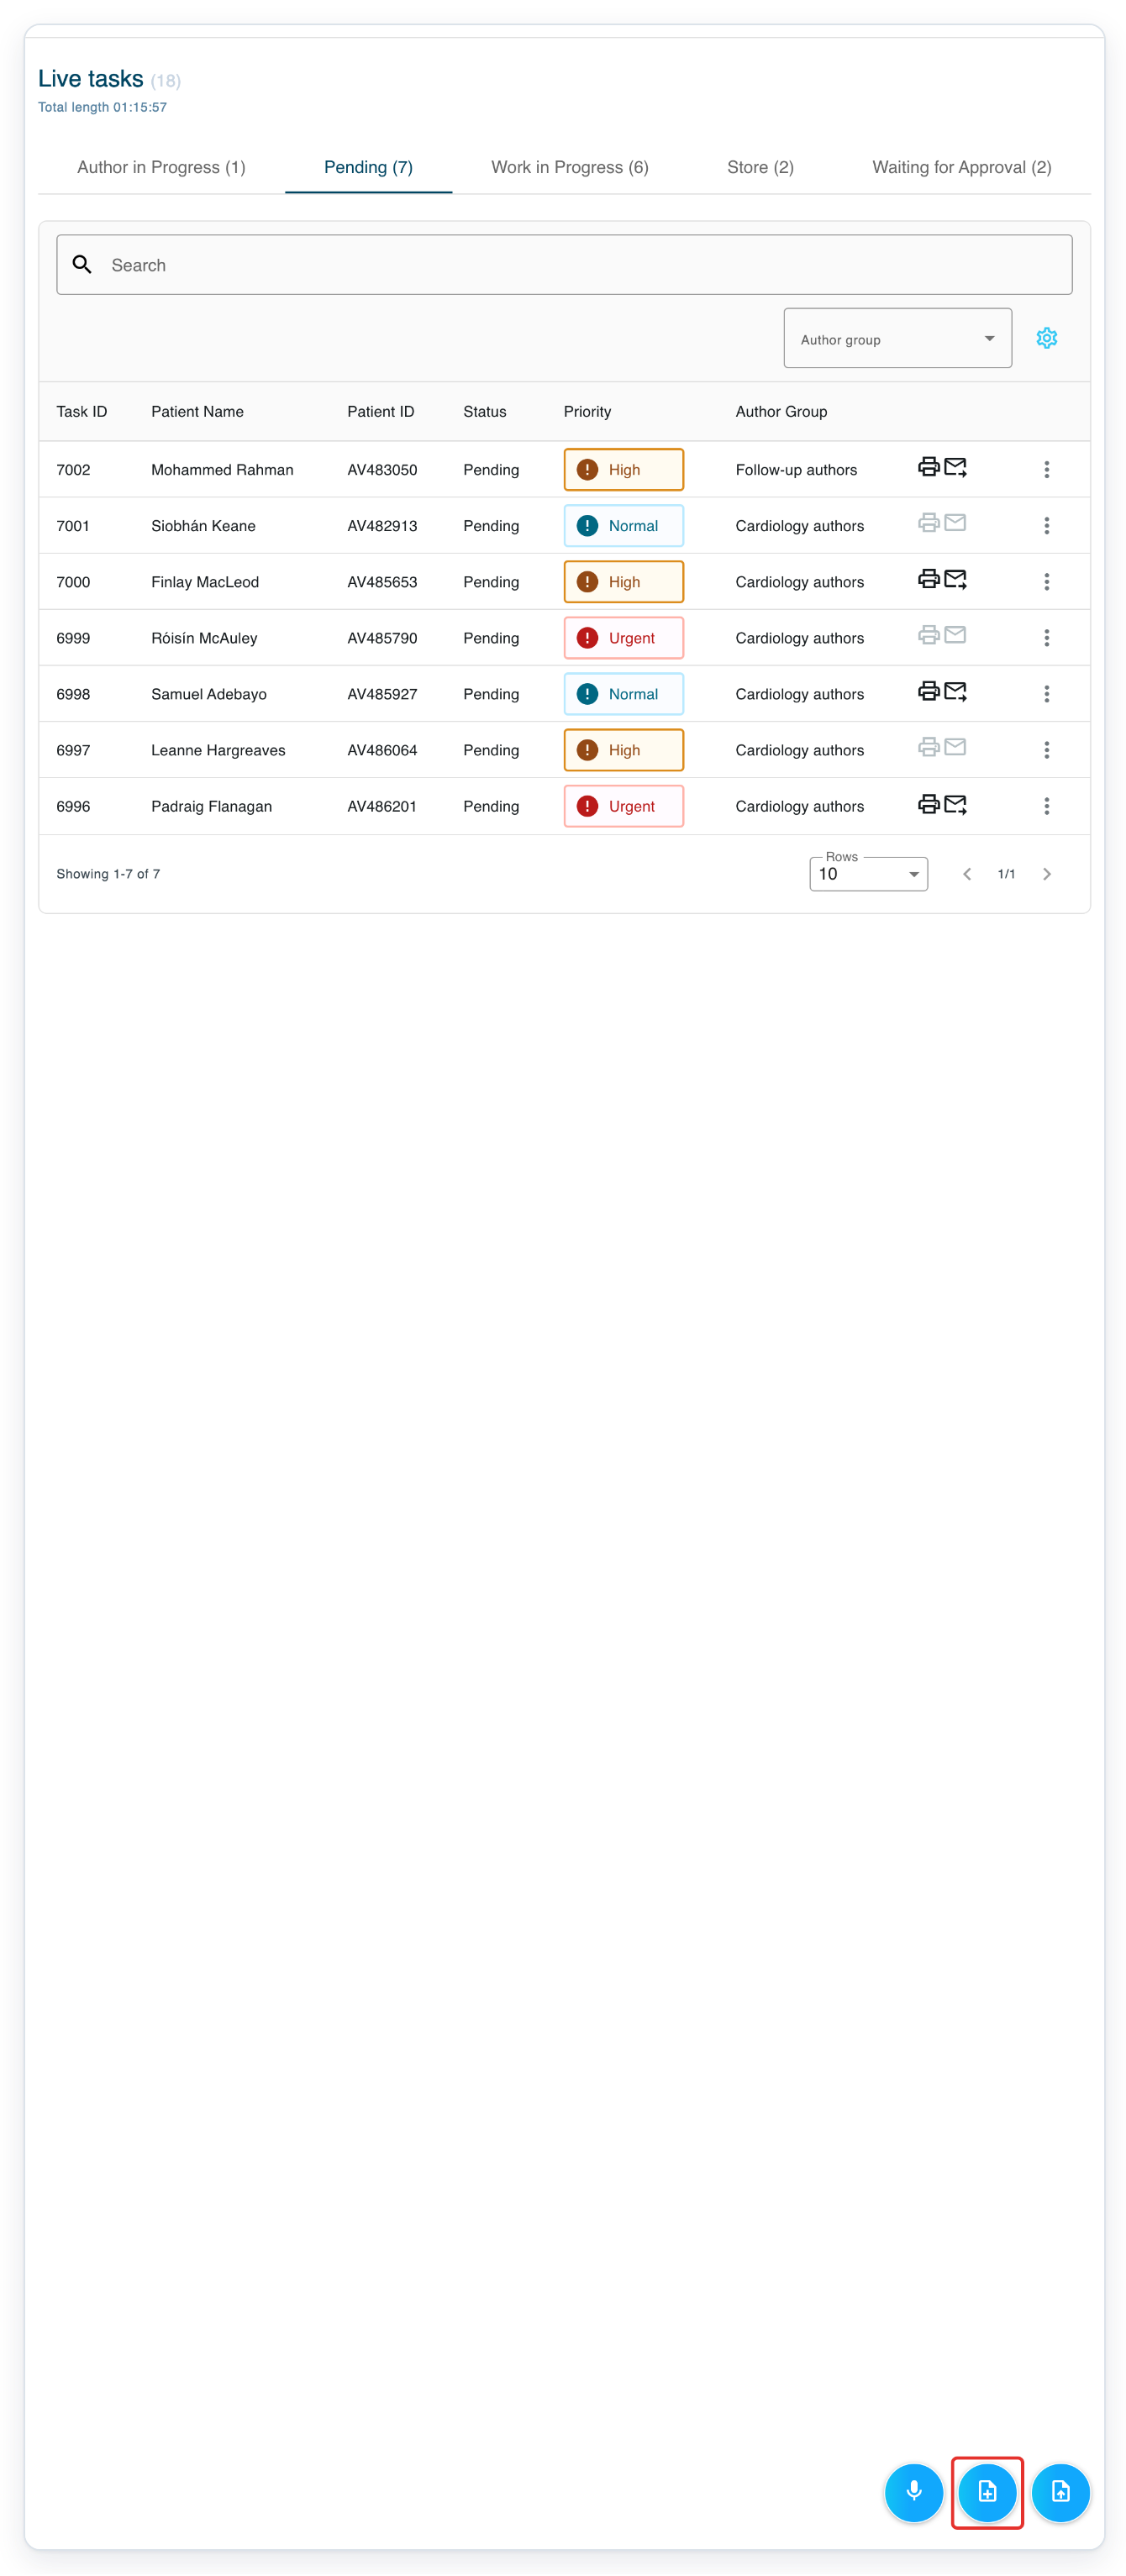
Go to Live Tasks, then click Create task at the bottom right. The Create task dialog opens.
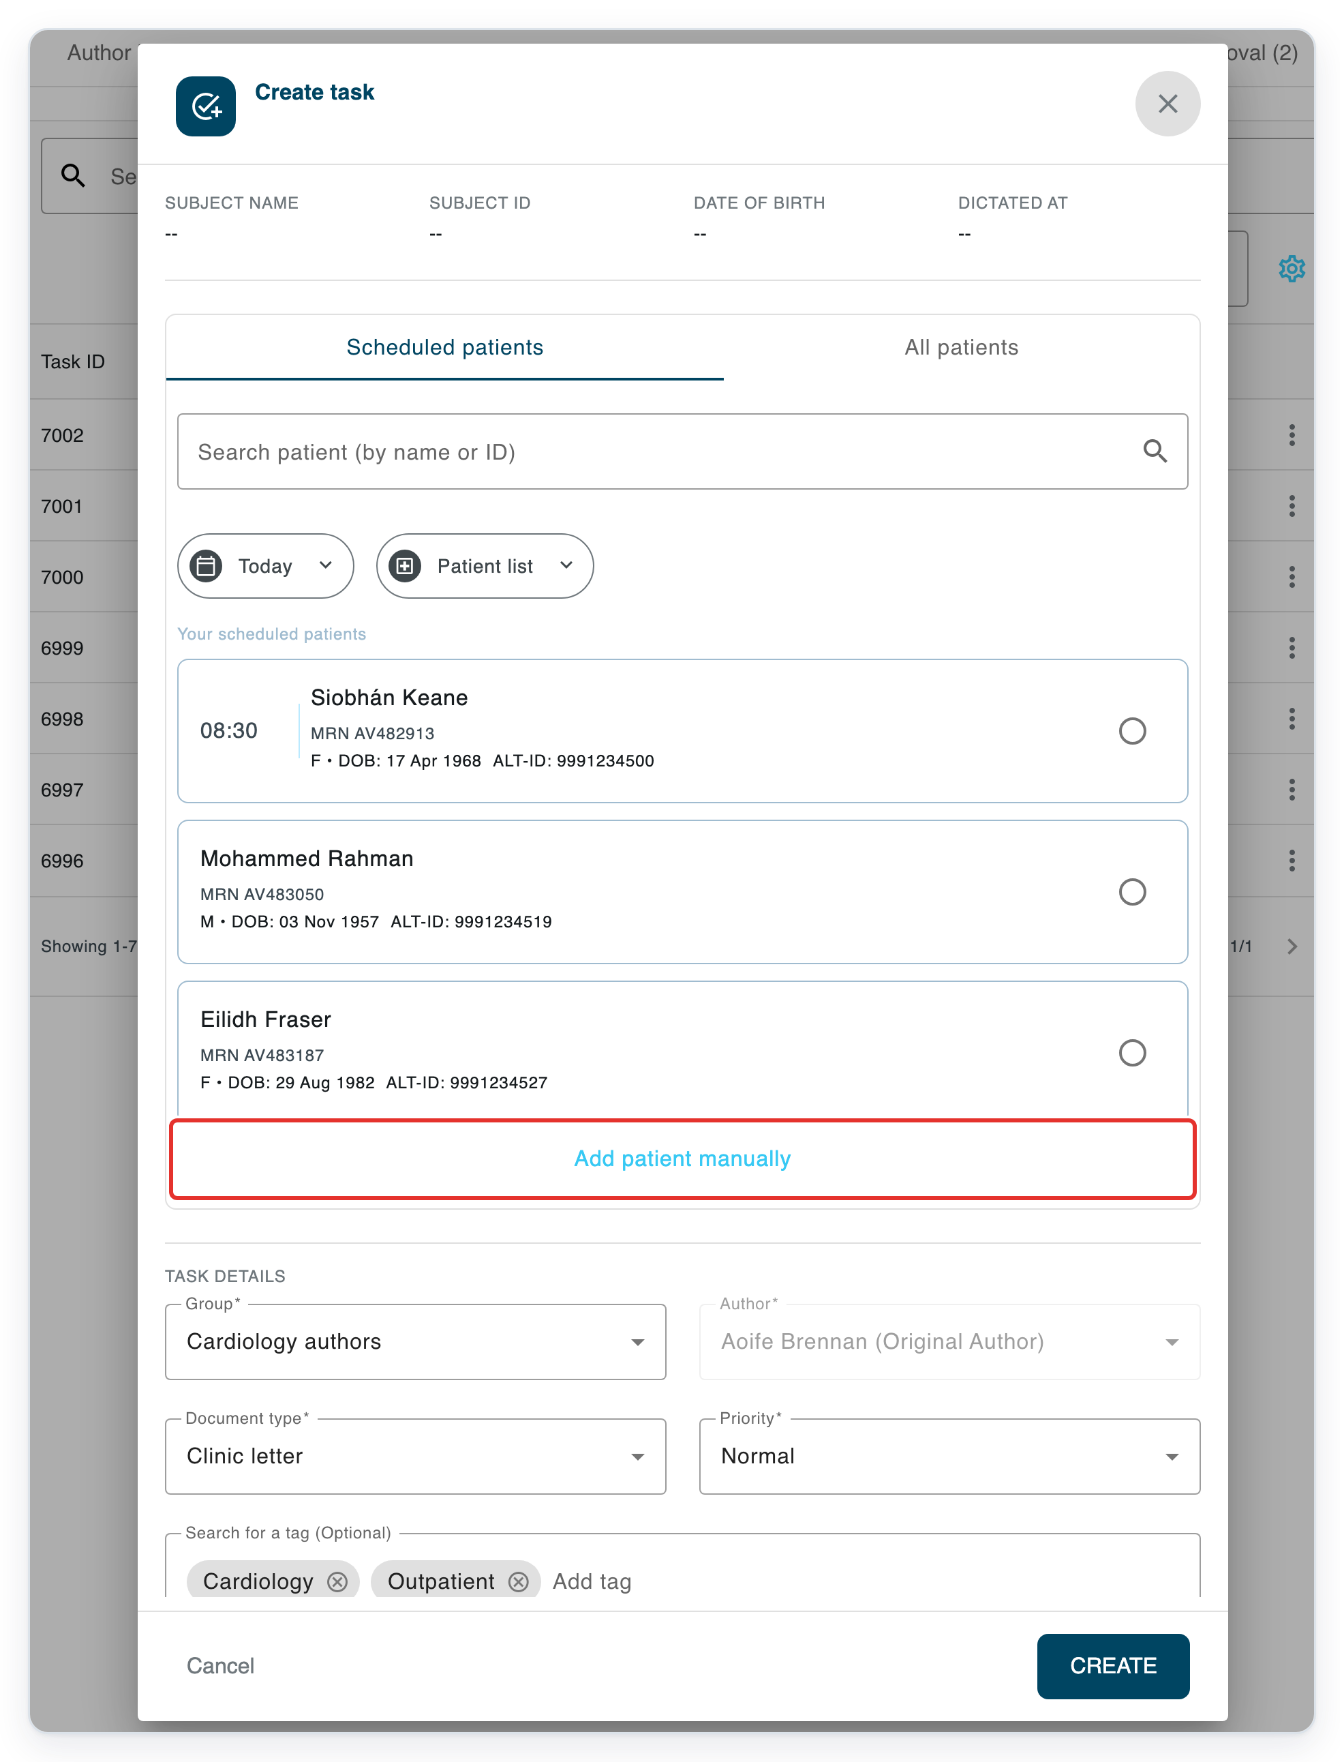
Click Add patient manually.
Enter the patient's name in Subject Name, for example Niamh Gallagher.
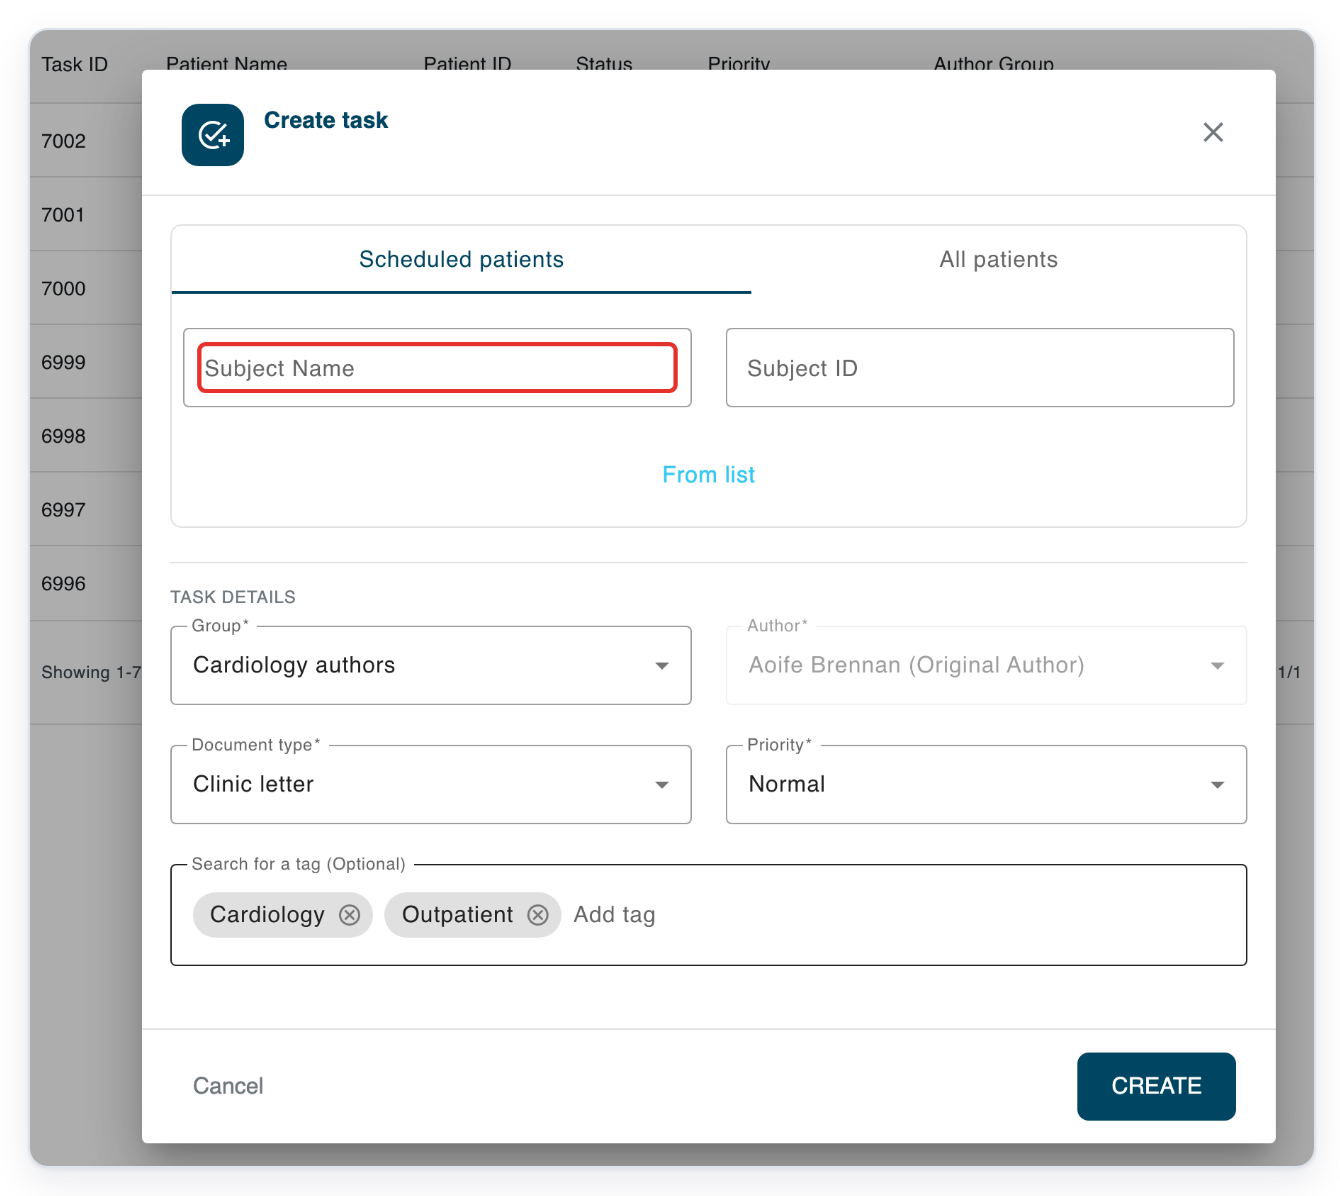
Enter their hospital number in Subject ID, for example AV483735.
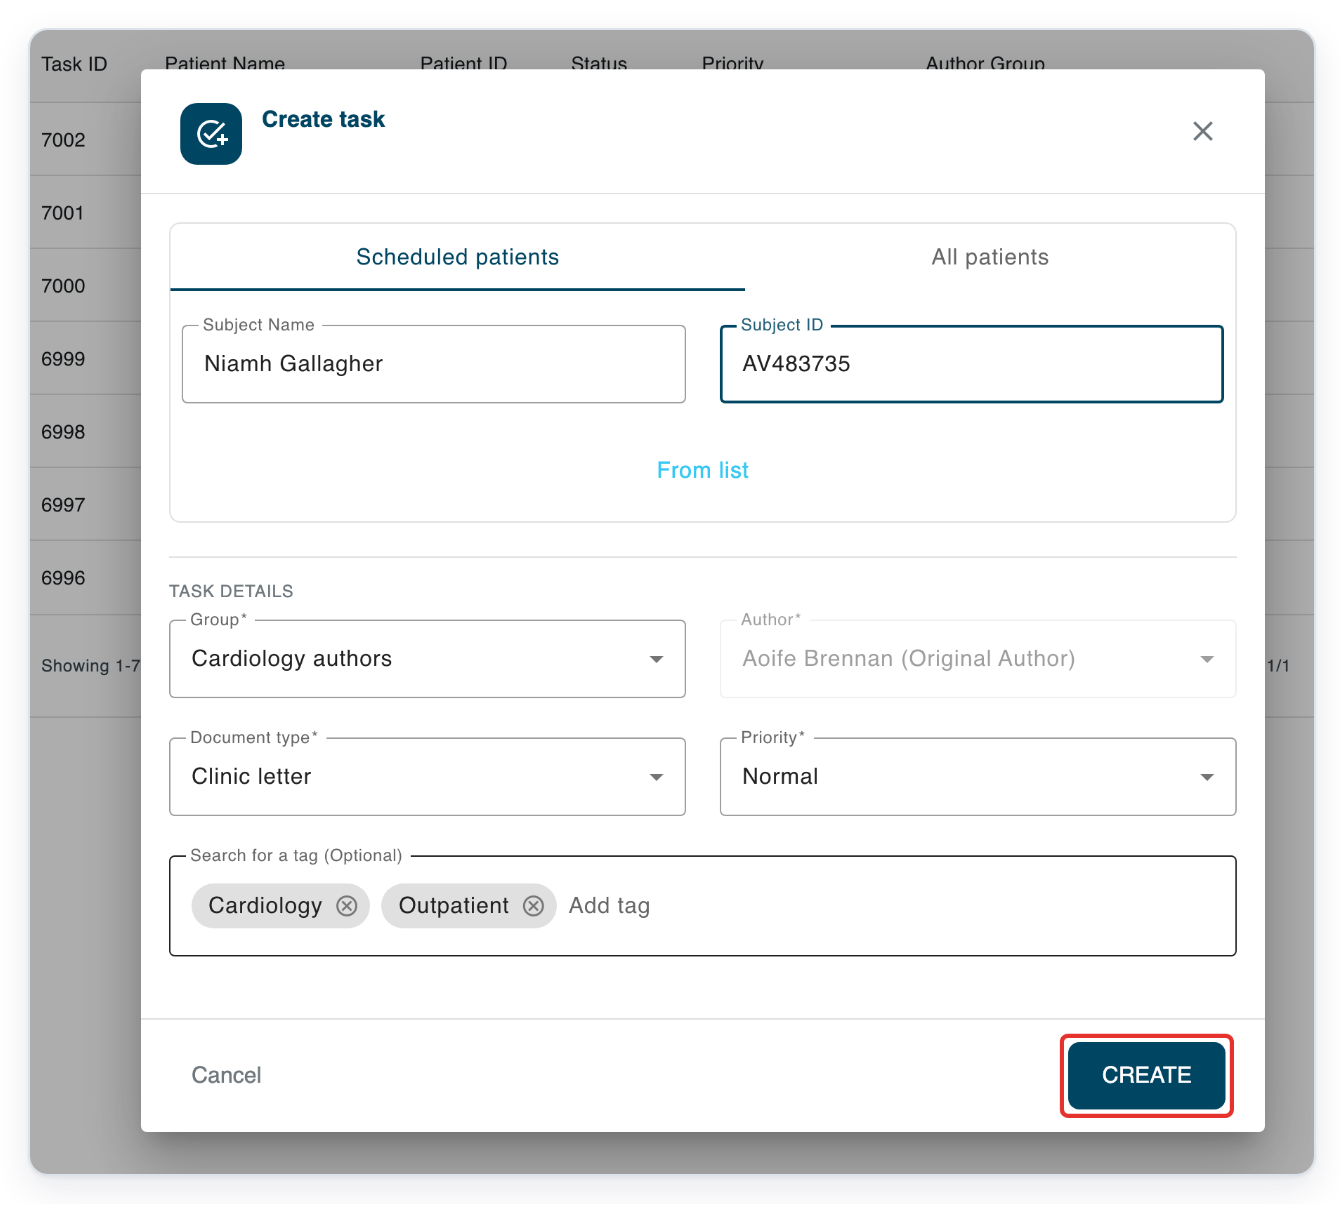
Click CREATE to open your task without audio.
Check Group, Document type and Priority first.
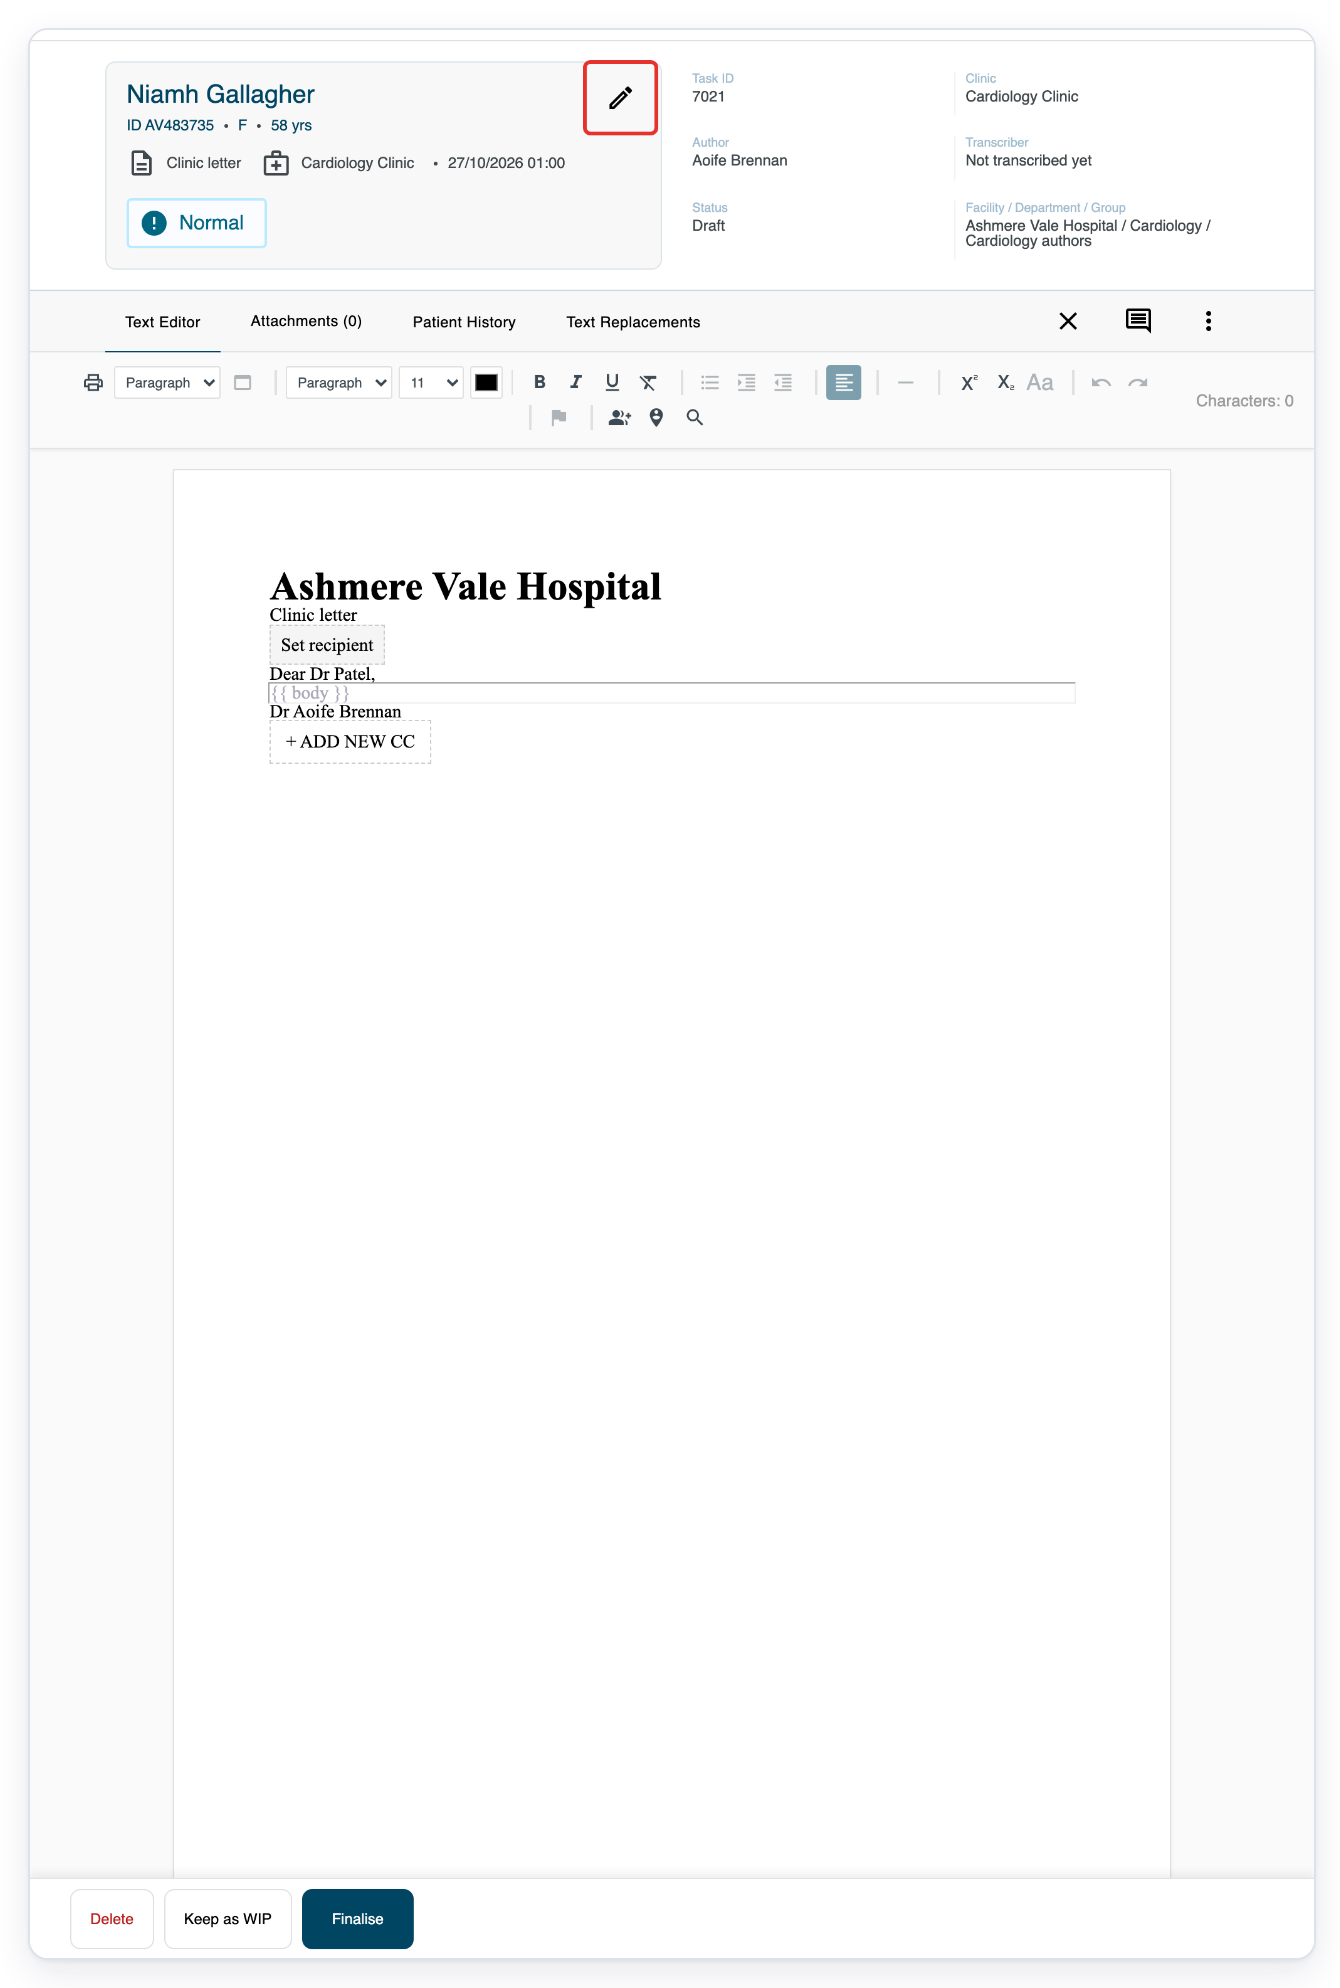
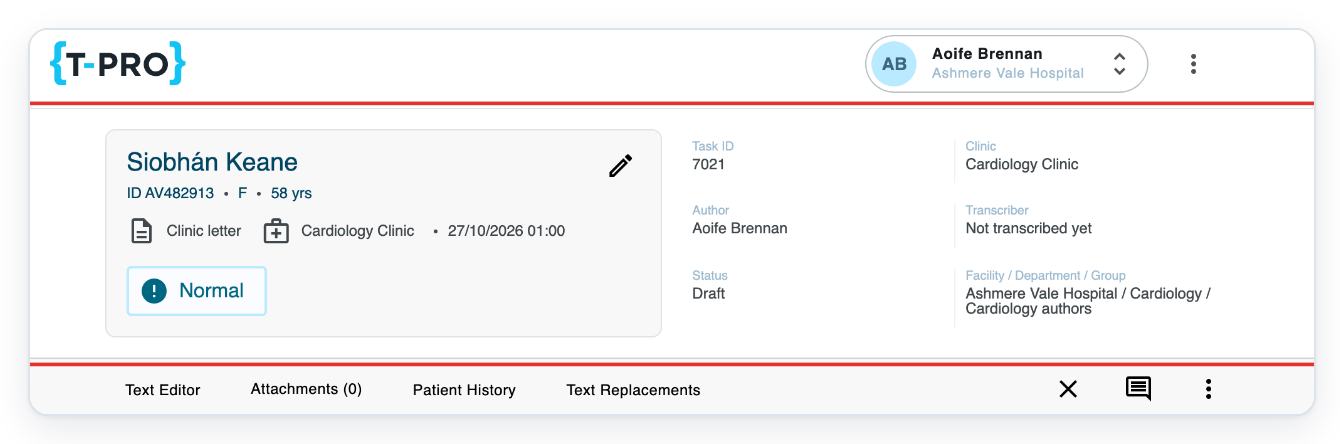
Your document opens in Text Editor, ready for you to write. You'll see the patient and task details above the document.
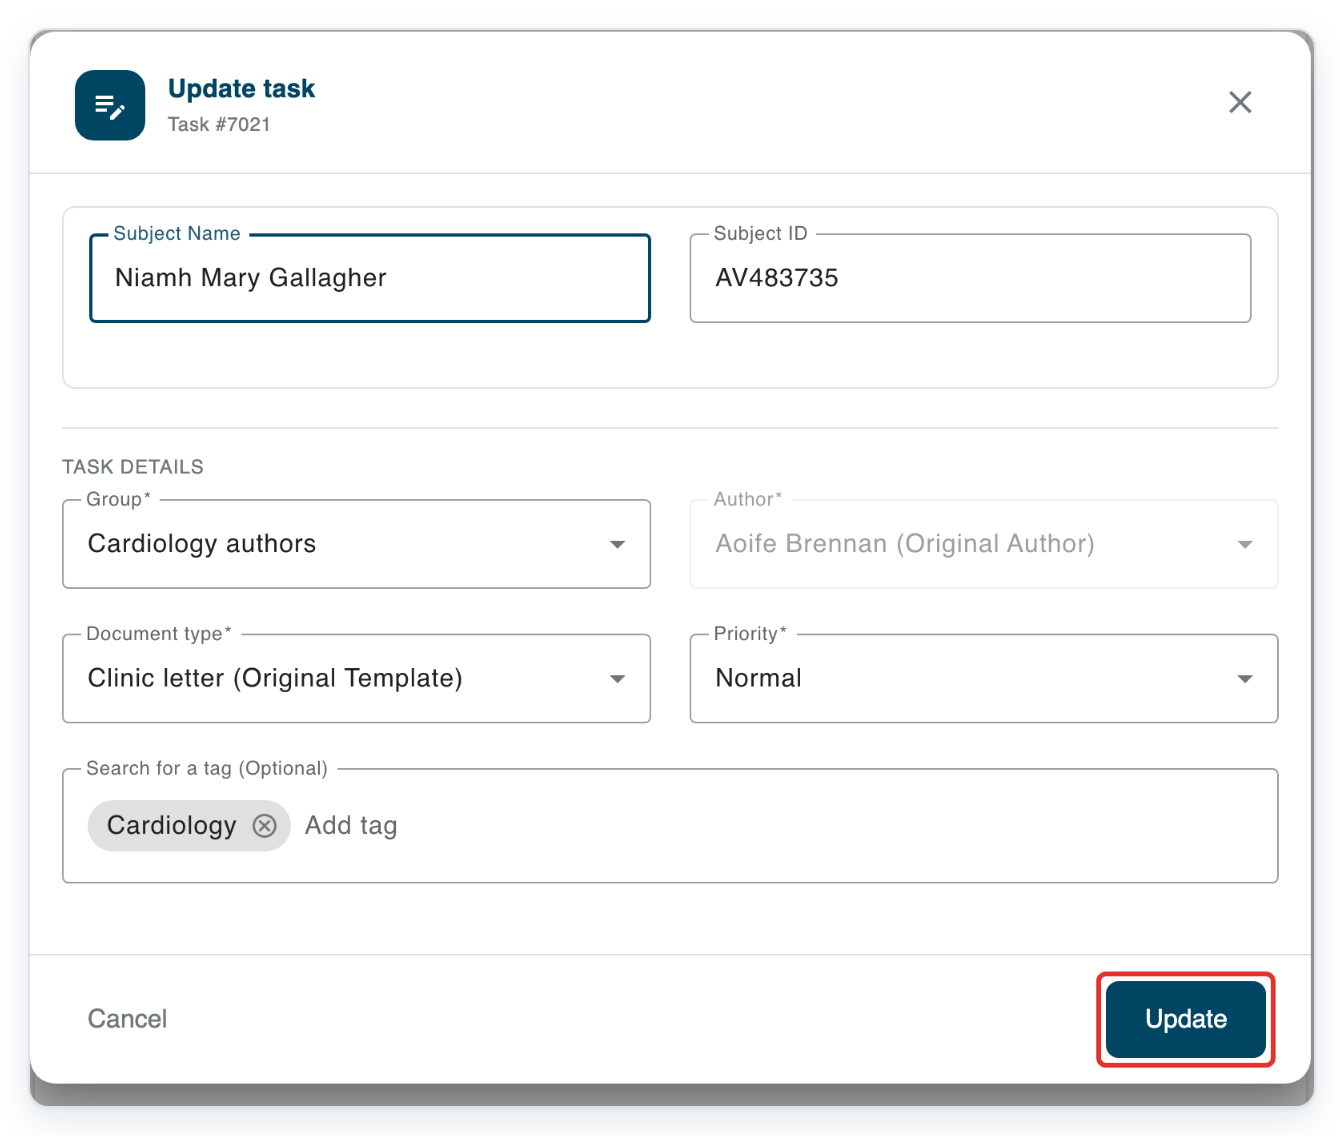
To correct the patient details, click the pencil beside them.
Correct Subject Name. Here, enter Niamh Mary Gallagher.
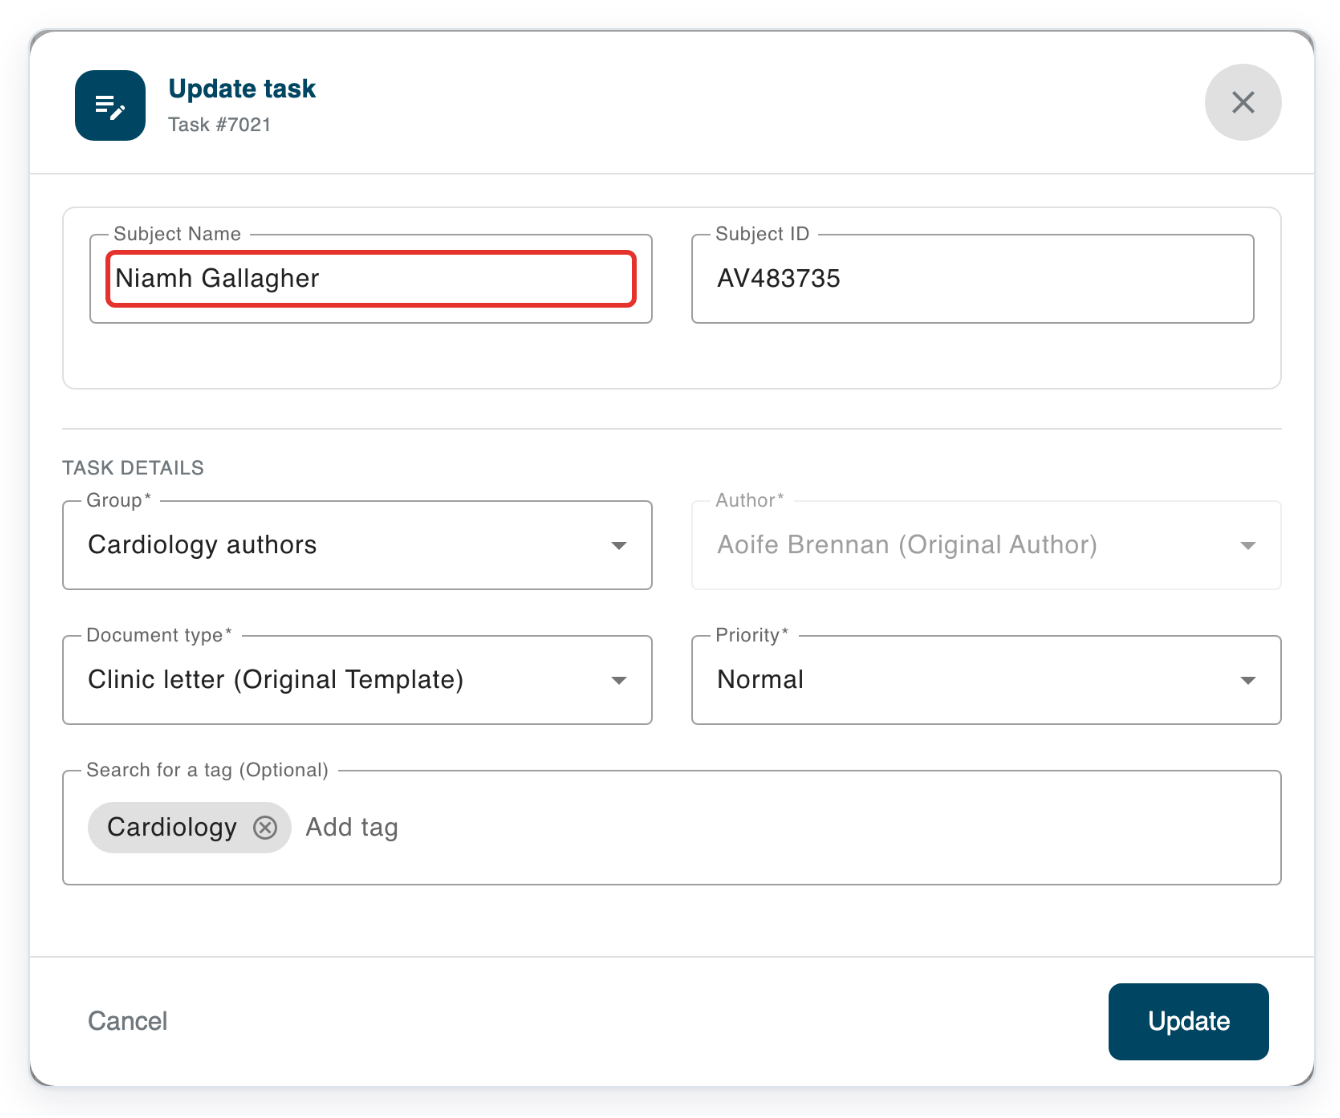
Click Update to save the correction.
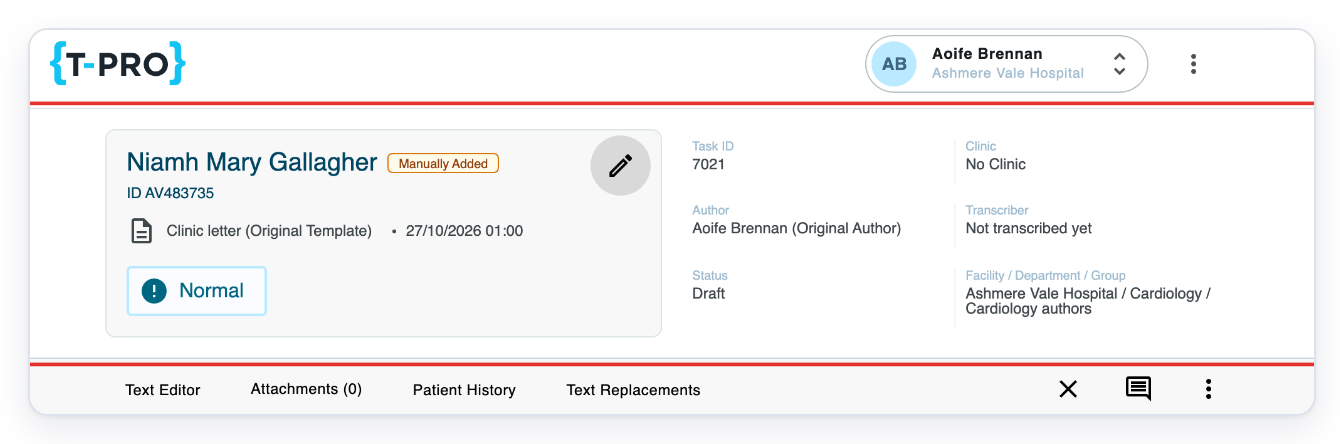
=> The task shows Niamh Mary Gallagher and ID AV483735.
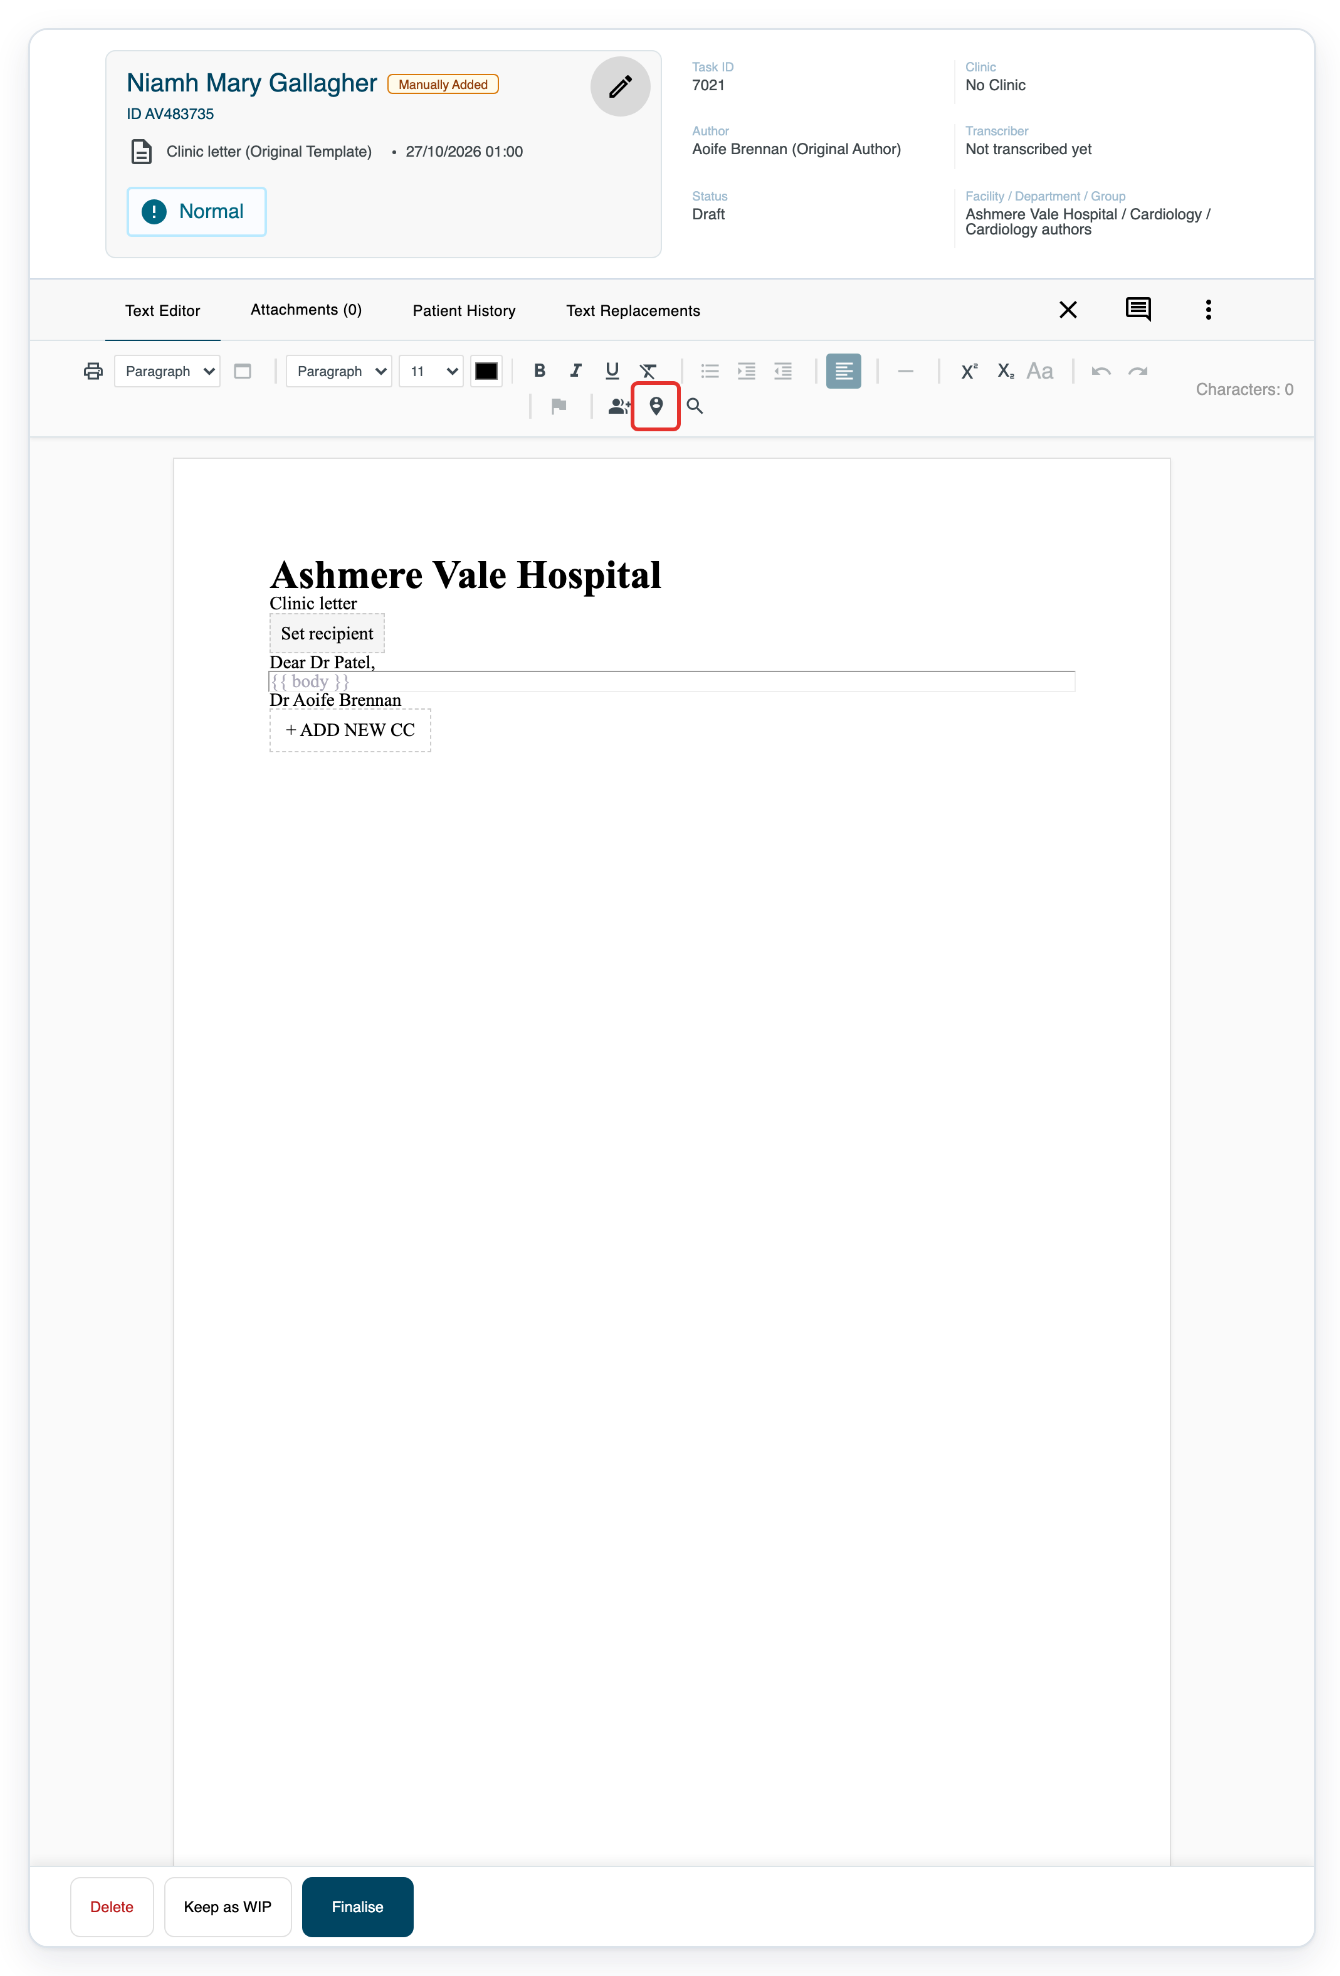
Click Configure Recipient in the toolbar.
Enter Patel in Type to search address book.
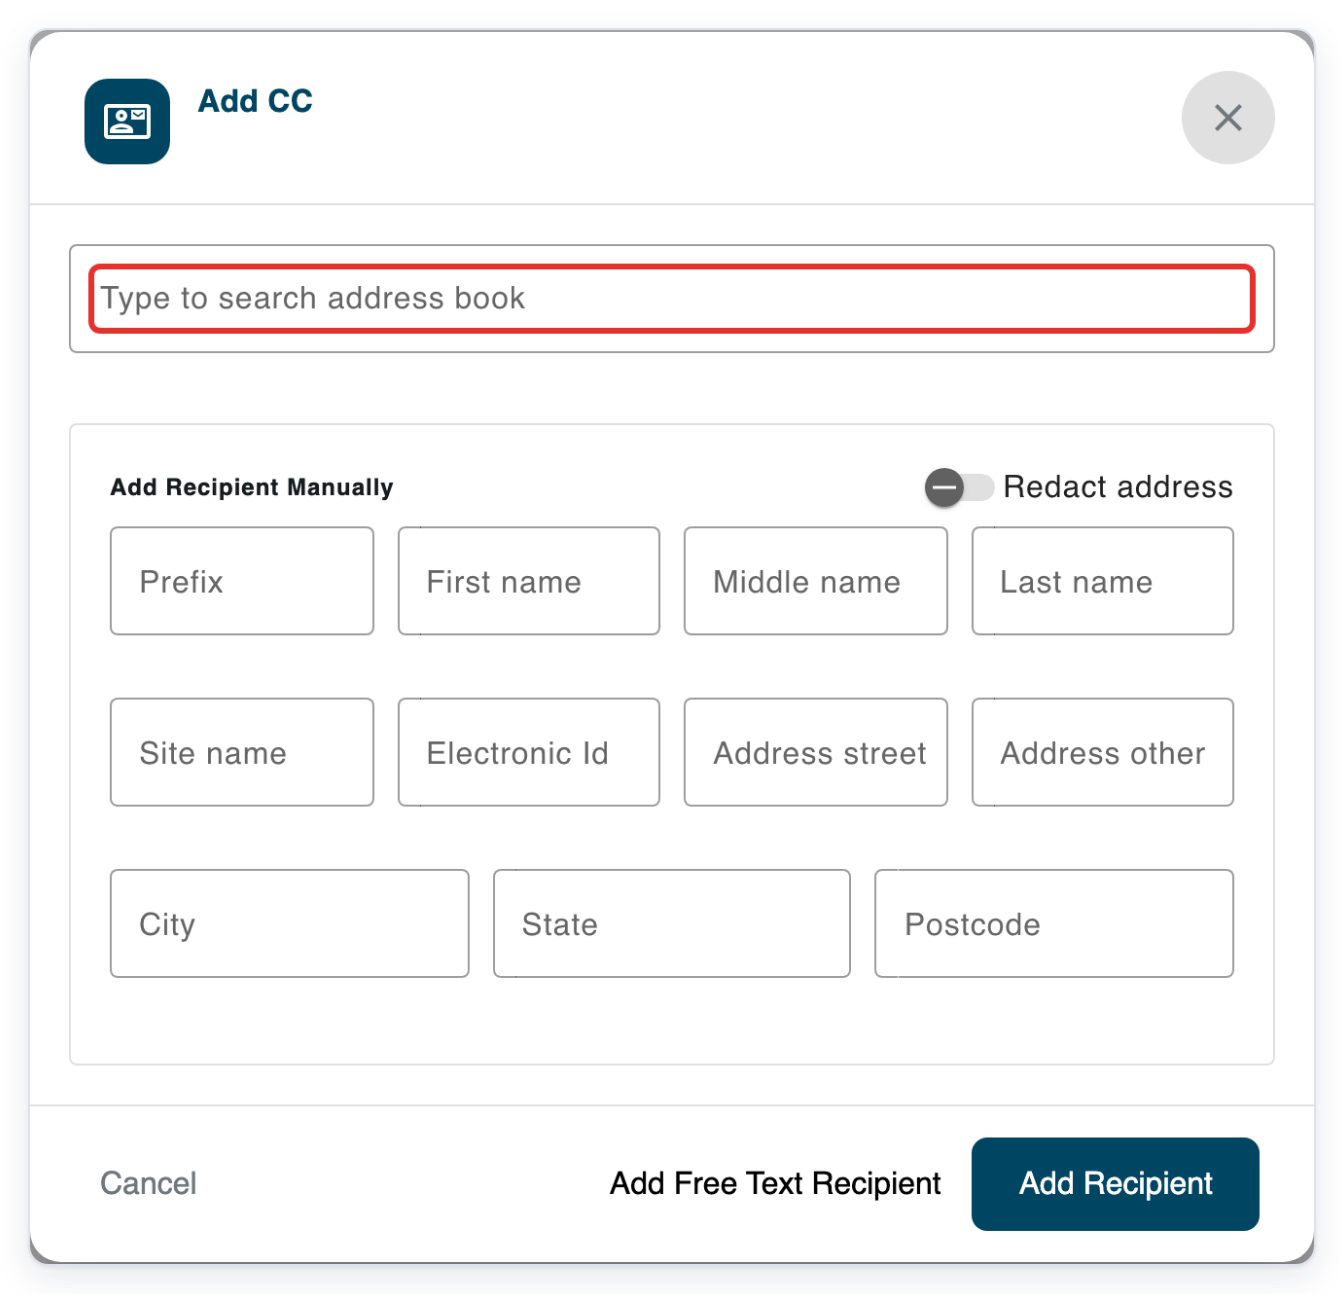
Select Meera Patel from the results.
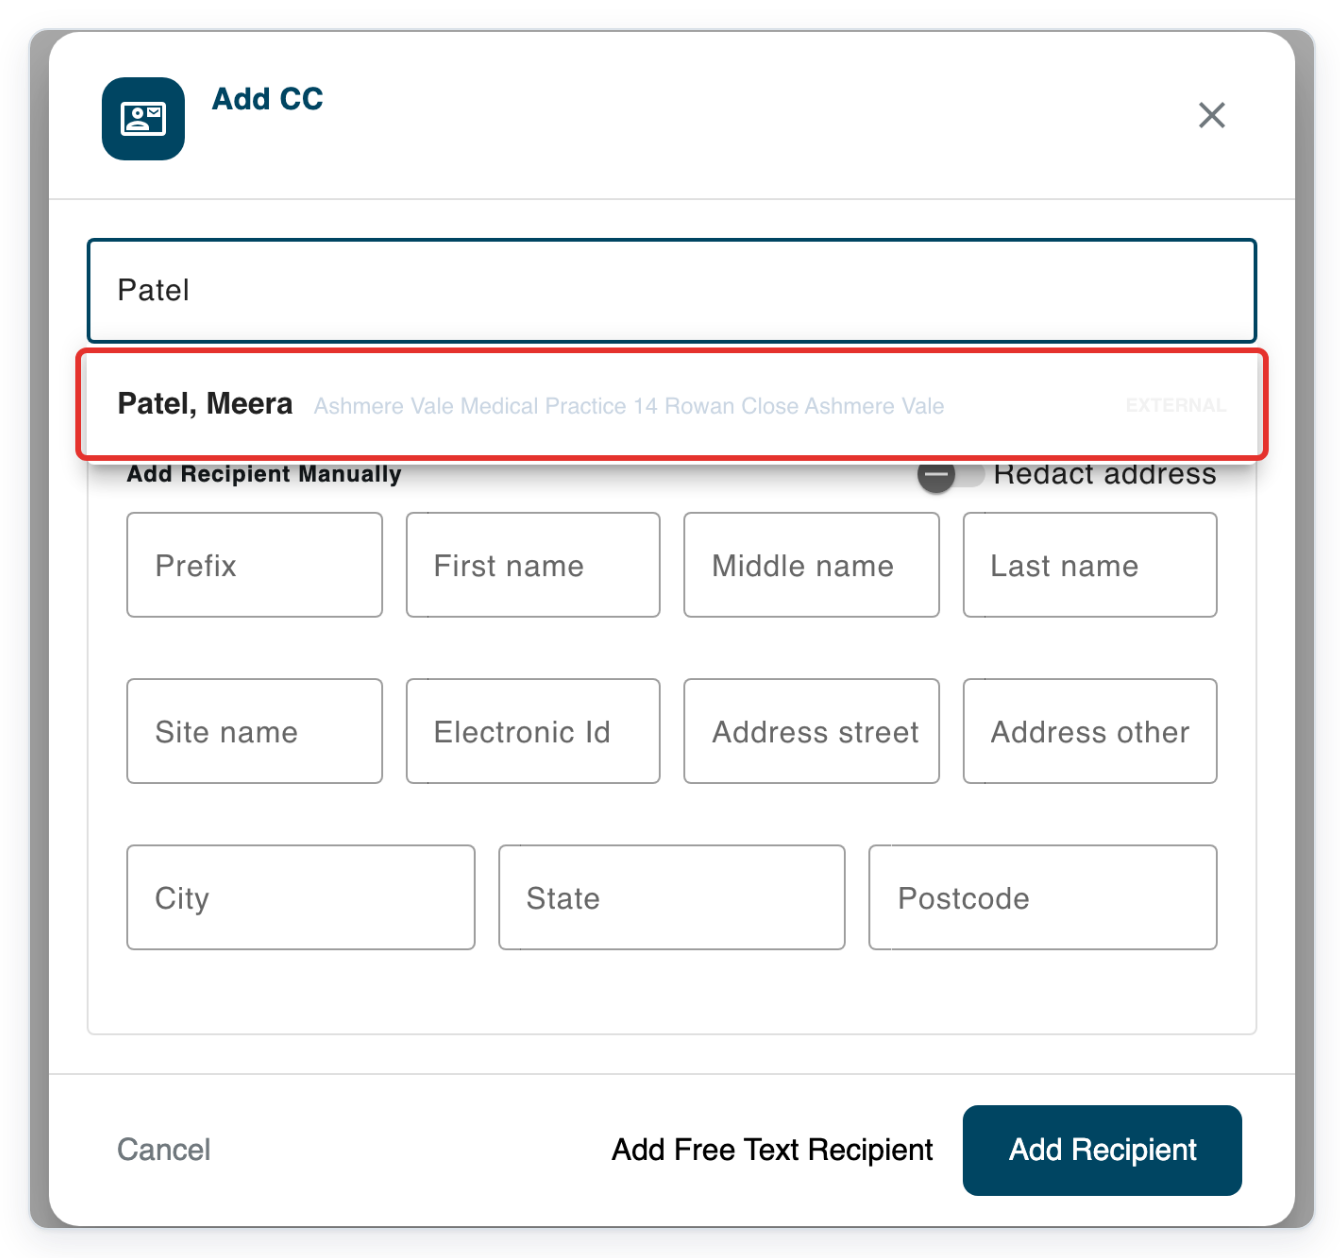
Check the address, then click Add Recipient.
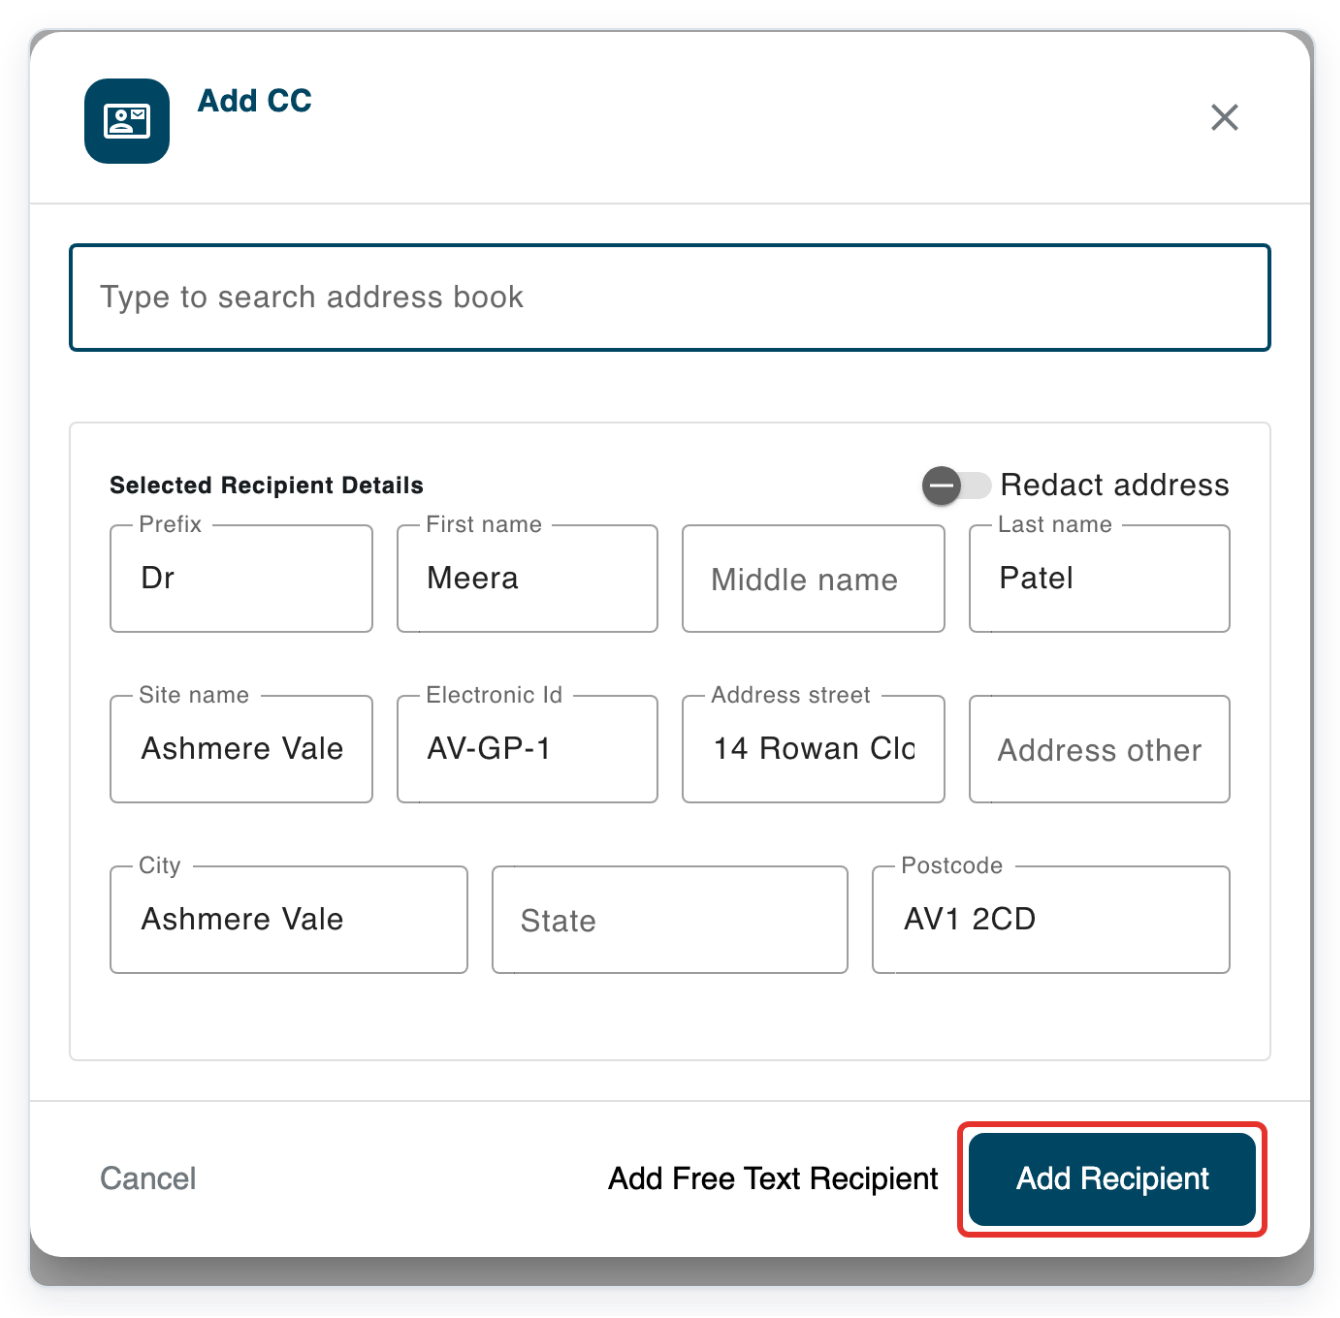
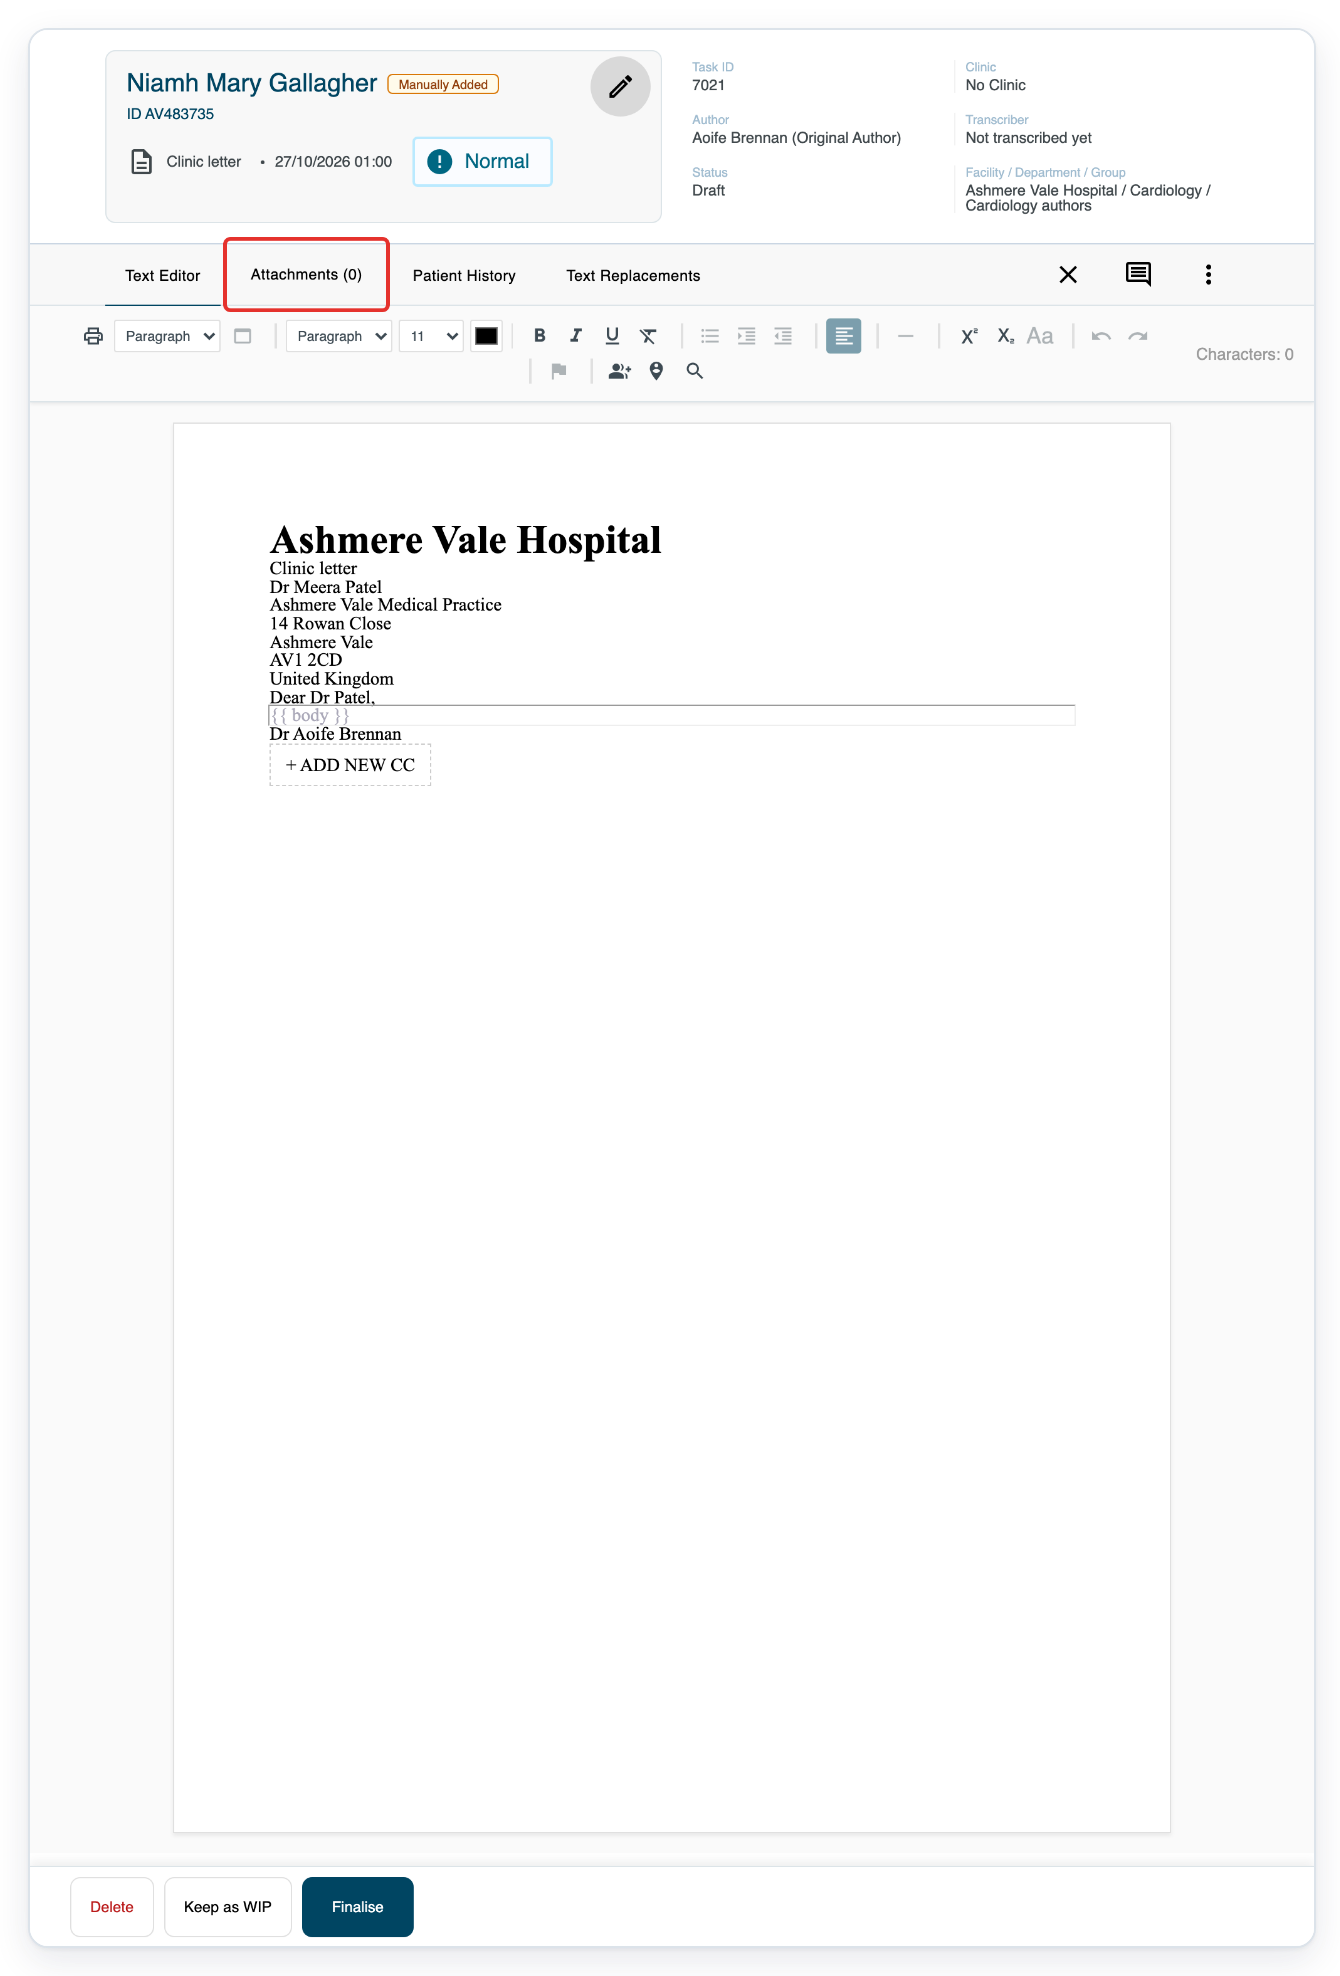
Check the recipient in your document, then click Attachments (0).
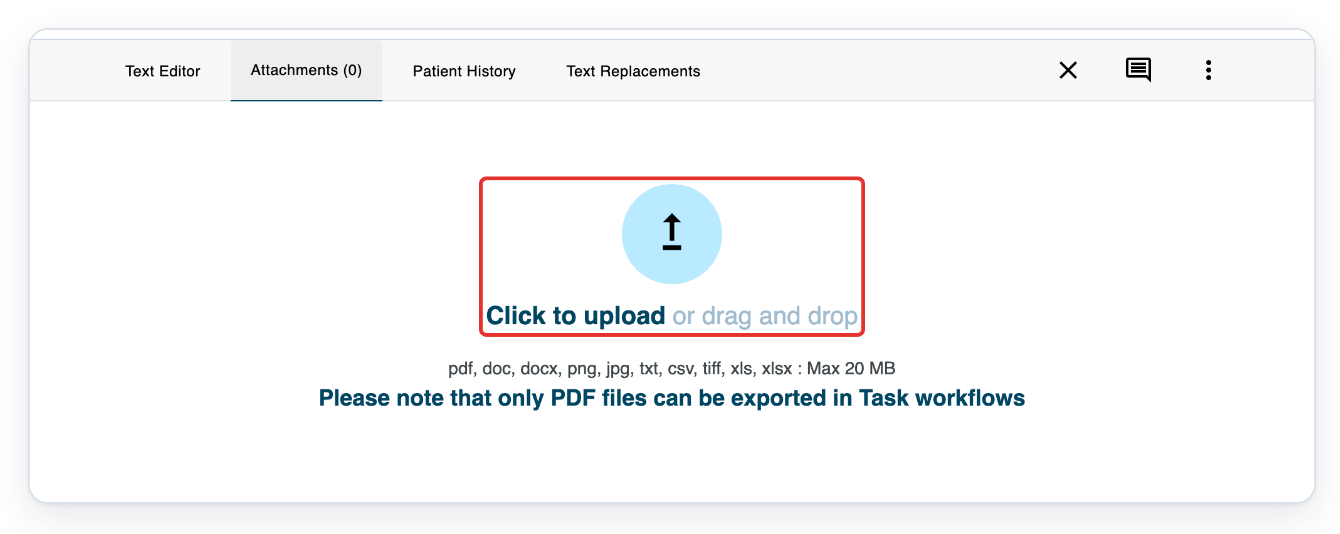
Click Click to upload and choose your supporting PDF.
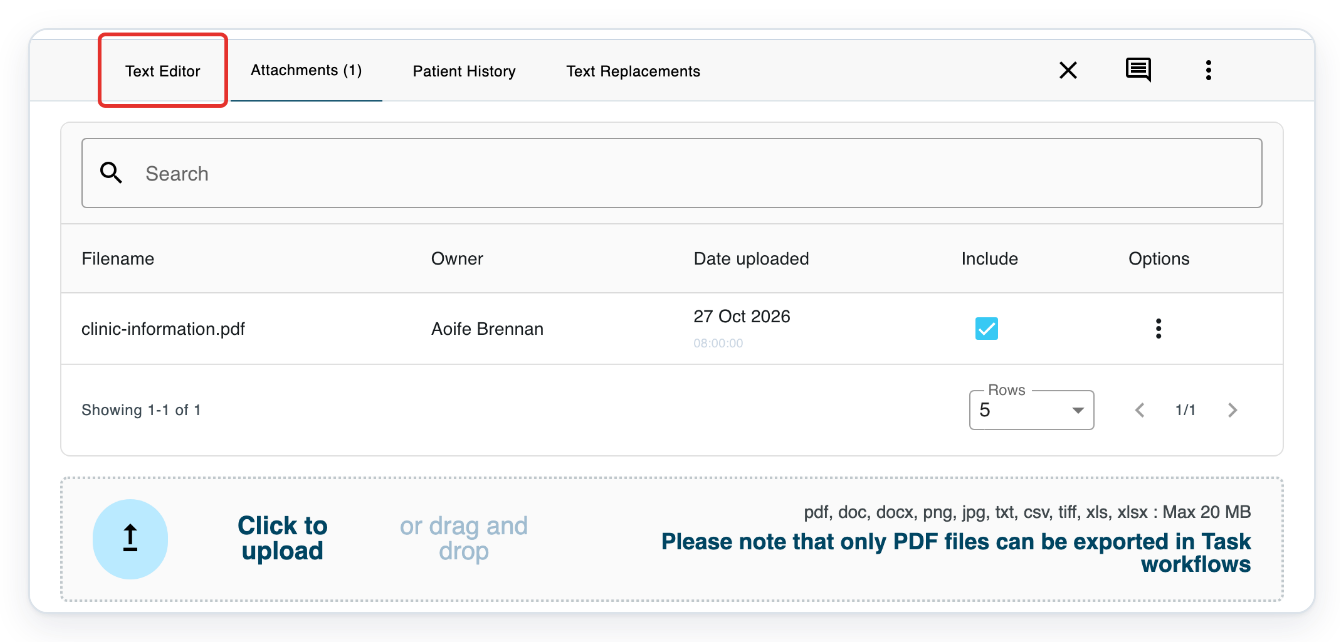
Check that your PDF appears with Include ticked. Click Text Editor.
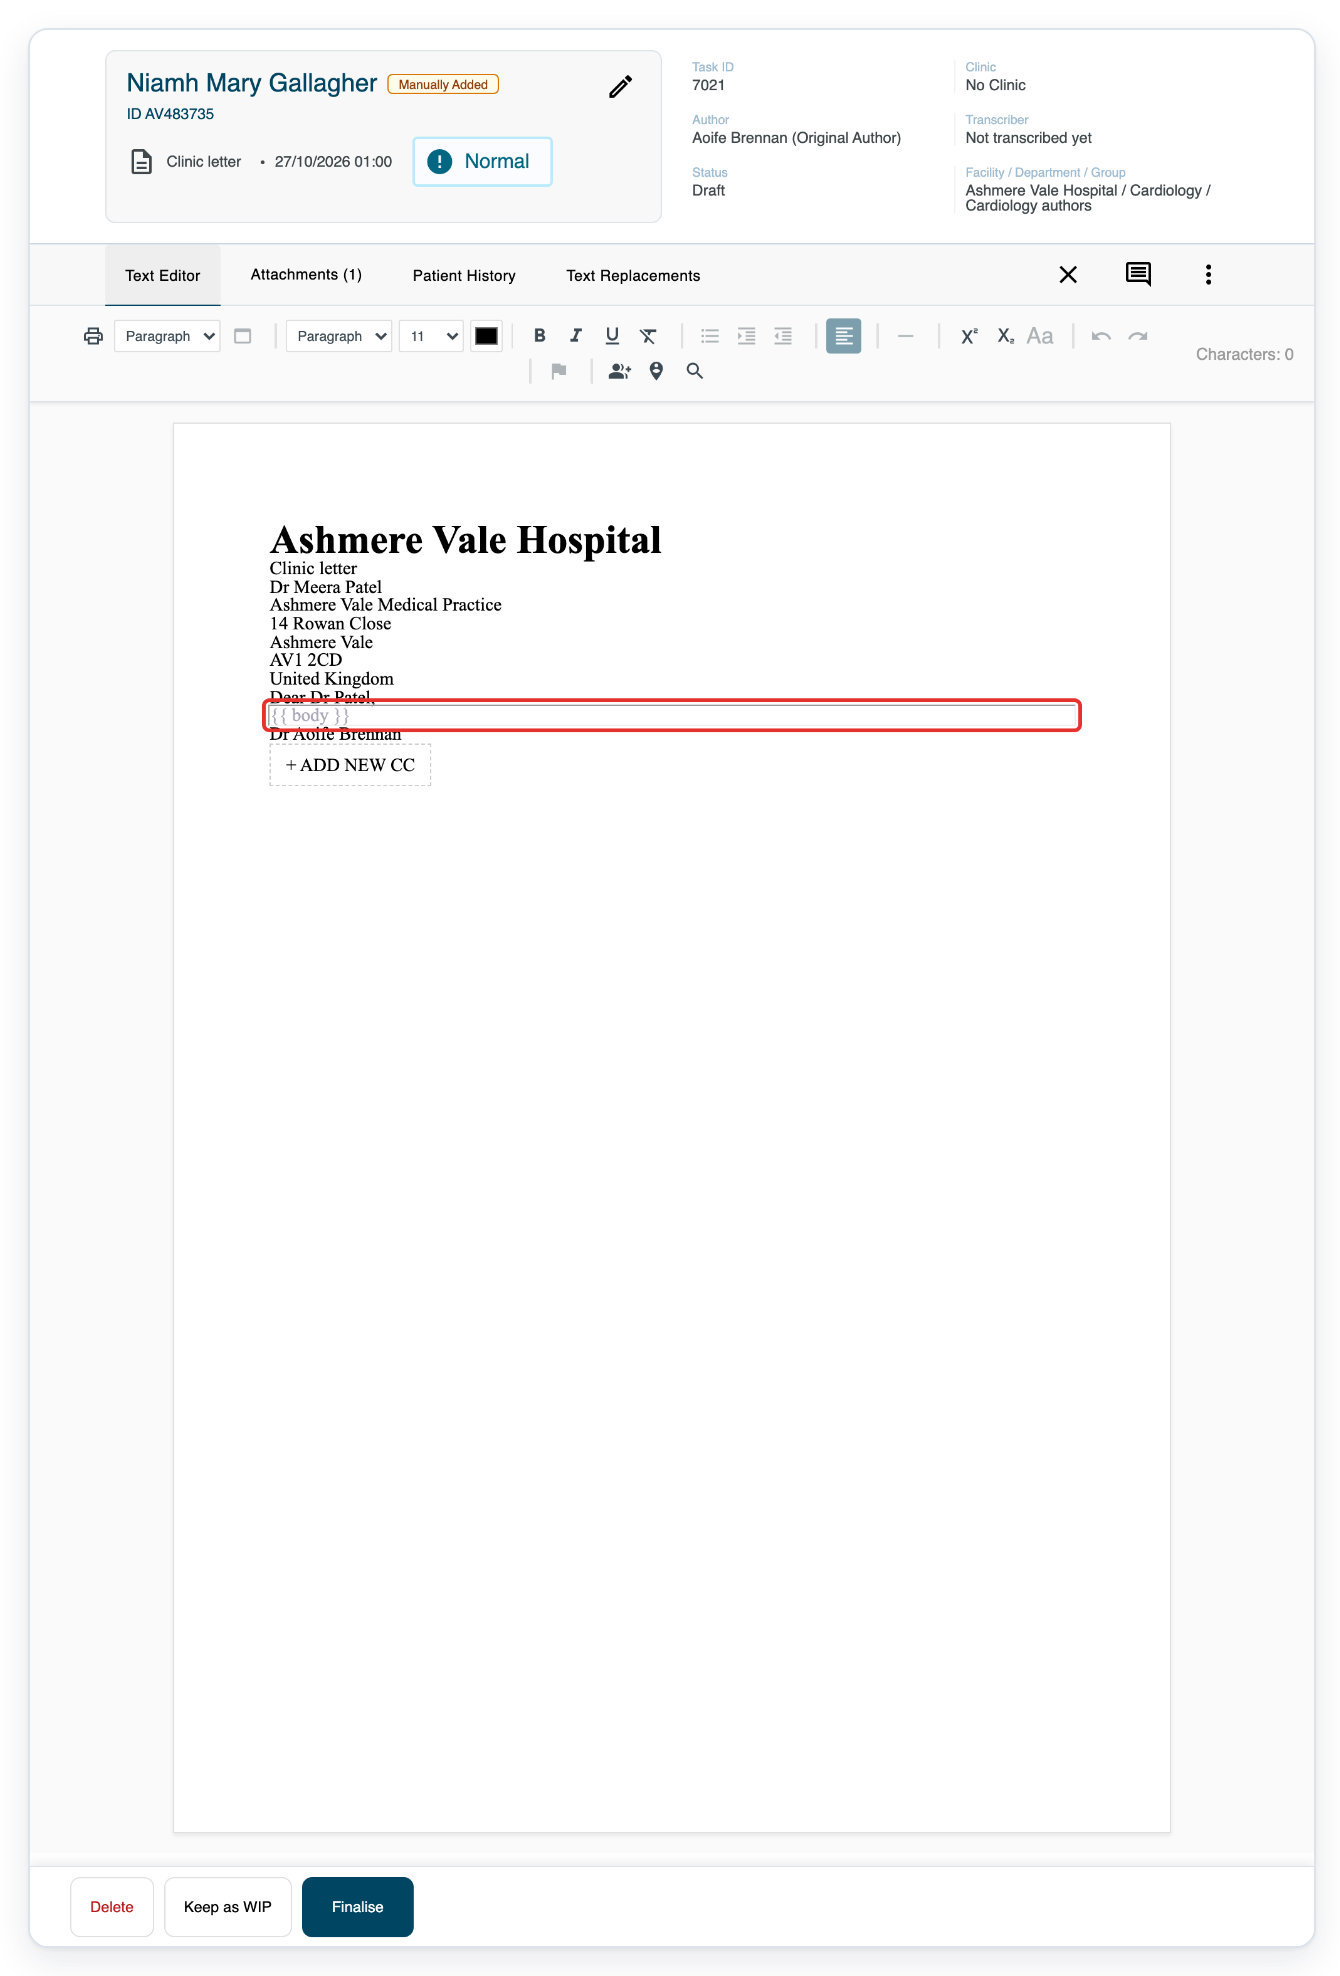
Click in the document body and type your clinic letter.
Use the toolbar above the page to format your text. Check the wording and any details already in the template.
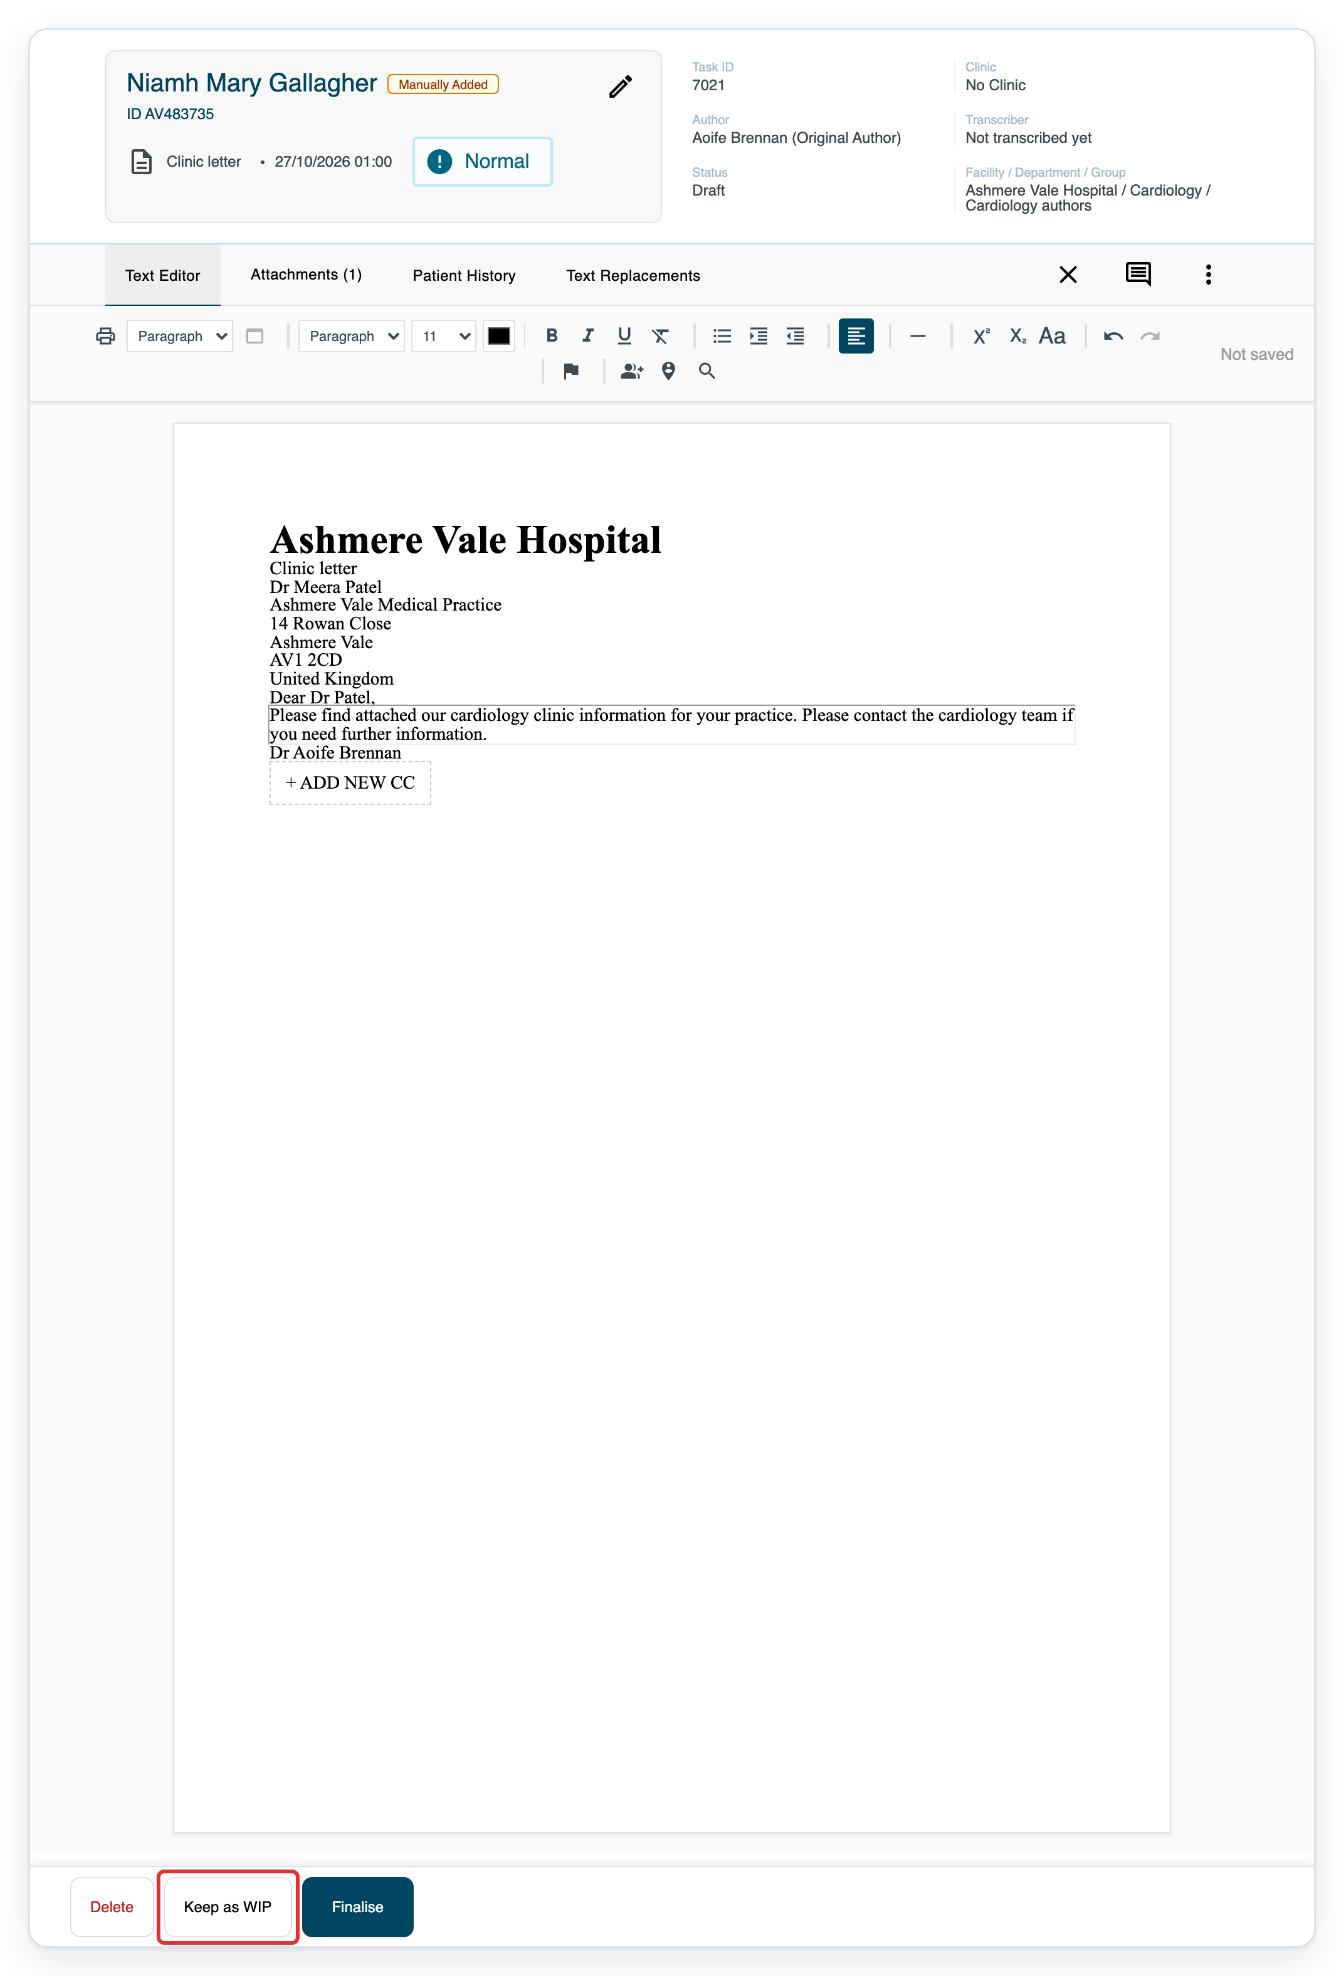
Click Keep as WIP to save the unfinished letter. All tasks opens.
Click the T-Pro logo to return to Live tasks.

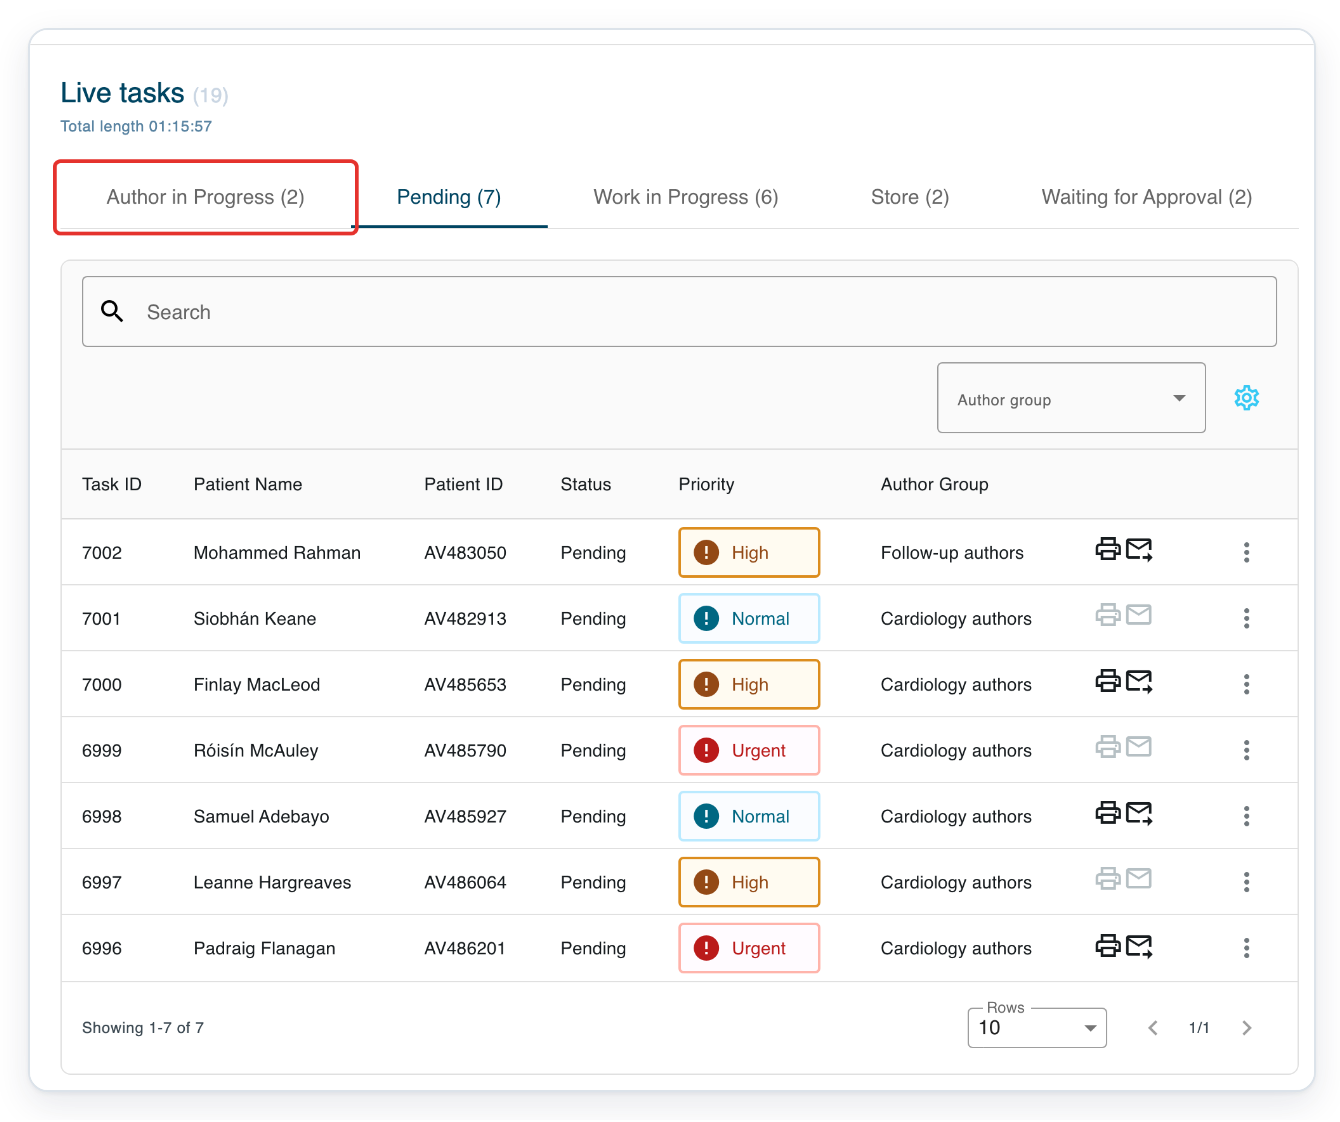
=> Author in Progress is where you can find your saved draft.
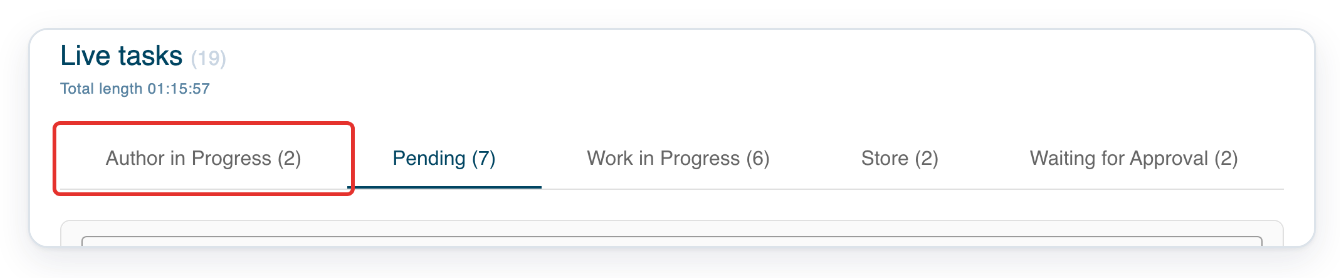
Click Author in Progress.
Click your task's ID to reopen it.
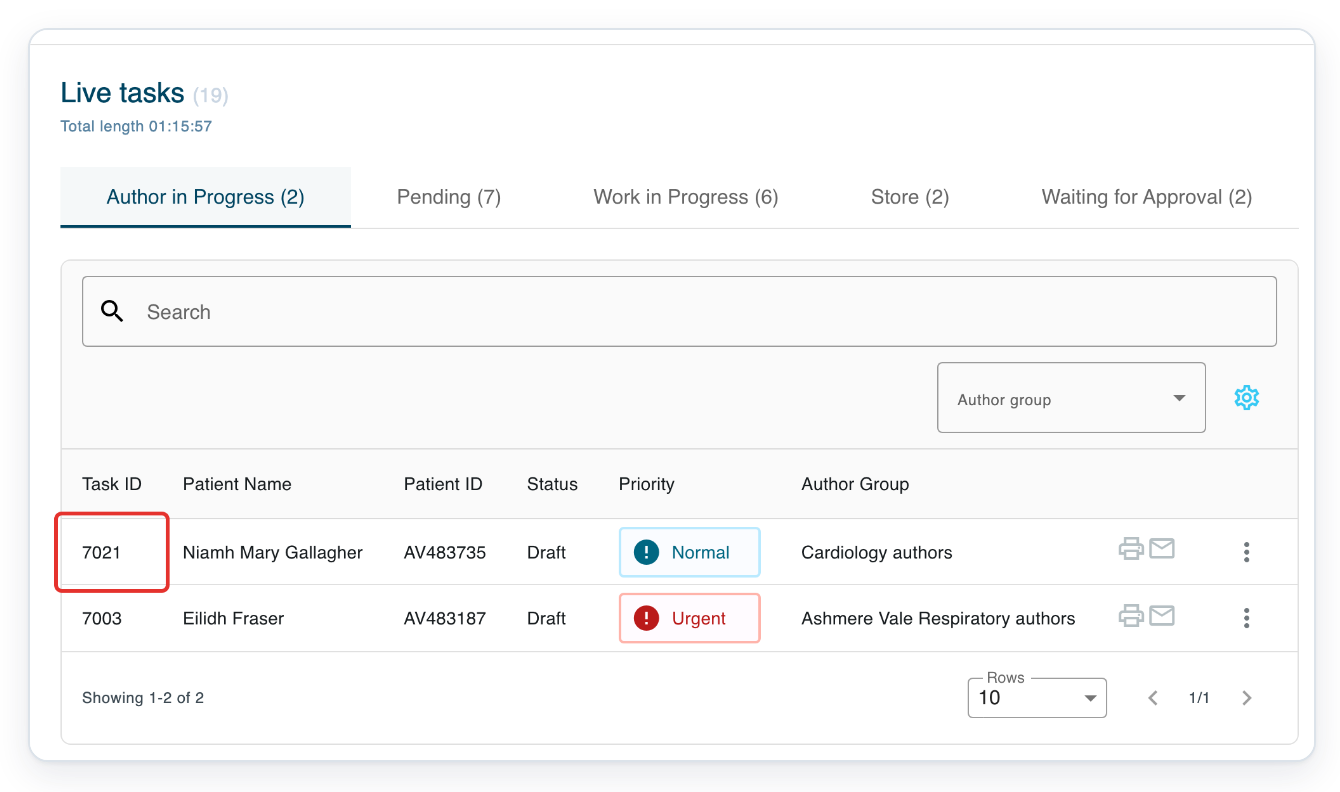
=> Your saved letter opens, ready to continue.
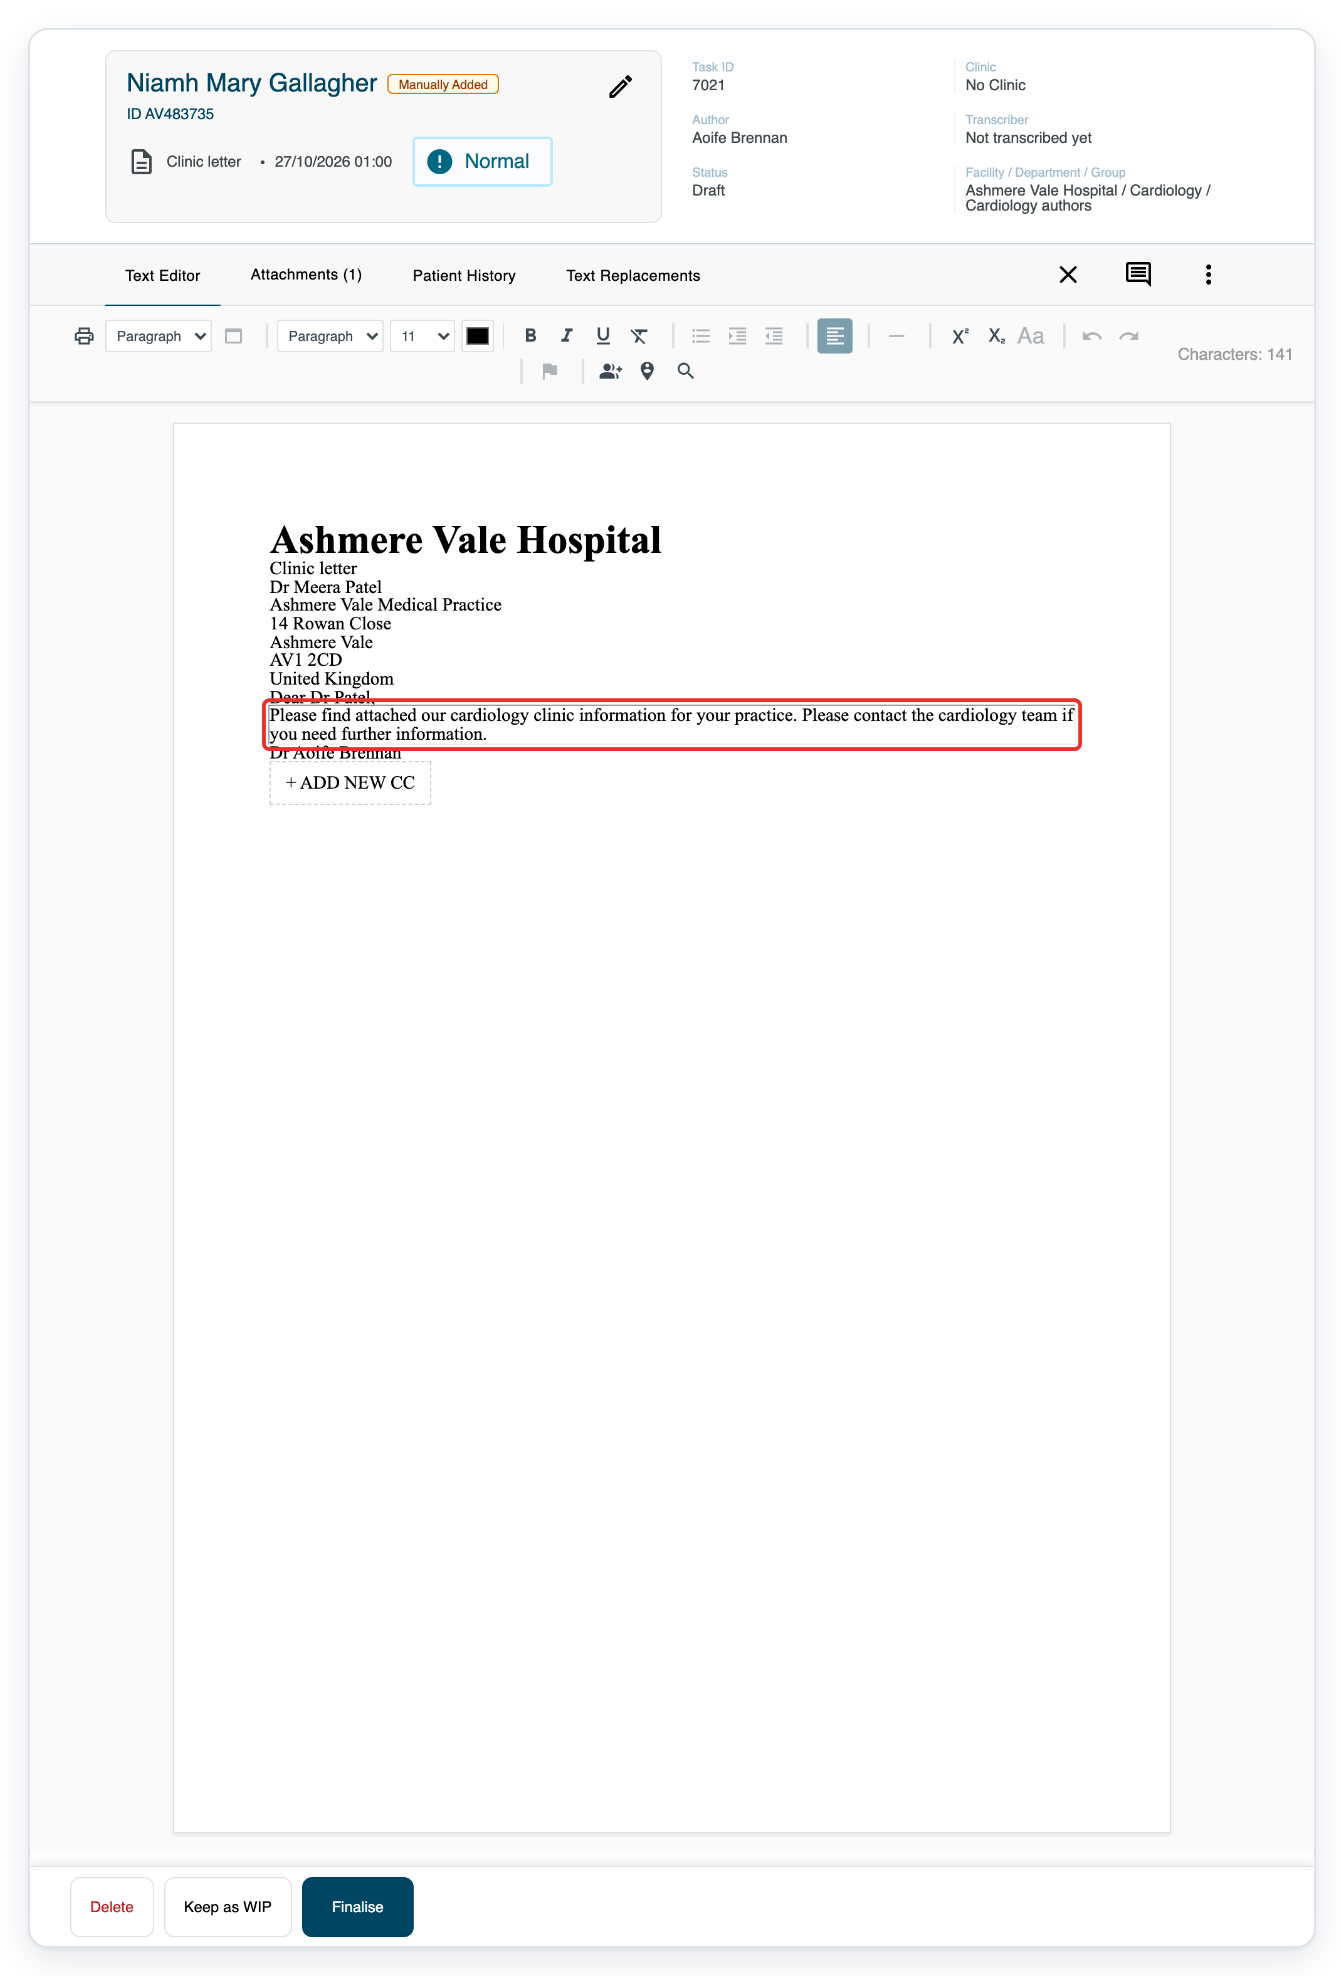
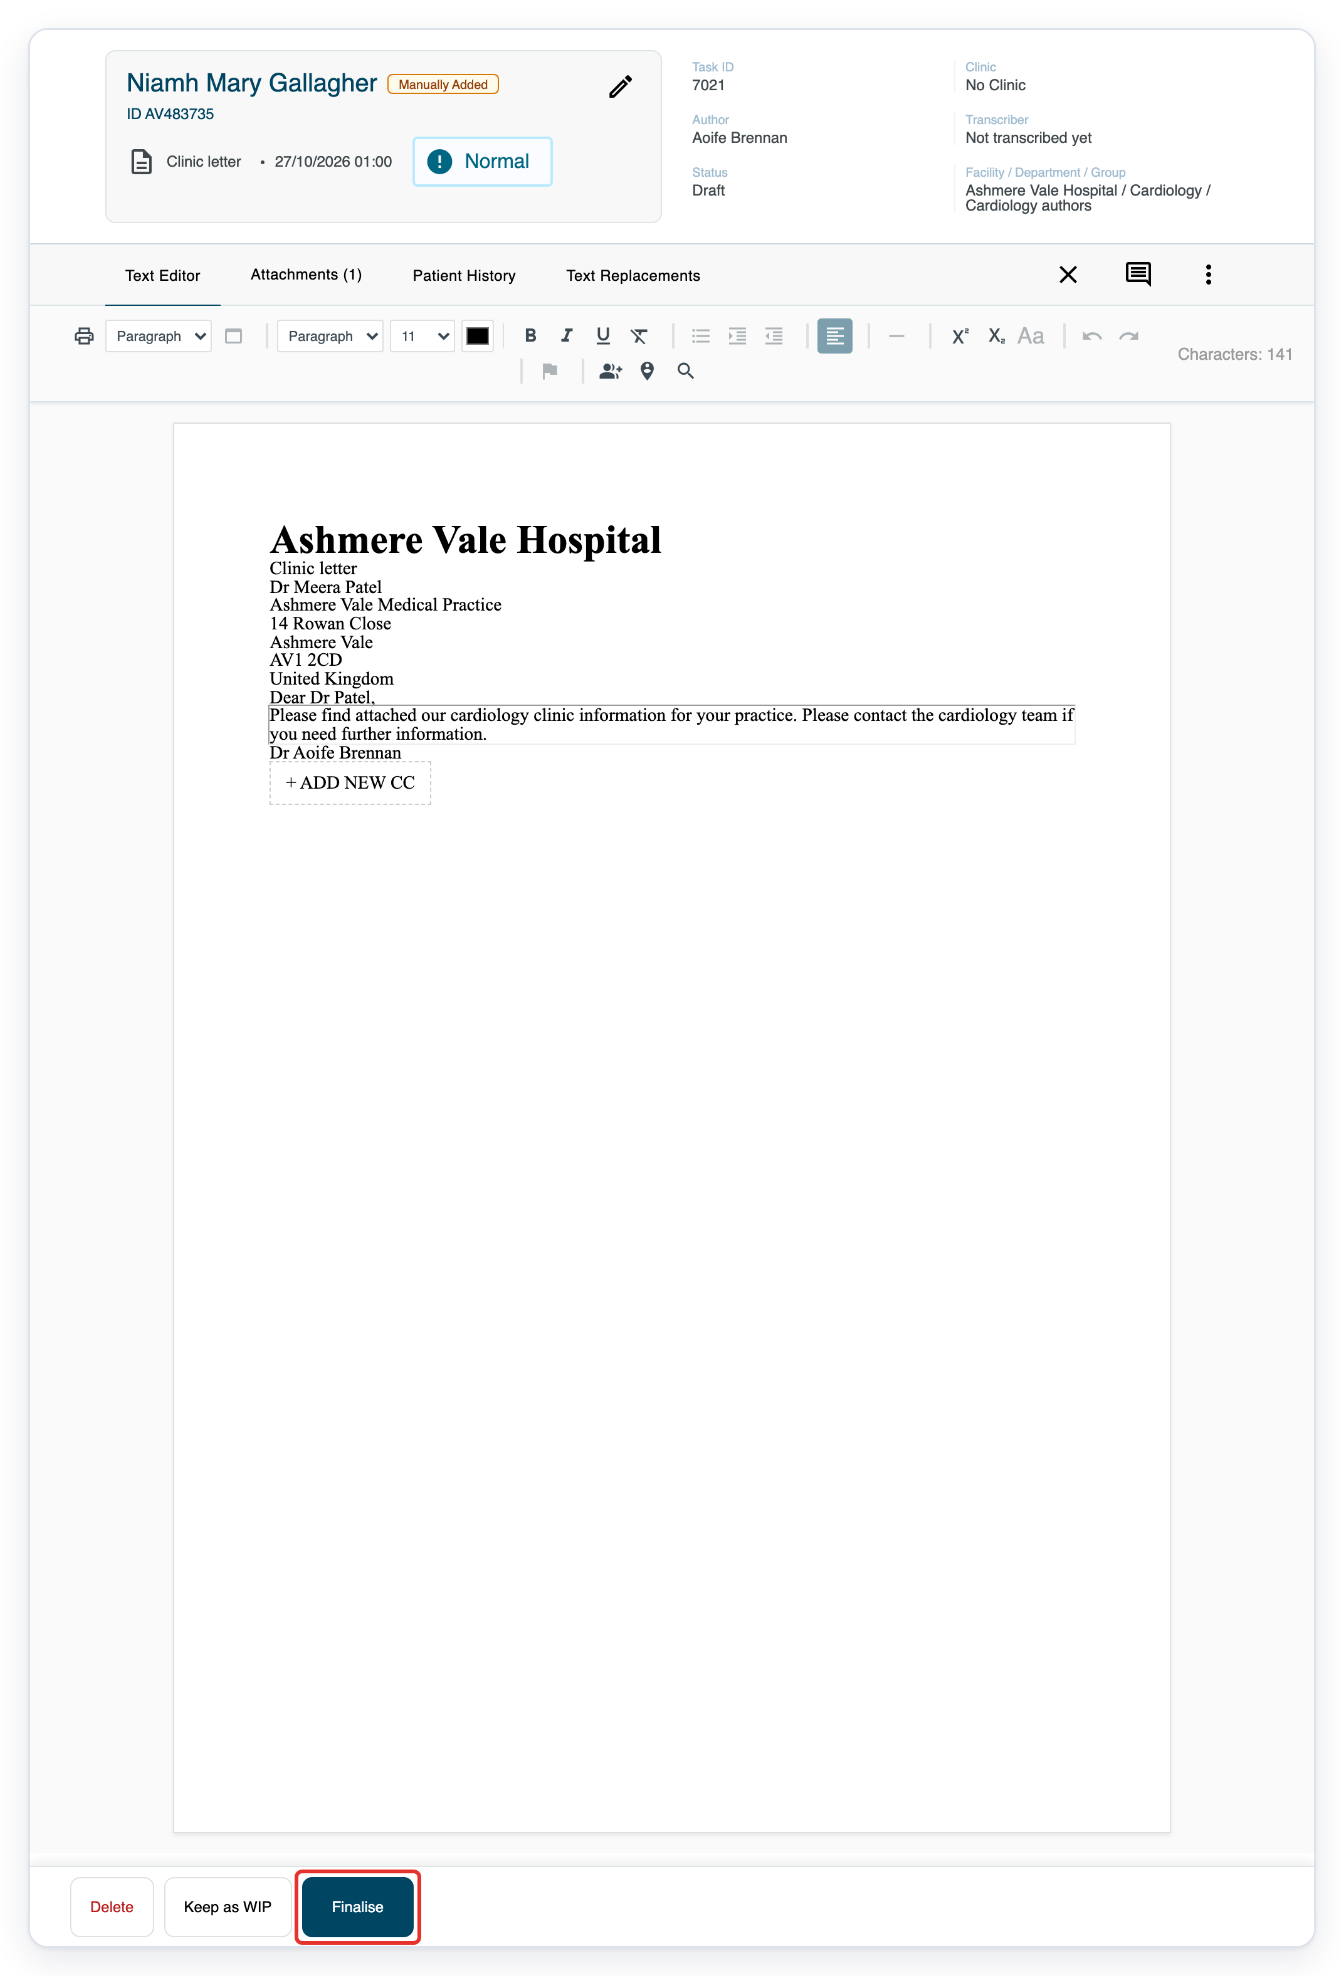
=> Your text appears in the document. Review the letter before finishing. Finalise is available at the bottom.
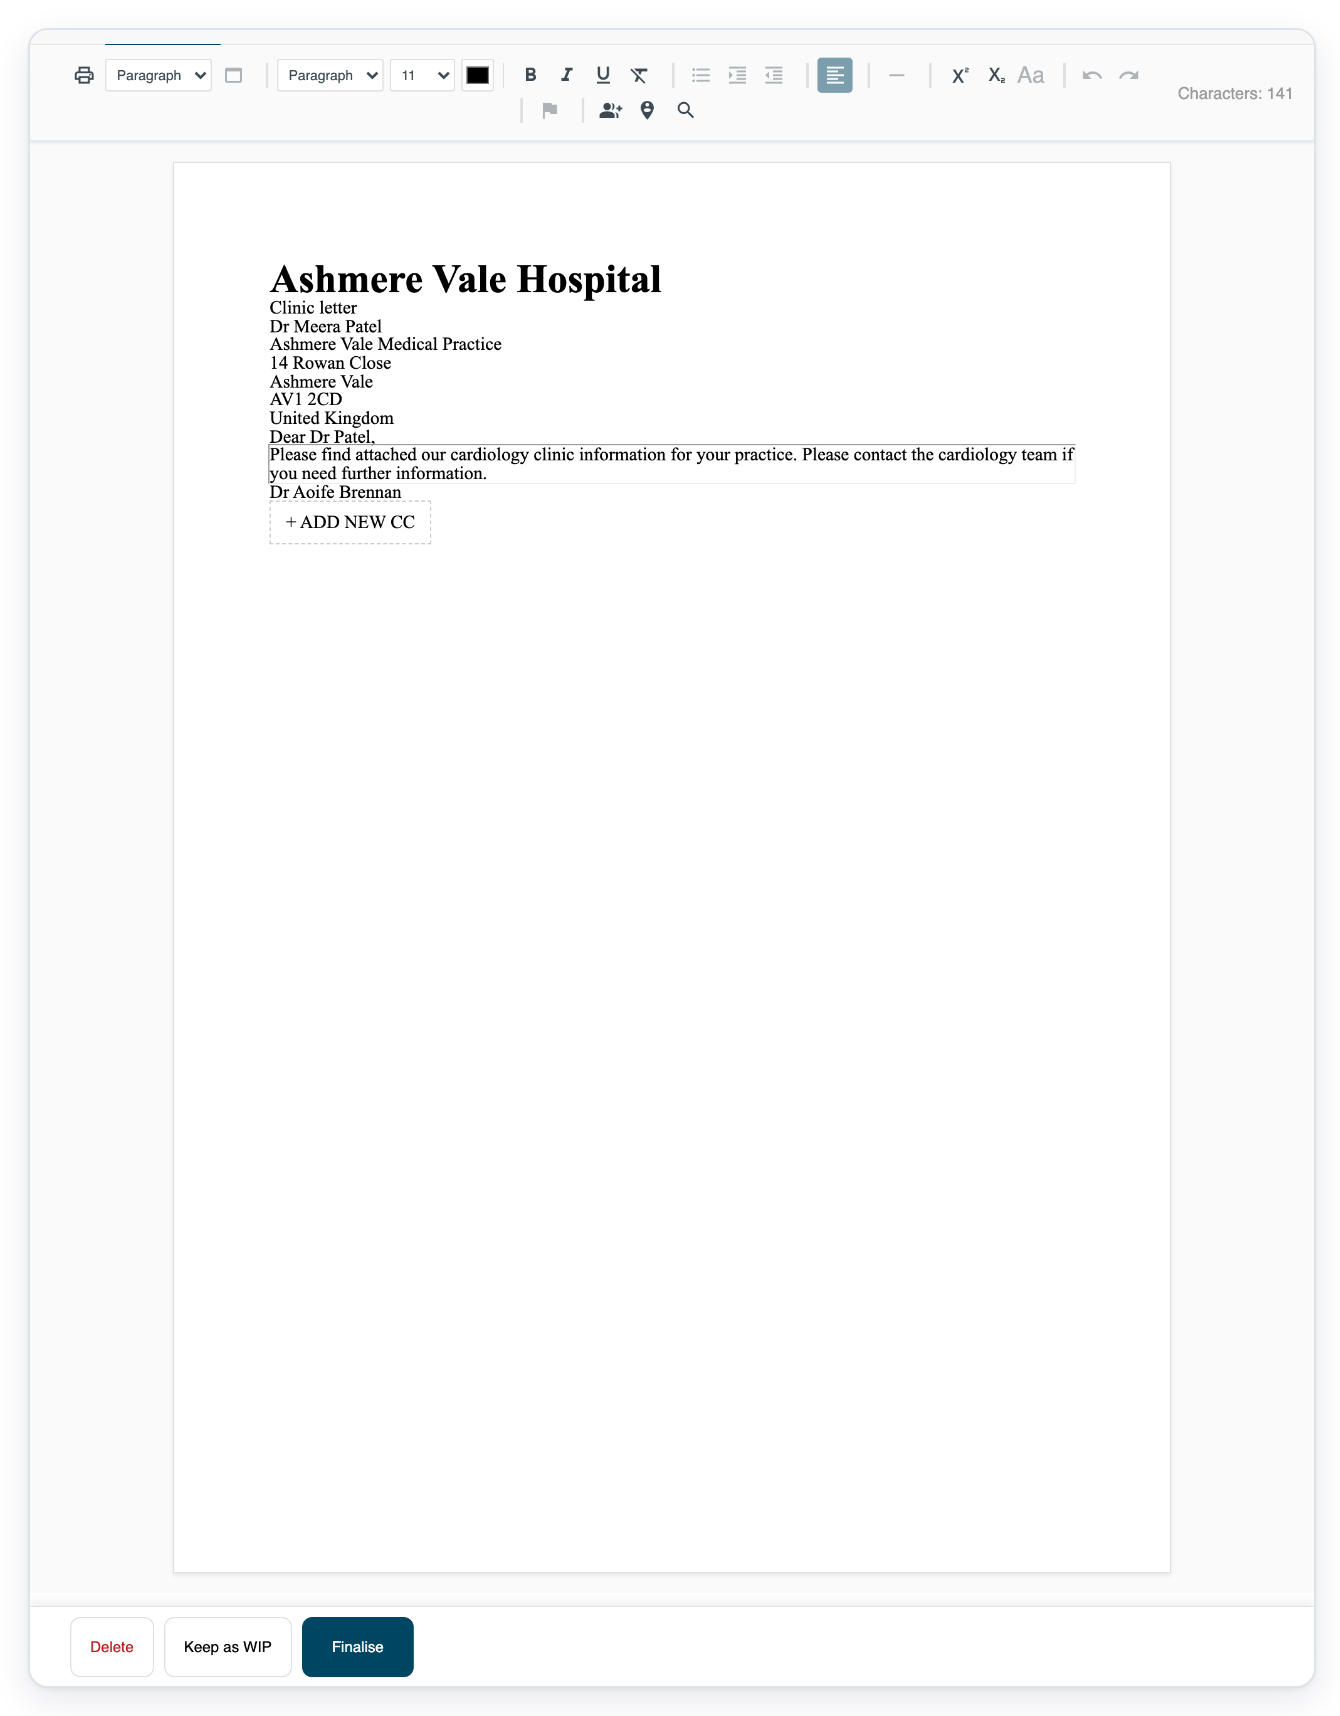
Click Finalise at the bottom to save your document and finish your work on the task. All tasks opens.
Create a task for a scheduled patient
In Live tasks, click Create task.
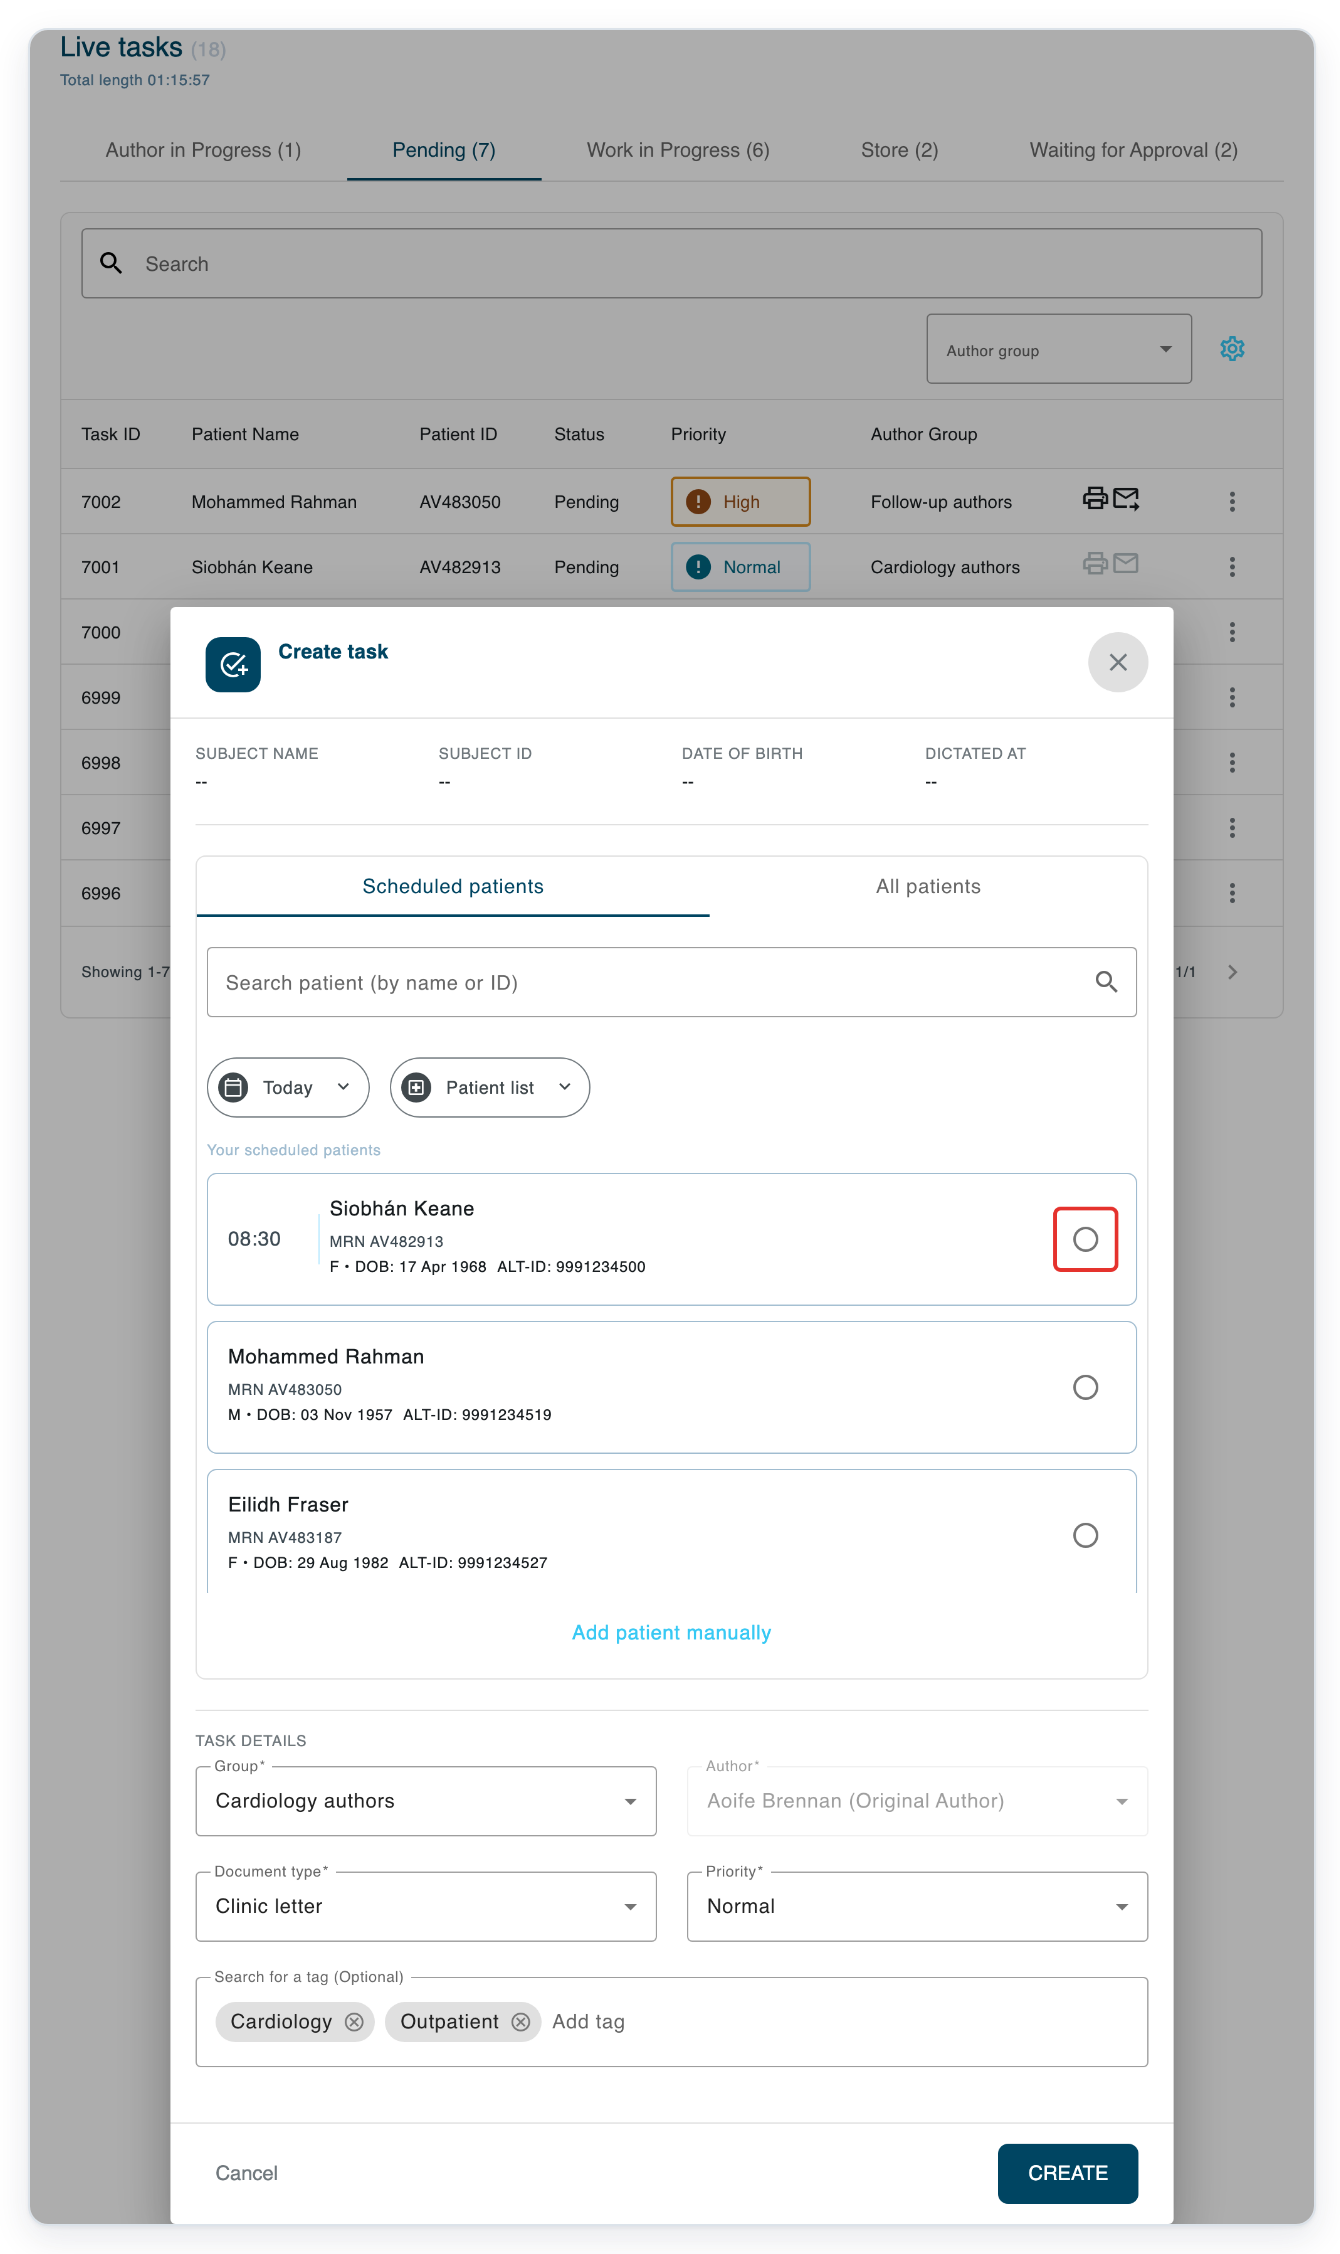
Under Scheduled patients, check your patient's name, ID and date of birth before selecting them. The visit choices appear.
Use Search patient (by name or ID) to find your patient in the list. You can also search under All patients.
=> The selected patient's details appear above the visit choices.
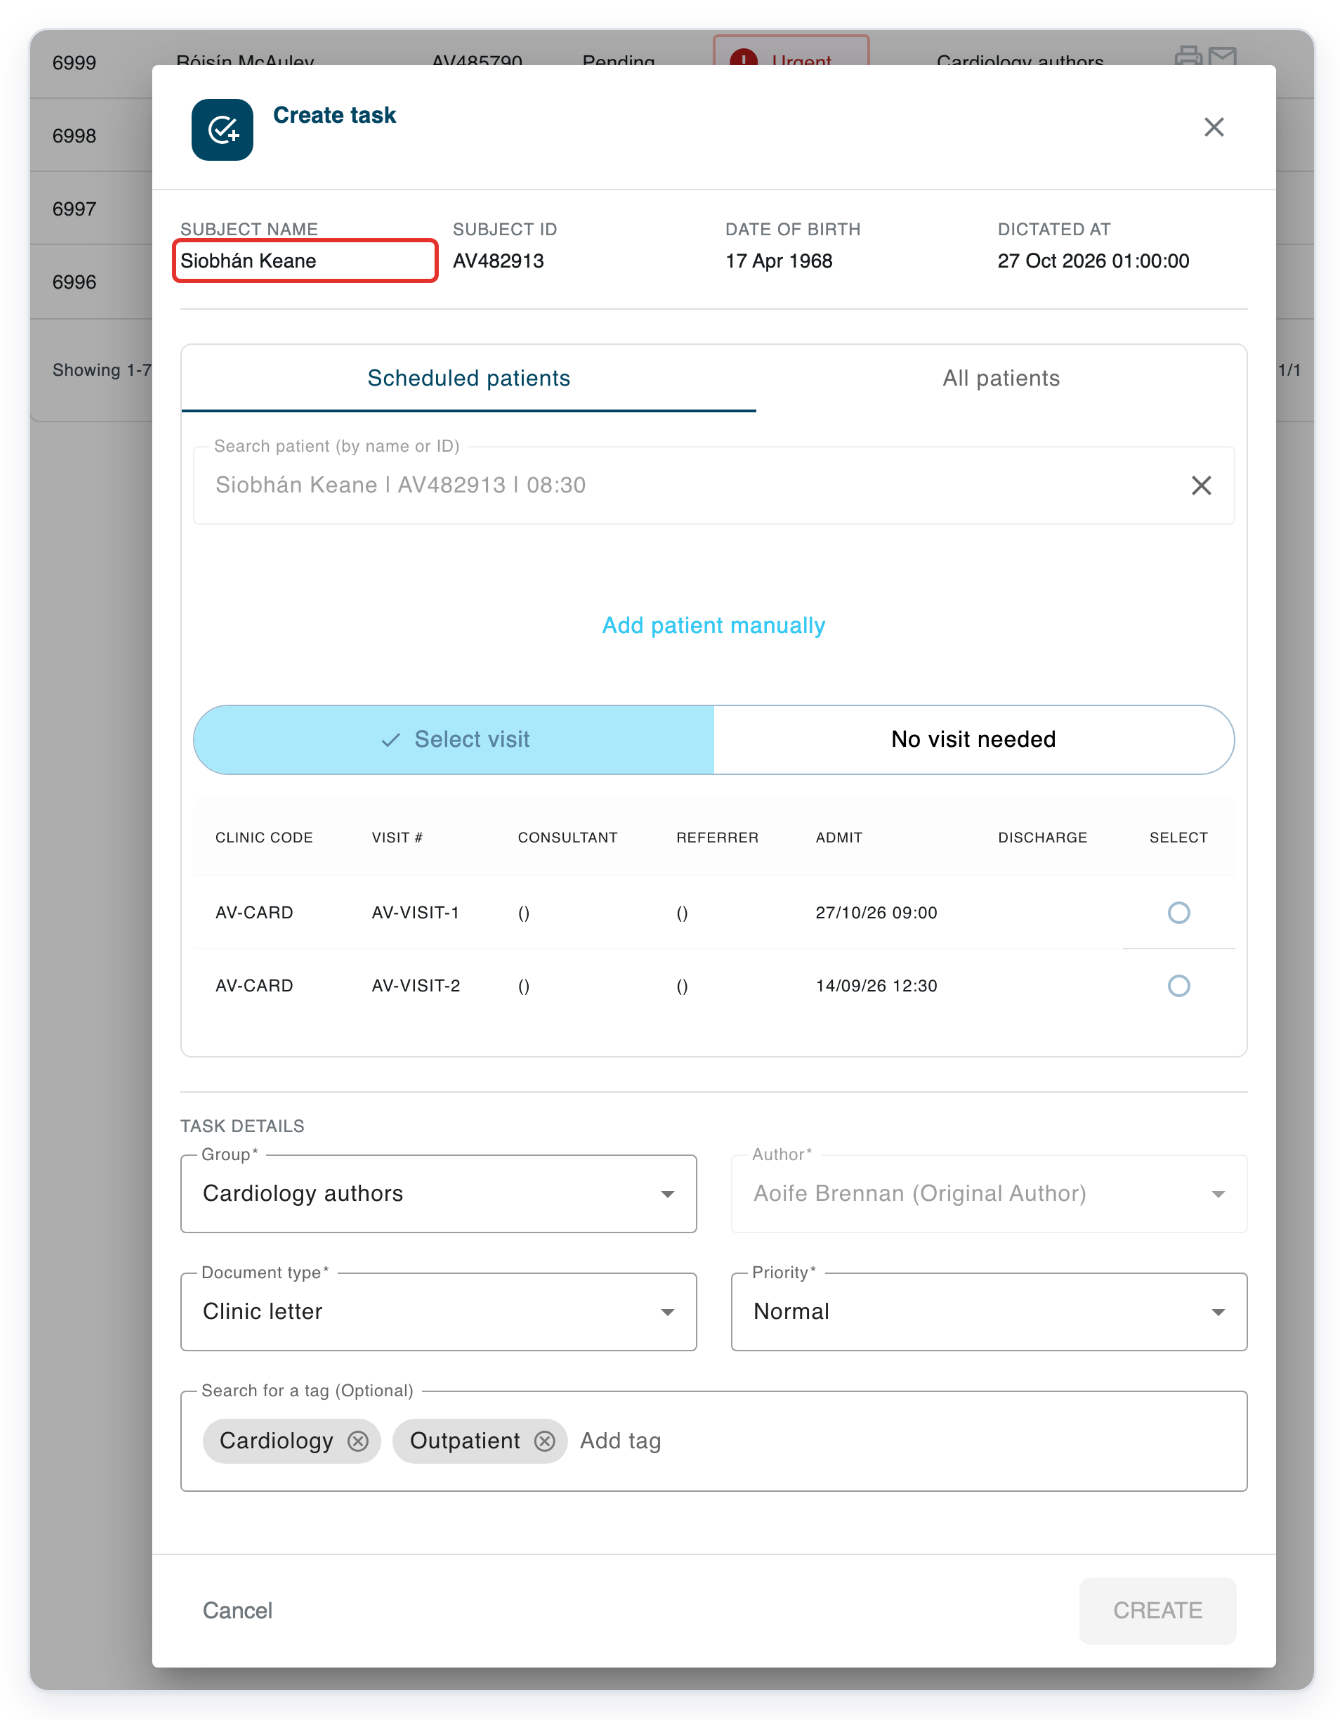
Click No visit needed if your document does not need a visit. Check the patient, Group, Document type and Priority.
The example uses Cardiology authors, Clinic letter and Normal. Choose the settings you need for your document. The document type sets the template. If your document relates to a visit, select that visit instead.
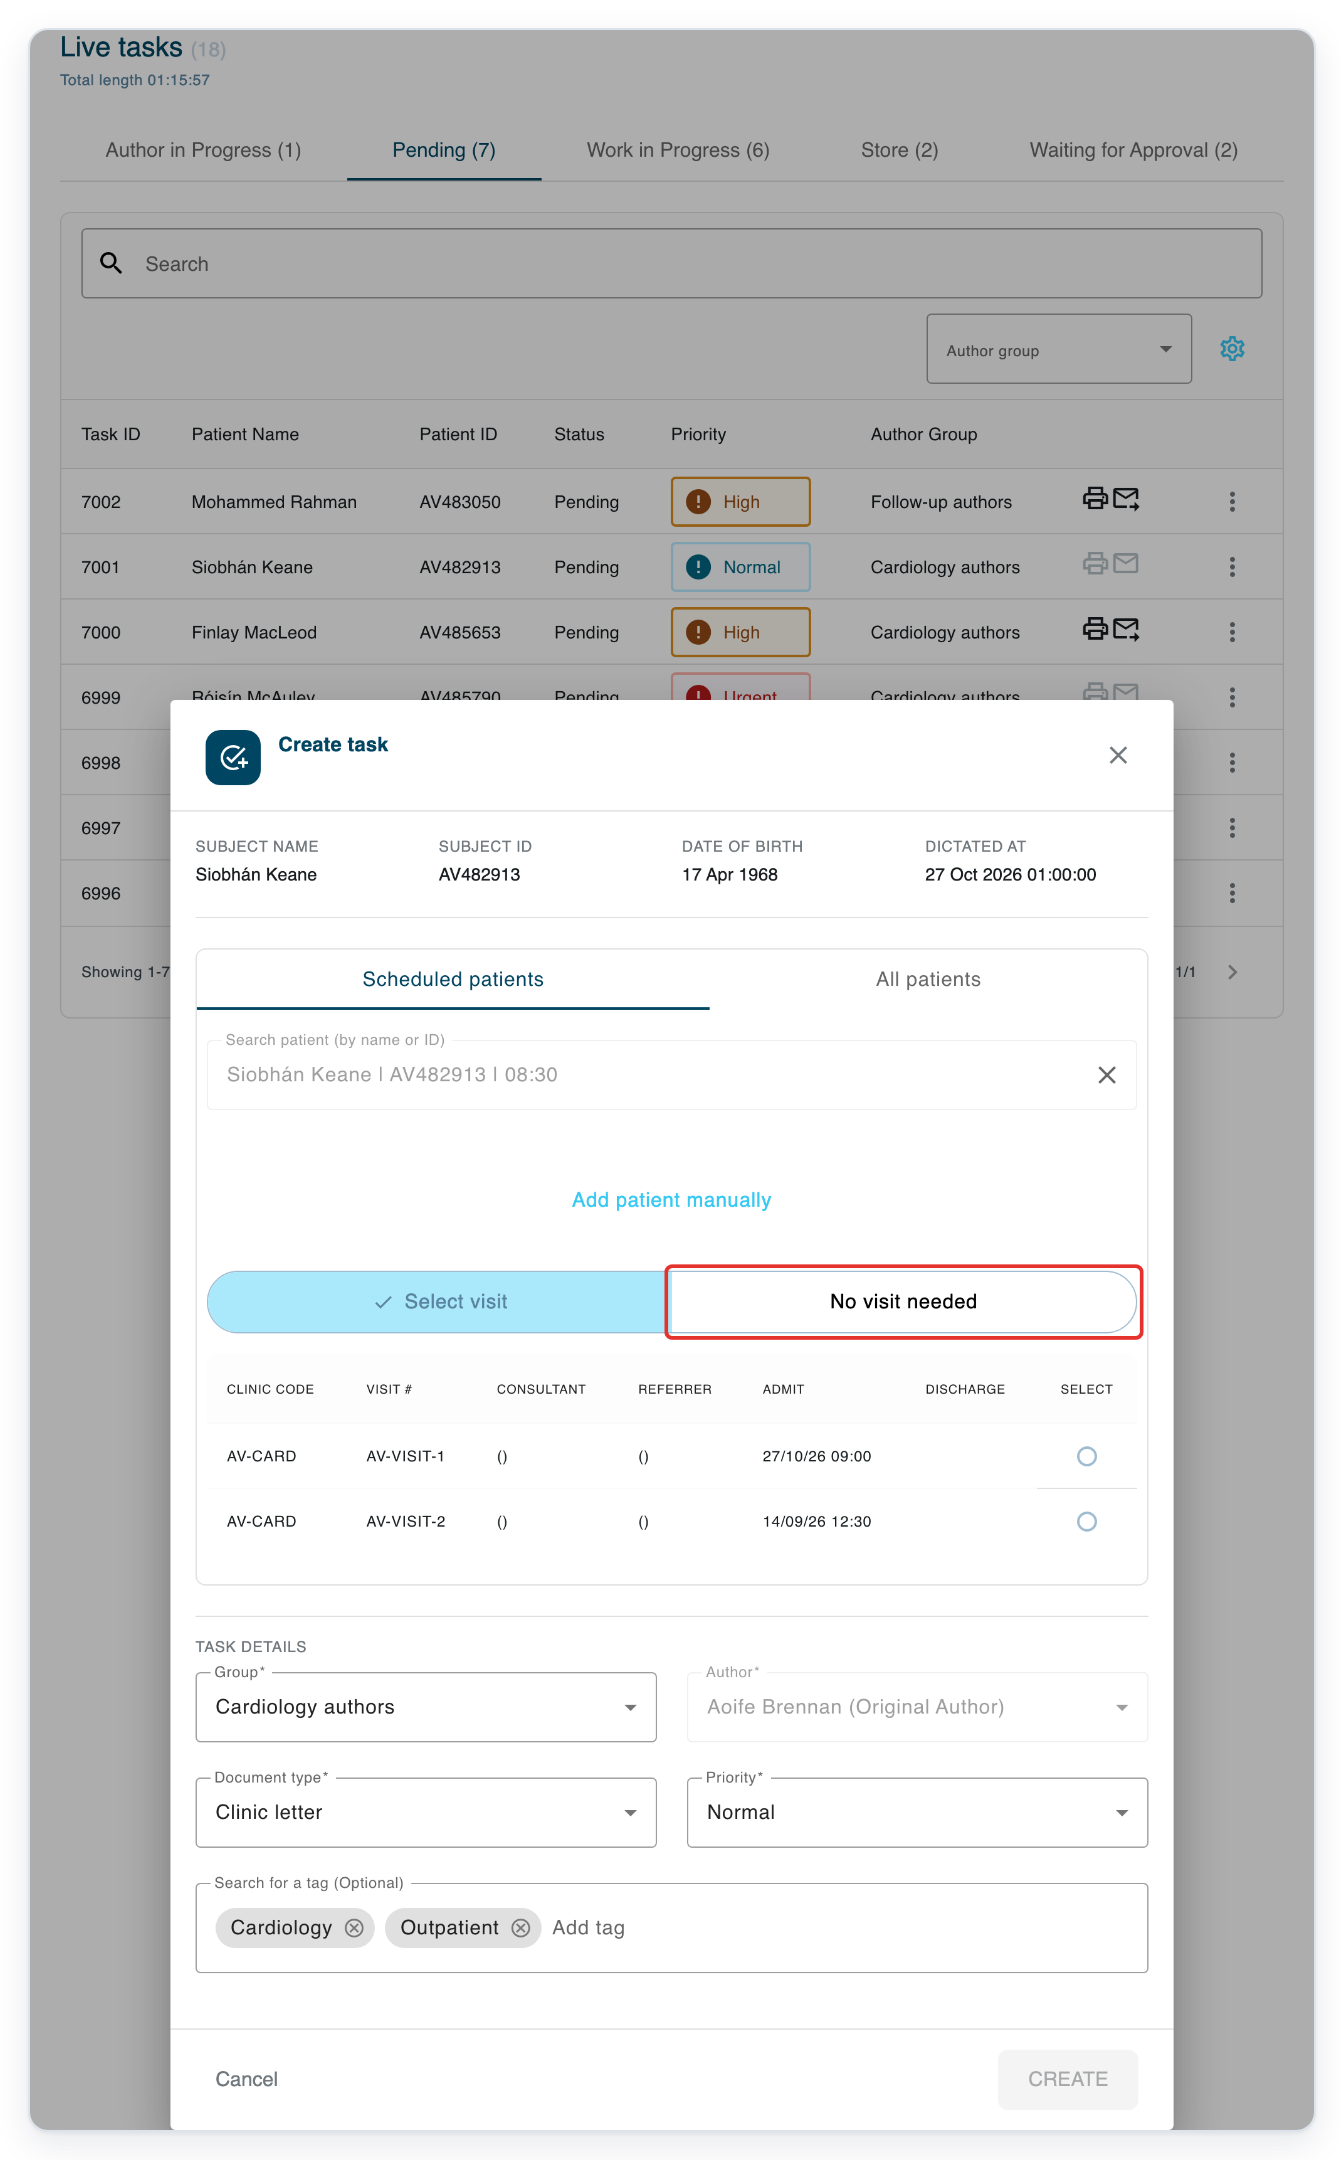
=> No visit needed is selected.
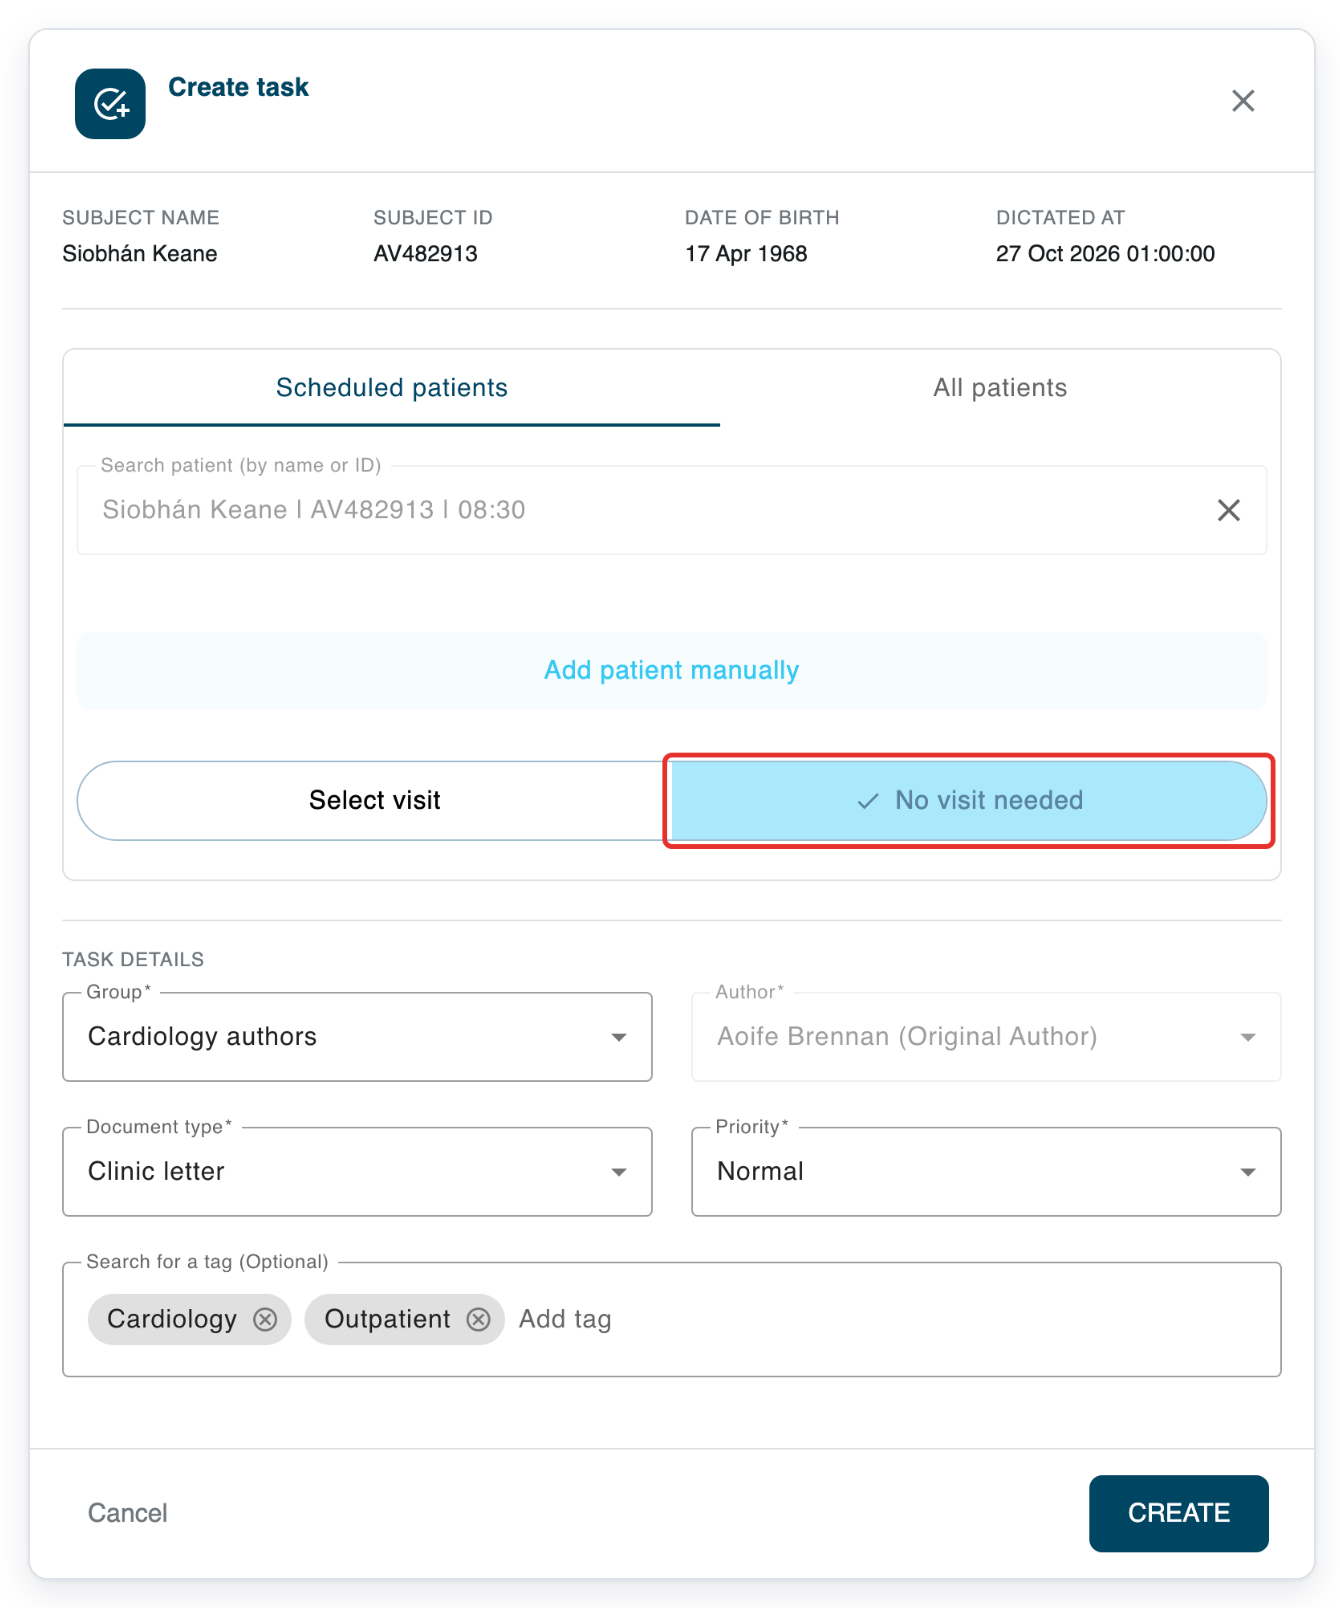
Click CREATE to open your task without audio.
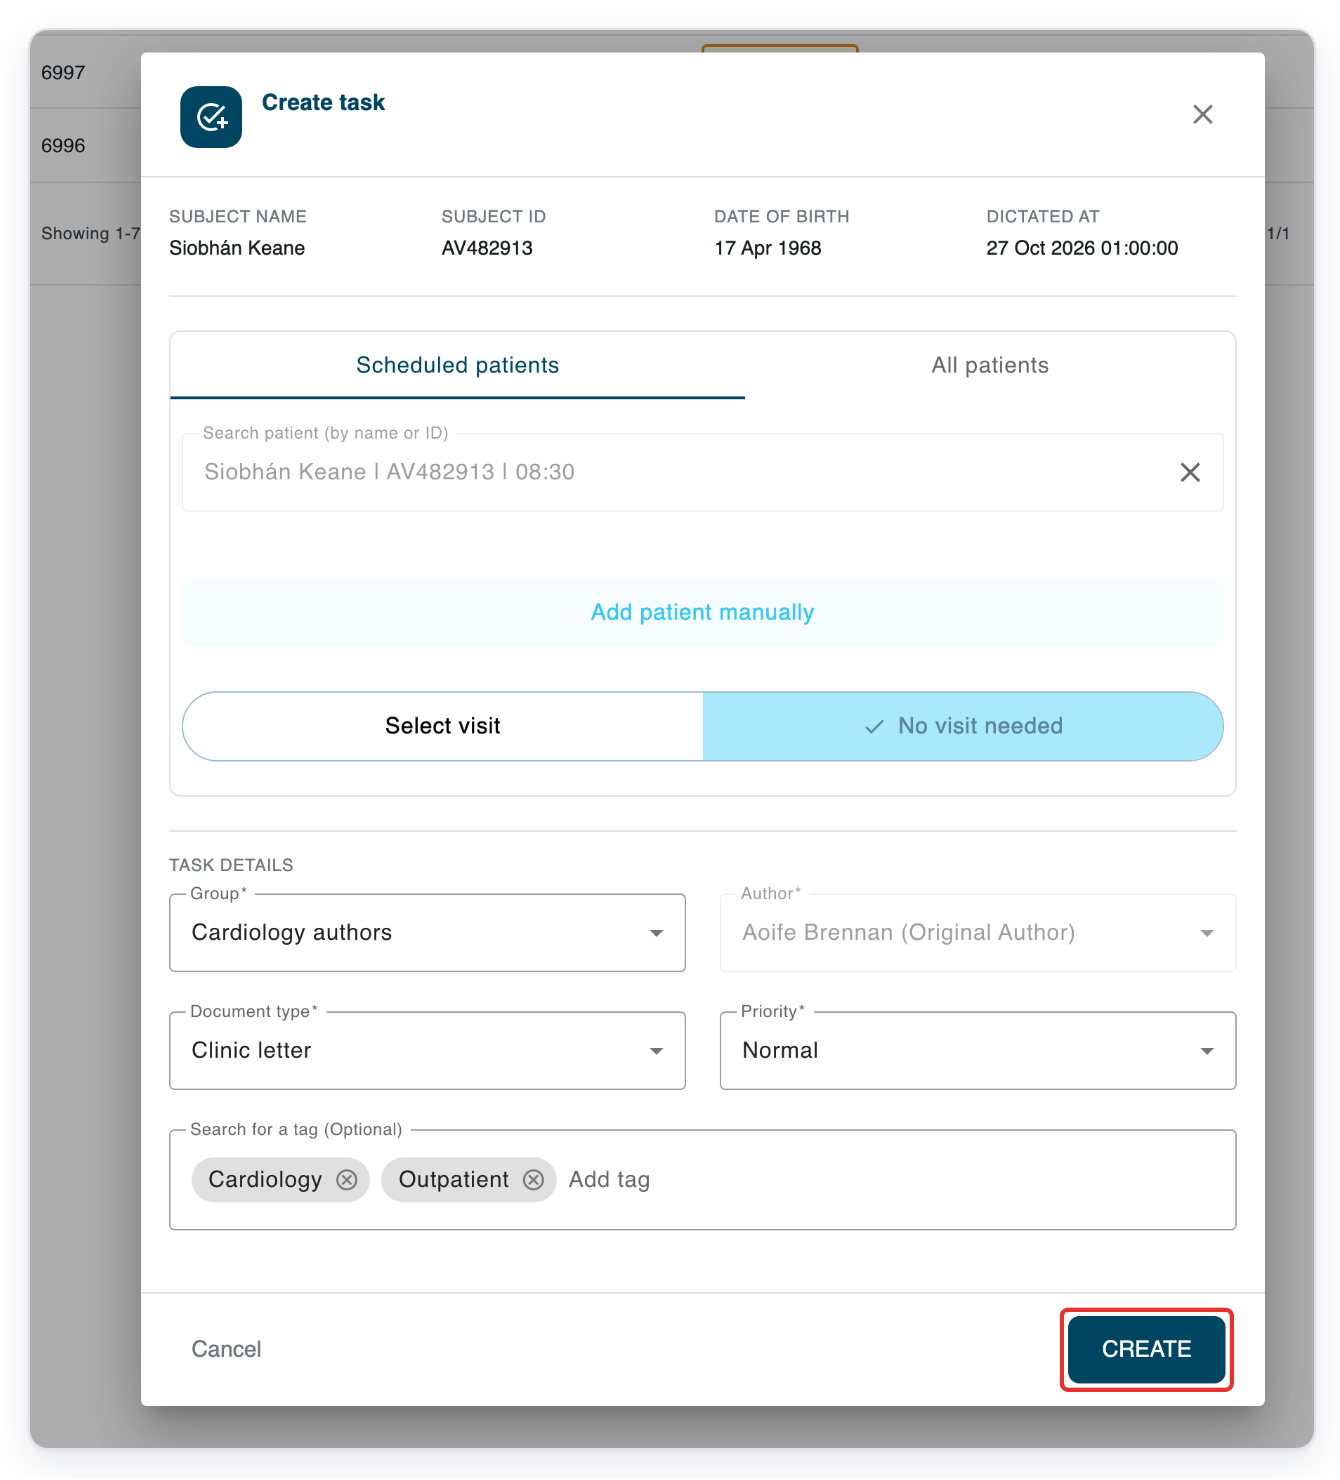
=> The task shows Siobhán Keane and ID AV482913, ready for the letter.
Approve a Dictate-app letter and print completed tasks
In All tasks, click the cog to choose your columns.
These column changes are optional. They make room for the printing controls.

Clear Patient Alternative ID.
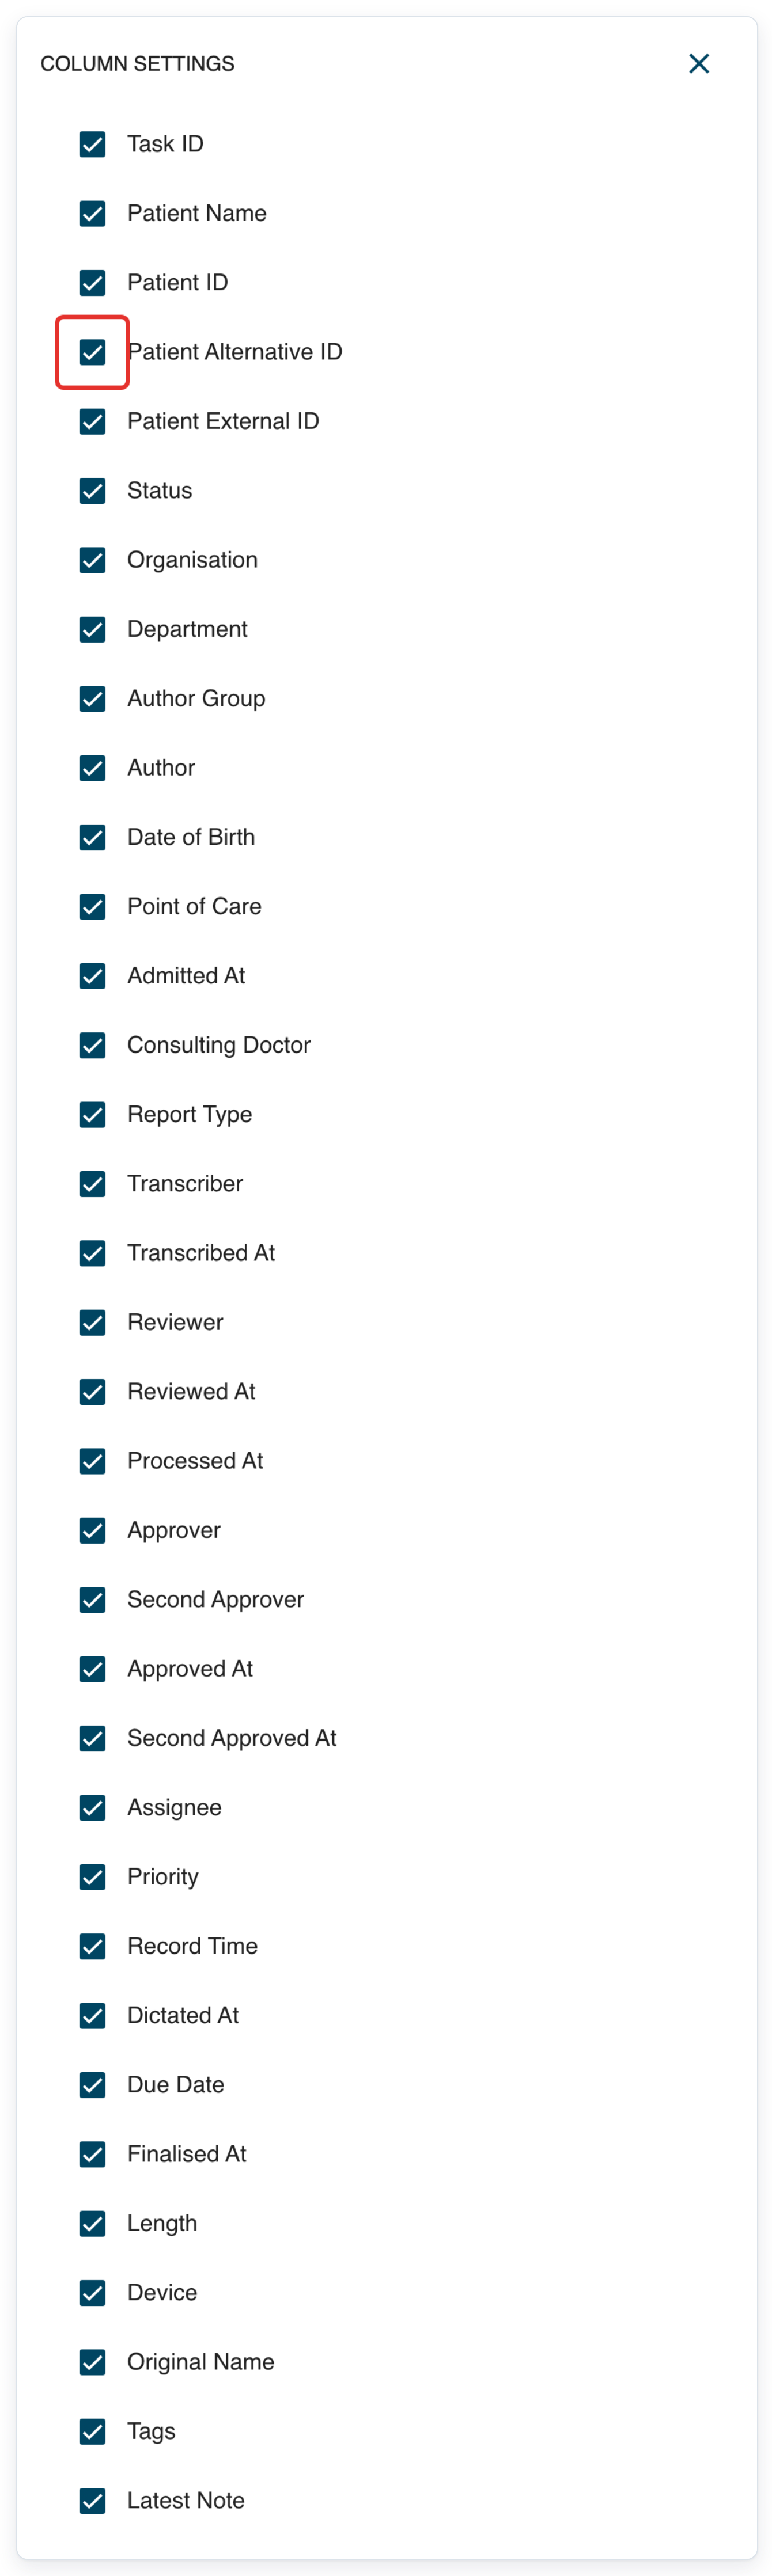
Clear Patient External ID.
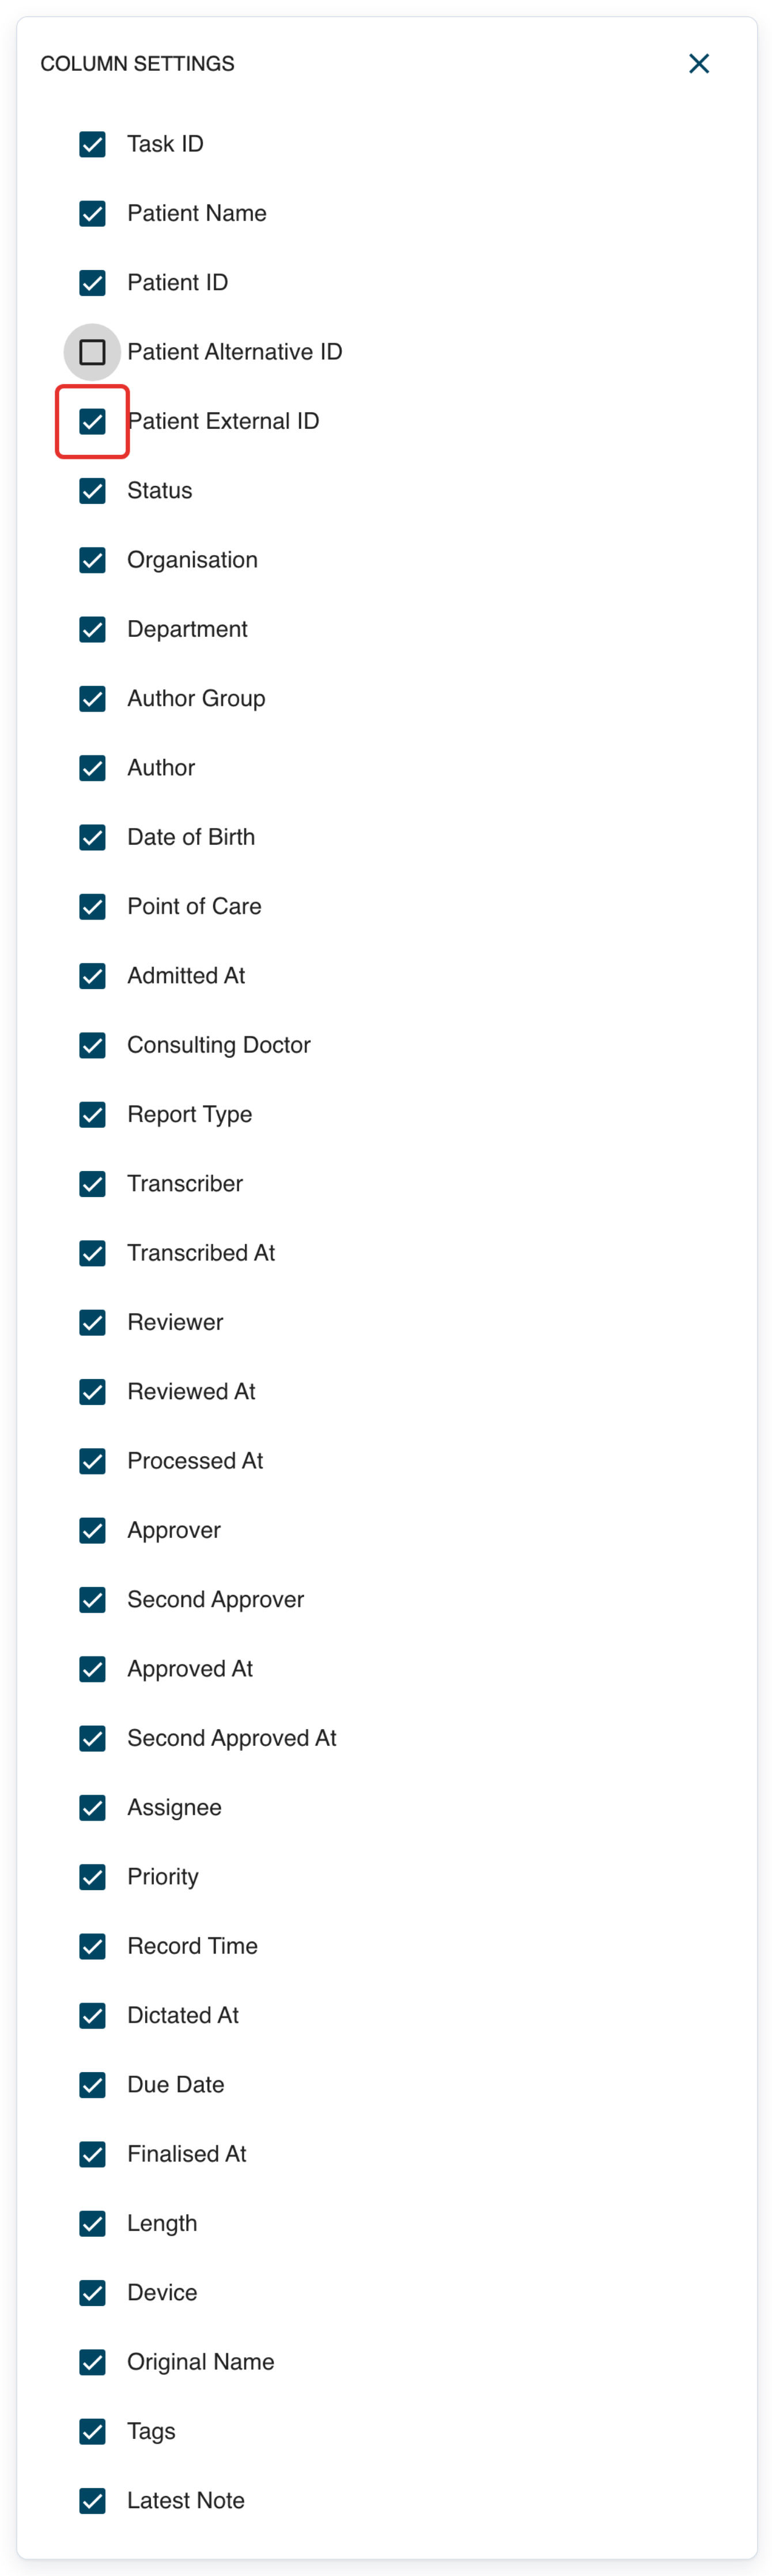
Clear Organisation.
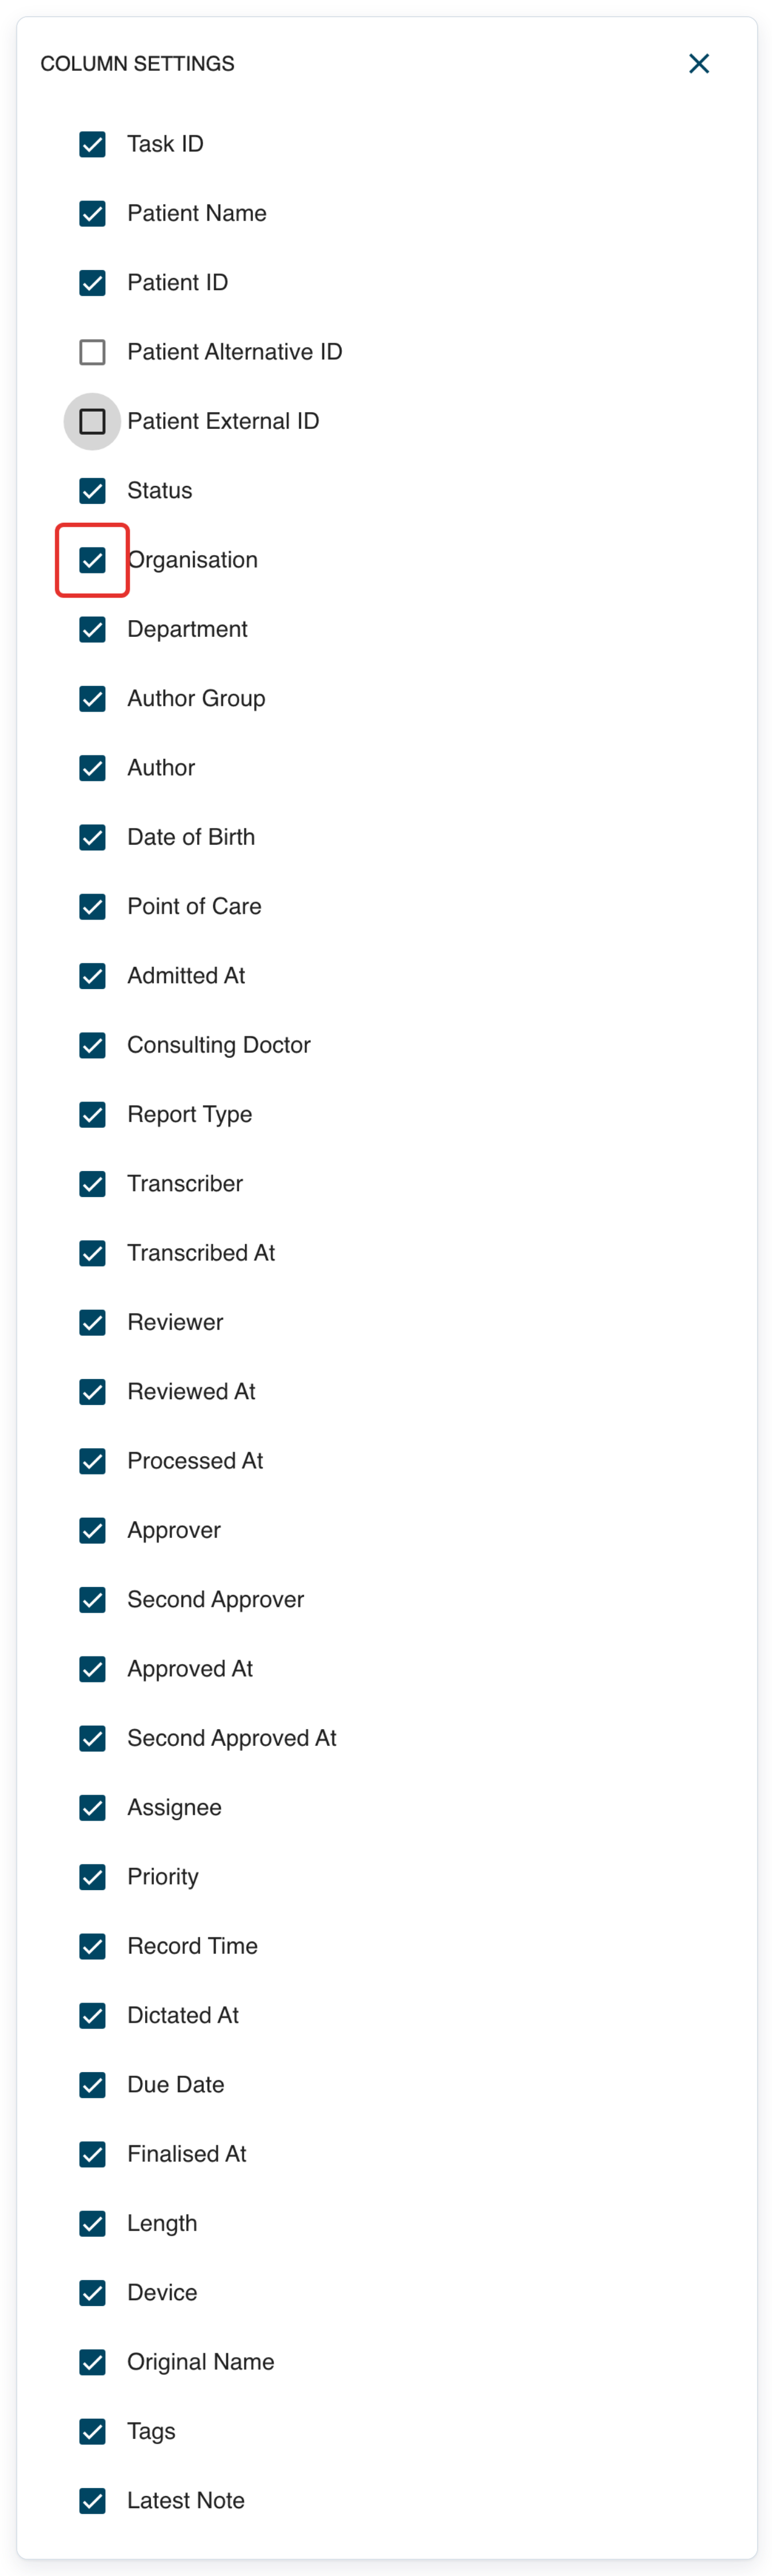
Clear Department.
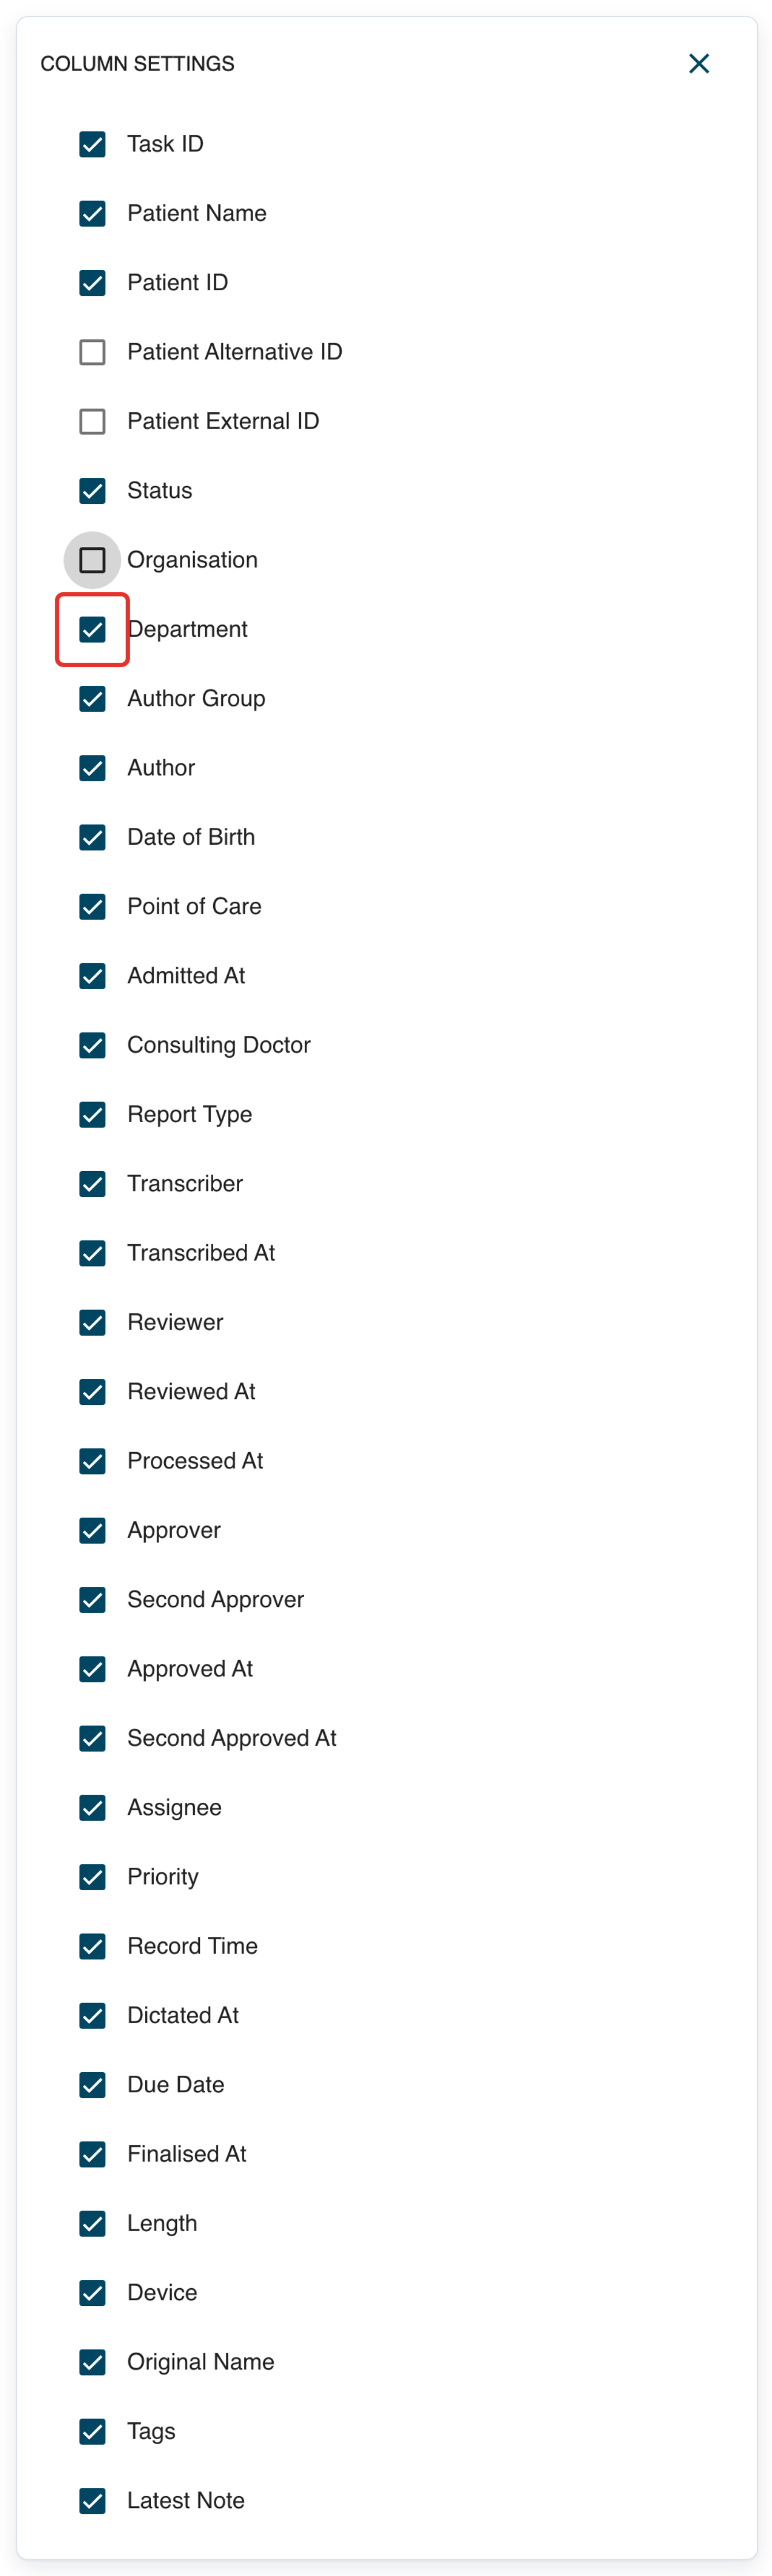
Clear Author Group.
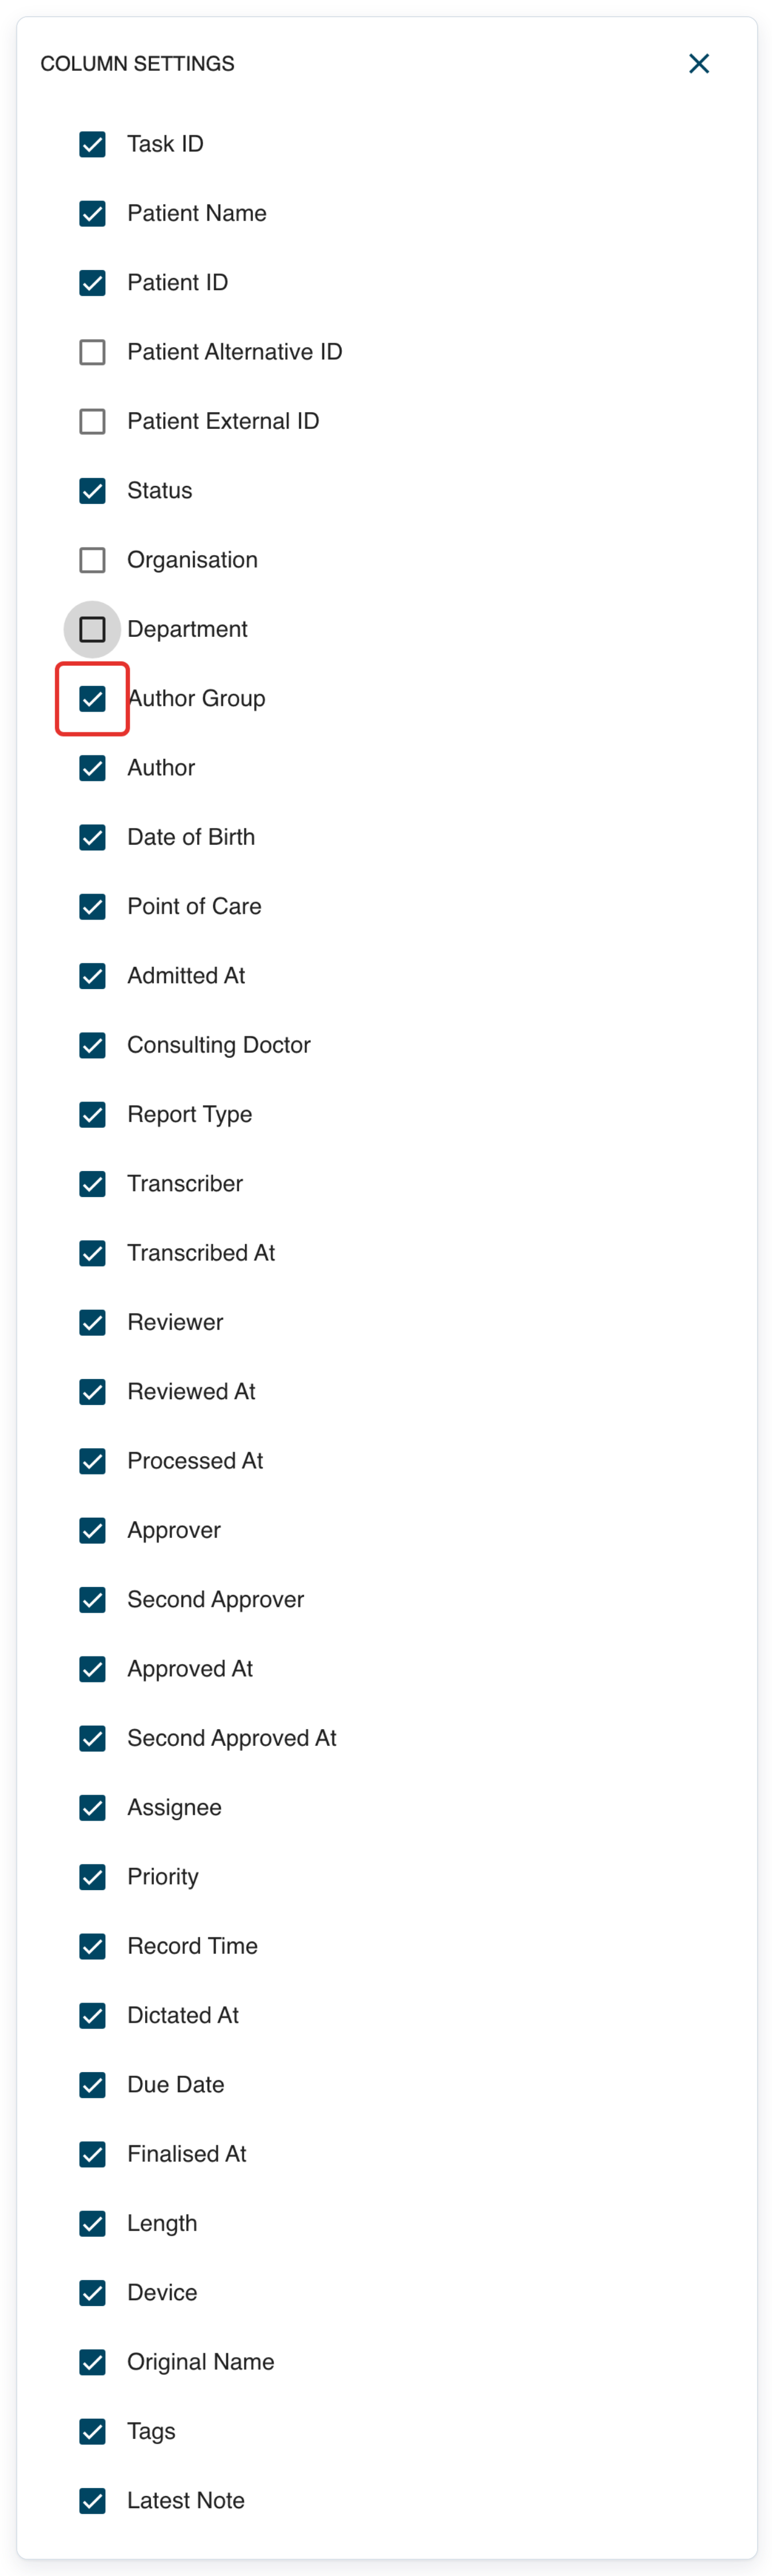
Clear Author.
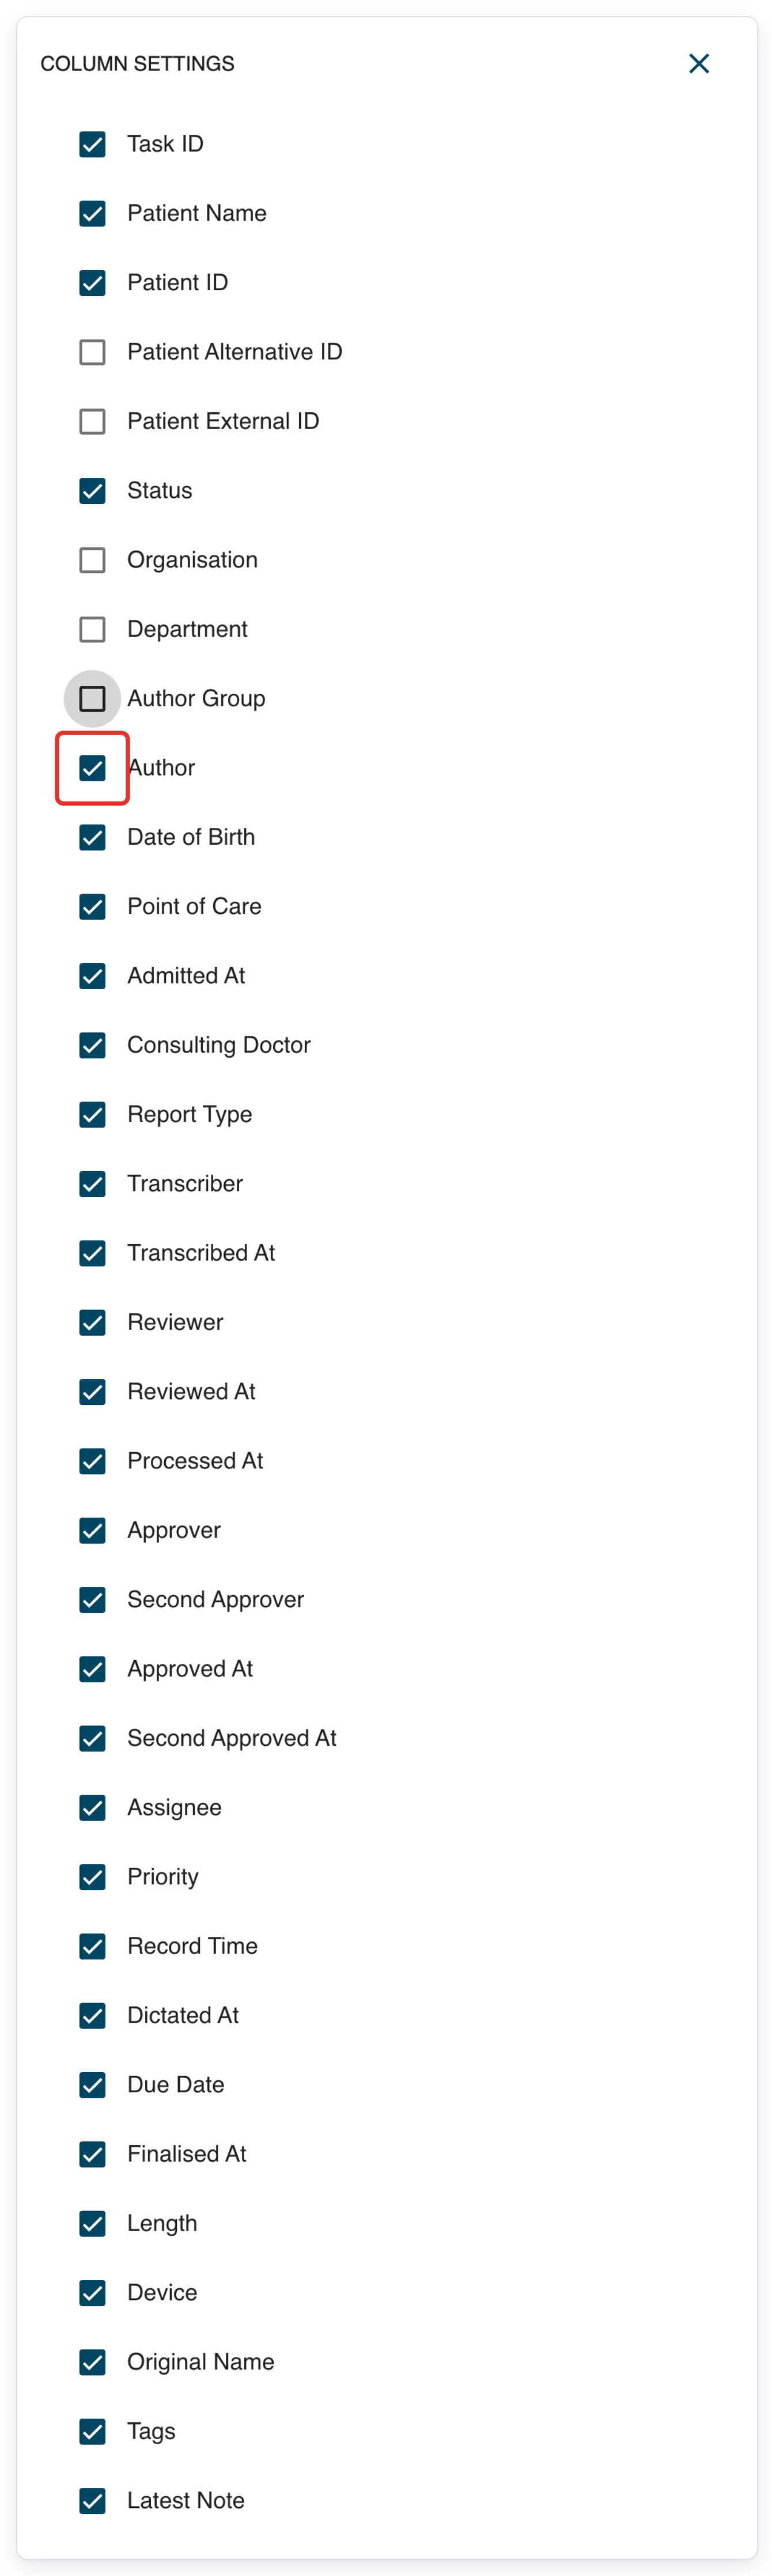
Clear Date of Birth.
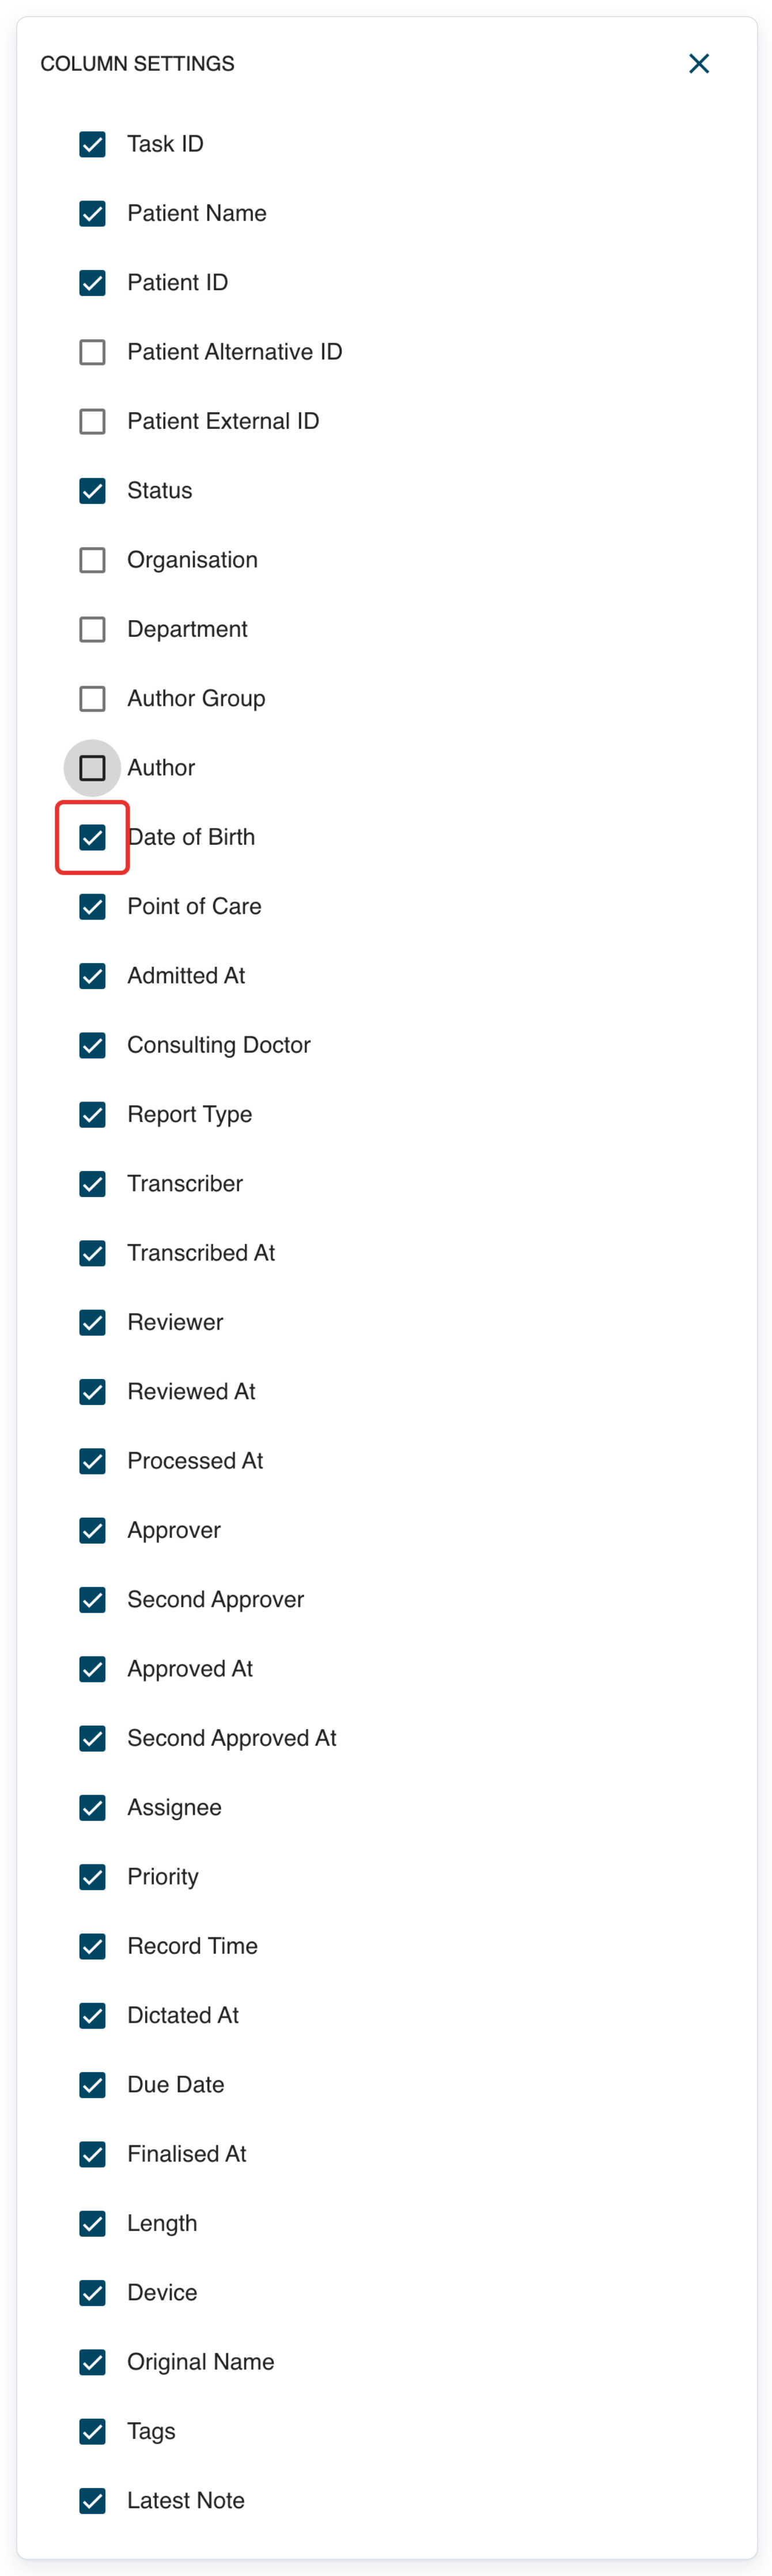
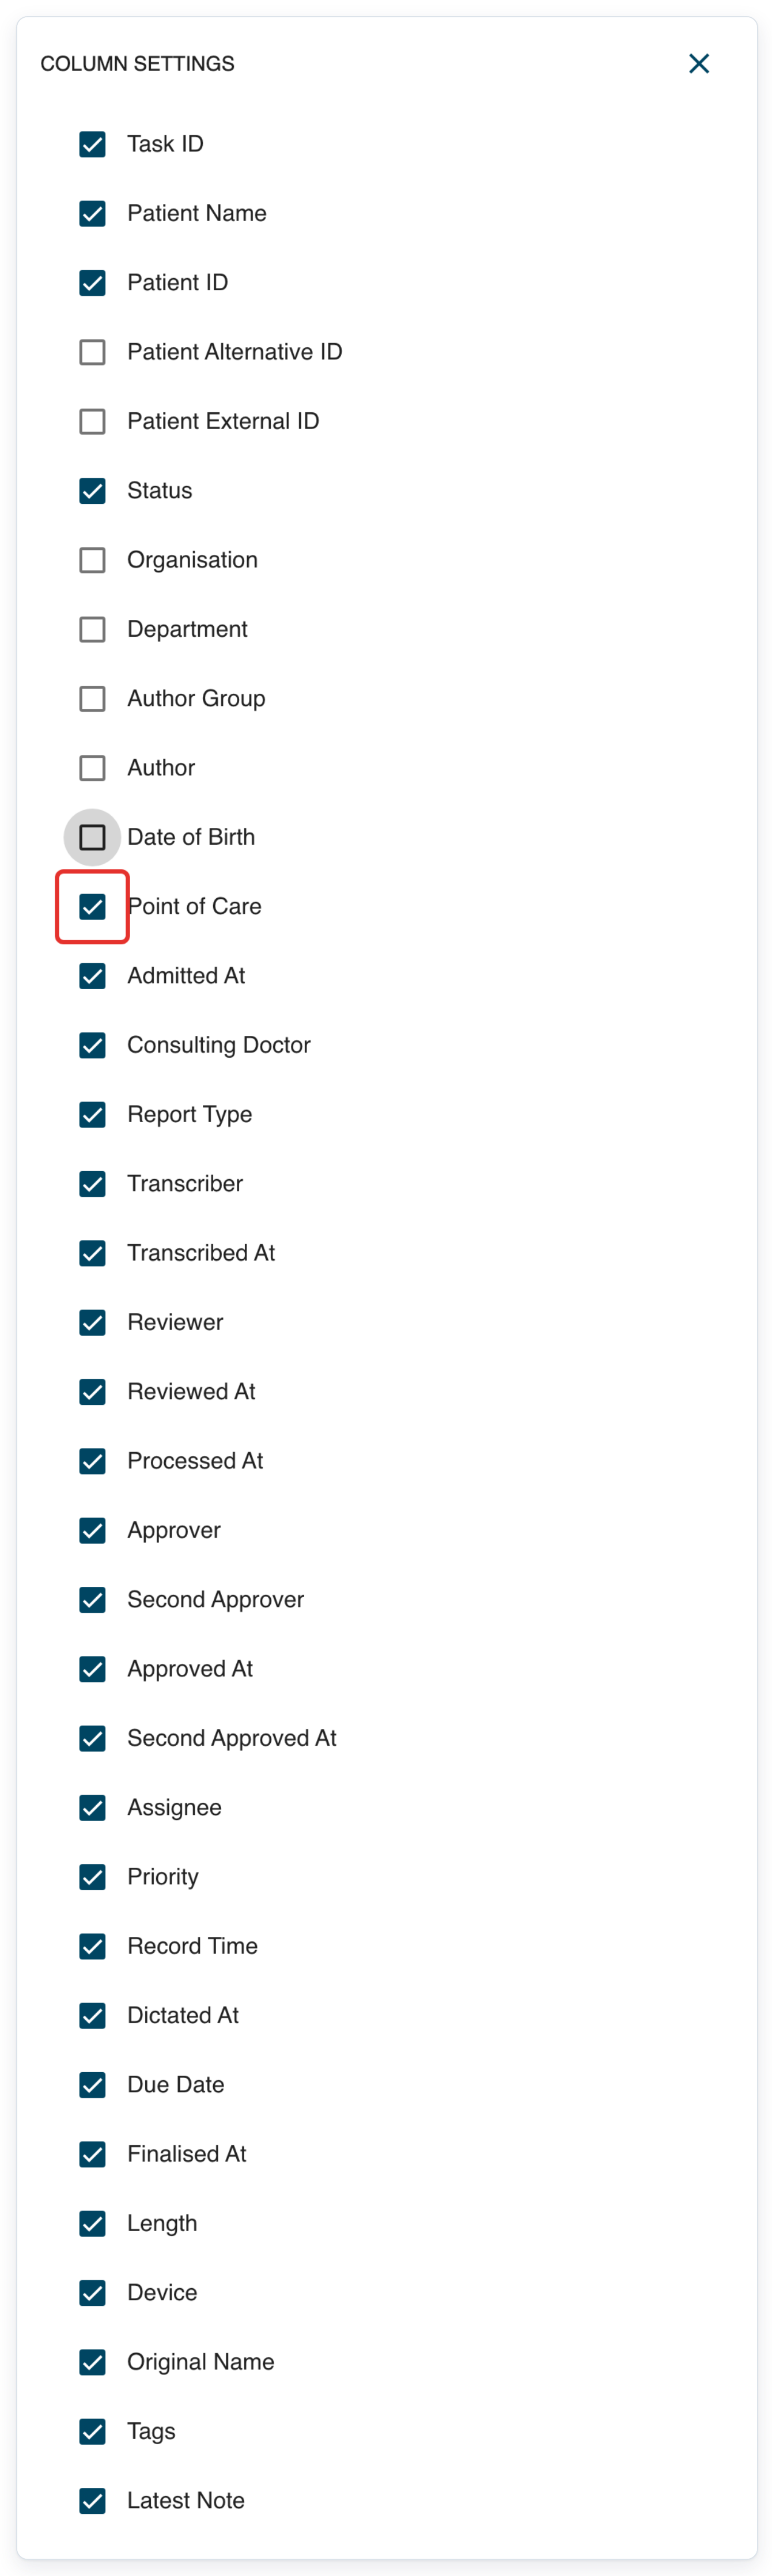
Clear Point of Care.
Clear Admitted At.
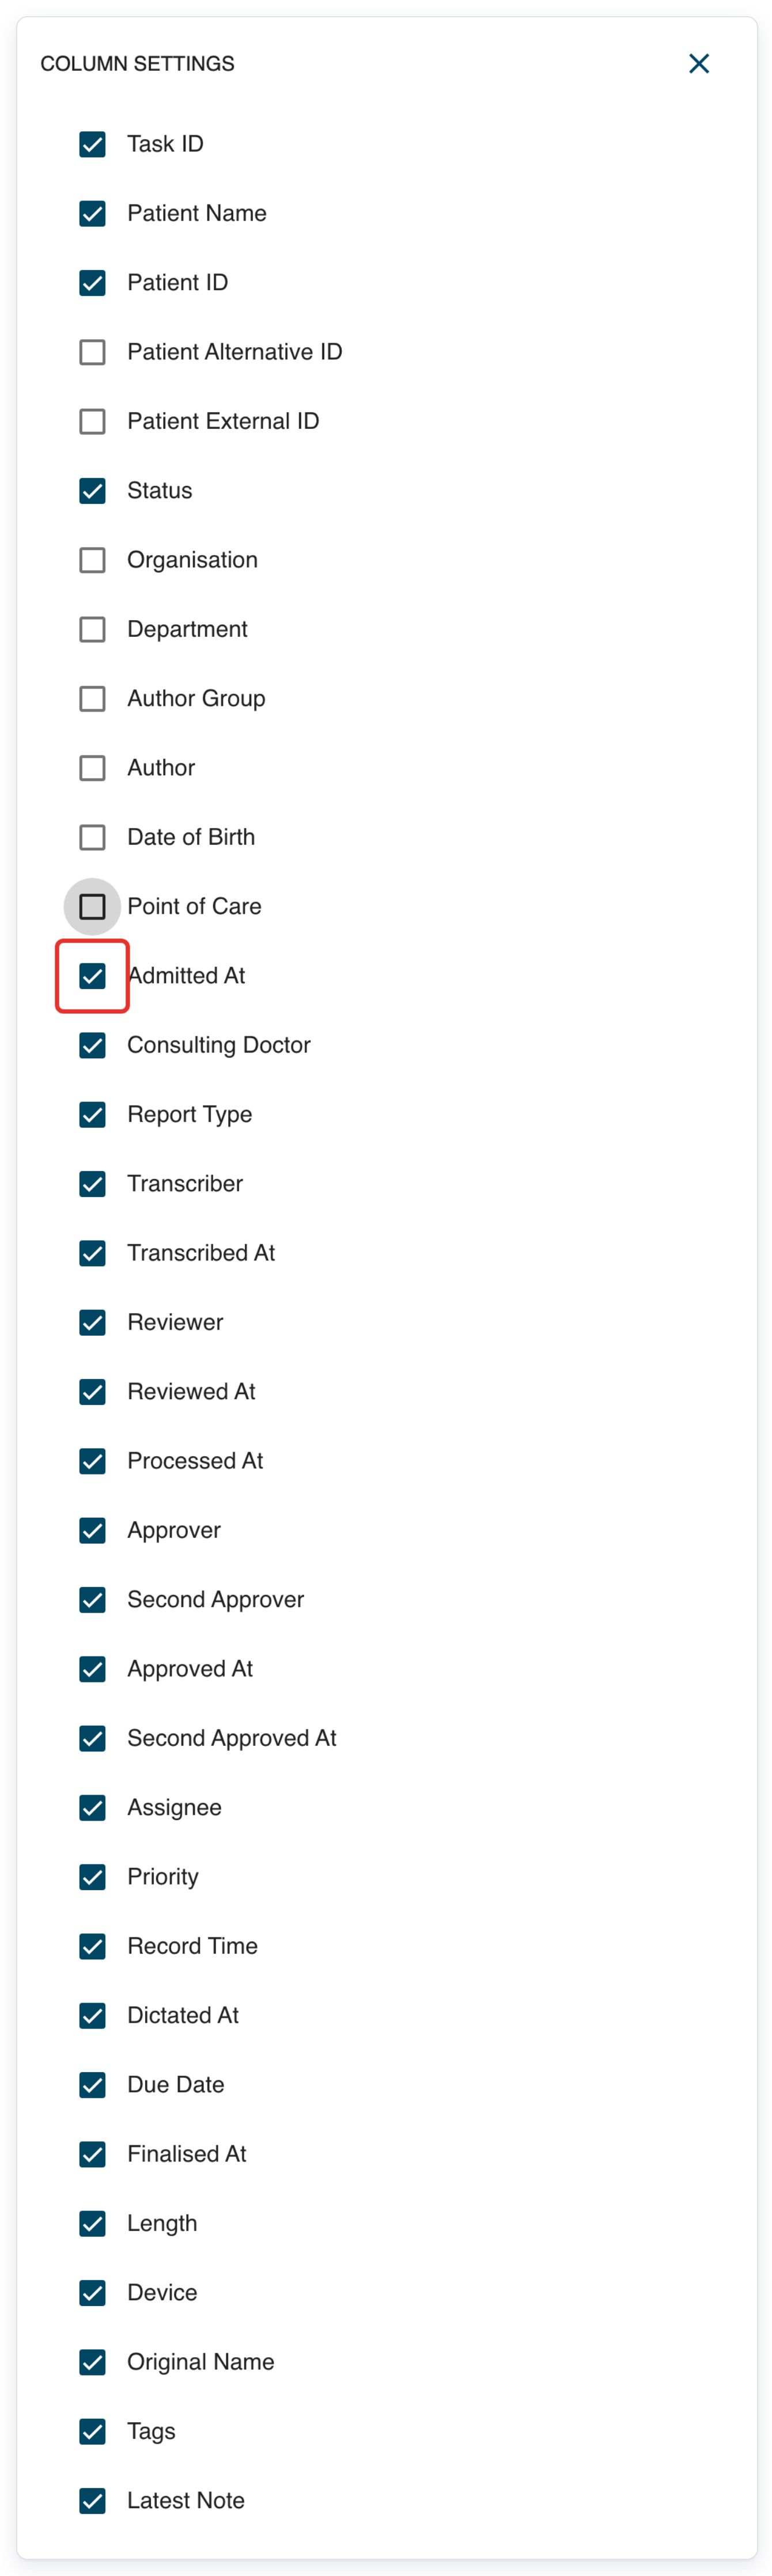
Clear Consulting Doctor.
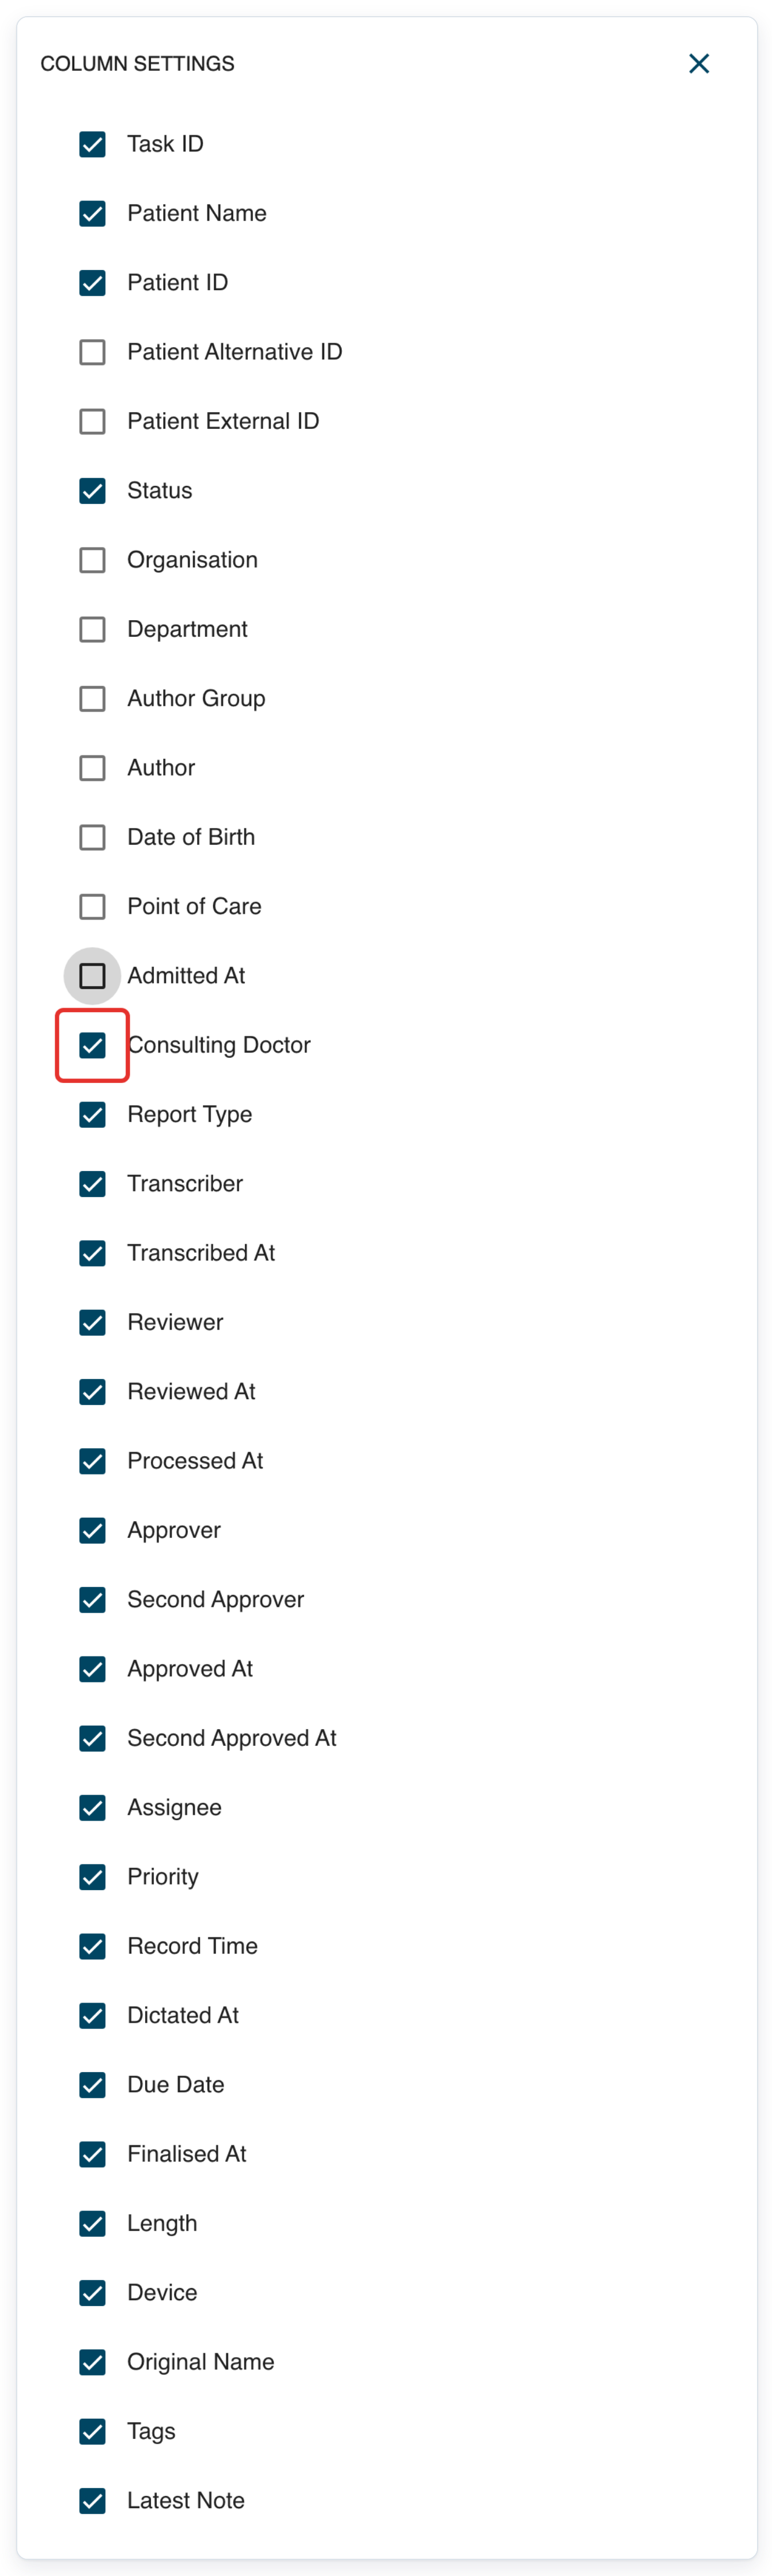
Clear Report Type.
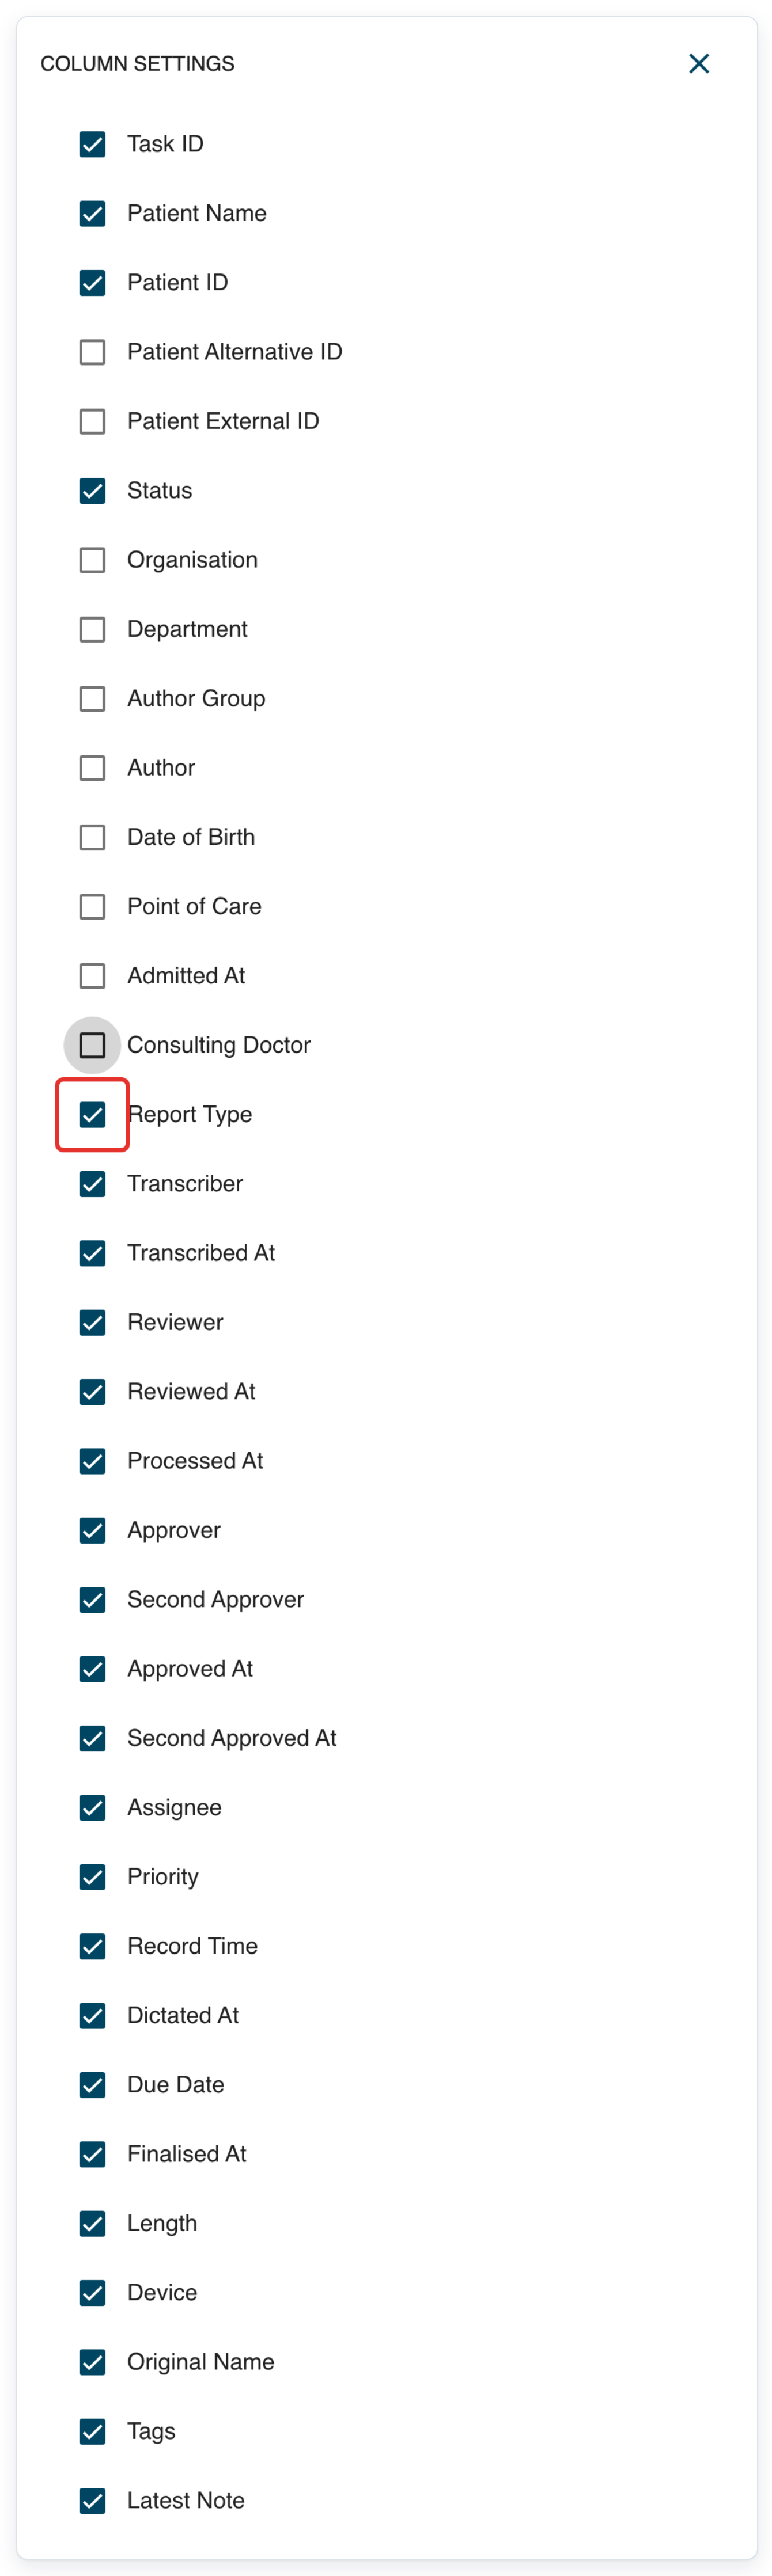
Clear Transcriber.
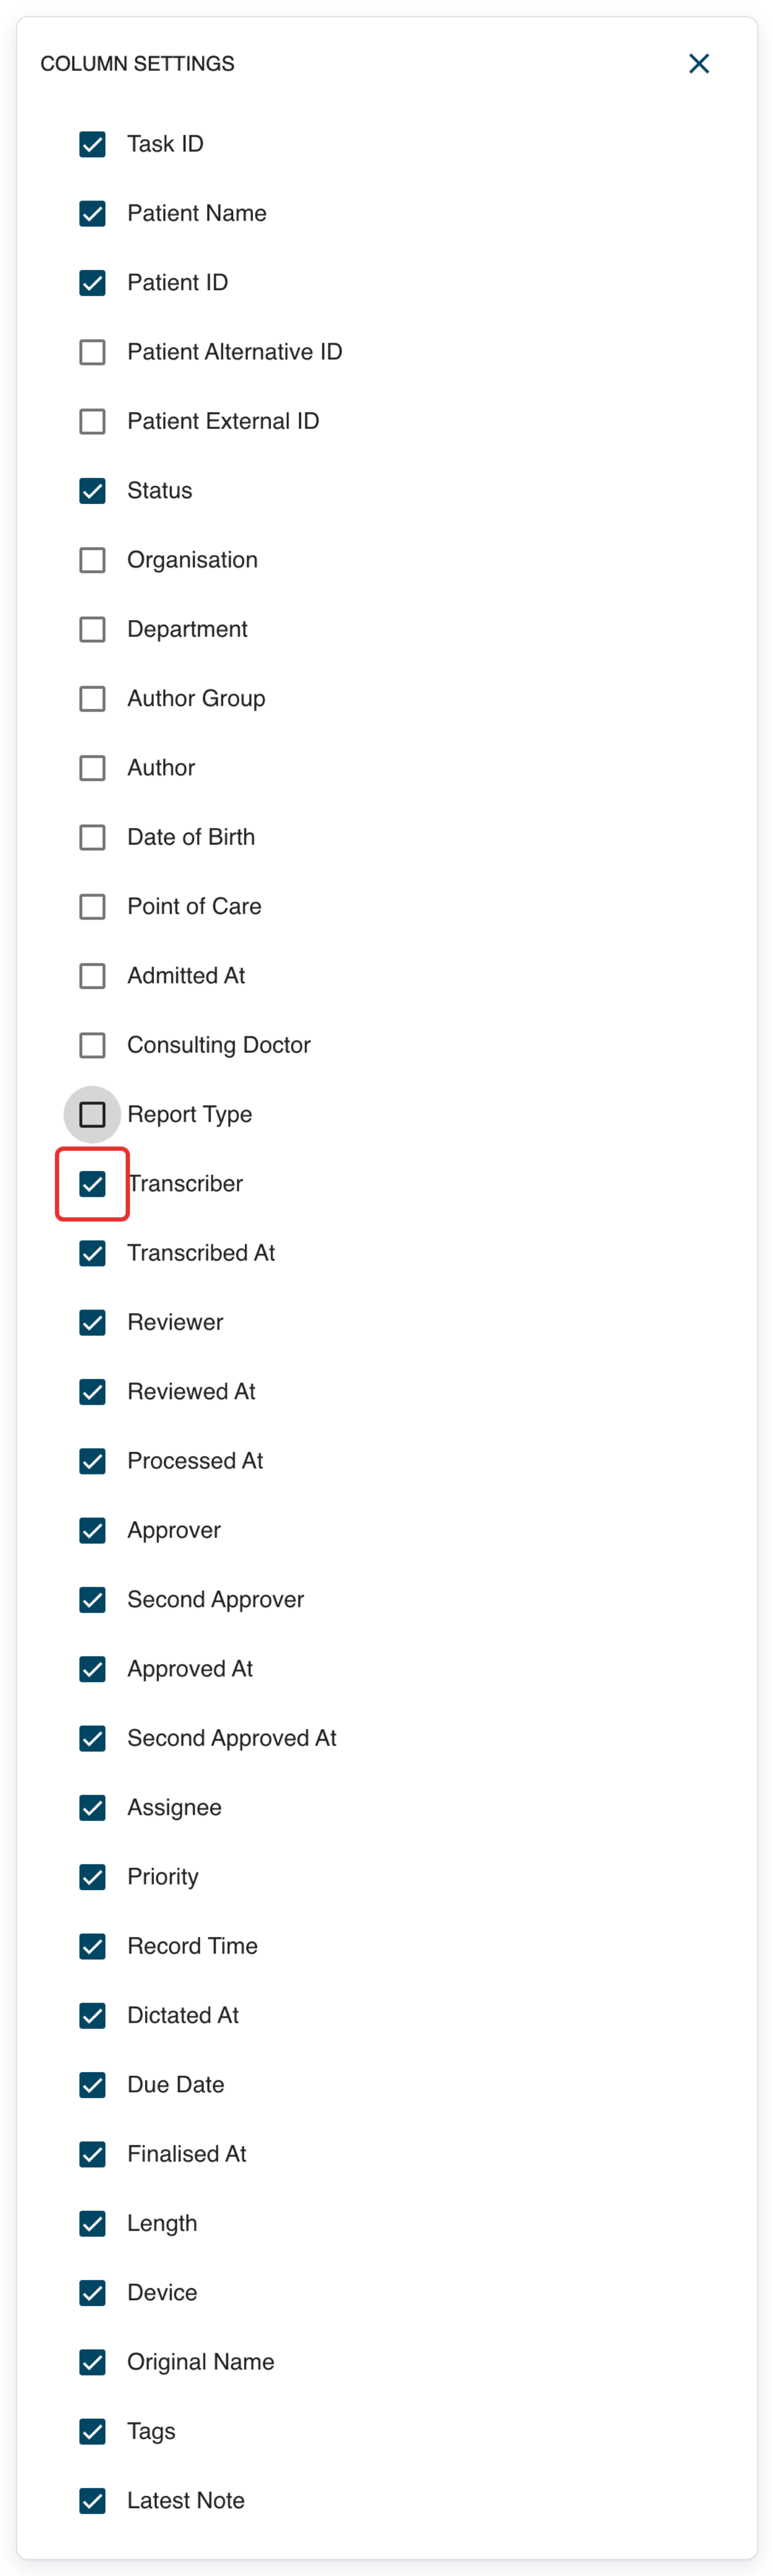
Clear Transcribed At.
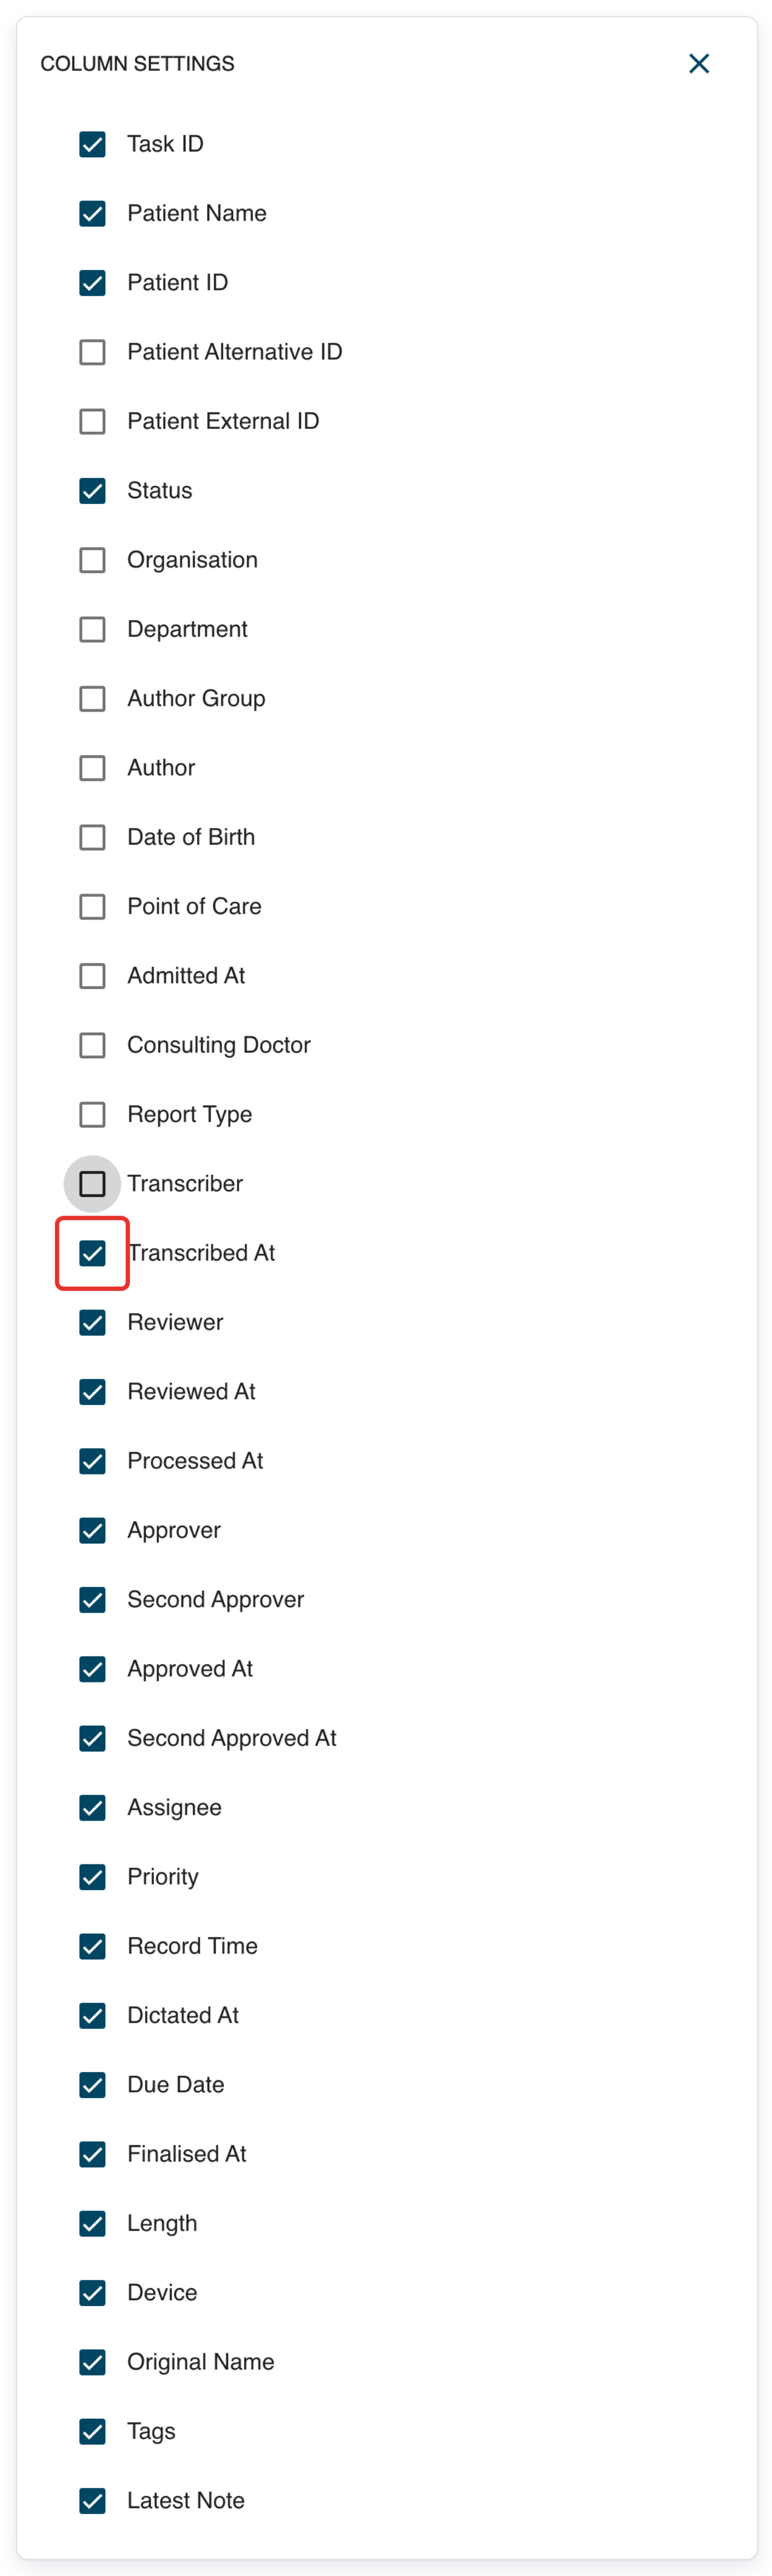
Clear Reviewer.
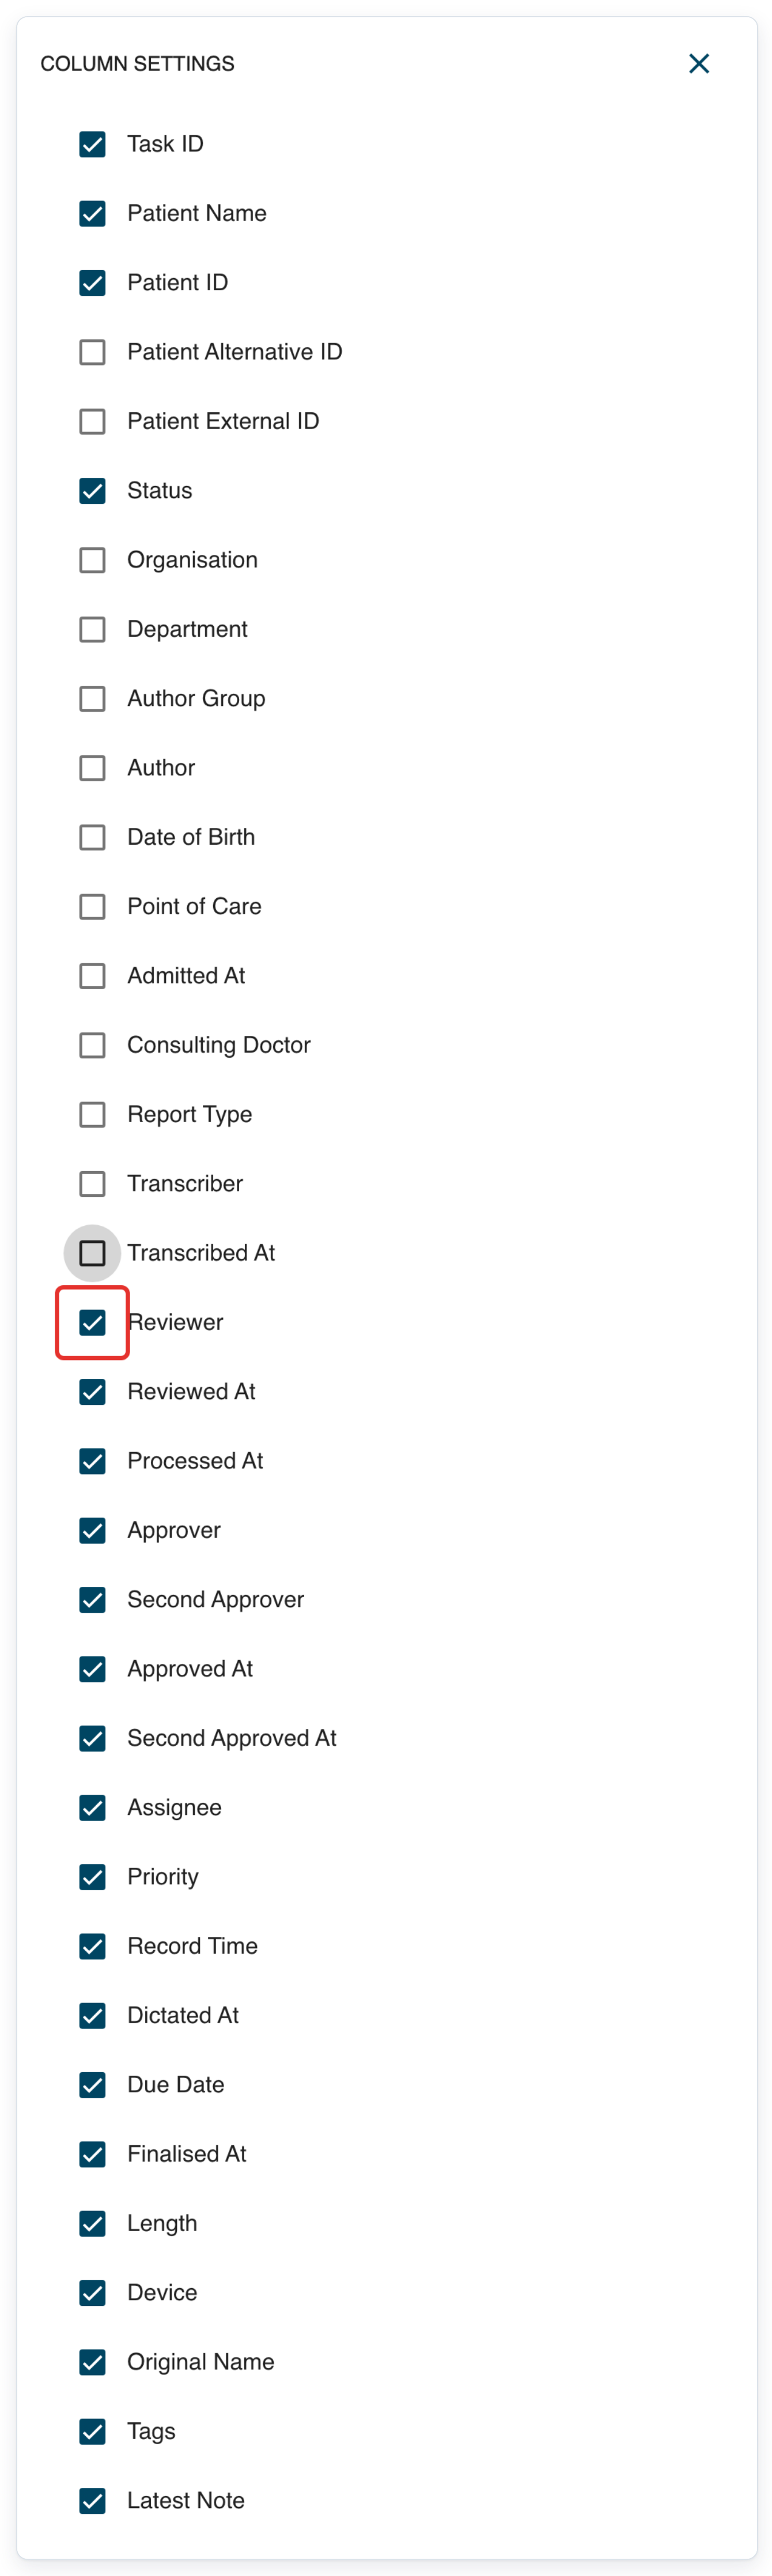
Clear Reviewed At.
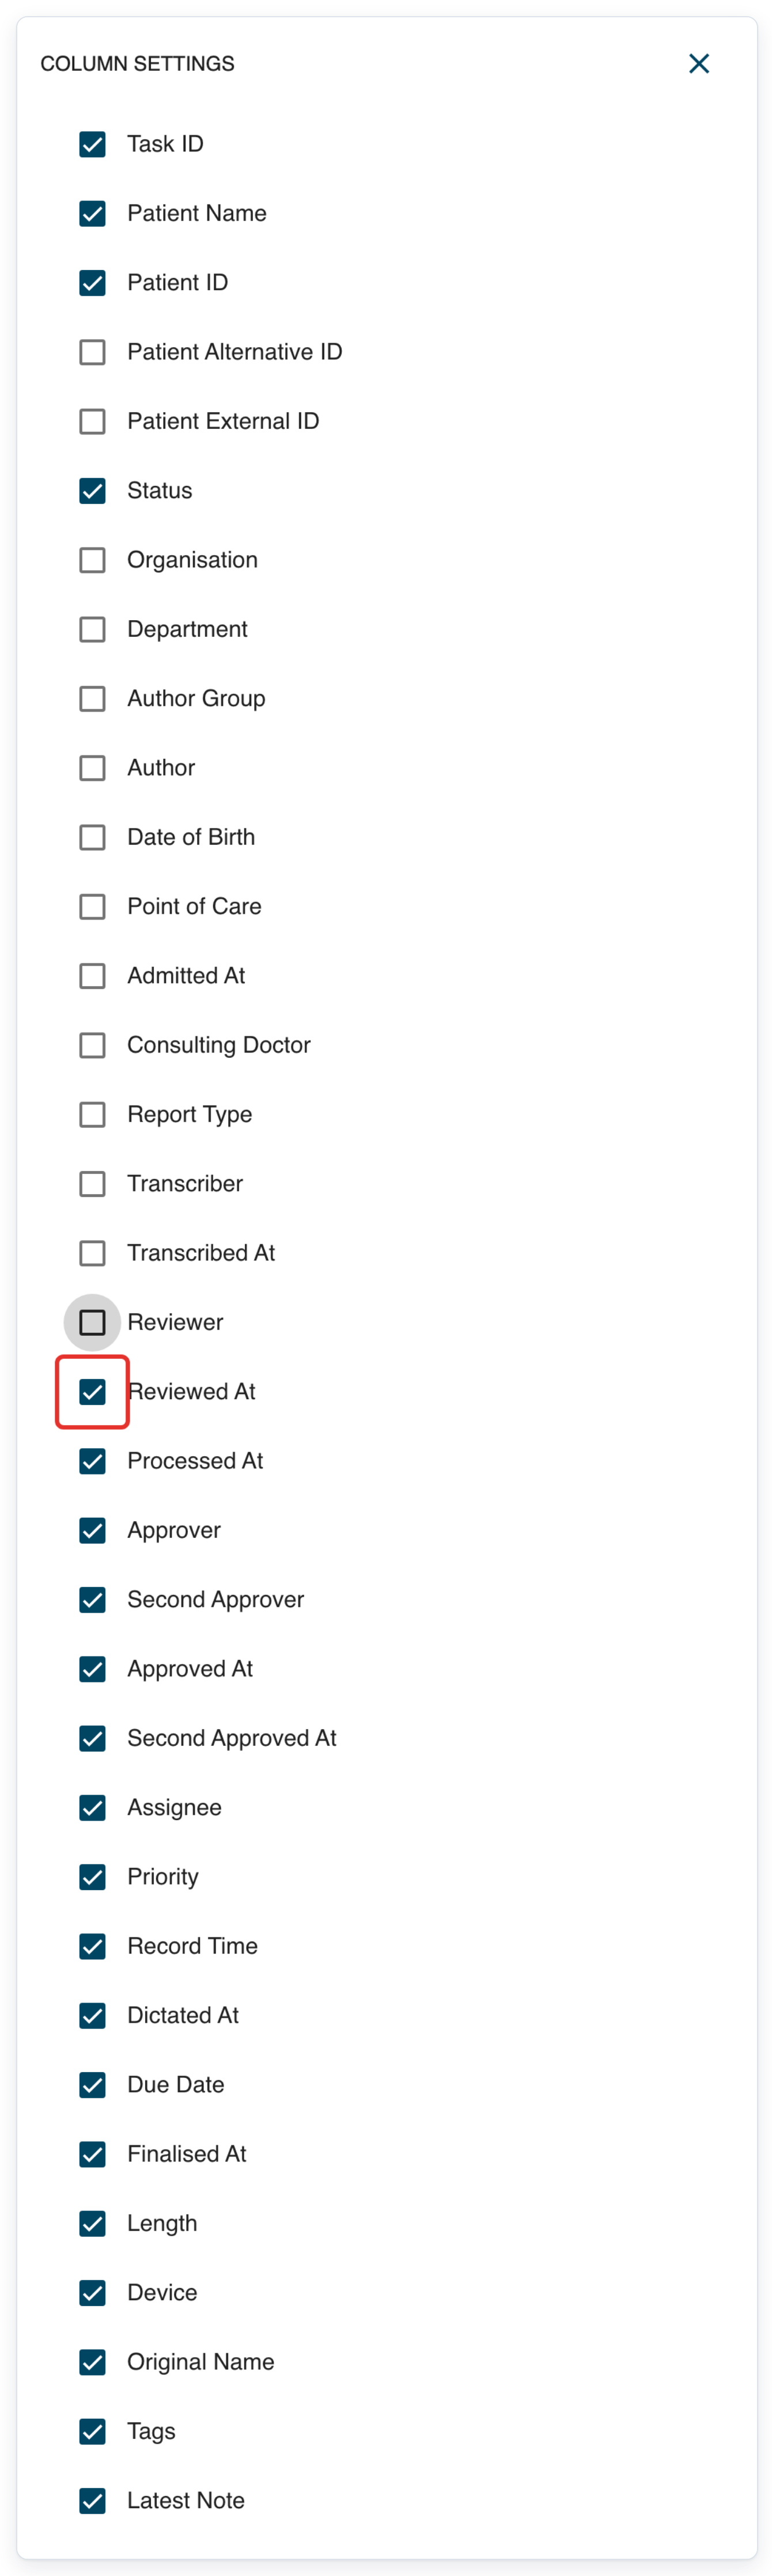
Clear Processed At.
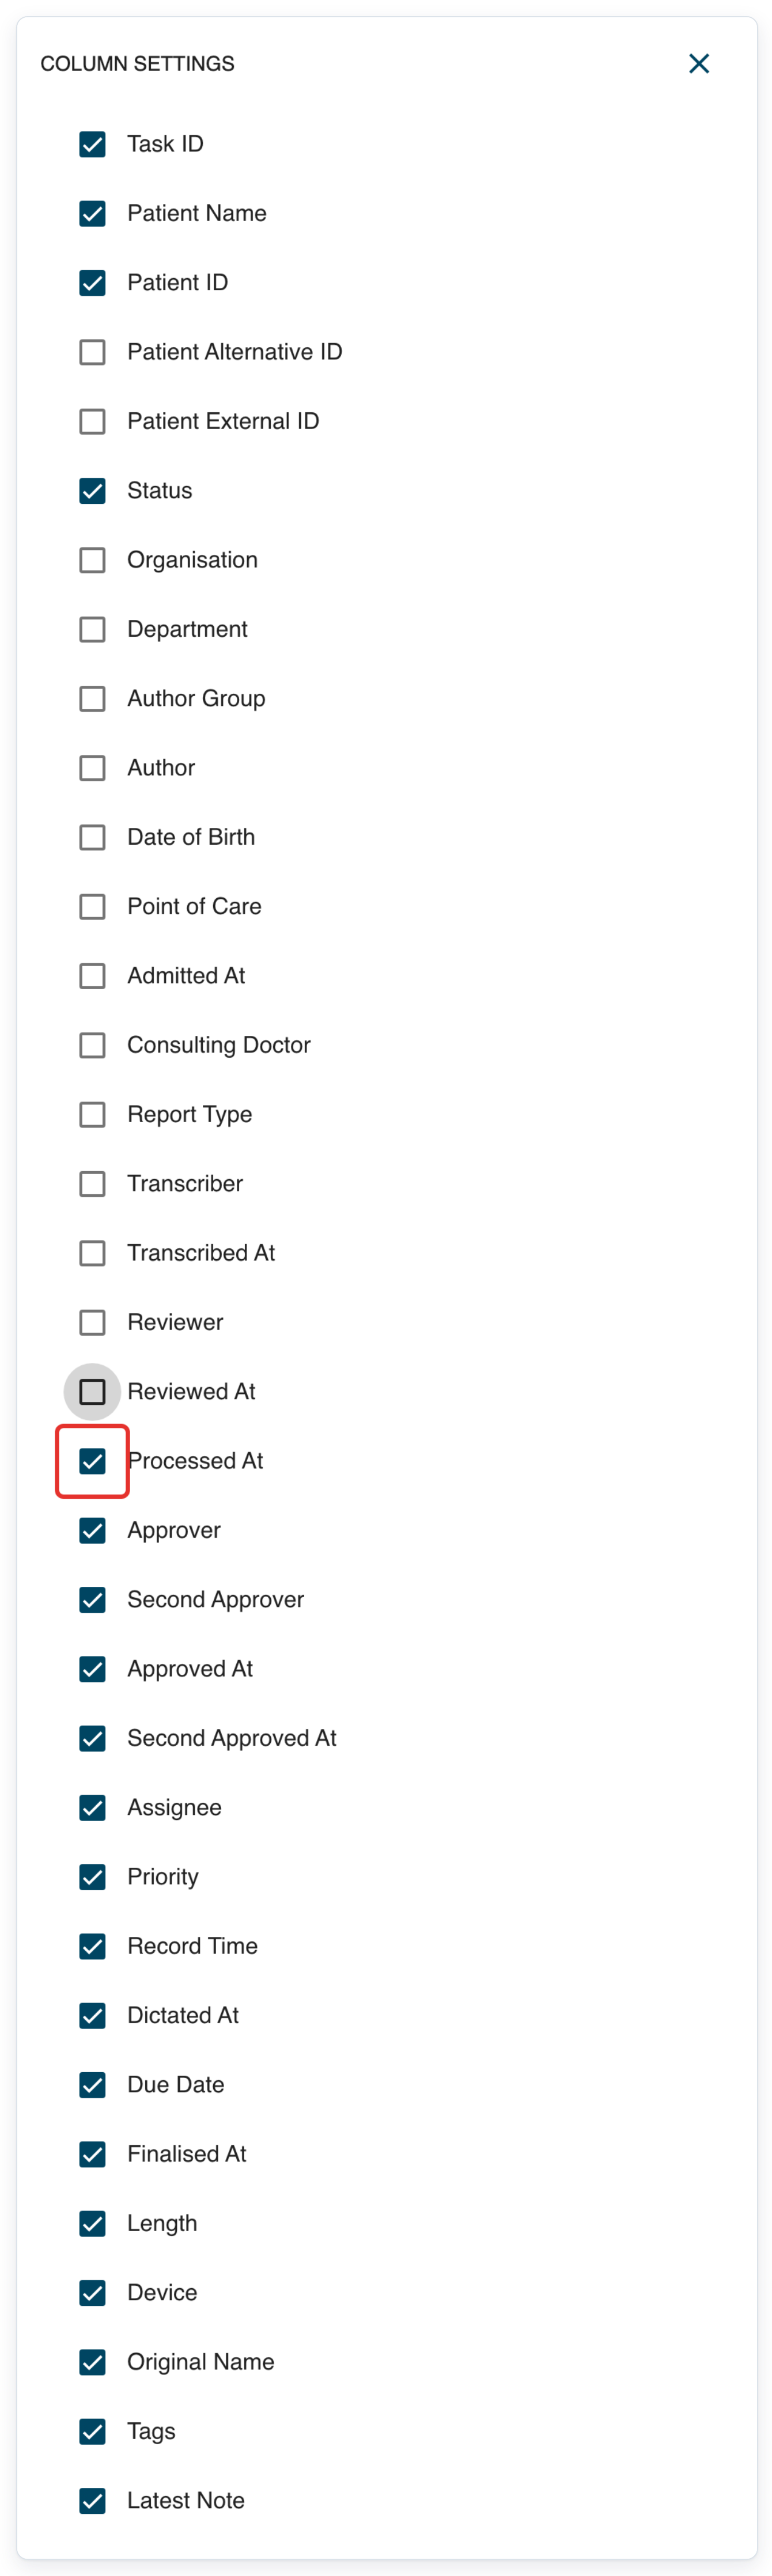
Clear Approver.
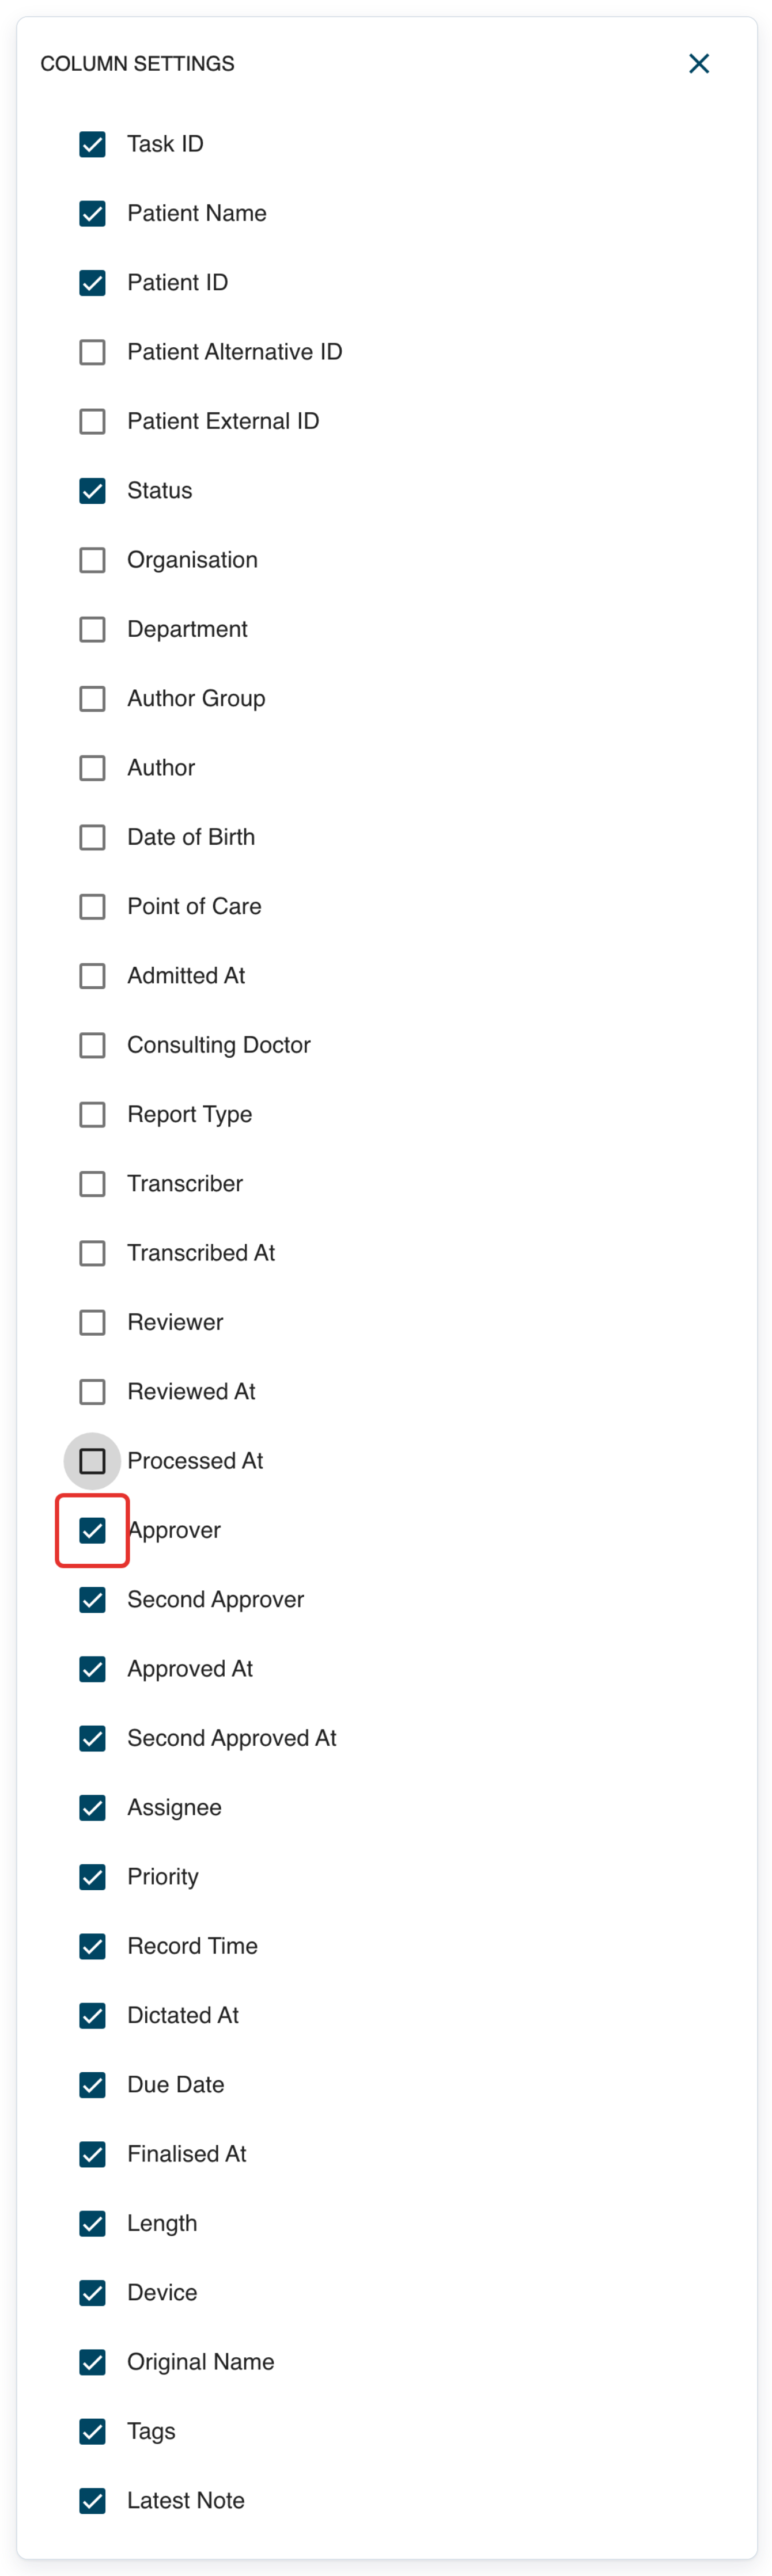
Clear Second Approver.
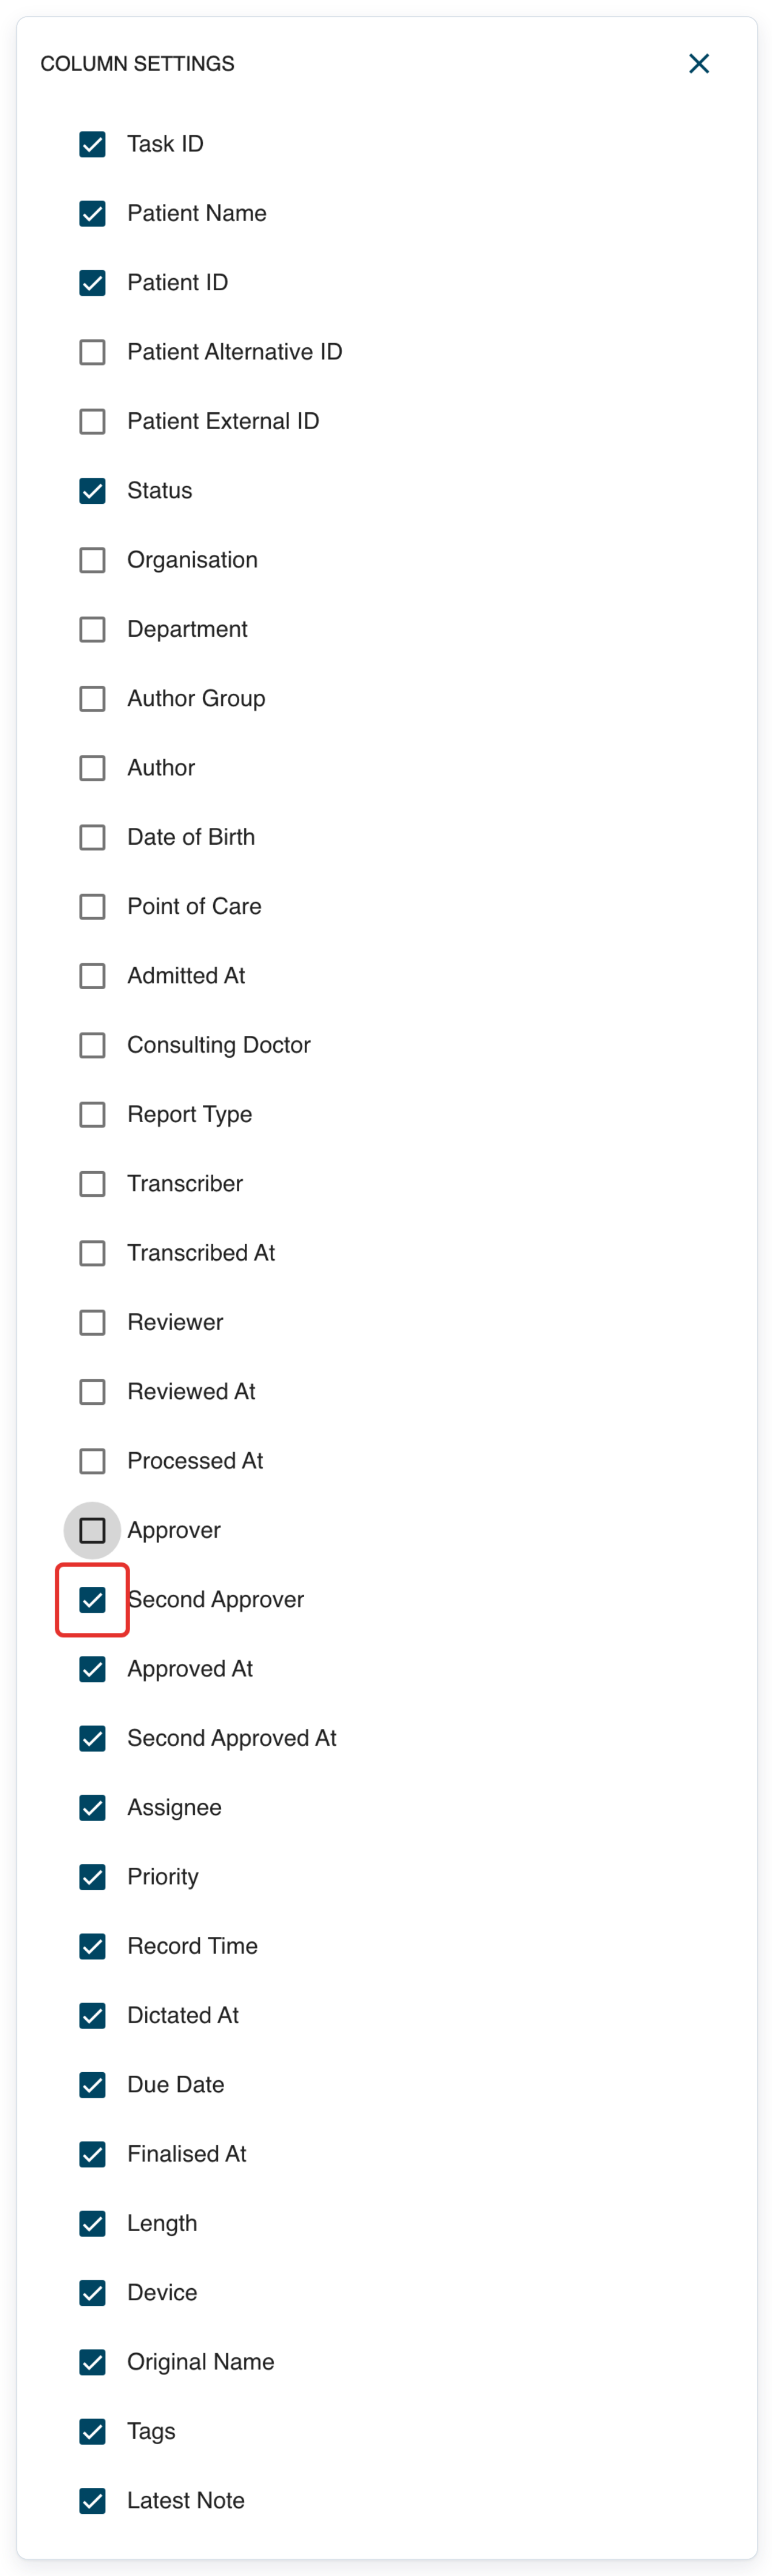
Clear Approved At.
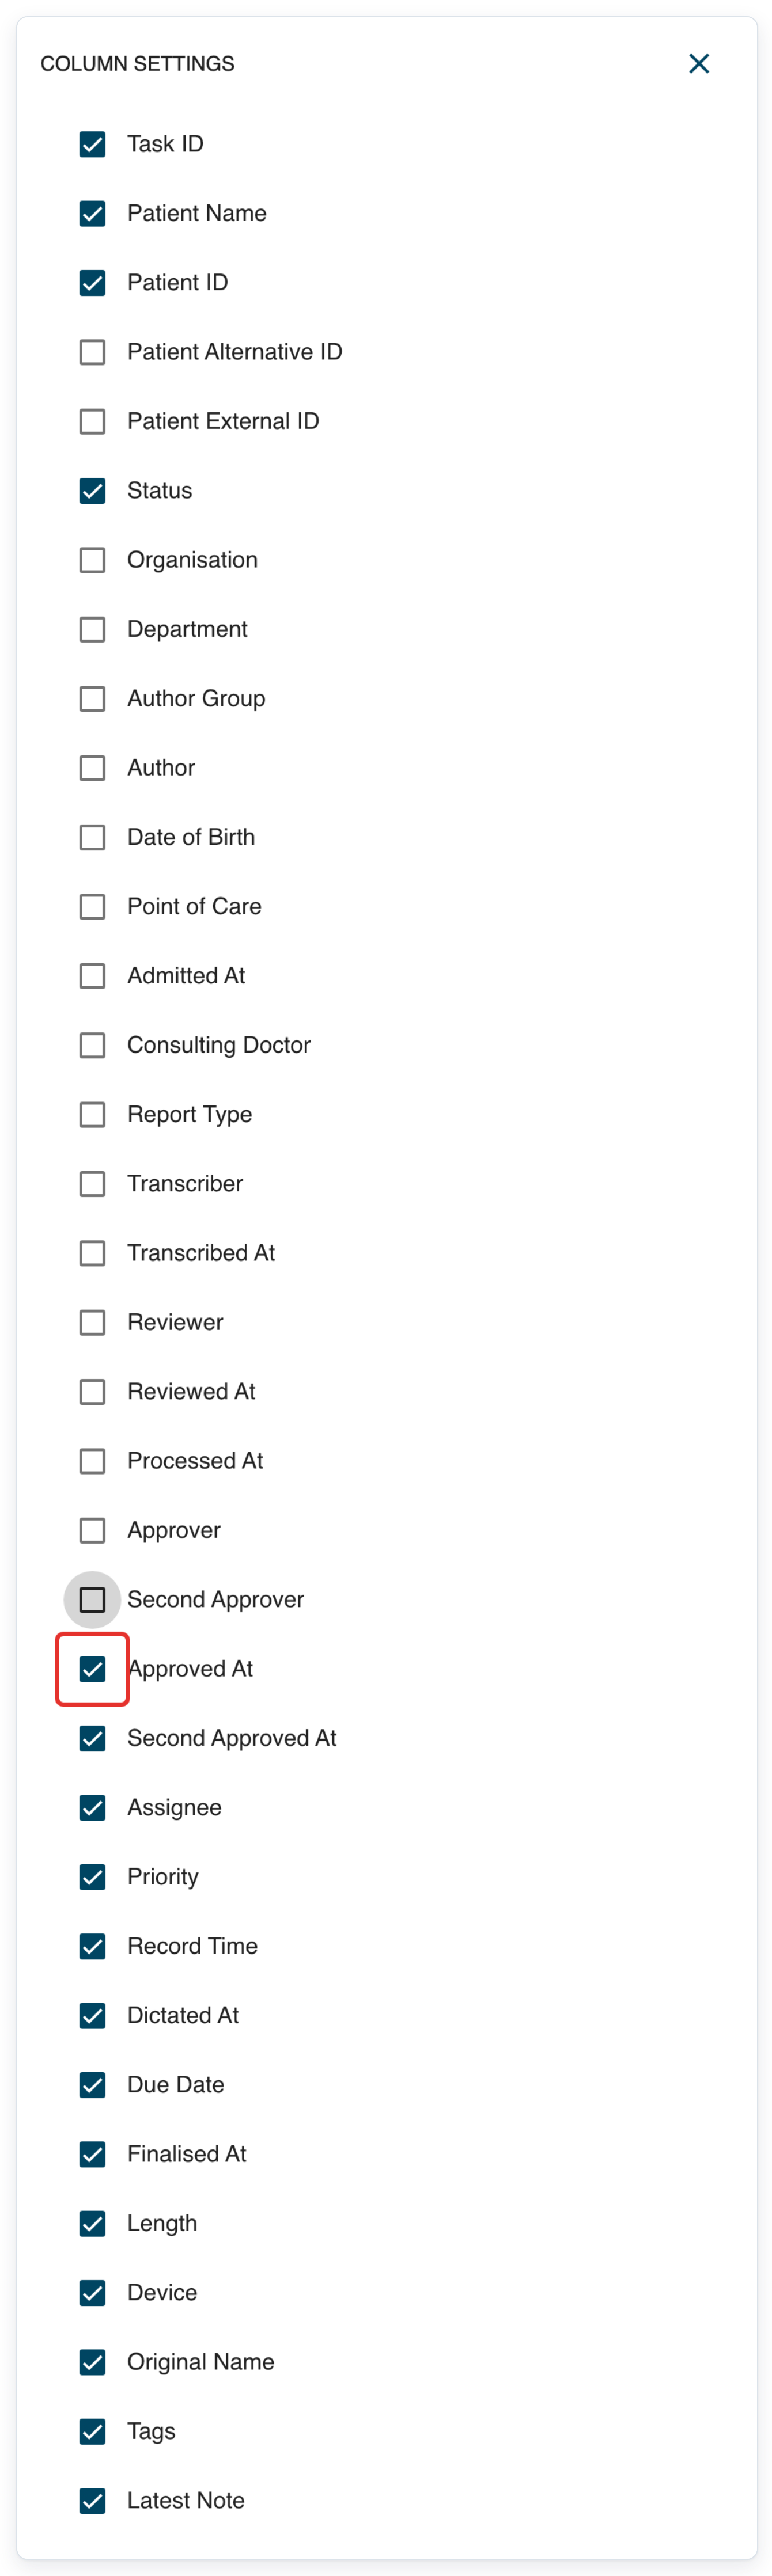
Clear Second Approved At.
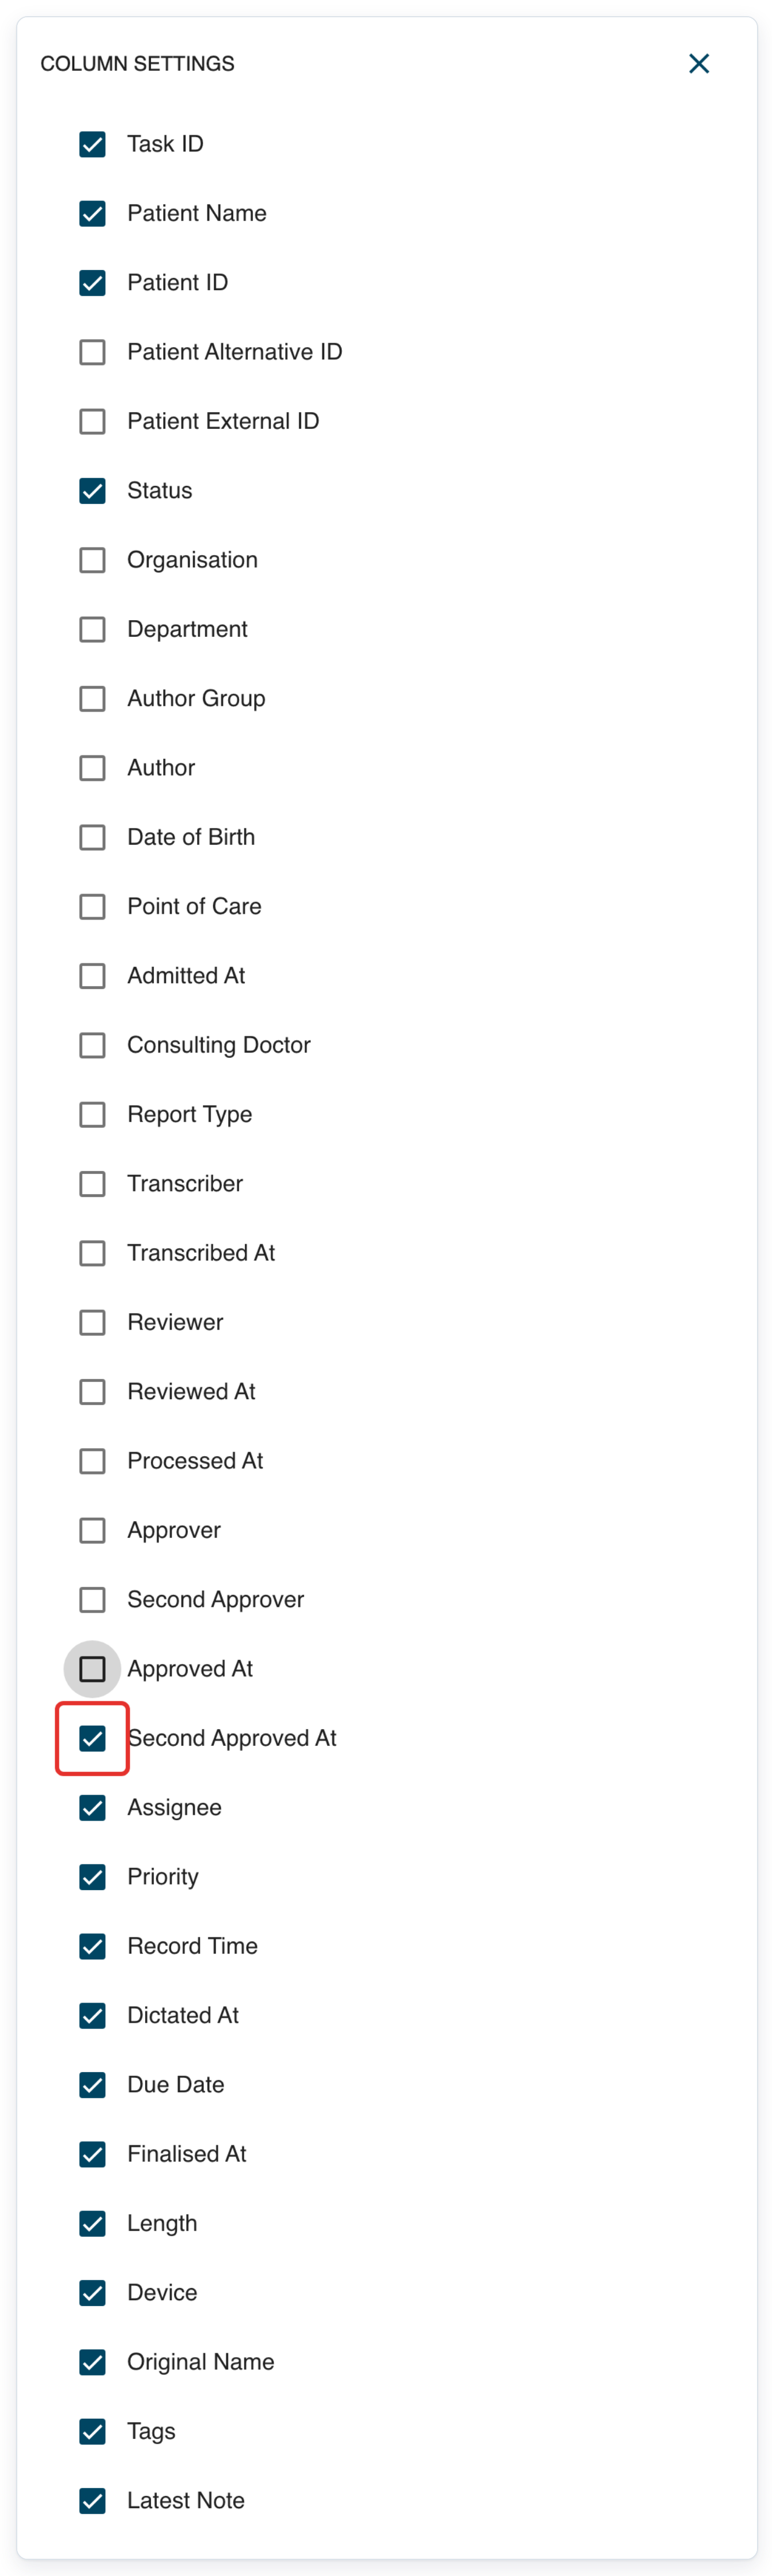
Clear Assignee.
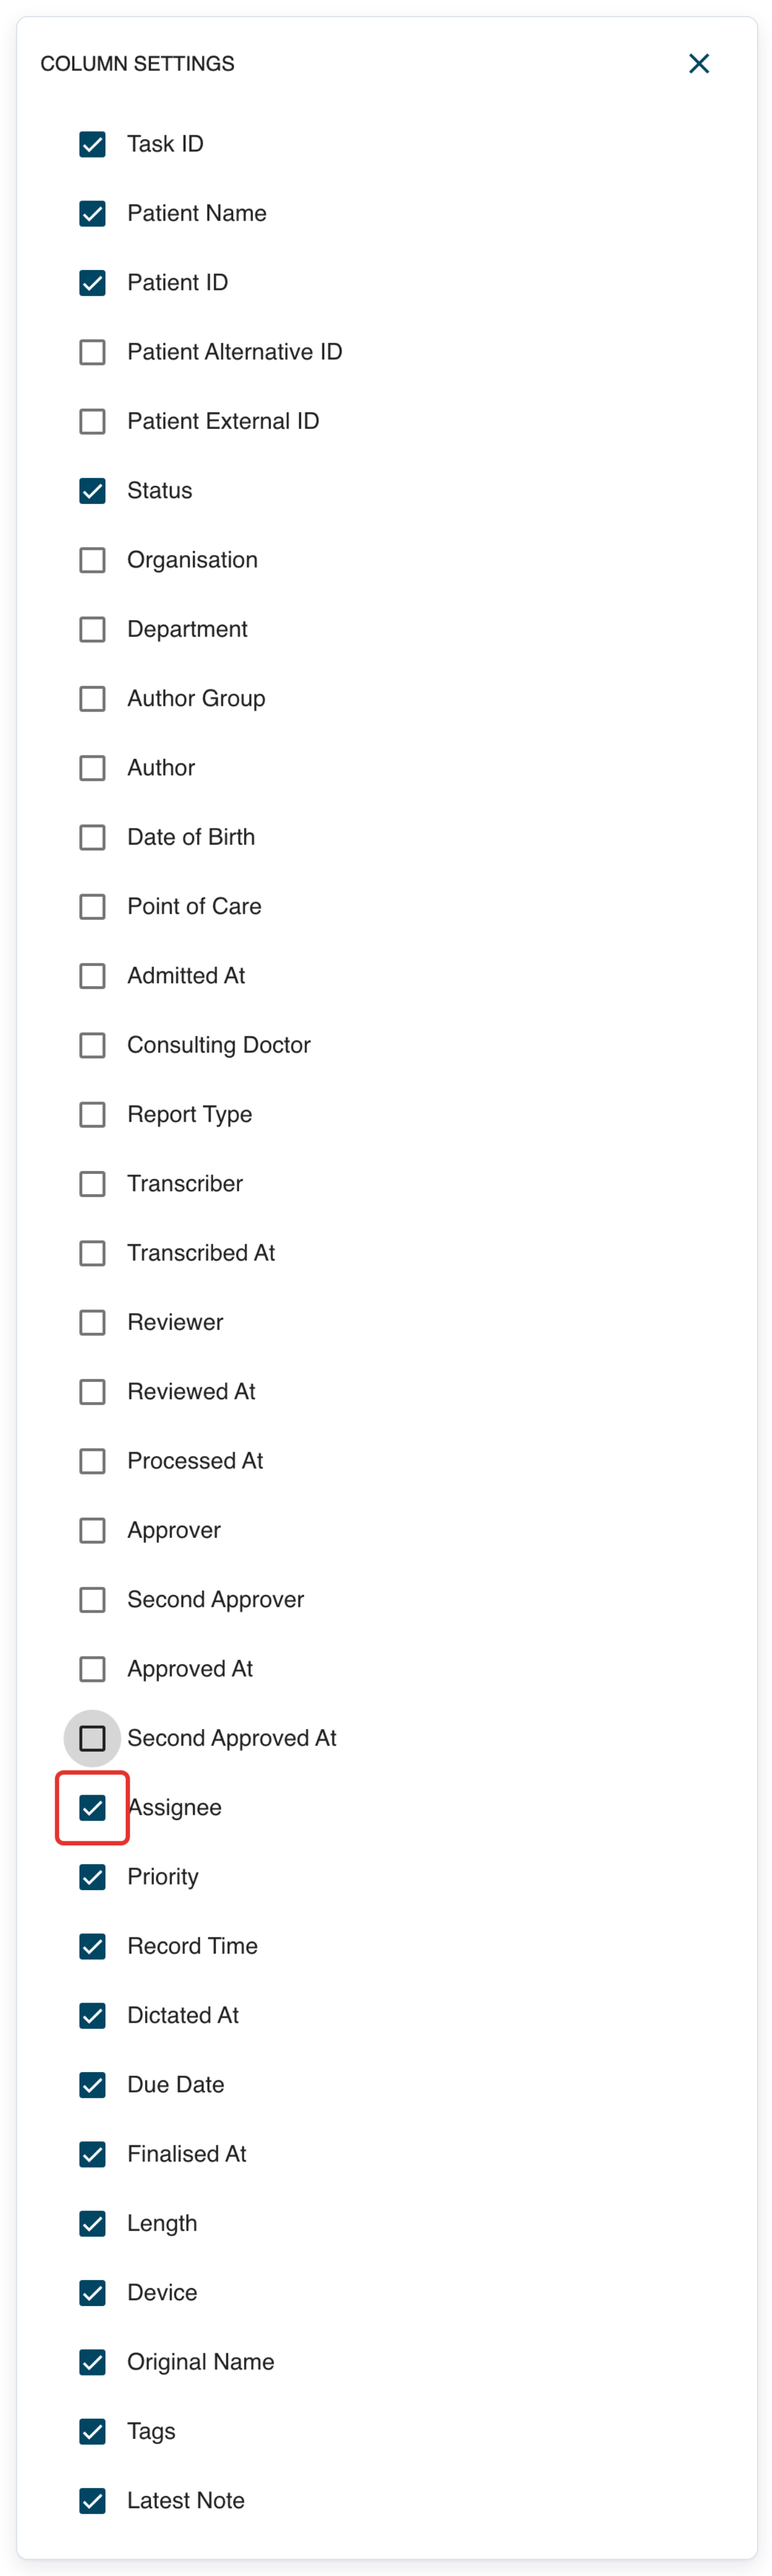
Clear Record Time.
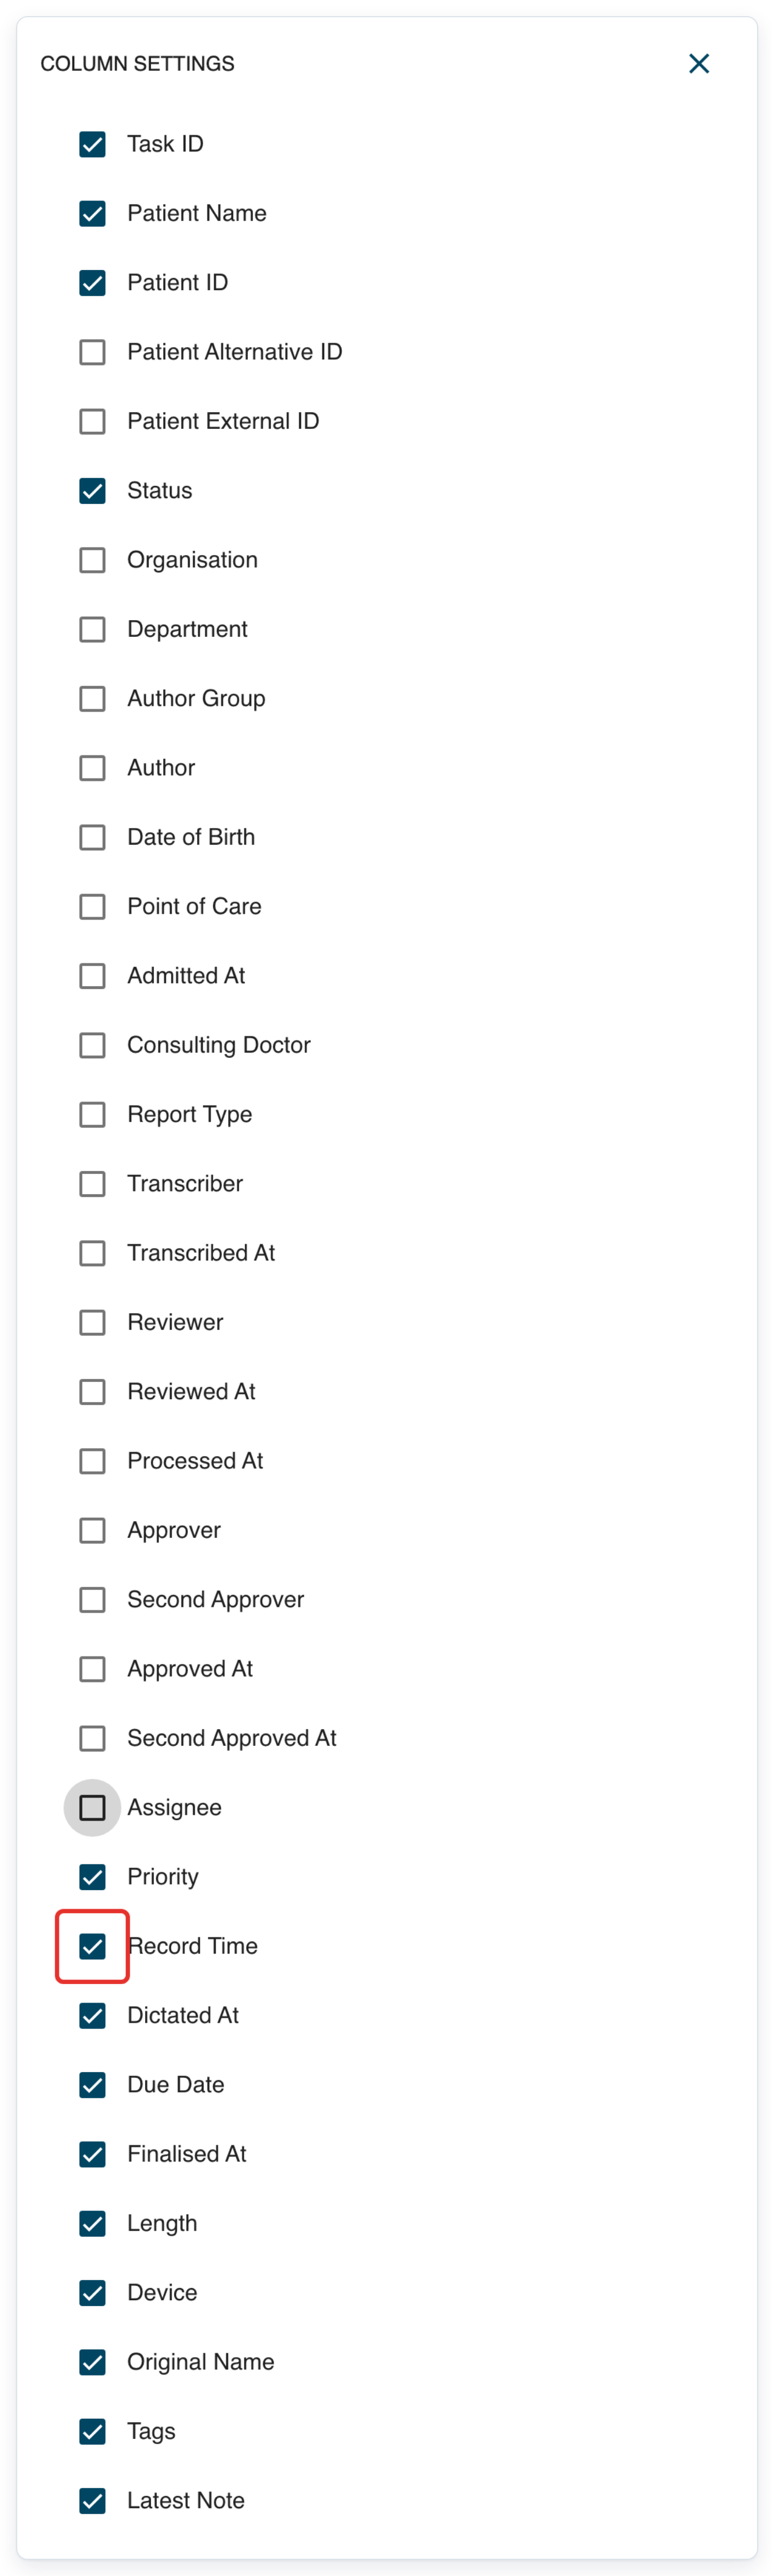
Clear Dictated At.
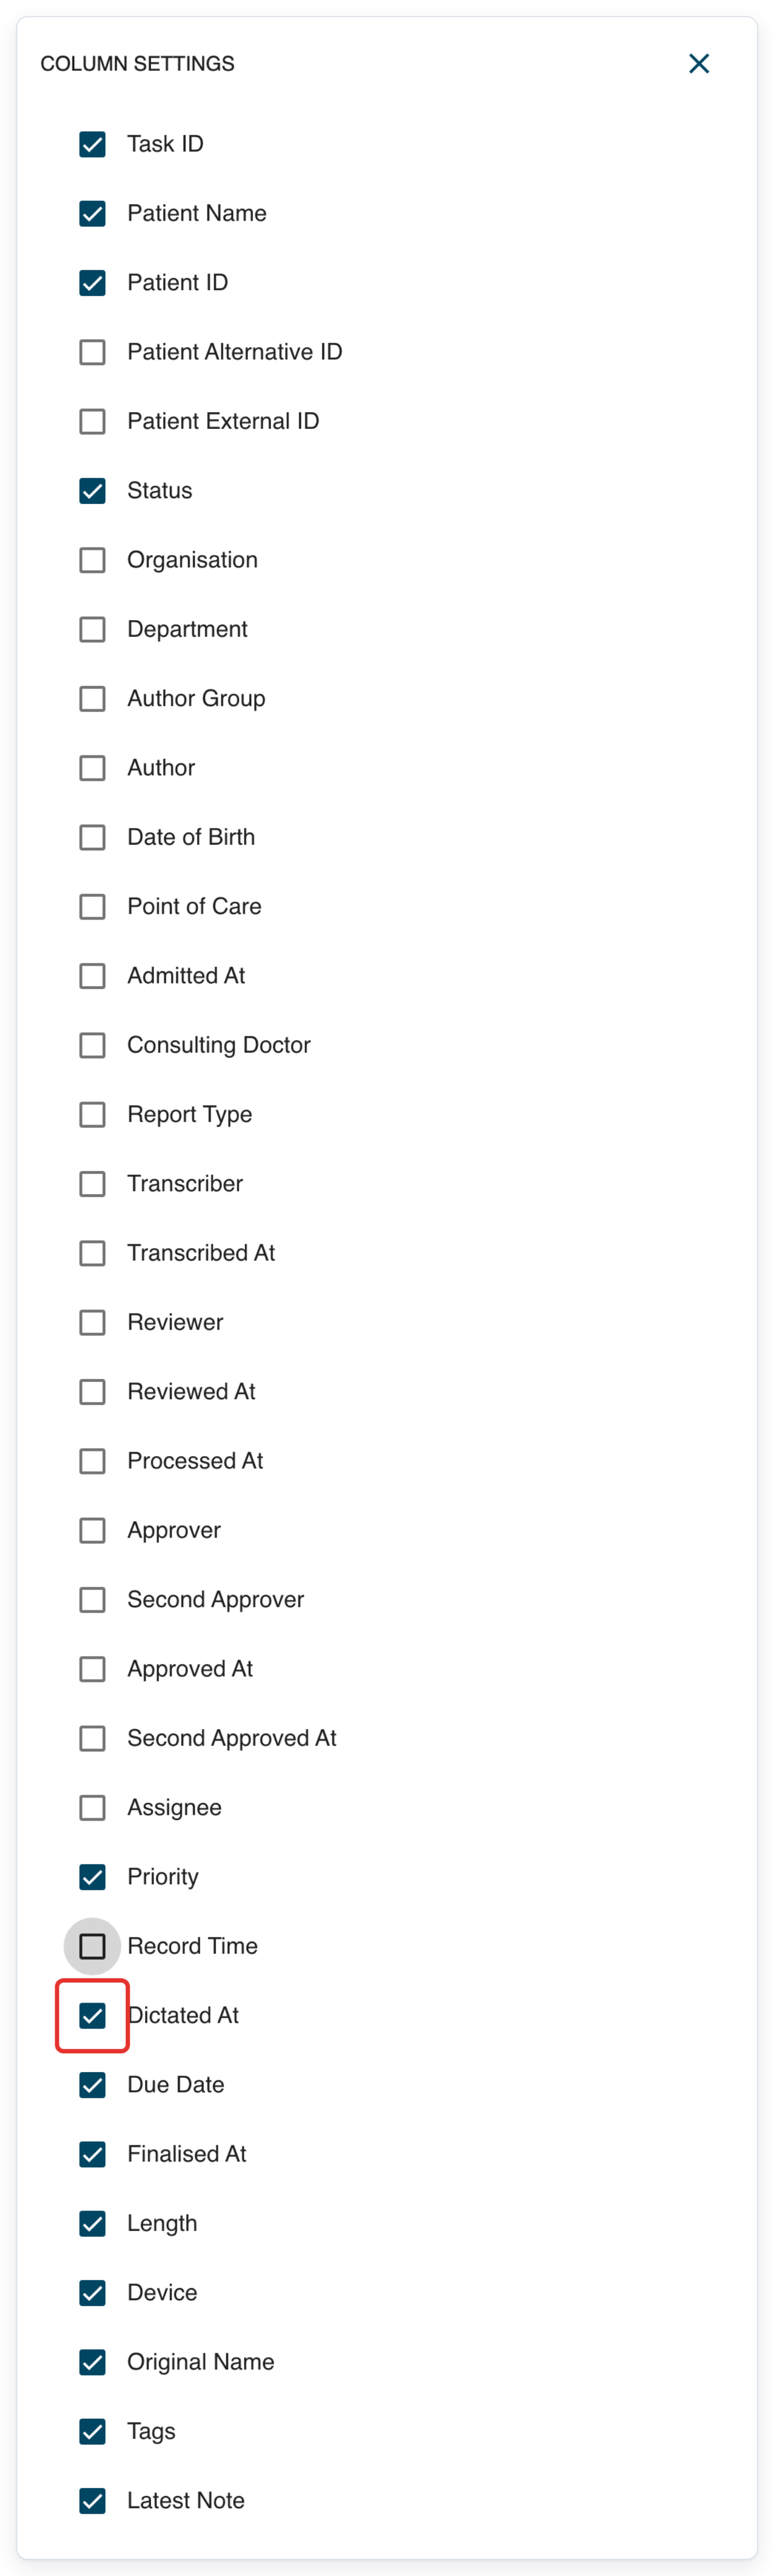
Clear Due Date.
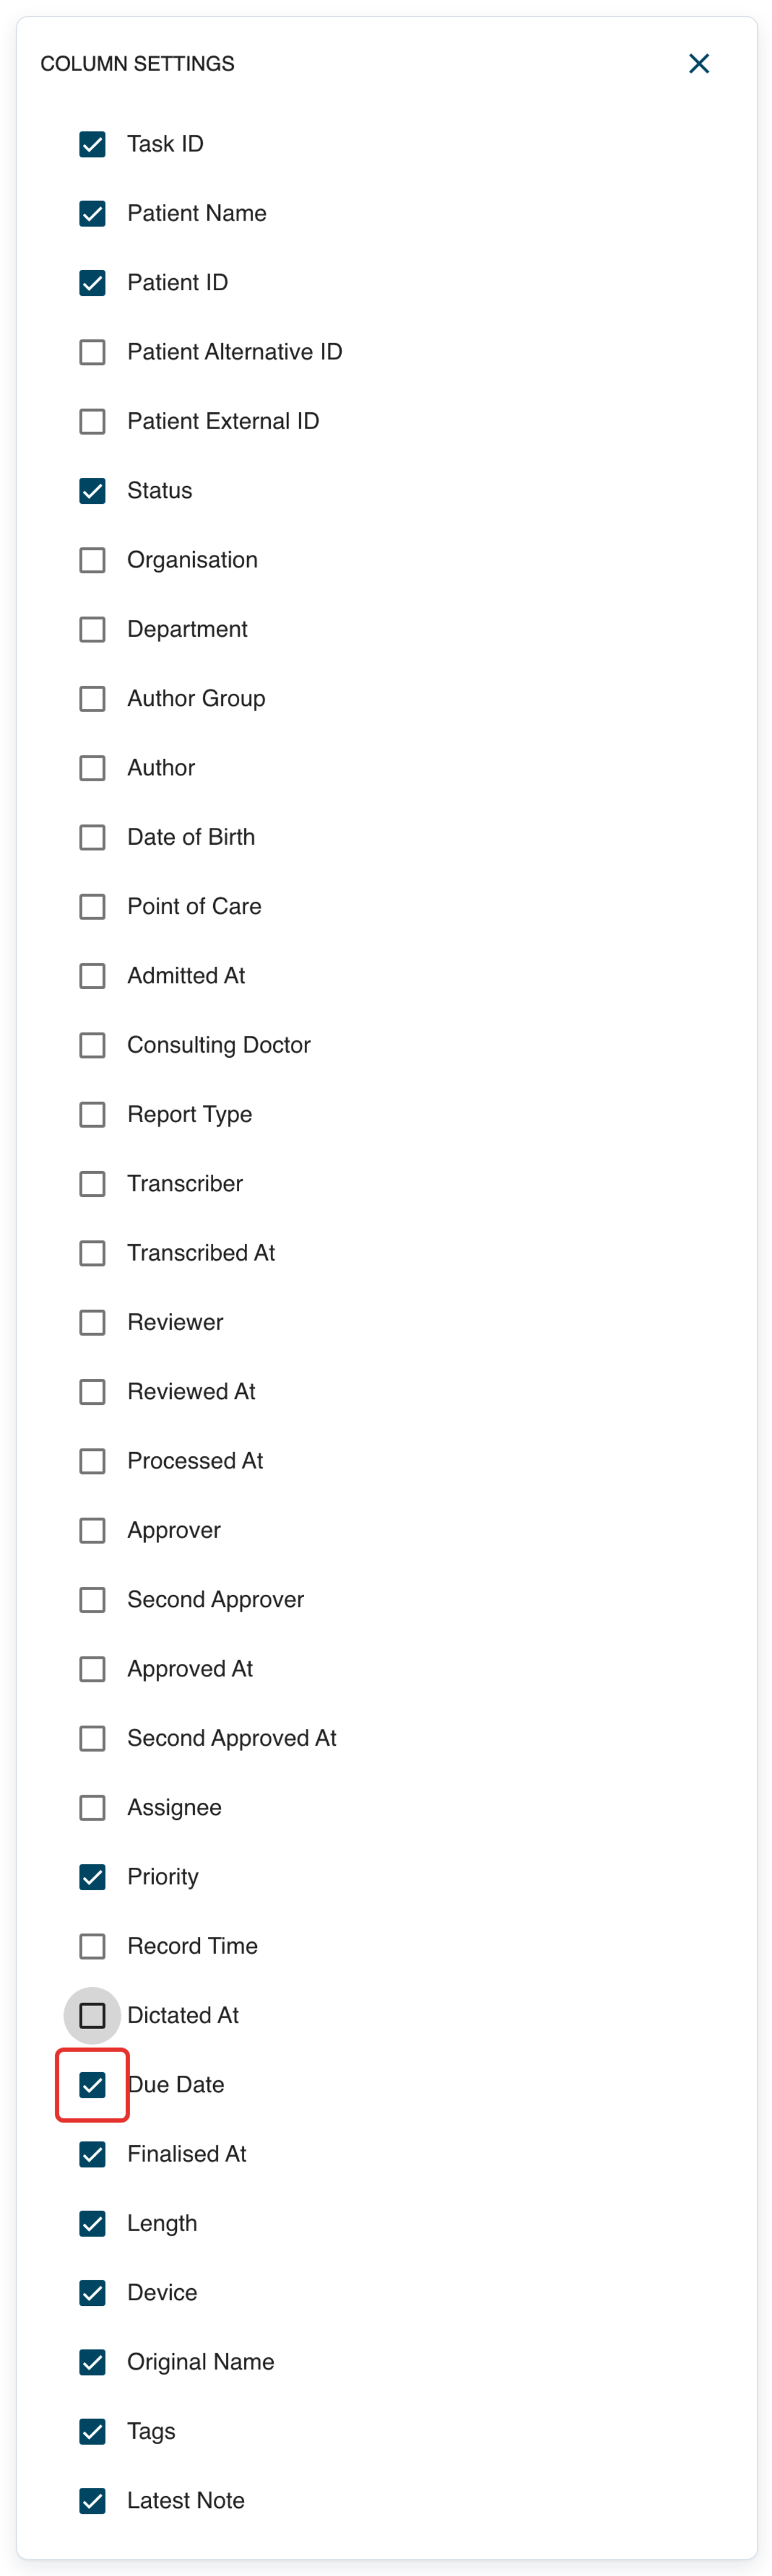
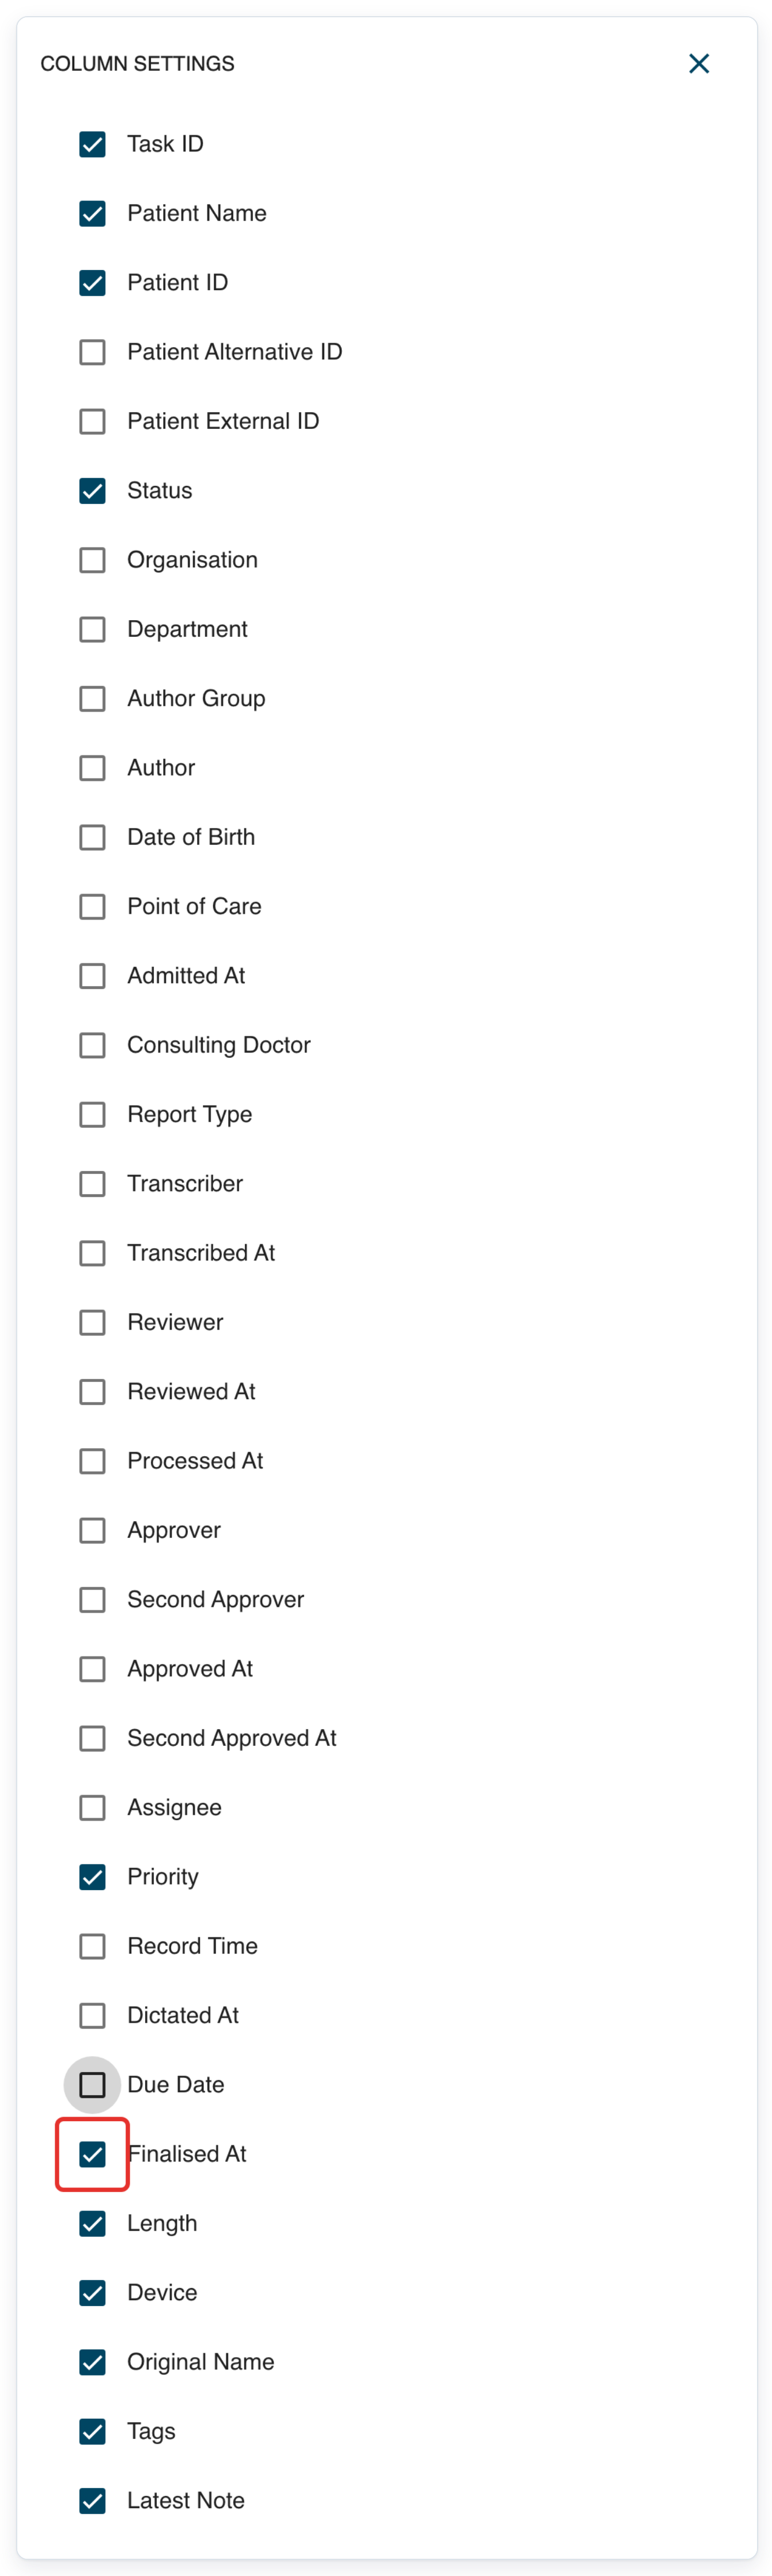
Clear Finalised At.
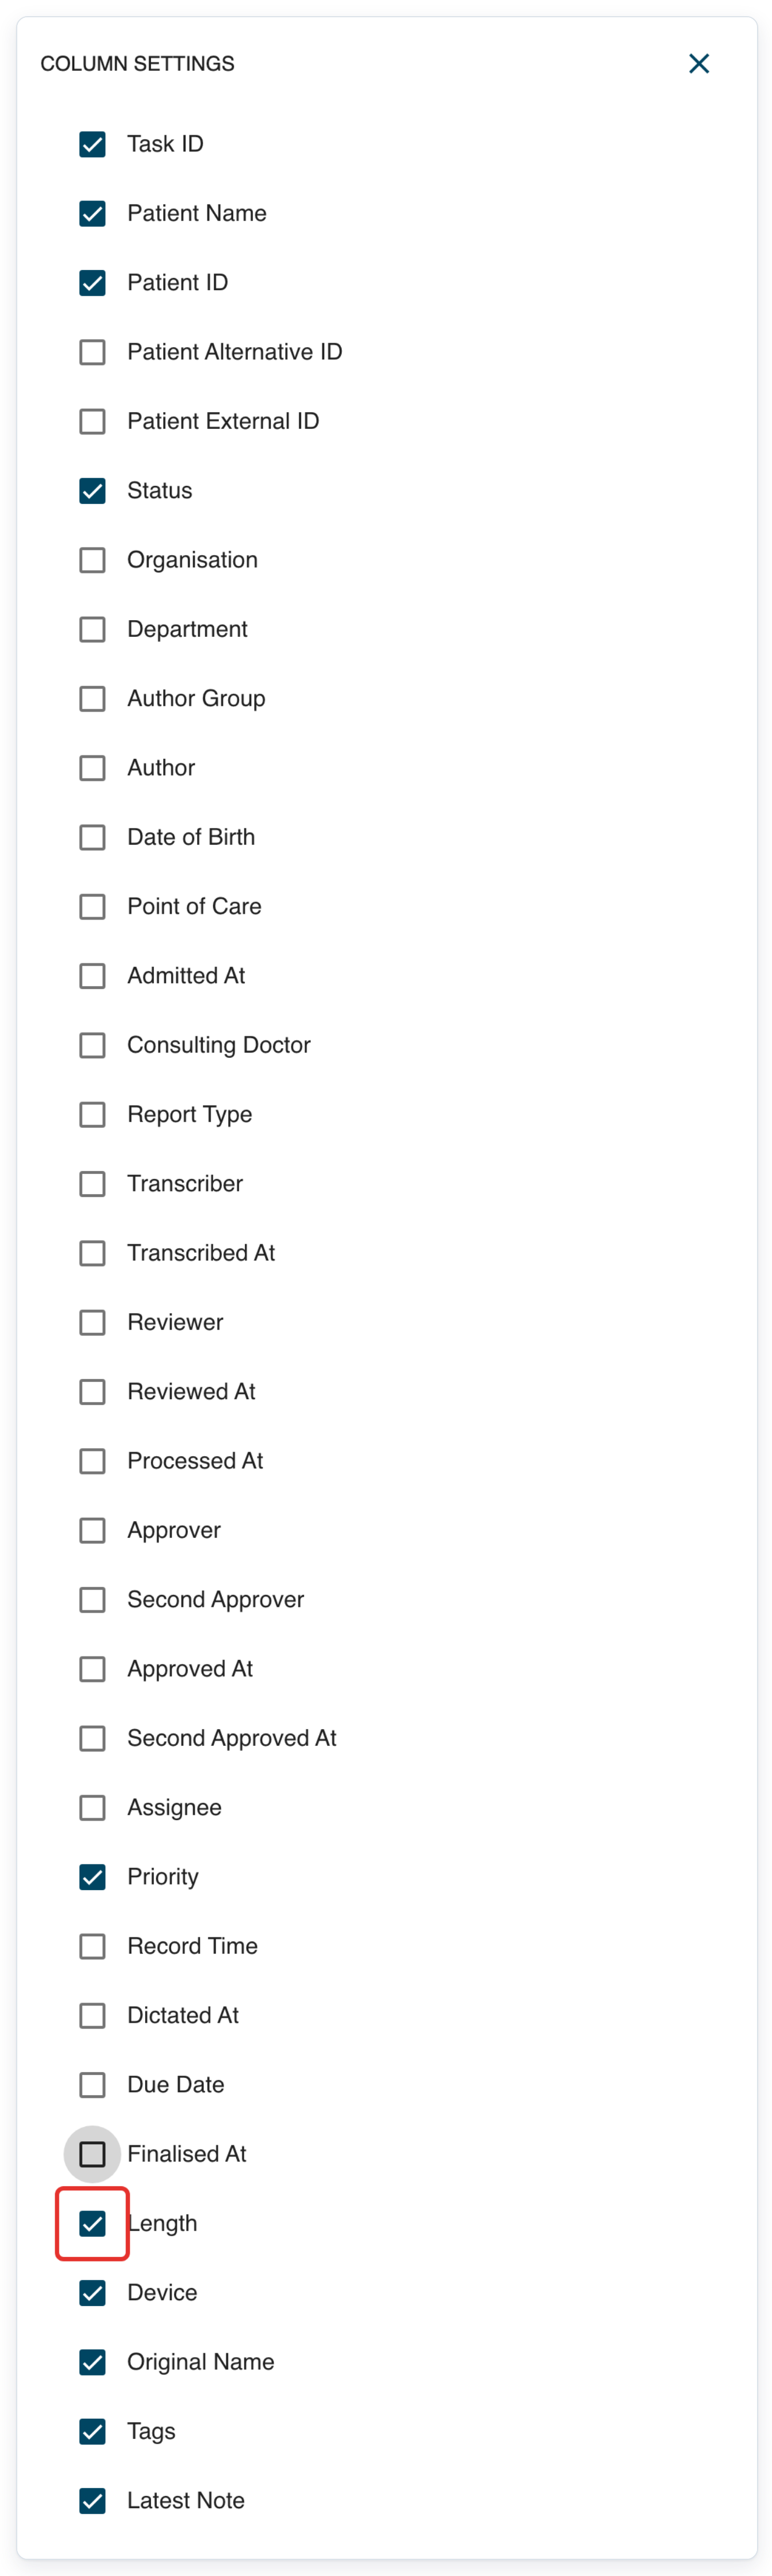
Clear Length.
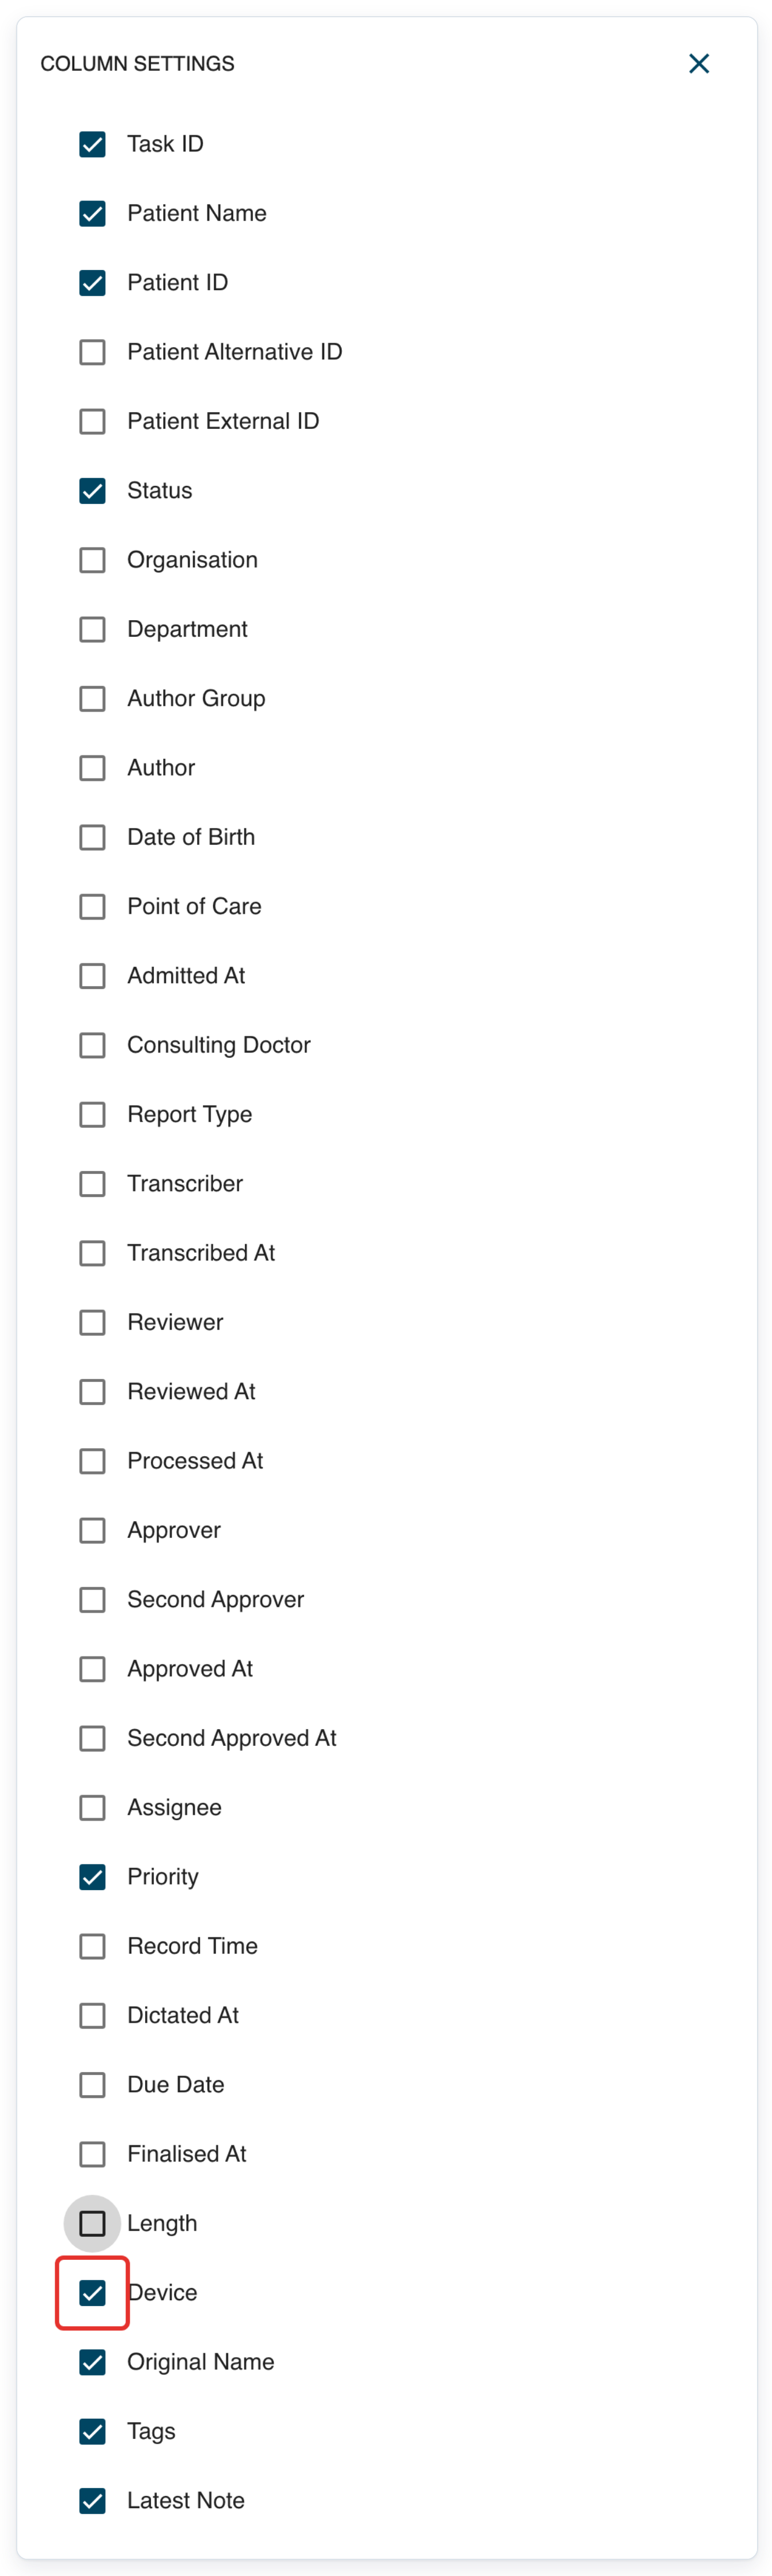
Clear Device.
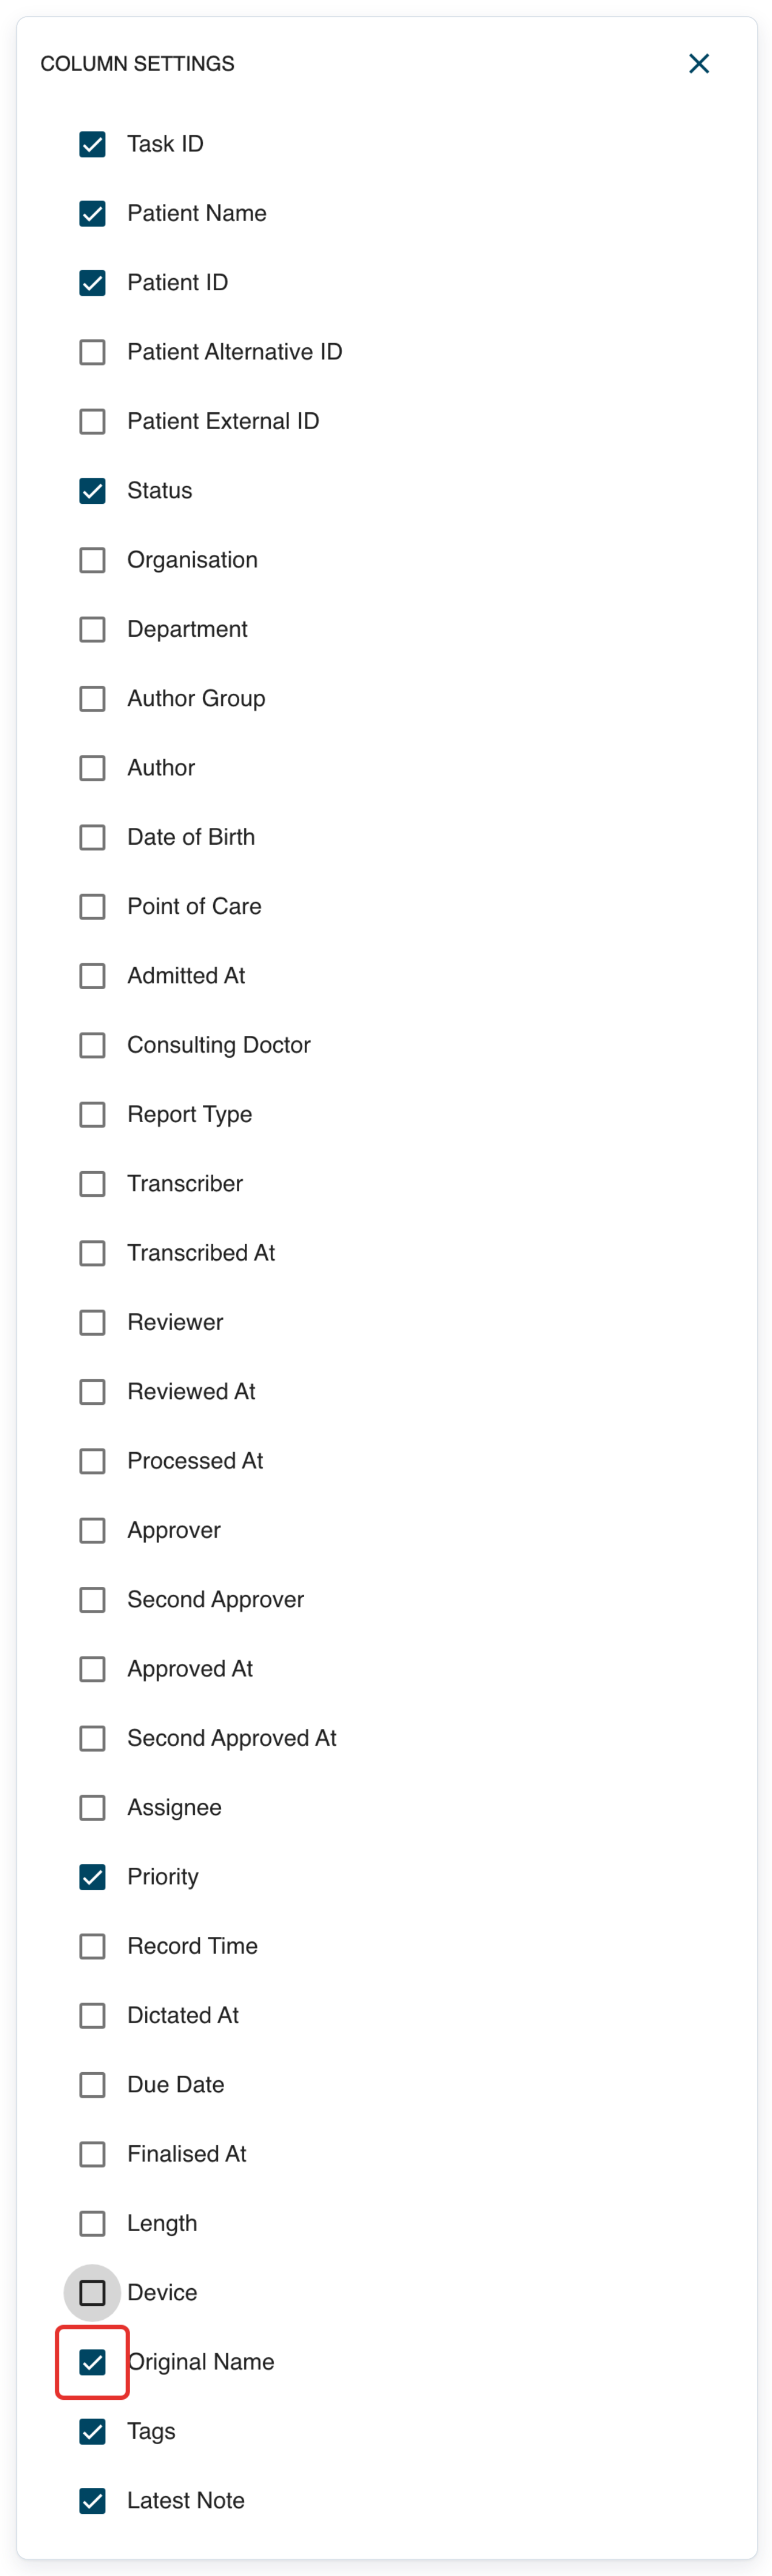
Clear Original Name.
Clear Tags.
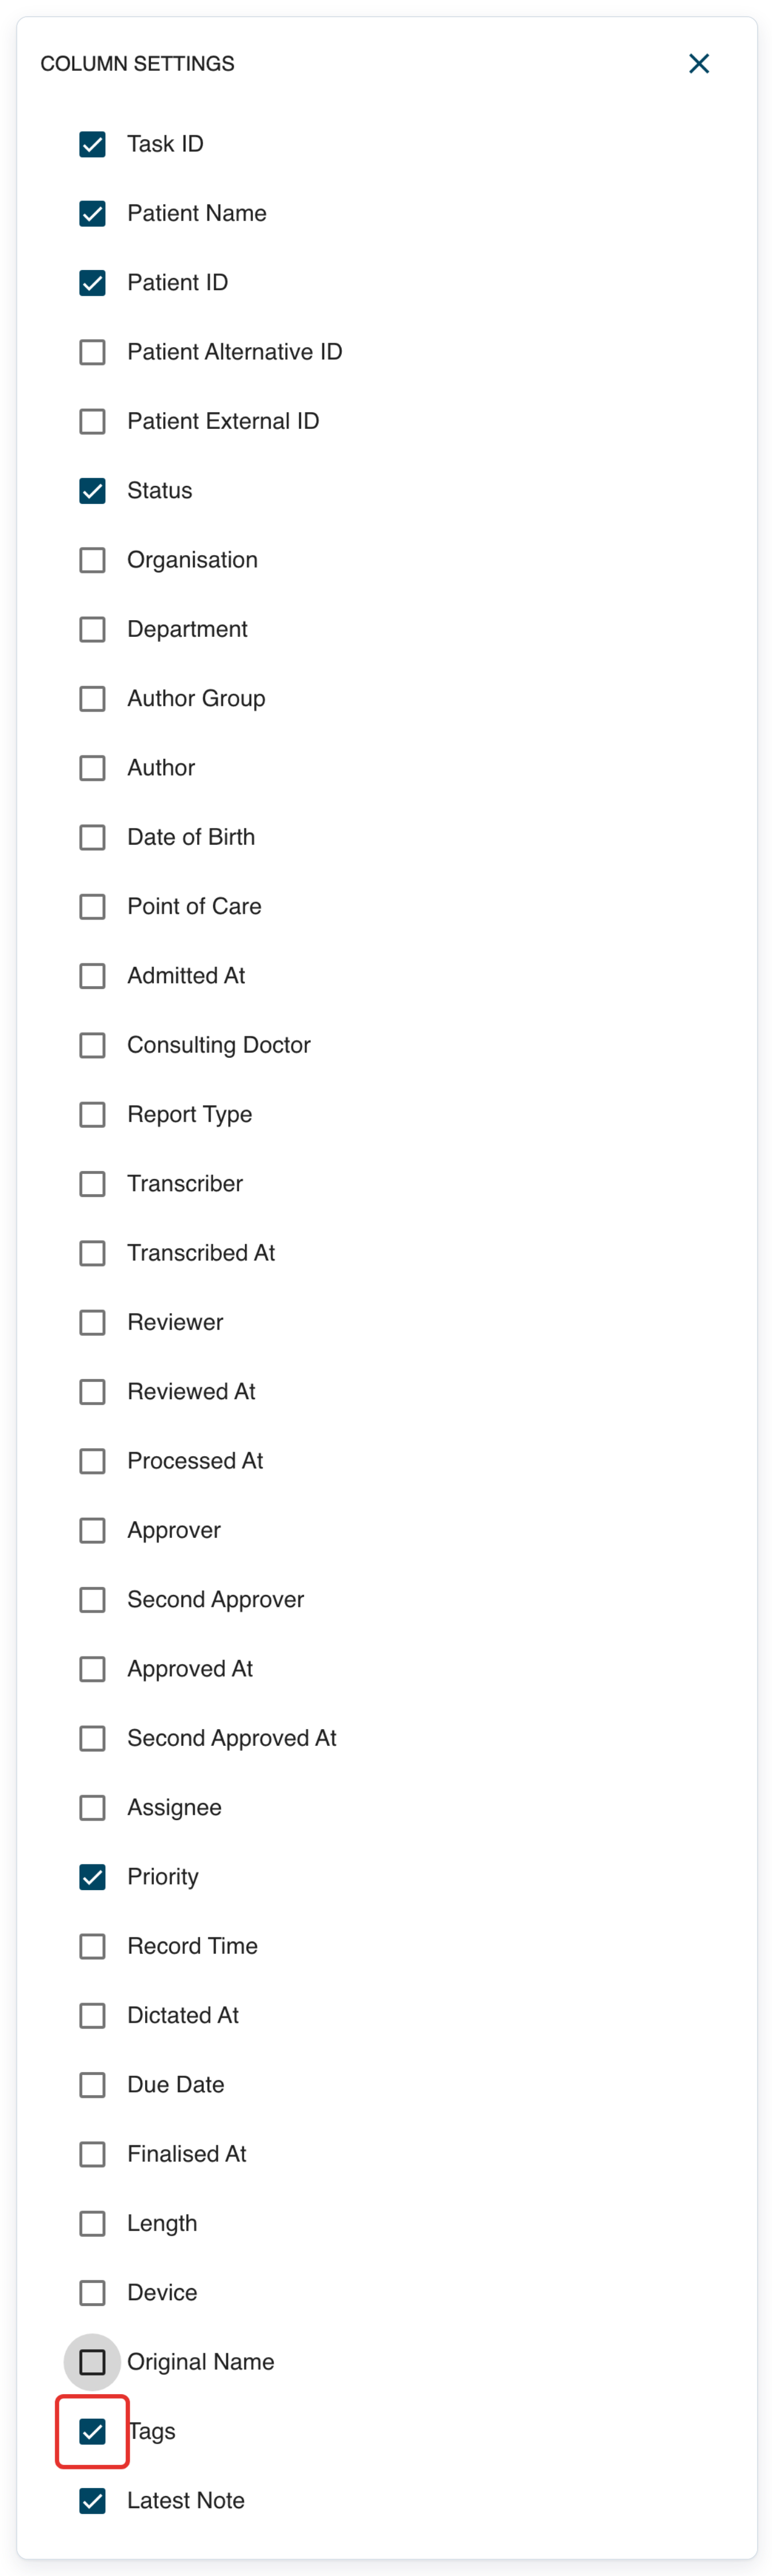
Clear Latest Note.
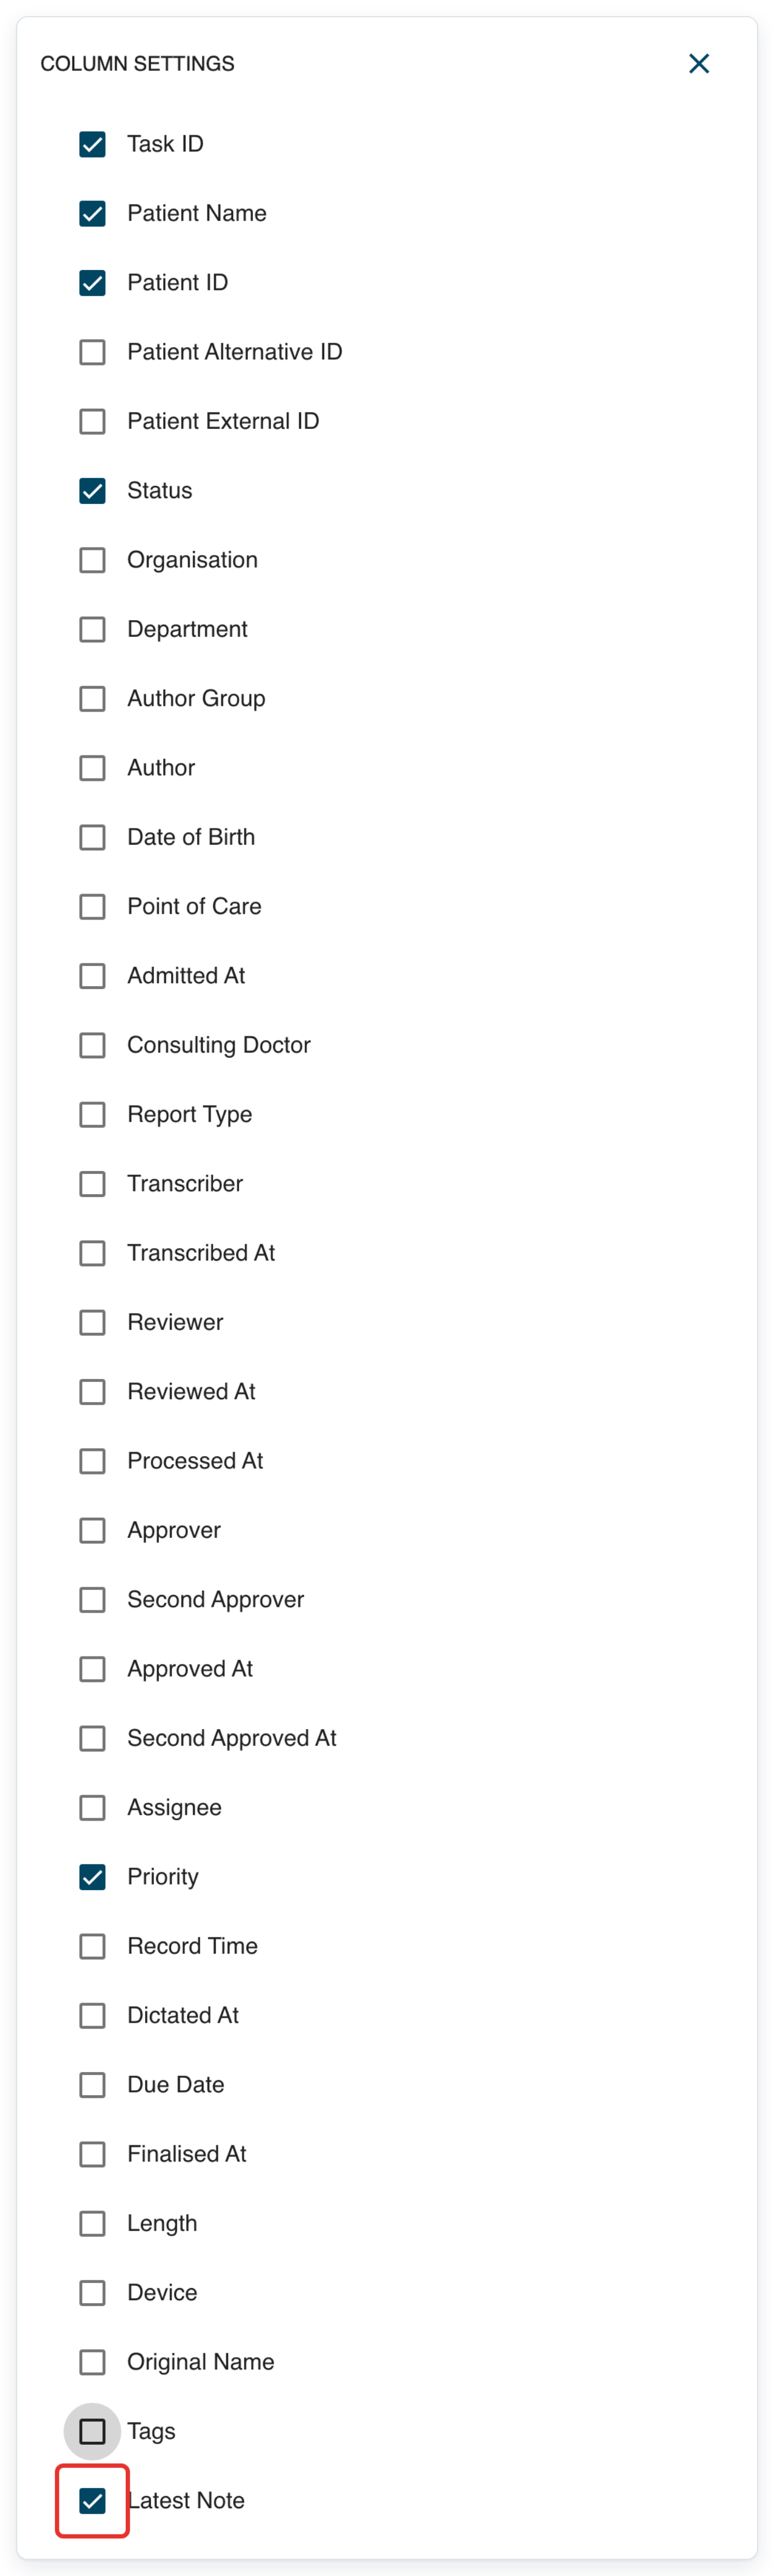
Click the cross to return to All tasks.
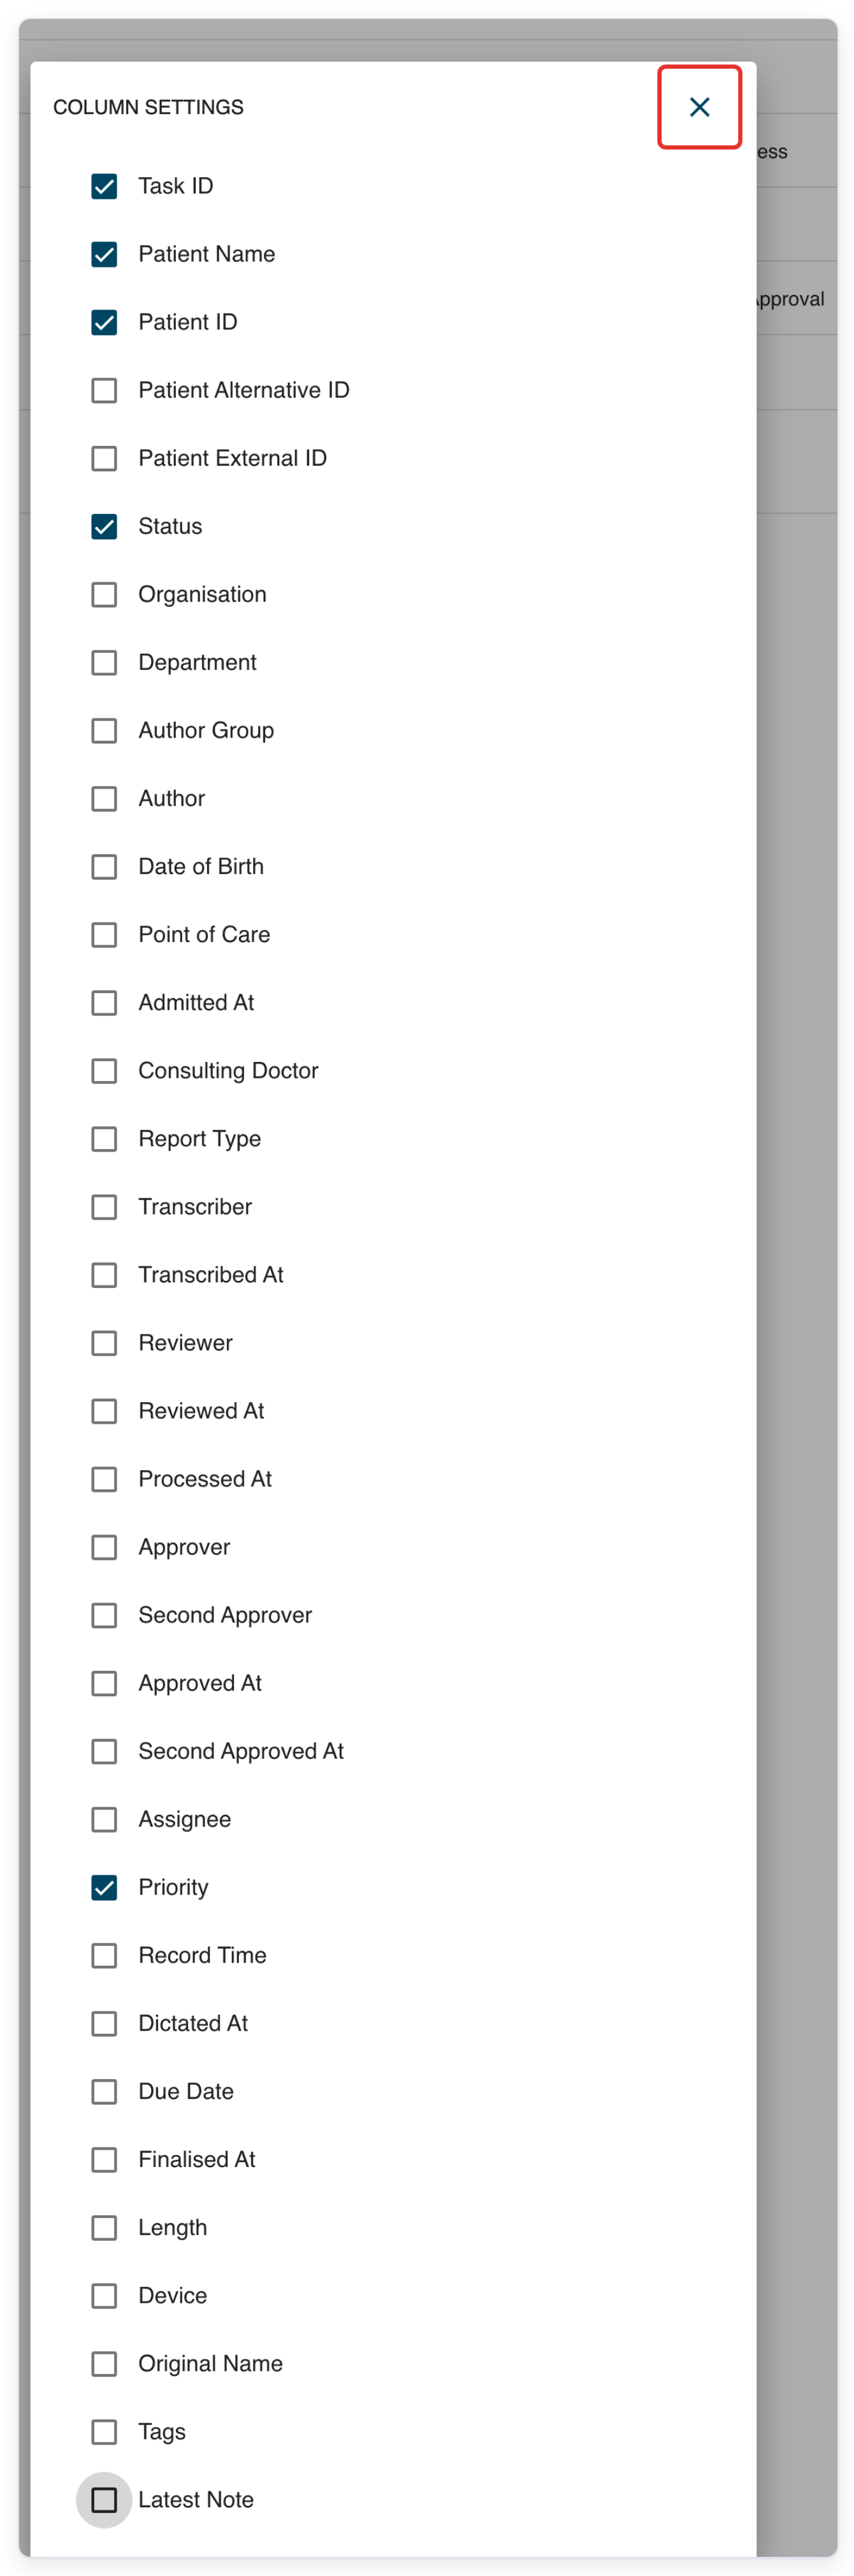
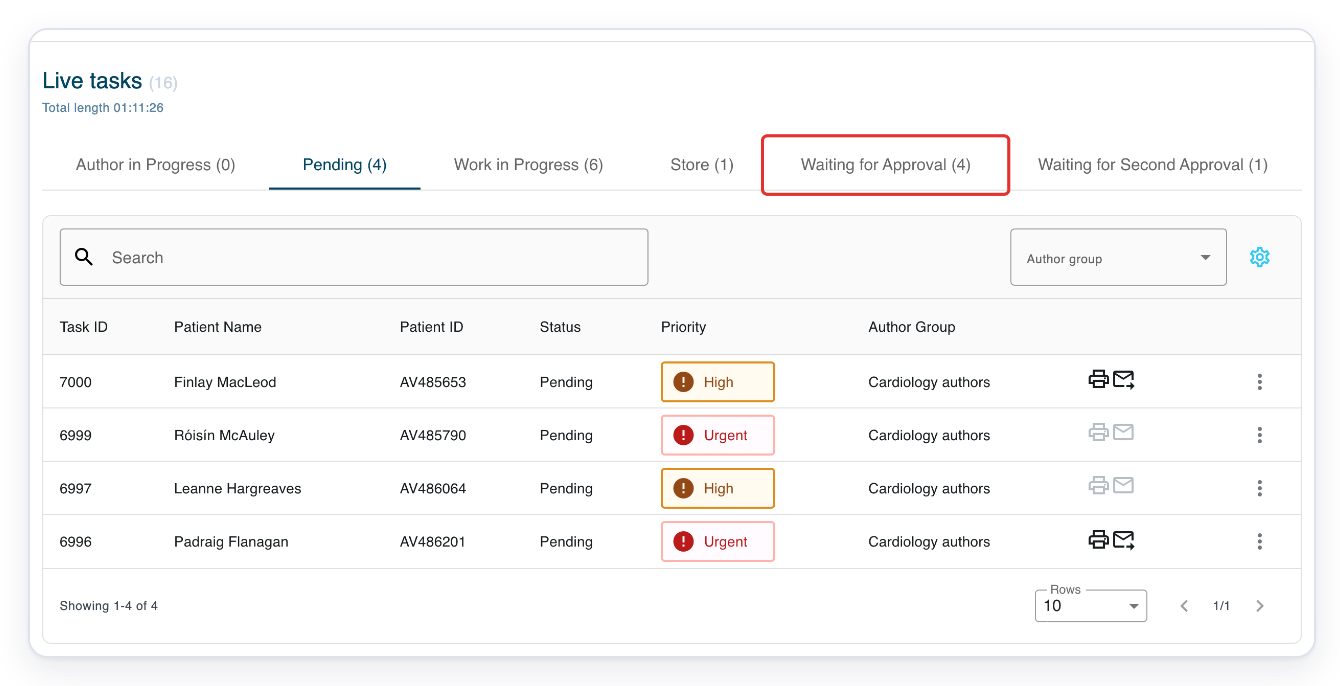
When a letter from the Dictate app is awaiting your approval, click Live Tasks.

=> The queues include Waiting for Approval.
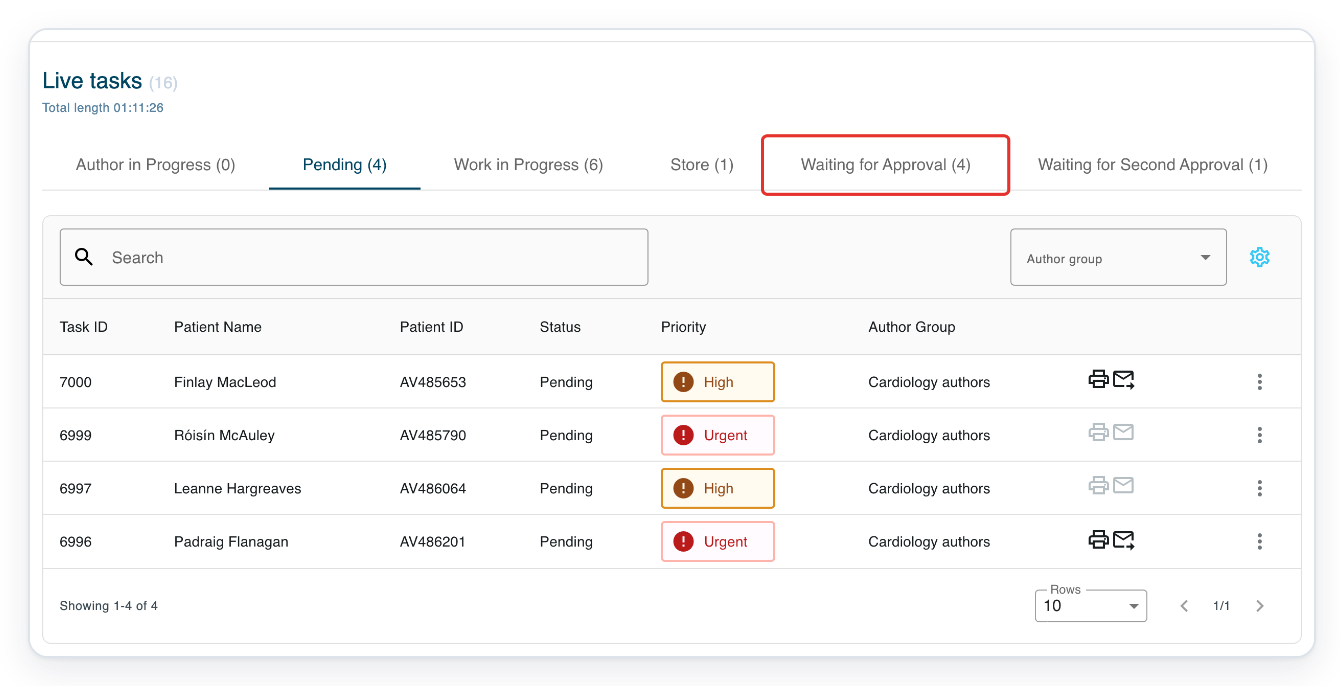
Click Waiting for Approval.
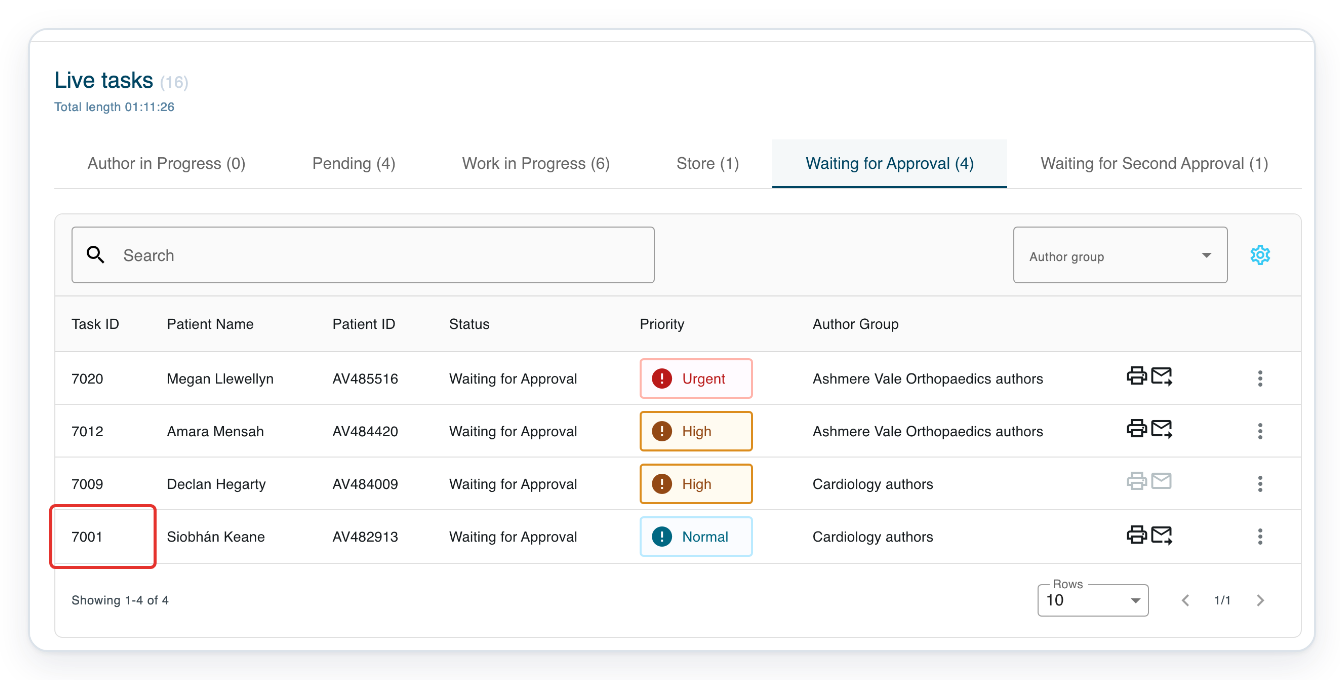
Click the letter's task ID, here 7001.
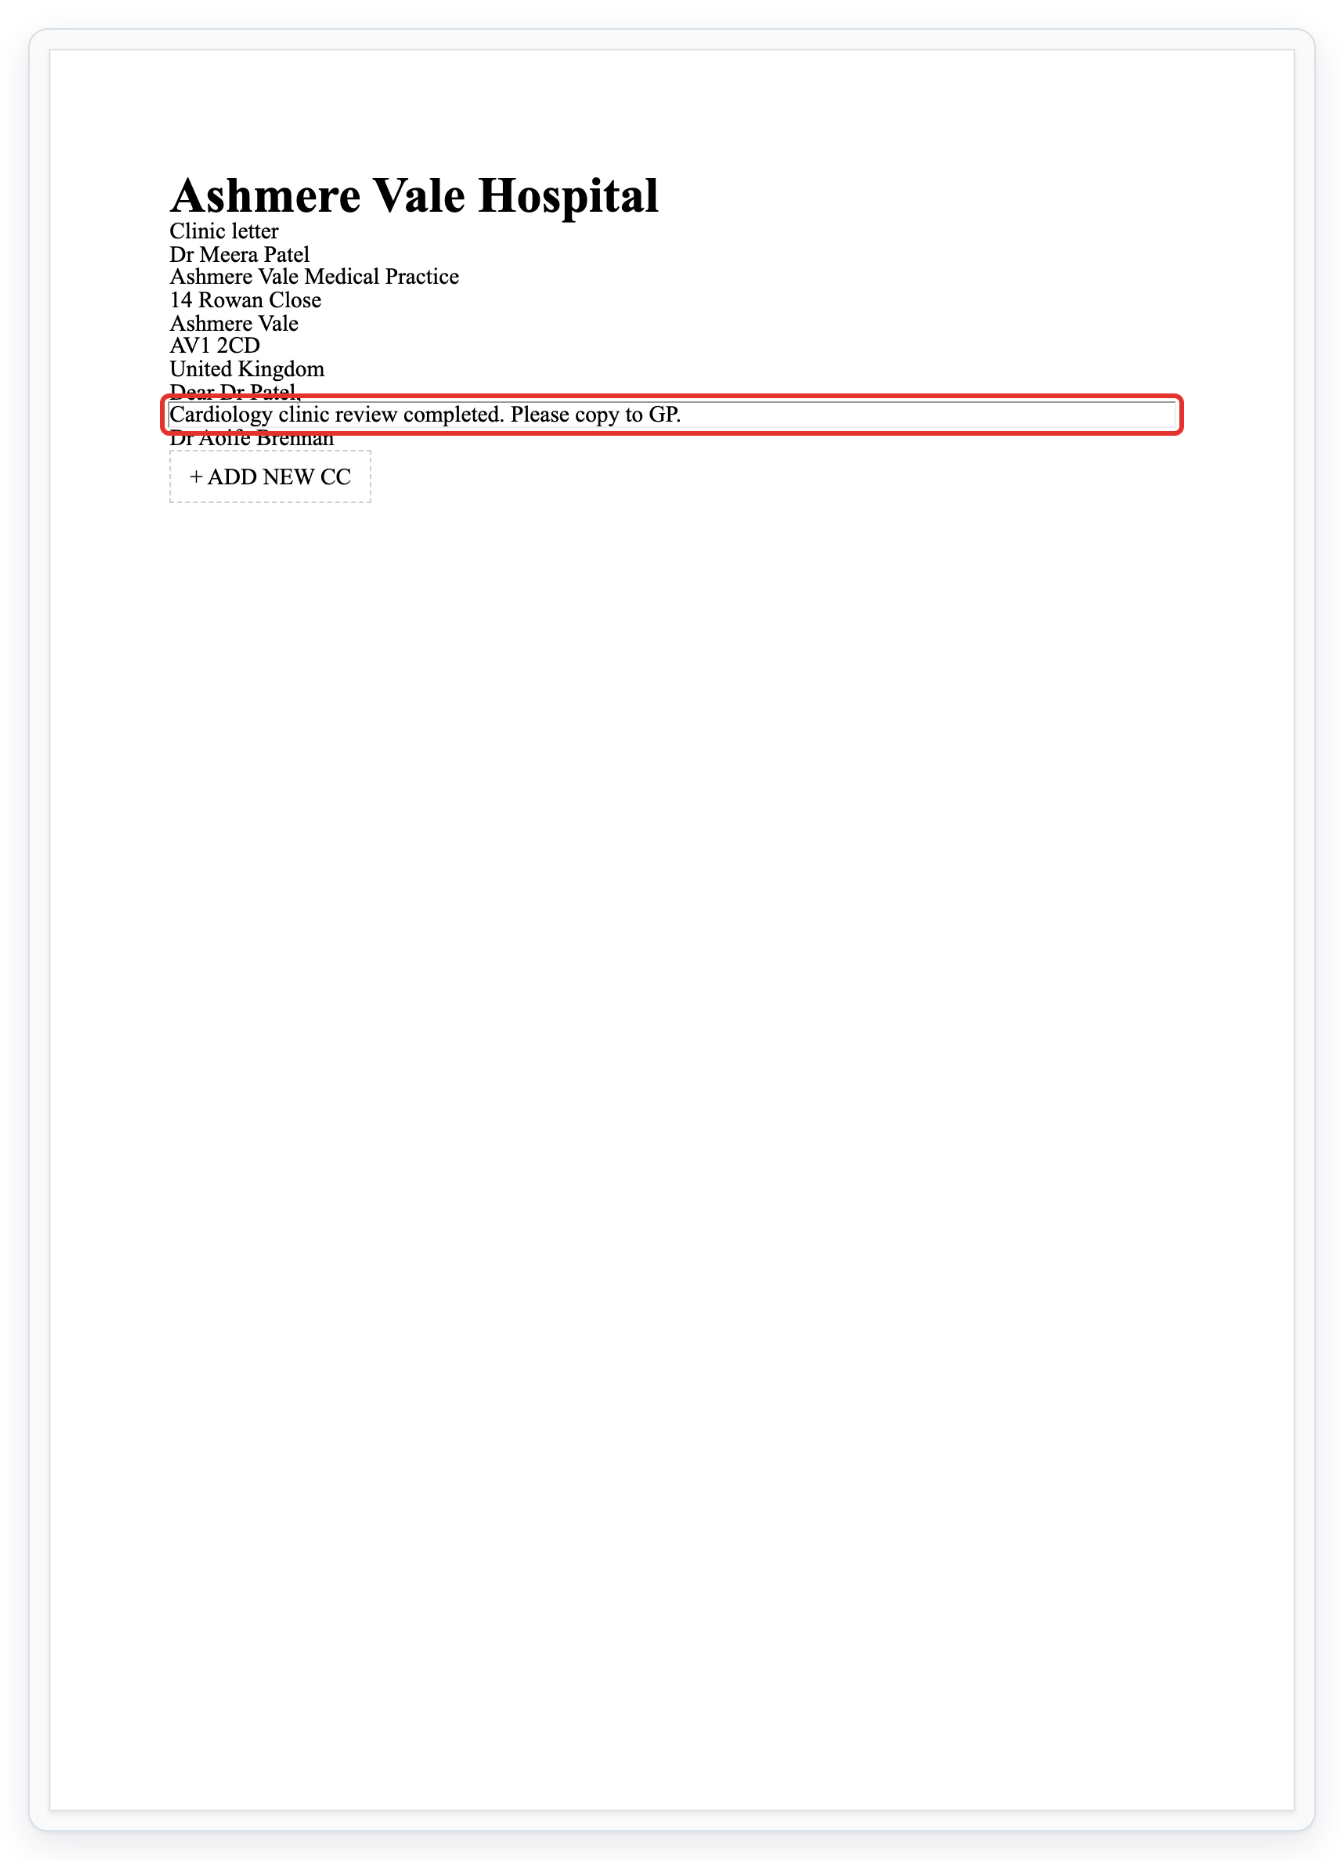
=> The letter opens for you to review.
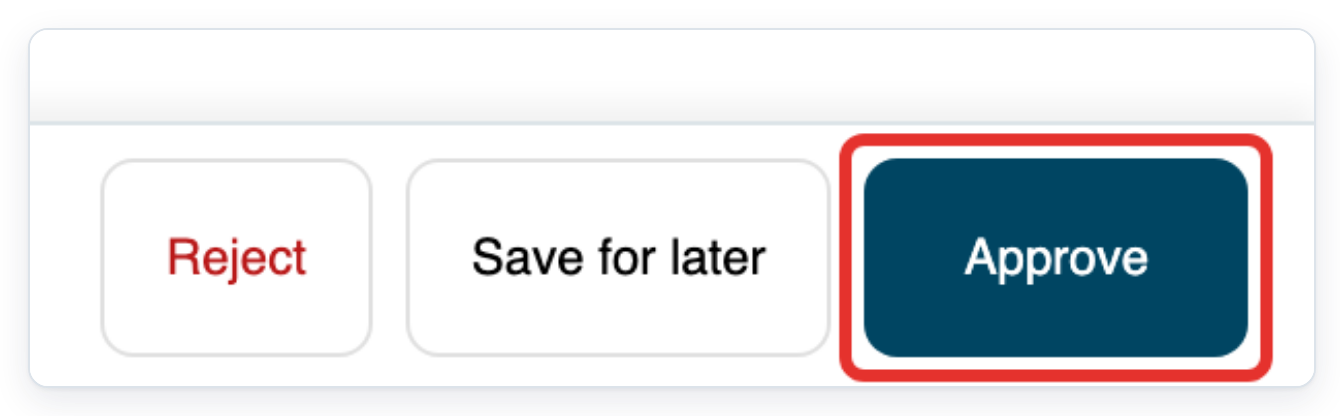
Click Approve. All tasks opens.
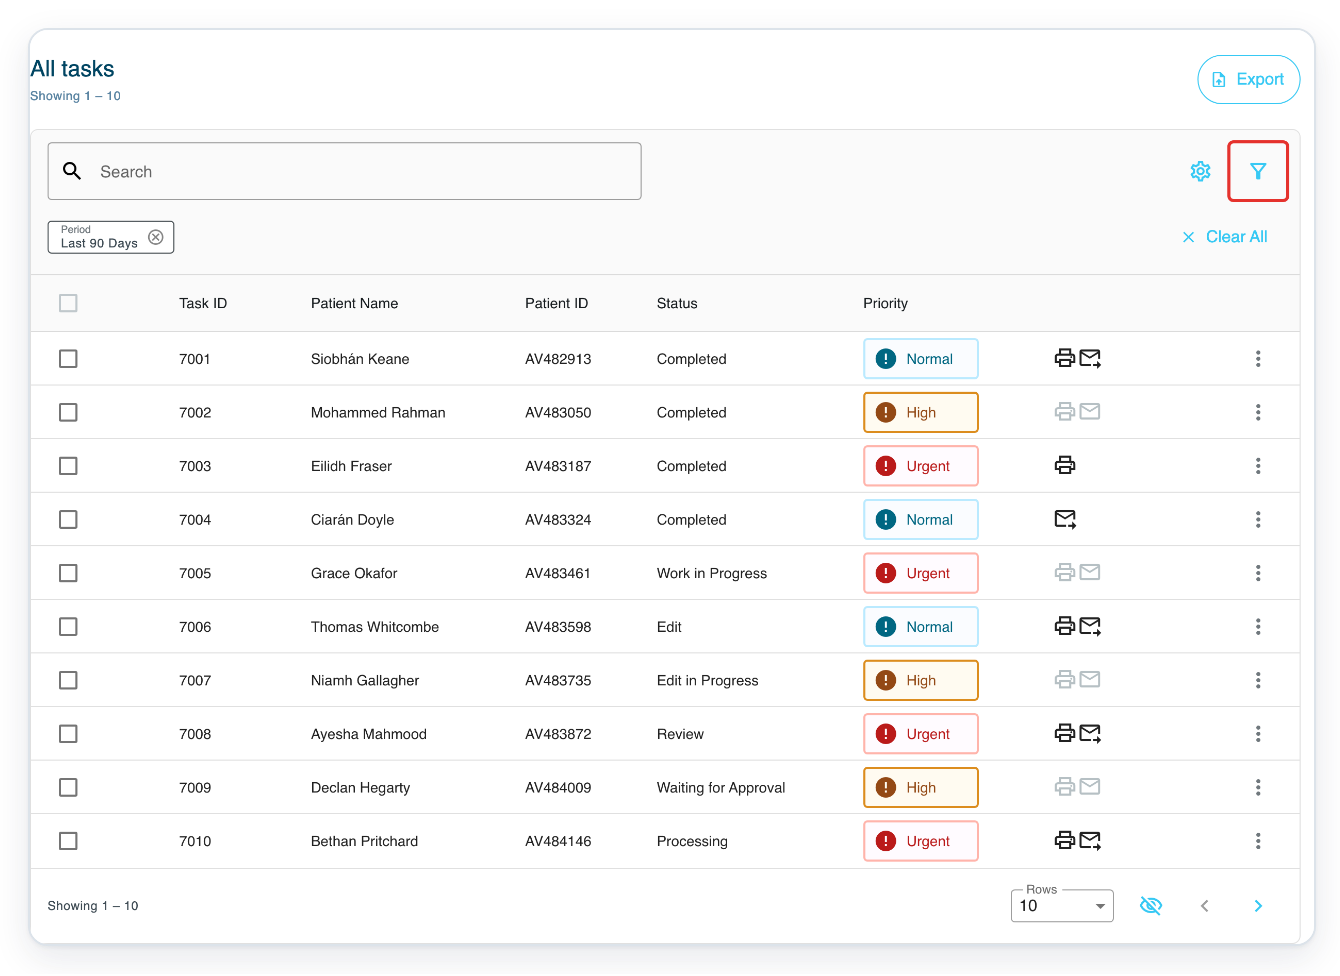
Click Filter. Keep a Period that includes your task, here Last 90 Days.
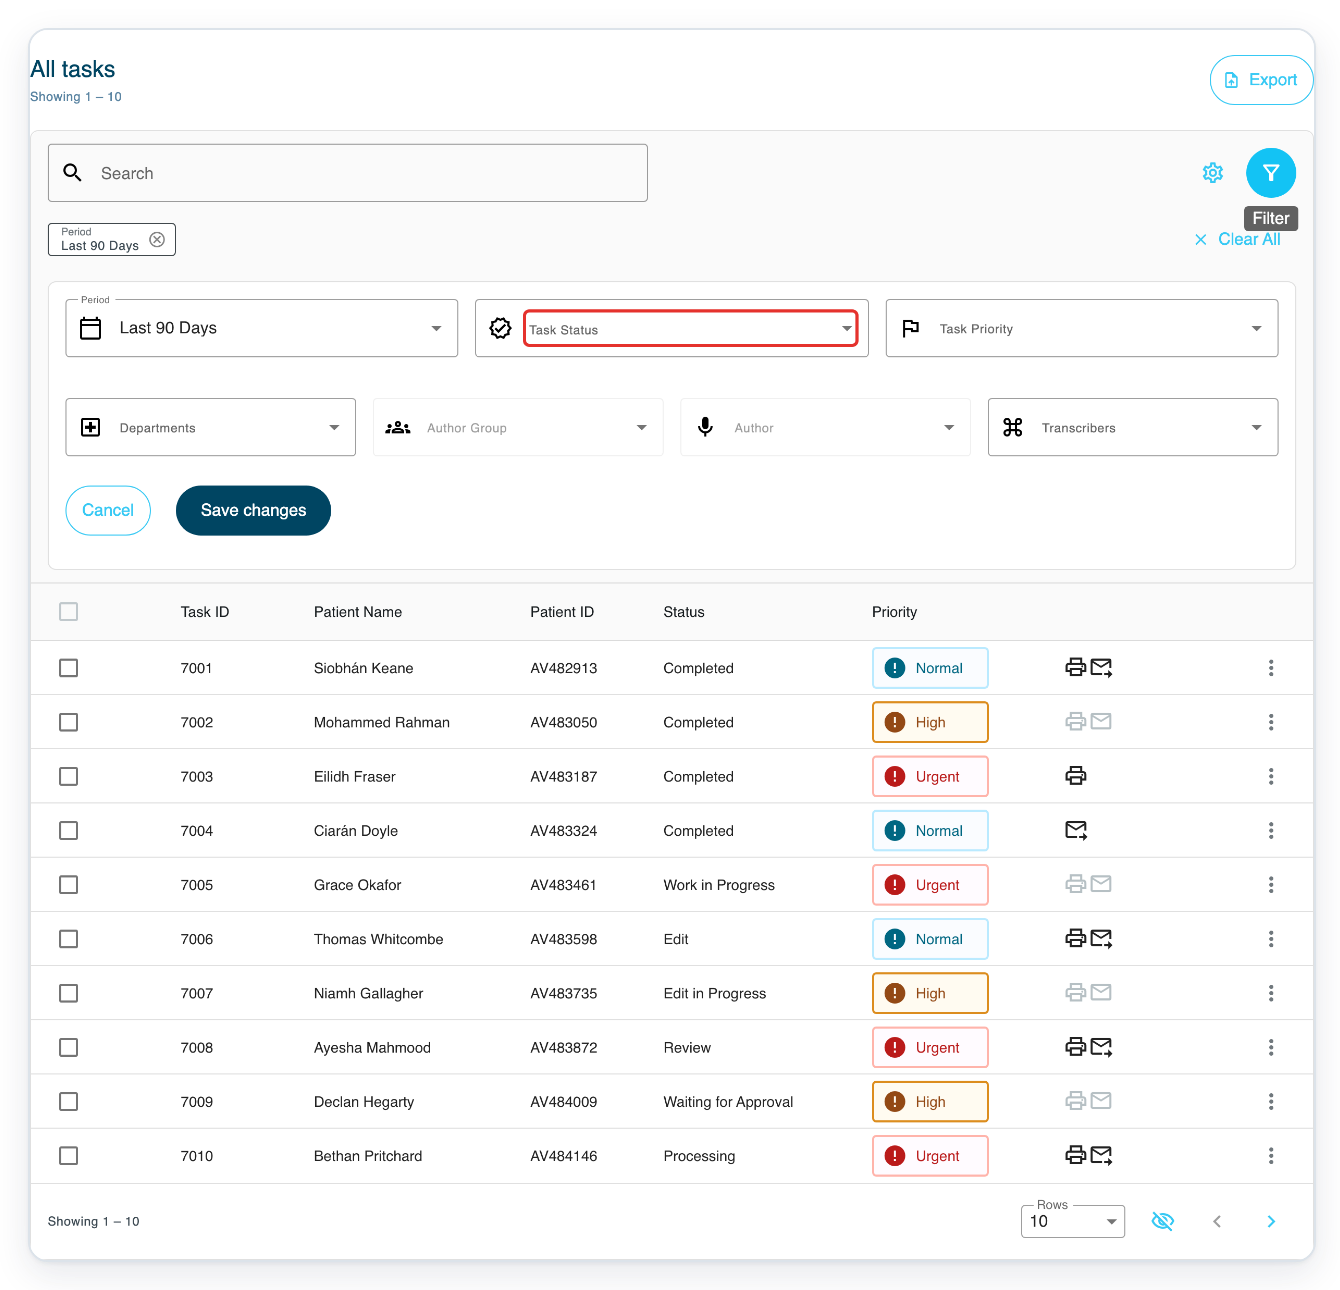
Open Task Status.
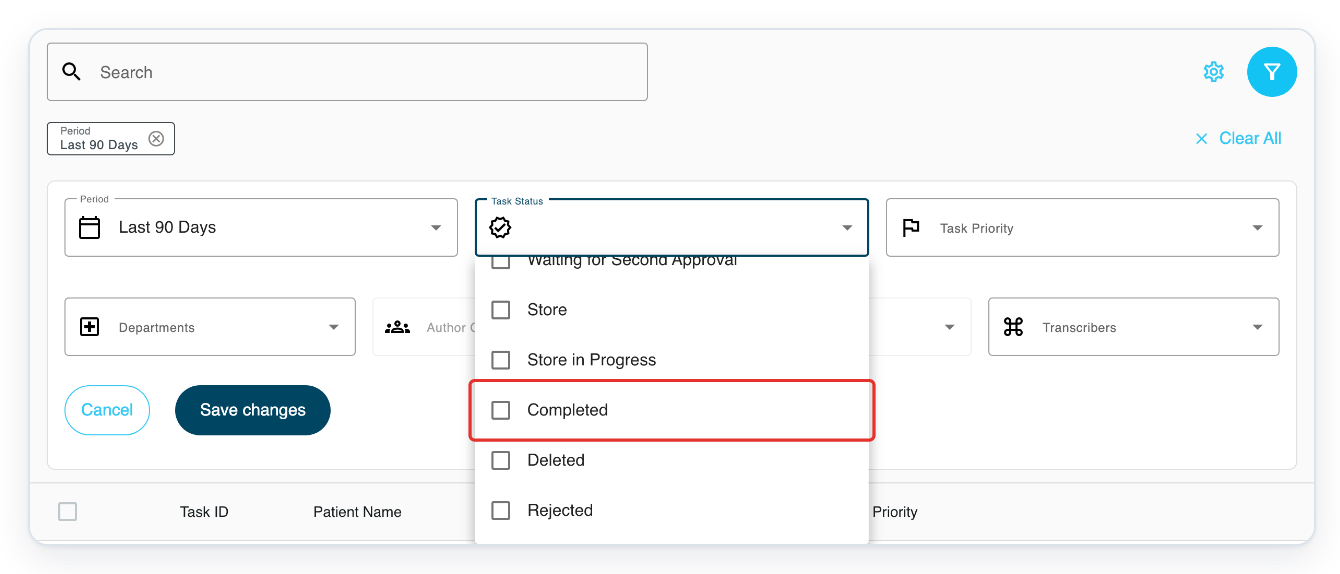
Select Completed.
Press Escape to close the choices.
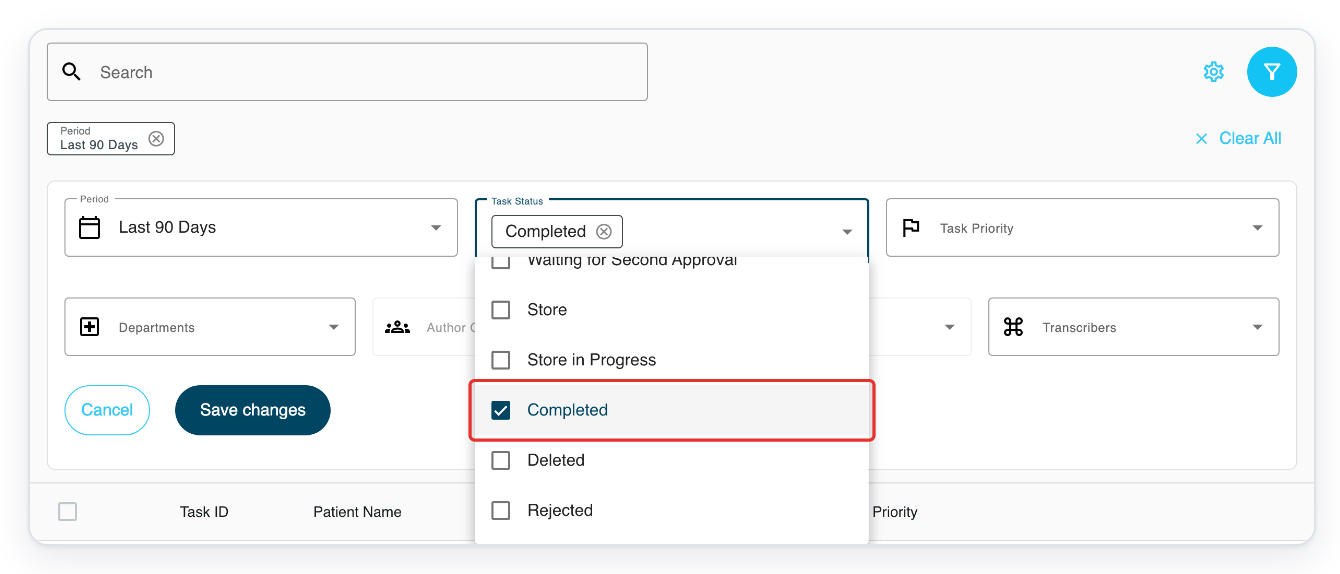
Click Save changes.
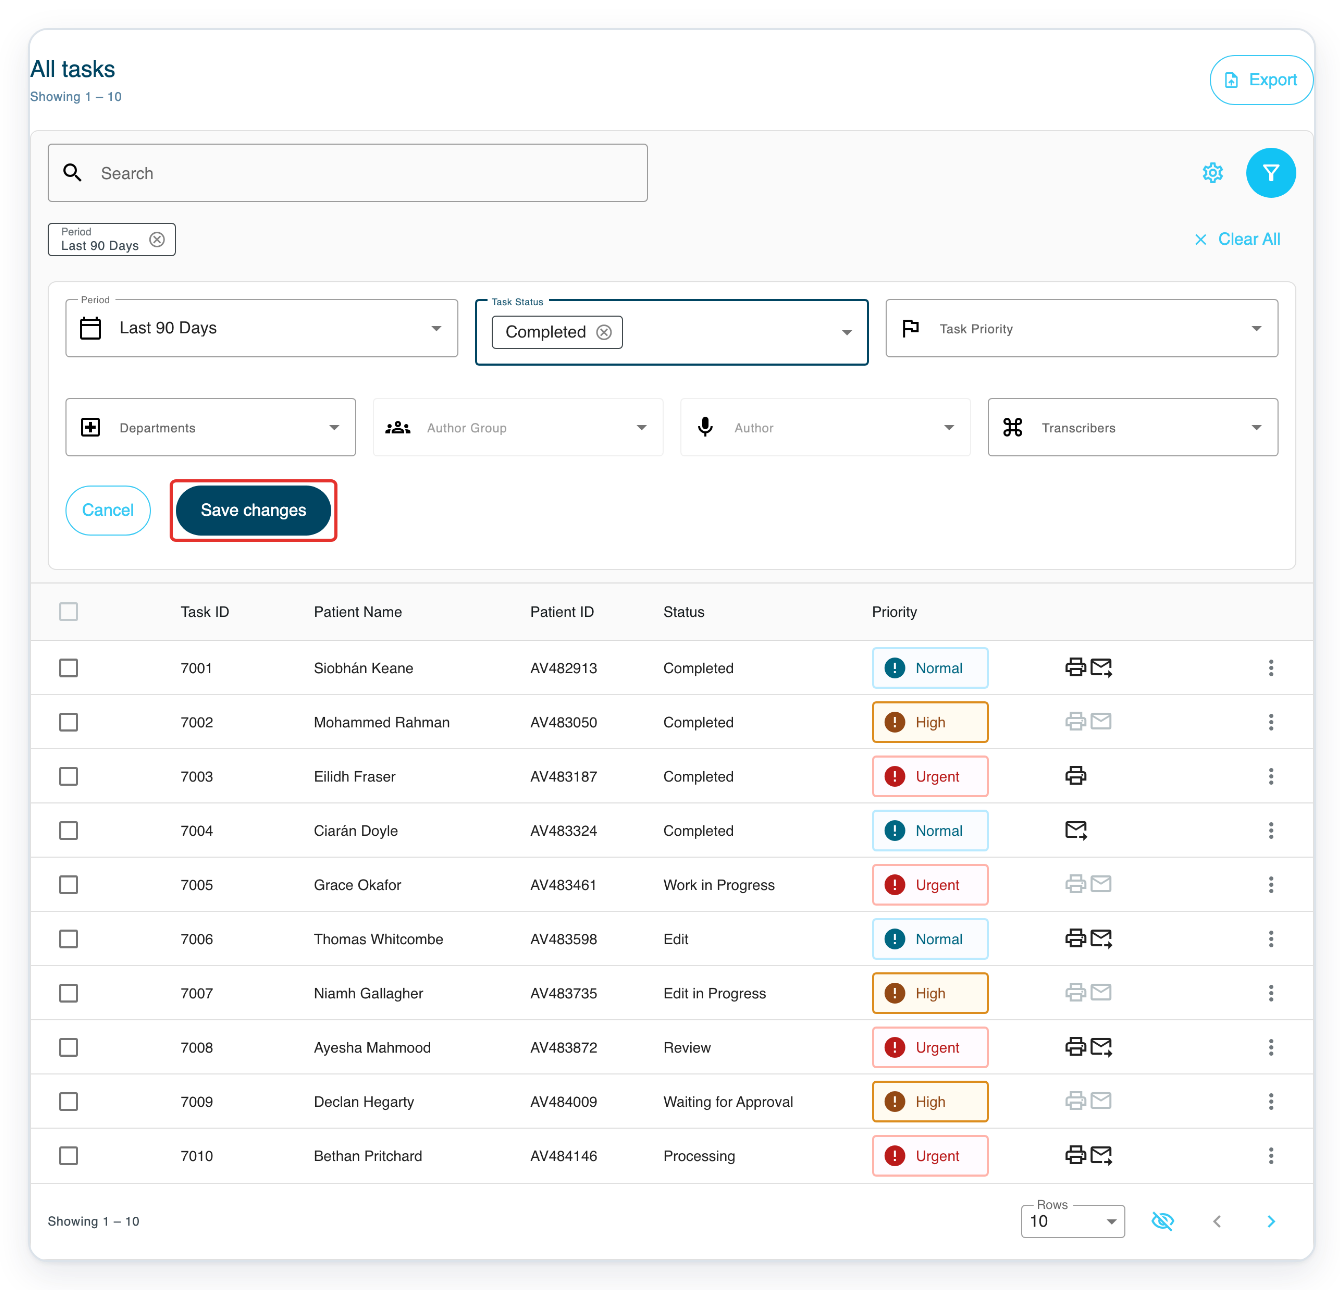
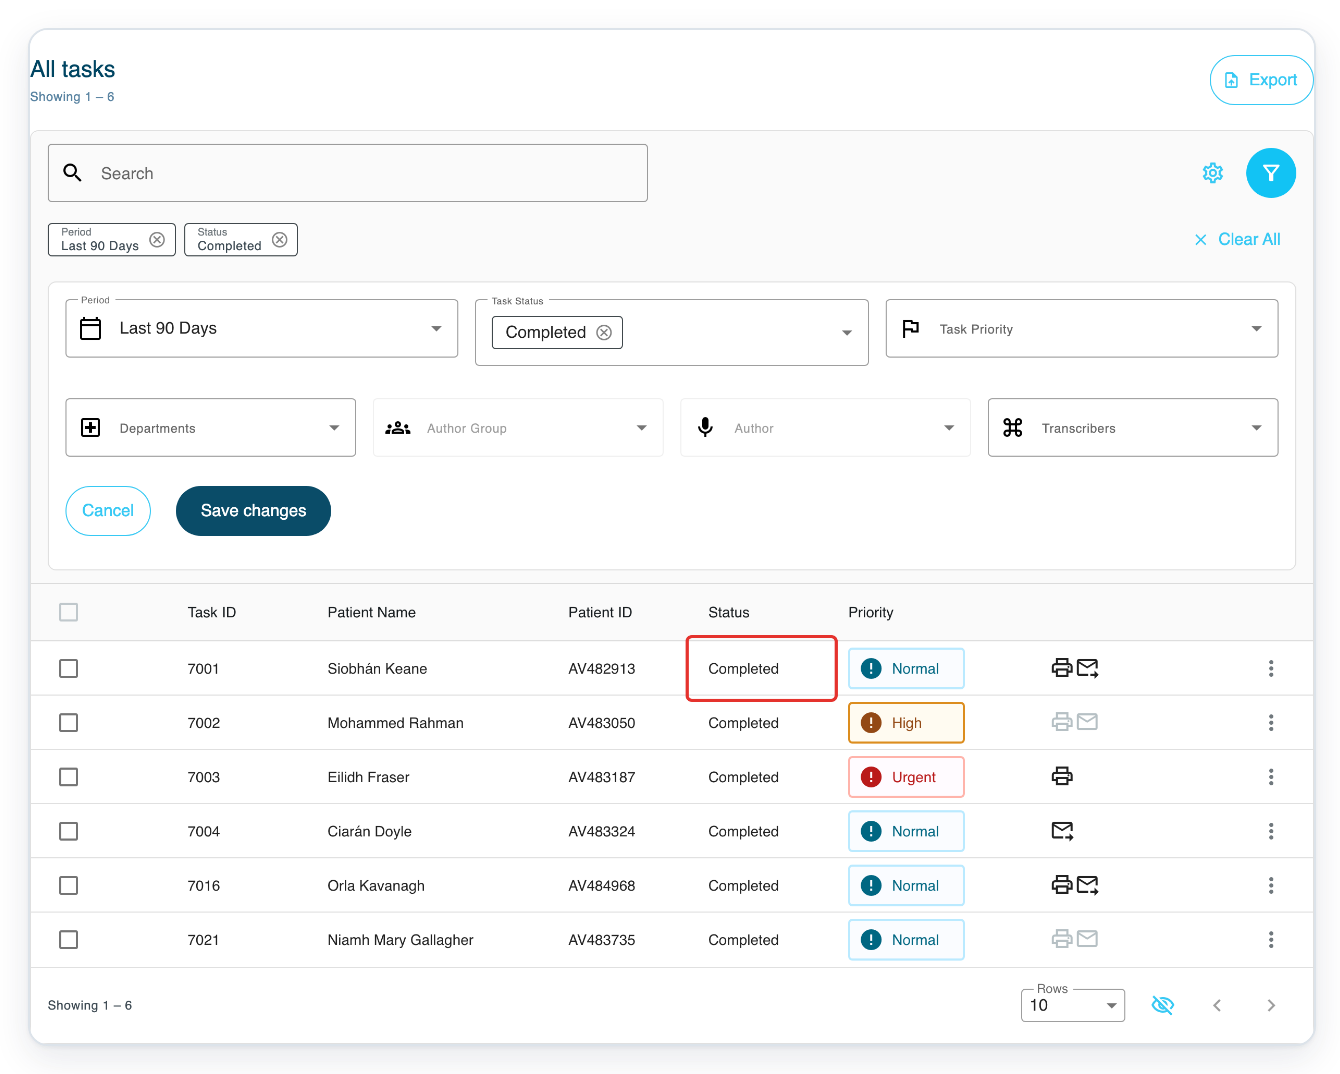
=> Task 7001 shows Completed in this example.
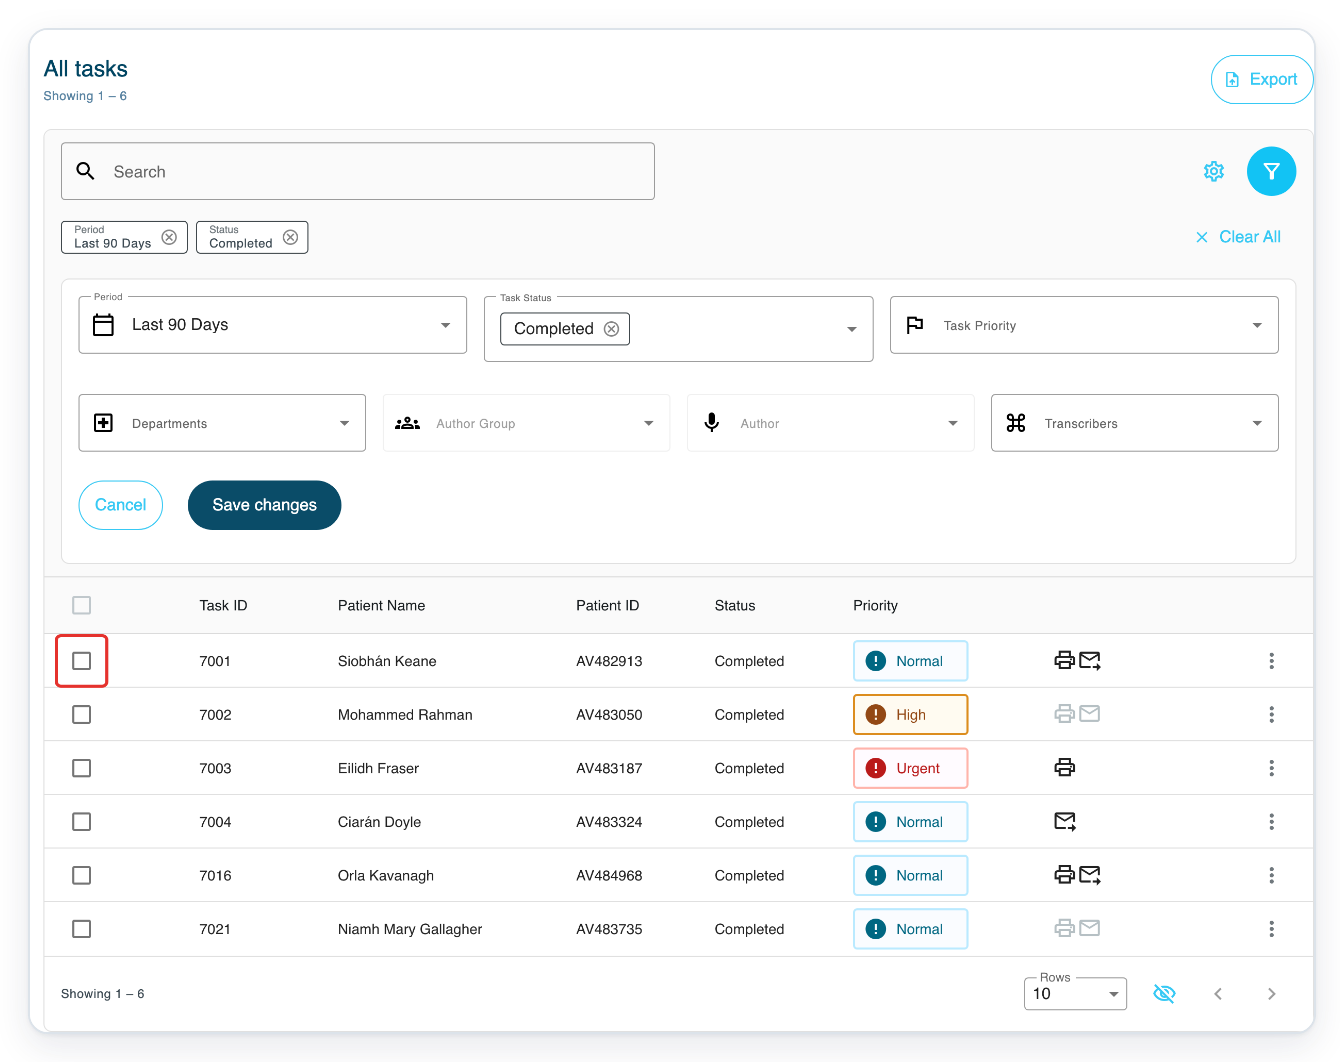
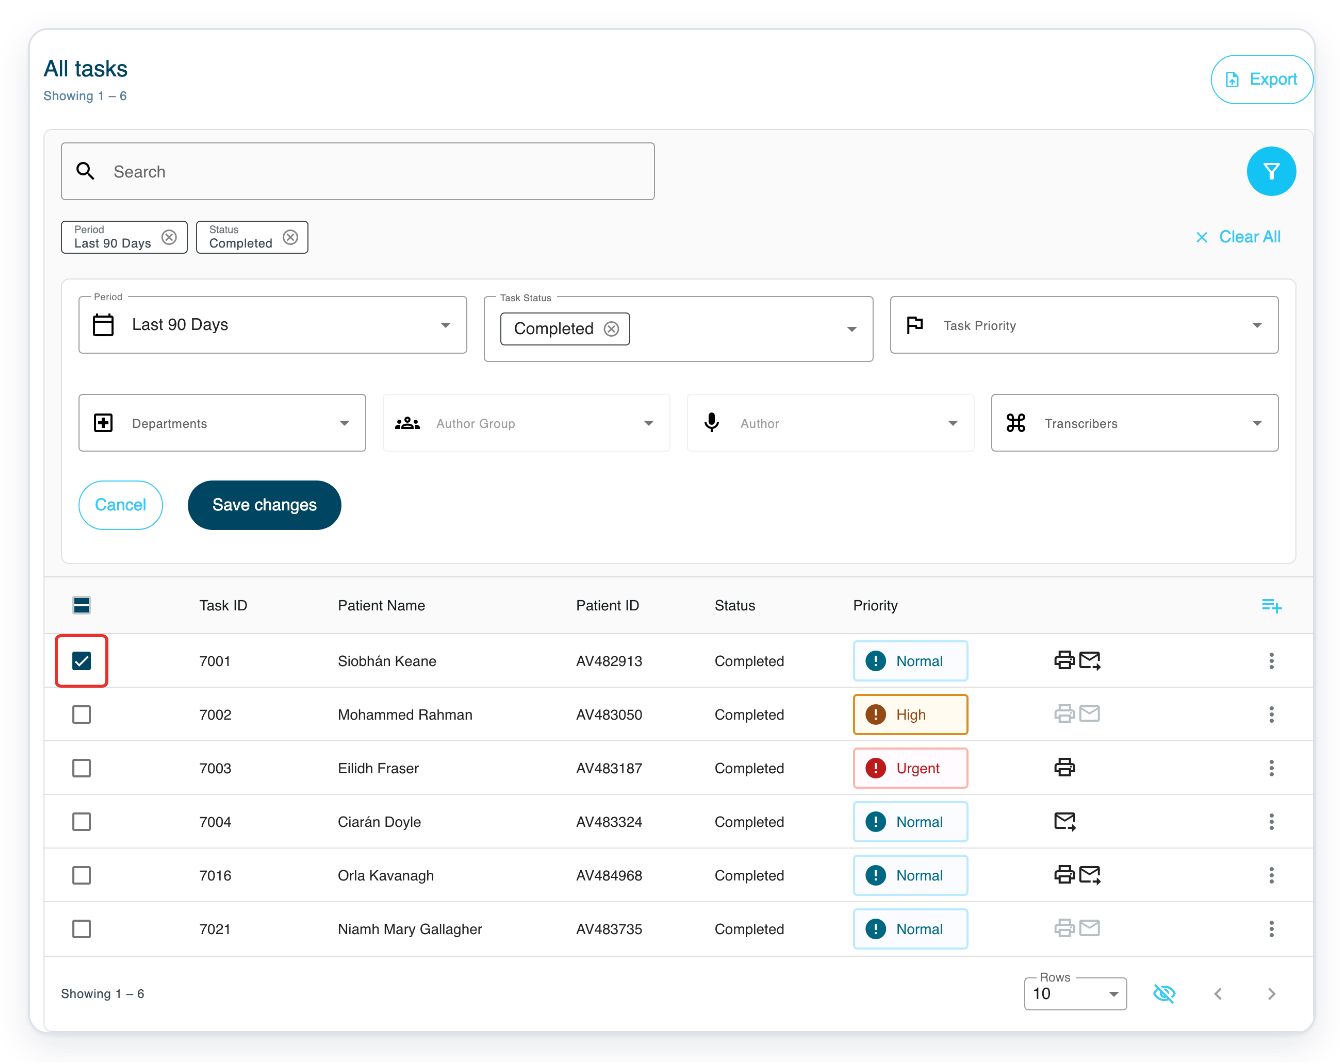
Tick the checkbox beside task 7001.
Click Bulk actions at the right of the table header.
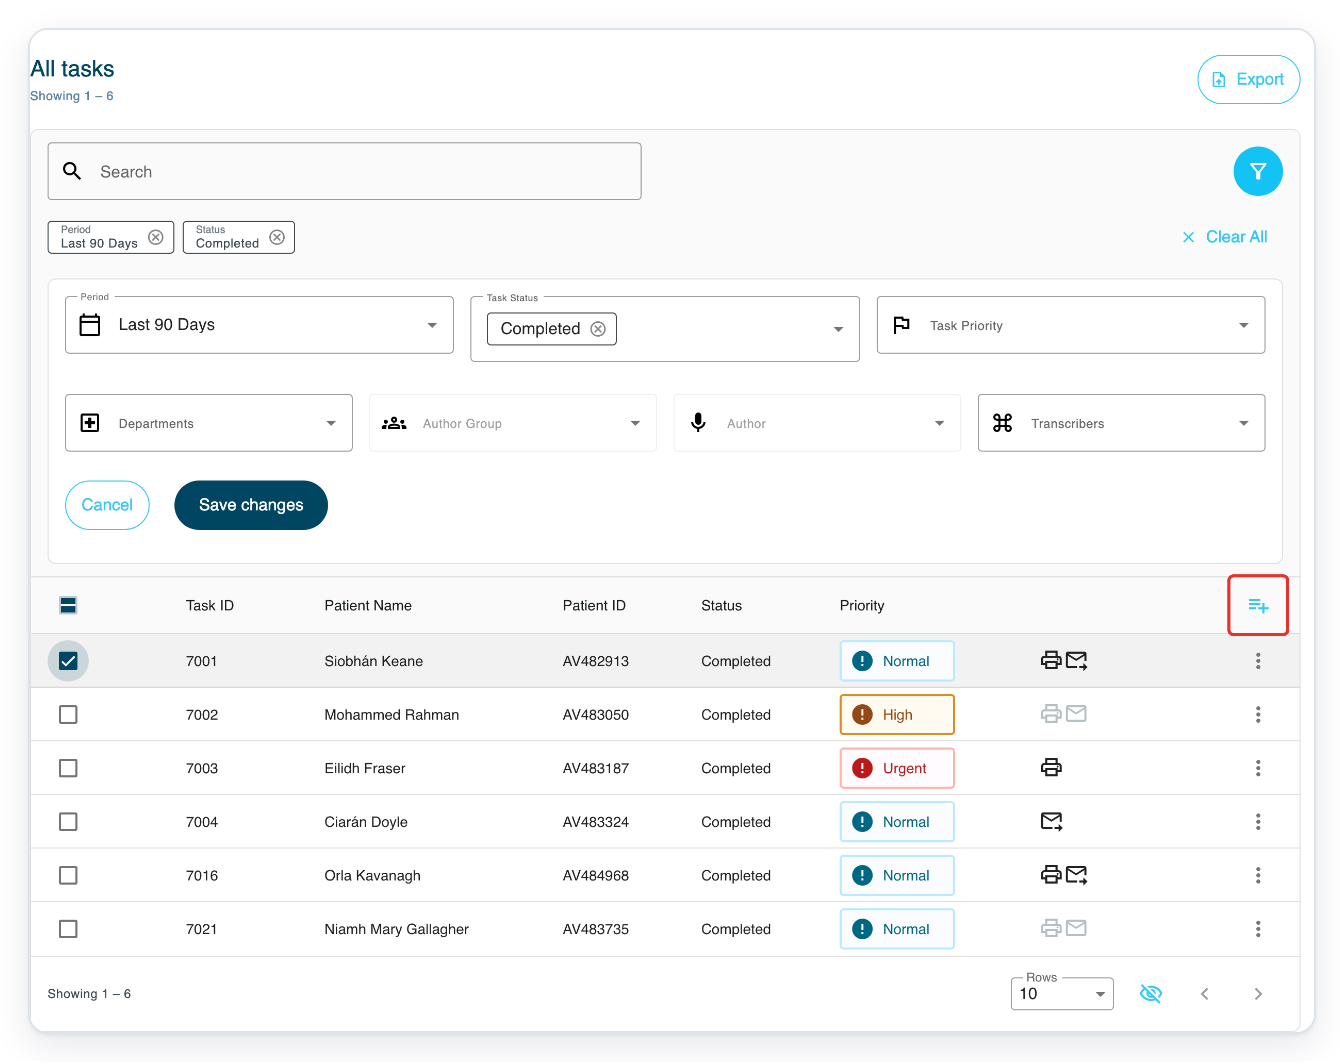
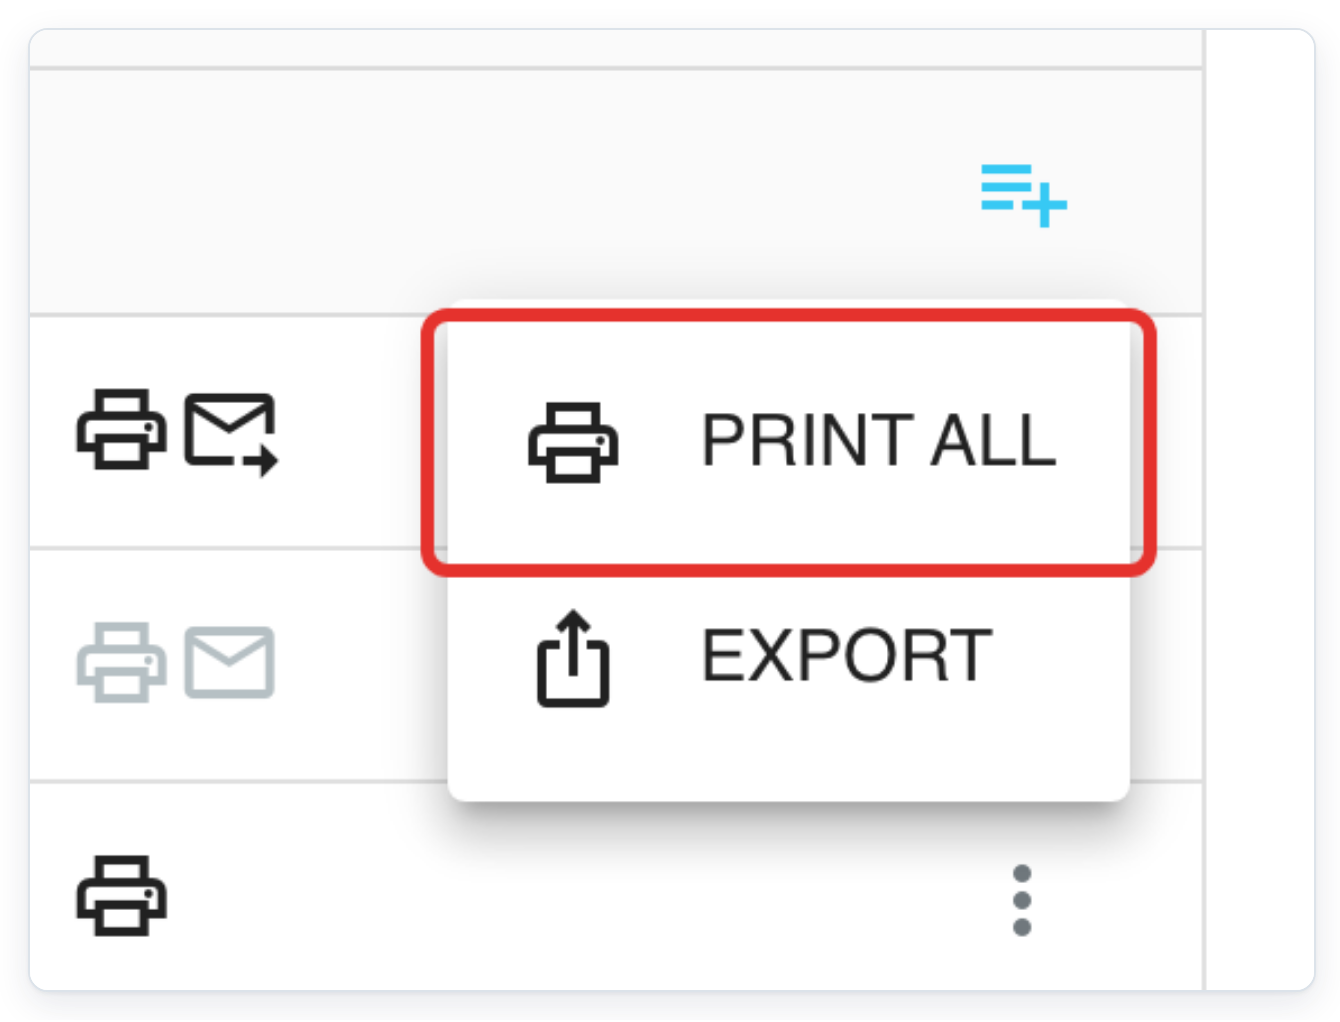
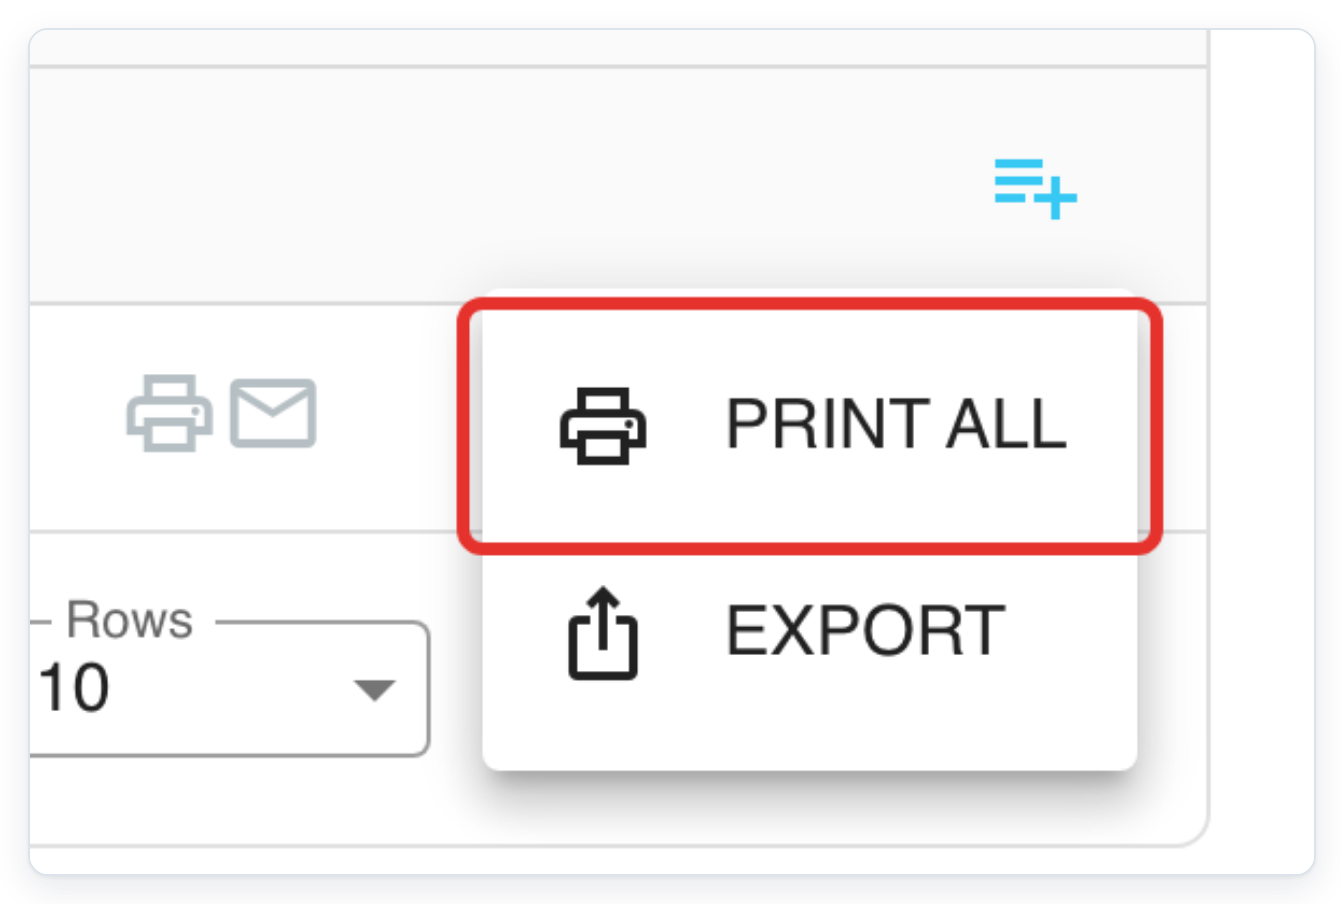
Click Print All to open the print choices.
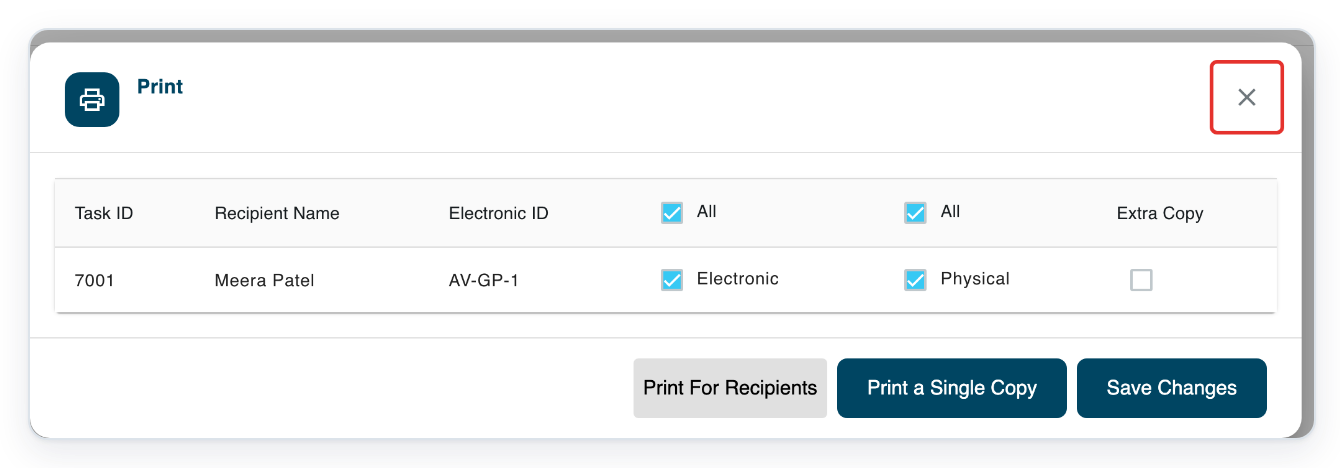
Check the recipient and copy choices. Click the cross to return to the list.
Clear task 7001's checkbox before finding your web letter.
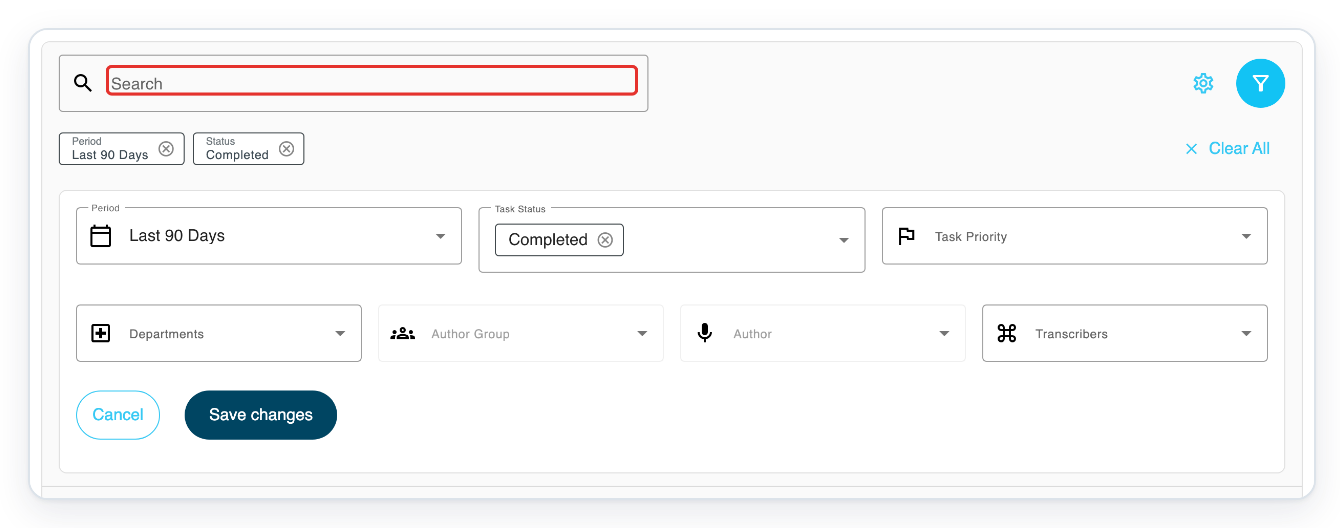
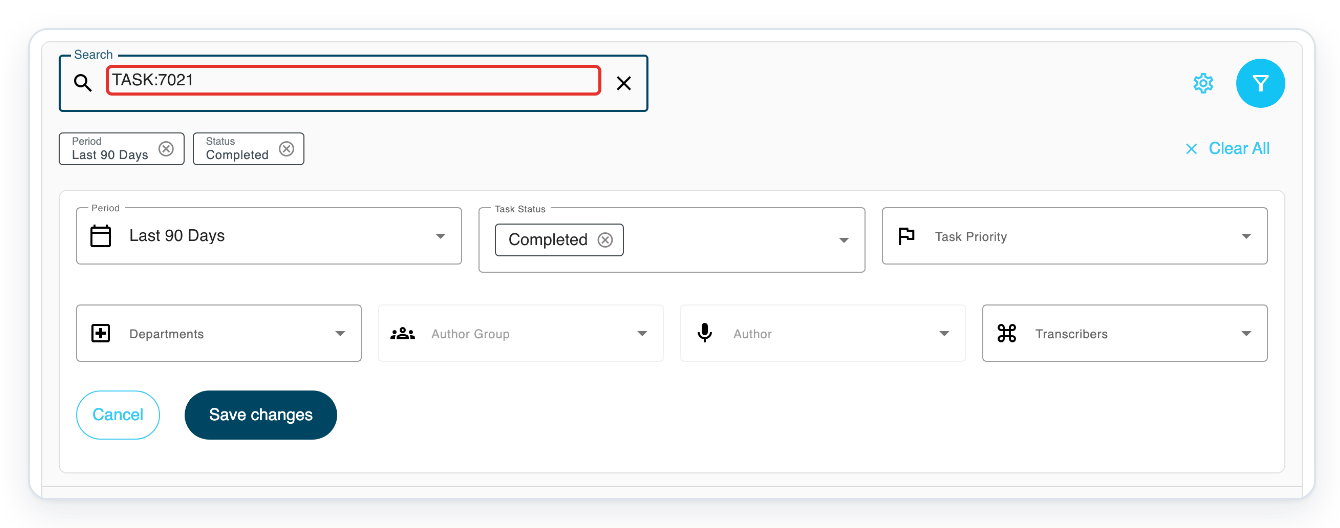
In Search, enter your web task's ID with TASK: before it, here TASK:7021.
Press Enter to search.
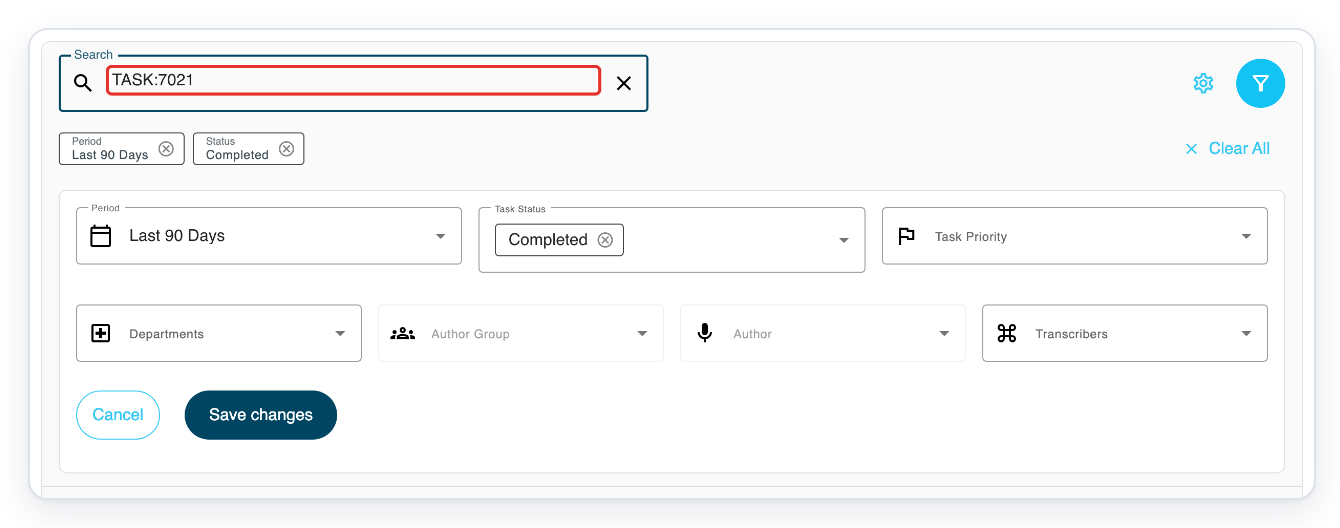
Press Escape if the search suggestions stay open.
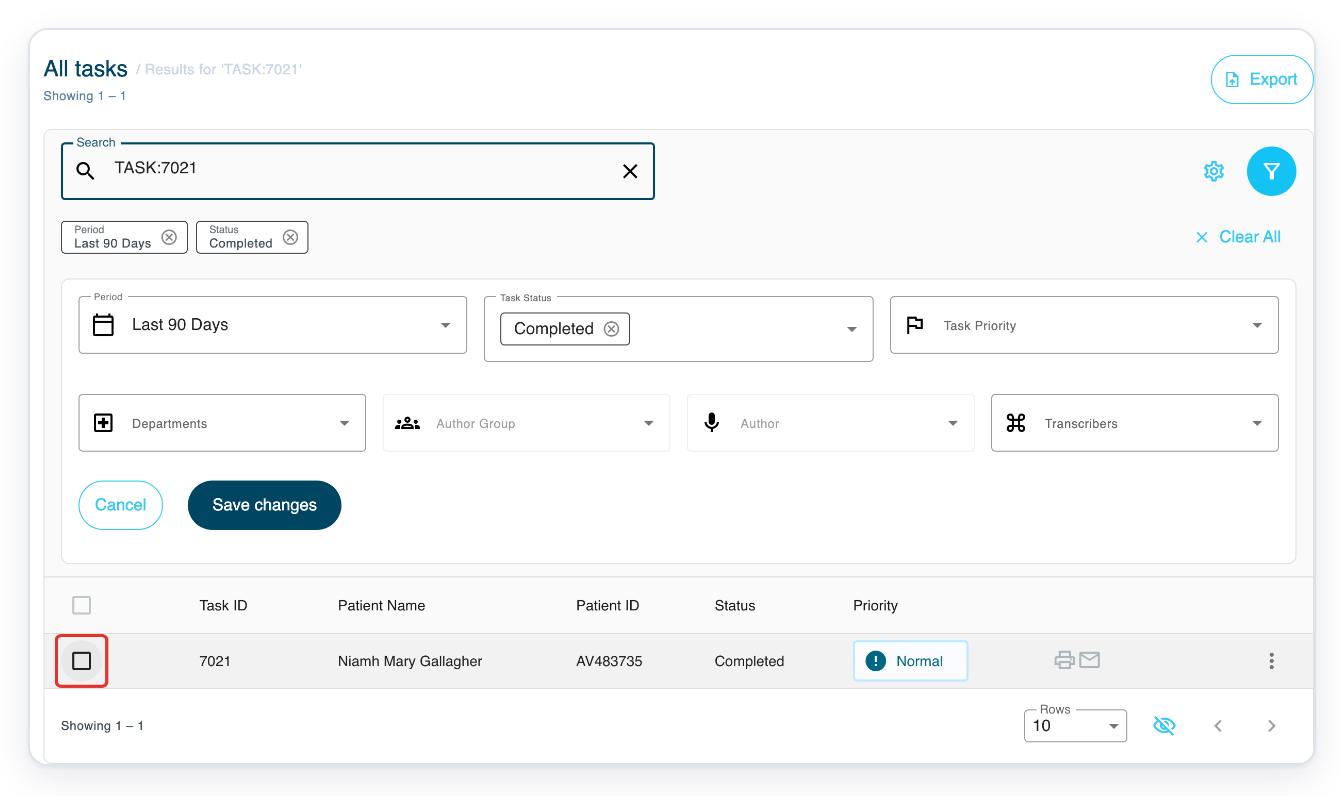
Check the task's Status, then tick its checkbox.
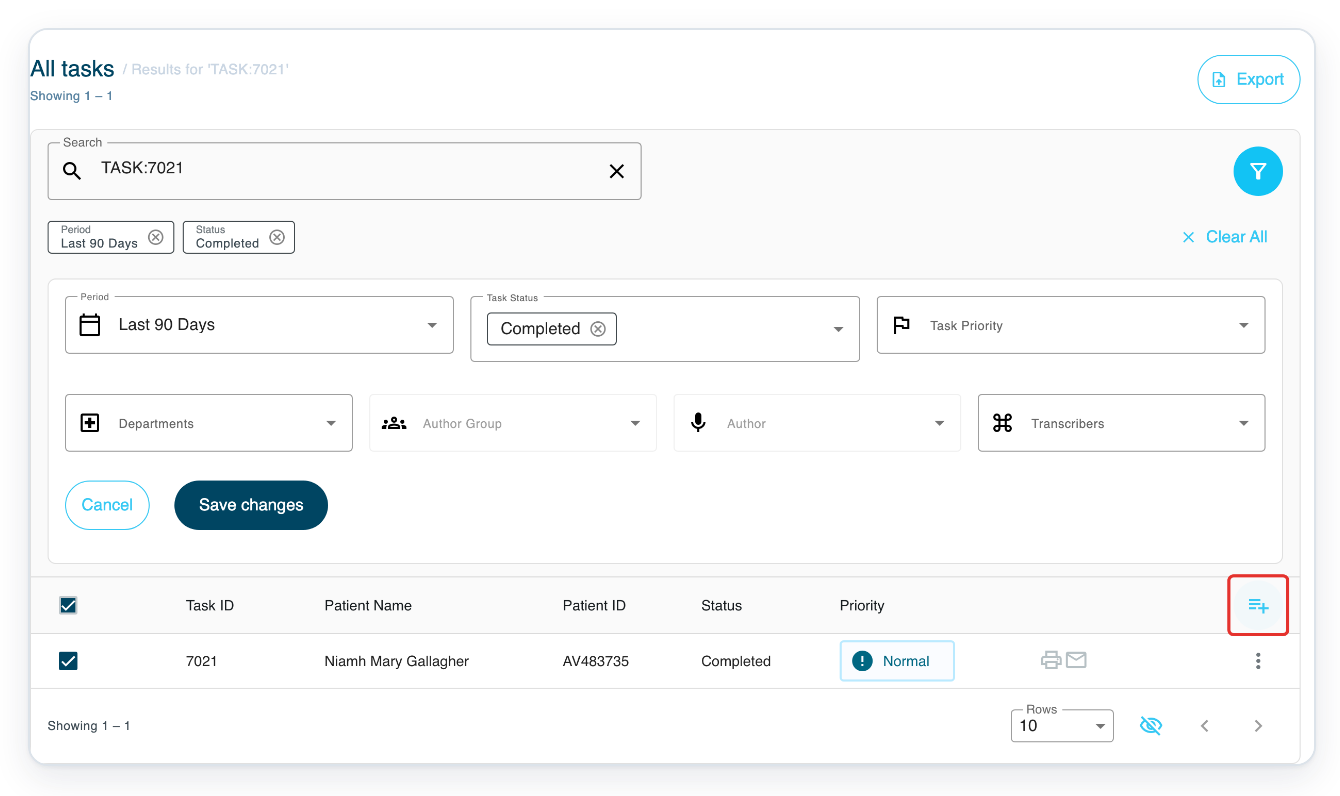
Click Bulk actions.
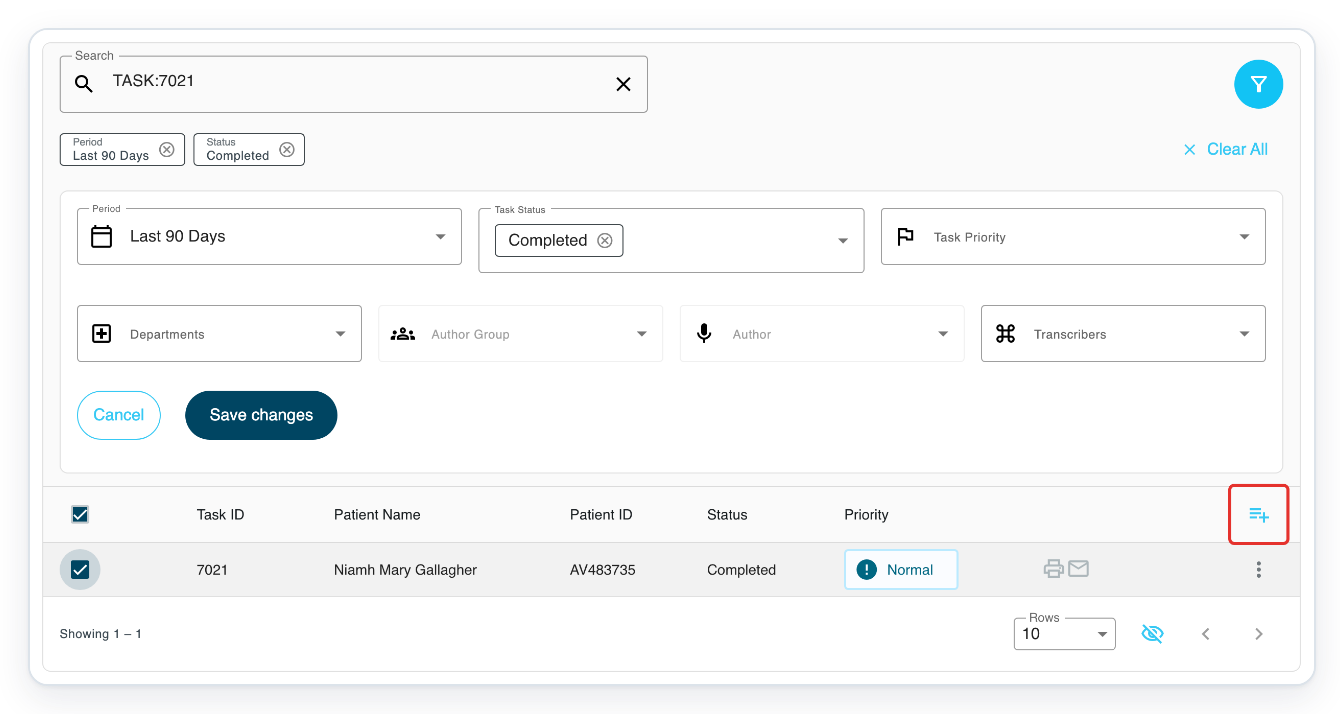
=> The completed task is selected. The Bulk actions menu includes Print All.
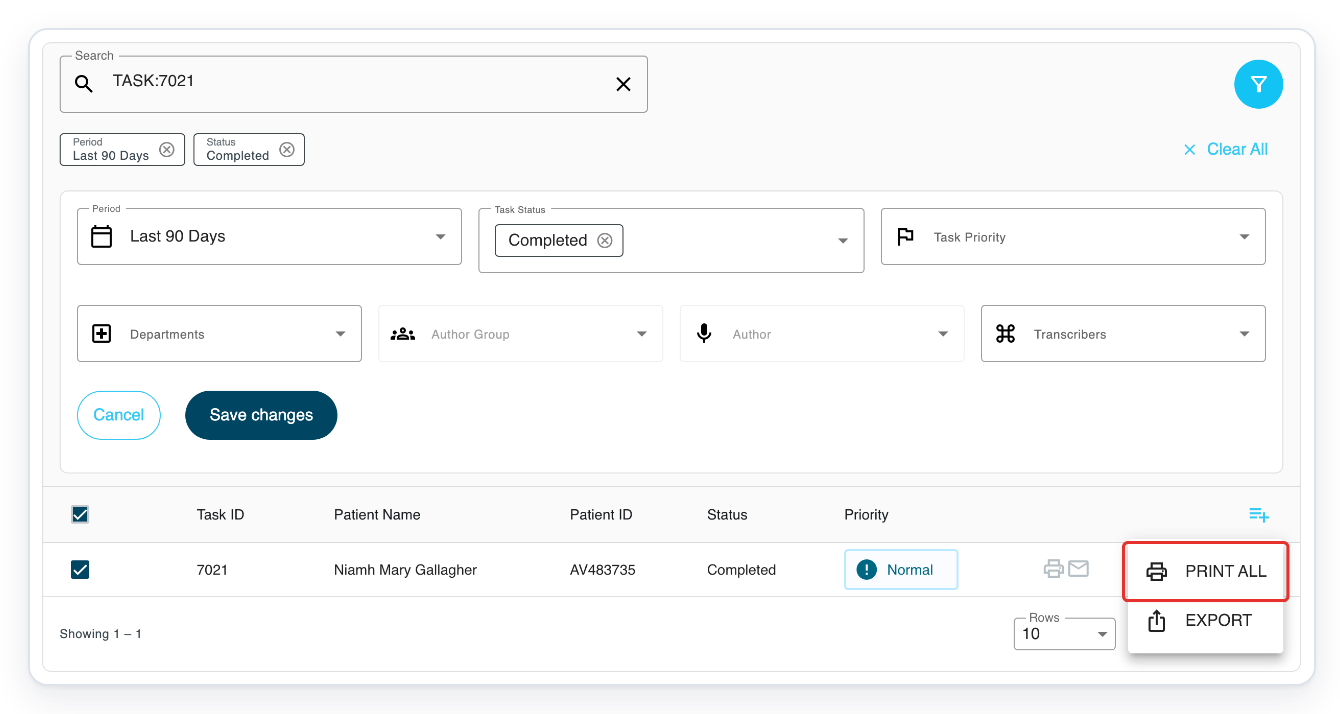
Press Escape to close the menu.
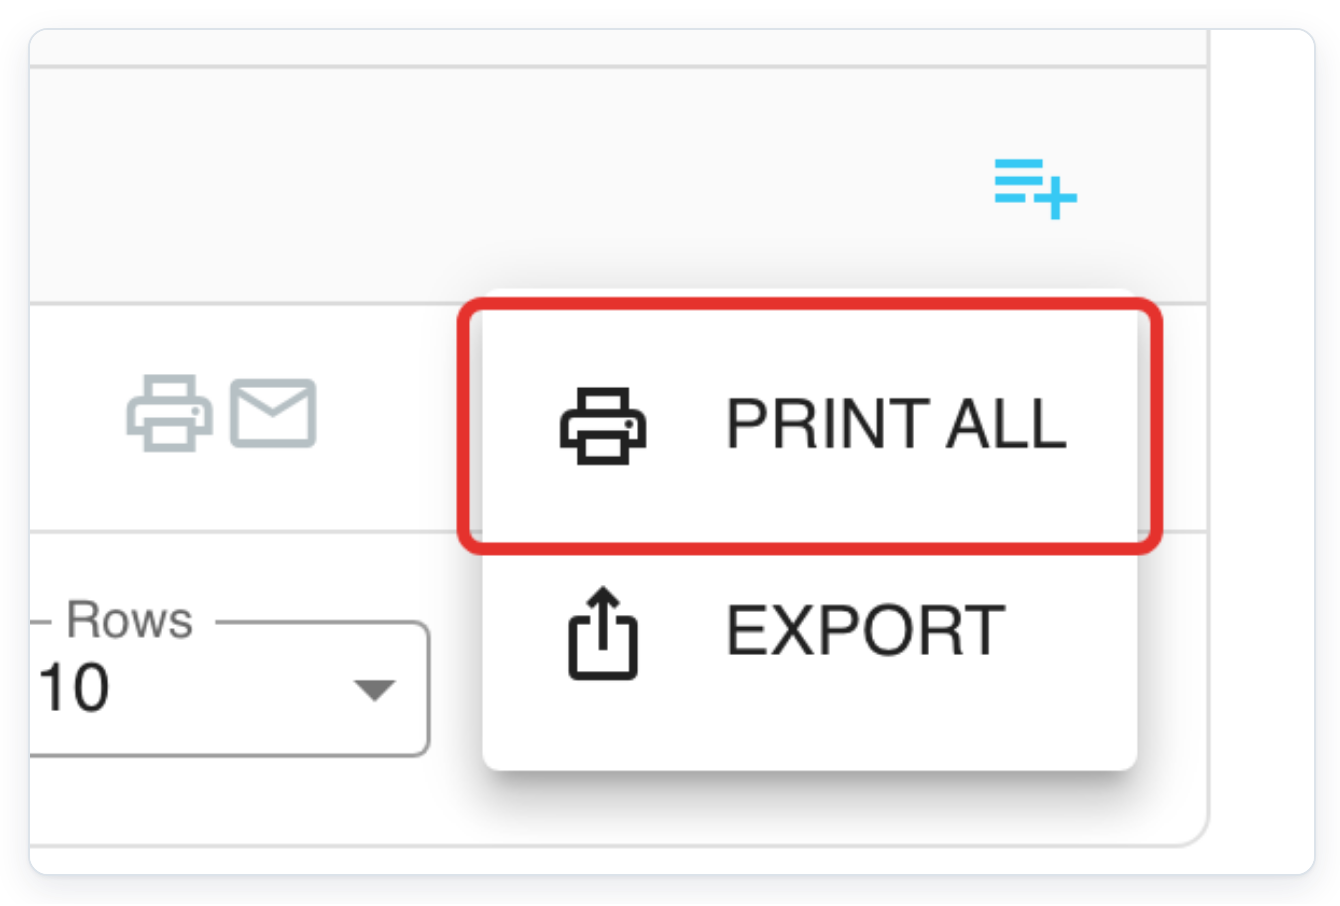
Click Bulk actions again.
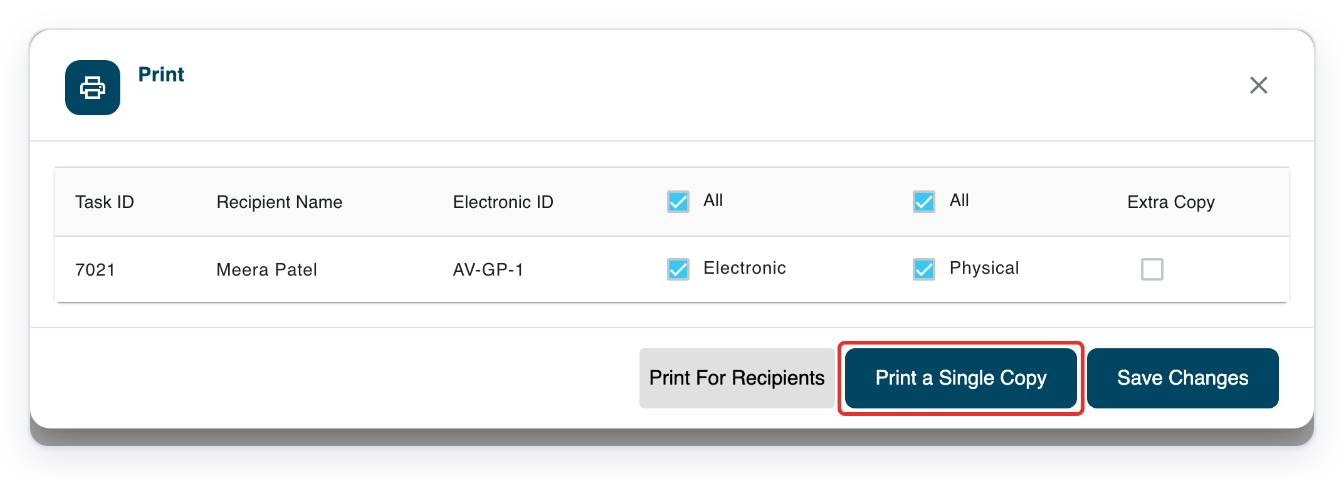
Click Print All to open the recipient and copy choices.
Check the recipient, then click Print a Single Copy to request one copy.
NOTE:
- Add any recipients, CCs and attachments before finalising.
- To search for patients, your organisation's patient database must be connected to T-Pro. You can also use Add patient manually.
- To change patient details before finalising, click the pencil beside them. This opens Edit task information.
- If you're the task's first approver, Finalise also records your approval.
Your options before finishing
| Option | What happens |
|---|---|
| Delete | Discards the unfinished task after you confirm. You return to All Tasks. |
| Keep as WIP | Saves your document for later. Reopen it from Author in Progress in Live Tasks. |
| Finalise | Saves your document and skips the typing, editing, review and processing stages. The task becomes Completed when no approval or storage is needed. |
Can't finish the task?
- CREATE is unavailable. Check that Group, Author and Document type are filled in. If you selected a patient, wait for visits to load. Select a visit if one is needed, or click No visit needed.
- There's no microphone in the new task because you created it without audio. Type your document here, or start a separate dictation with Web Recorder.
- The task is not Completed after Finalise. Your workflow may still need approval or storage. Ask your manager to check the workflow if you expected to finish it yourself.
Related articles
- Record a dictation with Web Recorder
- The letter editor in V2
- Add, download and delete attachments
- Print letters
- Add recipients and CCs to a letter
If you have any more queries, please do not hesitate to contact our Helpdesk or support@tpro.io.
© 2020 - 2026